¶ Required Tools and Materials
- 2.0 mm Allen key
- New camera
¶ Preparation
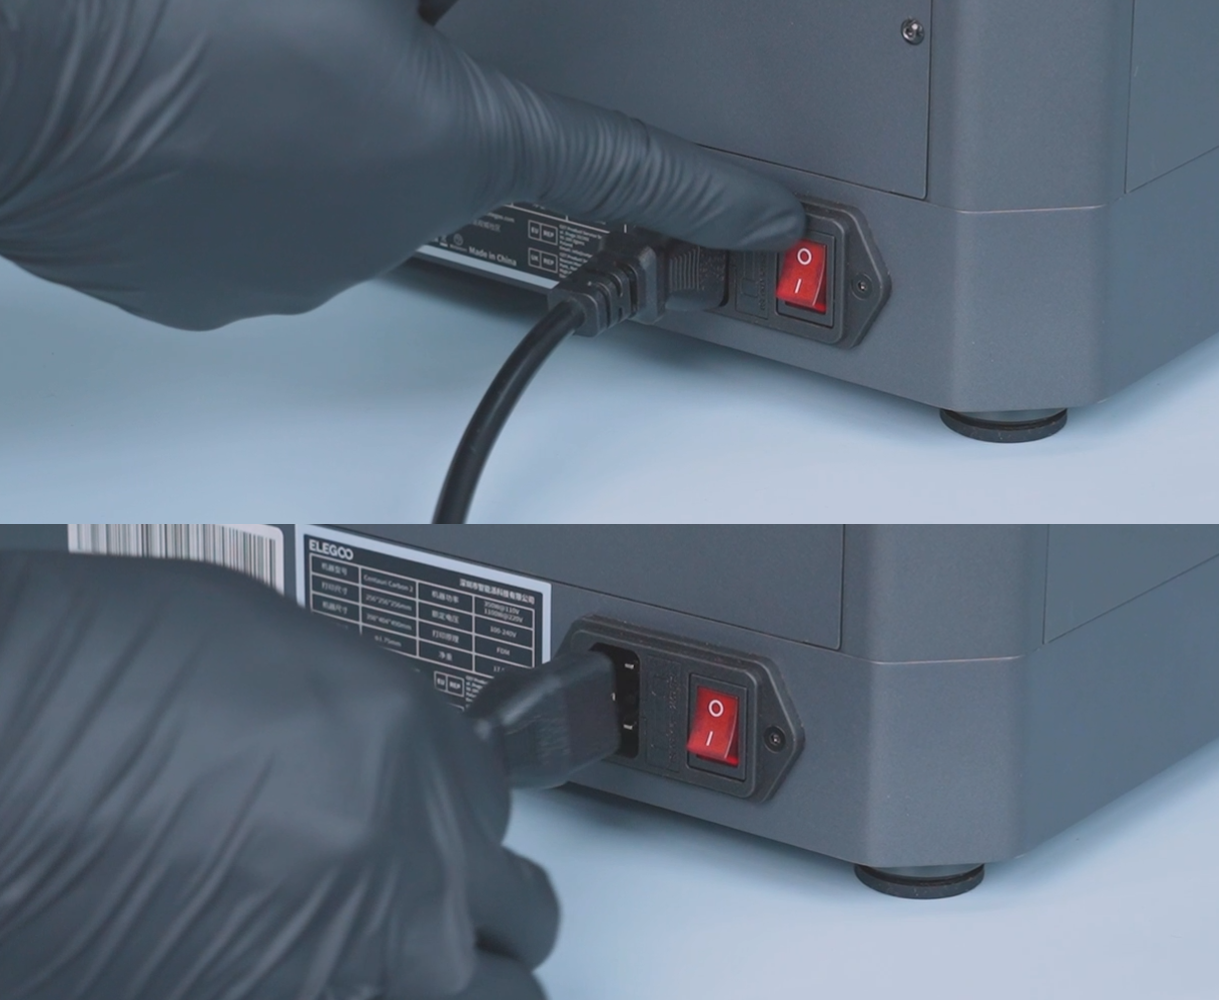
- Turn off the printer power switch and unplug the power cord.
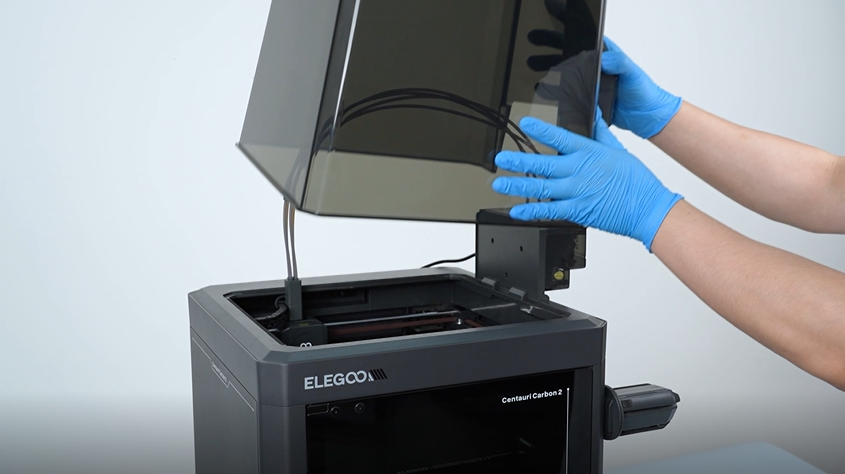
- Remove the top cover.
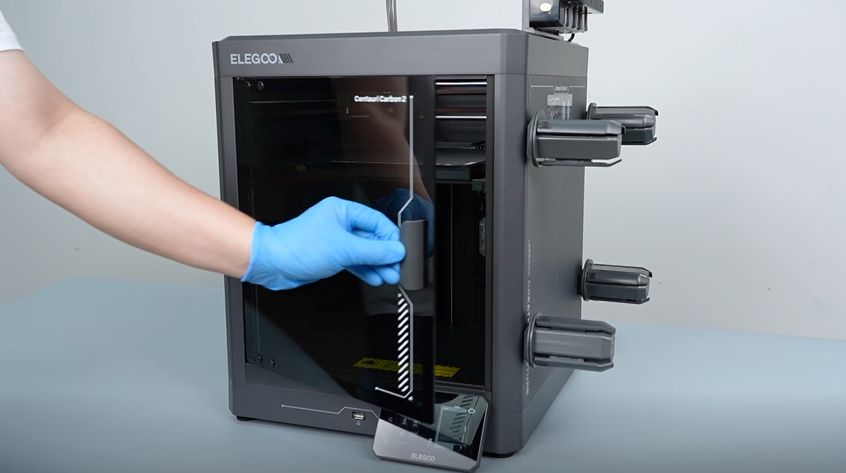
- Open the front glass door.
¶ Remove the Camera
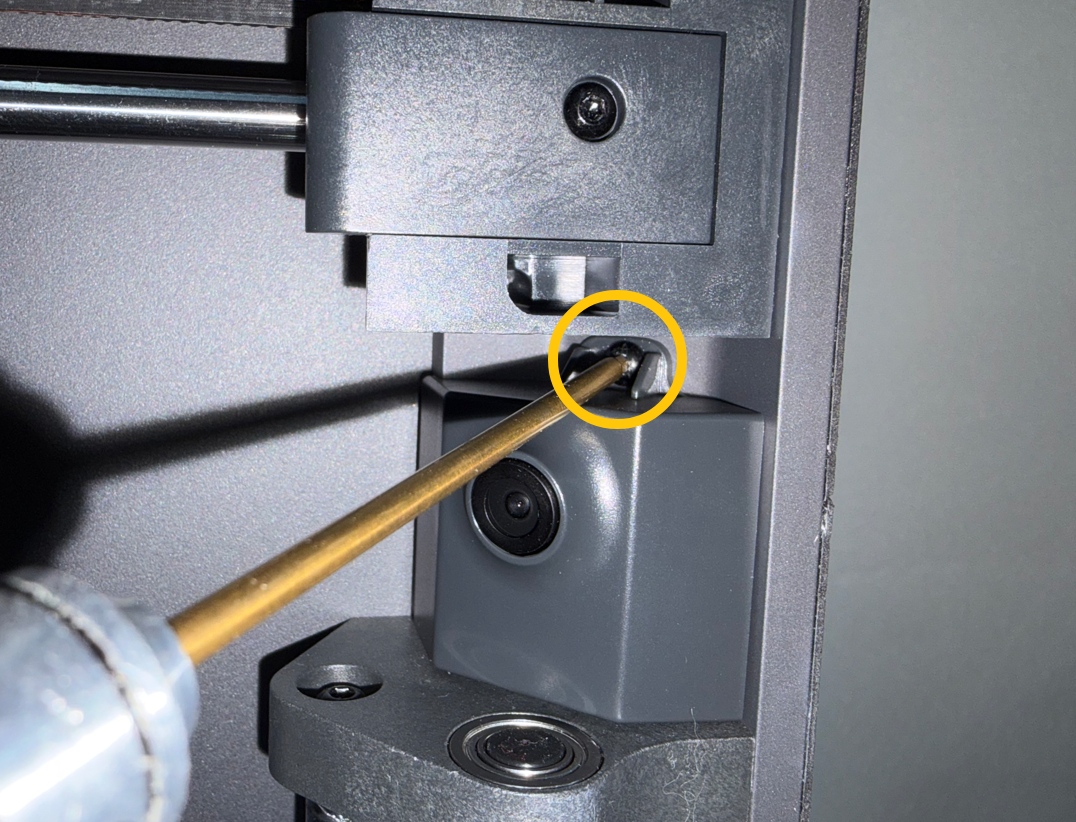
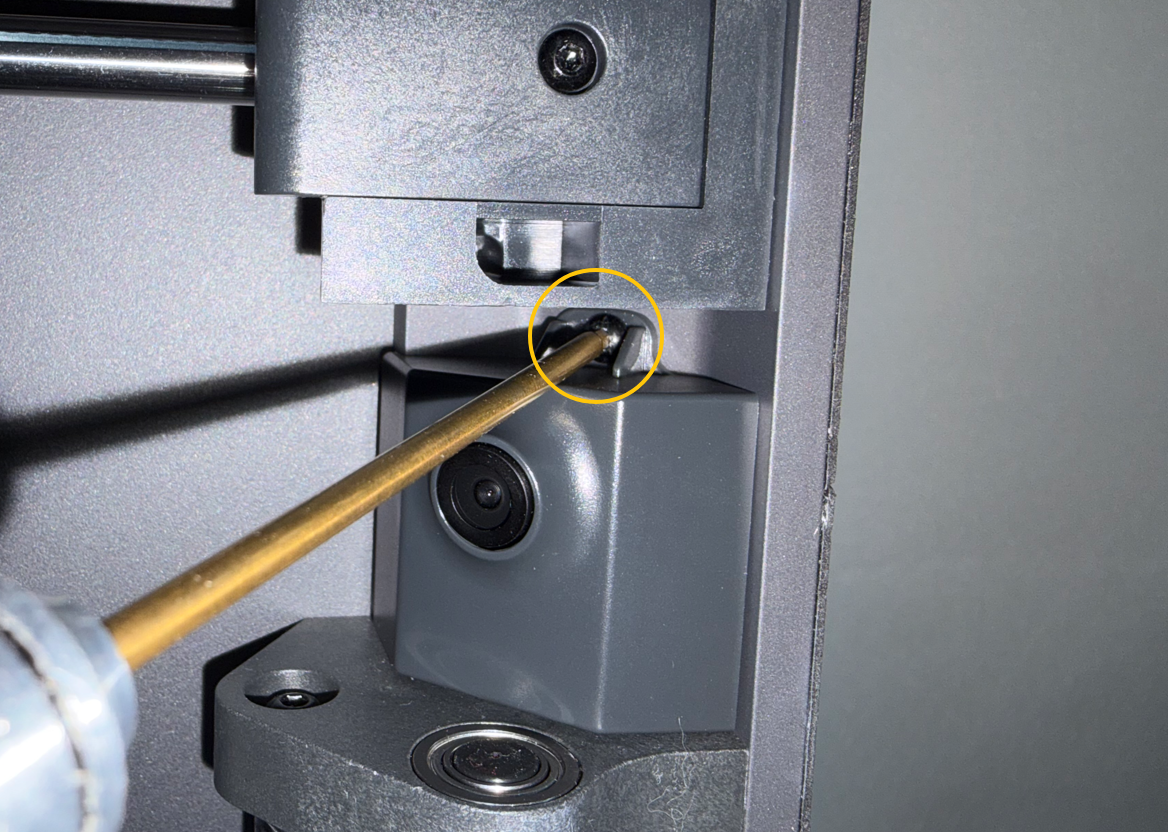
Note: The camera mounting screw is located on the top of the camera.
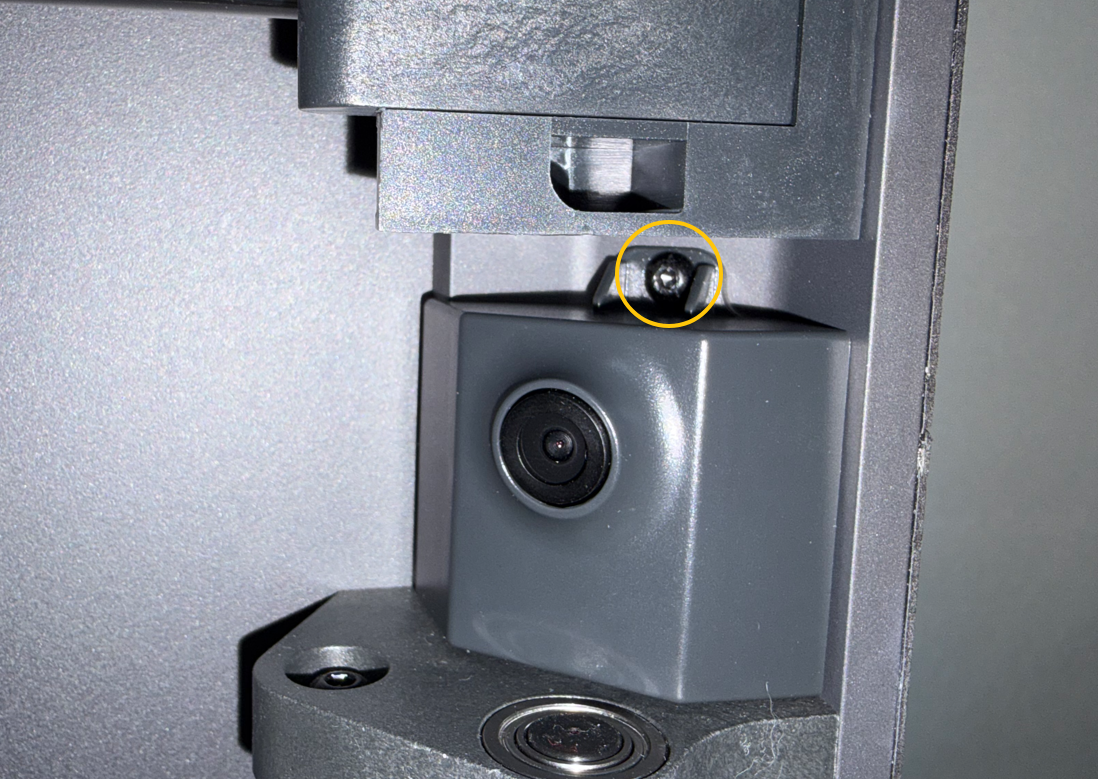
- Use a 2.0 mm Allen key to remove the screw securing the camera.
- Remove the camera.
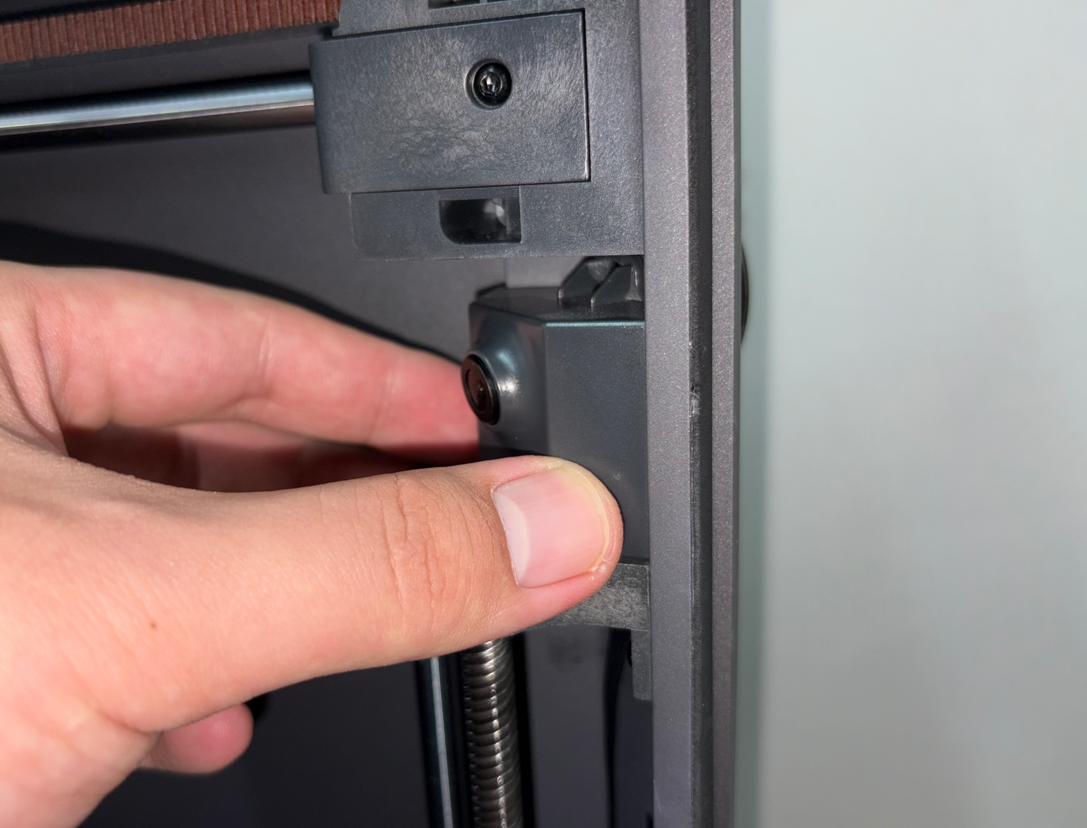
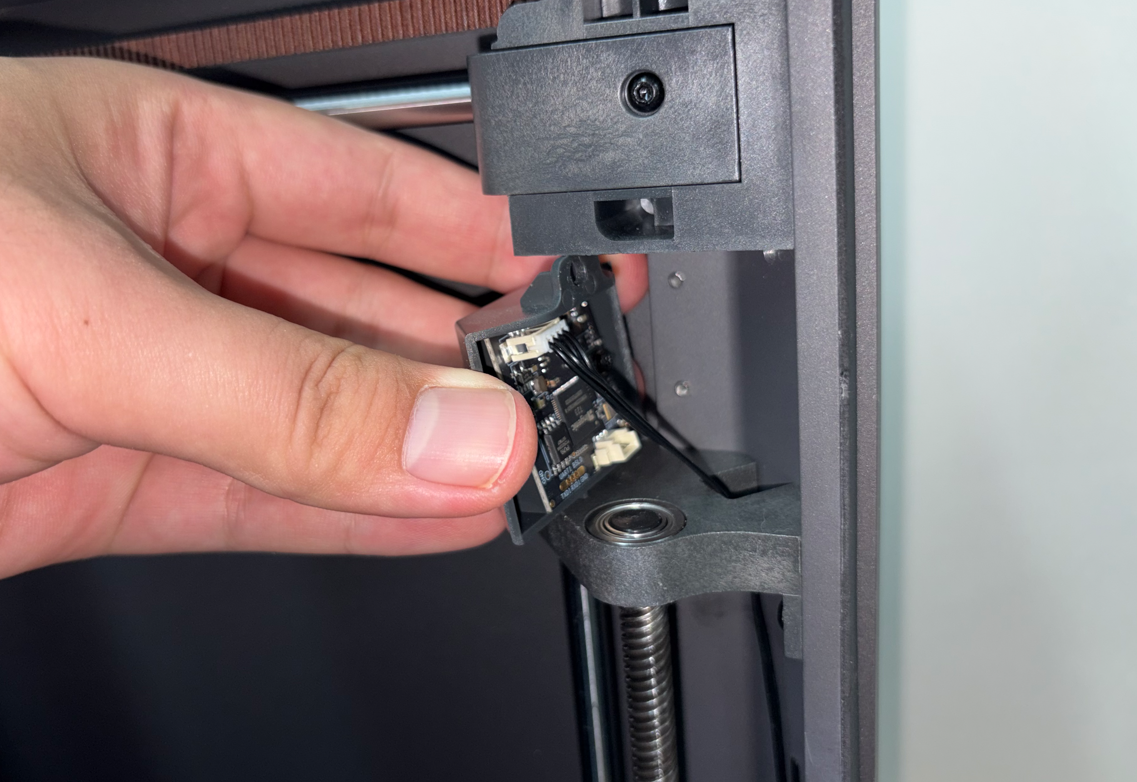
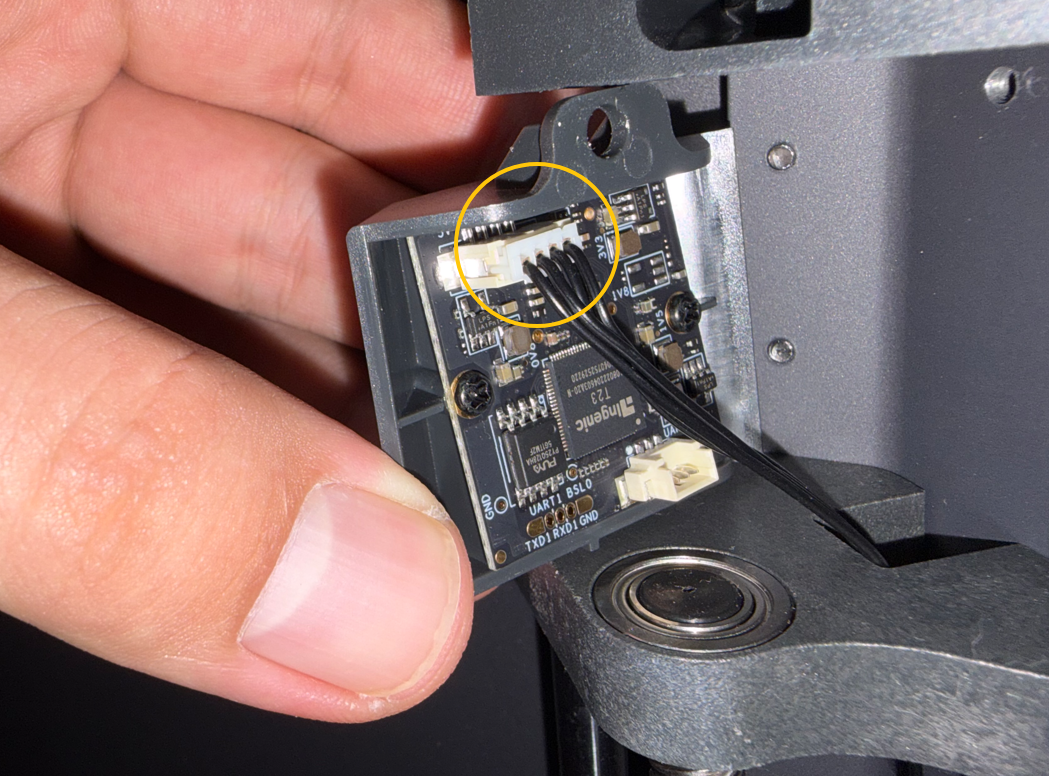
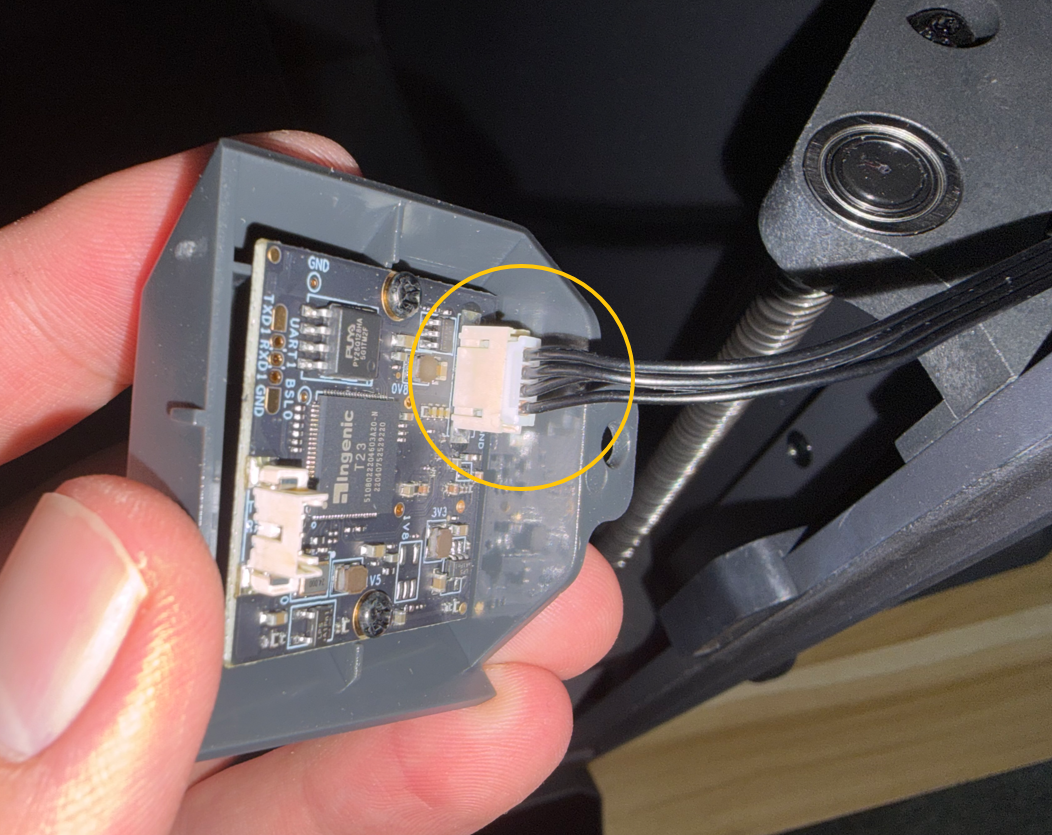
- Disconnect the connector on the back of the camera.
¶ Install the Camera
- Take out the new camera.
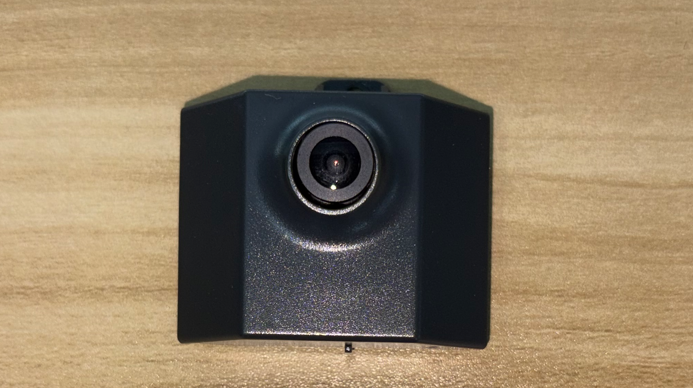
- Connect the connector to the port on the back of the camera.
- Place the camera on the upper side of the right-front Z-axis mounting block.
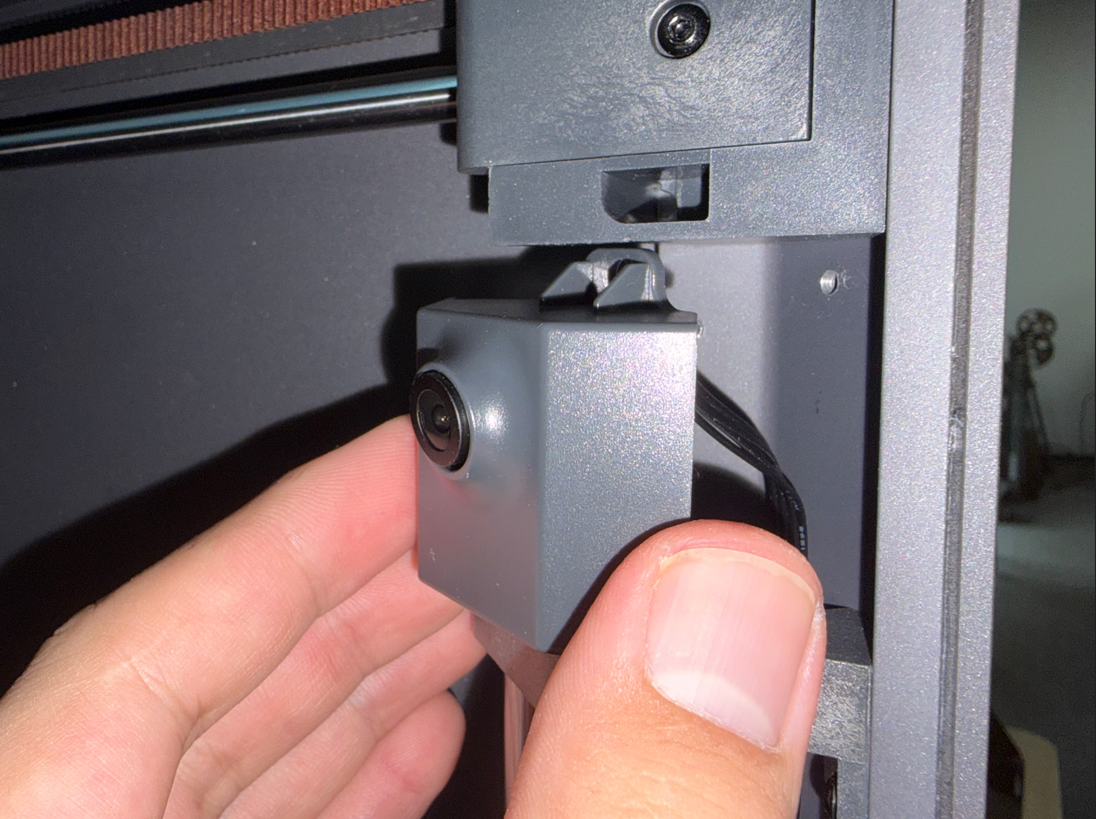
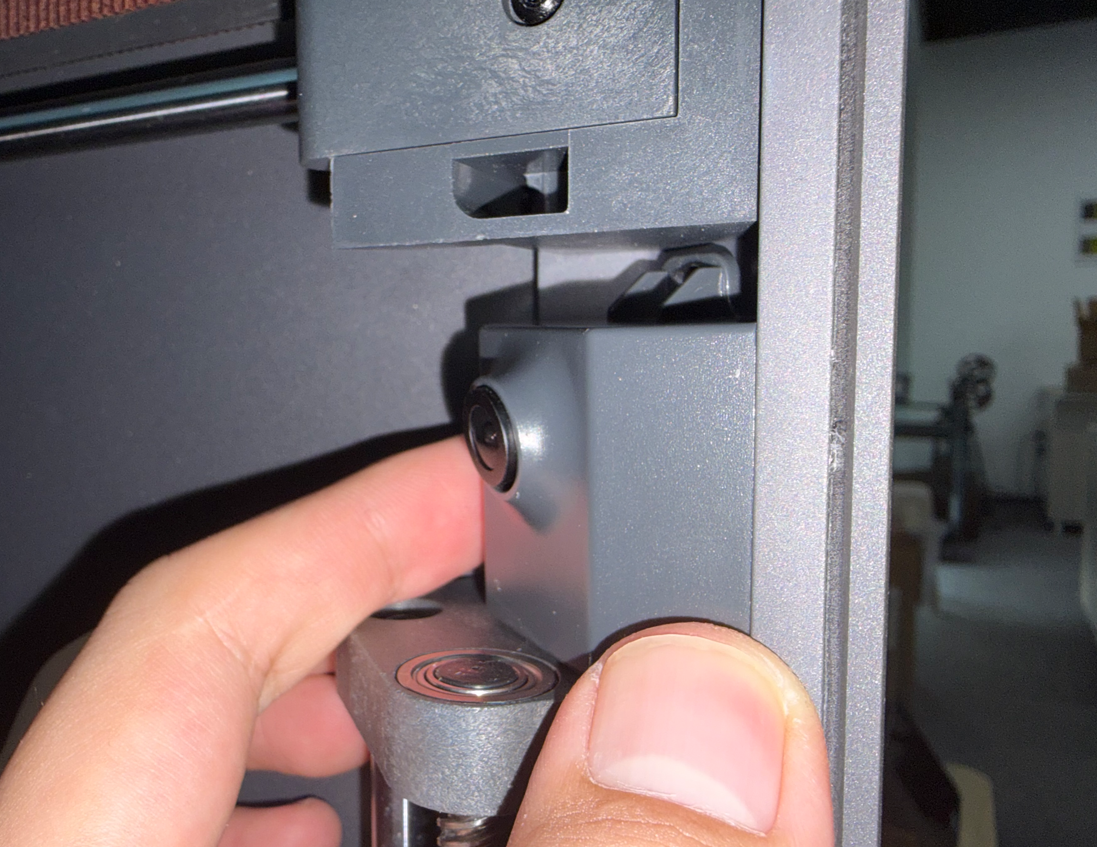
- Tighten the screw securing the camera.
Note: If you need to replace the camera cable, refer to the following guide:
How to Replace the Camera Cable
¶ Verify Function
- Connect the power cord and turn on the printer.
- Connect the printer using Elegoo Slicer or Elegoo Matrix.
For detailed connection instructions, refer to the following guide:
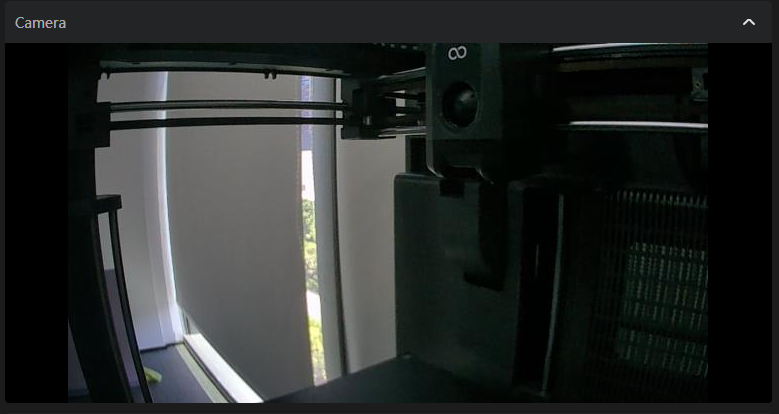
How to Connect the Printer Using Elegoo Slicer and Elegoo Matrix App - Check the camera view and confirm that the camera image displays normally. The camera installation is complete.
¶ Help us improve
If you have any ideas about the wiki pages, please let us know via ELEGOO official feedback channel