¶ Sound_Sensor_Example
¶ Overview
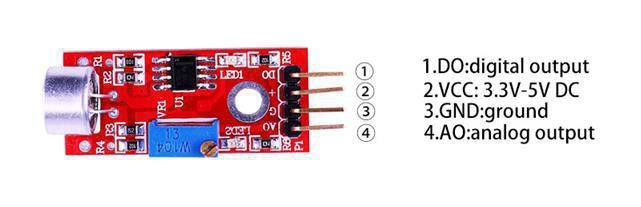
In this lesson, you will learn how to use a sound sensor module. This module has two outputs:
- AO: analog output, real-time output voltage signal of microphone
- DO: when the intensity of the sound reaches a certain threshold, the output is a high or low level signal. The threshold sensitivity can be achieved by adjusting the potentiometer.
To make sure the microphone can detect your voice normally, please try to change its sensitivity by turning the blue precise potentiometer on the module. Given to its preciseness, you need to turn 10 times 360 degrees the potentiometer to start seeing some change.
¶ Component Introduction
The sound sensor module provides an easy way to detect sound and is generally used for detecting sound intensity. This module can be used for security, switch, and monitoring applications. Its accuracy can be easily adjusted for the convenience of usage. It uses a microphone which supplies the input to an amplifier, peak detector and buffer. When the sensor detects a sound, it processes an output signal voltage which is sent to a microcontroller then performs necessary processing
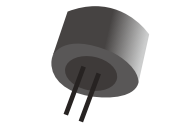
These microphones are widely used in electronic circuits to detect minor sounds or air vibrations which in turn are converted to electrical signals for further use. The two legs as shown in the image above are used to make electrical connection with the circuit.

¶ Connection Schematic
¶ Wiring diagram
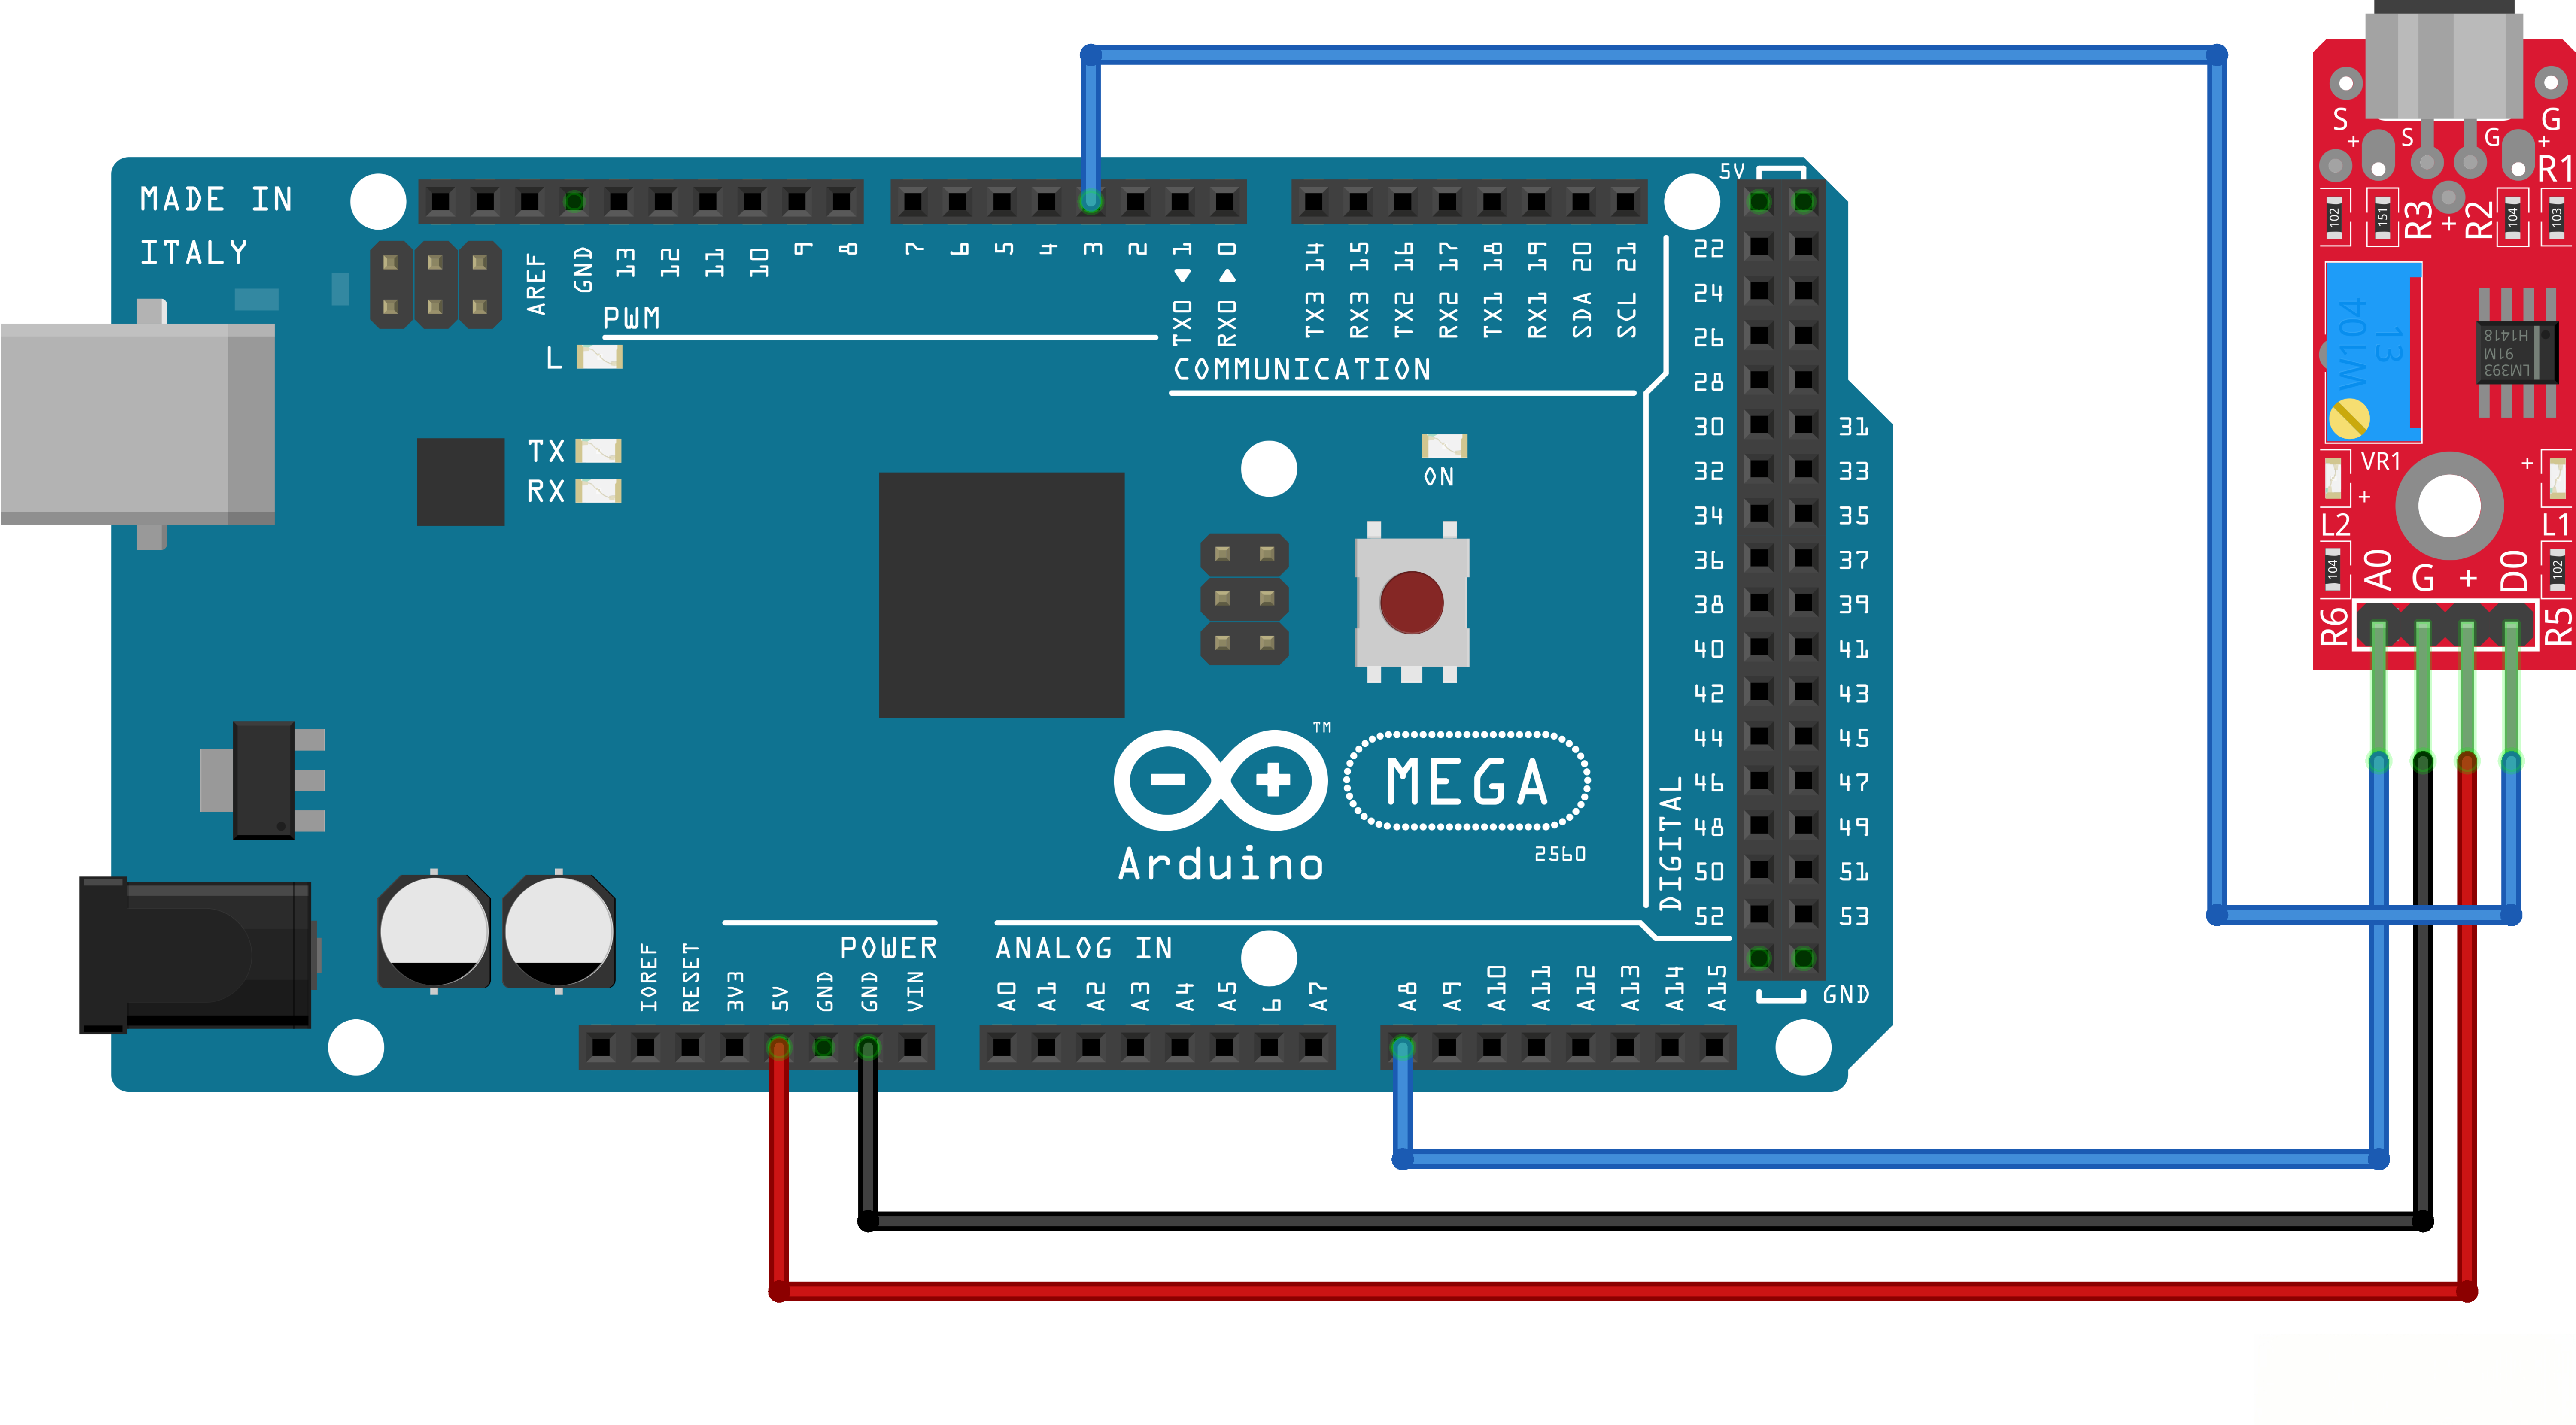
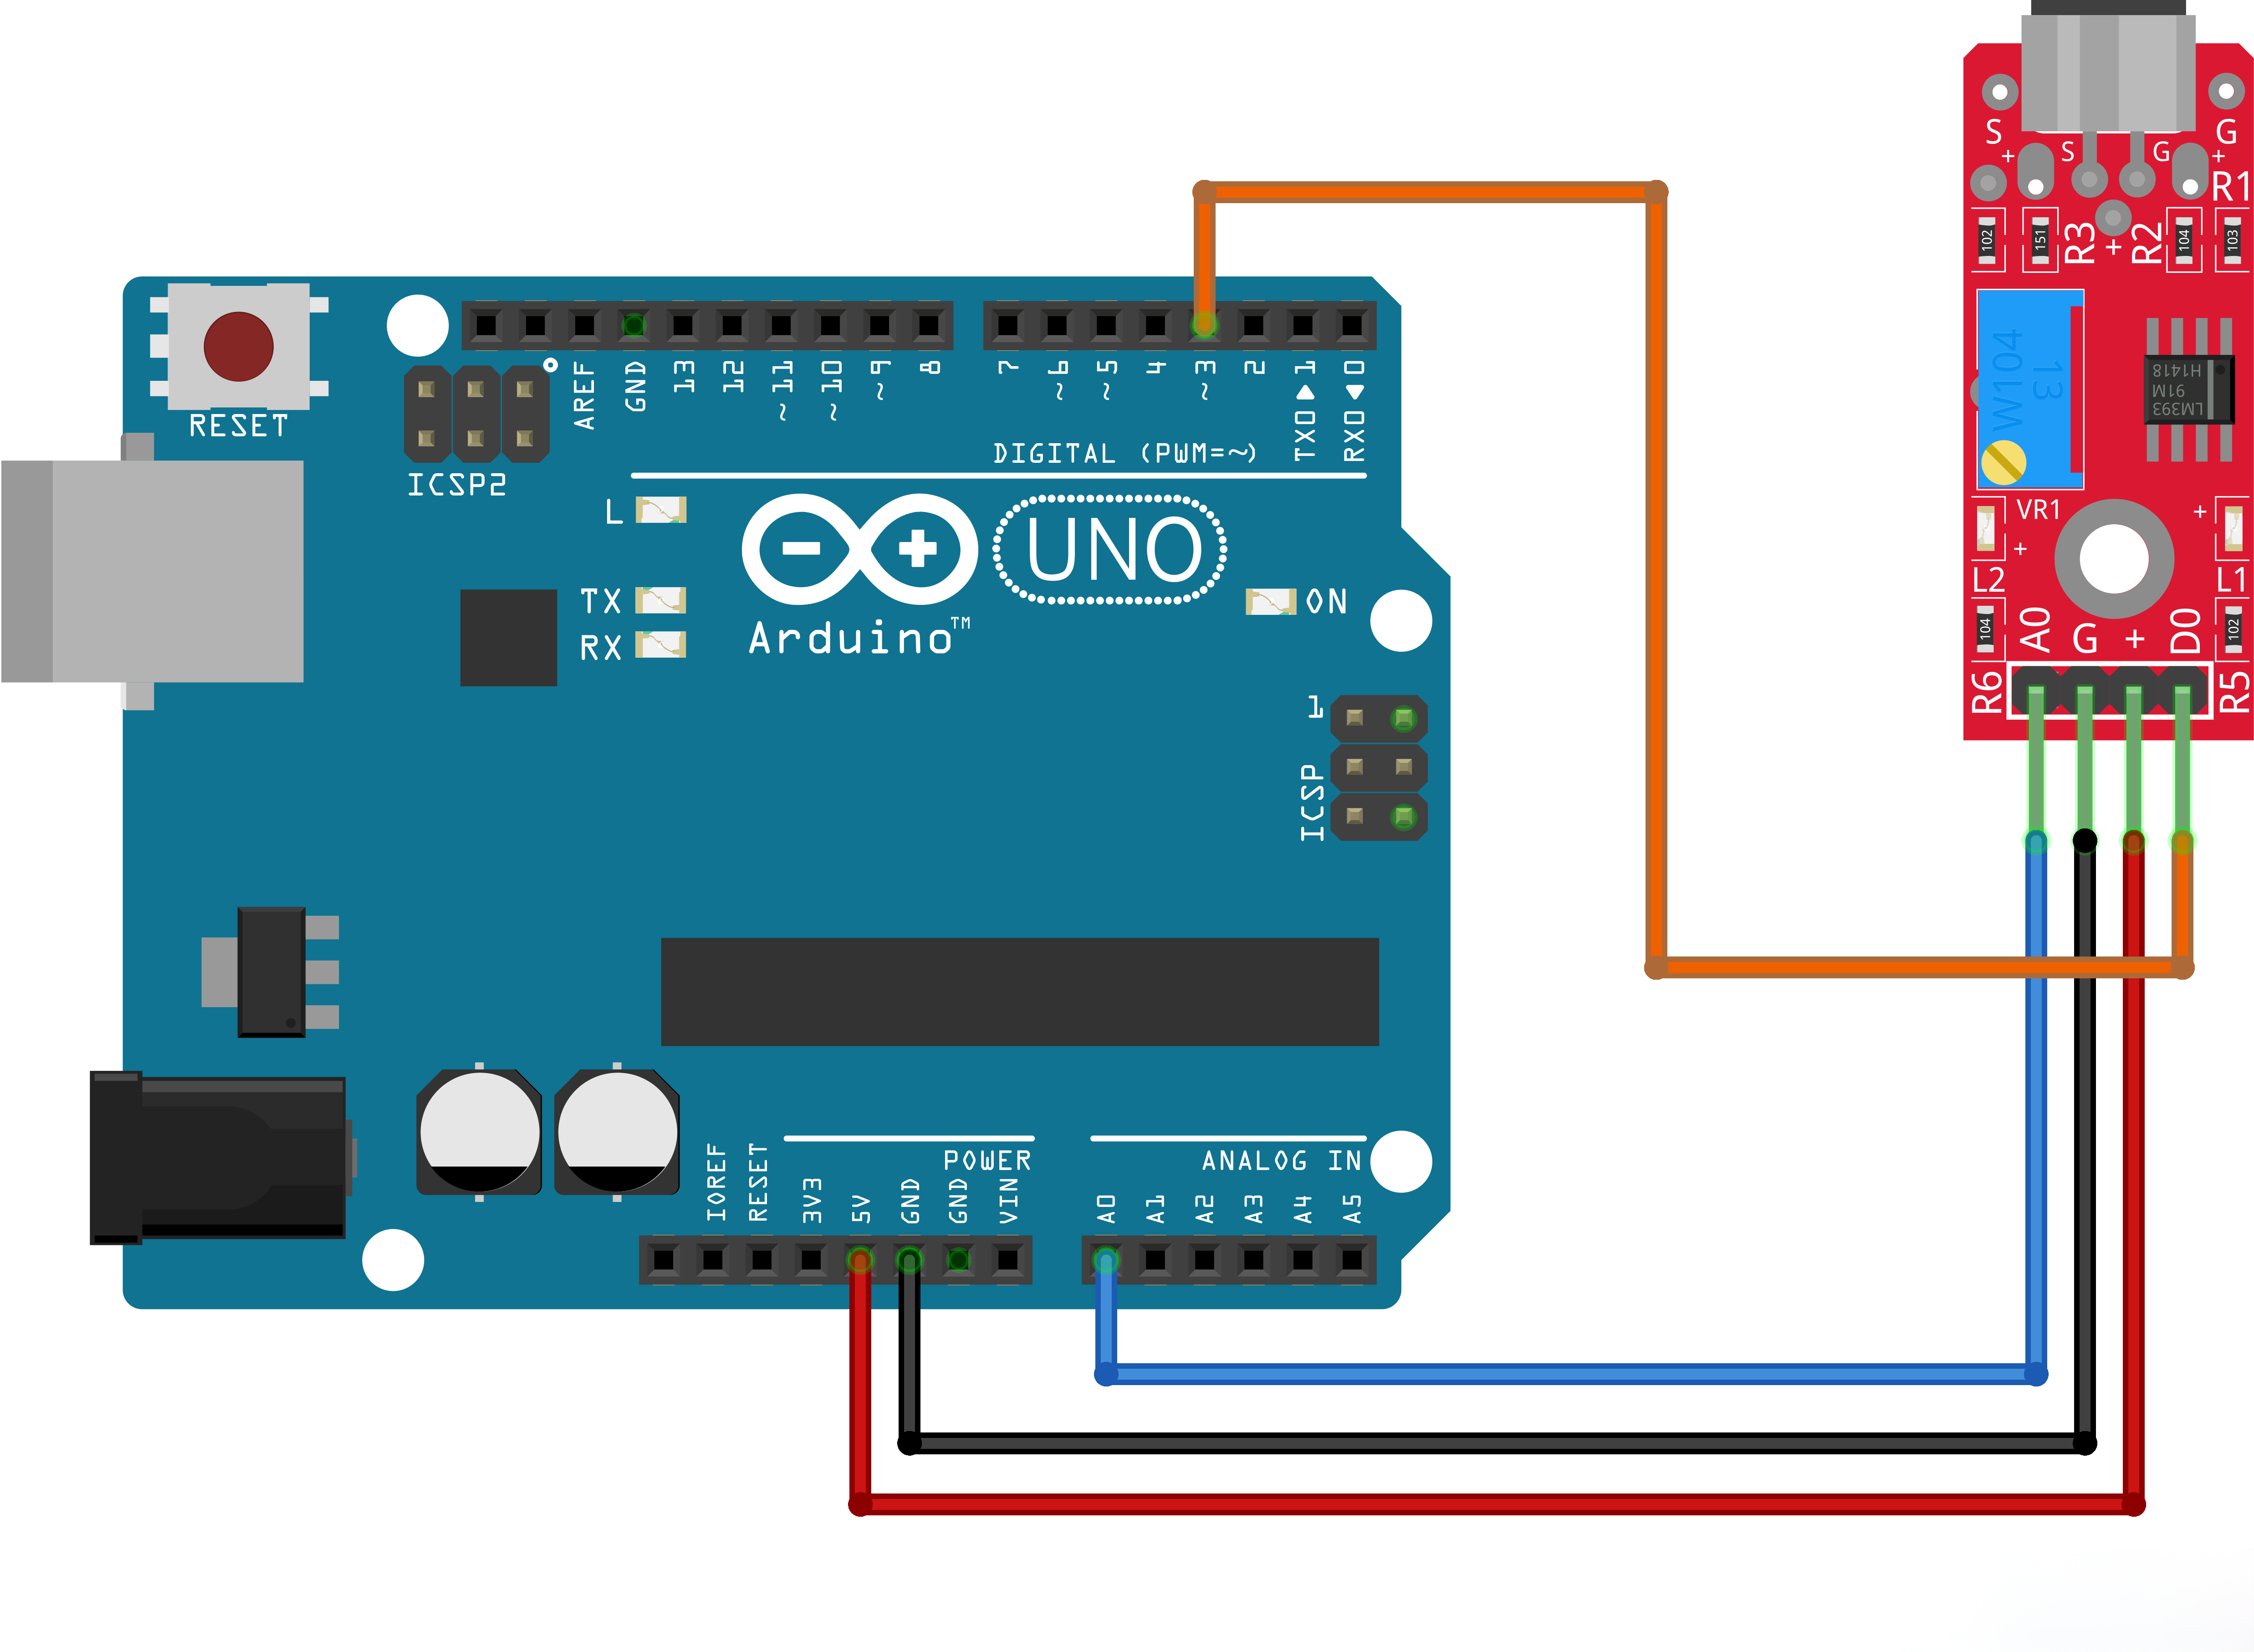
¶ Code
You can click the blue text link to download the program file to your local device, and double-click the file to open it after the download is complete. Please note: Before opening the file, ensure that you have installed the Arduino IDE development environment and completed the installation of relevant components such as the board support package and driver corresponding to the ESP32. If you have any questions about this operation process, you can refer to the "part 1" chapter of the document for detailed guidance.
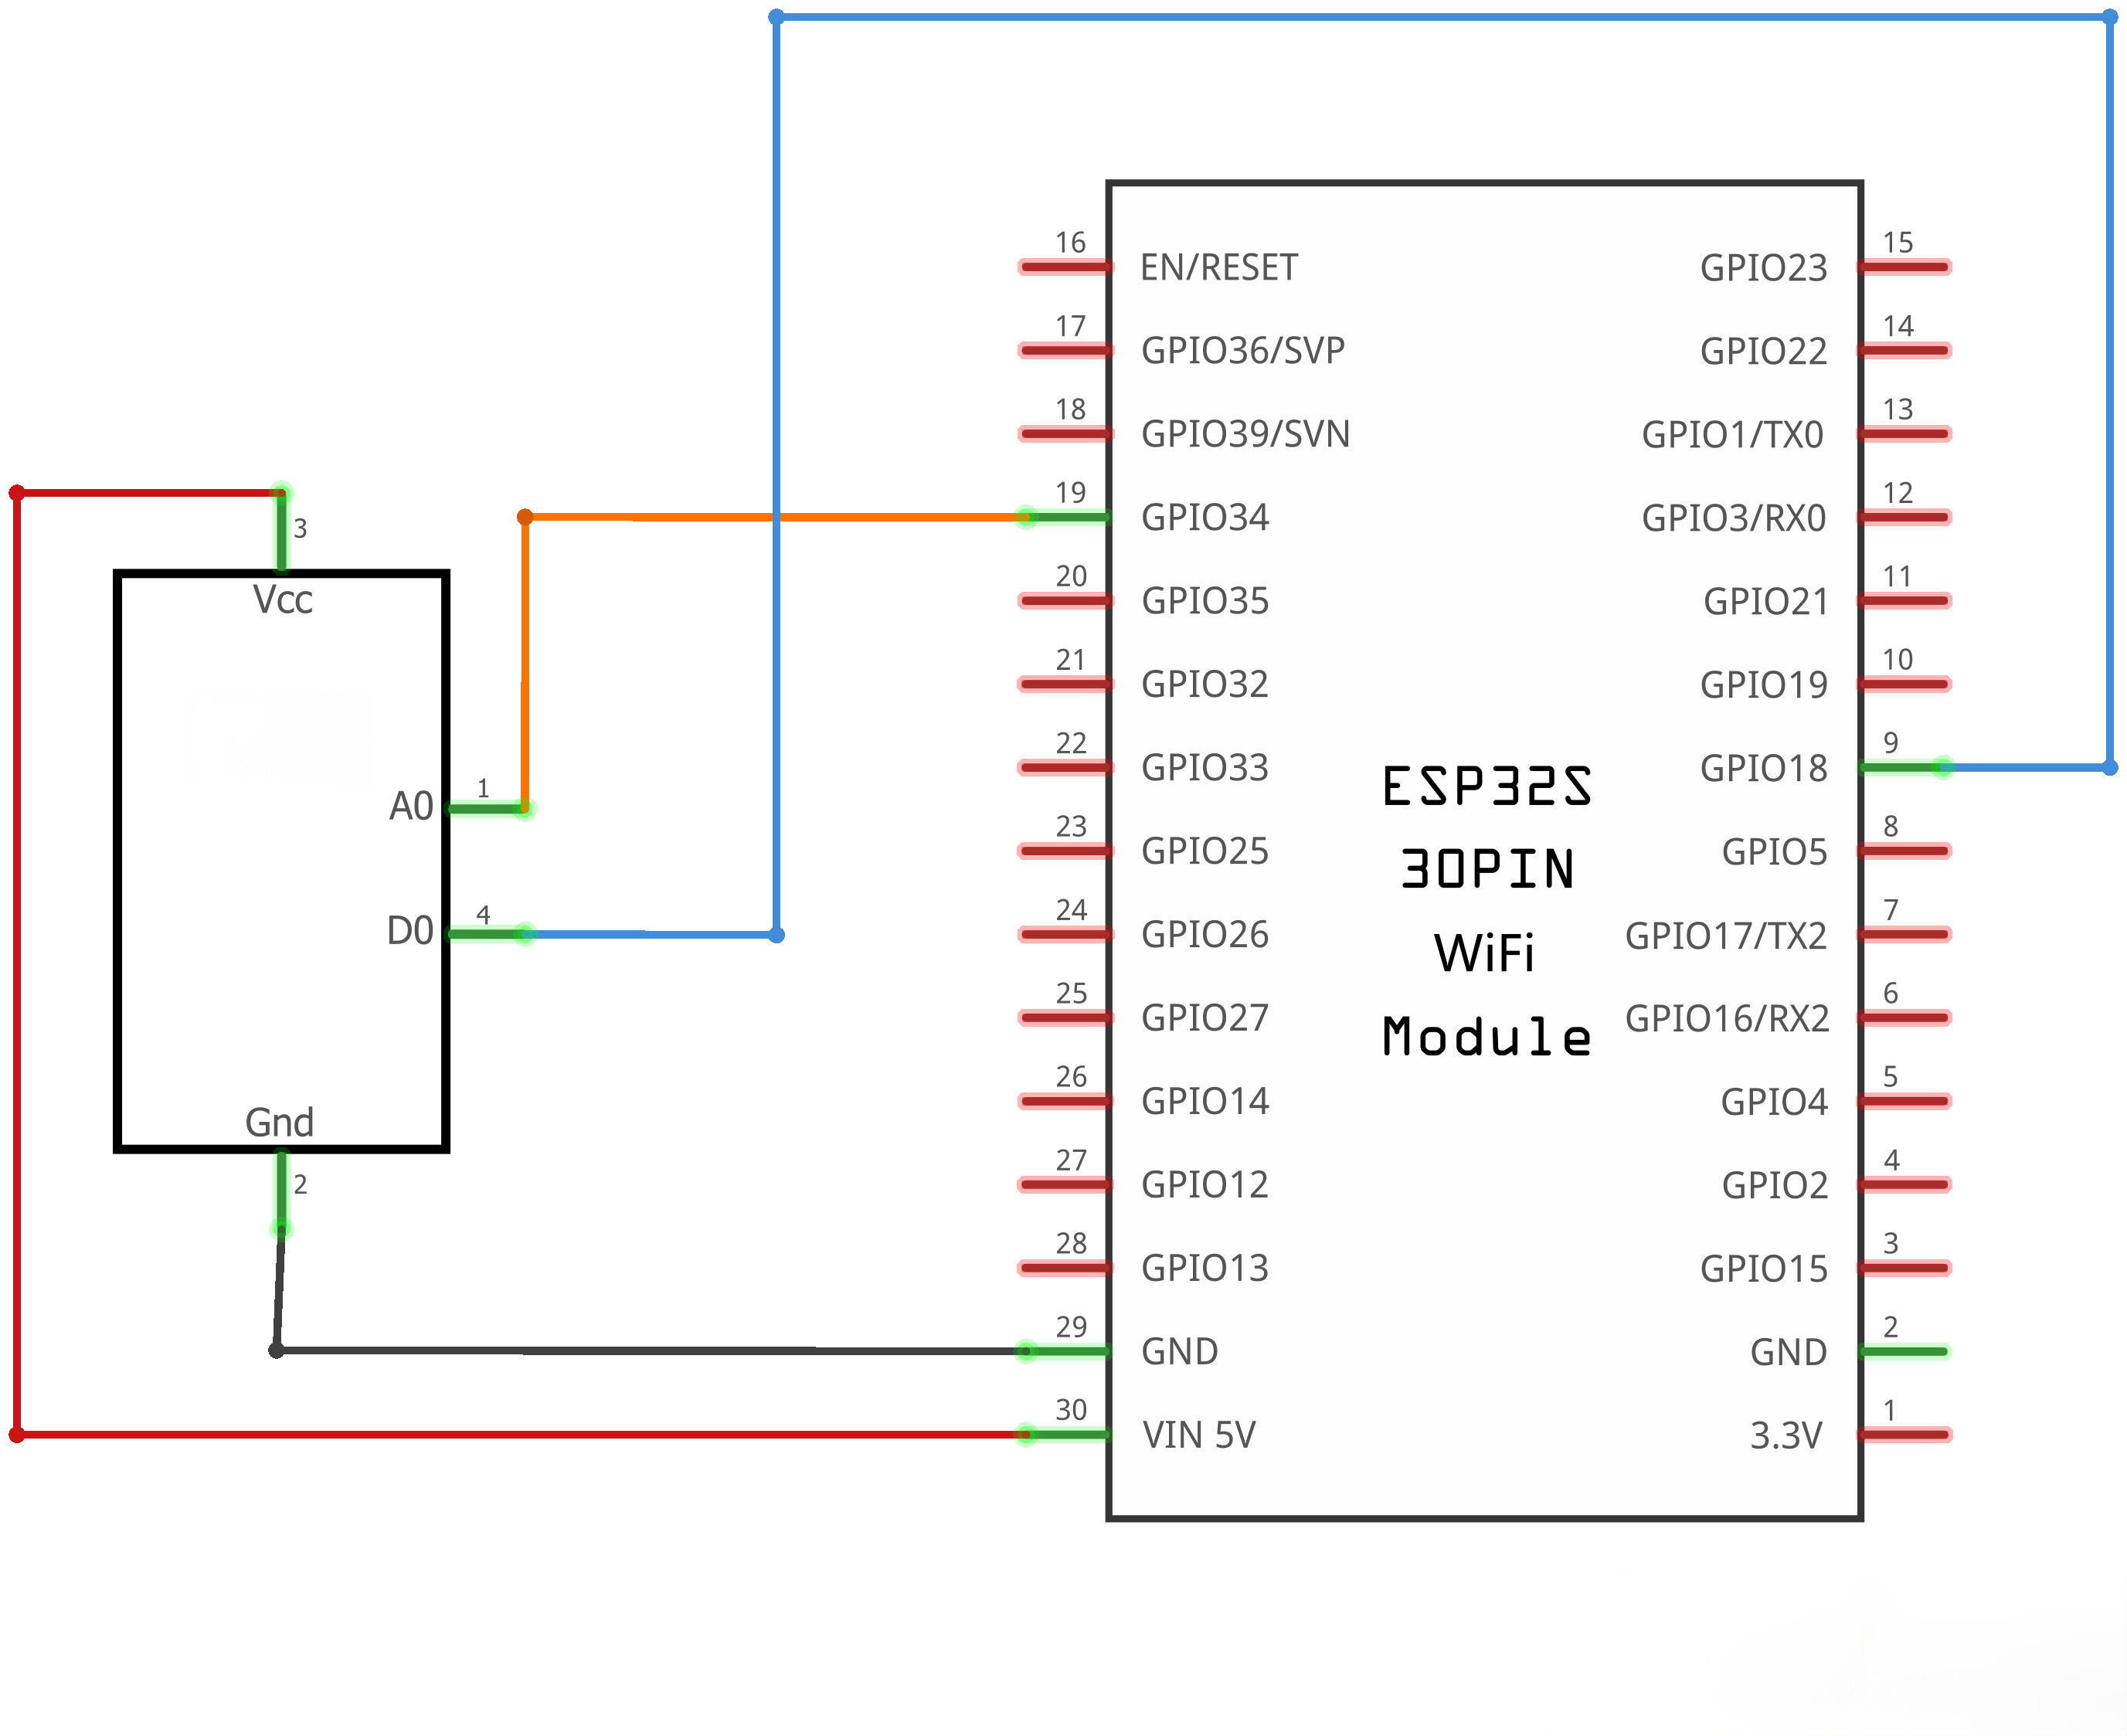
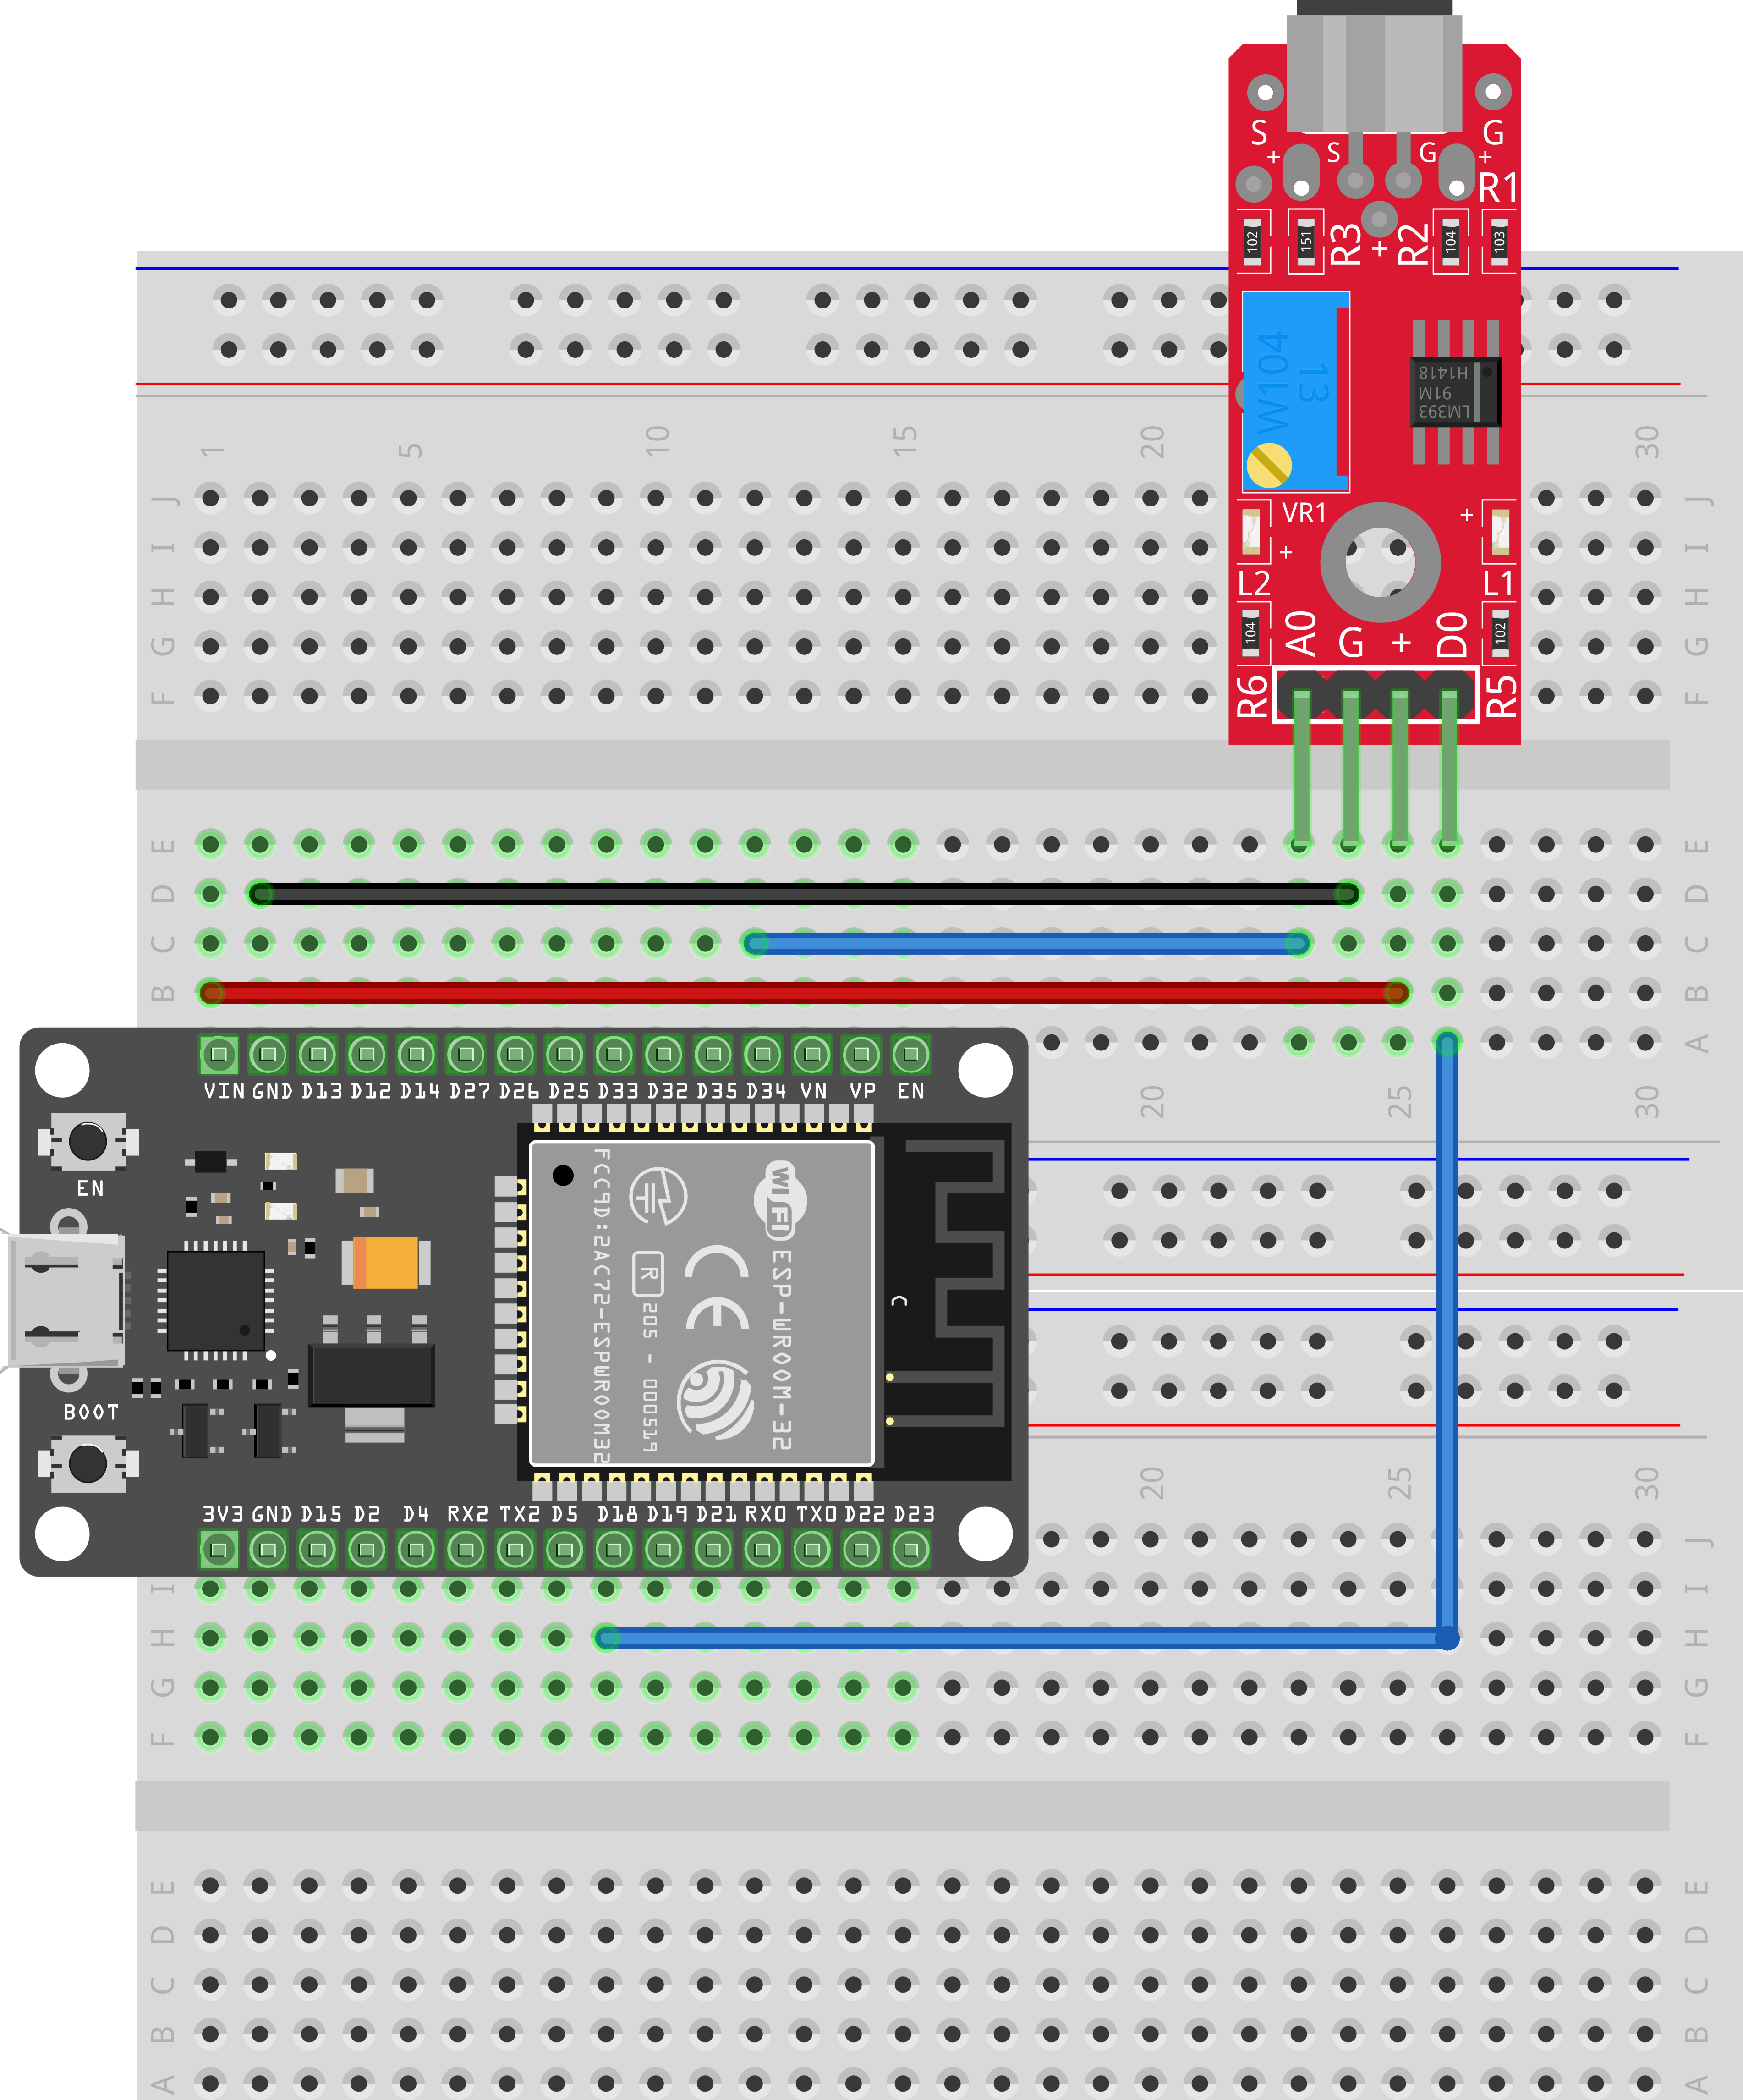
int sensorAnalogPin = 34; // Select the ESP32 input pin to accept the Sound Sensor's analog output
int sensorDigitalPin = 18; // Select the ESP32 input pin to accept the Sound Sensor's digital output
int analogValue = 0; // Define variable to store the analog value coming from the Sound Sensor
int digitalValue; // Define variable to store the digital value coming from the Sound Sensor
int Led13 = 2; // Define LED port on GPIO2 (built-in LED on most ESP32 dev boards)
Variables and Definitions:
int sensorAnalogPin = 34;:GPIO 34 connected to the sound sensor's analog outputint sensorDigitalPin = 18;:GPIO 18 connected to the sound sensor's digital outputint analogValue = 0;:Variable to store the analog value from the sound sensorint digitalValue;:Variable to store the digital value from the sound sensorint Led13 = 2;:ESP32 built-in LED on GPIO2
void setup()
{
Serial.begin(9600); // The IDE settings for Serial Monitor/Plotter (preferred) must match this speed
pinMode(sensorDigitalPin,INPUT); // Define pin 18 as an input port, to accept digital input
pinMode(Led13,OUTPUT); // Define pin 2 as an output port, to indicate digital trigger reached
}
Setup Function:
Serial.begin(9600);:Initializes serial communication at 9600 baud ratepinMode(sensorDigitalPin,INPUT);:Sets GPIO 18 as inputpinMode(Led13,OUTPUT);:Sets GPIO 2 (built-in LED) as output
void loop(){
analogValue = analogRead(sensorAnalogPin); // Read the analog value from the sound sensor connected to GPIO 34
digitalValue=digitalRead(sensorDigitalPin); // Read the digital value from the sound sensor connected to GPIO 18
Serial.println(analogValue); // Send the analog value to the serial transmit interfaceif(digitalValue==HIGH) // When the Sound Sensor sends signal, via voltage present, light the built-in LED on GPIO2
{
digitalWrite(Led13,HIGH);
}
else
{
digitalWrite(Led13,LOW);
}delay(50); // Slight pause so that we don't overwhelm the serial interface
}
Loop Function:
analogValue = analogRead(sensorAnalogPin);:Reads the analog value from the sound sensor on GPIO 34digitalValue=digitalRead(sensorDigitalPin);:Reads the digital value from the sound sensor on GPIO 18Serial.println(analogValue);:Prints the analog value to the serial monitorif(digitalValue==HIGH):Checks if sound is detecteddigitalWrite(Led13,HIGH);:Turns on the built-in LED on GPIO2 if sound is detecteddigitalWrite(Led13,LOW);:Turns off the built-in LED on GPIO2 if no sound is detected
delay(50);:Waits 50 milliseconds to avoid overwhelming the serial interface