¶ Important Notice
Installing incorrect firmware will brick the printer. Before updating the firmware, please first confirm your printer version according to the instructions below.
Neptune 4 Series: How to Identify Your Printer Version.
¶ Tools and materials needed
- A USB flash drive (FAT-32 format, less than 16 GB capacity)
- A TF card (less than 32GB capacity)
- A 2.0 mm Allen key
¶ Tutorial Video
From 1:28 to 4:00
https://www.youtube.com/watch?v=TC-Y0lonv74
¶ Operation Steps
¶ Prearation
-
Plug in the power supply cable. Turn the power switch ON (symbol "|").
-
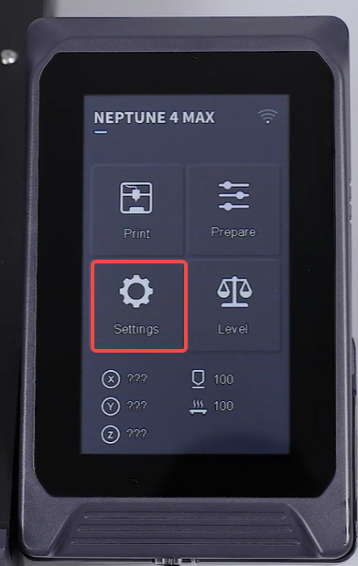
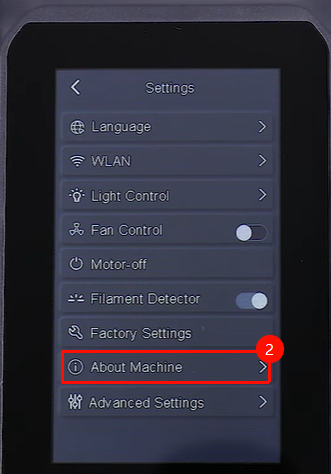
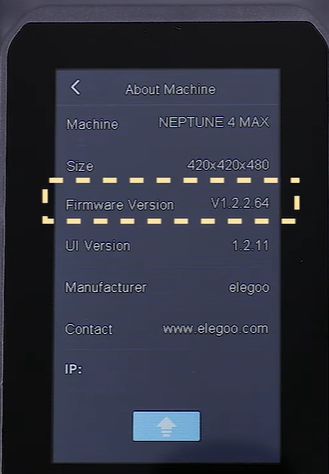
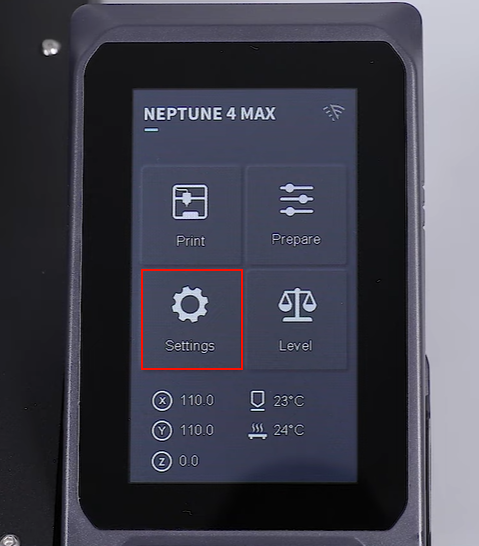
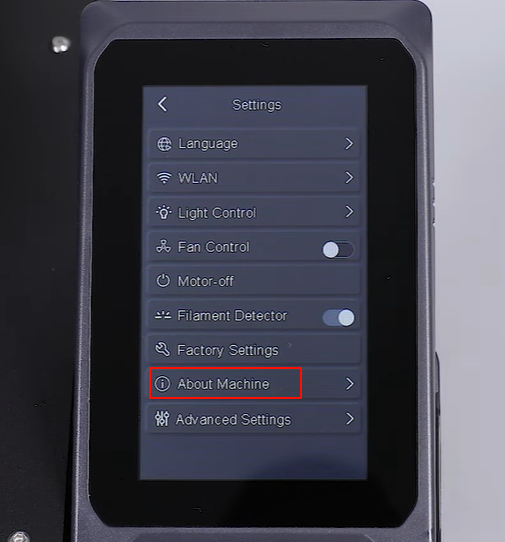
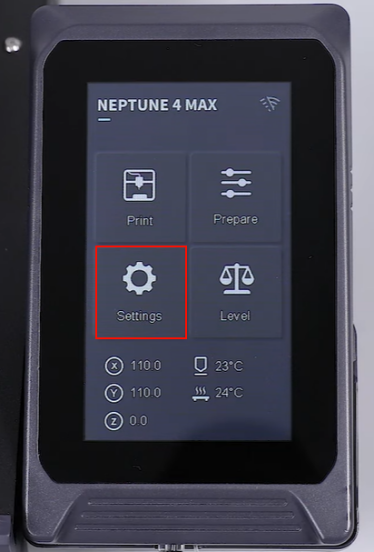
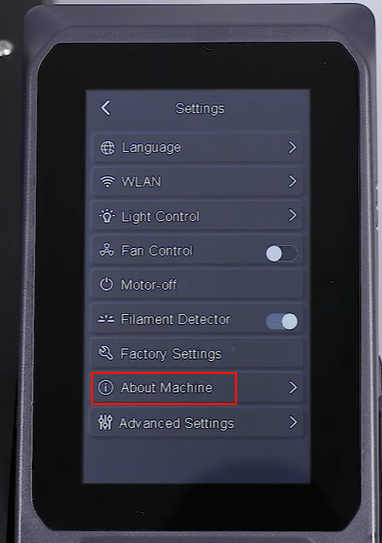
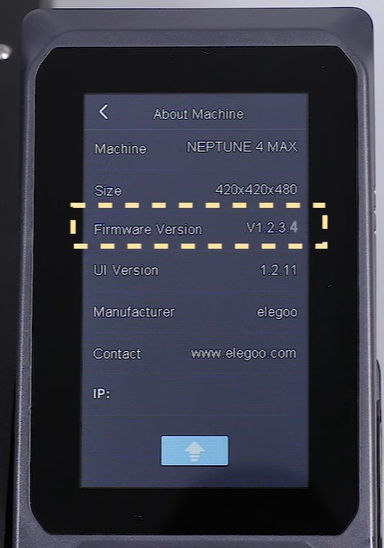
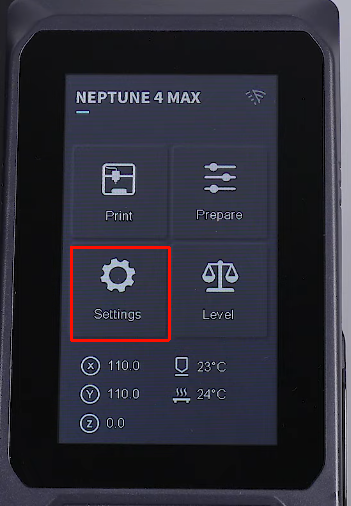
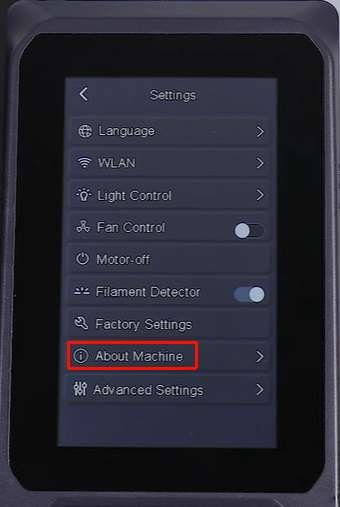
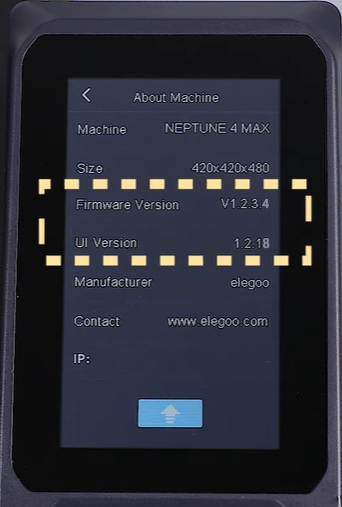
On the touch screen, select Settings - About Machine and check the current firmware version.
-
If the firmware version is lower than V1.2.2.65, refer to How to use the fix pack to install the fix pack first.
-
If the firmware version is V1.2.2.65 and above, refer to Step 1 and Step 2 to update the motherboard firmware and the touch screen firmware.
¶ Step 1 Update the motherboard firmware
¶ Preparation before updating the motherboard firmware**
- Format the USB flash drive.
- Turn the power switch OFF (symbol "〇").
¶ Update the motherboard firmware
-
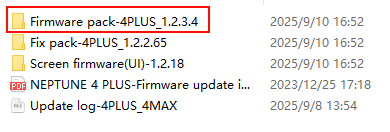
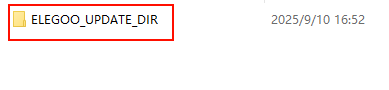
Copy the "ELEGOO_UPDATE_DIR" folder in the firmware pack to the root directory of the USB flash drive.
Note: The root directory can be accessed by double-clicking the USB flash drive.
-
Insert the USB flash drive into the printer. Turn the power switch ON (symbol "|").
-
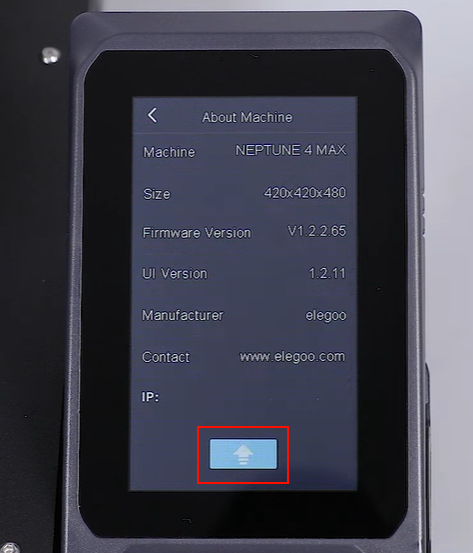
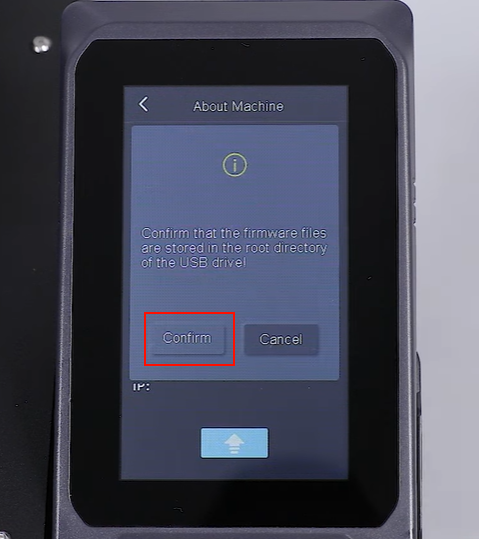
On the touch screen, select Settings - About Machine - Update - Confirm. Wait for about 2 minutes to update.
-
On the touch screen, select Settings - About Machine. Check the firmware version displayed on the touch screen.
-
Remove the USB flash drive and insert it into the printer. If a folder named "update.log" is created in the ELEGOO_UPDATE_DIR folder, it indicates that the motherboard firmware is updated successfully.
¶ Step 2 Update the touch screen firmware
¶ Preparation before updating the touch screen firmware
- Format the TF card.
- Turn the power switch OFF (symbol "〇").
¶ Update the touch screen firmware
-
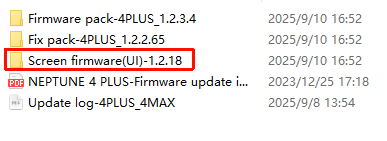
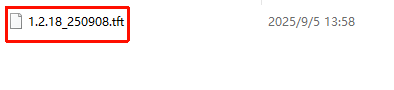
Copy the .tft file in the screen firmware folder to the root directory of the TF card.
Note: The root directory can be accessed by double-clicking the USB flash drive.
-
Turn the power switch OFF (symbol "〇").
-
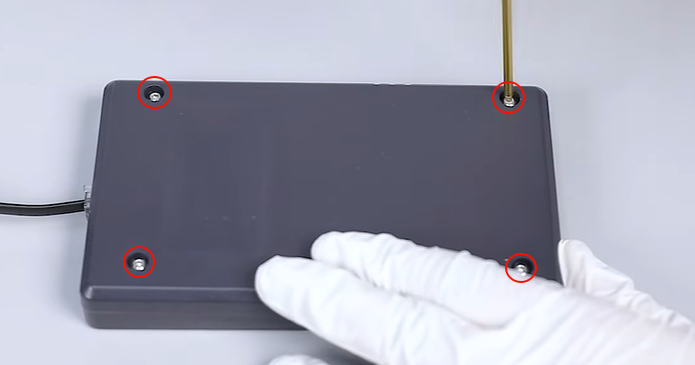
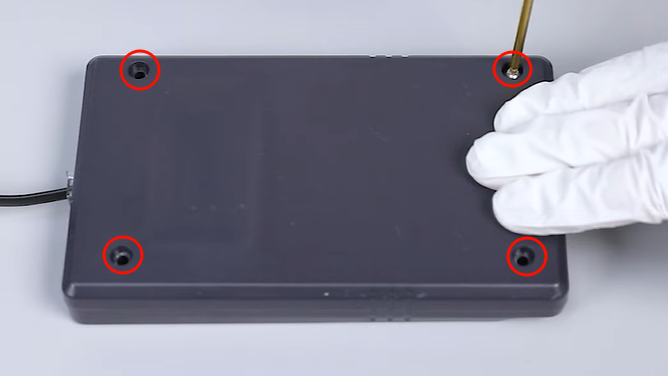
Loosen the four screws securing the back cover of the touch screen.
-
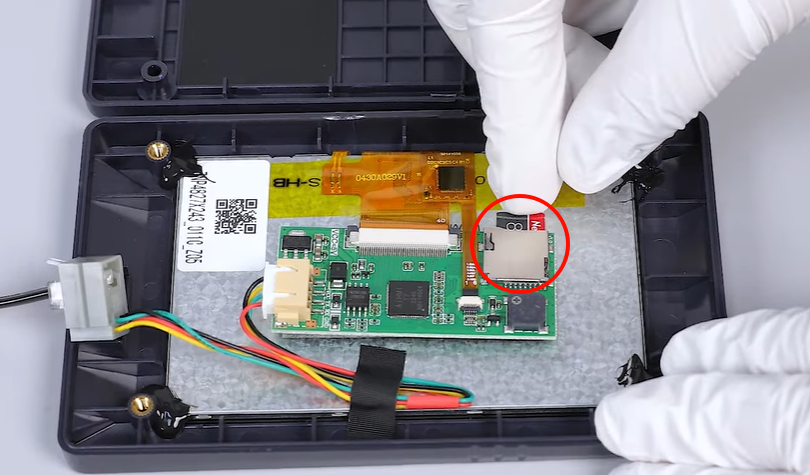
Remove the back cover. Insert the TF card into the touch screen.
-
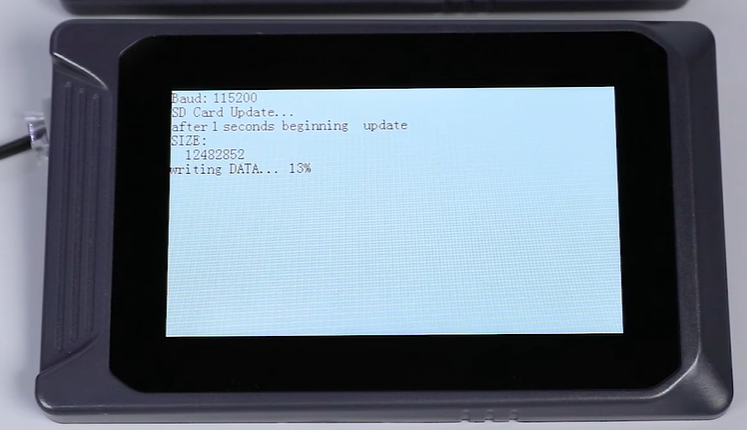
Turn the power switch ON (symbol "|") and wait for the firmware update to complete.
-
Turn the power switch OFF (symbol "〇").
-
Remove the TF card. Tighten the four screws securing the back cover. Install the touch screen.
-
Turn the power switch ON (symbol "|"). On the touch screen, select Settings - About Machine. The UI version is the same as the touch screen firmware version to update and the touch screen is updated successfully.
¶ Step 4 Re-set the Z-offset value and re-level the printer
After updating the firmware, all existing settings are lost. You need to re-set the Z-offset value and re-level the printer.
Refer to the videos below for specific steps.
Neptune 4 Plus
The instruction starts from 07:38 to 11:05.
https://www.youtube.com/watch?v=TPJ960XAZJ4&t=8s
Neptune 4 Max
The instruction starts from 3:52 to 5:31.
https://www.youtube.com/watch?v=NmY_OQ1D2ag&list=PLkFeYZKRTZ8YtkA1-ZWWD5TlkWCoXSvtI&index=4