¶ Issue Description
Pressure sensor data error
¶ Reasons
-
The printer is placed in an area with significant vibration or excessive inclination.
-
The heated bed is tilted.
-
The leveling sensor and strain gauge adapter board have abnormalities.
¶ Troubleshooting Steps
¶ Tools needed for troubleshooting
- A 2.0 mm Allen key
¶ Step 1 Check for vibration at the printer's placement position.
-
Make sure that the printer is placed on a stable surface that does not shake.
-
Do not place the printer on a wheeled table.
-
If you are unsure about how stable the printer is in its current position, temporarily place it on a hard floor (not on a carpeted surface) to test its stability.
¶ Step 2 Check whether the heated bed is tilted.
-
On the touch screen, select Home and wait for the heated bed to complete the homing process.
-
Check whether the distances from the top ends of the three Z-axis lead screws to the corresponding positions are consistent.
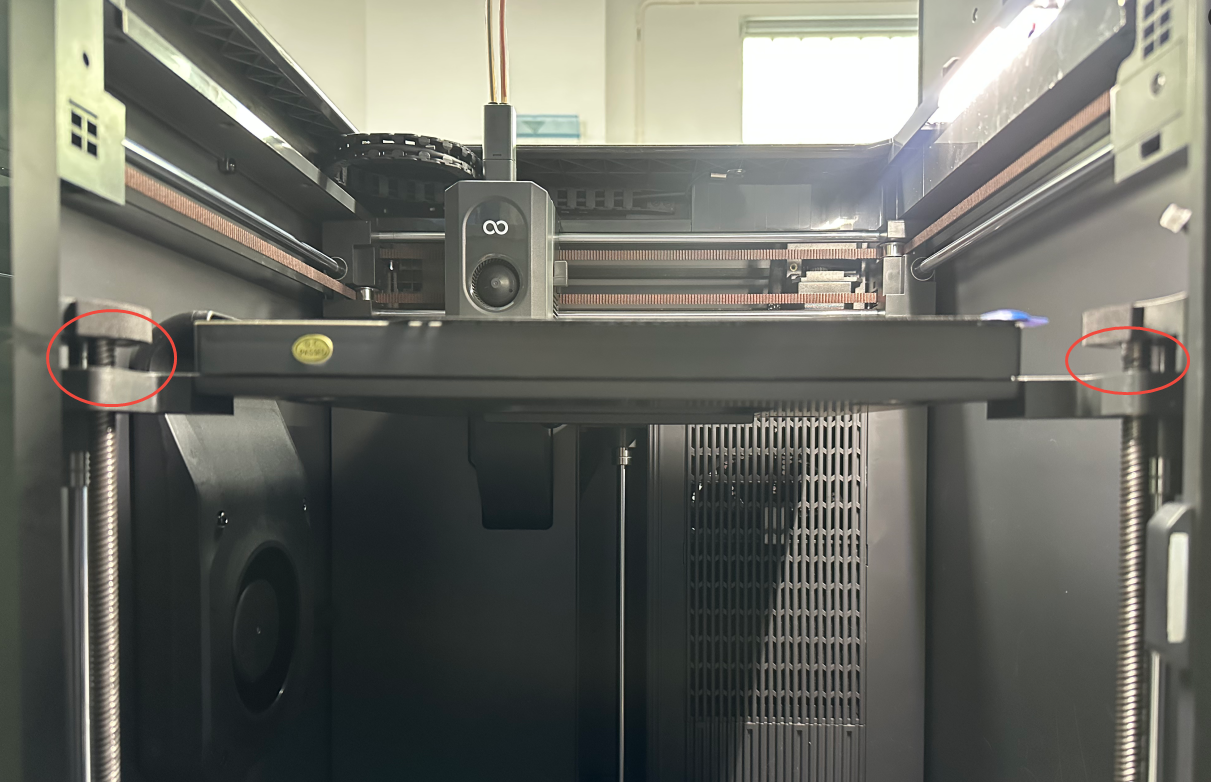
- If the heights of the Z-axis lead screw tops are inconsistent, refer to the video below for adjustment.
Note: The adjustment method is the same for the Centauri Carbon 2 Combo and Centauri Carbon.
https://www.youtube.com/watch?v=-Eb-BmPszuU
¶ Step 3 Check whether the leveling sensor cables are loosely connected.
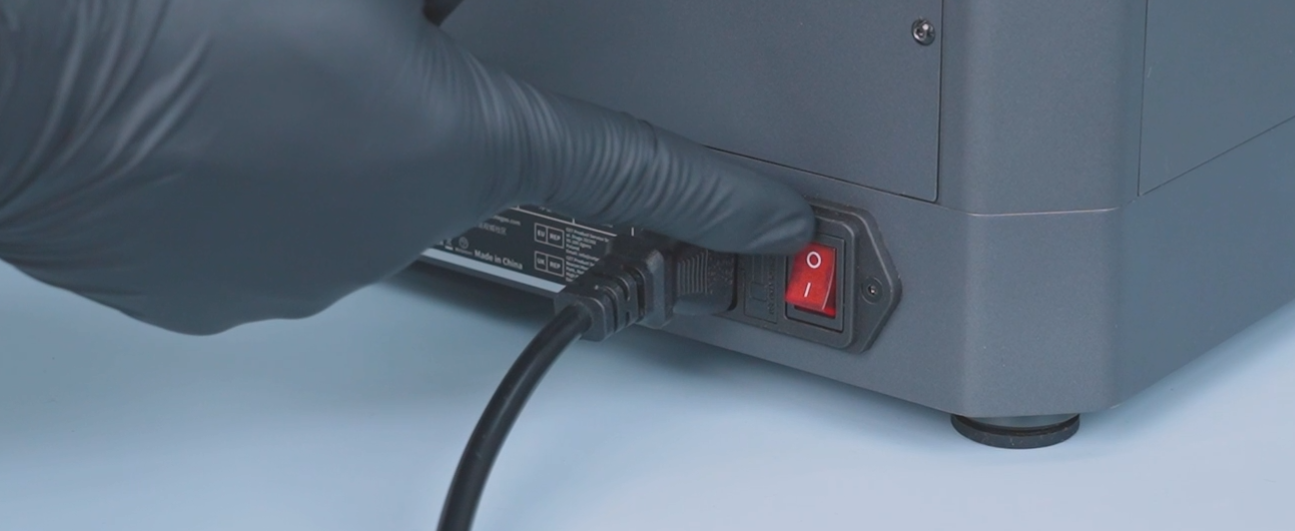
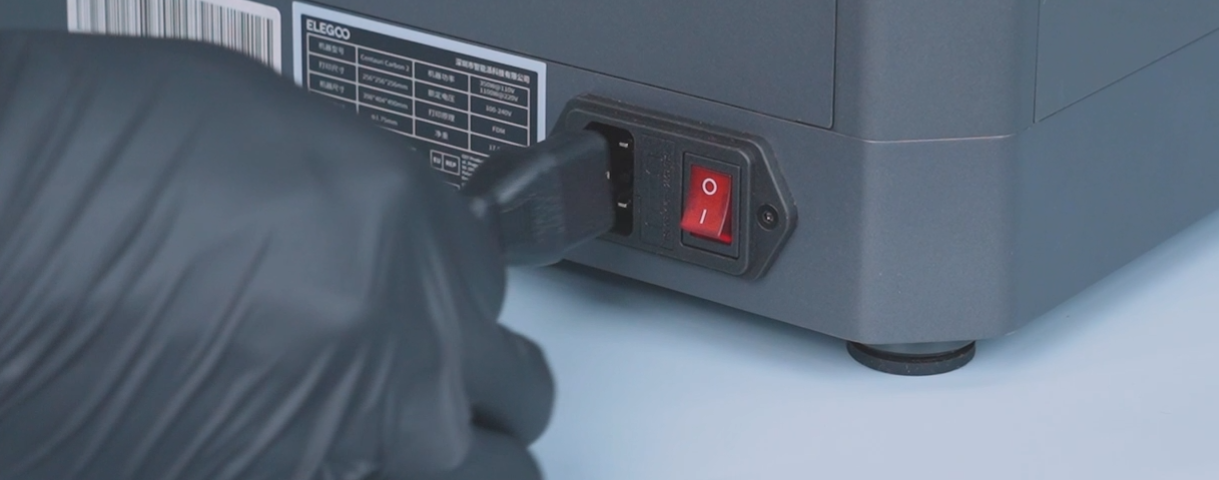
- Turn the power switch OFF (symbol "〇") and unplug the power supply cable.
- Remove the six screws that secure the heated bed.
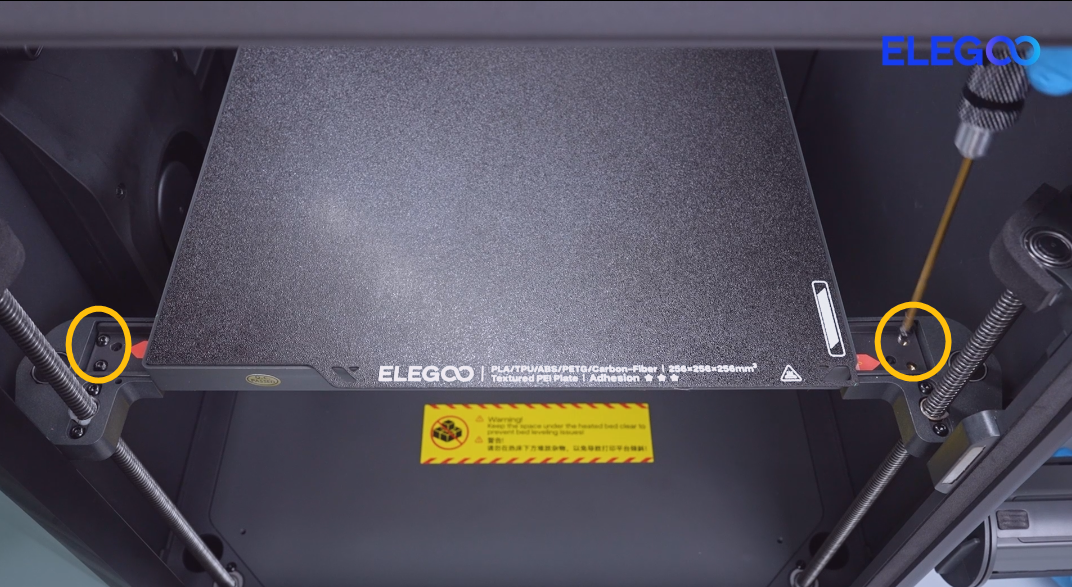
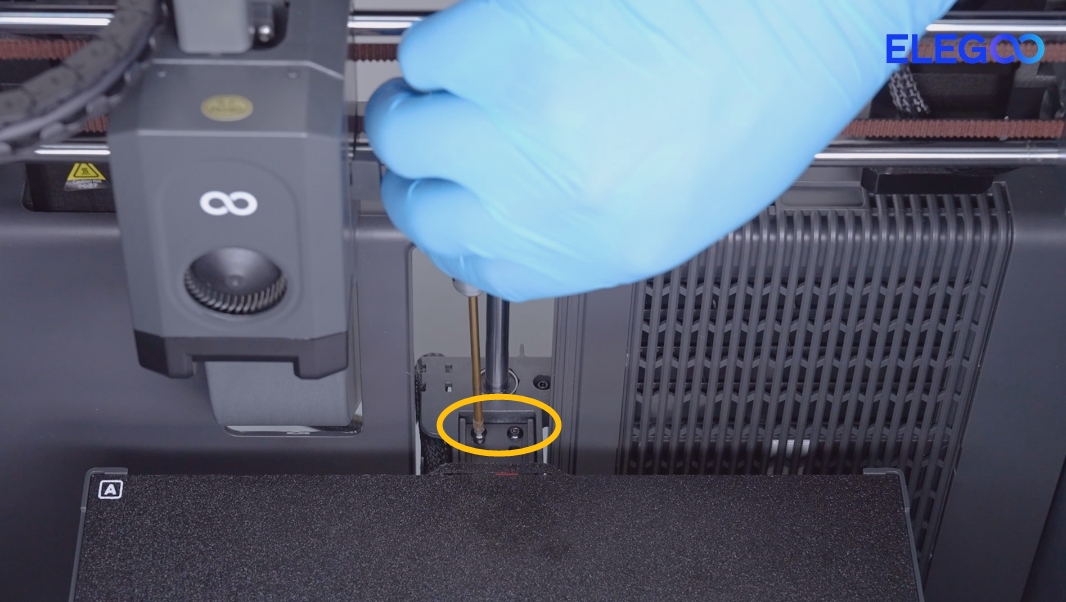
- Remove the PEI plate.
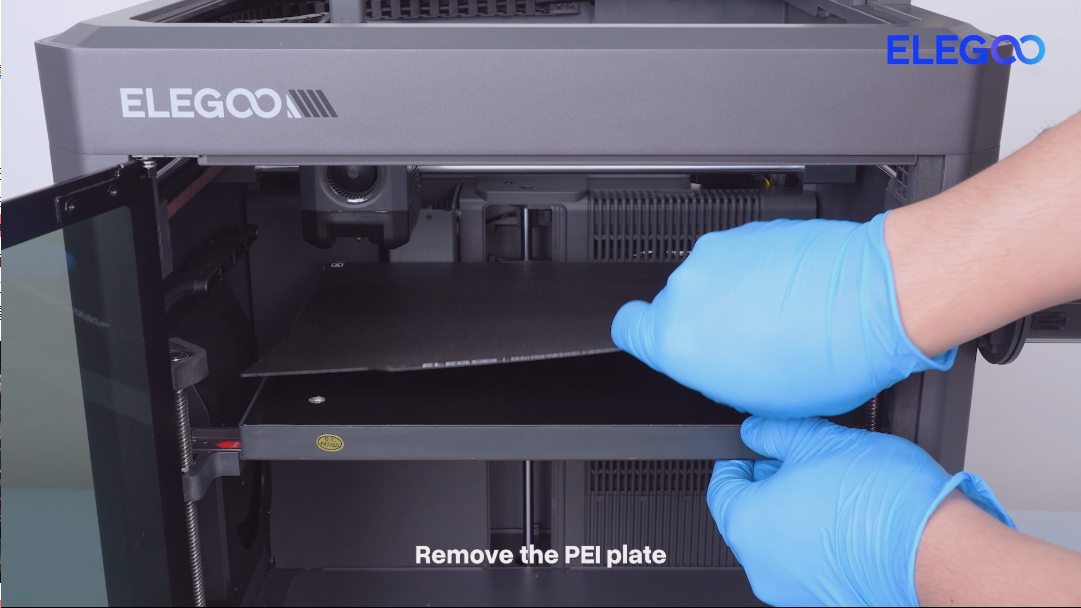
- Secure the pin of the mutual bolts with a 2.0 mm Allen key.
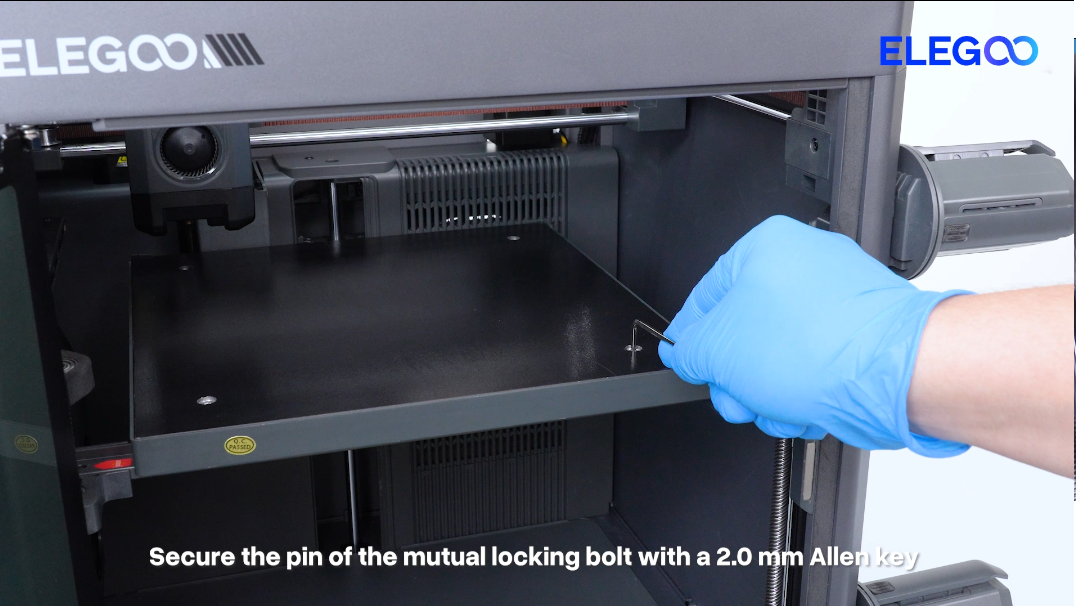
- Remove the four collars of the mutual locking bolt at the bottom of the heated bed.
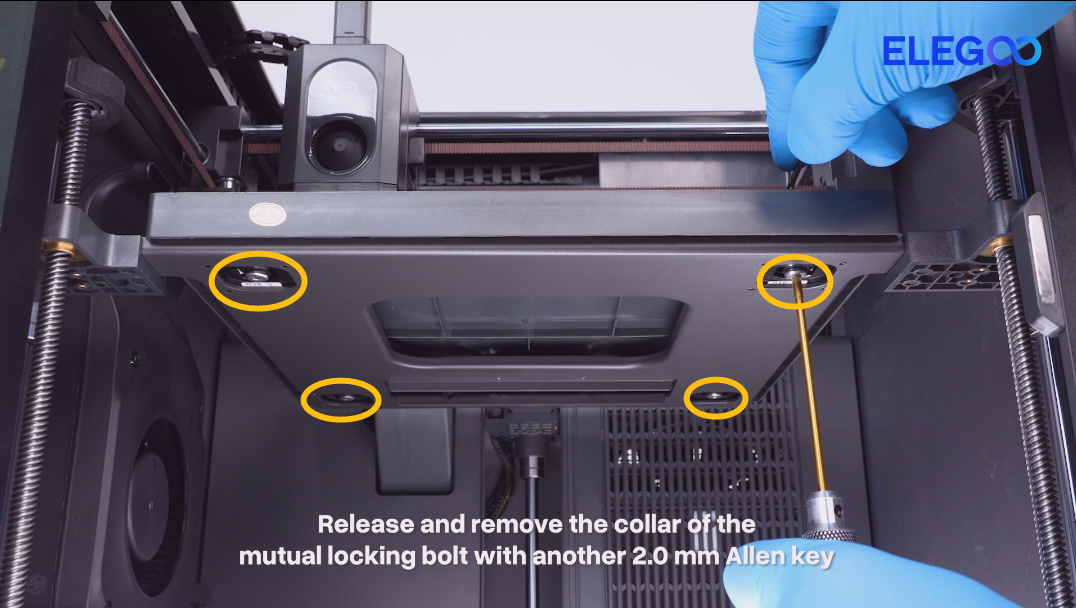
- Lift the heated bed.

- Re-plug the leveling sensor cables.
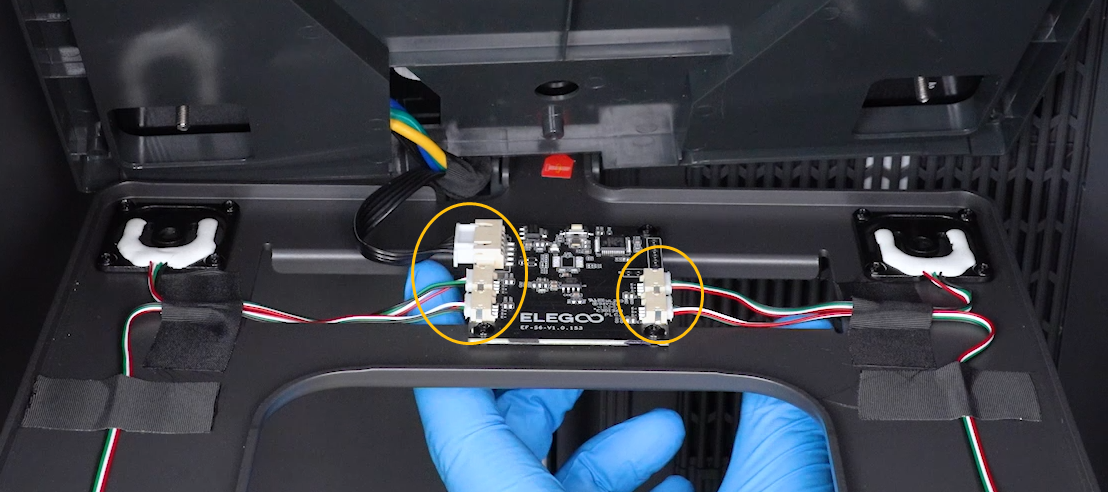
¶ Step 4 Interchange the leveling sensor cables for testing.
If the nozzle repeatedly probes and keeps descending at a specific point during the auto-leveling process:
- Swap the cables of the two leveling sensor in the same row.
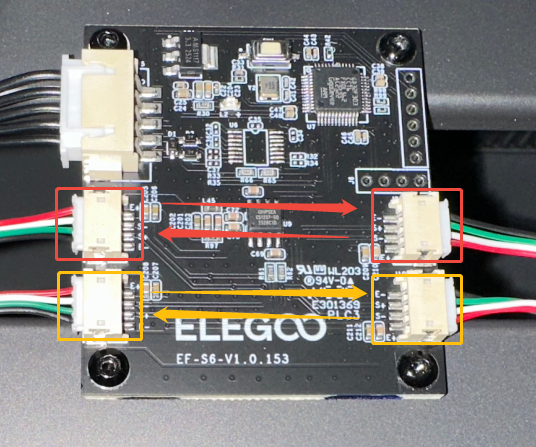
- Reset the heated bed and perform the auto-leveling calibration again.
- If the fault (nozzle repeated probing or continuous descending) still occurs at the same specific point during auto-leveling, it indicates that the strain gauge adapter board is damaged and needs to be replaced.
- If the fault point (nozzle repeated probing or continuous descending) shifts to the other side during auto-leveling after swapping the cables, it indicates that the leveling sensor is damaged and needs to be replaced.