¶ Issue Description
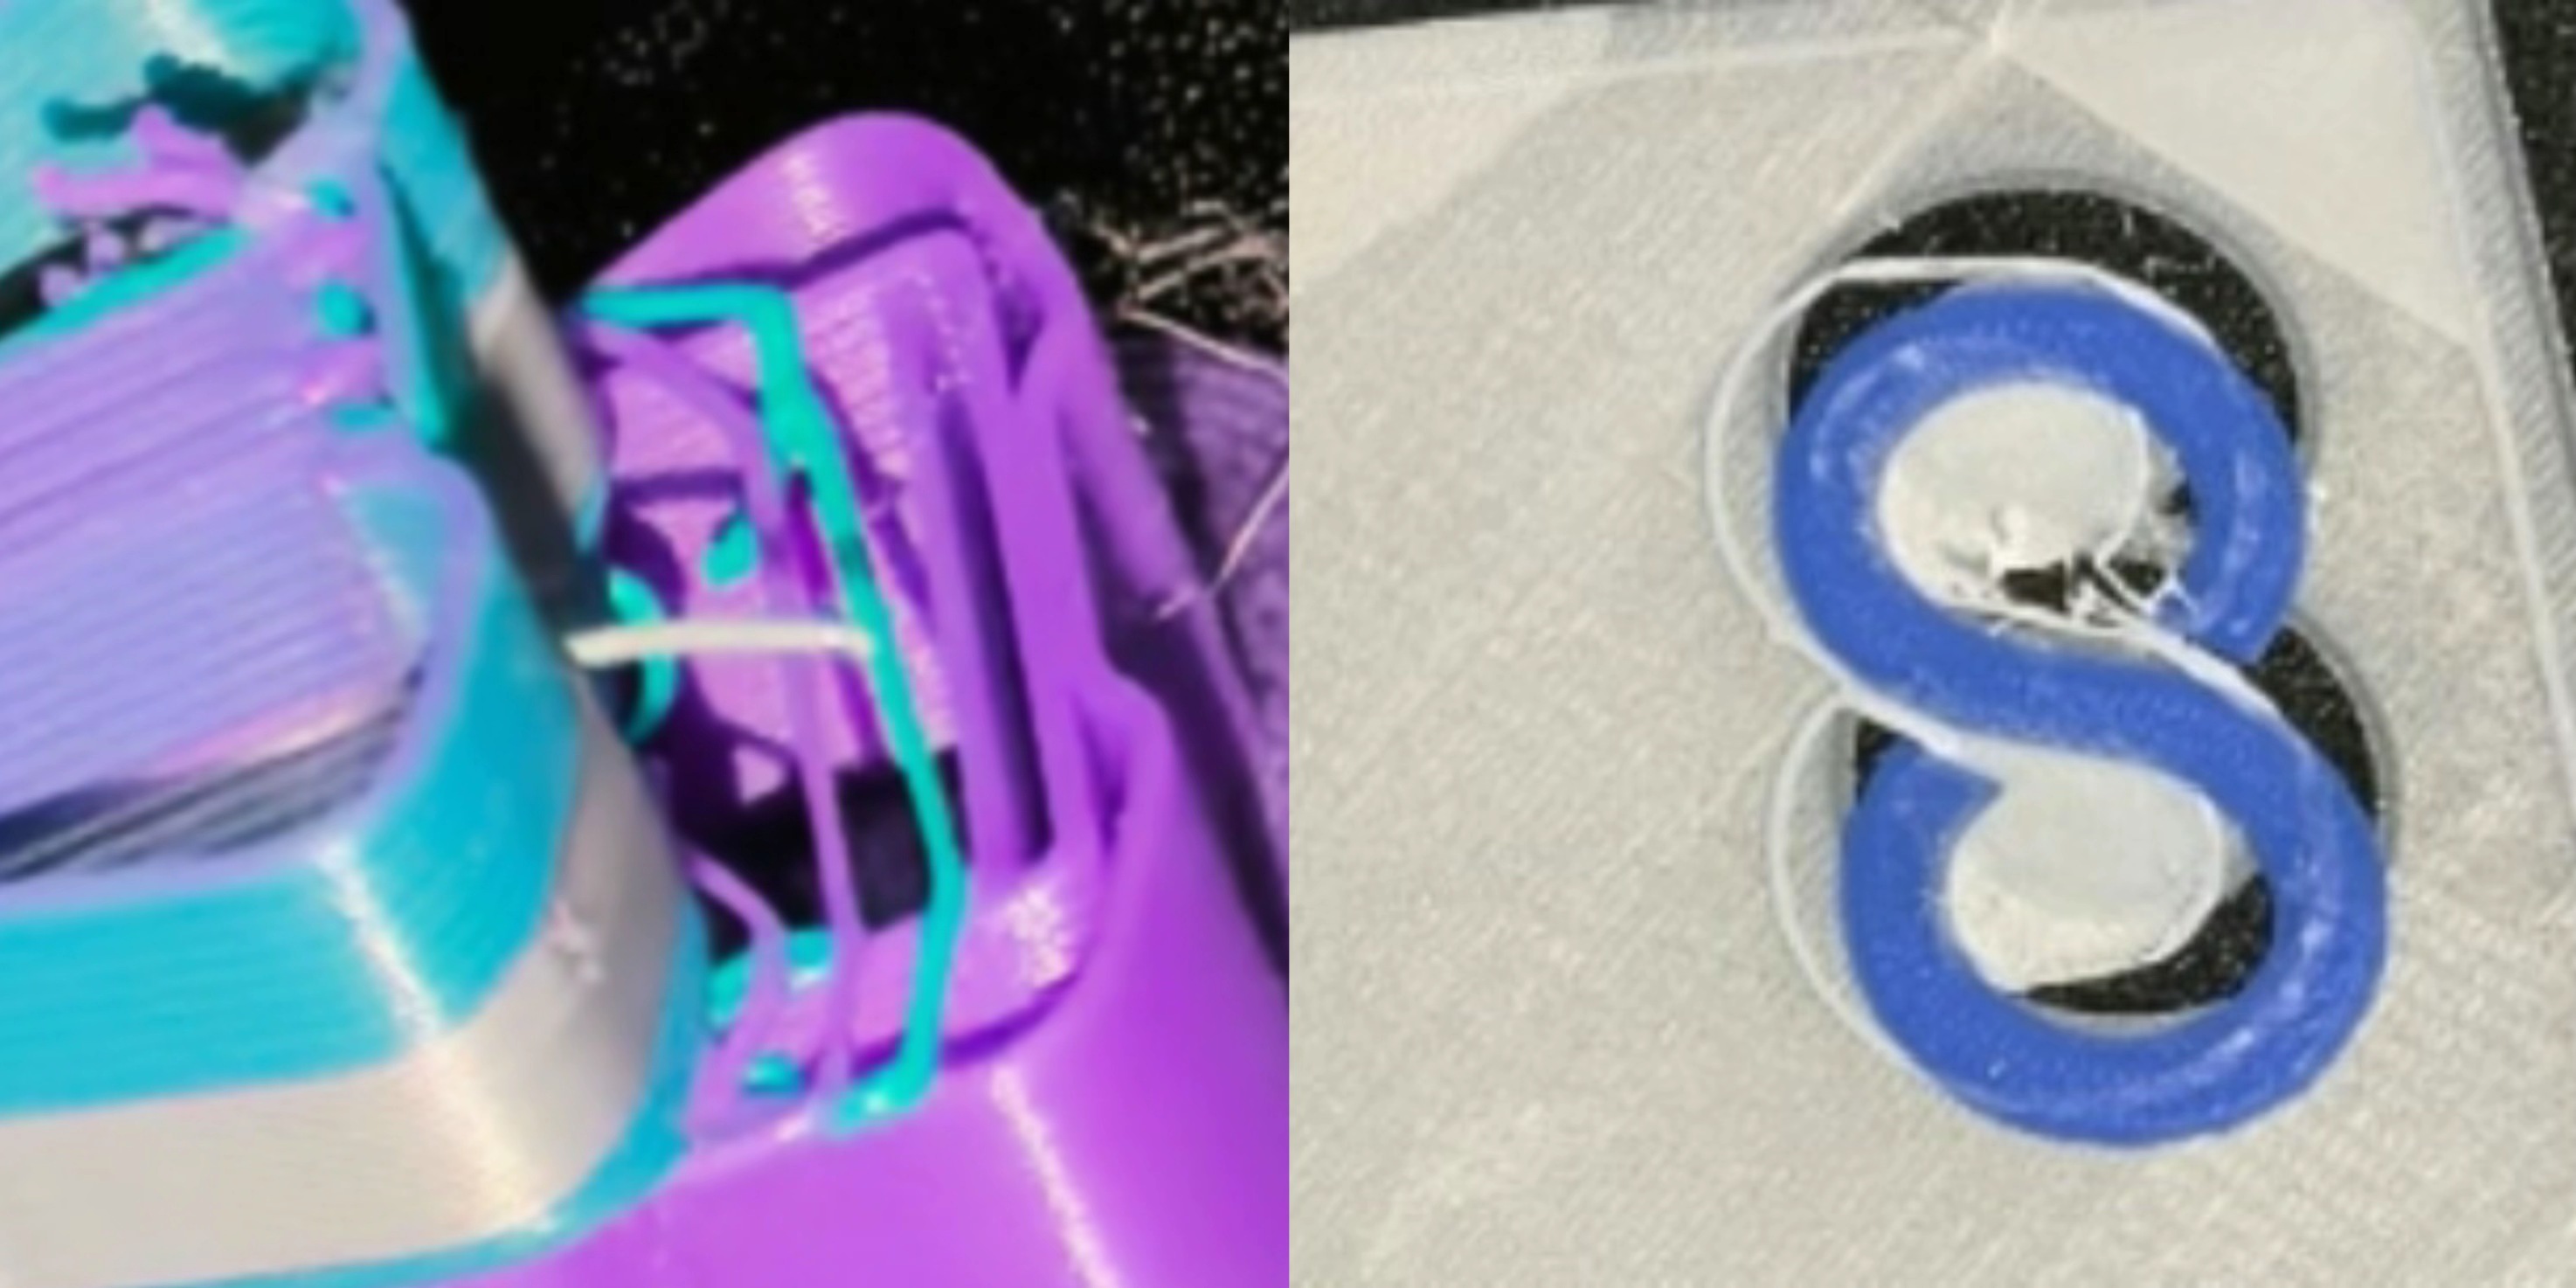
The printer experiences multi-color layer shifts, nozzle wiping issues, or filament cutting issues.
¶ Possible Causes
- Deformation or displacement of the hotend may cause inaccurate extrusion, resulting in layer shifts.
- The throat cooling fan is loose, incorrectly installed, or secured with incorrect screws, which may affect cutter assembly operation and cause layer misalignment between different colors during multi-color printing.
- A faulty cutter assembly may cause incomplete filament cutting, resulting in abnormal color changes or layer misalignment.
- A jammed nozzle wiper kit or abnormal wiping operation may affect color change stability and cause layer shifts.
- Collision between the nozzle and the waste collection box may also cause layer shifts.
¶ Troubleshooting Steps
¶ 1. Check Whether the Hotend Is Deformed
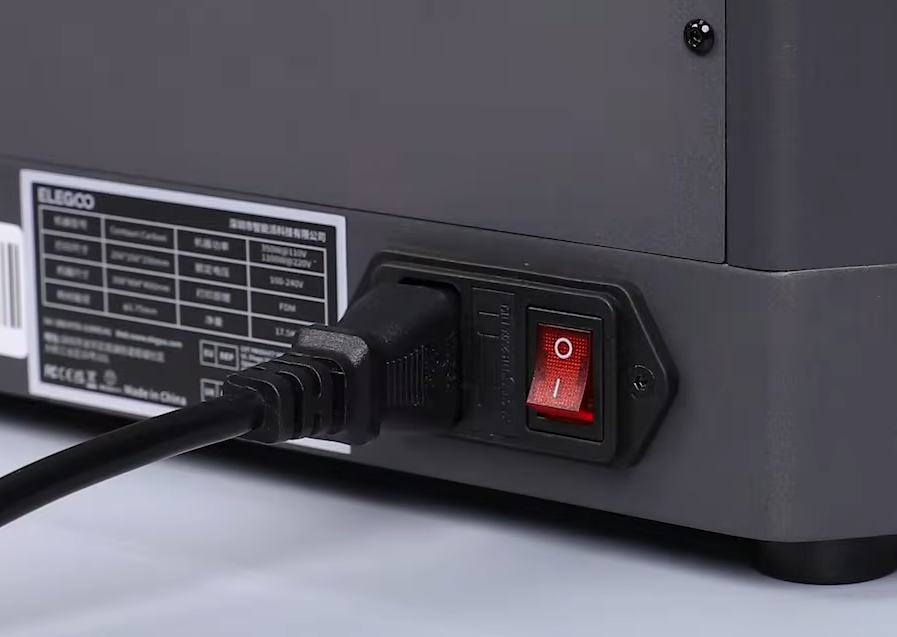
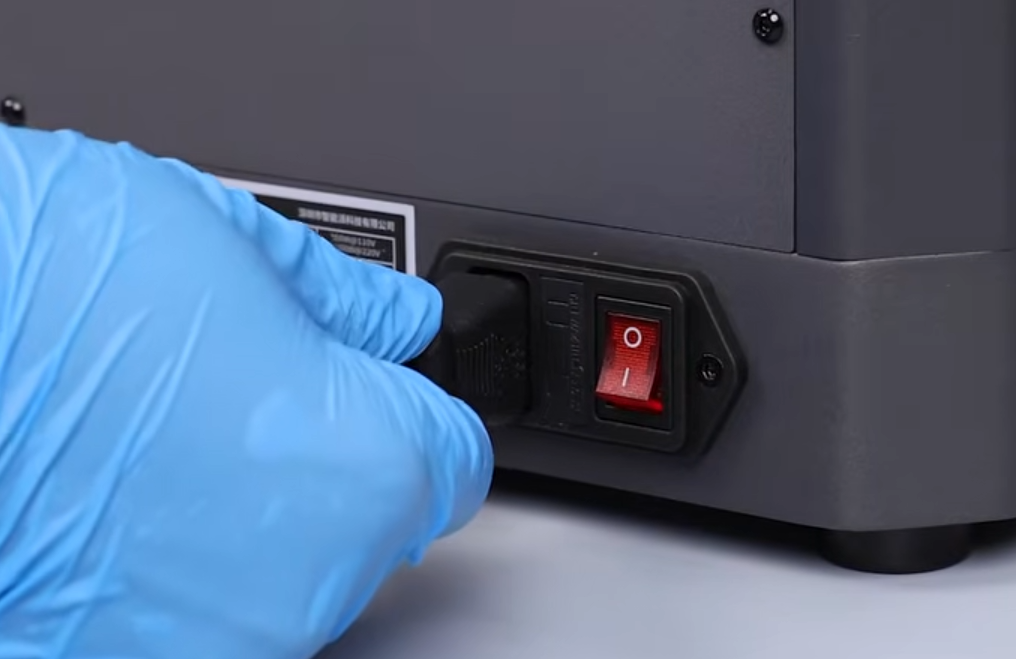
- Turn off the printer, unplug the power cord, and wait until the hotend assembly has completely cooled down.
- Remove the front cover of the tool head and disconnect the model cooling fan cable.
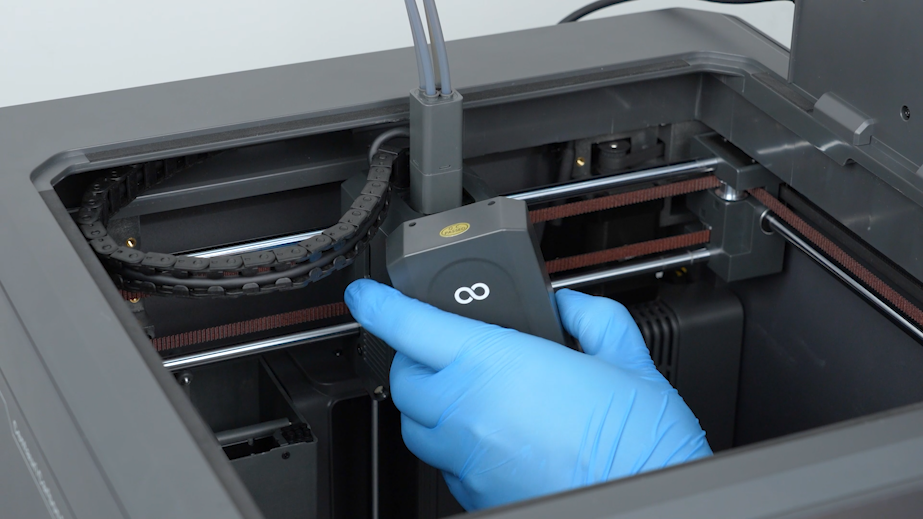
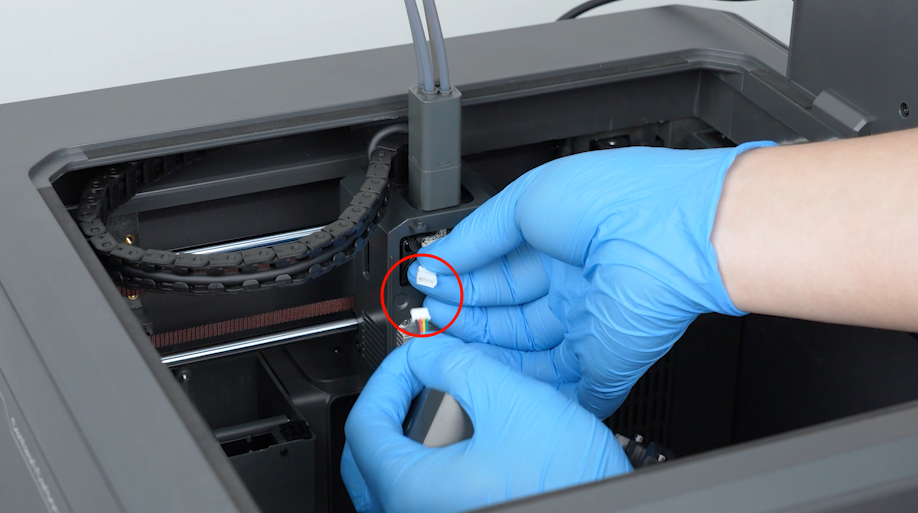
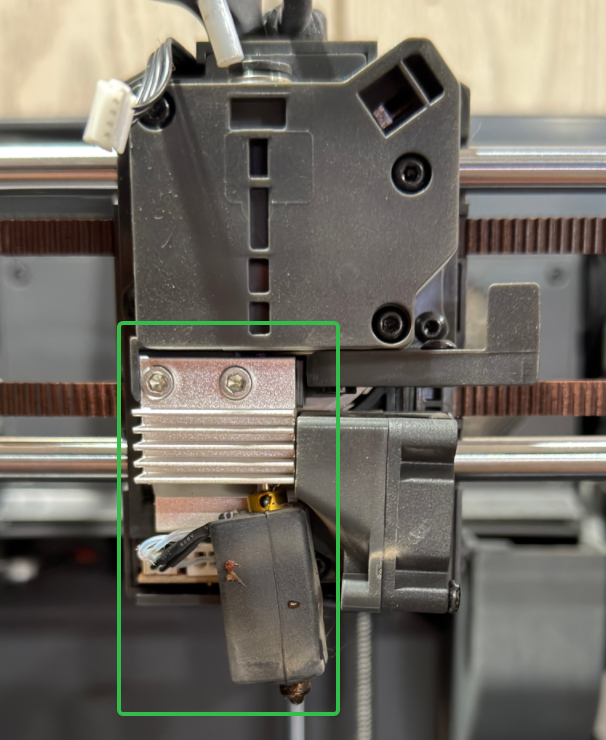
- Check the hotend, nozzle, and surrounding components to ensure there are no issues such as:
- Tilted or misaligned parts
- Deformation or twisting
- Loose or improperly secured components
- Signs of collision or damage
- Nozzle not being vertical (the nozzle should remain vertical)
¶ 2. Check Whether the Heat Break Cooling Fan Is Installed Correctly
Note: The tool head structures of CANVAS-compatible models are similar. Refer to the following video for checking the heat break cooling fan:How to Replace the Heat Break Cooling Fan
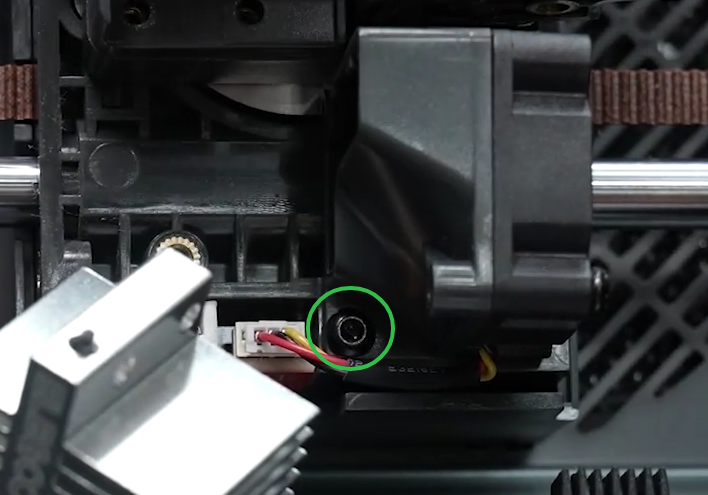
Confirm that the fan is installed correctly, secured with the correct screws, and tightened properly.
Note: The screw specification is M3×4 hex socket button head screw.
¶ 3. Check Whether the Cutter Assembly Works Properly
- Manually press the cutter to confirm whether it can cut filament properly and return to its original position.
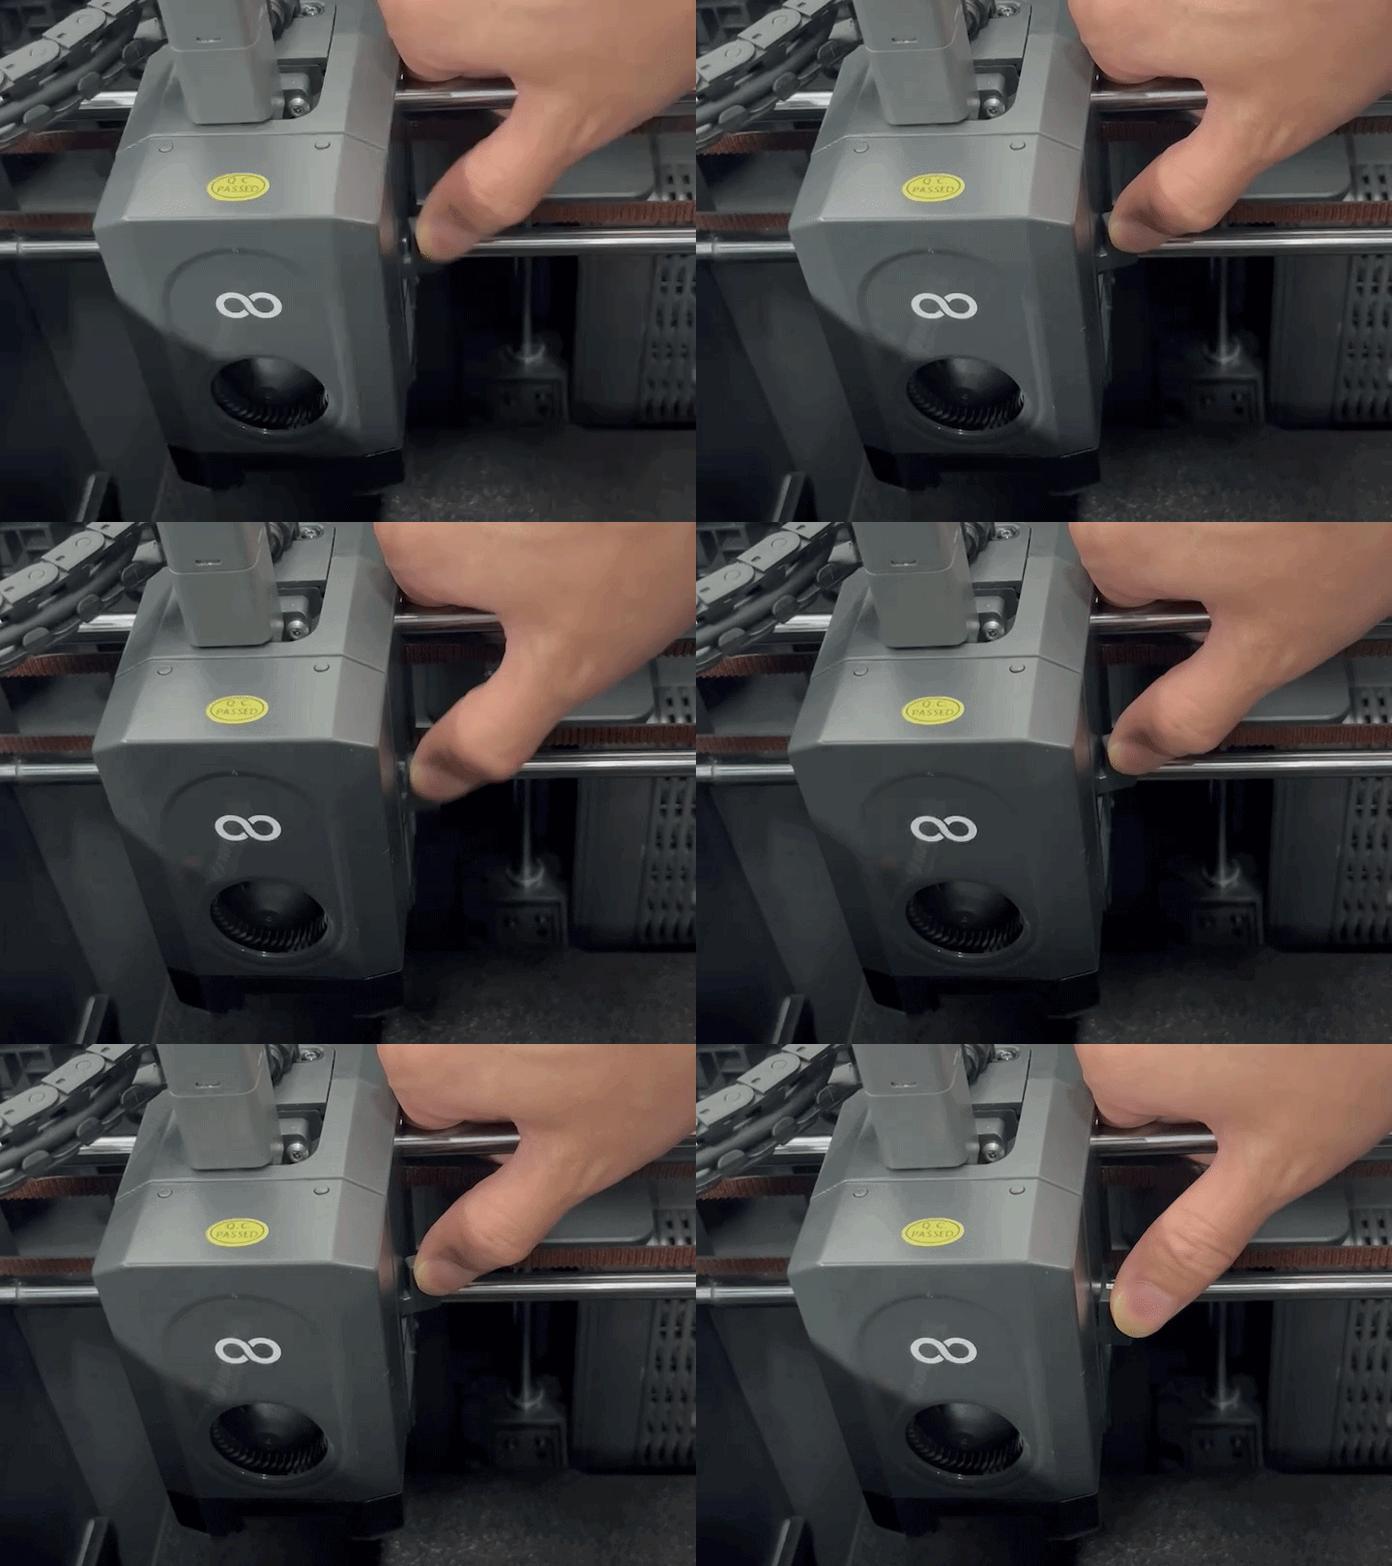
- If the cutter is stuck, cannot cut filament properly, or cannot return to its original position, reinstall the cutter assembly.
(For CANVAS-compatible models with similar tool head structures, refer to the following video for cutter assembly replacement.)
¶ 4. Check Whether the Nozzle Wiper Kit Discharges Waste Smoothly

Manually press the lever to confirm whether it can return normally and discharge waste smoothly. Check whether any foreign objects are blocking the mechanism.
Note: The left side is CC2, and the right side is CC1.
¶ 5. Check Whether the Waste Collection Box Interferes with the Nozzle
- Loosen the four specified mounting screws, then reinstall and adjust the position of the waste collection box.
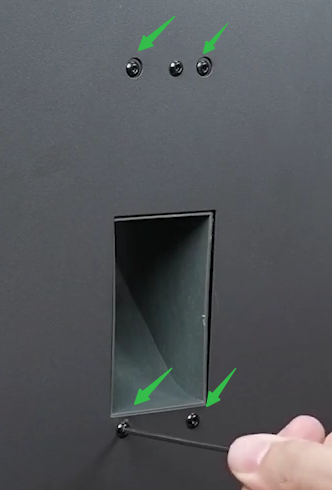
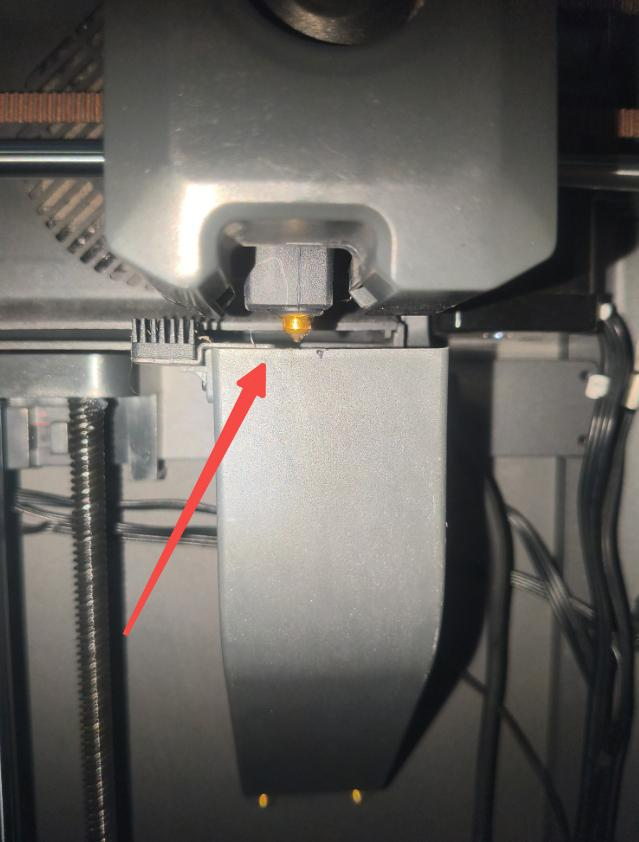
- Confirm that the nozzle does not interfere with or collide with the waste collection box.
¶ Still Not Resolved
If the issue persists after completing all troubleshooting steps, please provide the following information and contact technical support.
Technical support email: 3dp@elegoo.com
- G-code file
- Photos of the hotend assembly installation area
- Video recording of the nozzle wiping process
¶ Help Us Improve
If you have any suggestions or feedback regarding the wiki pages, please let us know through the ELEGOO official feedback channel.