¶ Tools and Materials
- A 2.0 mm Allen wrench
- A 2.5 mm Allen wrench
- A 3.0 mm Allen wrench
- A new cutter
¶ Tutorial Video
https://www.youtube.com/watch?v=_0hV4P2ERSs
¶ Instruction
¶ Remove the Old Cutter
- Power off the printer and unplug the power cord.
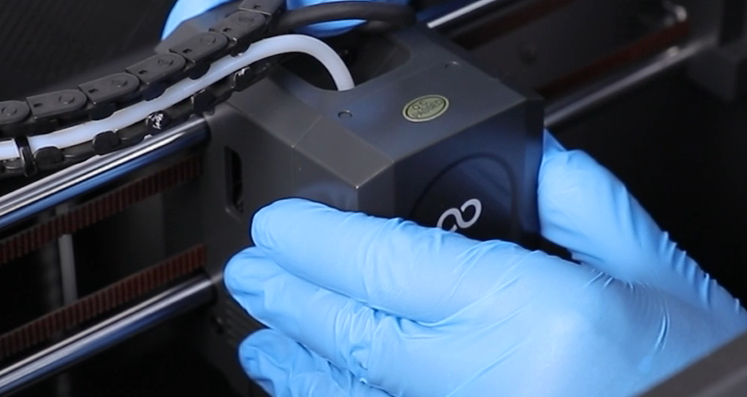
- Lift and remove the front cover of the print head. Unplug the model cooling fan cable.
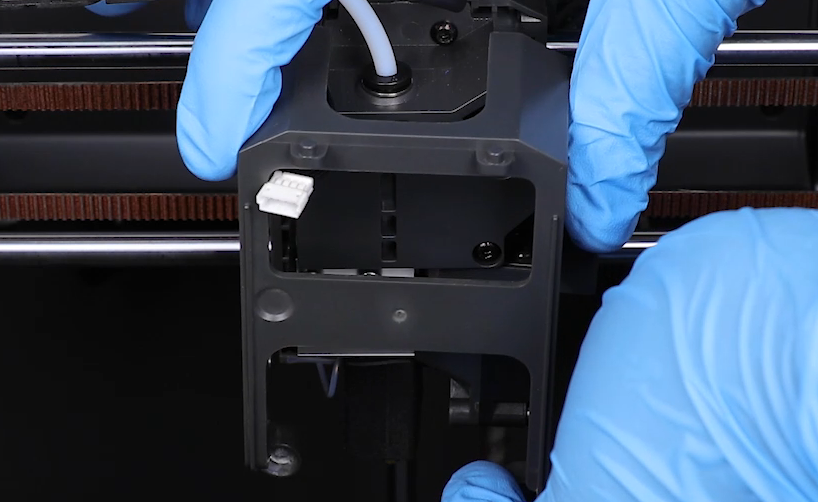
- Use a 2.0 mm Allen wrench to loosen the 4 screws securing the middle housing of the print head. Remove the middle housing from the front of the print head.
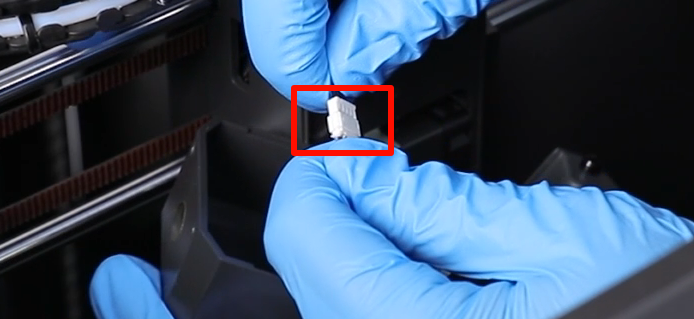
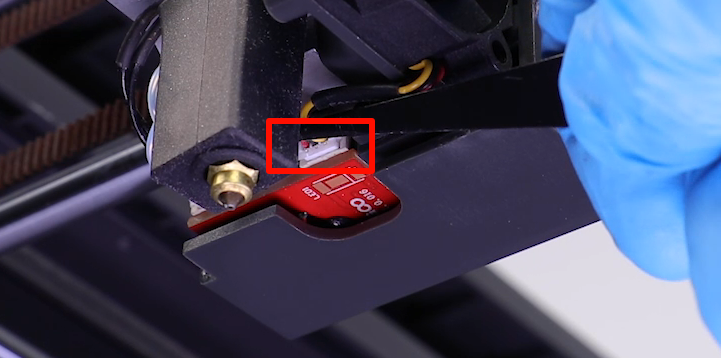
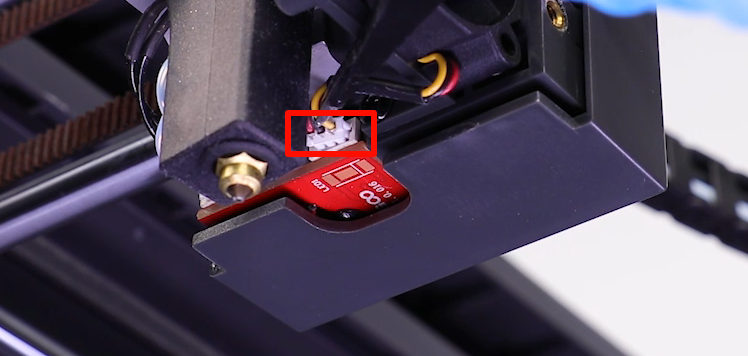
- Use tweezers to unplug the heat break cooling fan cable.
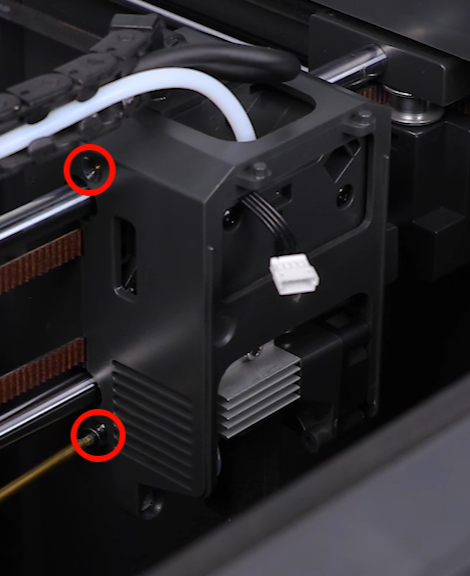
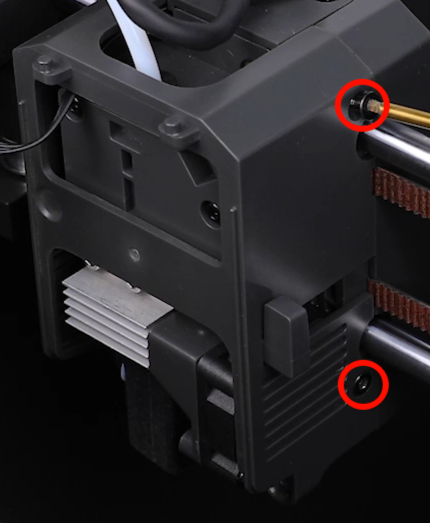
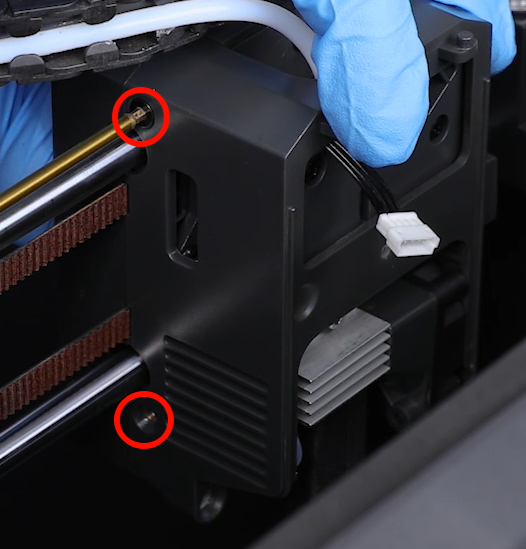
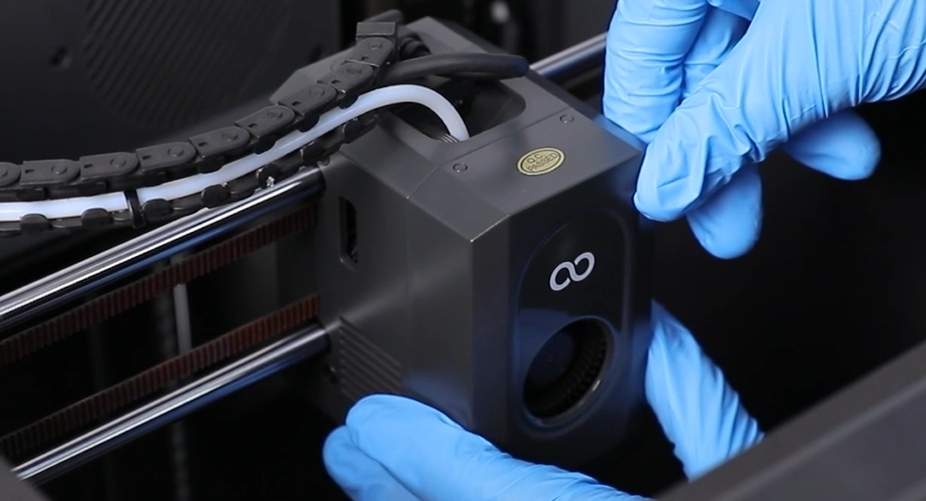
- Use a 2.5 mm Allen wrench to loosen the screw securing the heat break cooling fan assembly, then remove the assembly.


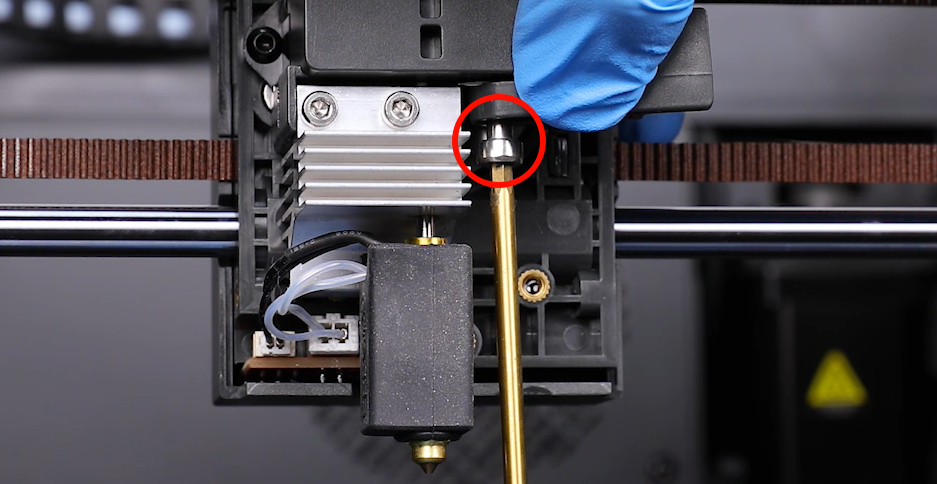
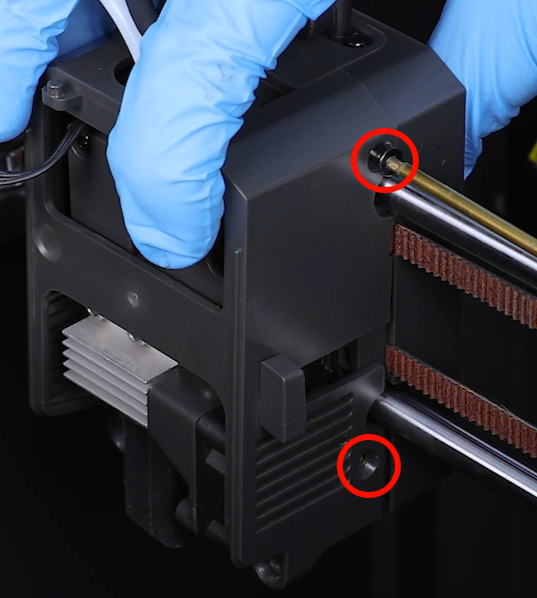
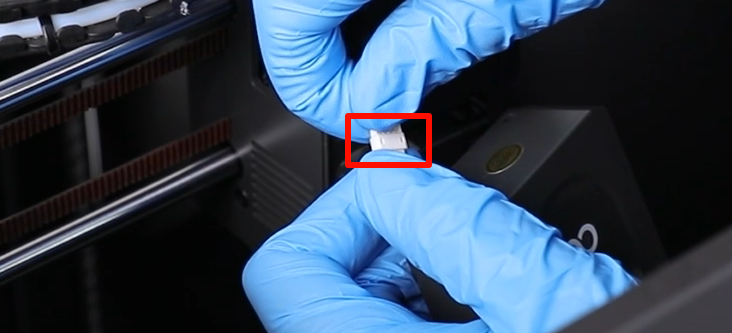
- Press down on the center of the cutter to prevent it from popping out. Use a 3.0 mm Allen wrench to loosen the screw securing the cutter assembly, then remove the old cutter.

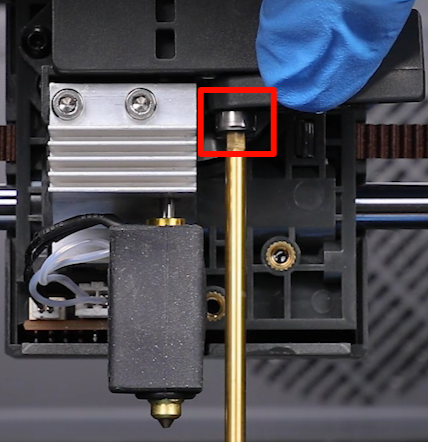
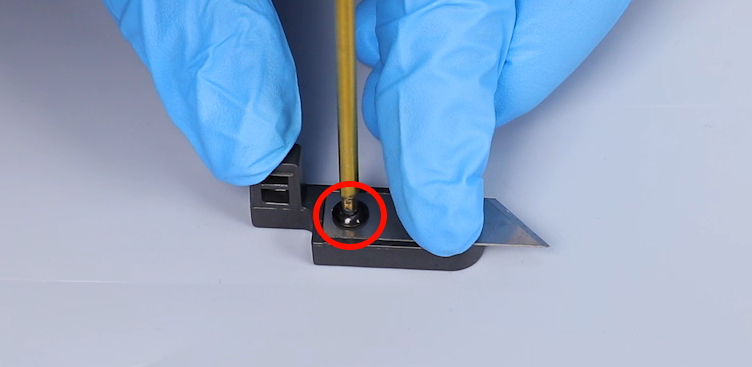
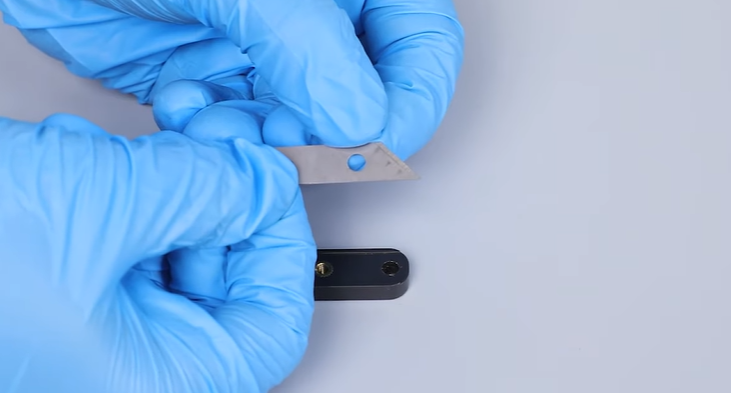
- Use a 2.0 mm Allen wrench to loosen the screw securing the cutter.

¶ Install the New Cutter
- Align the new cutter with the screw hole and place it into position. Use a 2.0 mm Allen wrench to tighten the screw securing the cutting blade.

- Align the cutter assembly with the screw hole and install it. Press down on the center of the cutter to prevent it from popping out. Use a 3.0 mm Allen wrench to tighten the screw securing the cutter assembly.


- Align the heat break cooling fan assembly with the screw hole and install it. Use a 2.5 mm Allen wrench to tighten the screw.

- Replug the heat break fan cable. Align the middle housing with the cutter lever slot and screw holes, then reinstall the housing.

- Use a 2.0 mm Allen wrench to tighten the 4 screws securing the middle housing of the print head.
- Reconnect the model cooling fan cable and organize the wires. Align the front cover with the positioning holes and reinstall it.
- Power on the printer. Tap "Function - Load / Unload - Unload" on the touchscreen.

- Once the screen shows "Unload completed," remove the filament. A clean, straight cut indicates the cutter is working properly.
