Mercury Plus 3.0 - Motherboard Replacement
Tools and Materials
A 2.0 mm Allen wrench
A 2.5 mm Allen wrench
Double-sided tape
Tutorial Video
https://www.youtube.com/watch?v=1utBPk9lUCY
Instructions
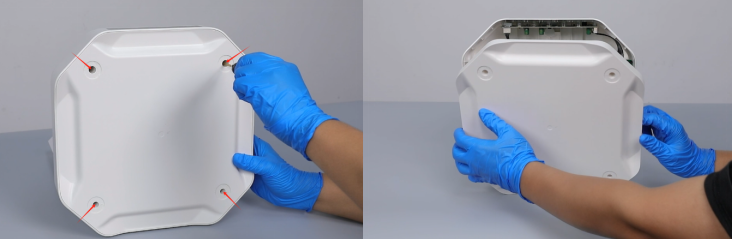
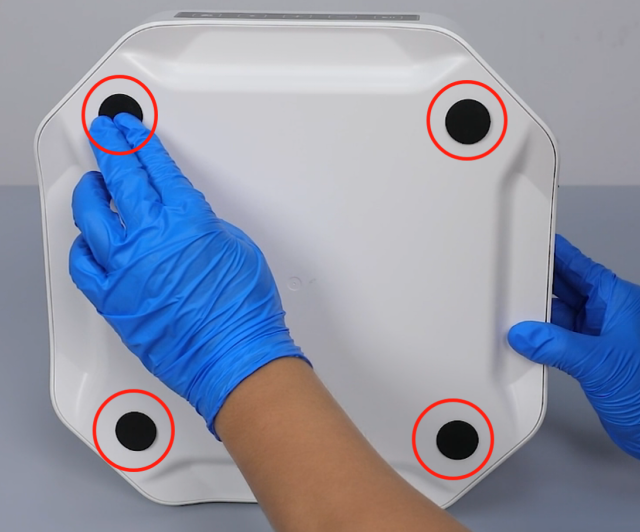
1. Position the printer on its side, and then remove the silicone foot pads from the printer’s base.

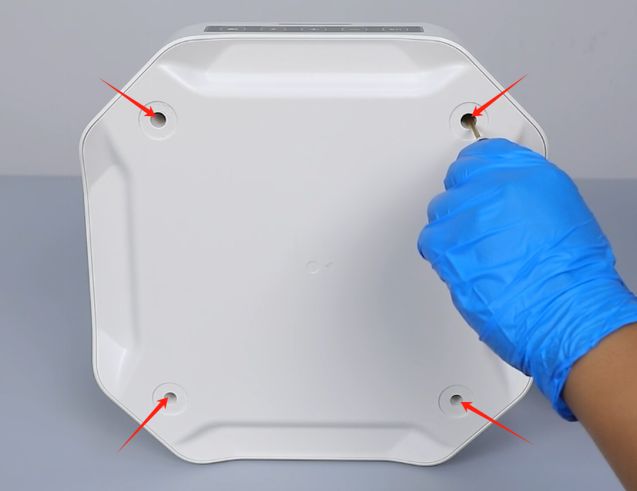
2. Loosen the 4 screws securing the bottom cover with a 2.5 mm Allen wrench, then remove the cover.
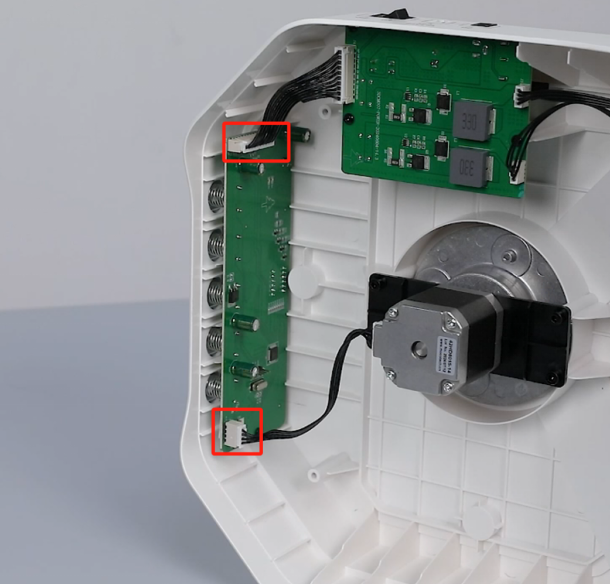
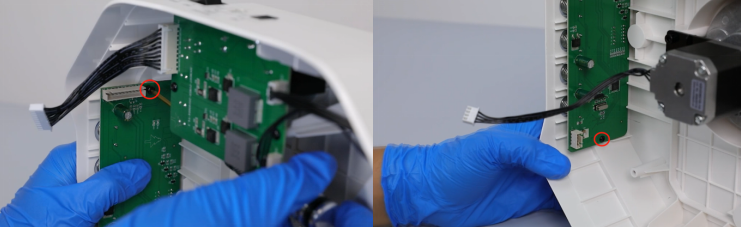
3. Disconnect the cables from the ports on the motherboard.
4. Use a 2.0 mm Allen wrench to loosen the two screws securing the motherboard, then remove the old motherboard.
5. Prepare the new motherboard by placing it in the installation position. Align it with the screw holes and then tighten the two screws that secure the motherboard using a 2.0 mm Allen wrench.

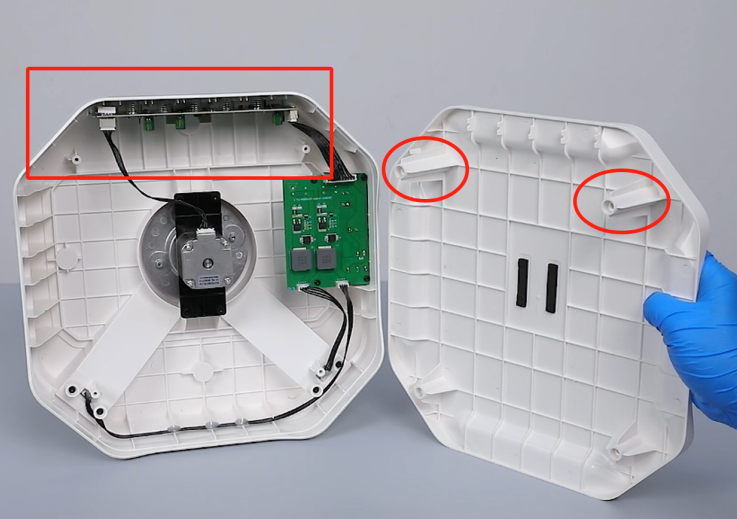
6. Reconnect each ribbon cable to its corresponding port on the motherboard.

7. Remove the bottom cover. Align the two long studs on the bottom cover with the screw holes near the motherboard.
8. Put the bottom cover in the installation position by aligning it with the screw holes. Tighten 4 screws using a 2.5 mm Allen wrench.
9. Attach the silicone foot pads with double-sided tape. Align the four silicone foot pads with the grooves to position them in the designated installation spots.
10. Install the turnplate and cover in the designated position. Power on the printer, select the curing model and set the time. The printer will operate normally once the UV light is activated and the turnplate rotates.