¶ When to Use This Guide
- The X Axis crank becomes loose during transportation or after the printer has been used for a period of time.
- The X Axis crank contacts the X Axis limit switch during operation, causing abnormal noise and self-check failures.
¶ Required Tools
2.0 mm Allen Key
2.5 mm Allen Key
3.0 mm Allen Key
¶ Preparation
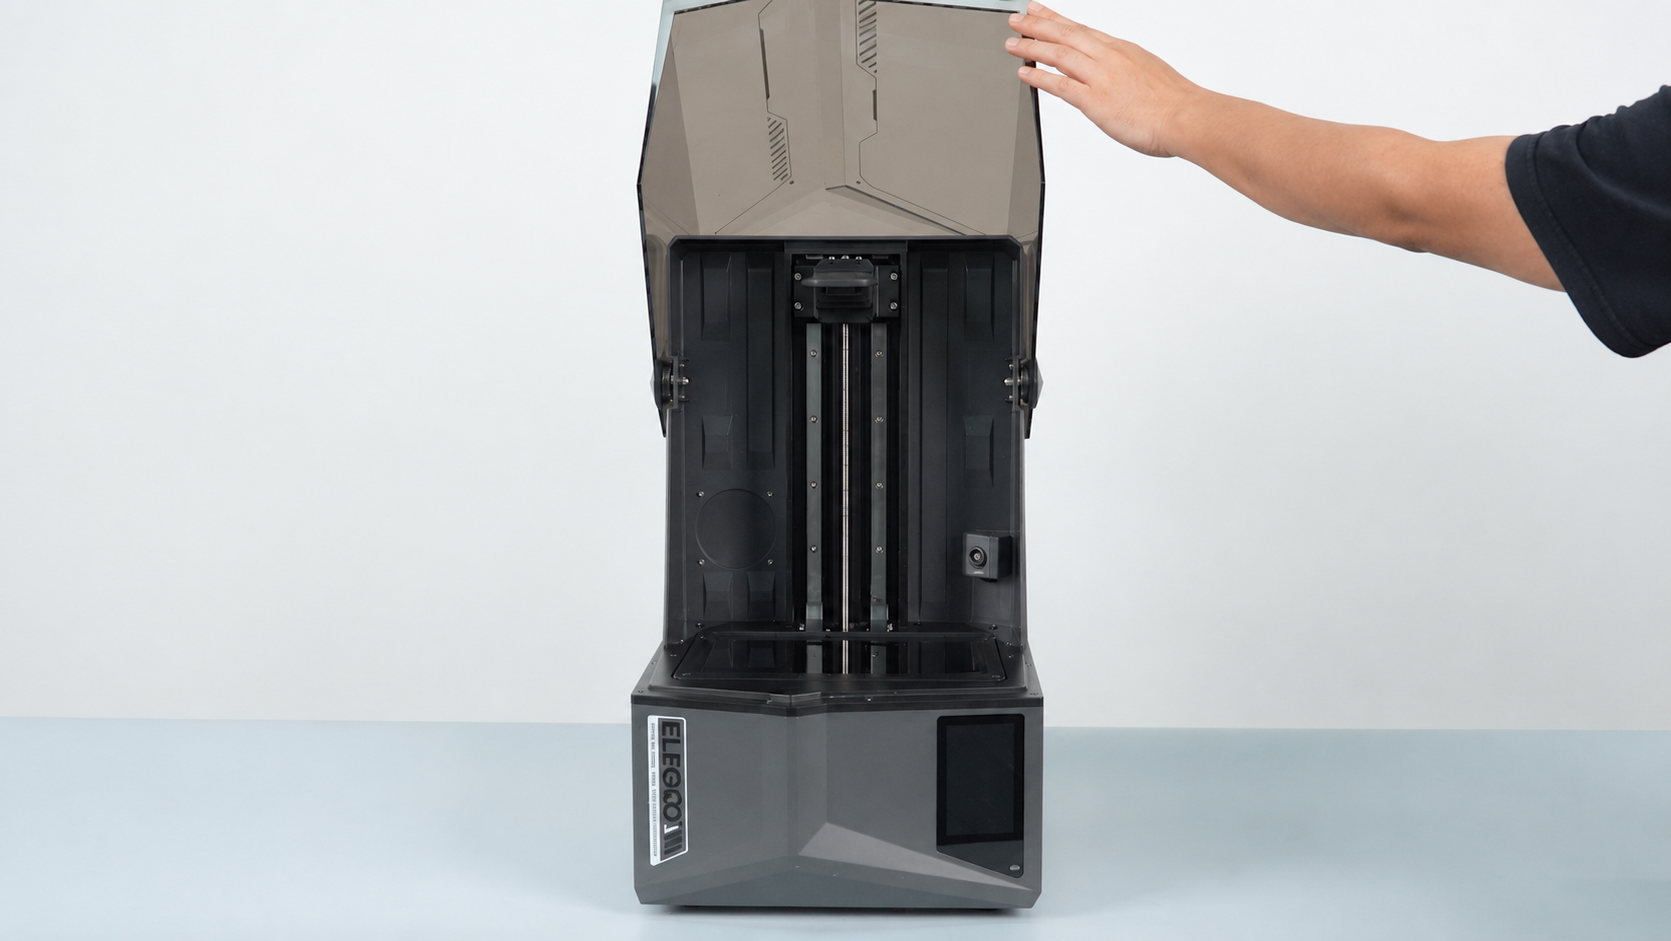
- Open the UV cover.
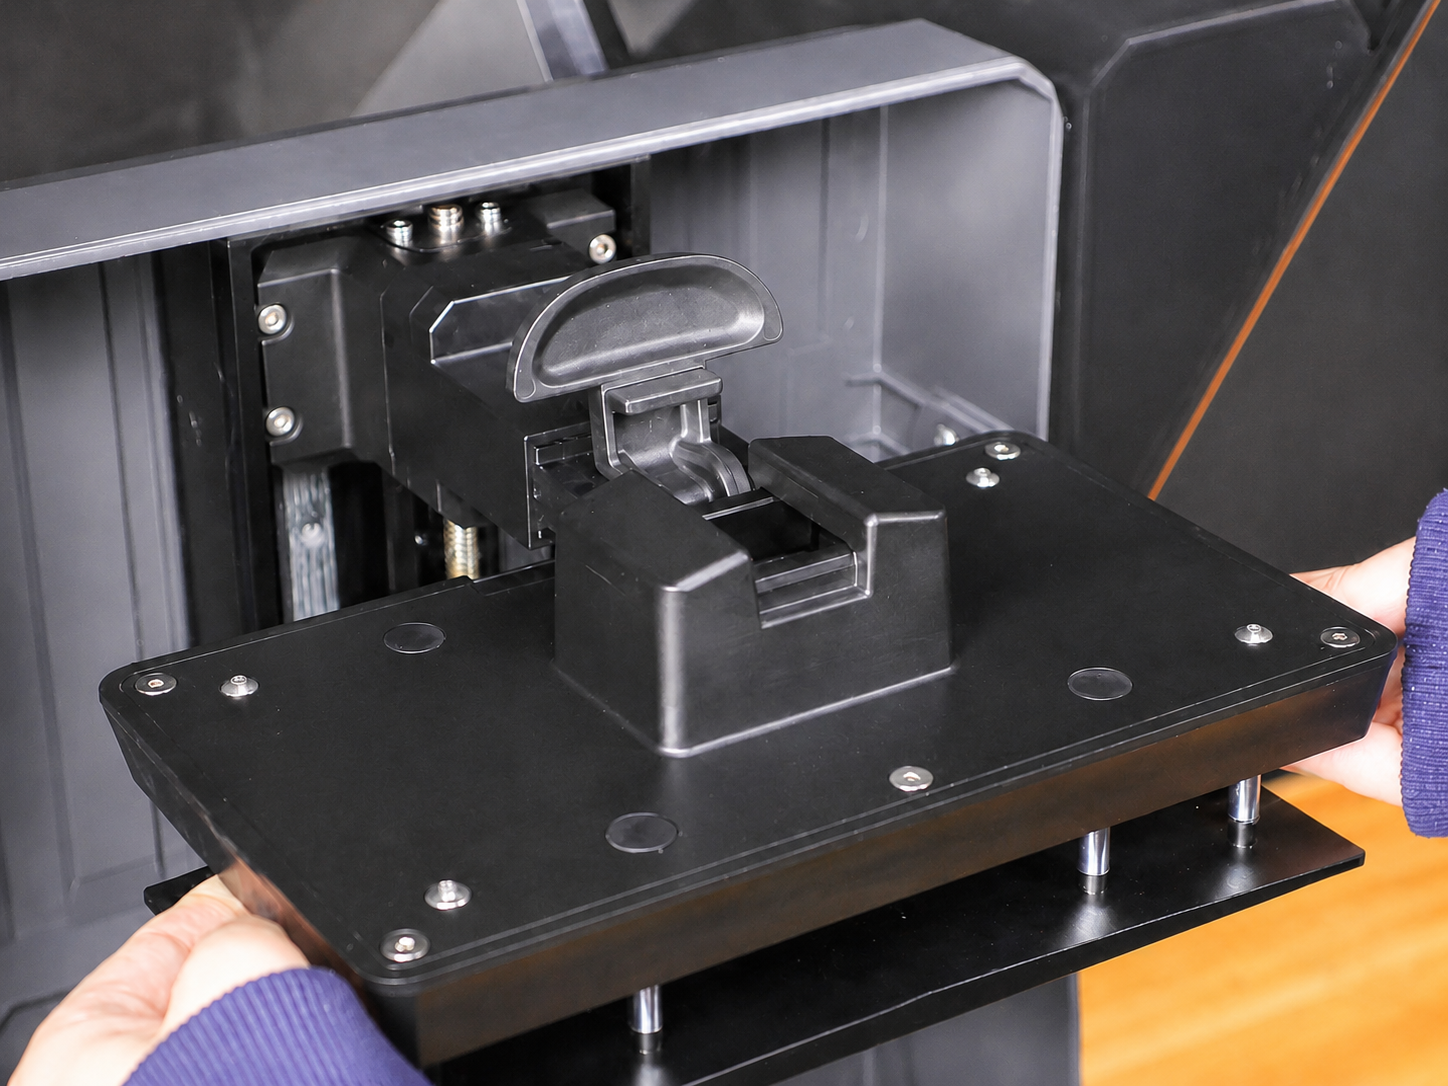
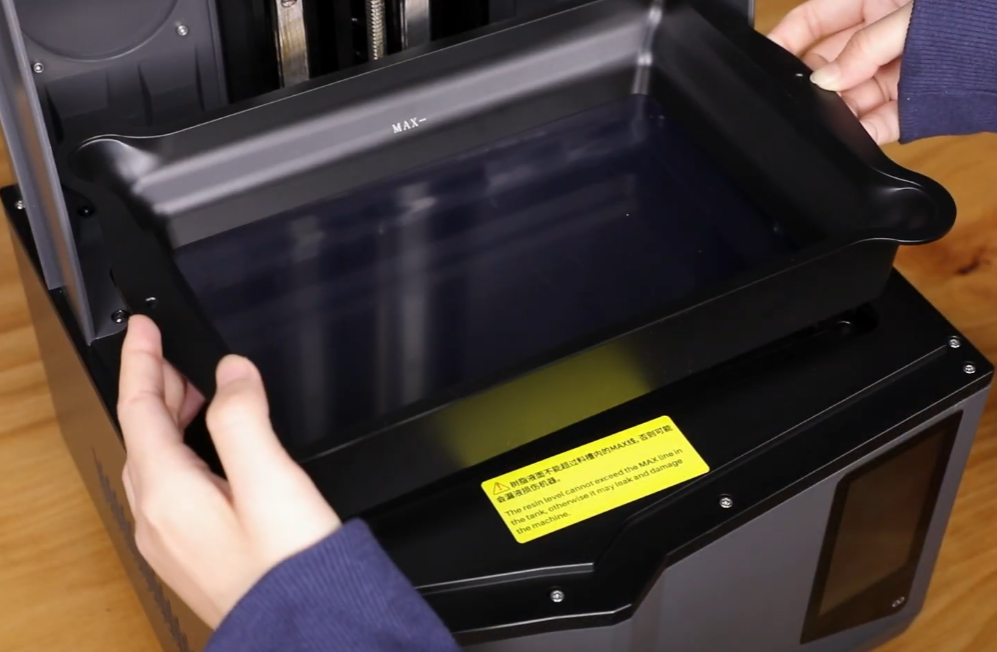
- Remove the resin tank and build plate.
¶ Operation Steps
¶ 1. Remove the Front Cover
-
Turn off the printer using the power switch, then unplug the power adapter.
-
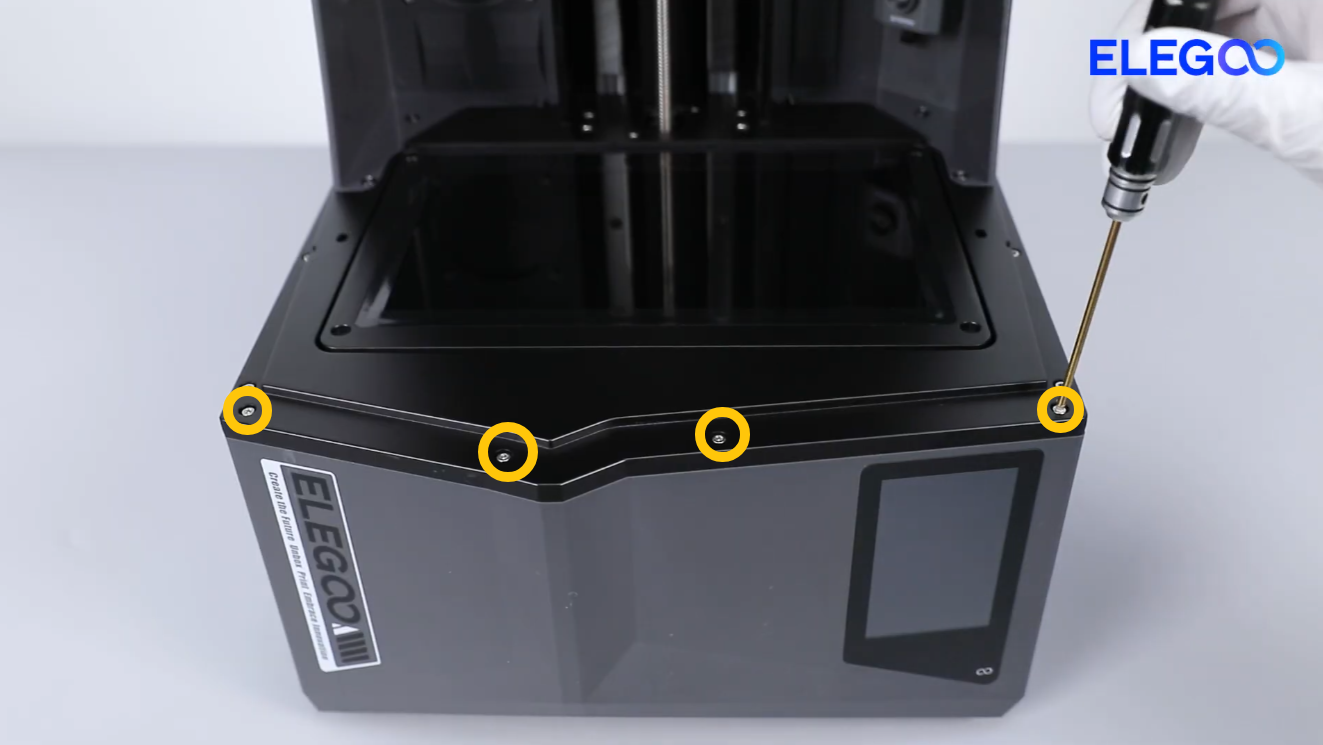
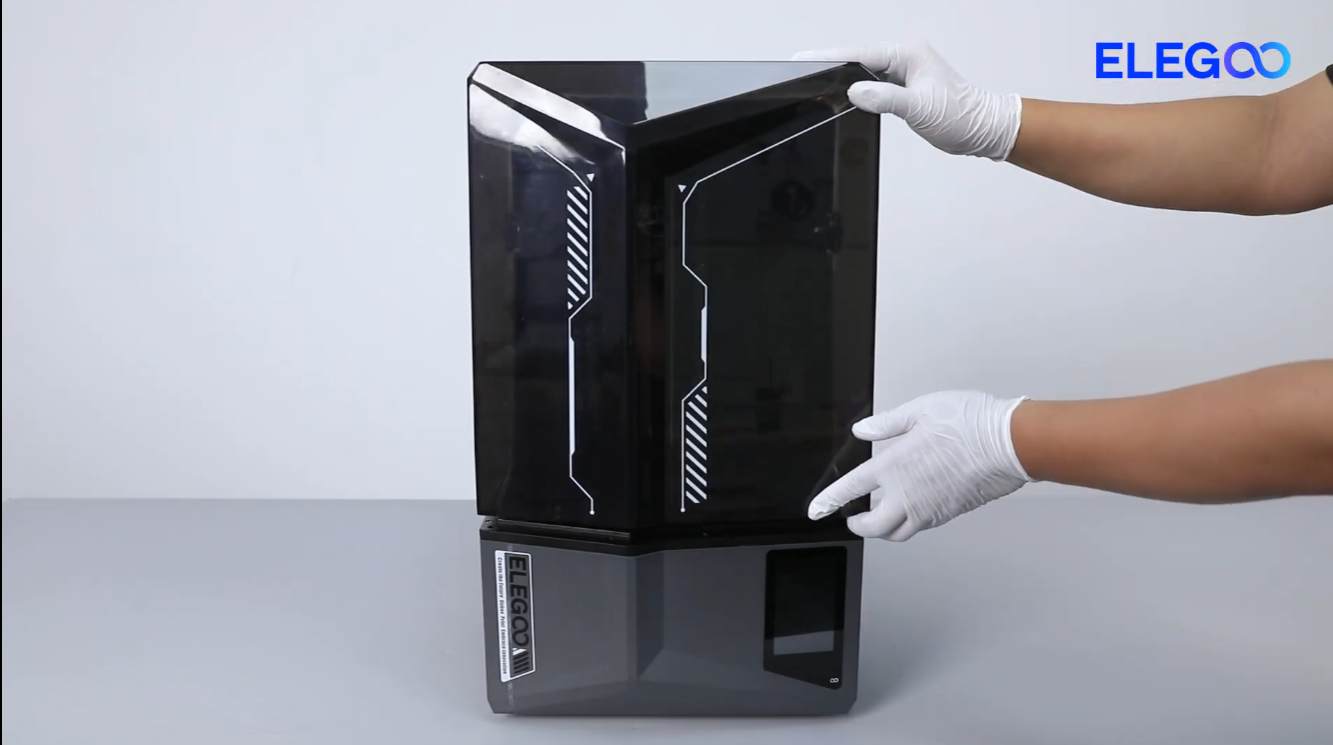
Use a 2.5 mm Allen Key to loosen the 4 screws securing the upper part of the front cover.
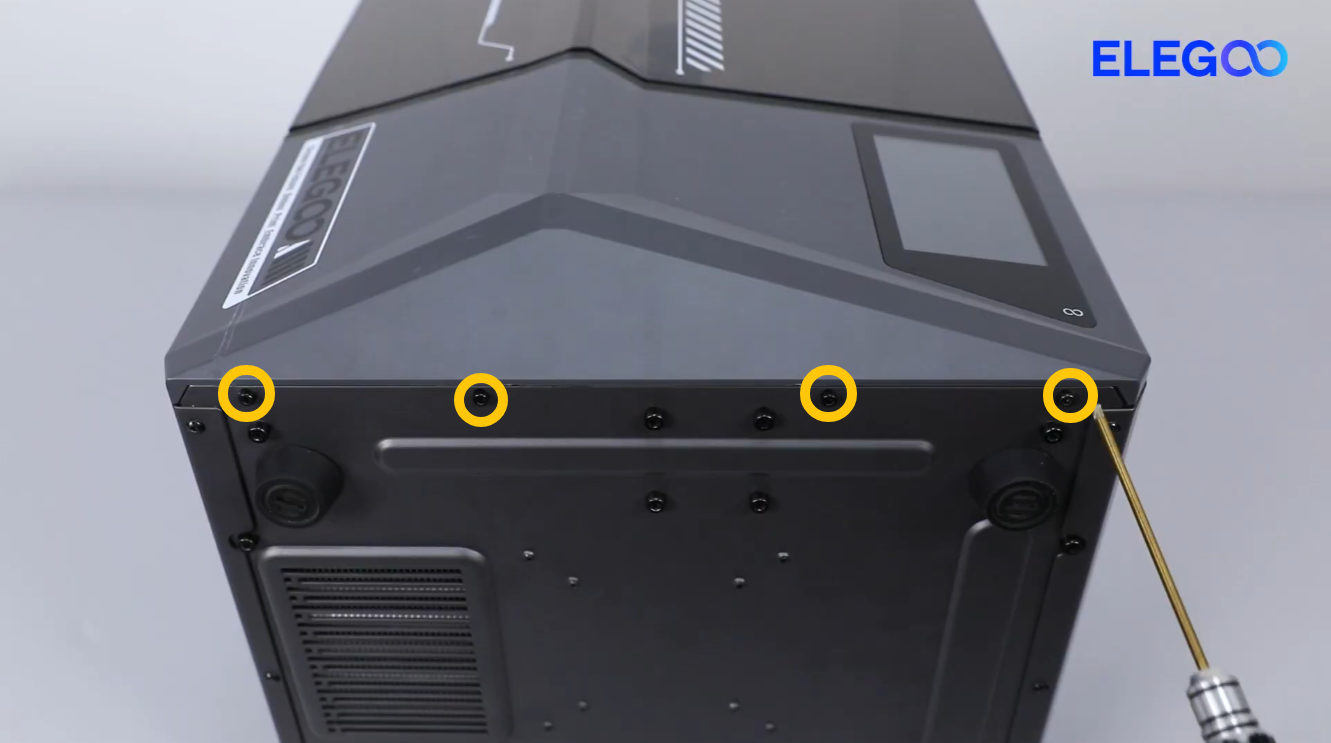
- Close the UV cover and place the printer on its side.
- Use a 2.5 mm Allen Key to loosen the 4 screws securing the lower part of the front cover.
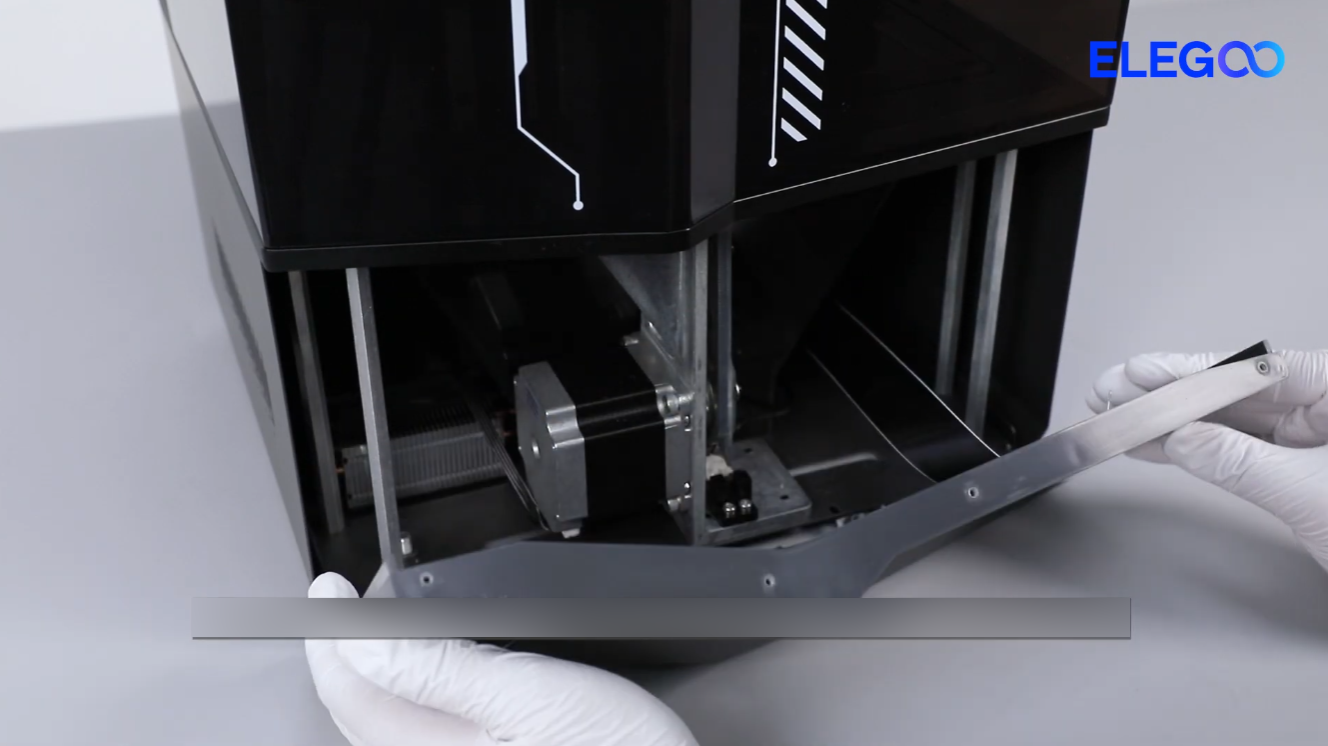
- Slowly open the front cover.
Note:
The front cover is connected with cables. Be careful when removing it to avoid pulling or damaging the cables.
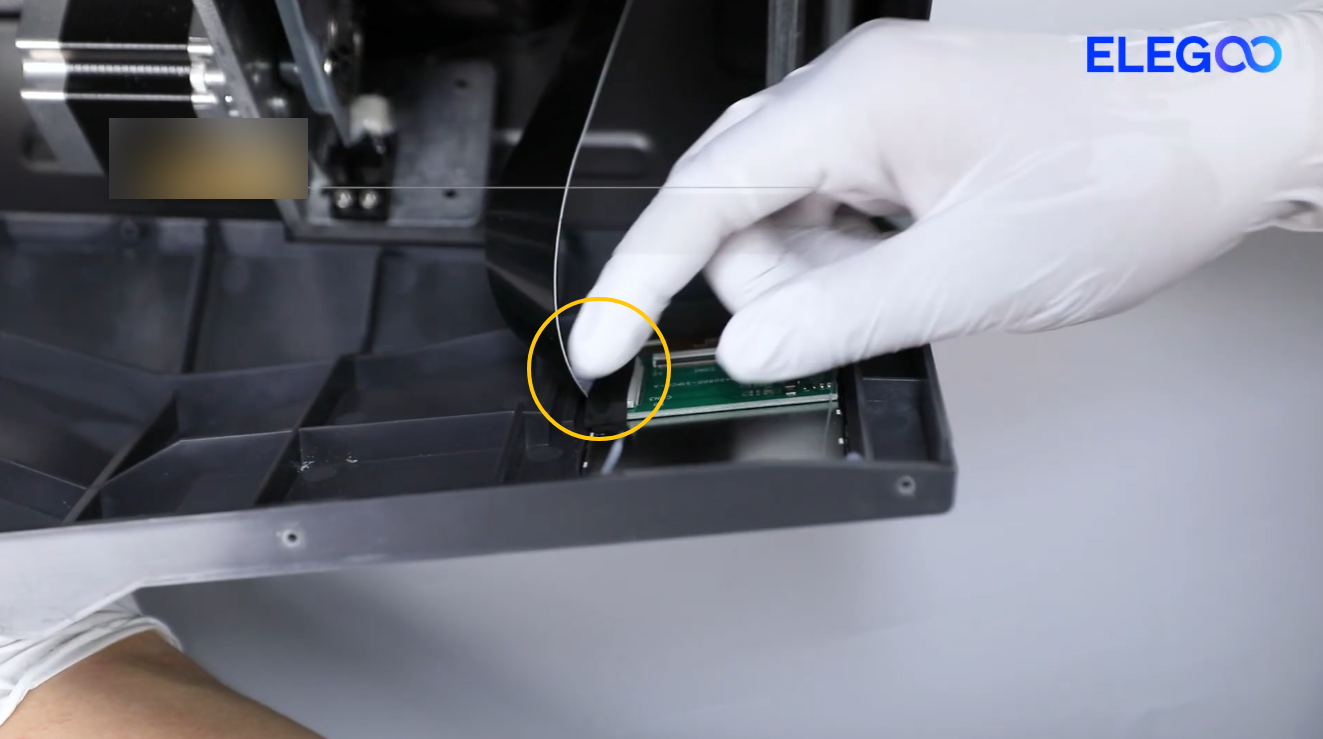
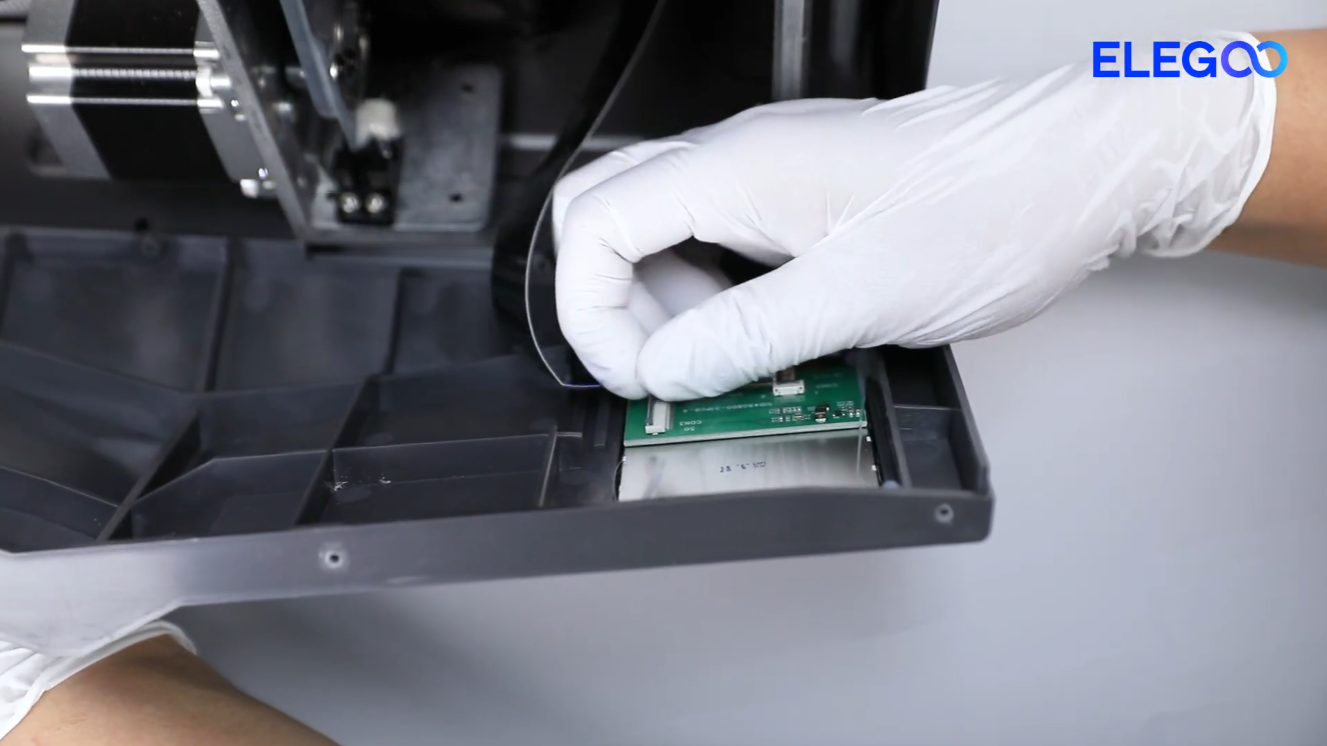
- Remove the tape securing the touch screen cable. Unlock the connector latch, disconnect the cable, and remove the front cover.
¶ 2. Remove the X Axis Limit Switch
- Manually move the LCD screen panel to the highest position.
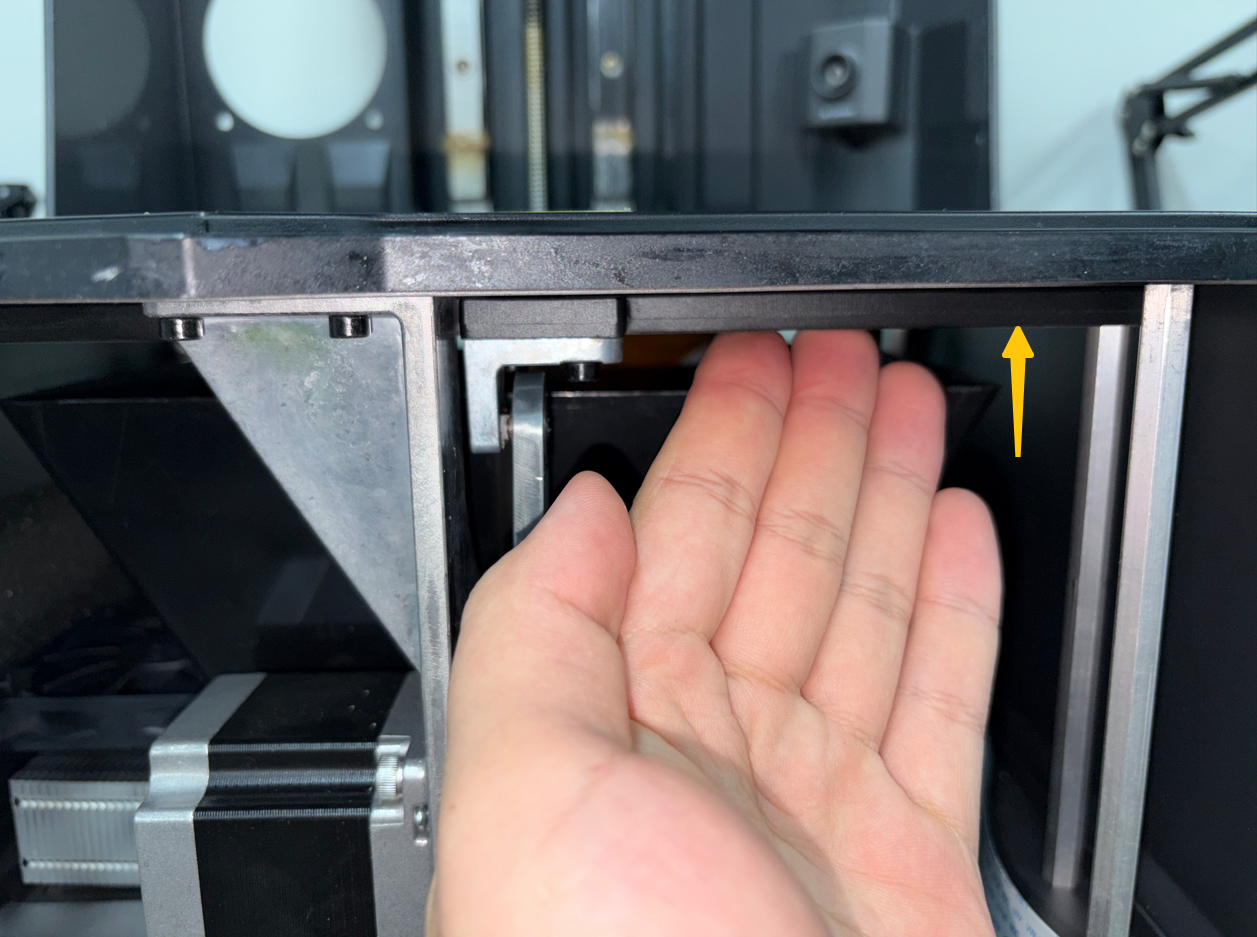
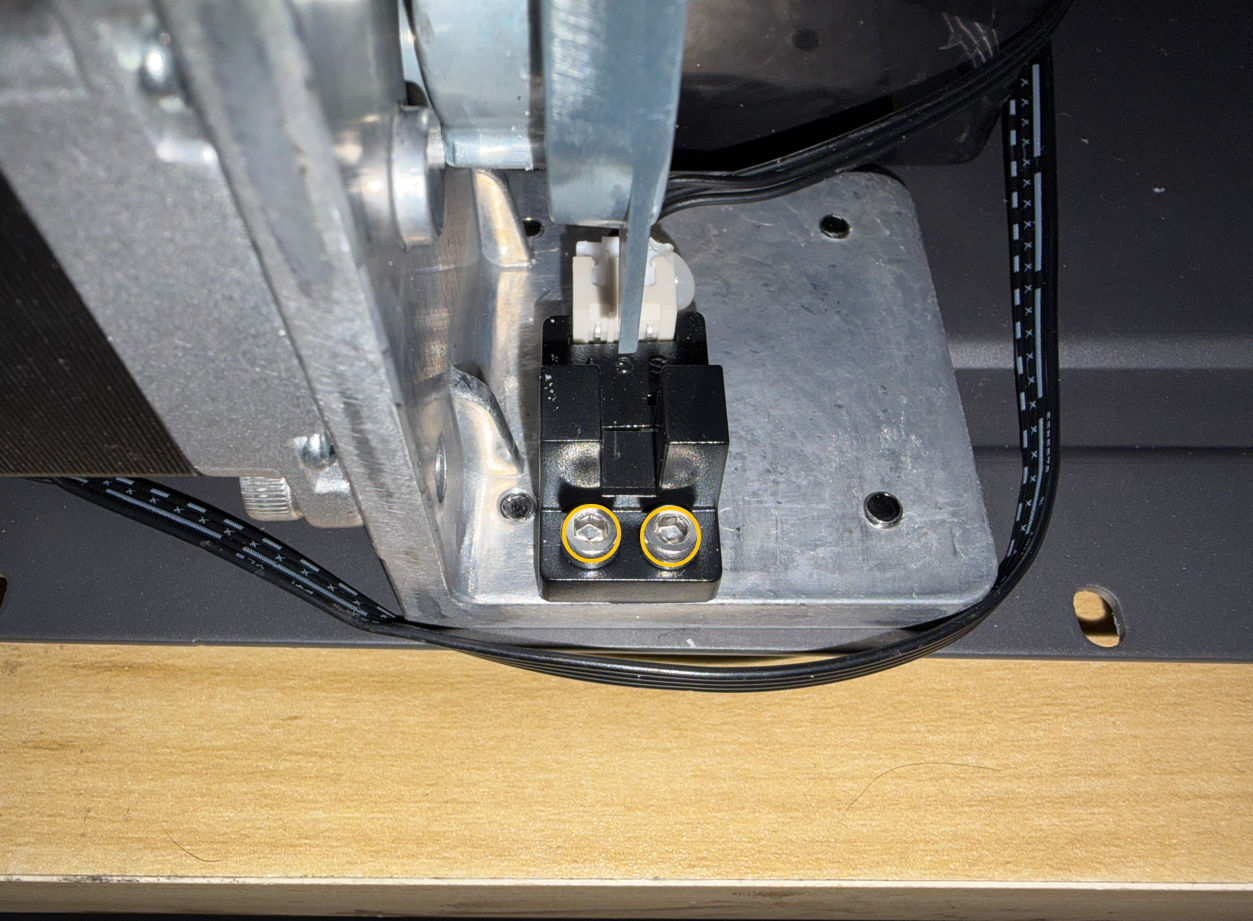
- Use a 2.0 mm Allen Key to remove the two screws securing the X Axis limit switch.

- Move the X Axis limit switch aside to ensure that the crank does not contact the switch during movement.

¶ 3. Adjust the Crank
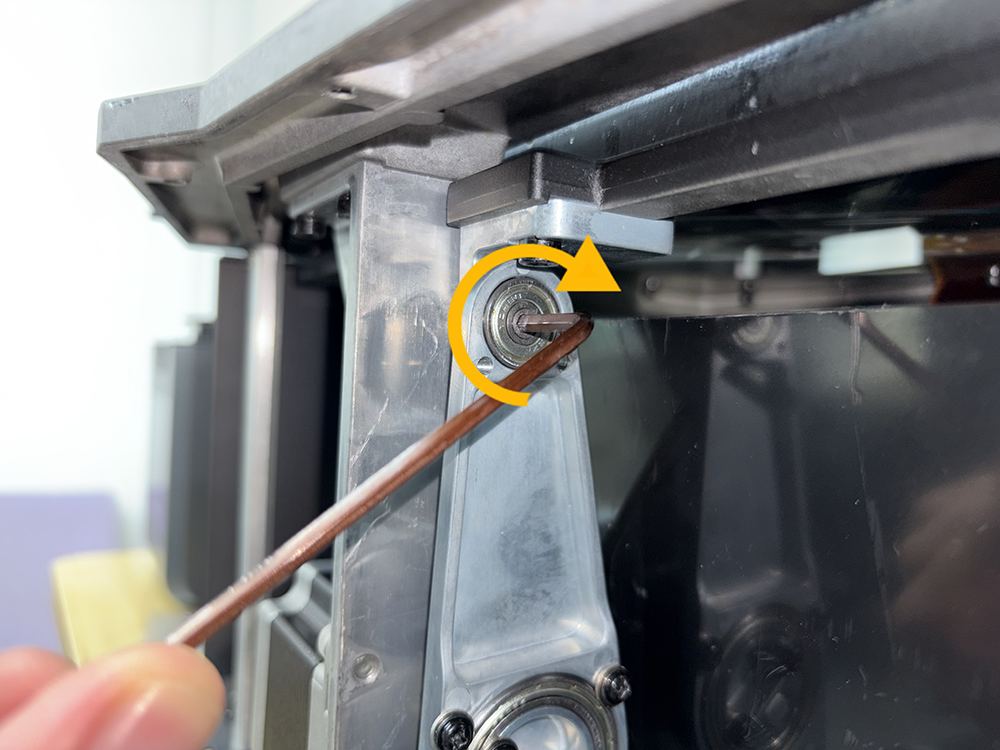
- Use a 3.0 mm Allen Key to loosen the screw securing the crank.

- Hold the upper part of the crank and move it back and forth to ensure smooth movement.
Note:
Always hold the upper part of the crank when moving it to avoid pinching your fingers.

- Return the X Axis limit switch to its original position and tighten the screws securing the switch.
- Tighten the screw securing the crank.
- Manually move the crank again for testing.

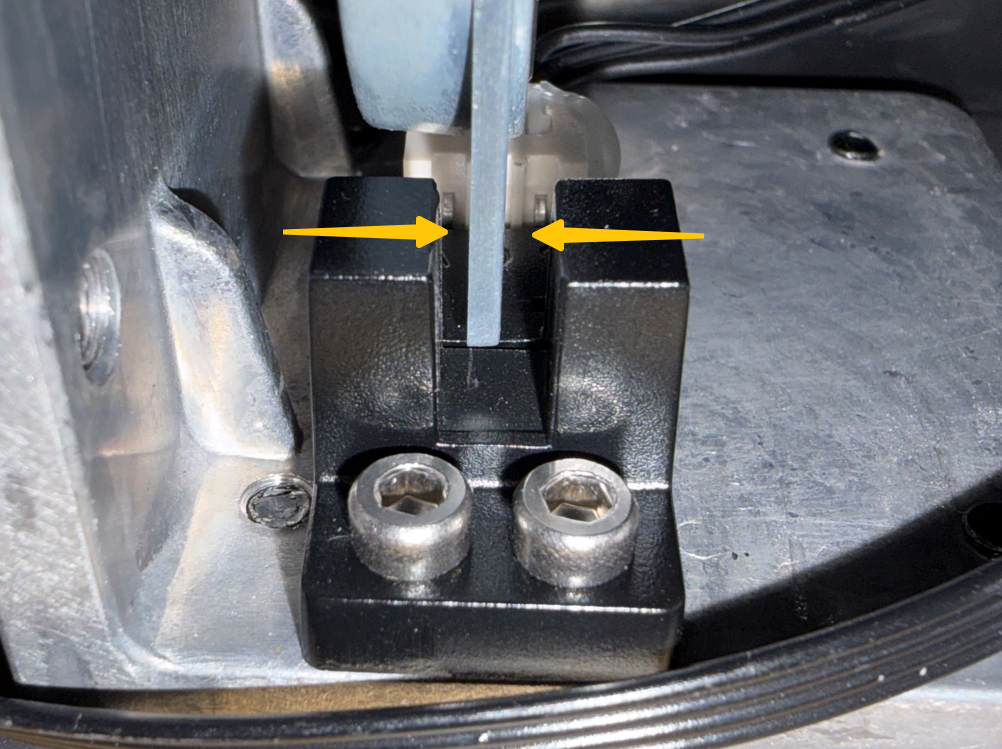
- Ensure the crank movement meets the following conditions.
If any condition is not met, readjust the crank tightness.
- The crank moves up and down smoothly without sticking.
- The crank does not contact the X Axis limit switch.
- The crank trigger piece is positioned at the center of the sensing area of the X Axis limit switch.
-
Do not install the front cover temporarily. Turn on the printer.
-
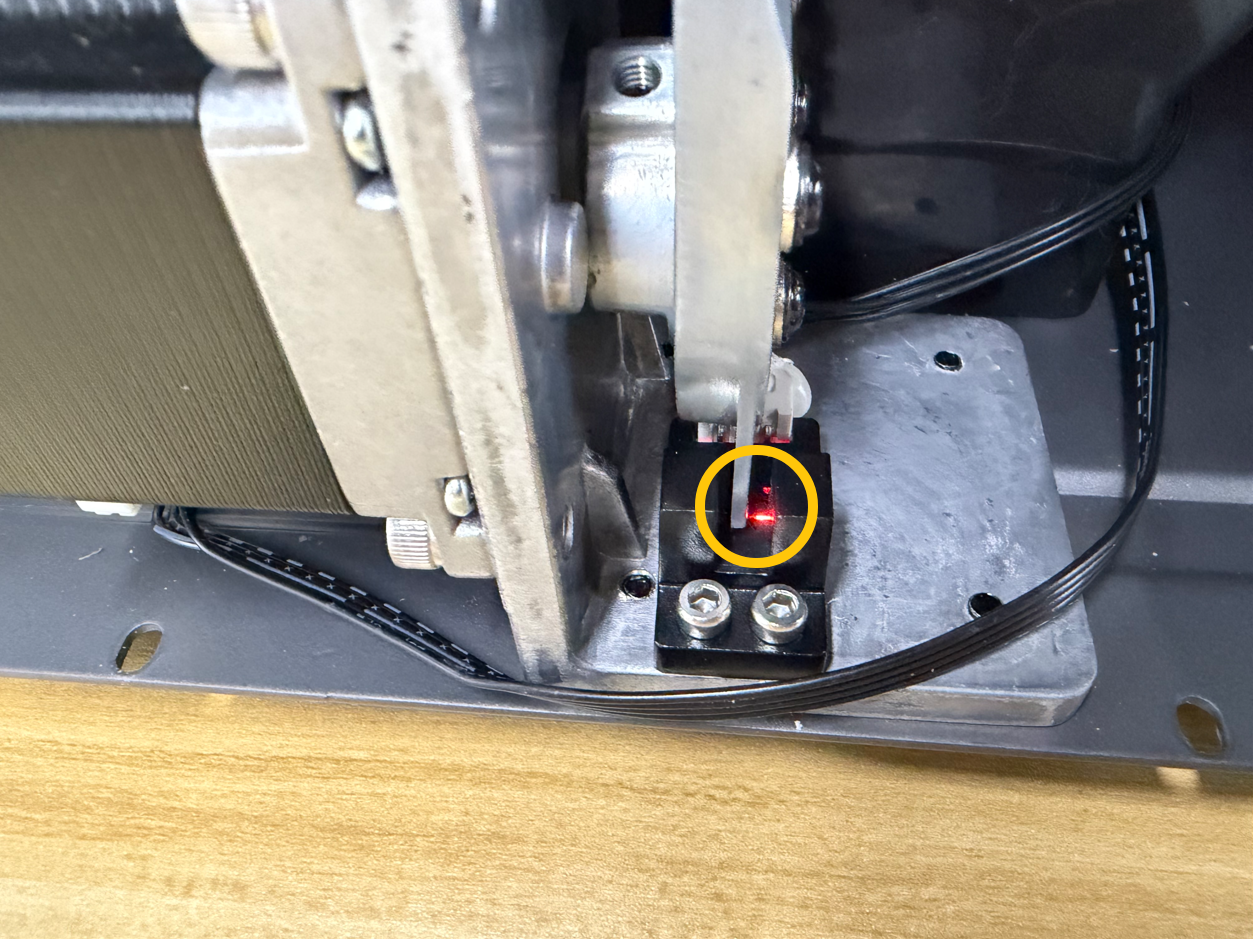
Wait approximately 50 seconds until the printer starts the initialization process. Observe the crank operation and the indicator light of the X Axis limit switch:
- Confirm that the crank moves smoothly.
- Confirm that the red indicator light on the X Axis limit switch turns on.
¶ 4. Reinstall the Front Cover and Verification
-
Turn off the printer using the power switch, then unplug the power adapter.
-
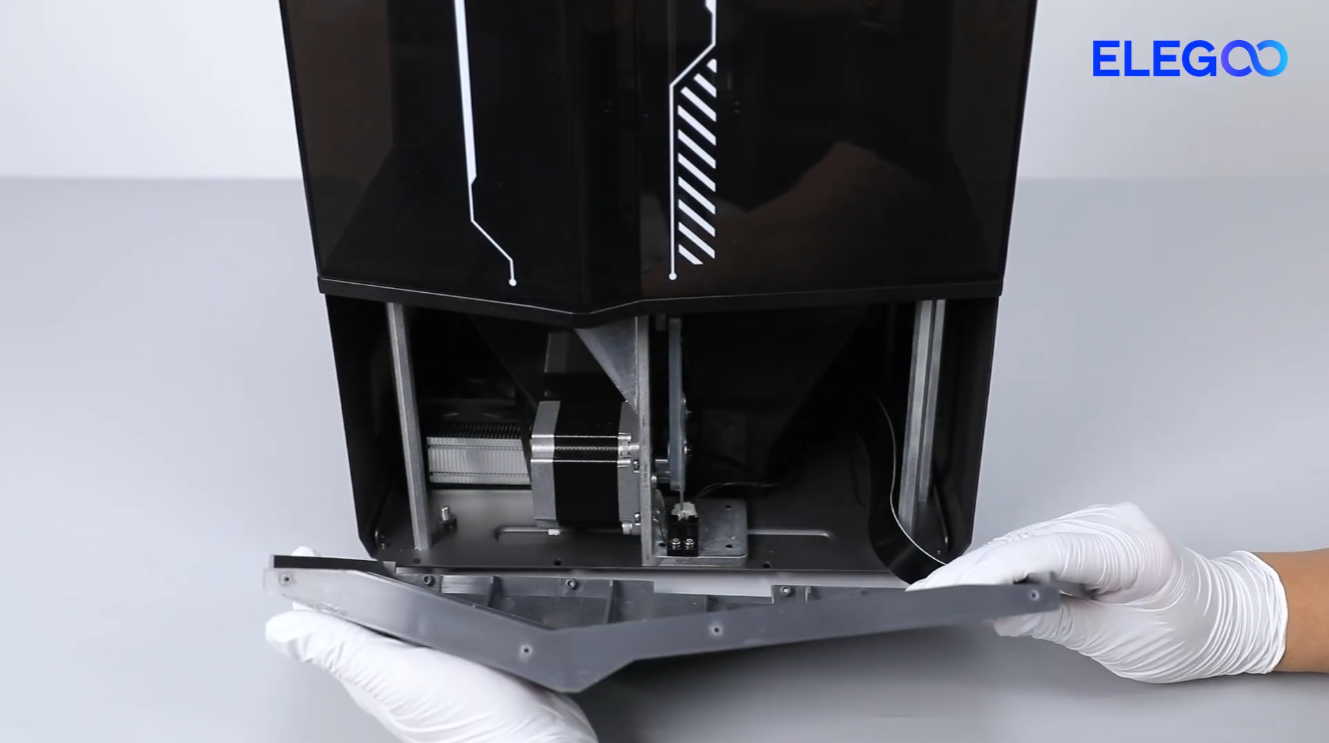
Take out the front cover and place it on the table.
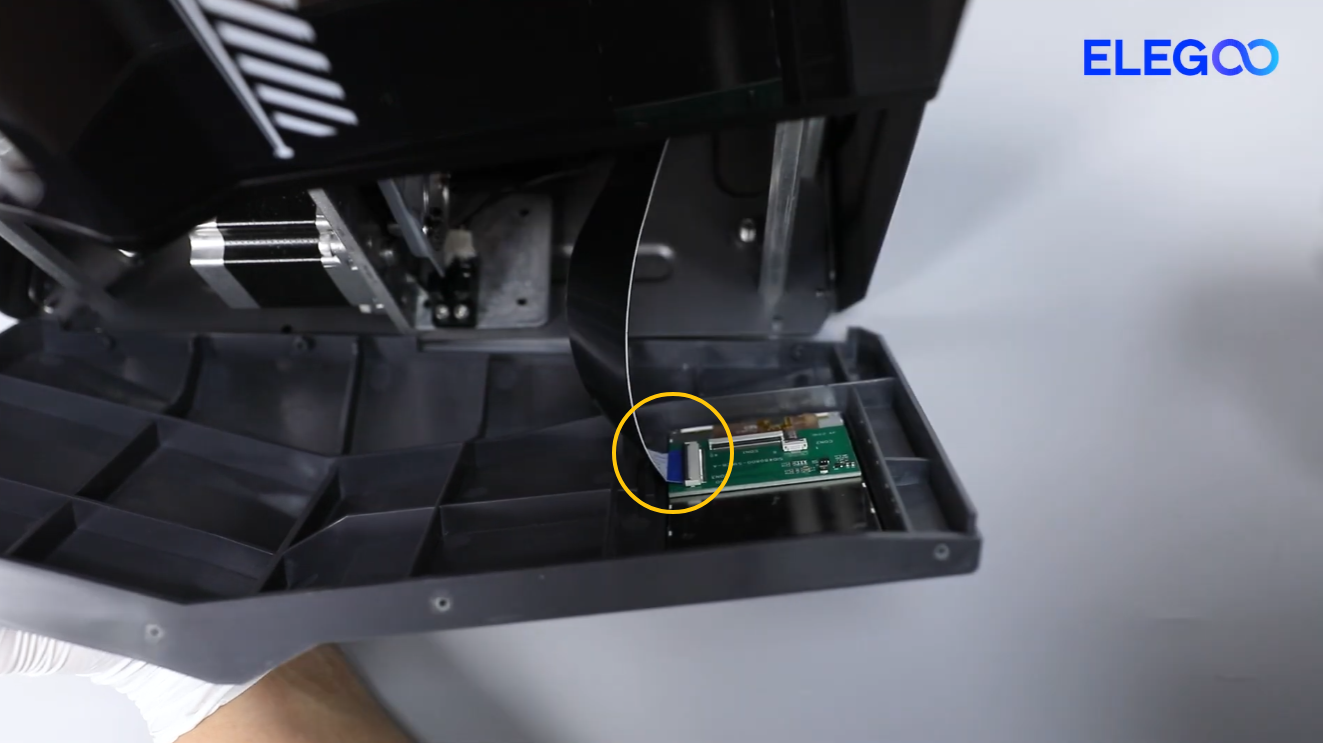
- Connect the touch screen cable to the back of the touch screen, then secure the cable with tape.
Note:
The blue side of the touch screen cable must face upward, and the cable should be aligned evenly with the connector port.

- Install the front cover back to its original position.
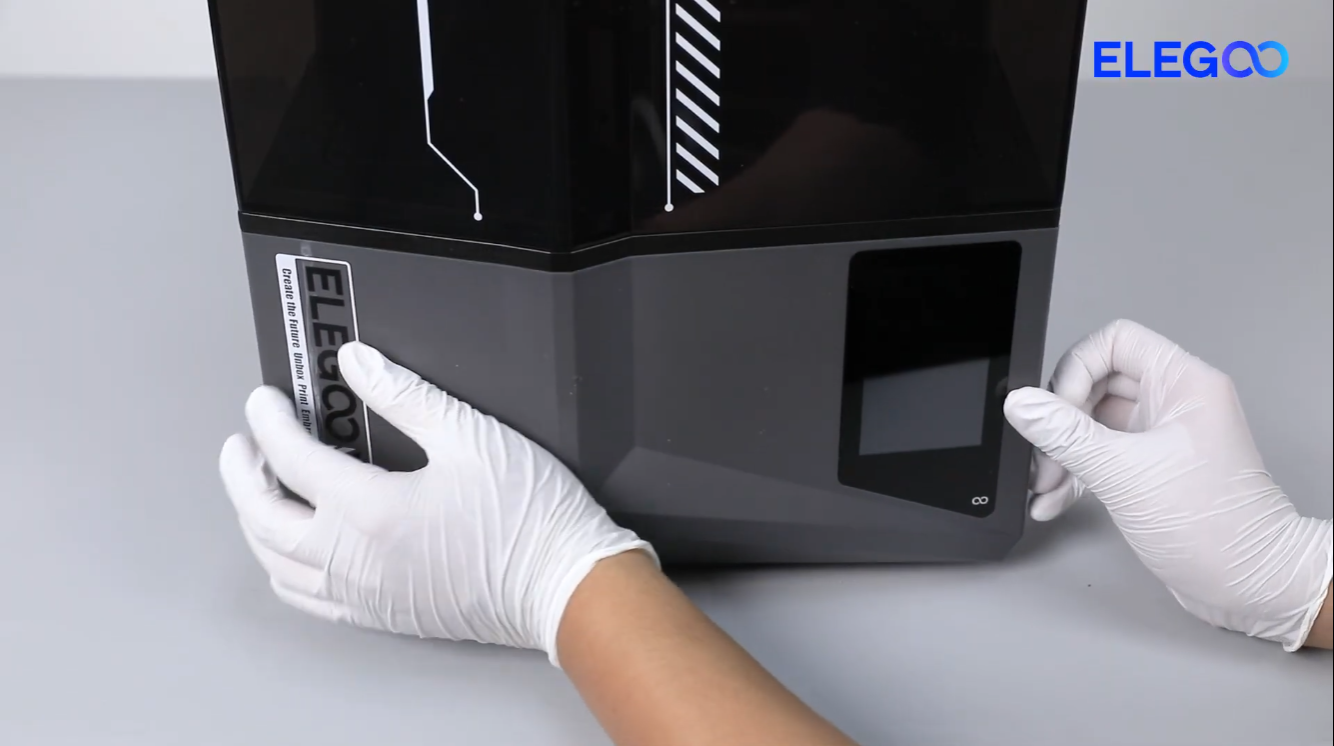
- Tighten the 8 screws securing the upper and lower parts of the front cover.
Note:
To tighten the upper screws, open the UV cover.
To tighten the lower screws, place the printer on its side.


- Turn on the printer and confirm that the printer passes the self-check.
The crank adjustment is complete.

¶ Help Us Improve
If you have any suggestions or feedback regarding the wiki pages, please contact us through the ELEGOO official feedback channel.