¶ Tools and Materials
- A 4.0 mm Allen key
- A hair dryer
- A4 paper
¶ Tutorial Video
¶ Instruction
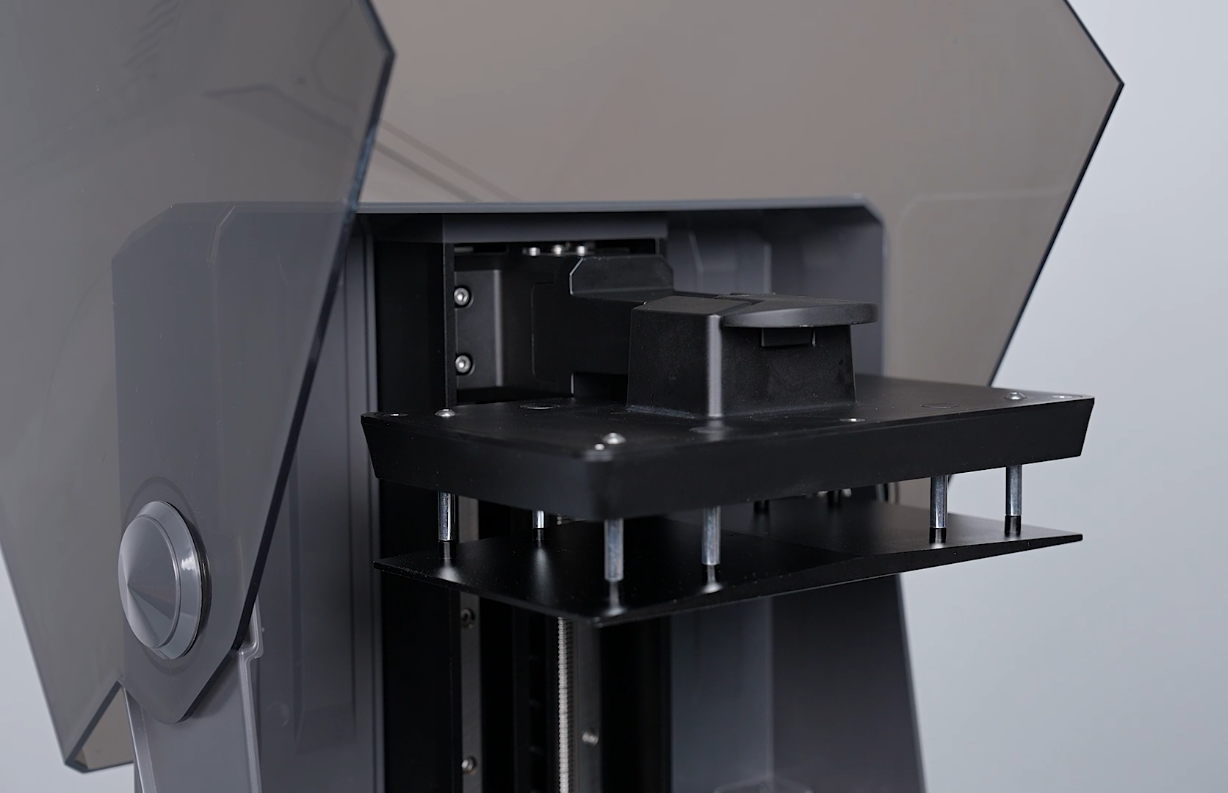
¶ Remove the old cantilever
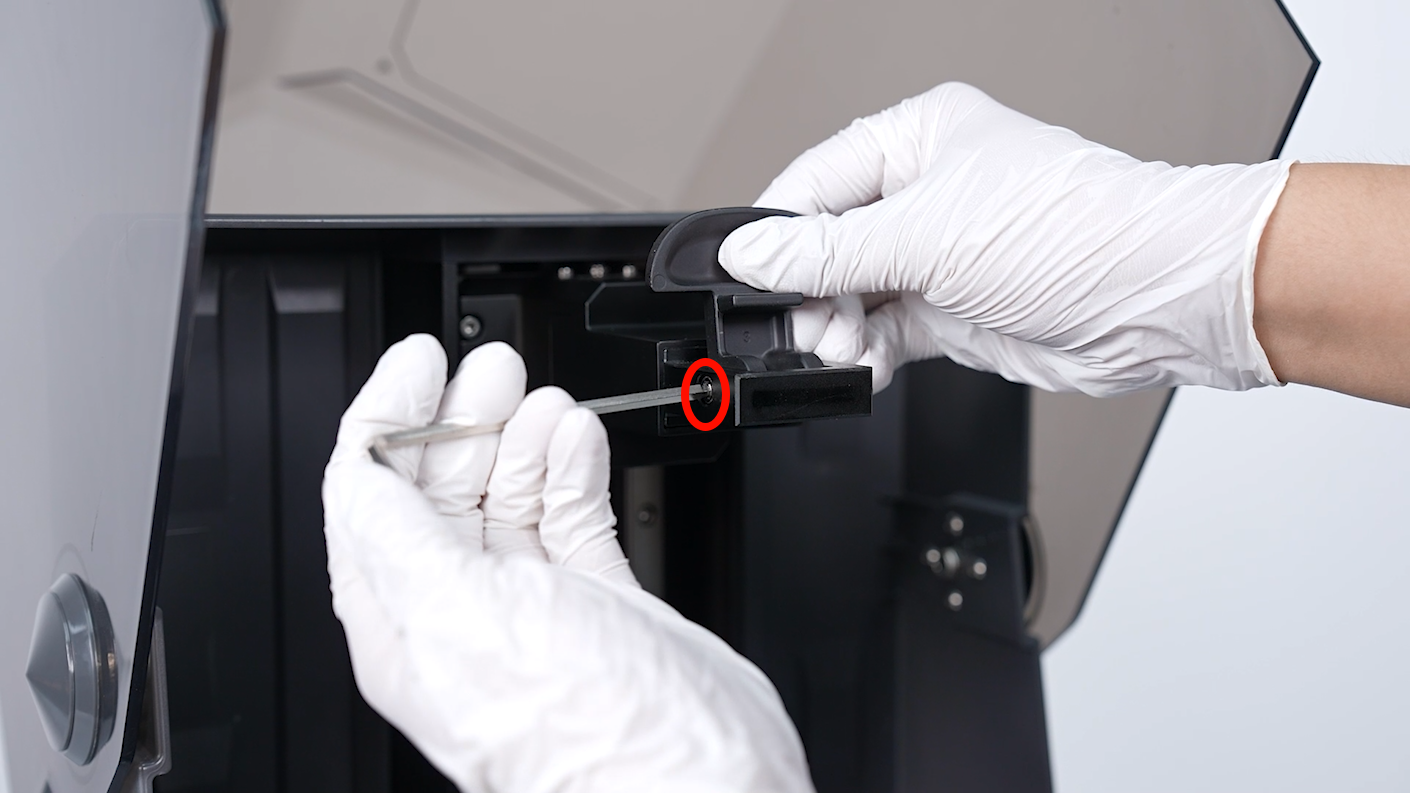
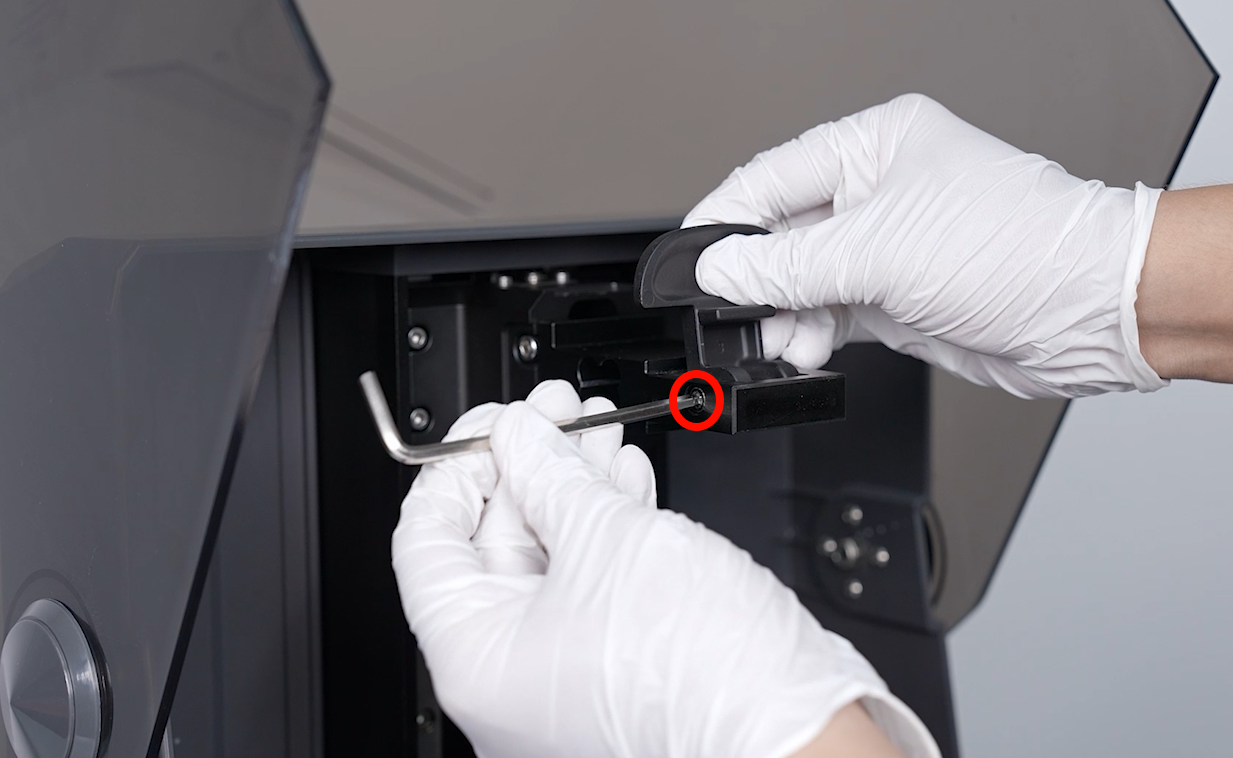
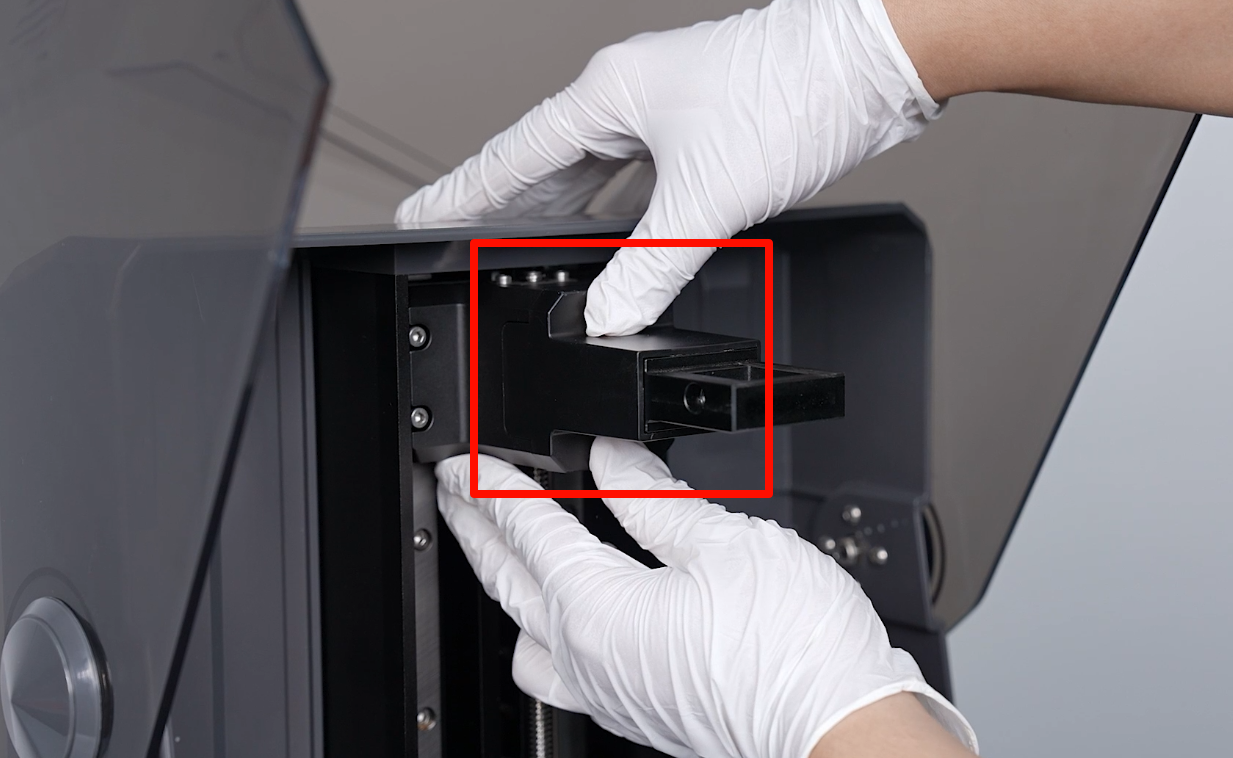
- Loosen the screw securing handle using a 4.0 mm Allen key. Remove the handle.
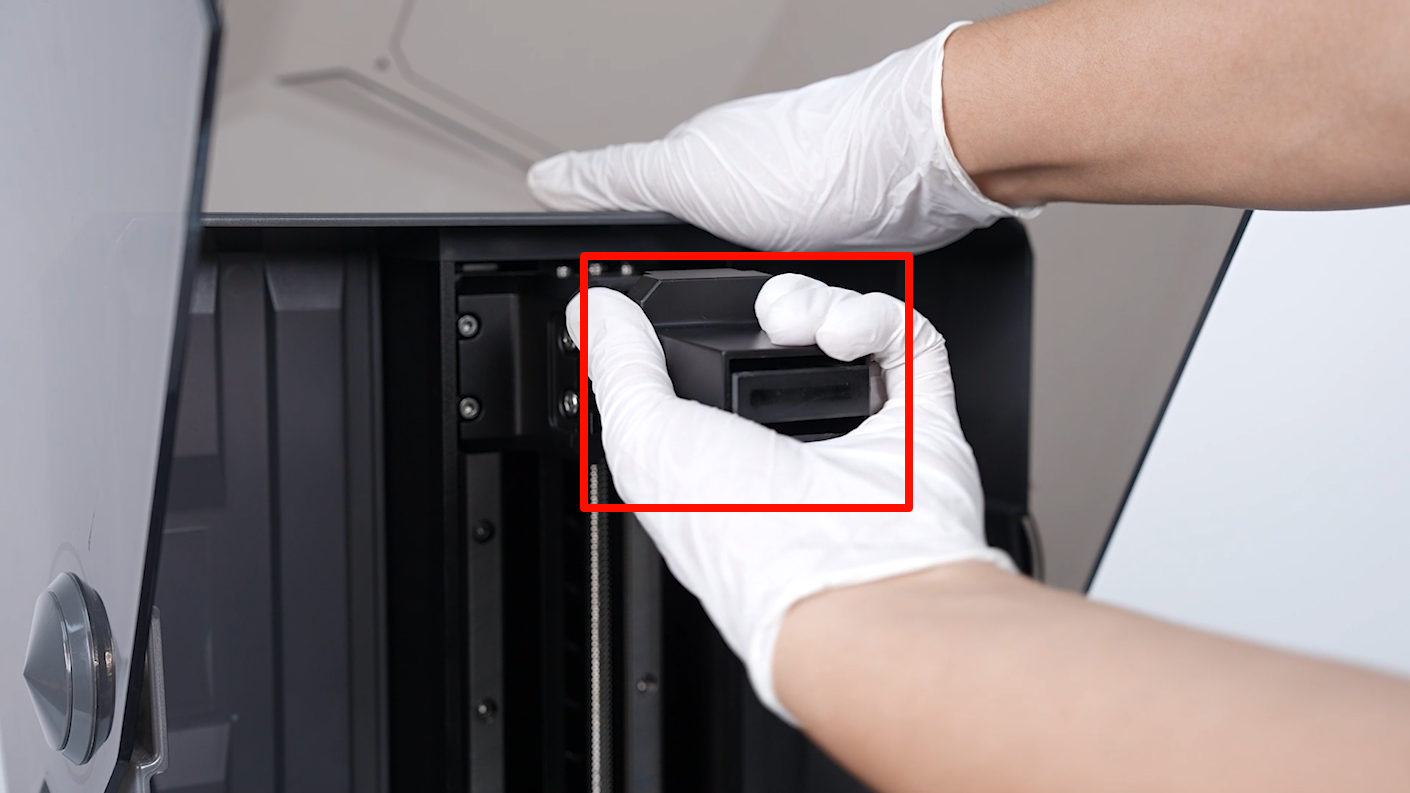
- Remove the protective cover by gently pulling outward.
- The threads of the screws are coated with screw glue. Heat the 4 screws holding the cantilever with a hair dryer for 2 - 3 min to about 80 °C.
Note: Do not touch the screws to prevent burns.
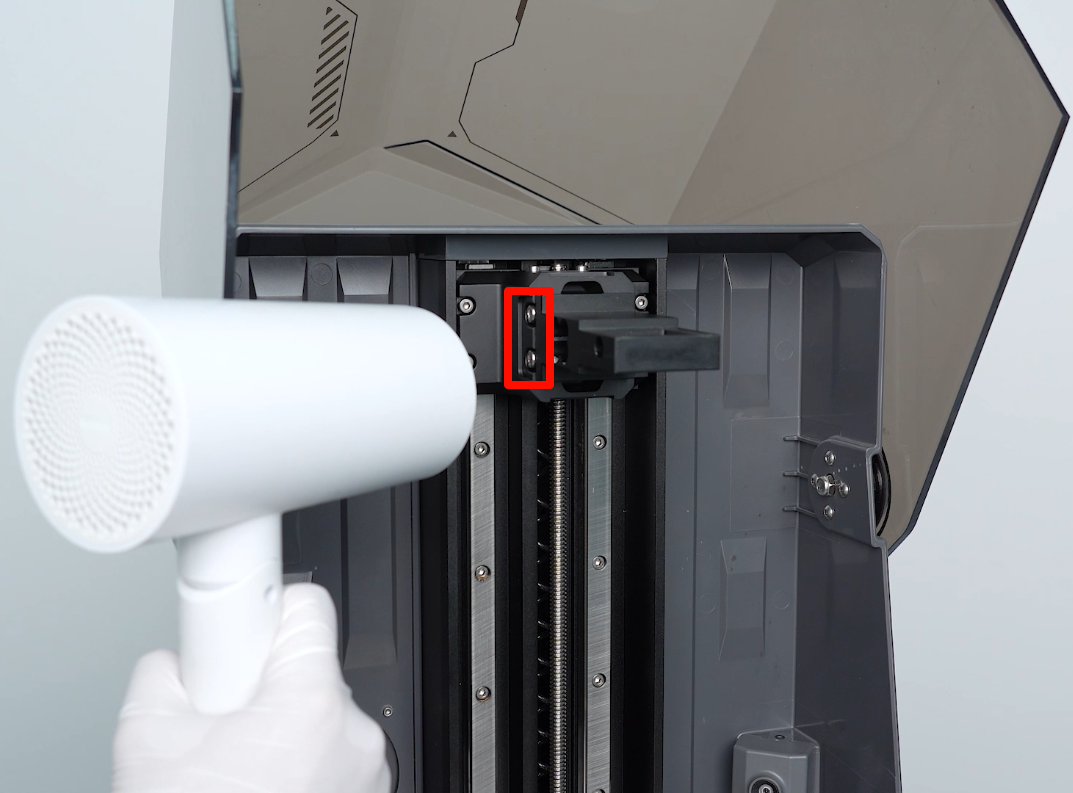
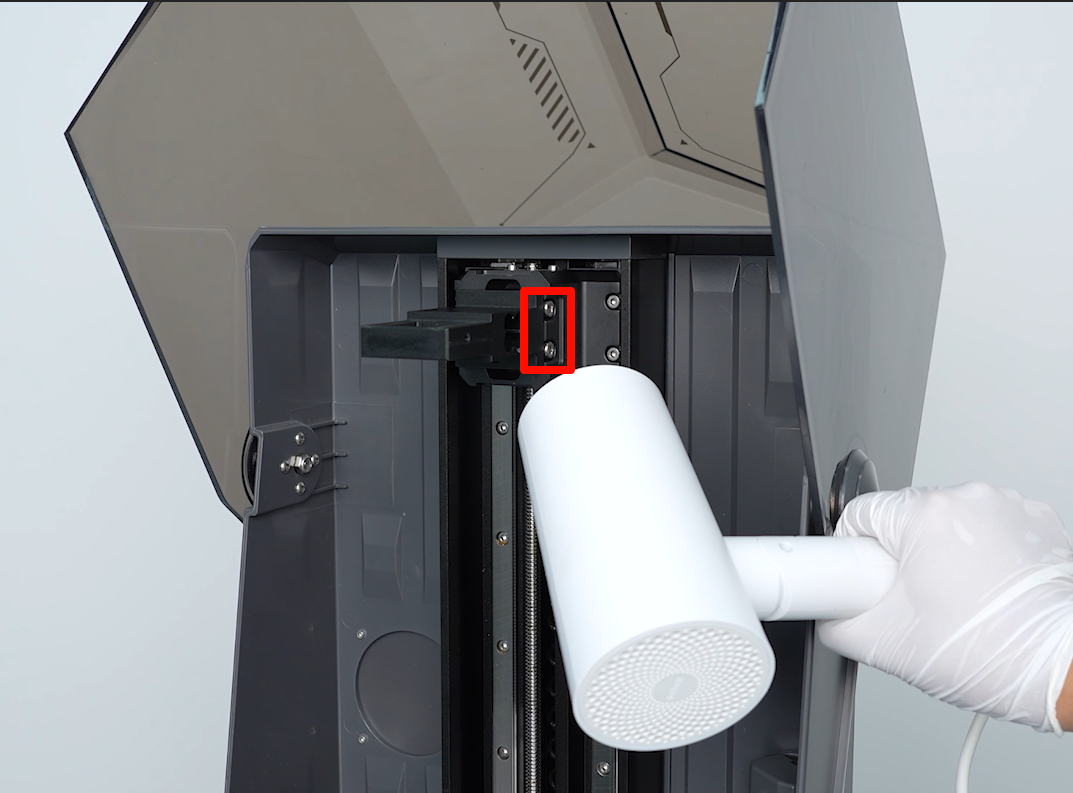
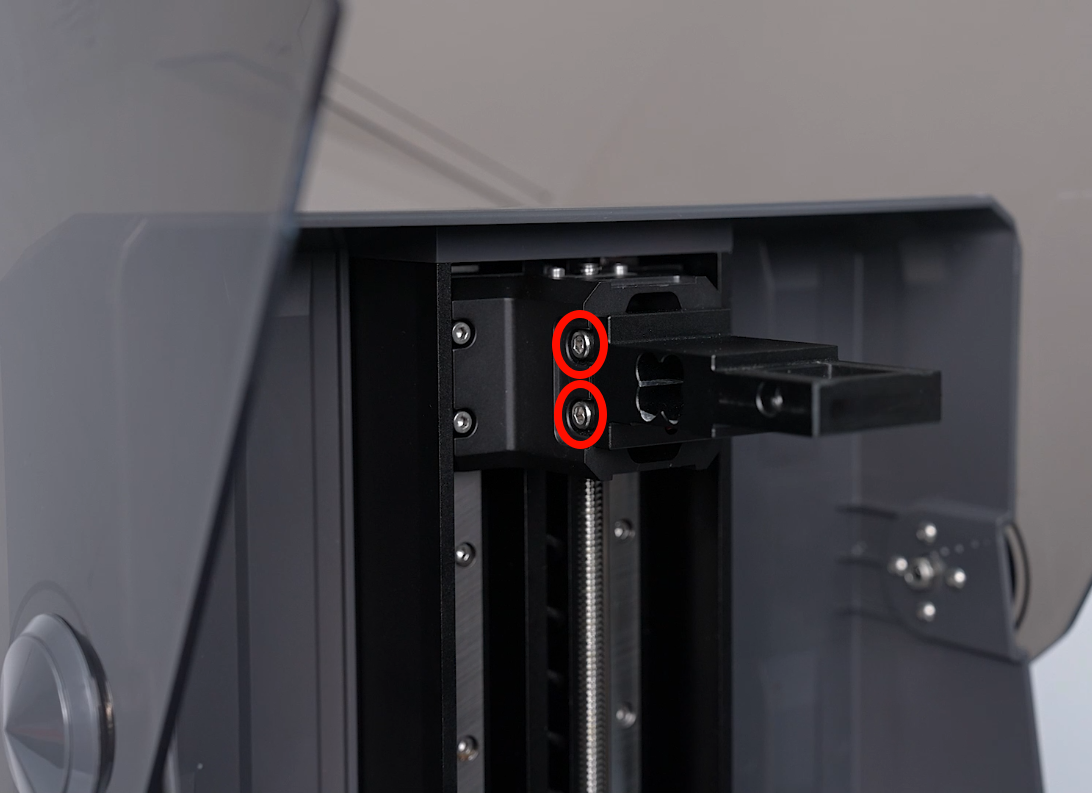
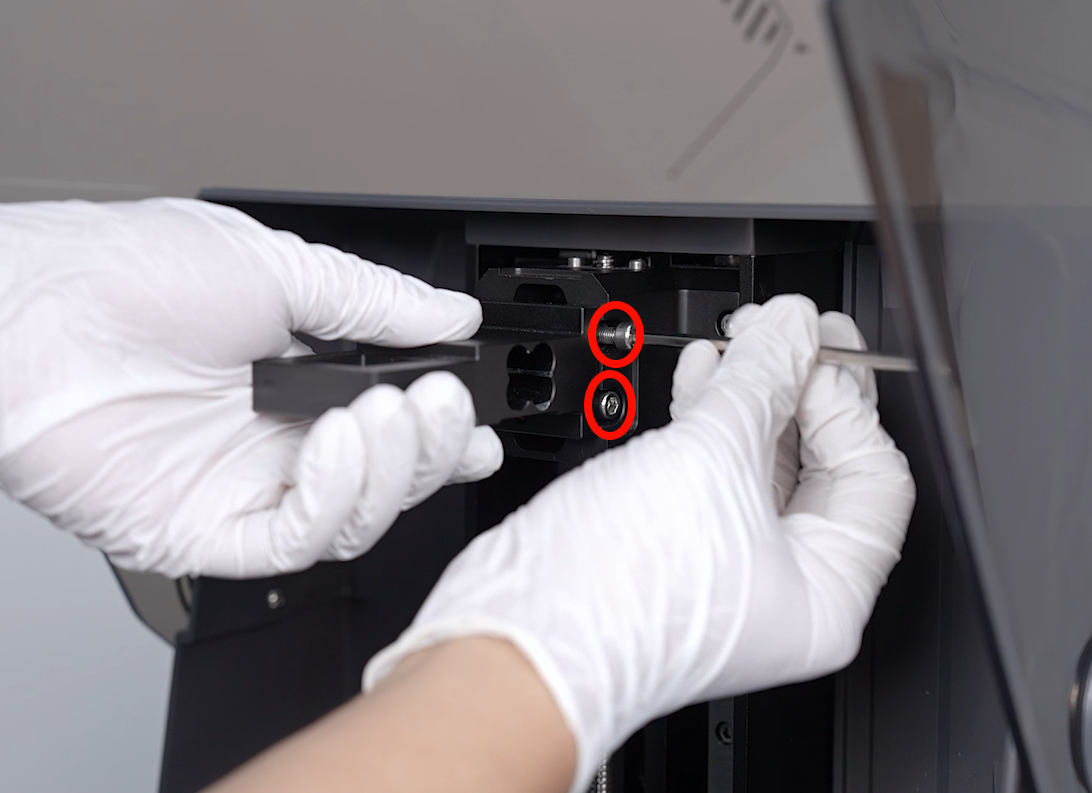
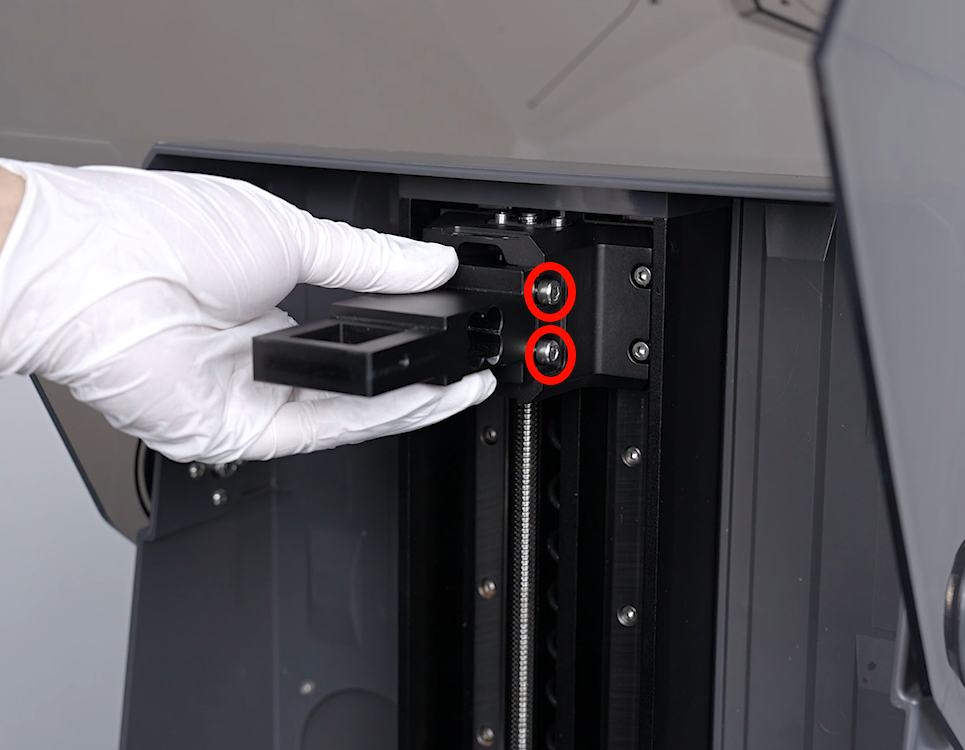
- Loosen the 4 screws securing the cantilever using a 4.0 mm Allen key.
Note: If it is still difficult to loosen the screws, continue to heat. Do not disassemble violently. Otherwise it may cause damage to the screws.
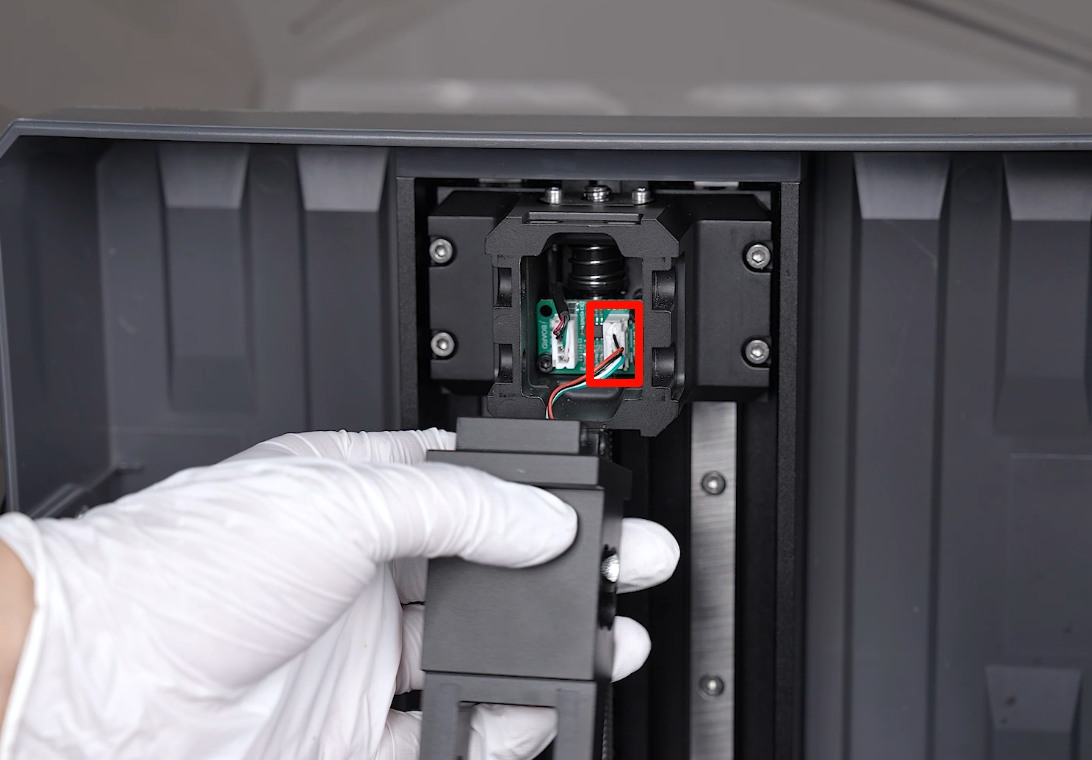
- Pull the front part of the cantilever out slightly, unplug the electrometric sensor cable port, and remove the old cantilever.
¶ Install the new cantilever
- Prepare the new cantilever. Insert the ribbon cables of the cantilever into the adapter board port.

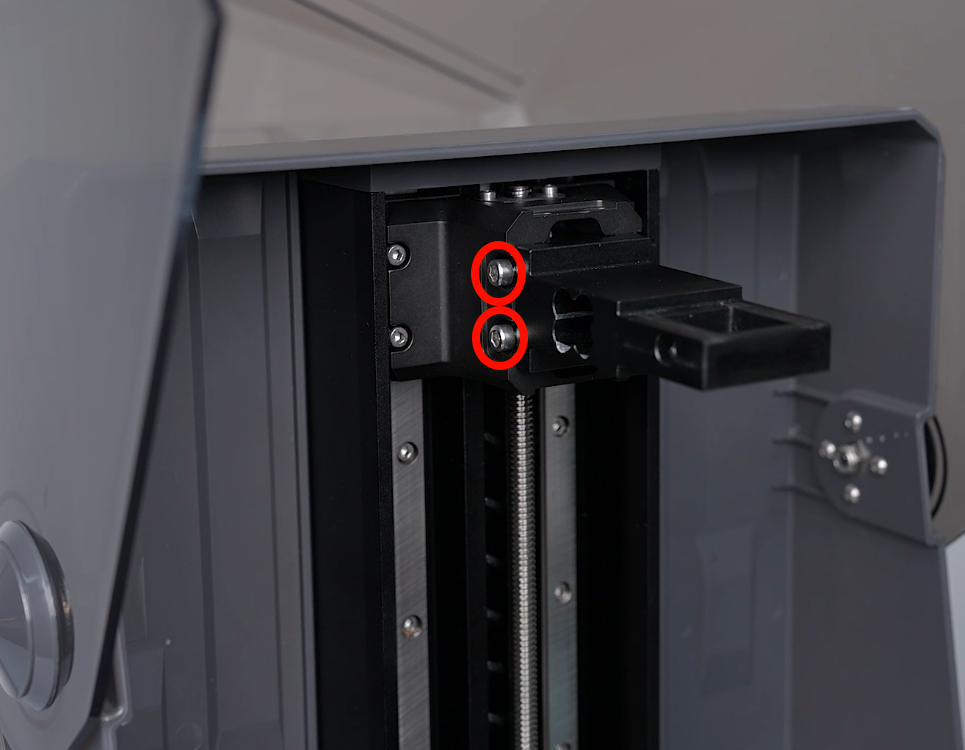
- Put the cantilever in the installation position by aligning it the the screw holes. Tighten the 4 screws securing the cantilever by three-fourths of the depth using a 4.0 mm Allen key.
Note: The force sensor must be facing downward.
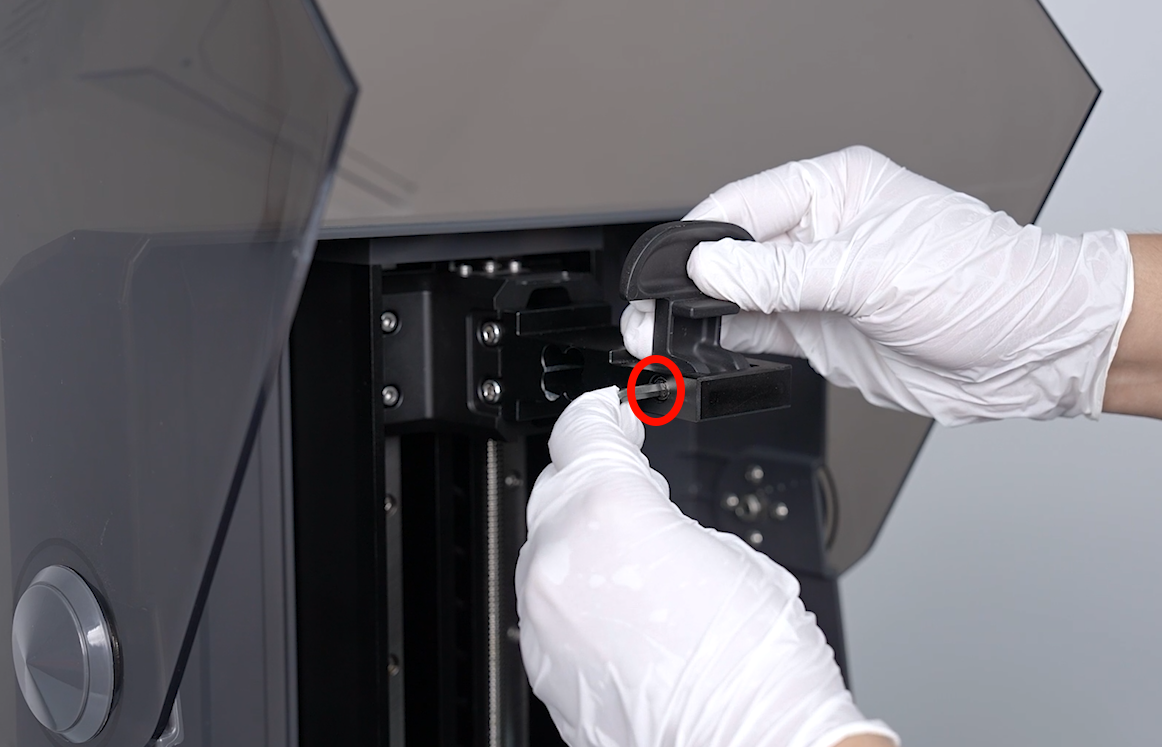
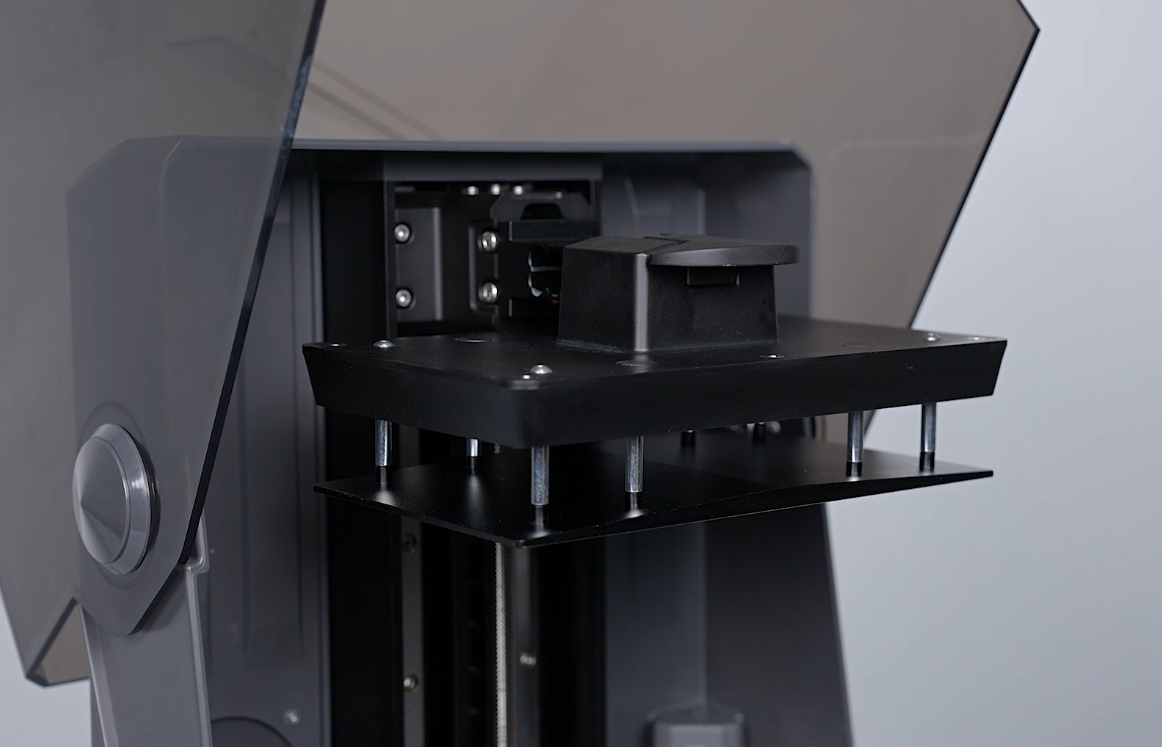
- Prepare the handle. Put it in the installation position by aligning it with the screw holes. Use a 4.0 mm Allen key to tighten the screw securing the handle. Install the build plate.
¶ Level the printer
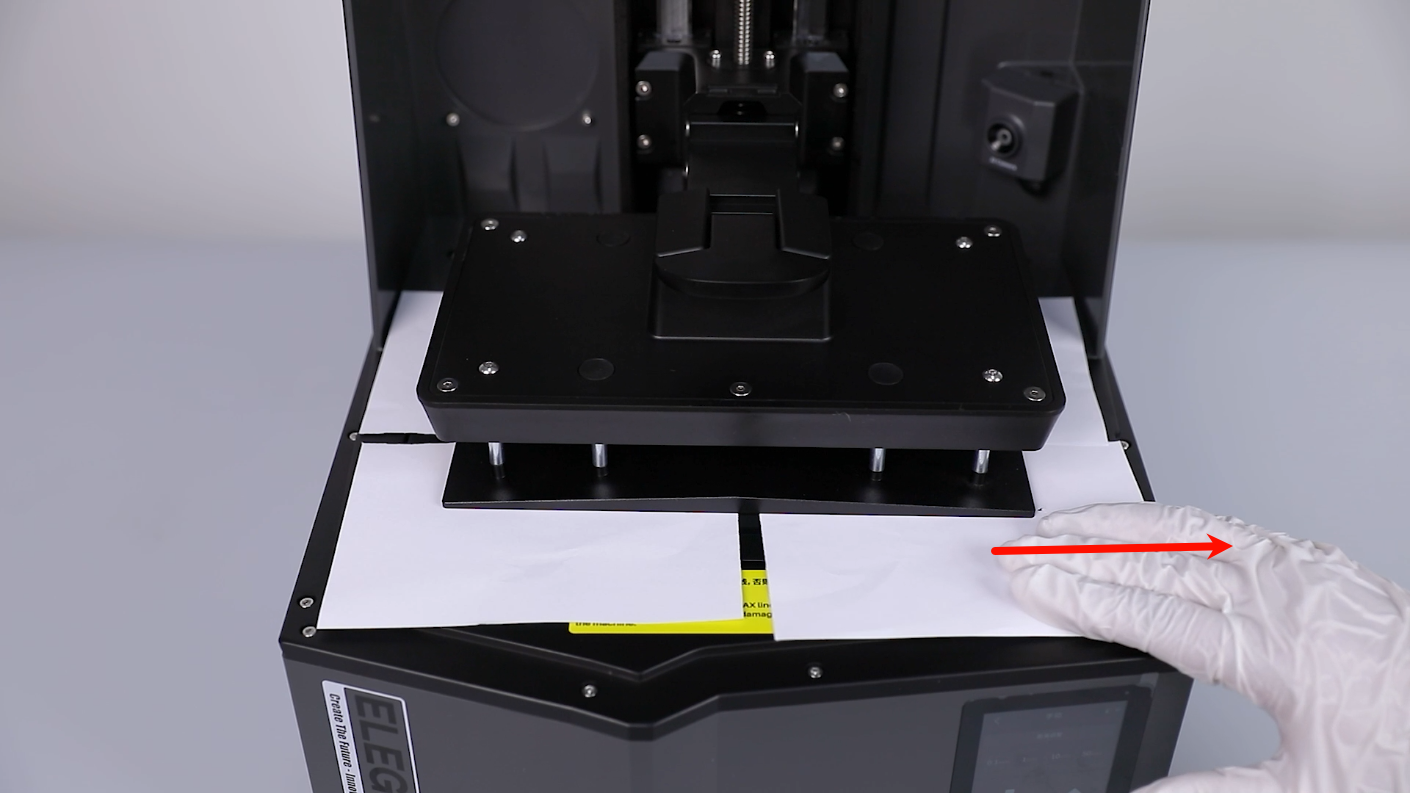
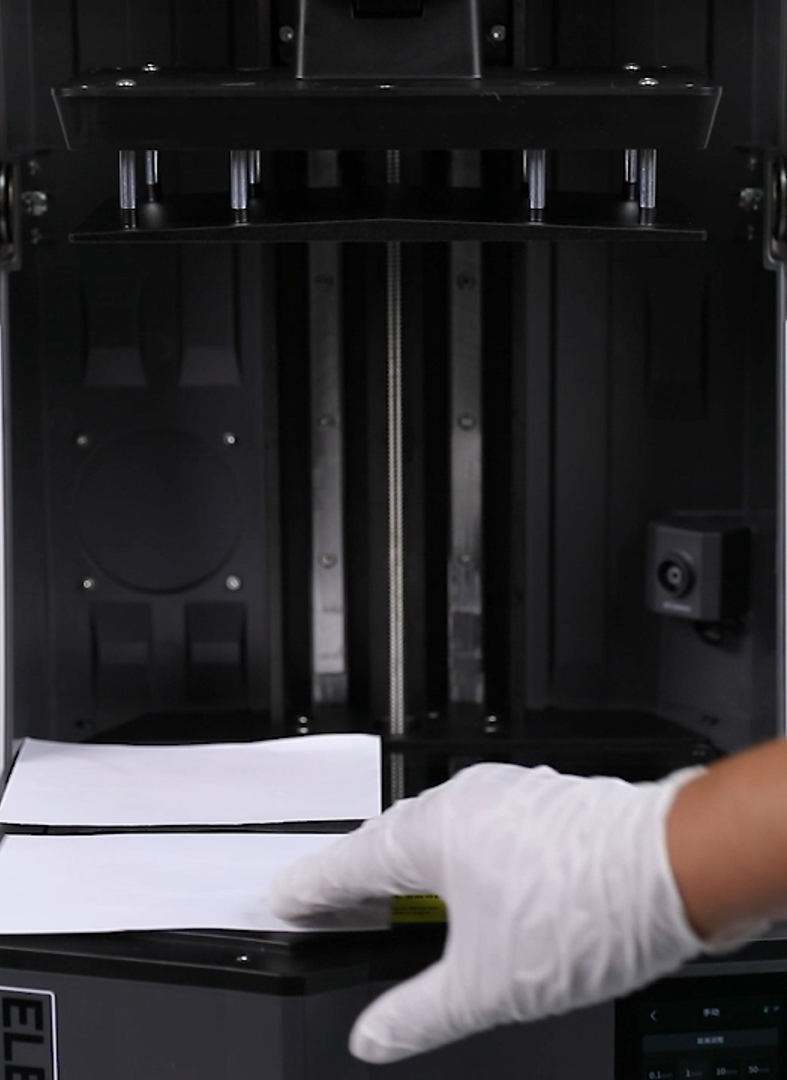
- Tear a piece of A4 paper into 4 equal pieces and place them at the four corners of the LCD screen.
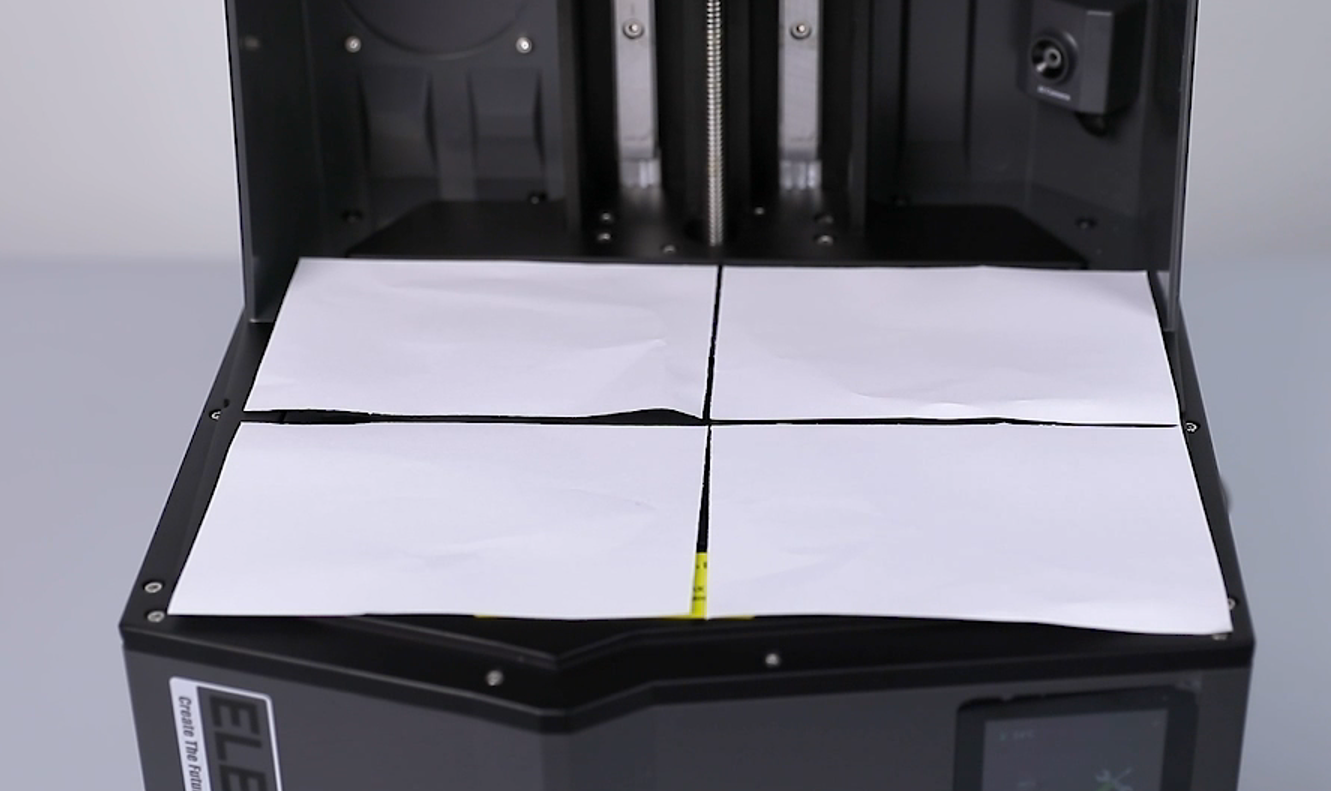
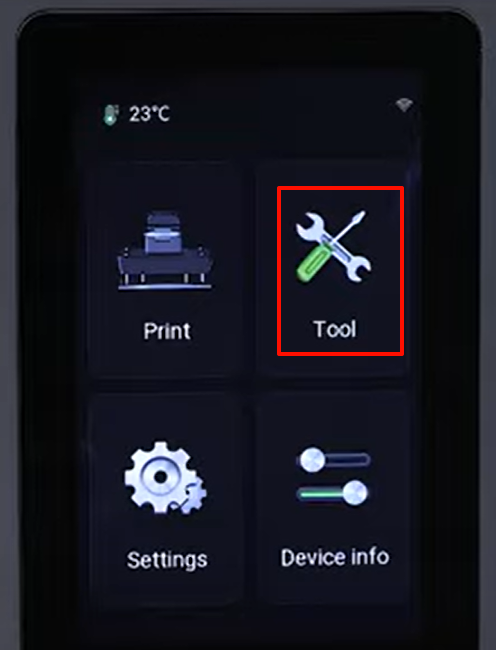
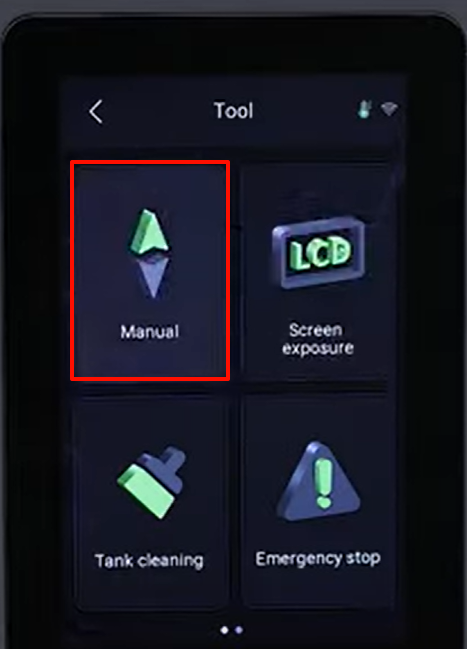
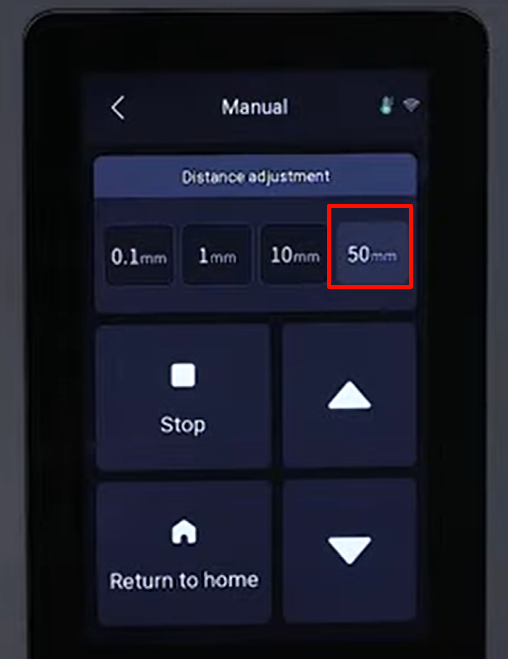
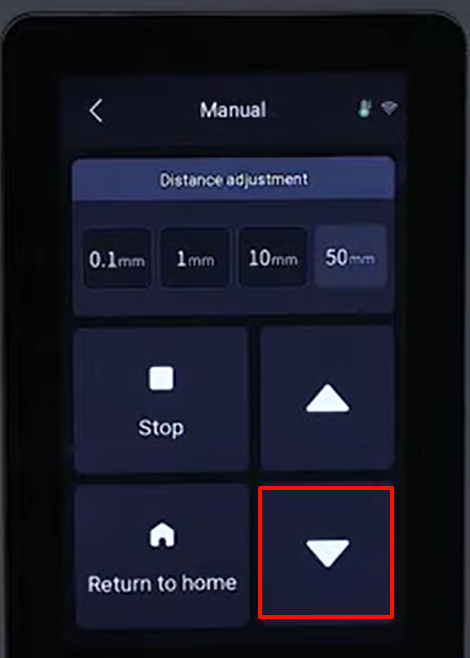
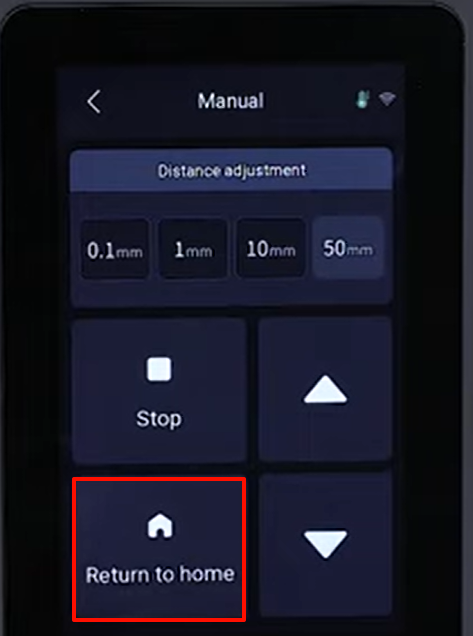
- Select "Tools - Manual" on the touchscreen. Lower the build plate by 50 mm, 10 mm, 1 mm and 0.1 mm to press the A4 paper.
- Pull the A4 paper at the 4 corners by hand to make sure there is significant resistance to the A4 paper.
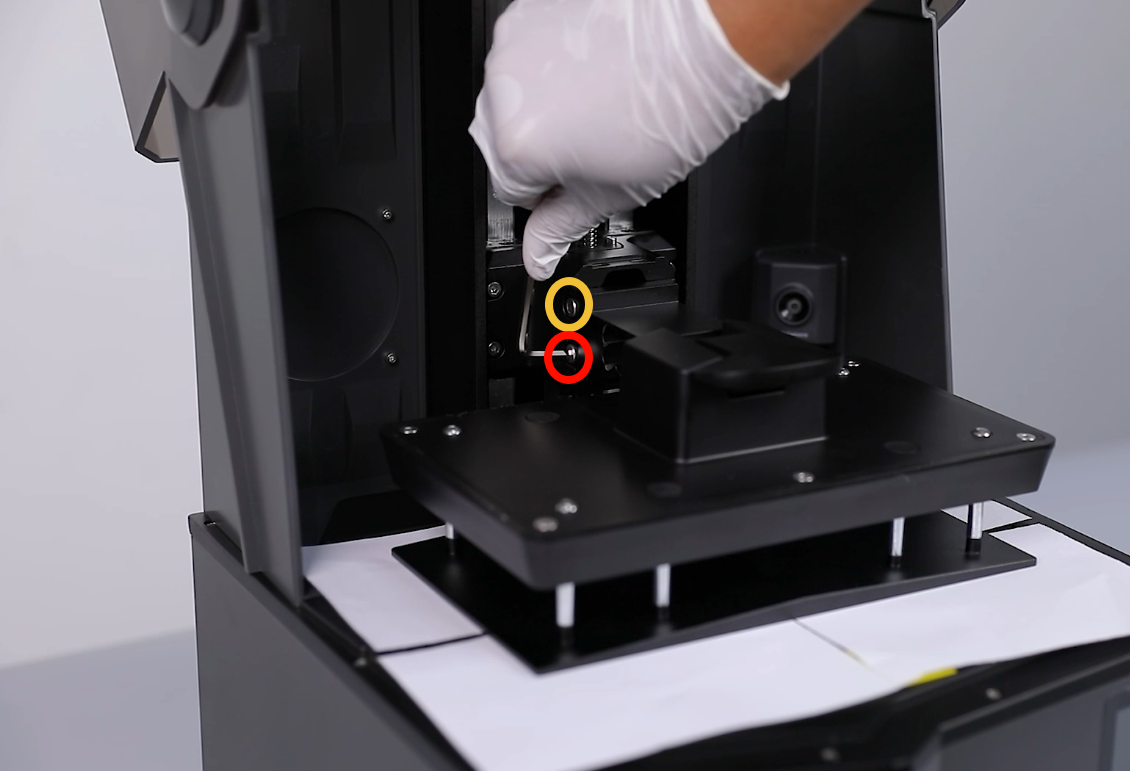
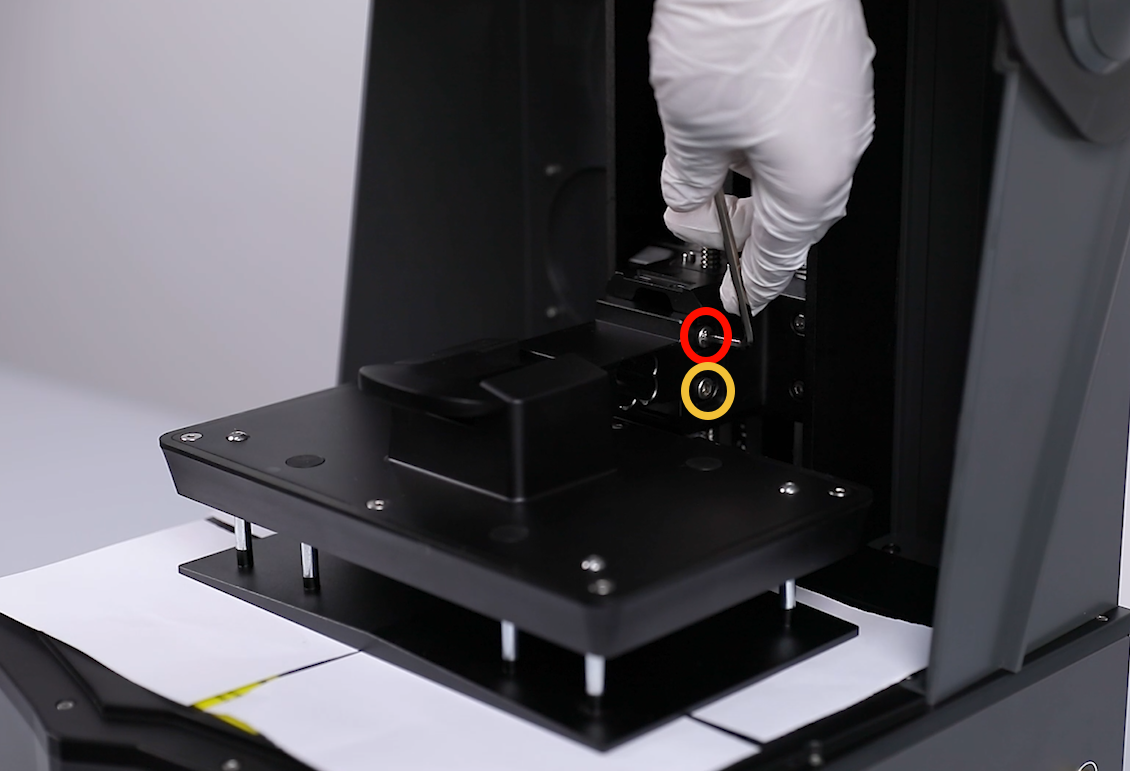
- Tighten the 4 screws in diagonal direction securing the cantileve using a 4.0 mm Allen key.
- Select "Home" on the touchscreen, the Z-aixs starts its homing process. Then, remove the A4 paper.
- Remove the build plate. Loosen the screw securing handle using a 4.0 mm Allen key. Remove the handle.
- Align the clips and press the protective cover back into place.
- Put it in the installation position by aligning it with the screw holes. Tighten the 1 screws using a 4.0 mm Allen key.

- Install the build plate and the resin tank. Power on the printer.
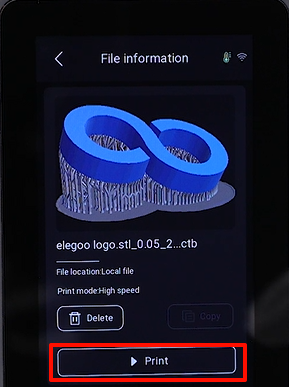
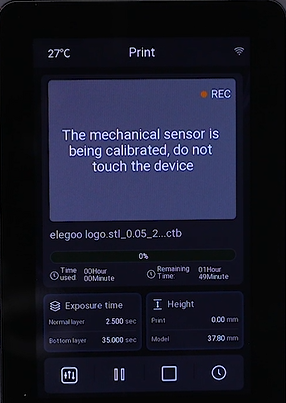
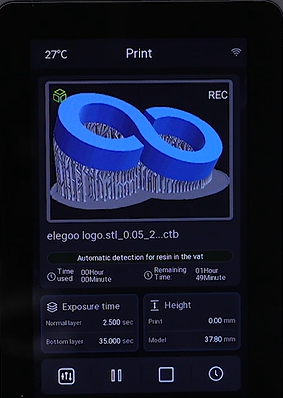
- Select "Print" on the touchscreen. The touchscreen displays "Calibrating the sensor - detecting resin - automatic leveling". The printer is ready for use after the self insepction.