Reference video
Operation steps
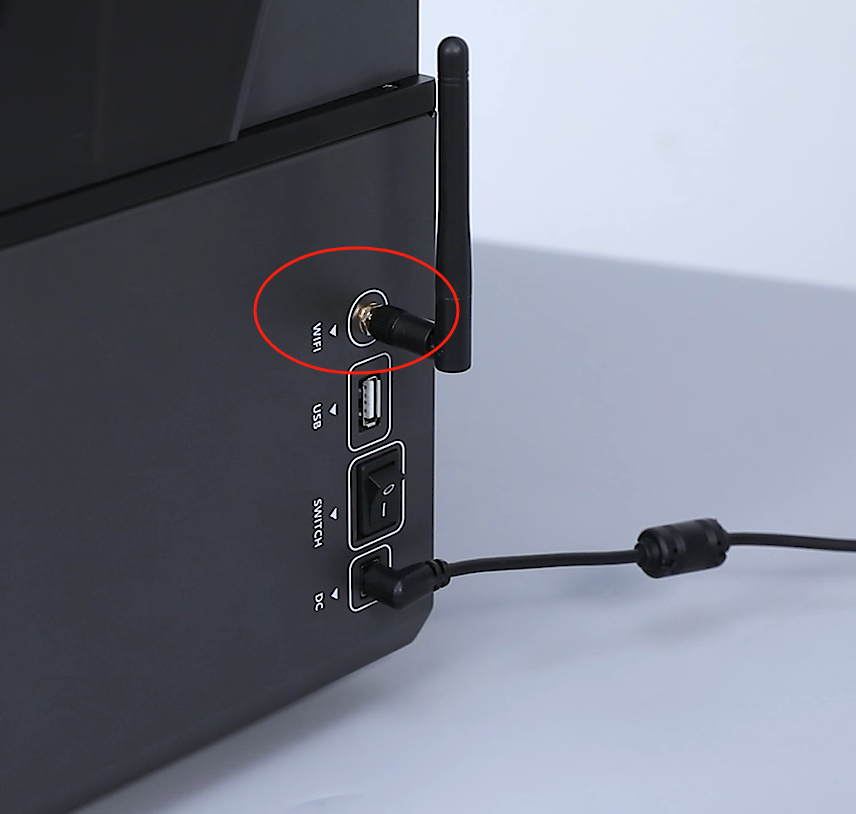
- Install the Wi-Fi antenna and power on the printer.
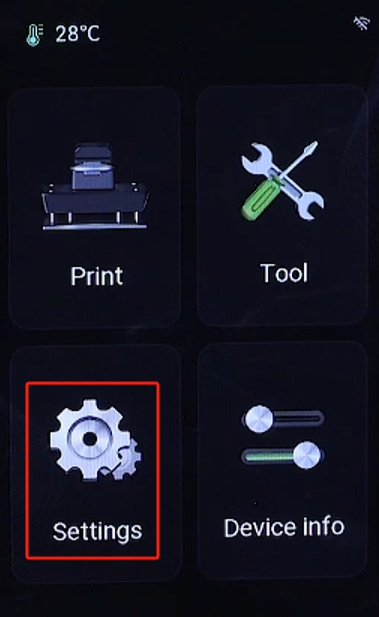
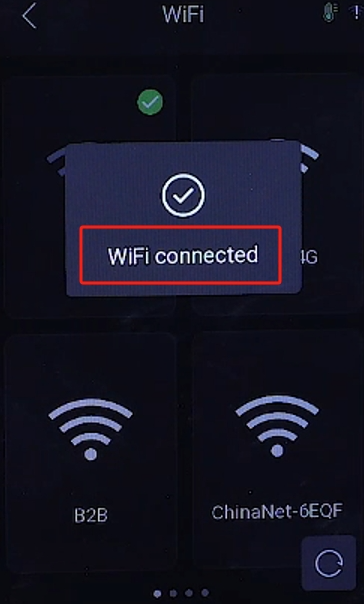
- Once the printer is powered on, it will start the self-test process. On the touch screen, click on “Settings” - “WiFi” and select the desired WiFi network to connect.
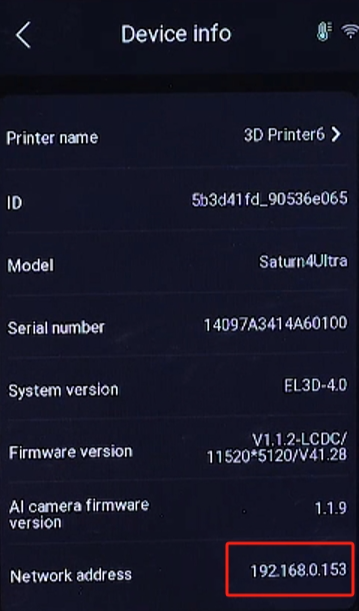
- After connecting to WiFi, go back to the main page. Click on “Device info” and make note of the “Network address.”
- On your computer, connect to the same local network and open the Chitubox software. Click on “Slice Settings.”
- Check if the parameters for the Saturn 4 Ultra printer are correctly set in the software. Import the model and click on “Slice.” The software will slice the model and display it in the preview interface.
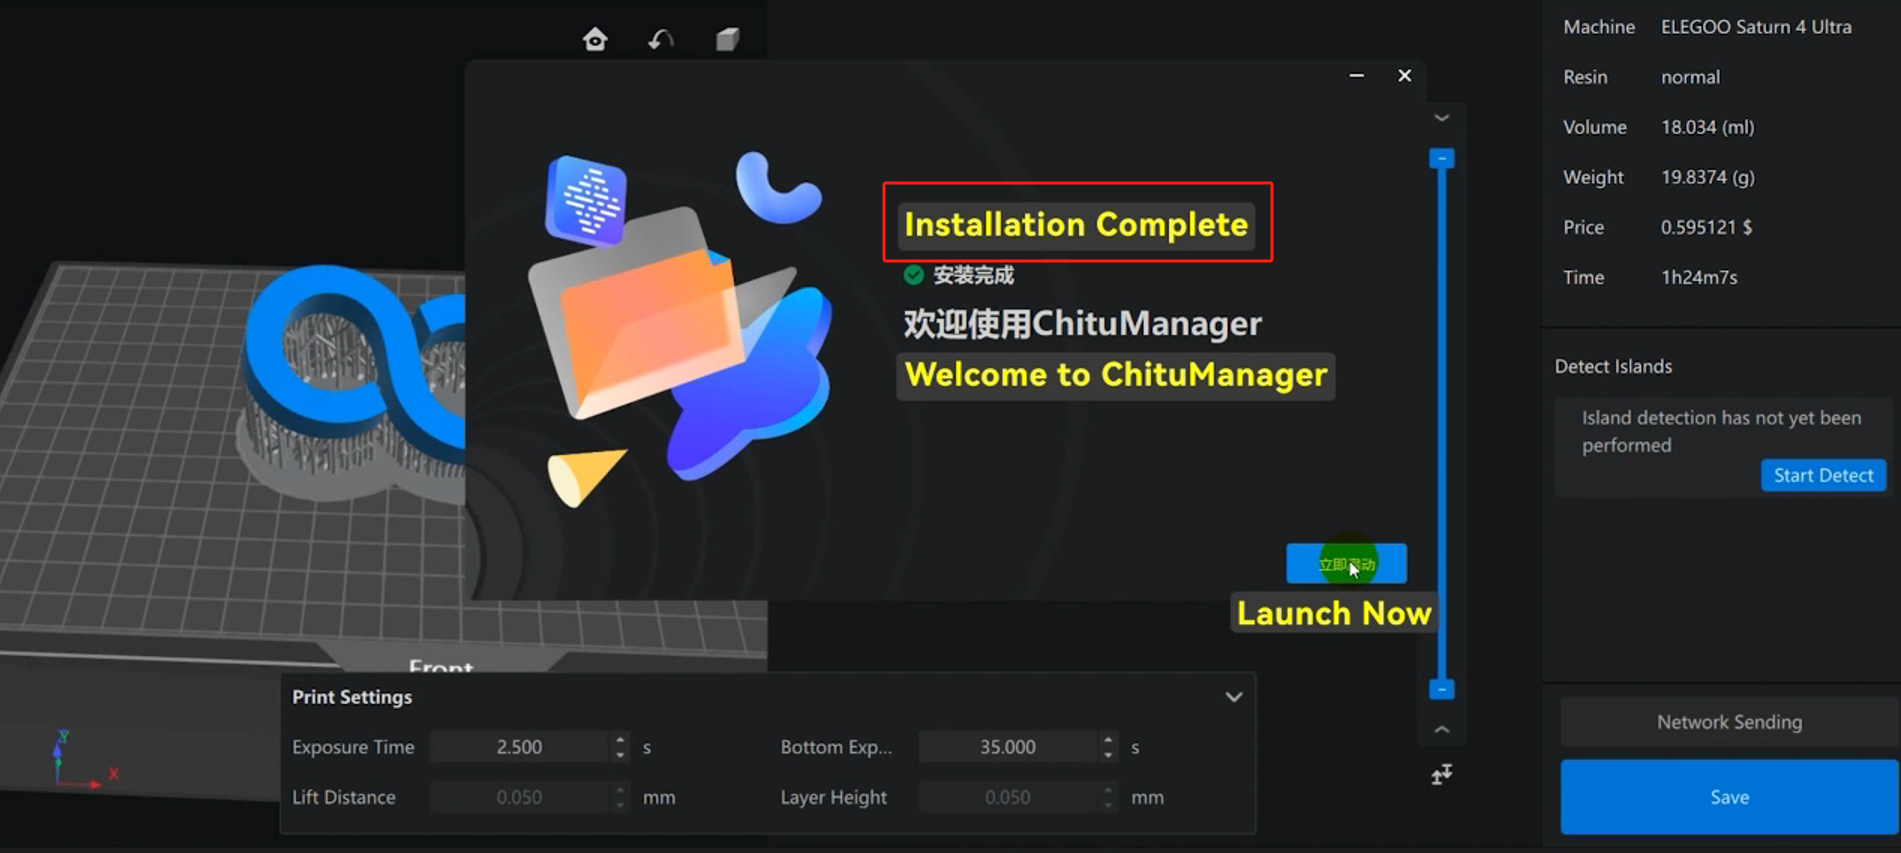
- Click on “Network Sending” and in the pop-up window, click on “Download and Install.” Follow the prompts to complete the installation of ChituManager software.
- Once again, click on “Network Sending” and in the pop-up window, click on “Add Printer.” Add the printer based on its network address. You can also optionally select the “Time-lapse” feature.
- Select the added printer and send the model file for printing. Once the file transfer is complete, click on “Print.”
- Upon receiving a print command, the printer will first perform the mechanical sensor calibration and resin level detection before commencing the printing of the model.
(Note: Do not touch the printer or operate the cover until the first layer starts printing.)