¶ Tools and Materials
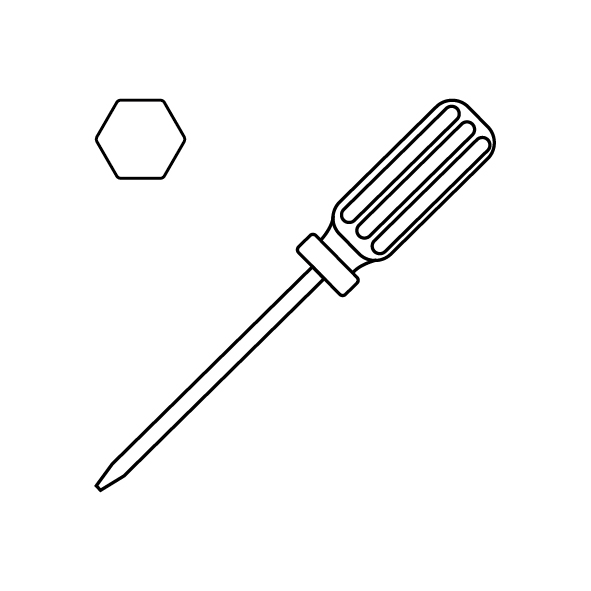
- A 2.5 mm Allen key
- A4 paper
¶ Tutorial Video
¶ Instruction
This guide will take you through the fine-tuning of the build plate after the automatic leveling.
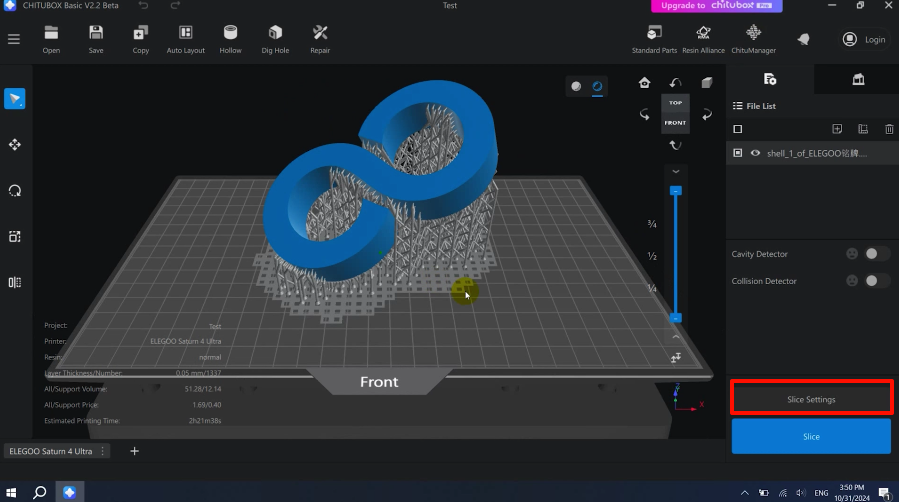
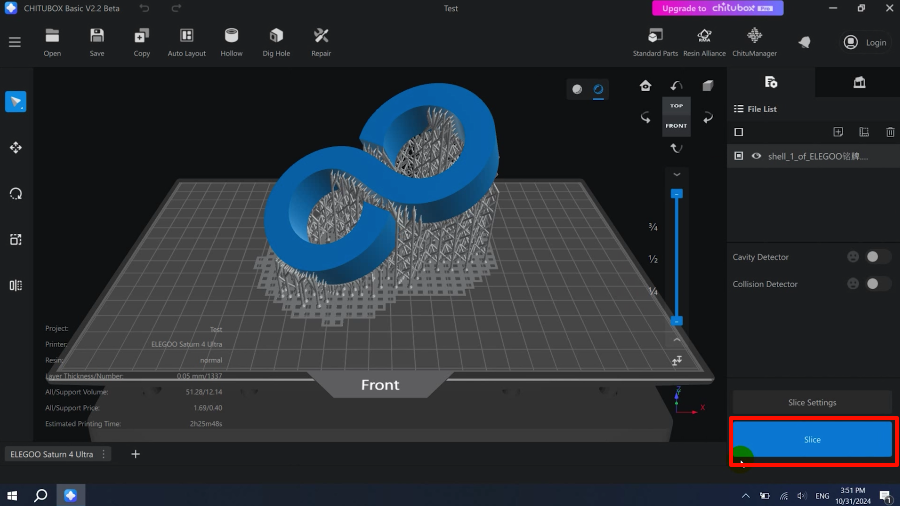
- Import the model file into the slicing software. Click "Slice Settings".
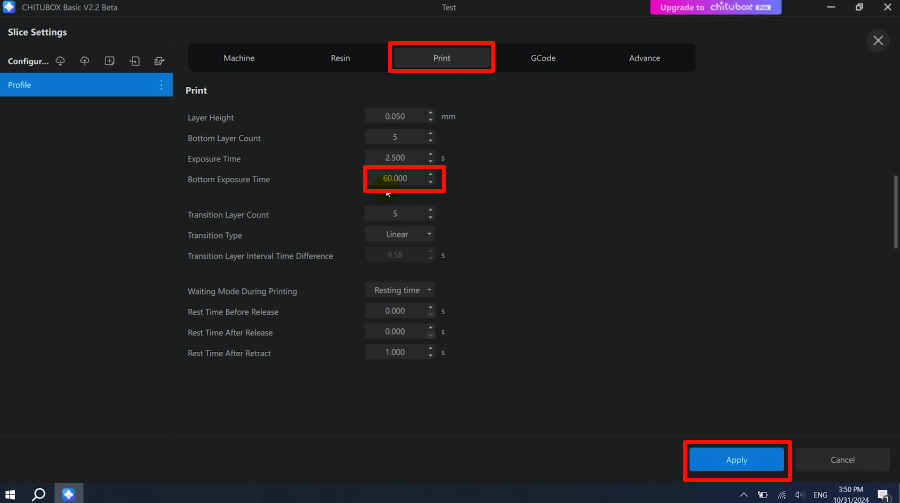
- Click "Print". In the parameter setting interface, set the "Underlying Exposure Time" parameter to 60s (or 90s). Click "Apply" to save the modified parameters.
Note: Set the bottom exposure time longer to allow more time to adjust the screws later.
- Click "Slice" and save the sliced file to the USB flash drive.
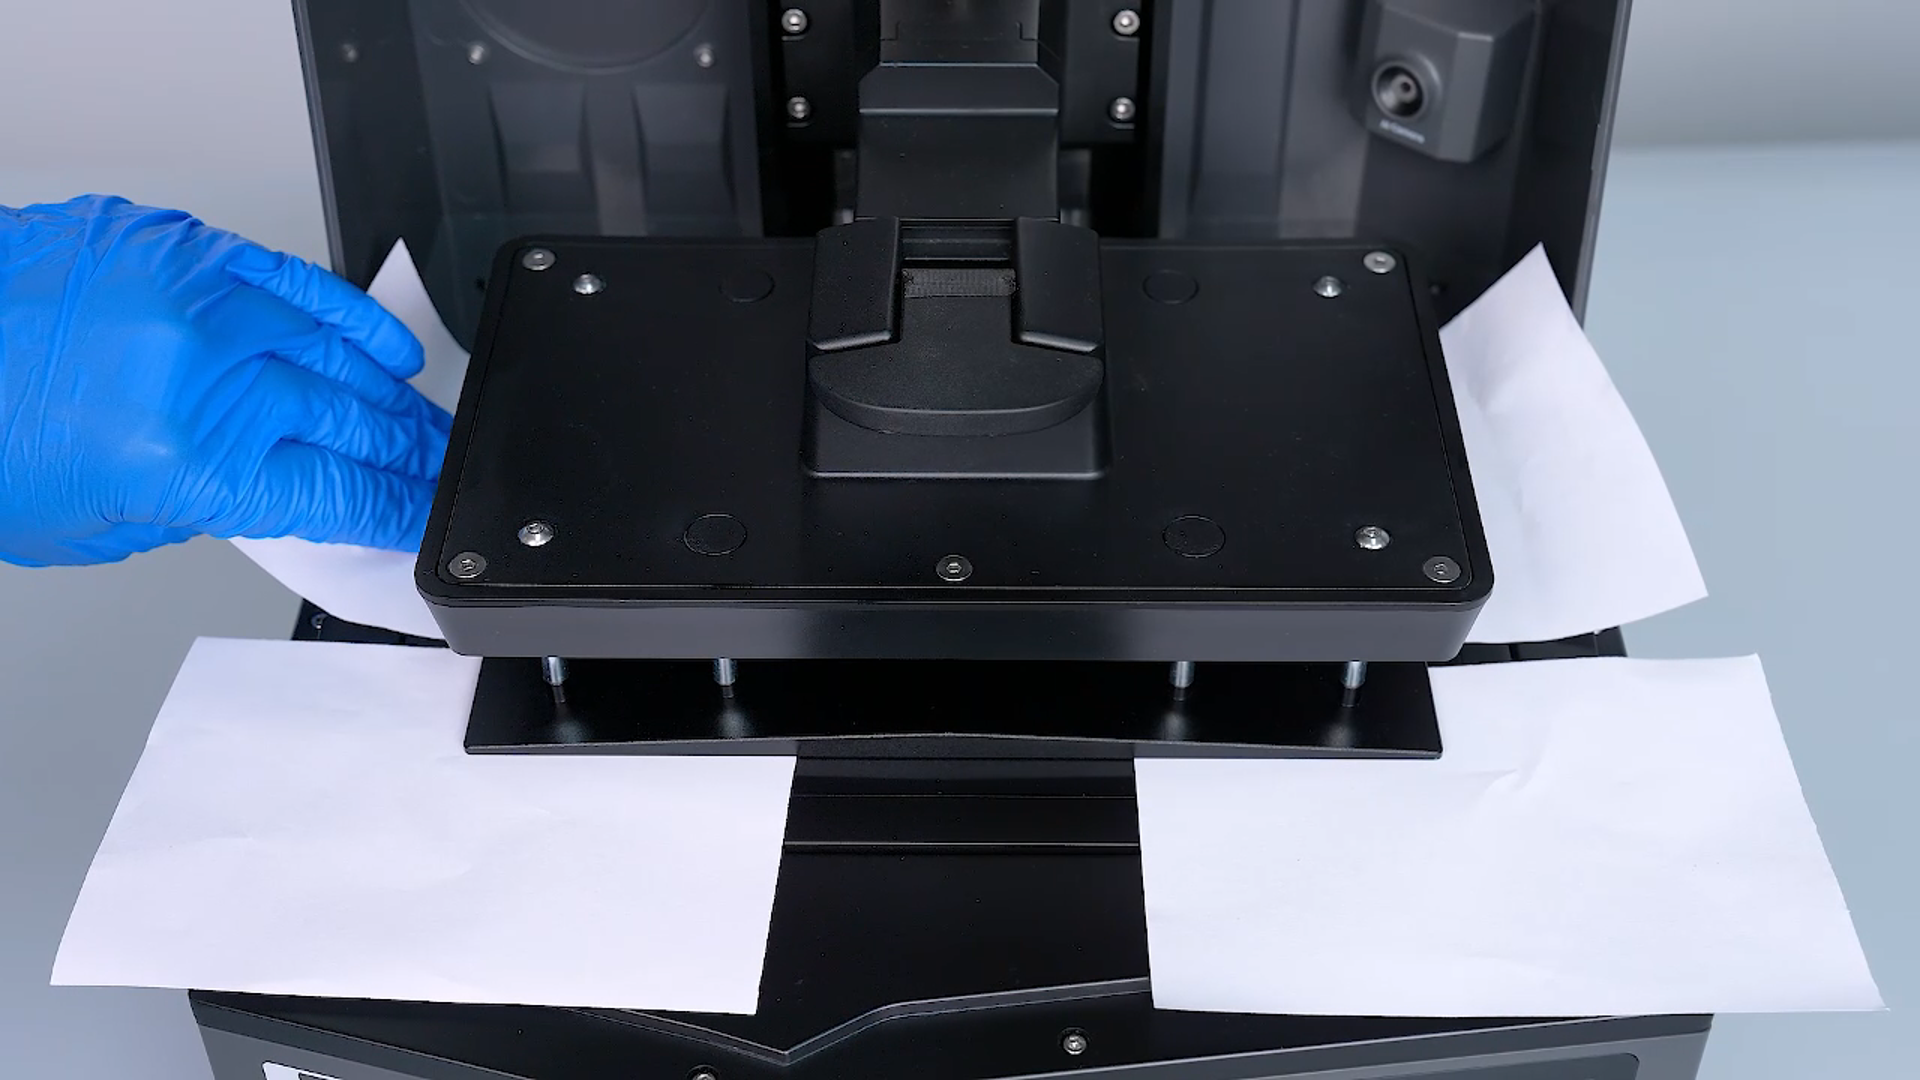
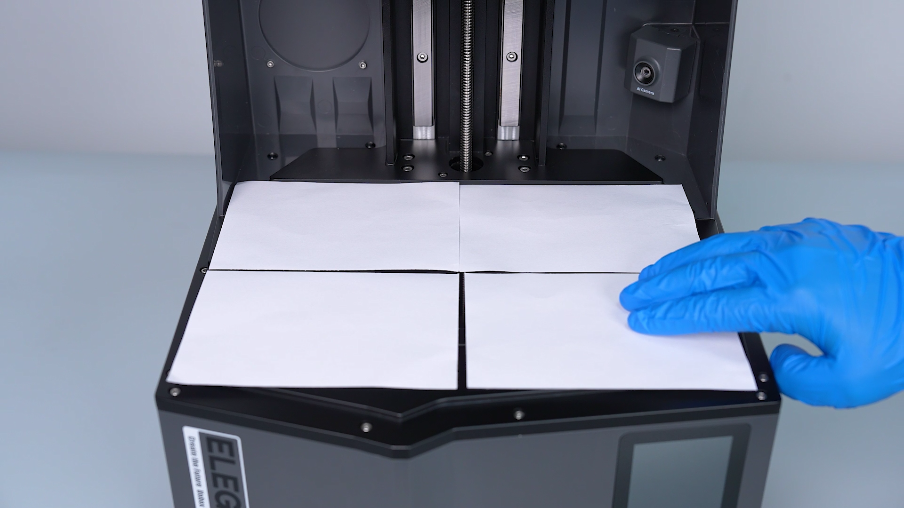
- Tear a piece of A4 paper into 4 equal pieces and place them at the four corners of the LCD screen.
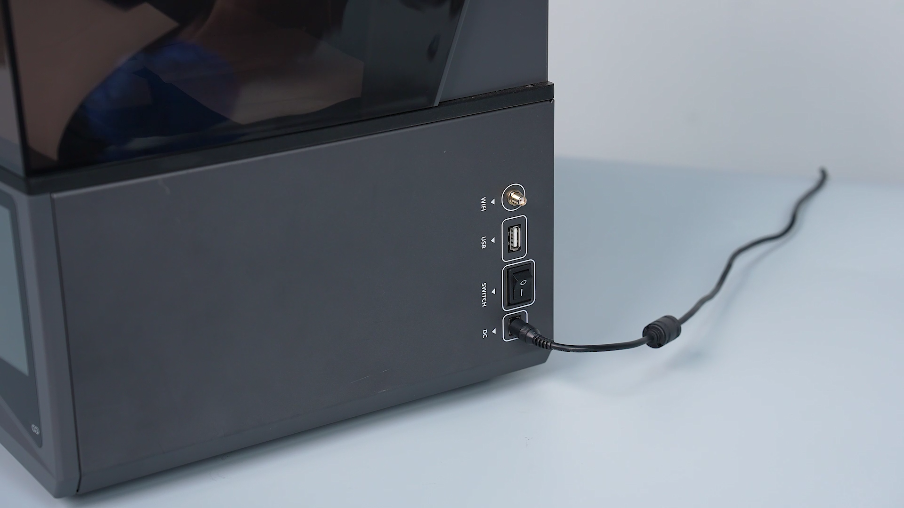
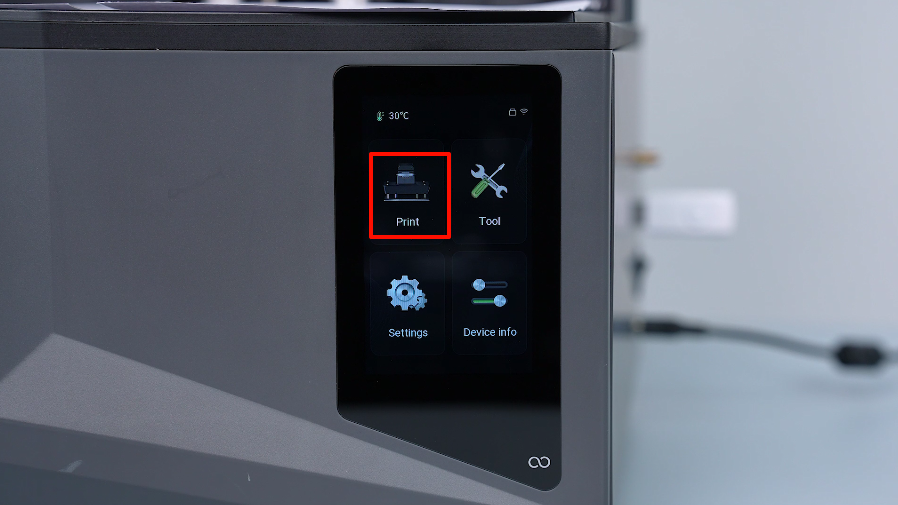
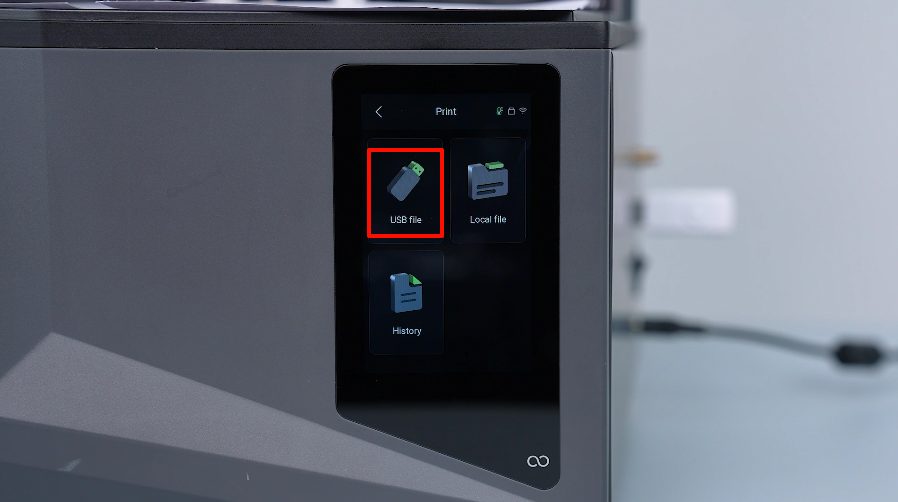
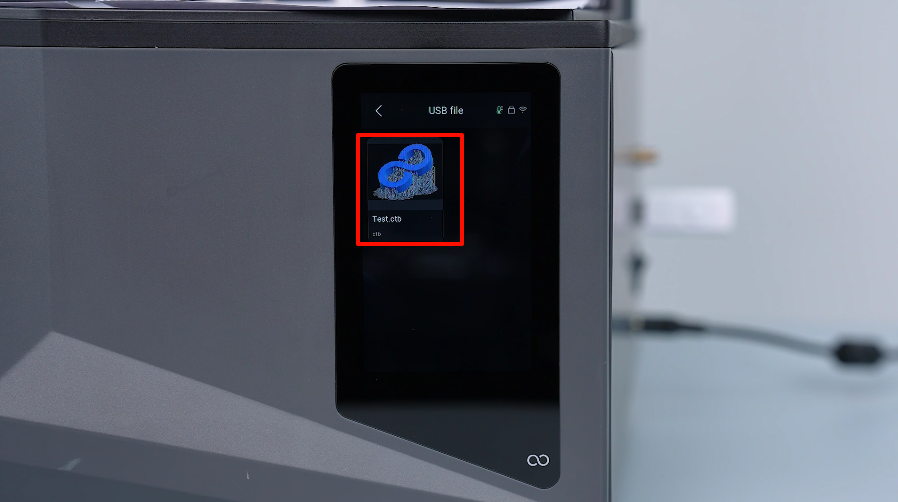
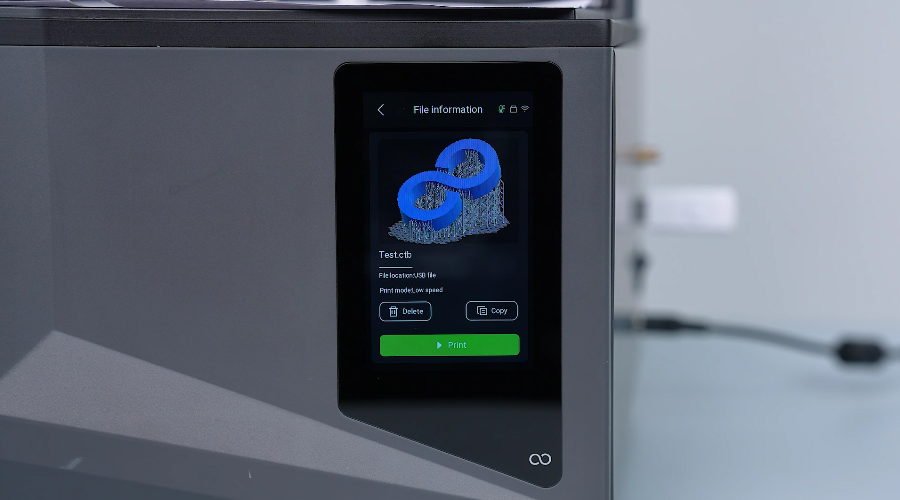
- Power on the printer. Plug in the USB flash drive. On the touchscreen, click "Print - USB File". Select the model to print.
Note: The model is printed without the resin tank.
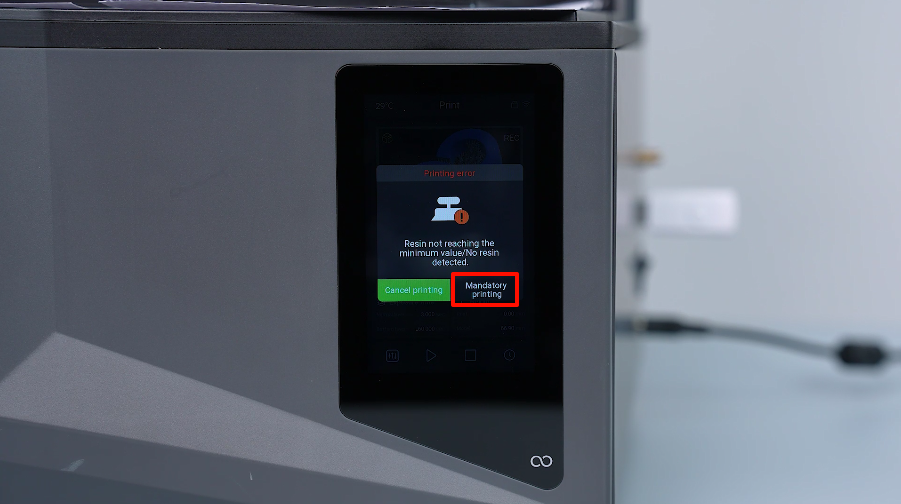
- If a "Print Abnormal" pop-up window appears, click "Mandatory Printing". The touchscreen shows that the automatic leveling is completed. The printer will start printing the model.
- During the printing of the first layer of model exposure, pull the A4 paper in the four corners and observe which corner of the paper is obviously loose.
Note: The pressed state refers to that the paper can be pulled out under the print platform, but cannot be pushed back.
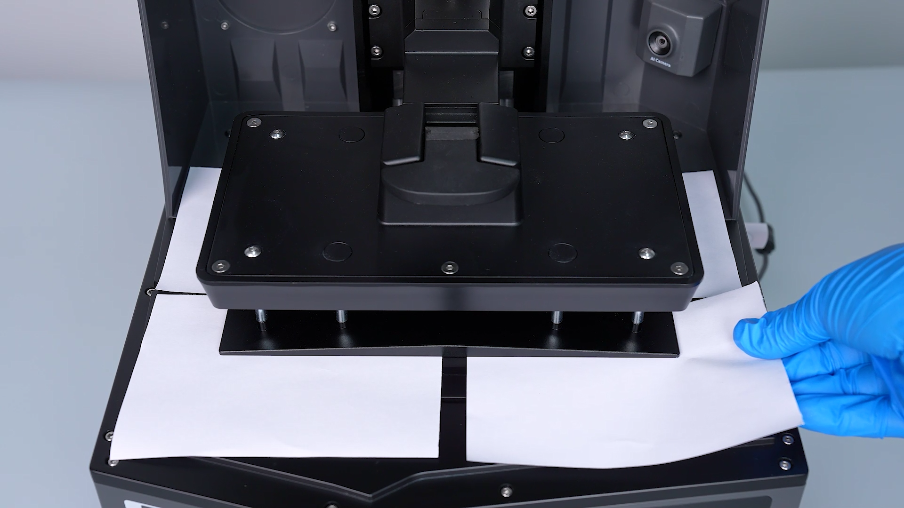
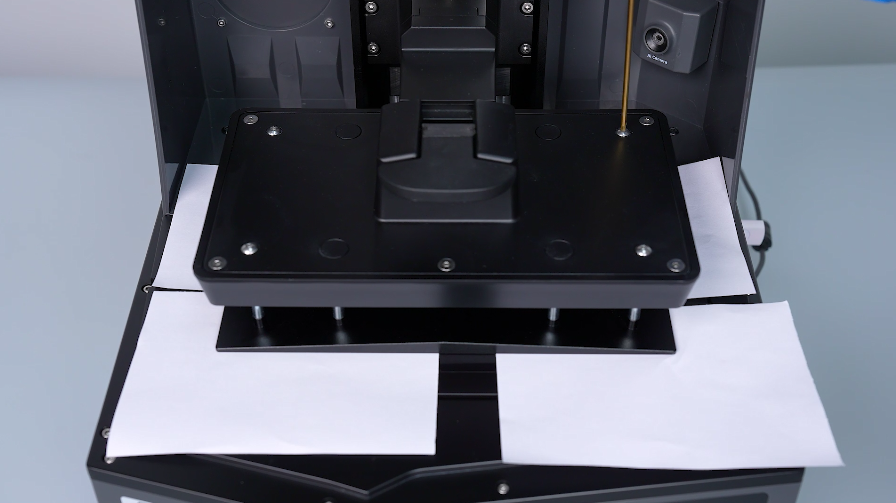
- For the paper that is loose at the corner, loosen the screw at that corner counterclockwise slightly using a 2.5mm Allen key.
Note: Loosen the screw slightly. It is forbidden to tighten the screws drastically to prevent abnormalities of the build plate.
- After adjusting the screws, pull the 4 pieces of paper in the corner of the build plate again to test the tightness. Make sure that the paper is fully pressed and the fine-tunning is completed.
Note: After adjusting either screw, the paper at the four corners needs to be re-tested for tightness.