¶ Tools and materials needed
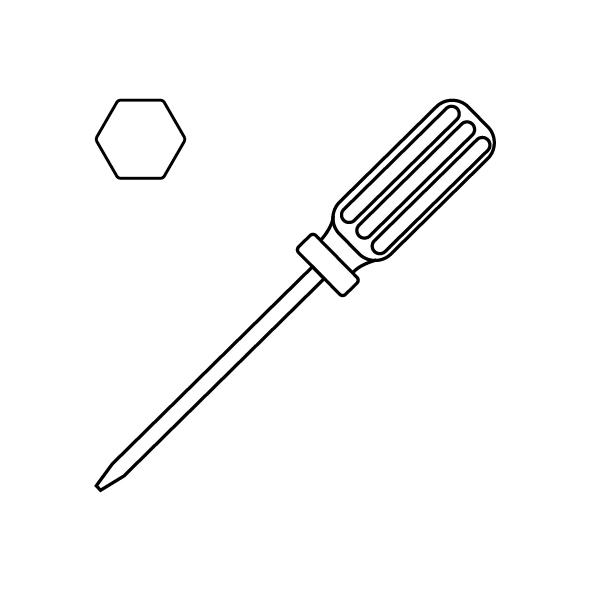
- 3.0mm Allen wrench
- 2.5mm Allen wrench
- New camera ribbon cable
¶ Reference video
¶ Operation steps
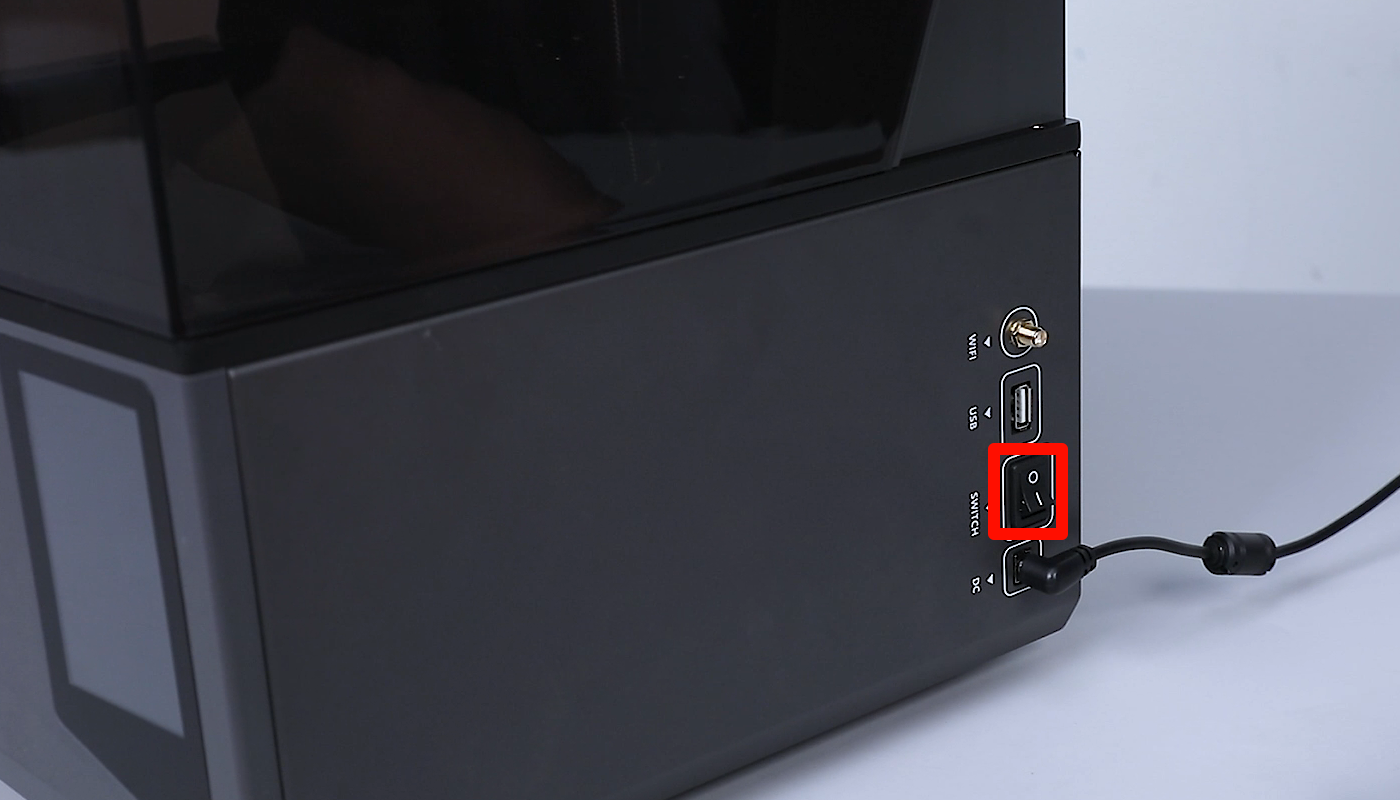
- Power off the printer and disconnect the power cord.

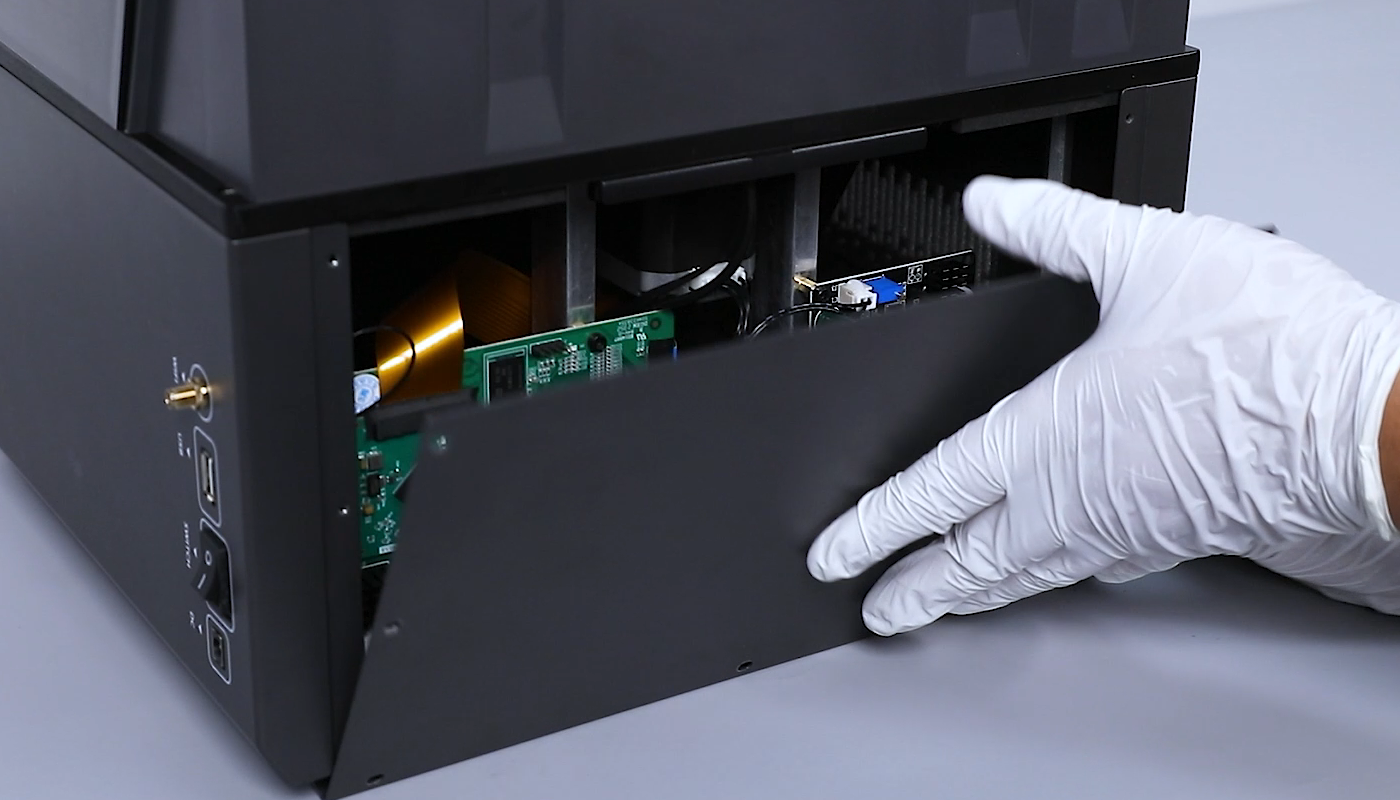
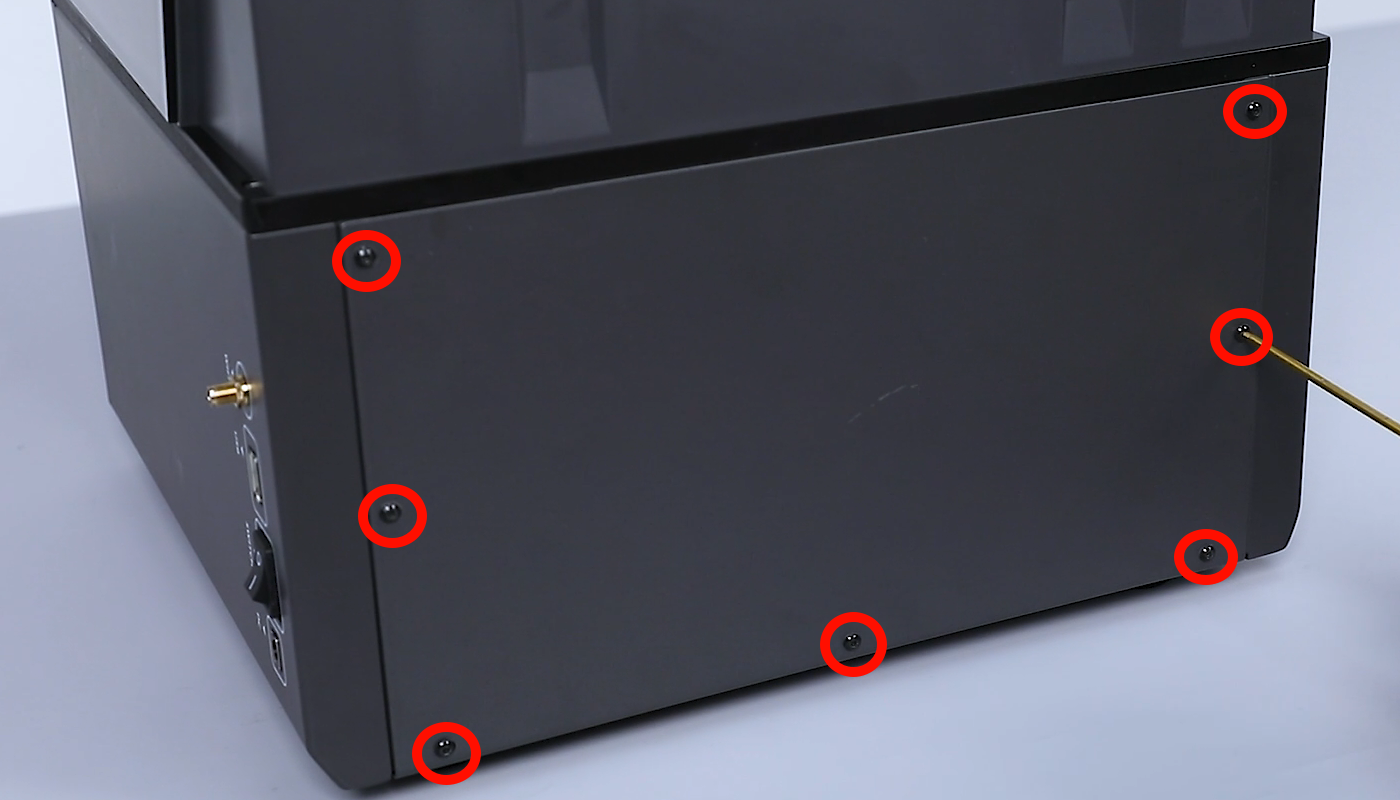
- Use a 2.0mm Allen wrench to loosen the seven screws securing the back cover of the printer, and remove the back cover.

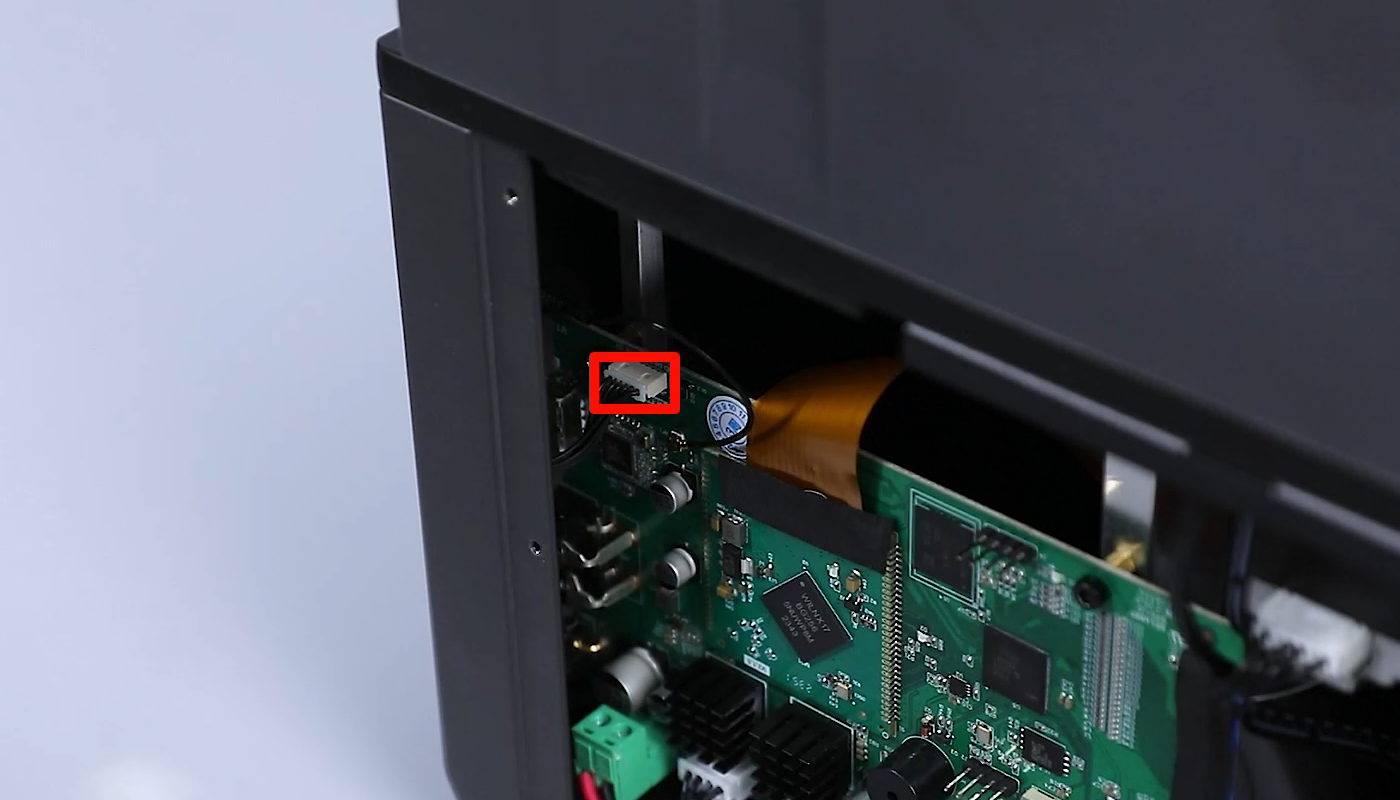
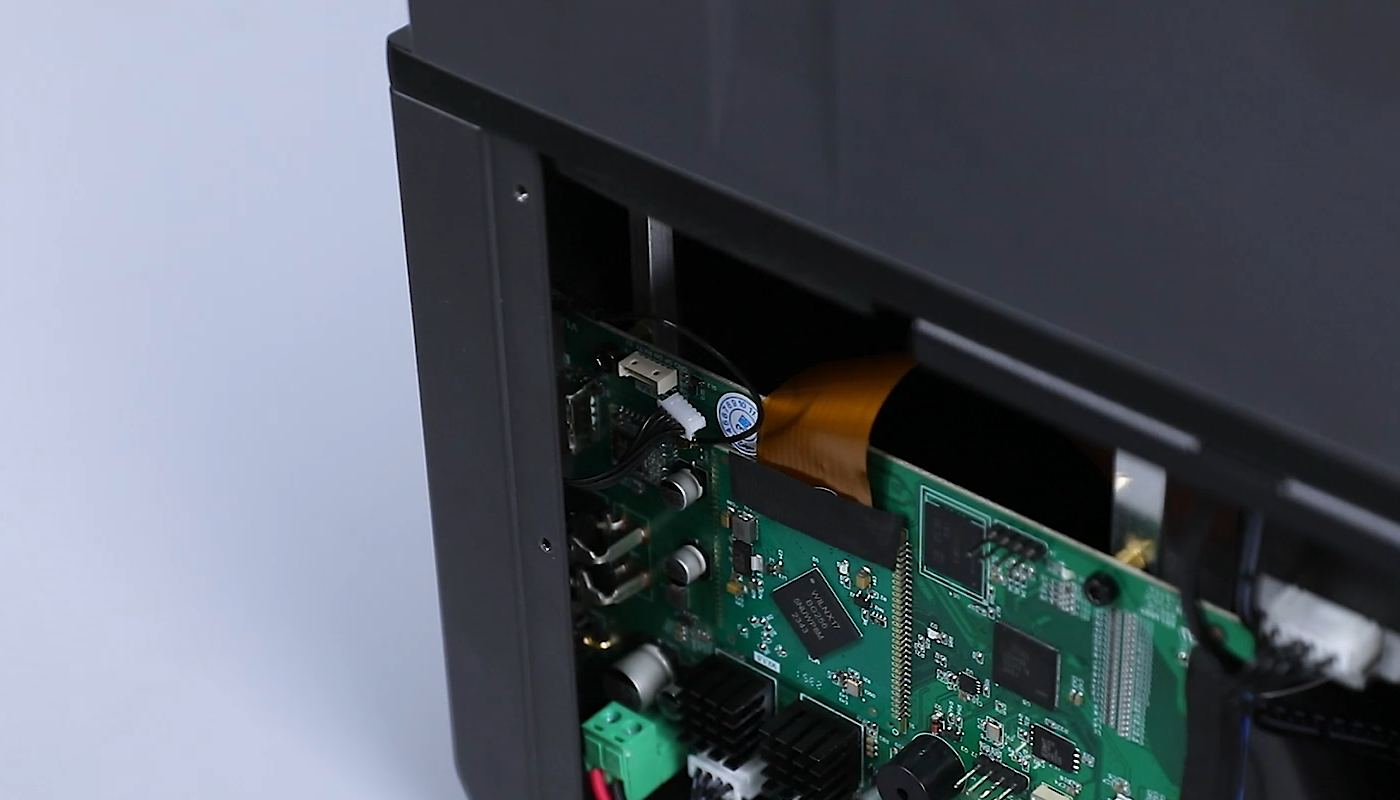
- Disconnect the camera cable from the motherboard.
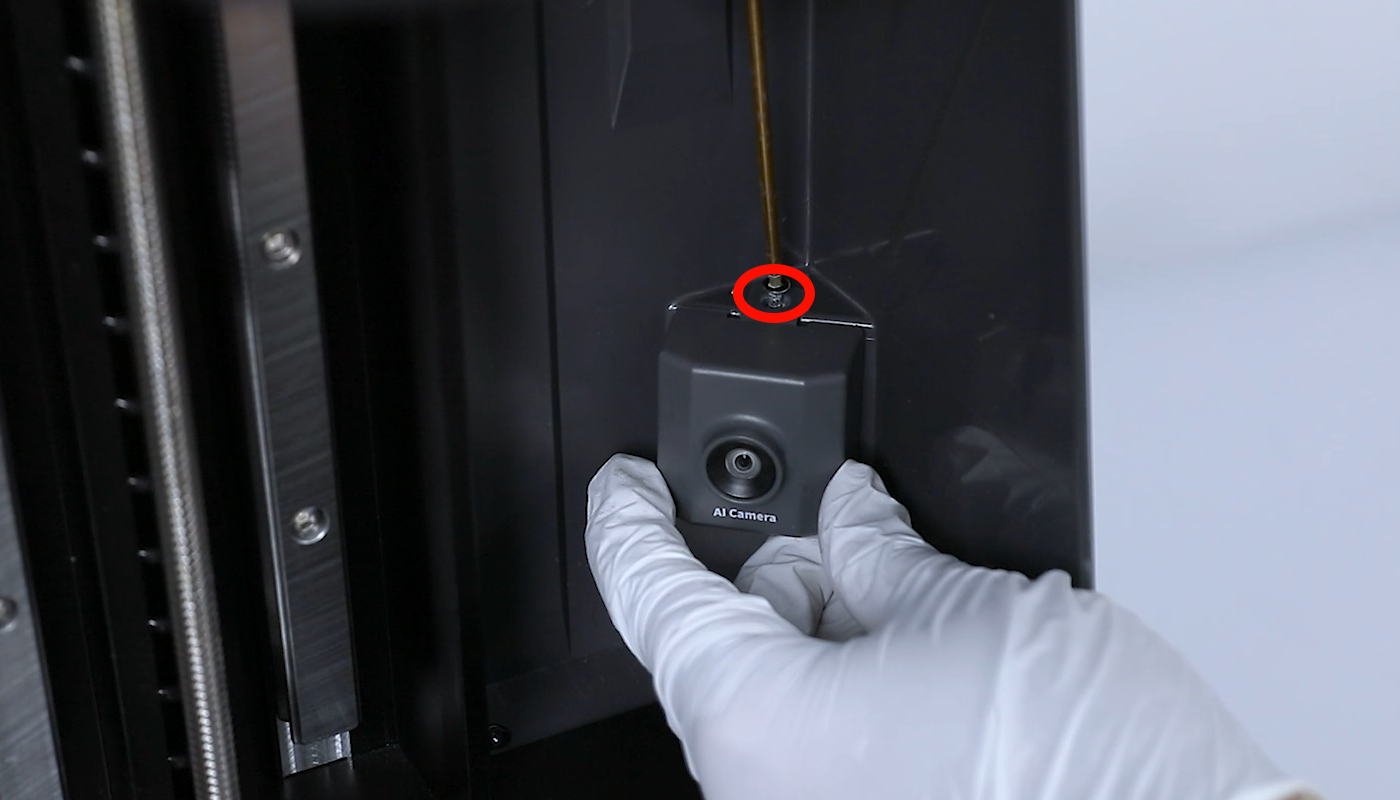
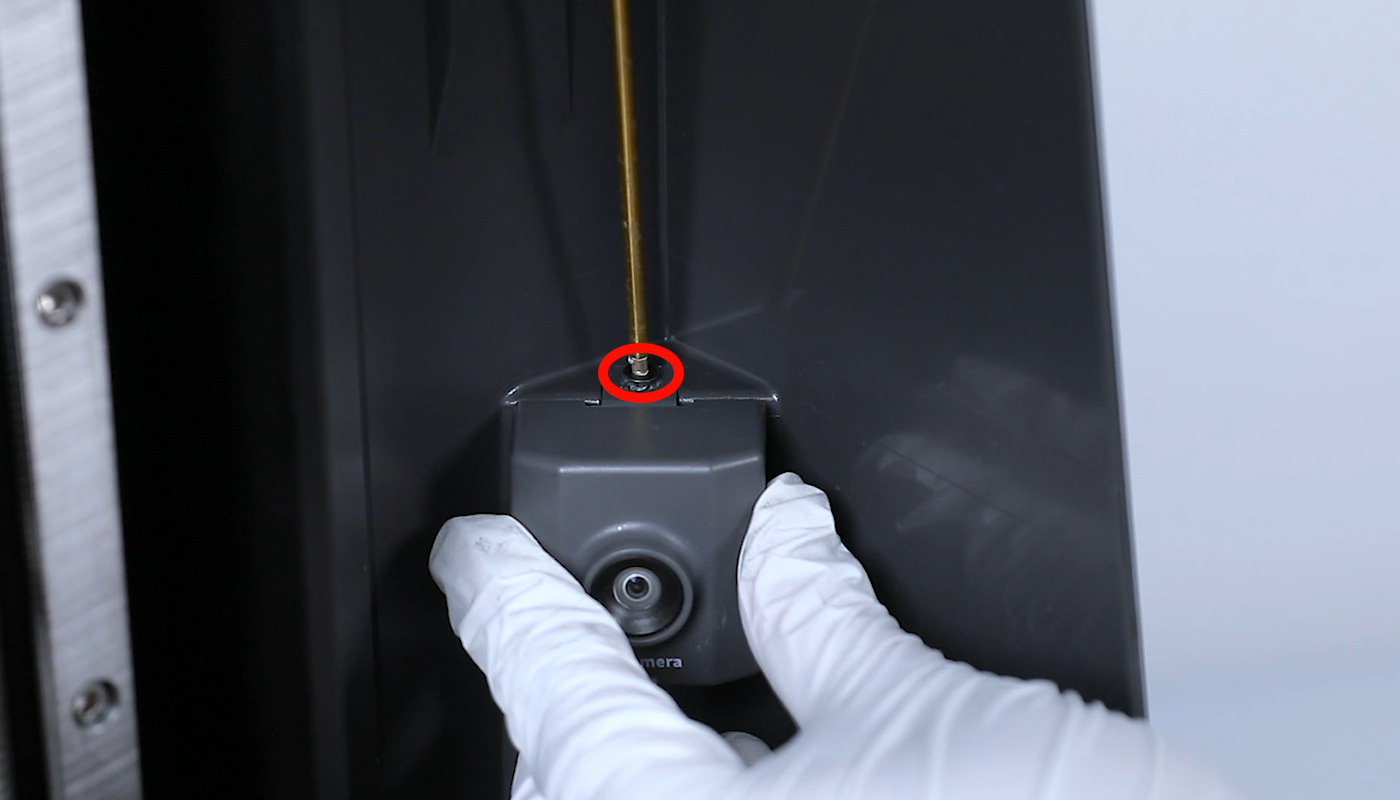
- Lift the top cover and use a 2.0mm Allen wrench to loosen the screw securing the camera. Remove the camera module.
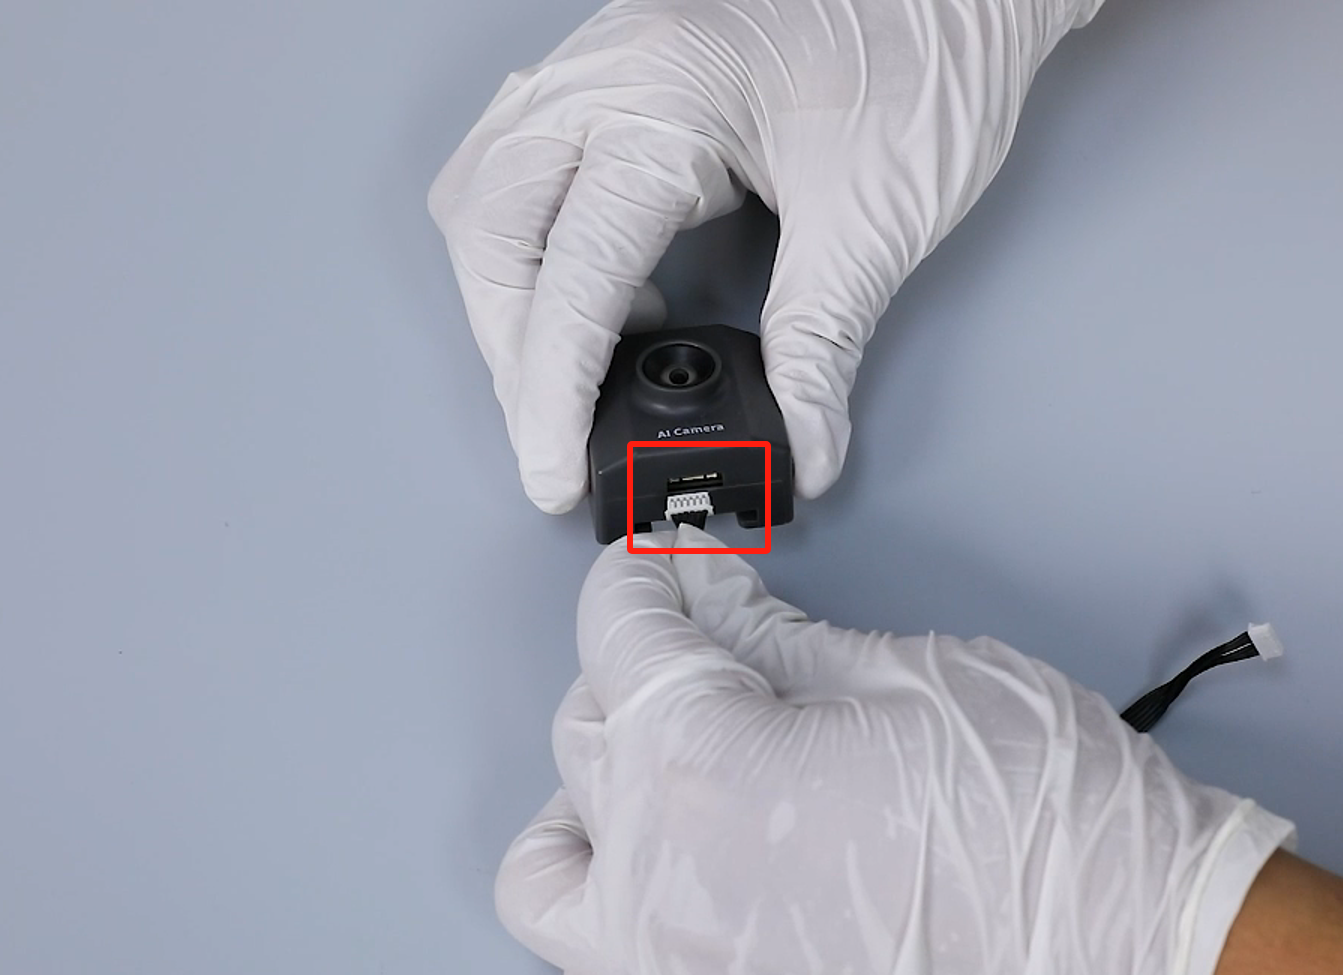
- Unplug the old camera ribbon cable.

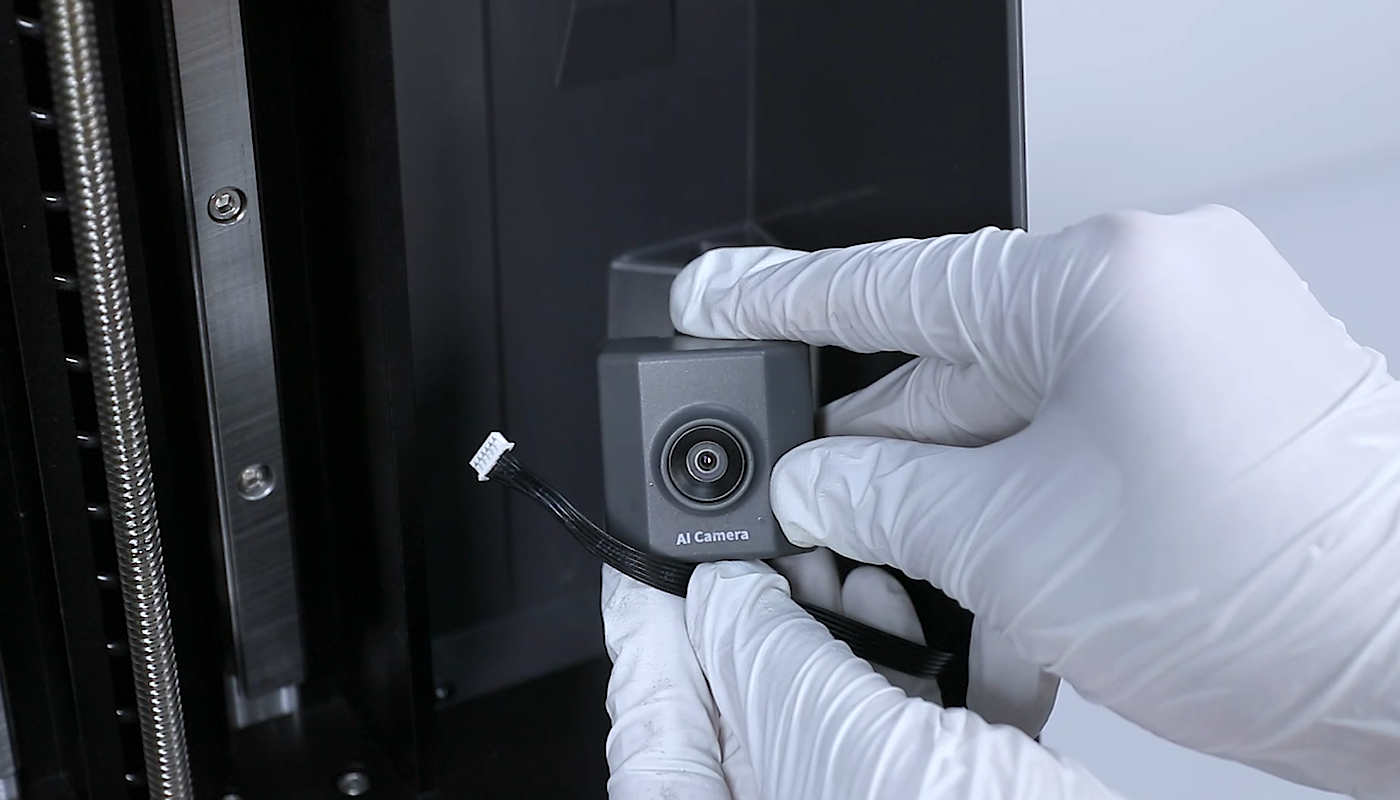
- Take out the new camera ribbon cable and insert it into the camera port.
Note: Ensure the correct installation direction of the ribbon cable.
- Reinstall the camera module. Thread the camera cable through the reserved hole into the base. Align the camera with the screw hole and place it in the installation position. Use a 2.0mm Allen wrench to tighten the screw securing the camera.
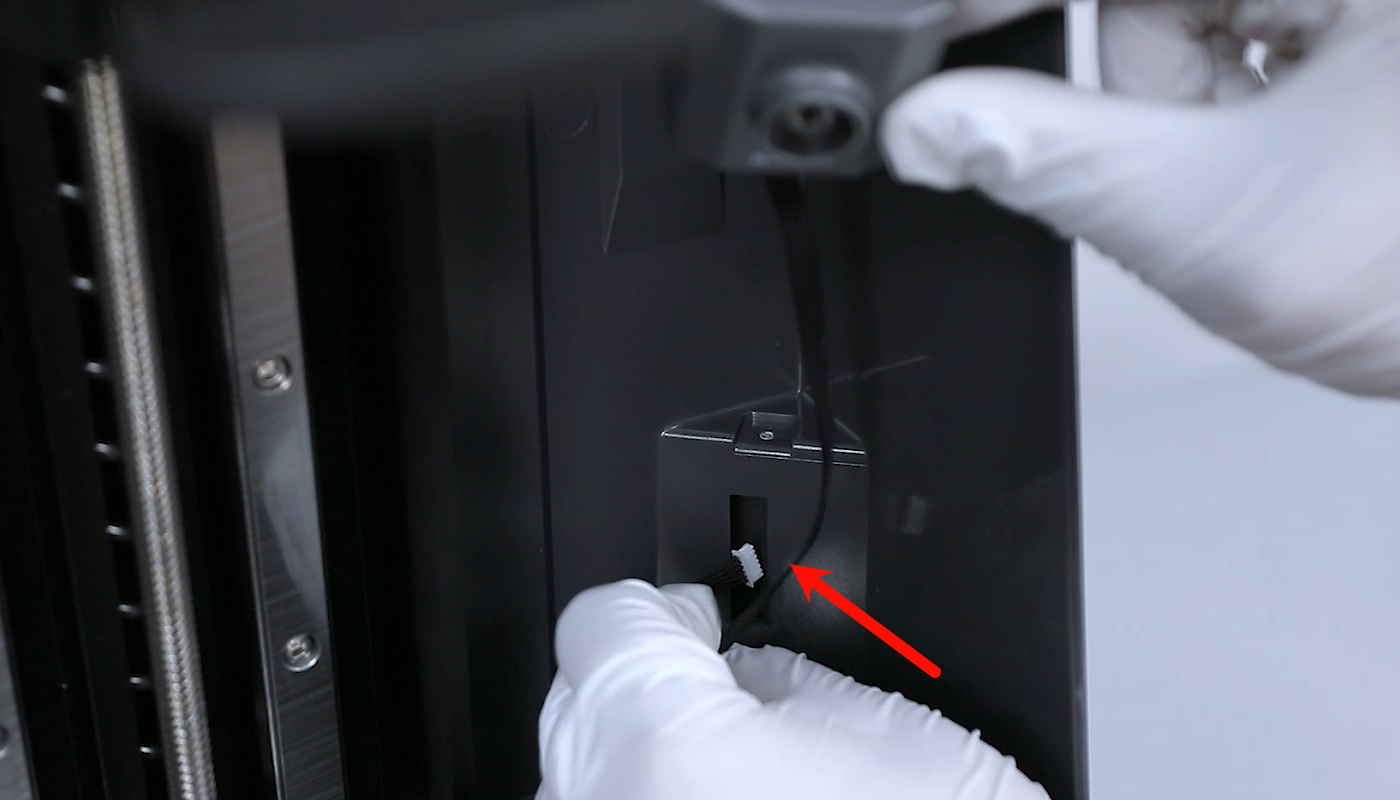
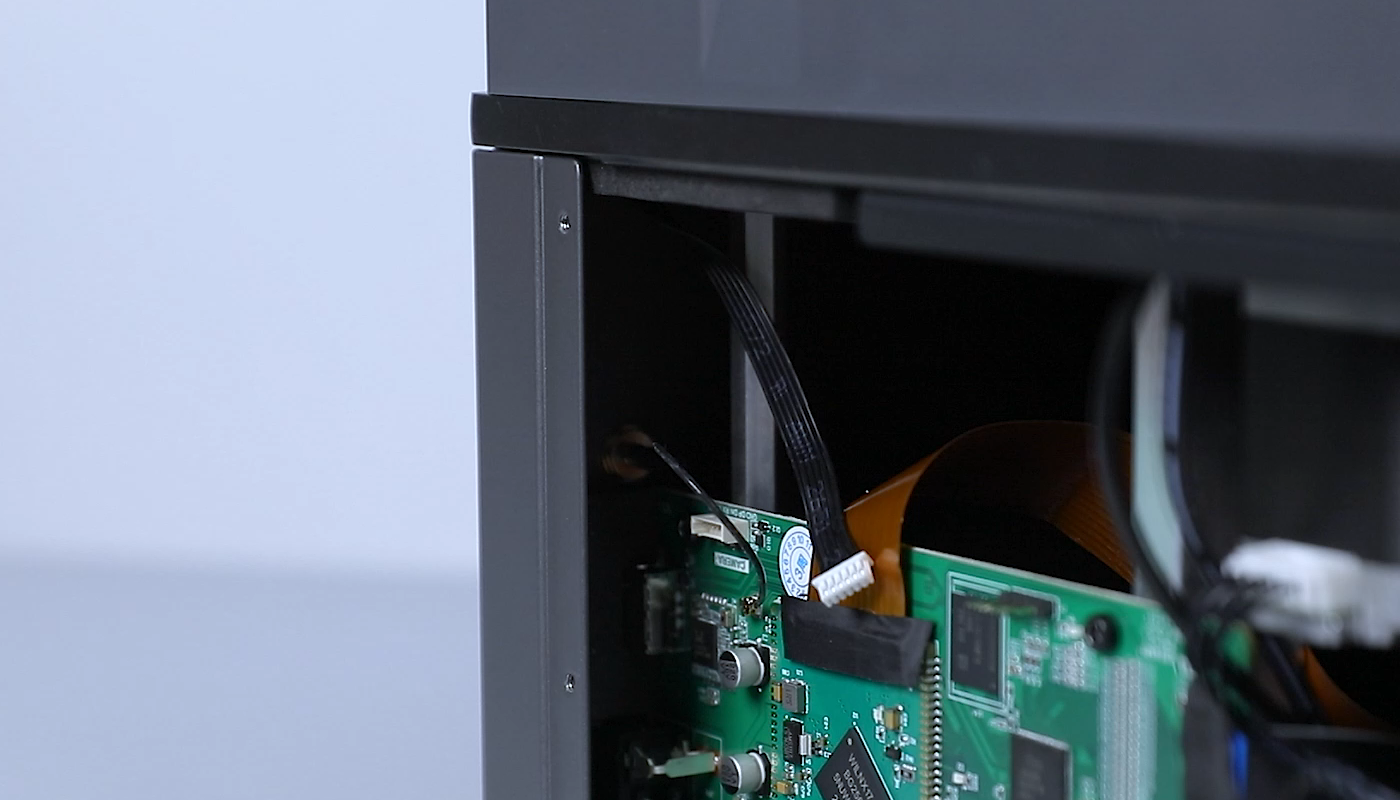
- Reconnect the camera cable to the motherboard.

- Align the back cover with the screw holes and place it in the installation position. Use a 2.5mm Allen wrench to tighten the seven screws securing the back cover.

- Install the WiFi antenna and power on the printer.
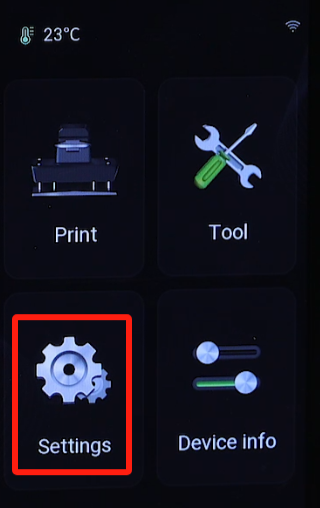
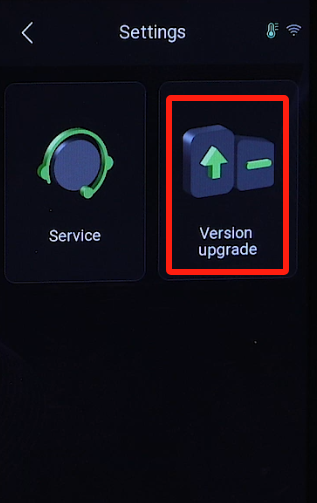
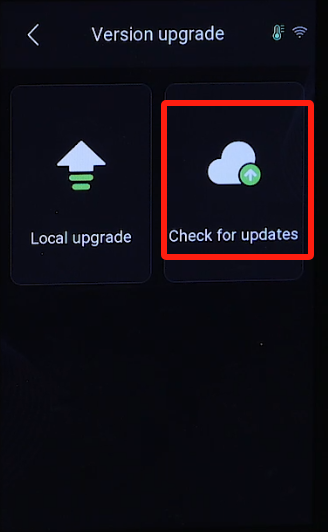
- On the touch screen, navigate to “Settings” - “Version upgrade” - “Check for updates” to check if there are any new firmware updates for the camera. Open ChituManager and ensure that the camera is functioning properly. Once confirmed, the printer is ready for normal use.