¶ Situations Requiring Camera Replacement
If the camera fails to display normally and software upgrades do not resolve this issue, the camera needs to be replaced.
¶ Tools and Materials Needs to Prepare
- 1.5 mm allen wrench
- new camera
¶ Reference Video
¶ Operation Steps
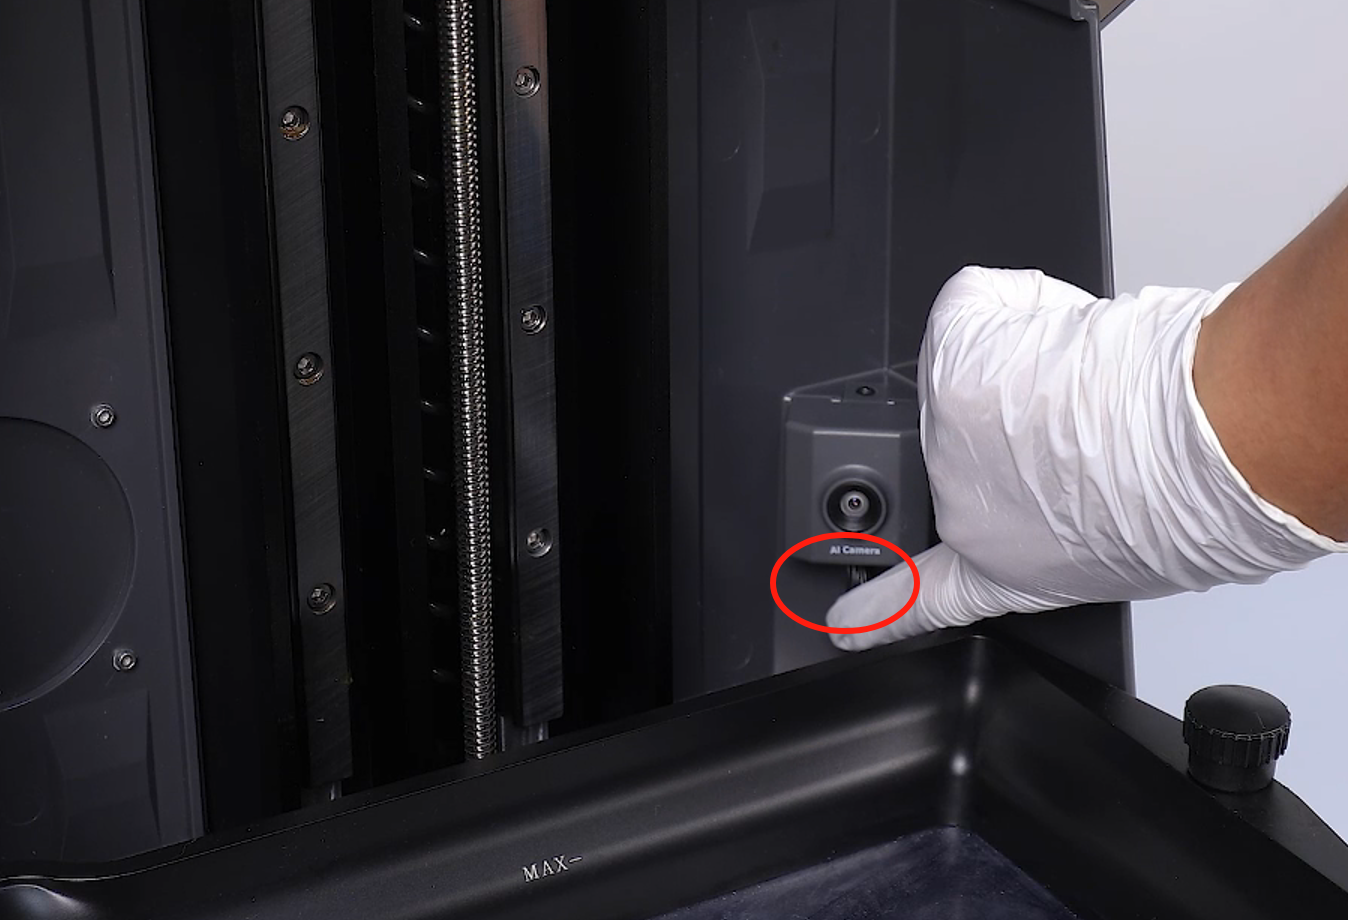
- Turn off the 3D printer power and unplug the power cord.
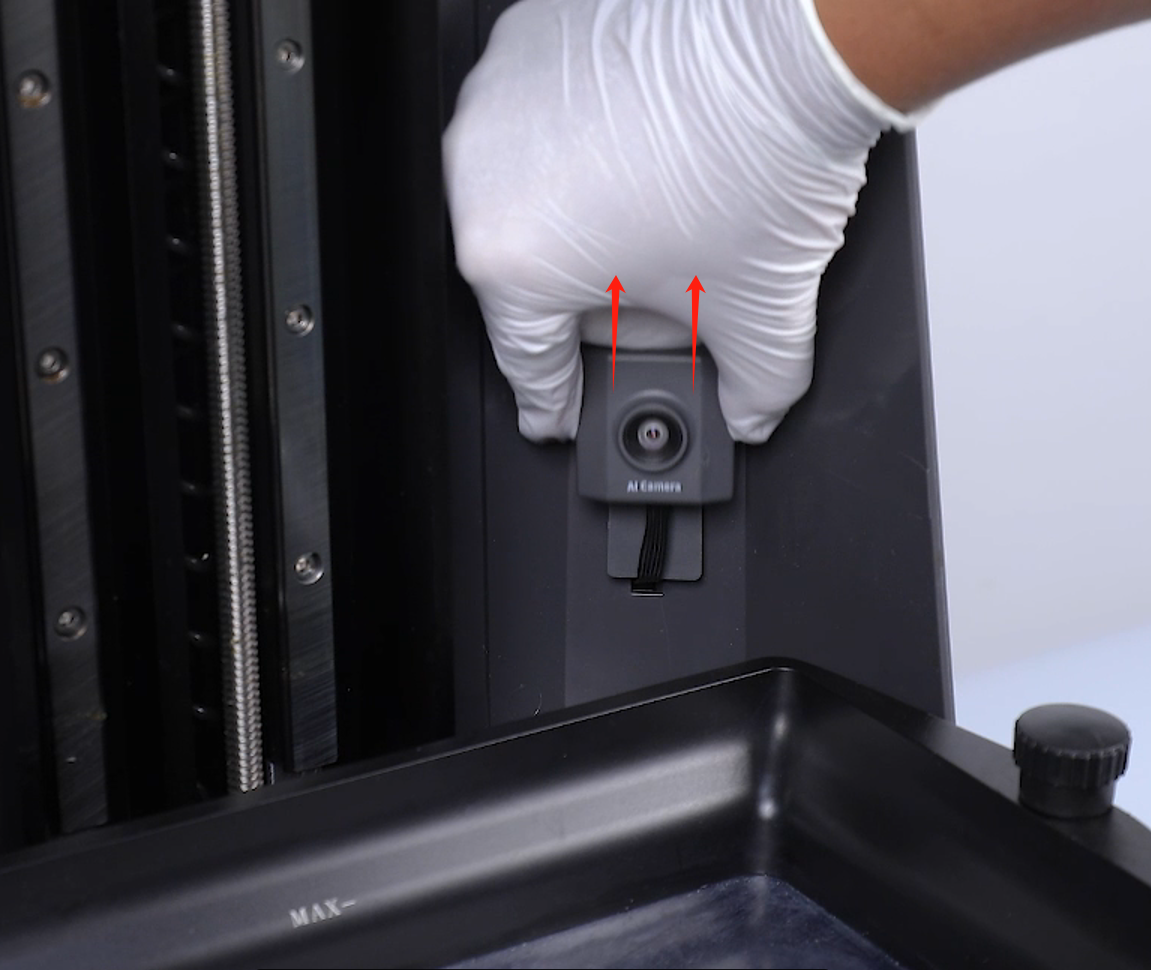
- Pull the camera upward and disconnect the ribbon cable at the bottom of the camera.
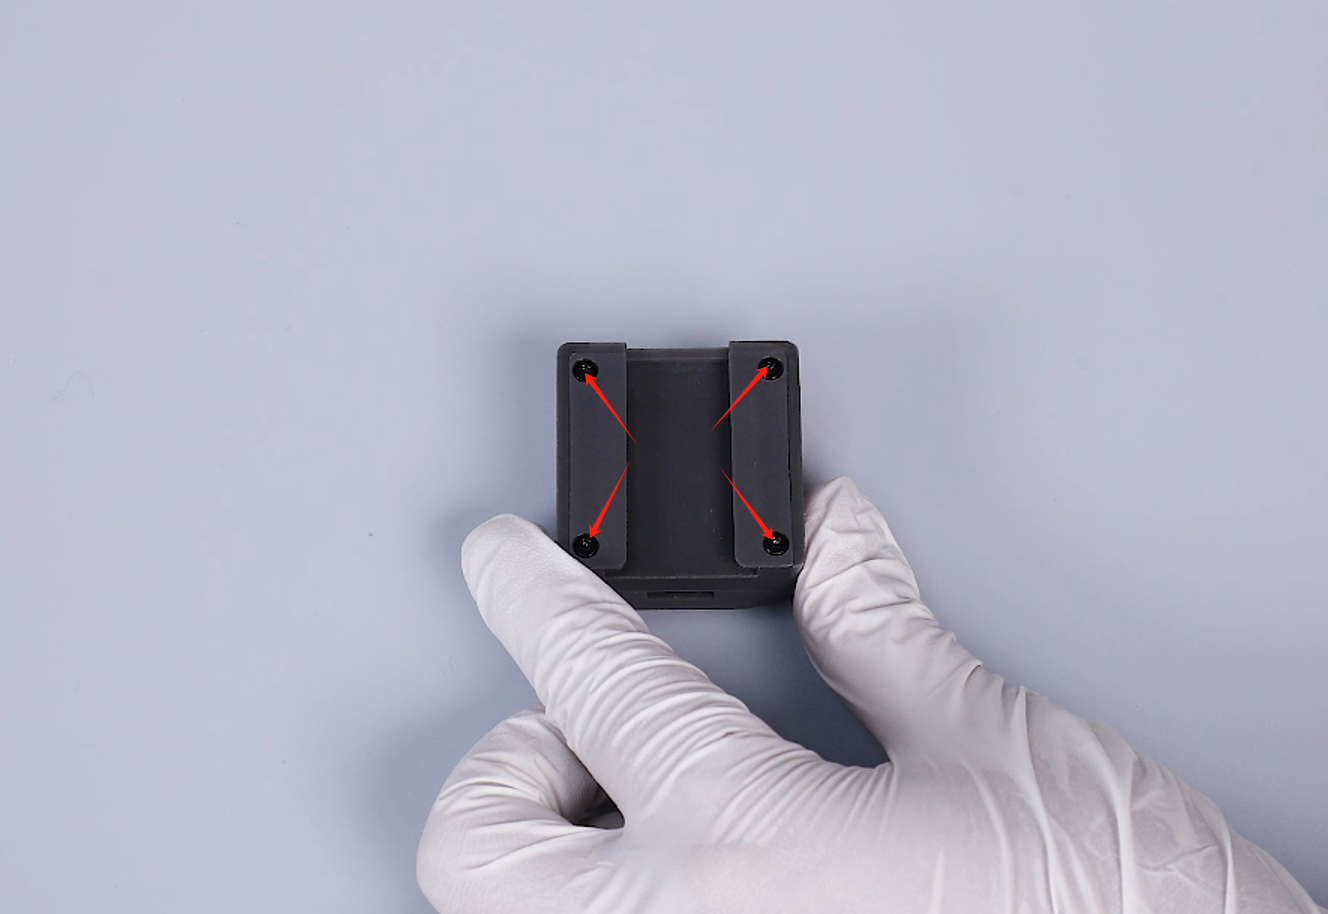
- Loosen the 4 screws securing the camera back cover using a 1.5 mm allen wrench.
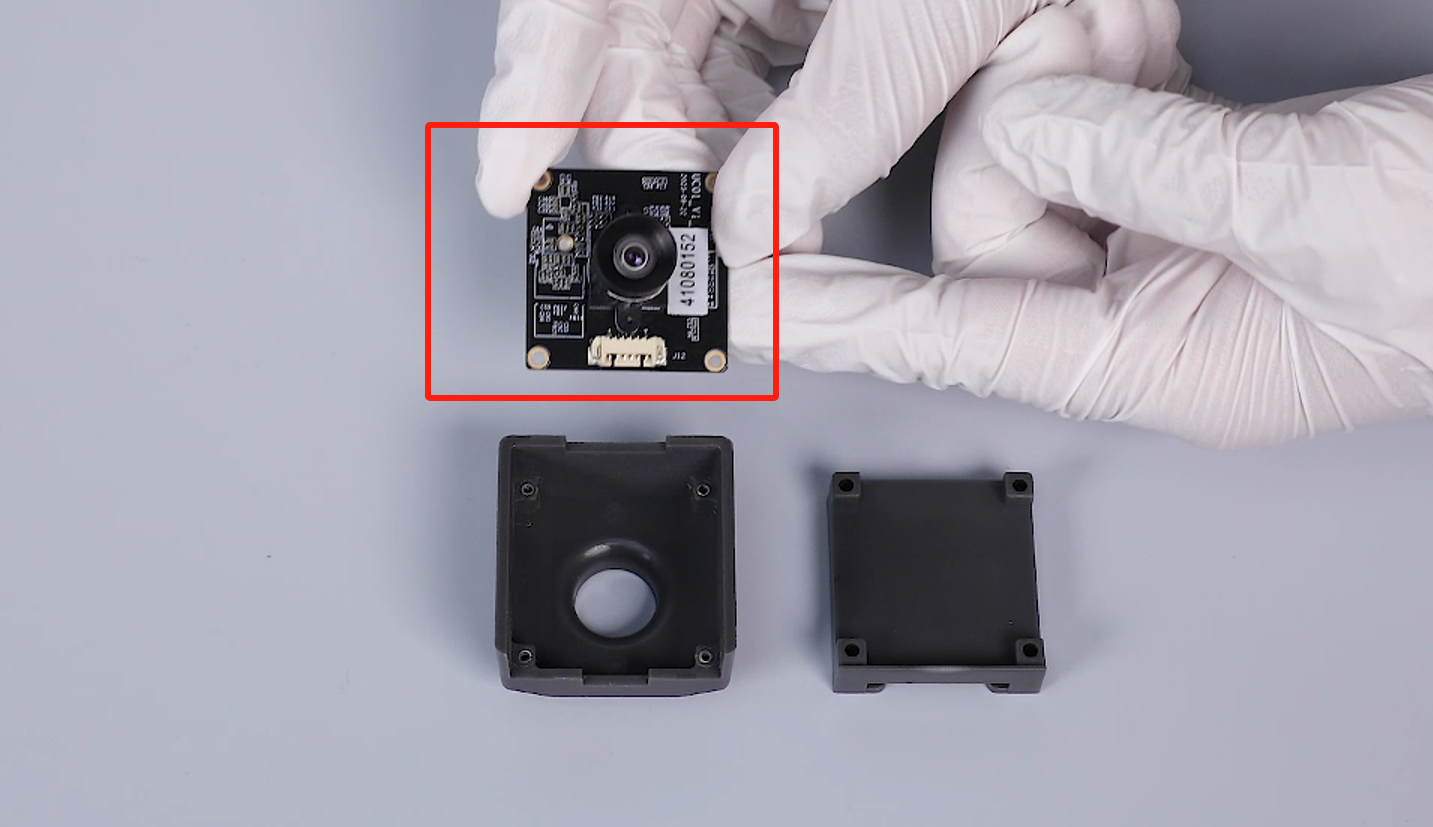
- Remove the back cover and the exhausted camera.

- Retrieve the new camera, align it with the screw holes, and place it in the mounting position.
- Retrieve the back cover, place it in the mounting position, and tighten the 4 securing screws using a 1.5 mm allen wrench.

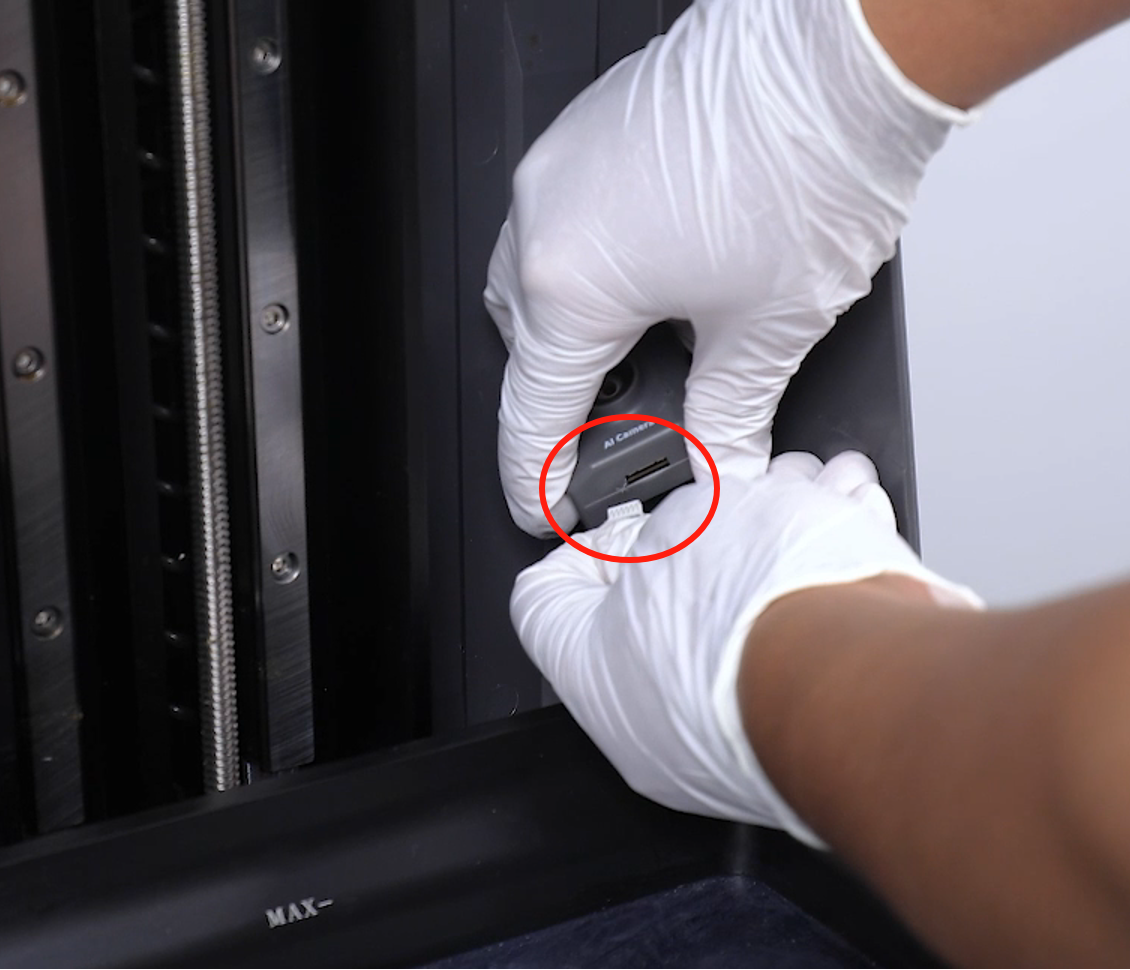
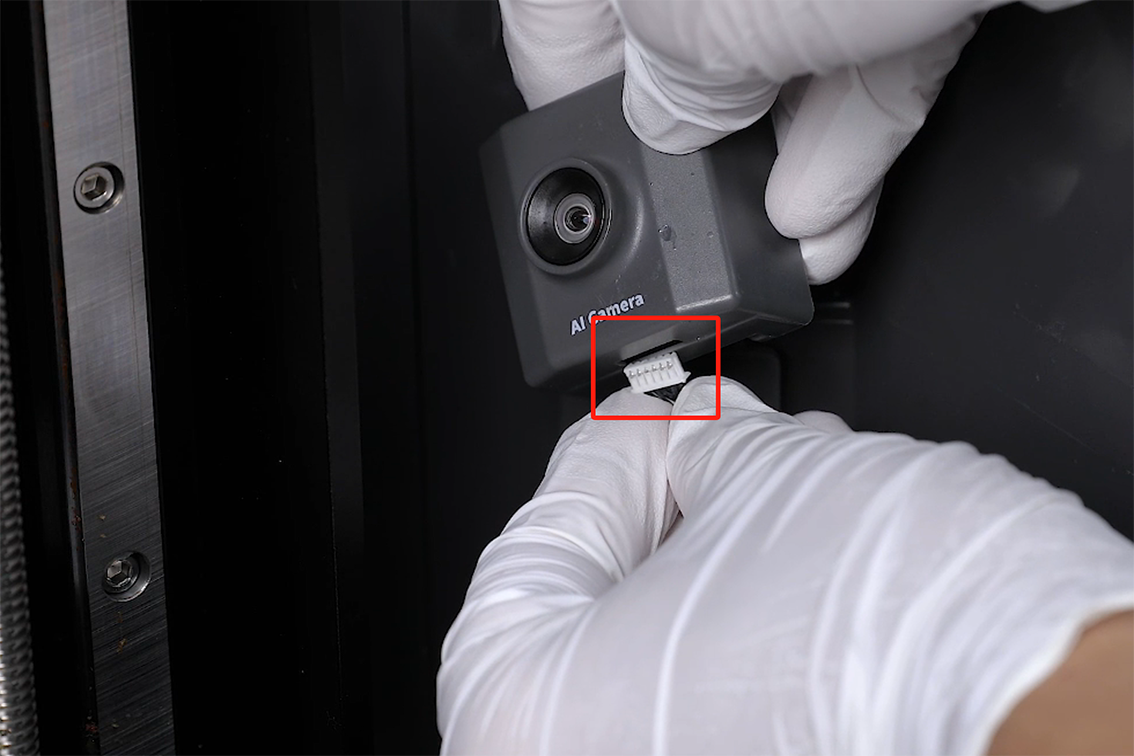
- Retrieve the camera assembly and insert the ribbon cable.
Note: The ribbon cable has a fixed insertion direction.
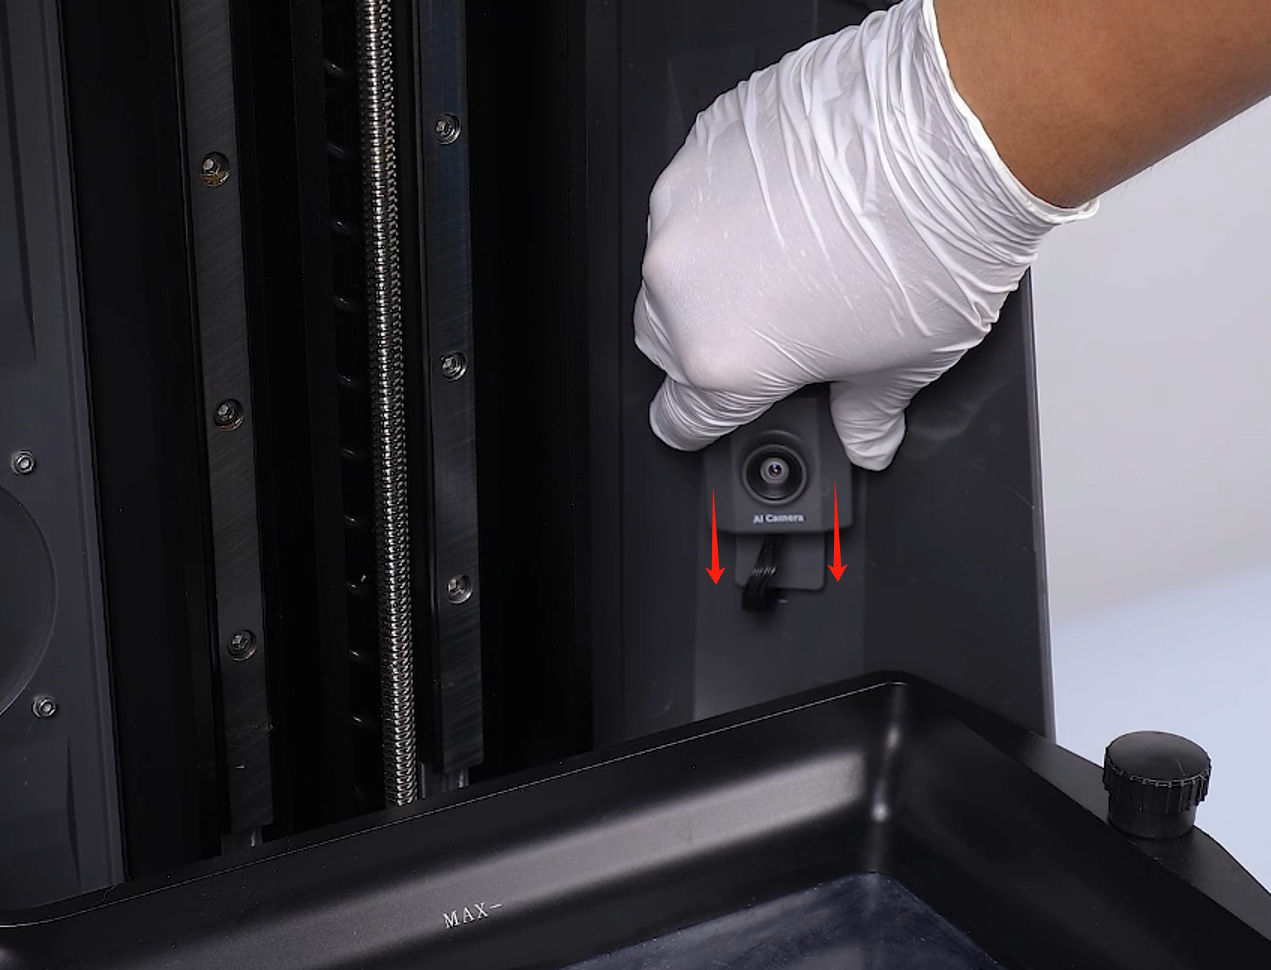
- Align the clips, place the camera in the mounting position, and route the ribbon cable inside the machine.
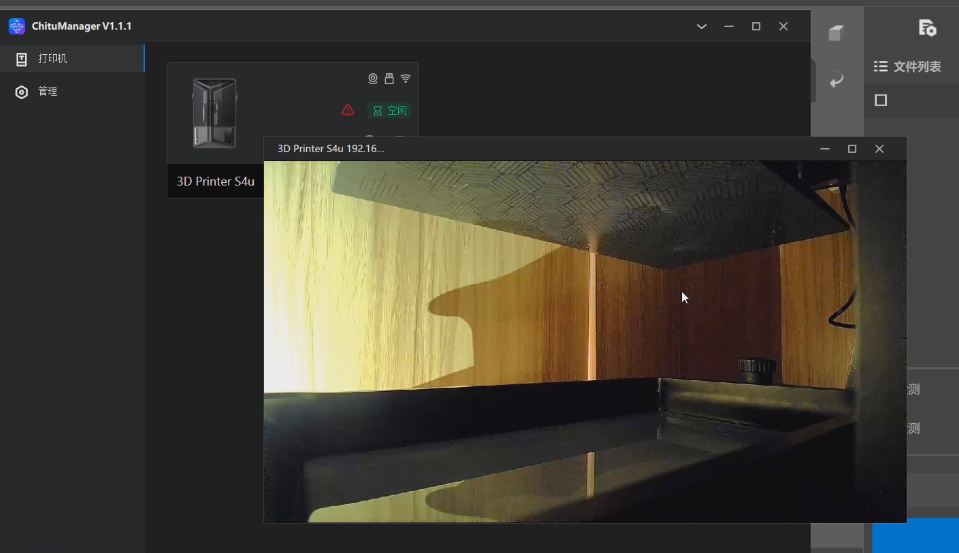
- Turn on the power. After the device self-check completes, verify the camera connection in ChituBox software-ChituManager and the 3D printer is now ready for use.