¶ Fault Symptoms
During homing or self-test, the Z Axis limit switch fails to trigger, causing the Z Axis arm to continue moving upward and collide with the top of the Z Axis.
¶ Possible Causes
- Z Axis limit switch is loose
- Z Axis limit trigger plate issue
- Z Axis limit switch failure
¶ Required Tools
- 2.0 mm Allen key
- Gloves
- Lint-free cloth
¶ Troubleshooting Steps
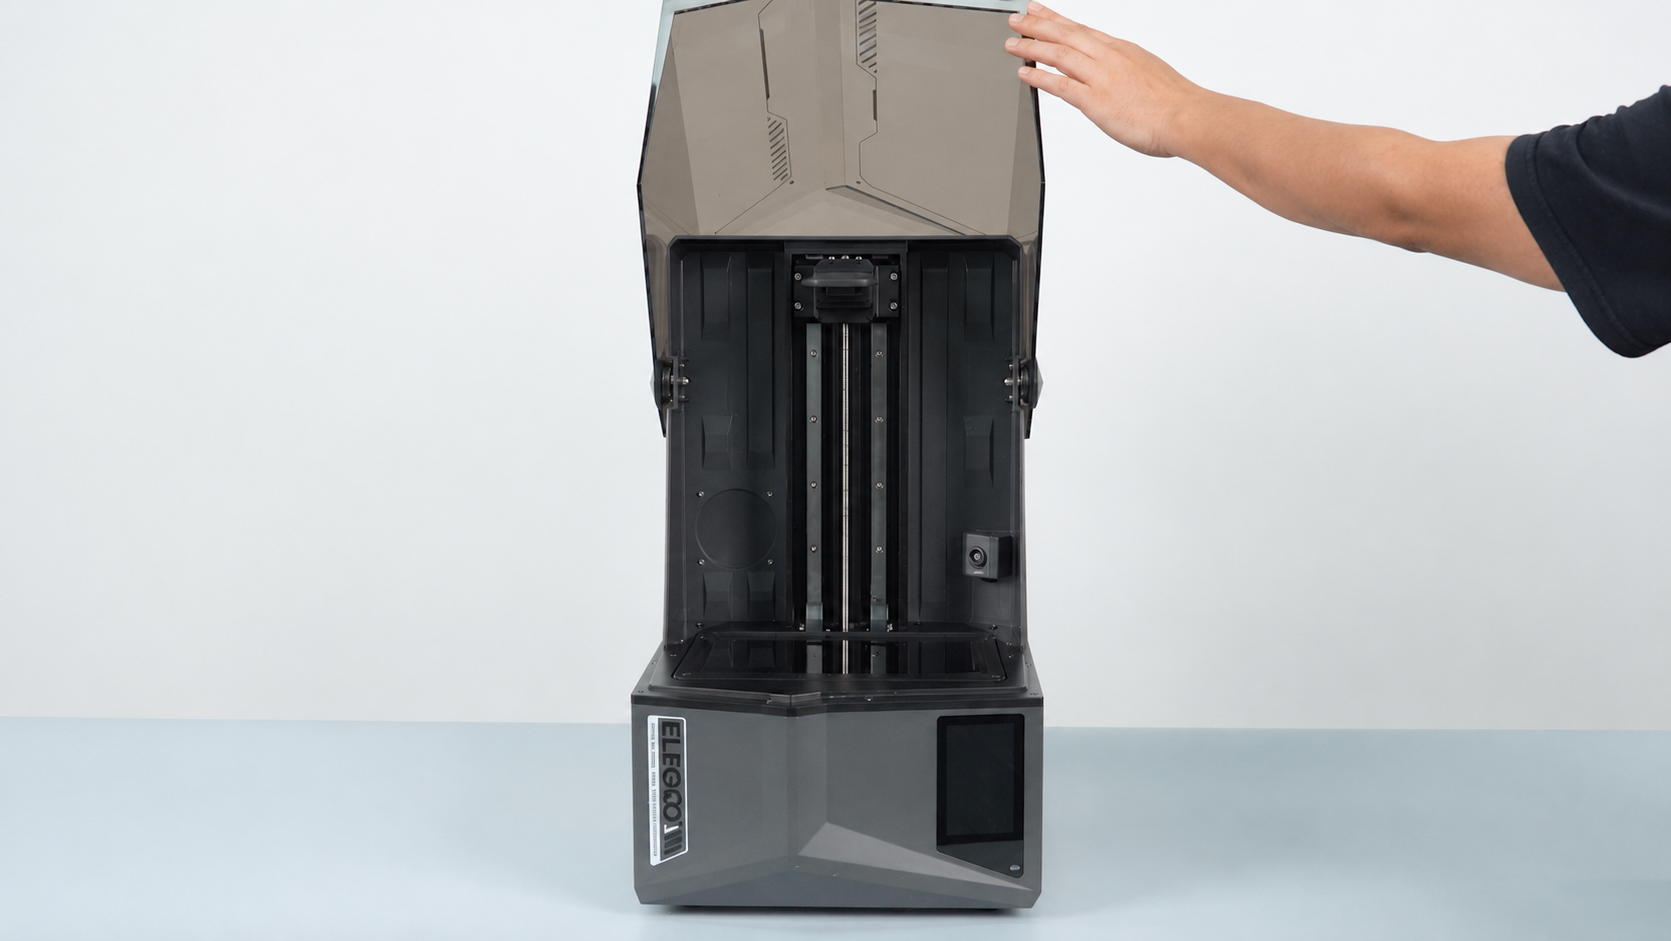
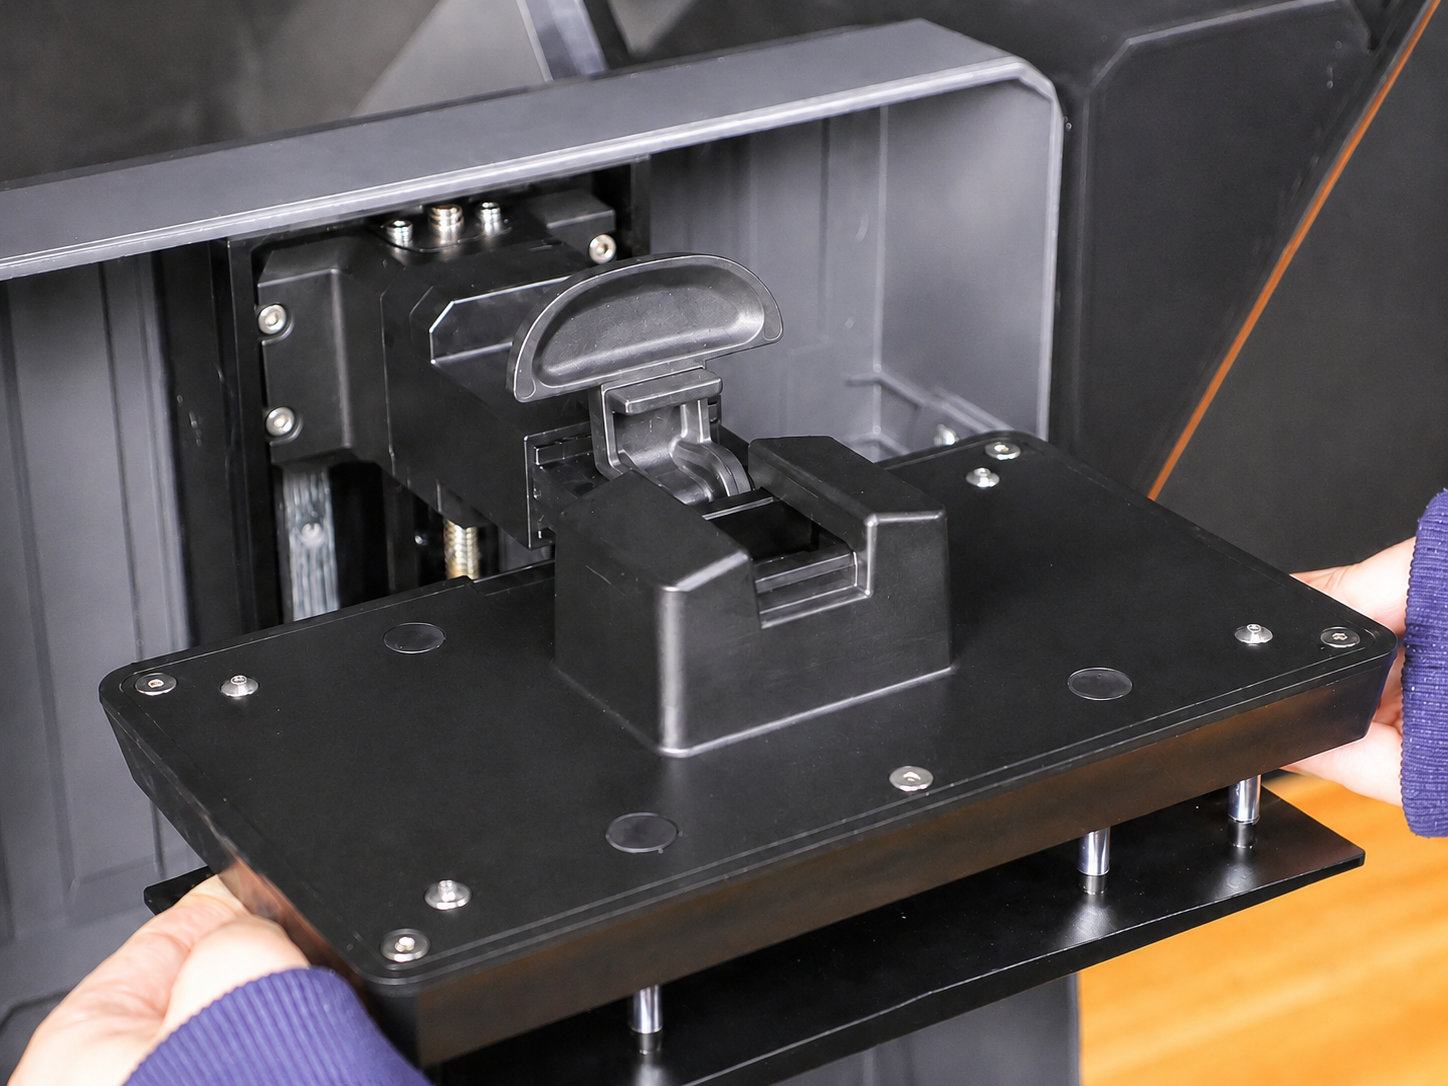
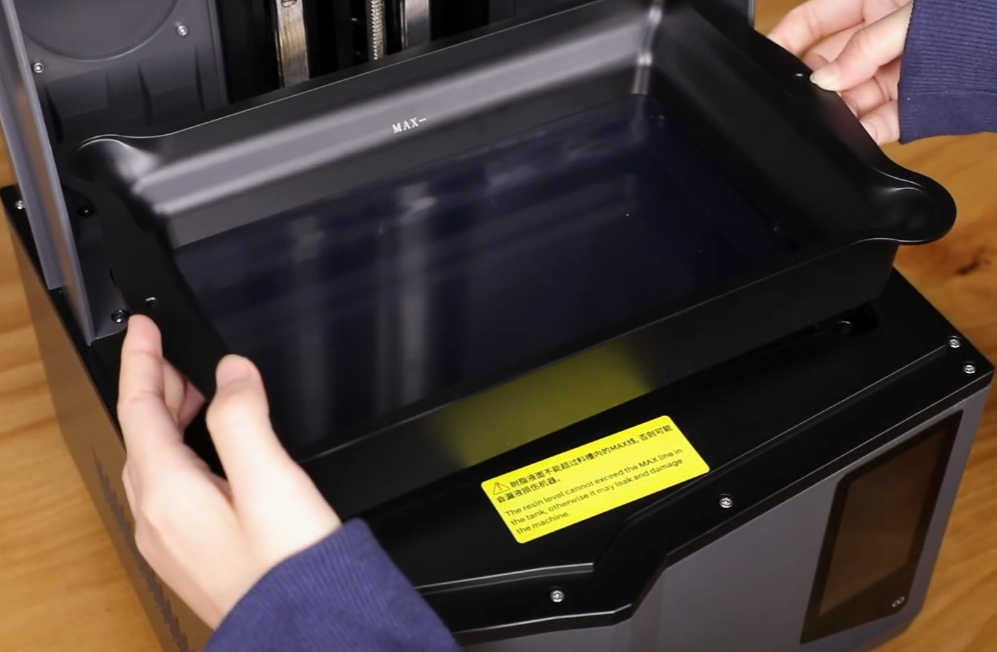
Note: Before performing further troubleshooting, please open the Anti-UV Cover, remove the Build Plate, and remove the Resin Tank.
¶ 1. Manually Trigger the Z Axis Limit Switch
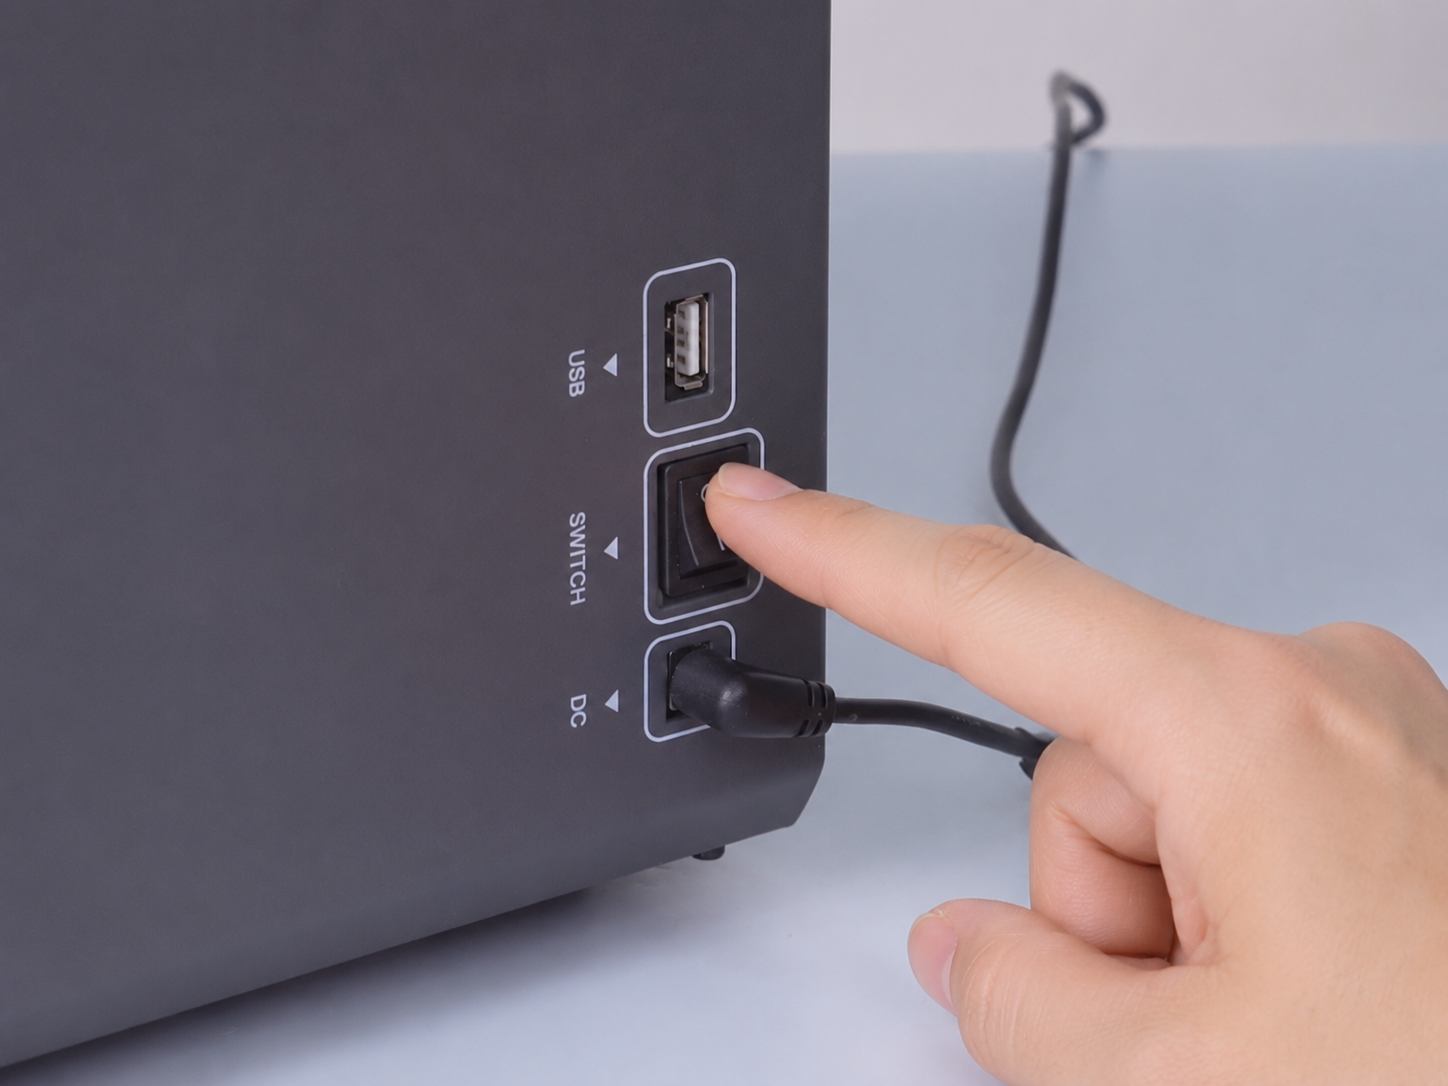
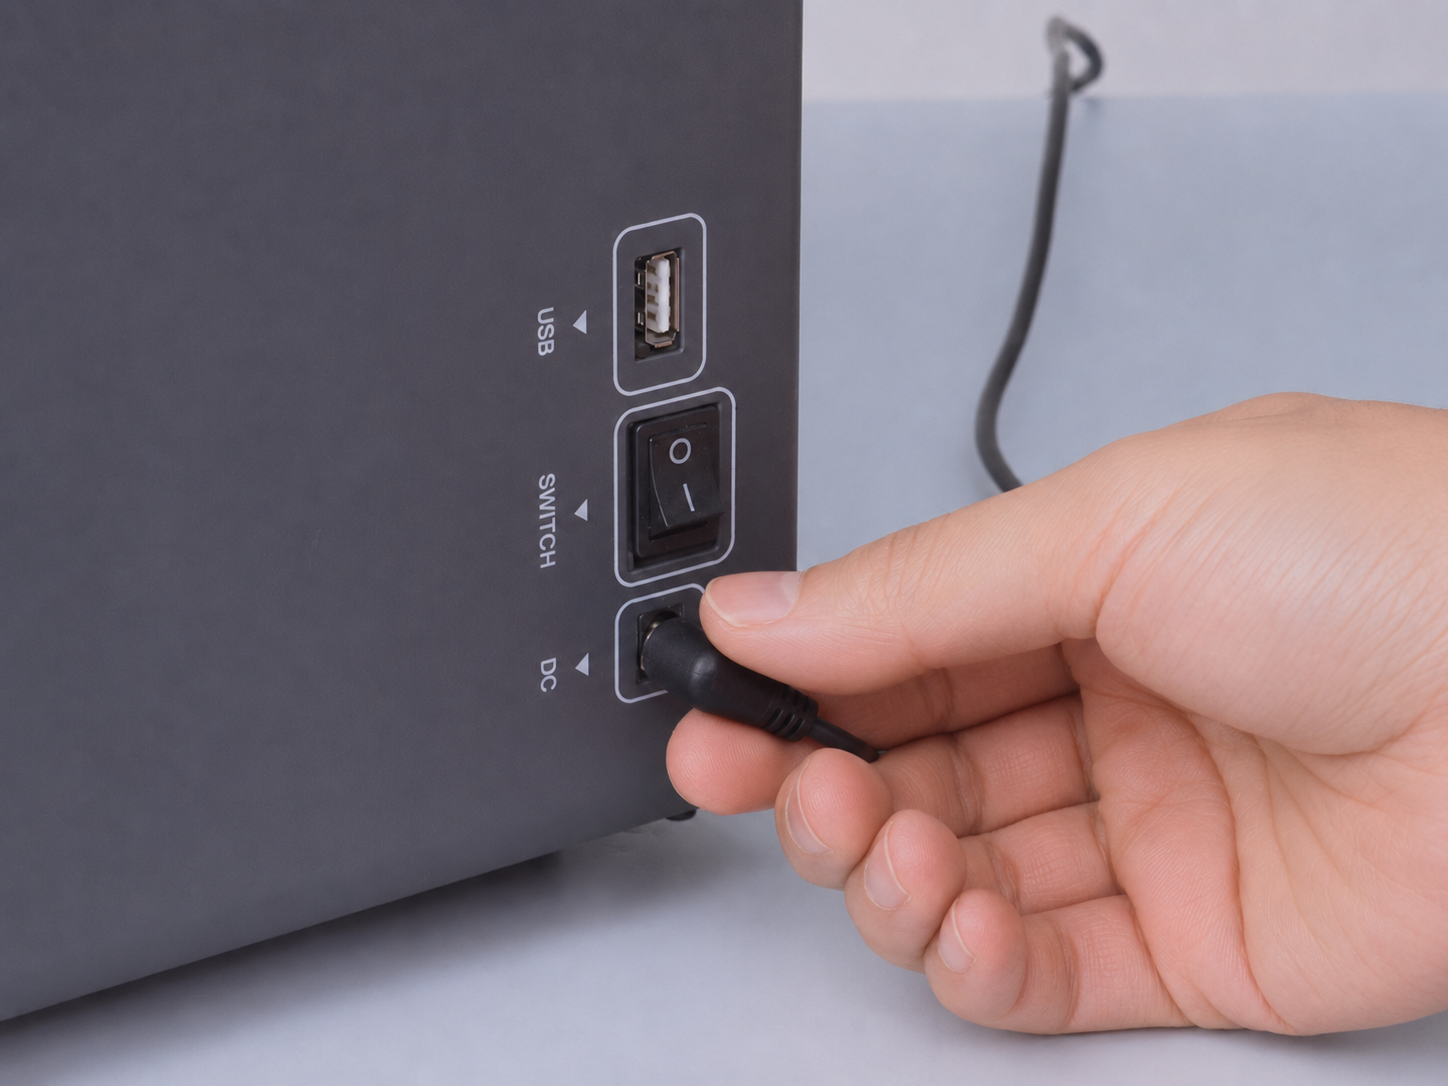
- Turn off the printer using the Power Switch, then unplug the adapter.
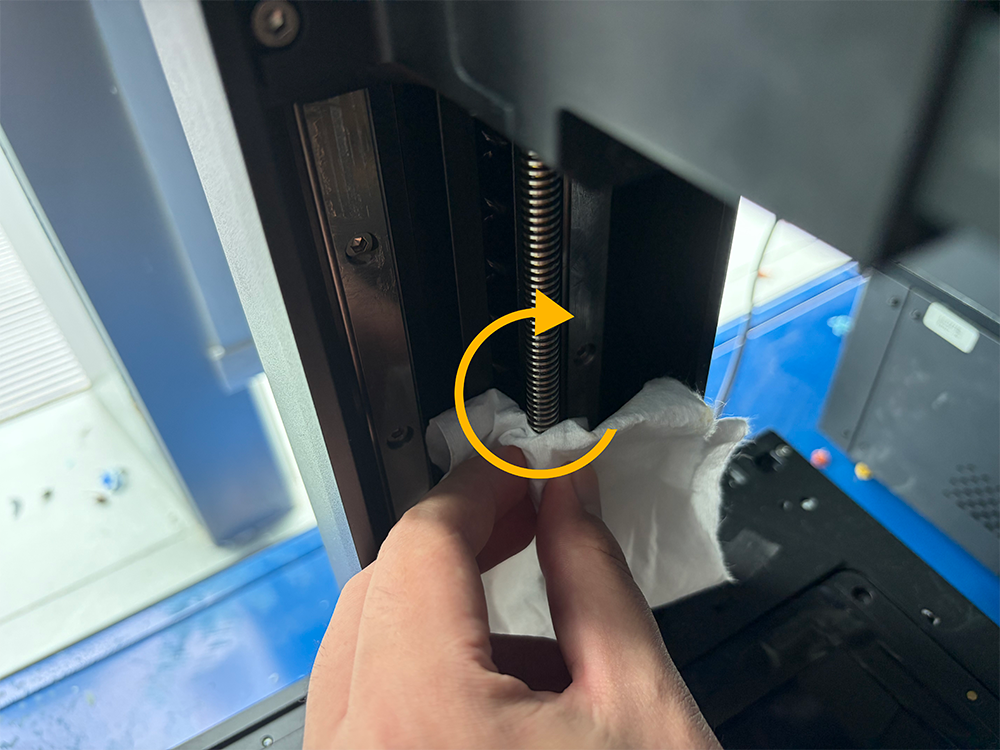
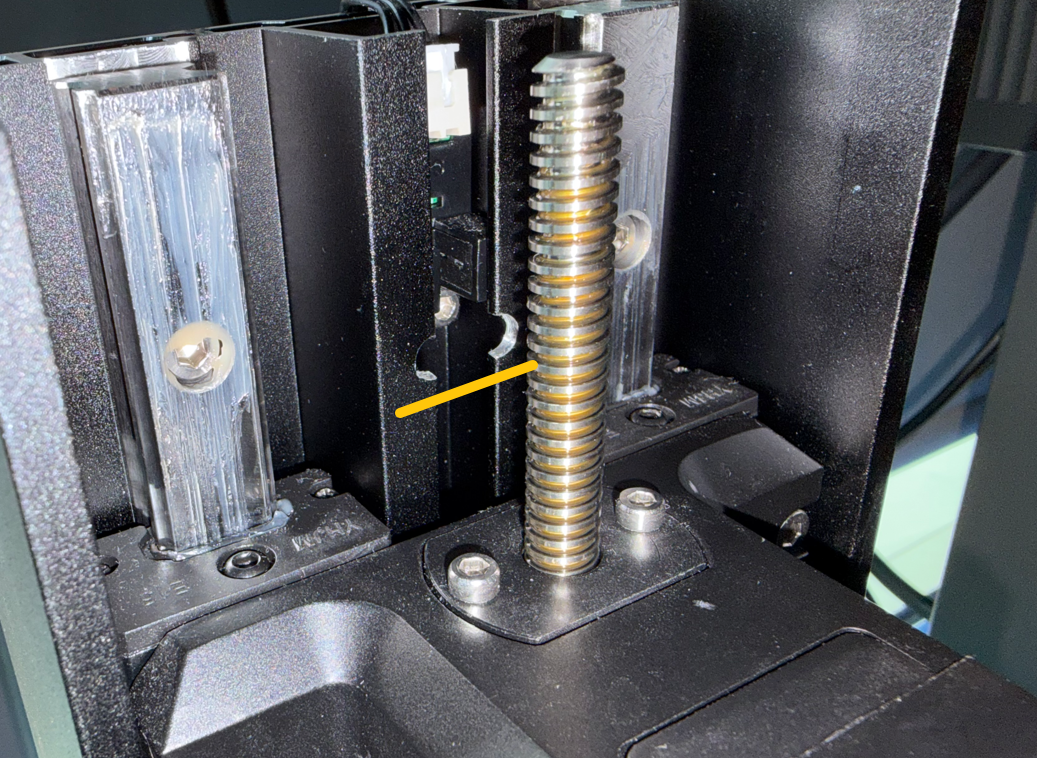
- Manually rotate the Z-axis lead screw counterclockwise until the Z Axis arm is below the marked position.
Note: There is some grease on the surface of the Z-axis lead screw. Please wear gloves or wrap the Lead Screw with a lint-free cloth before manually moving the Lead Screw.
-
Reconnect the power and wait for the printer touchscreen to enter the self-test interface.
-
During the Z Axis movement, manually trigger the Z Axis limit switch using an Allen key.
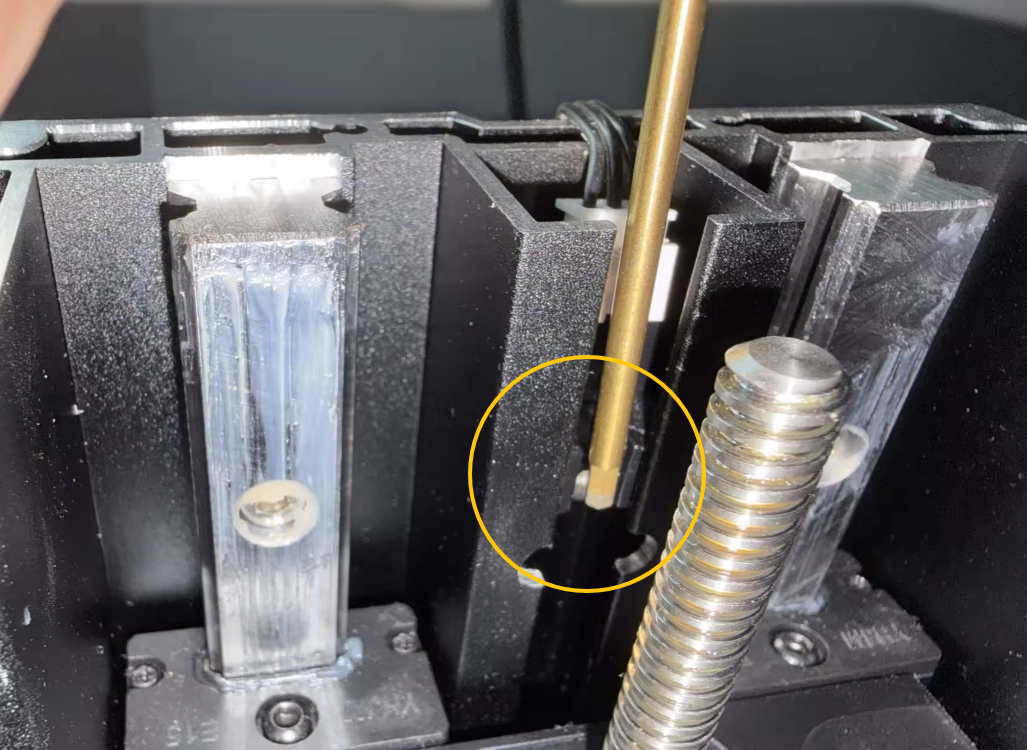
Note: The rectangular area marked in yellow indicates the detection range of the Z-axis limit switch. The switch cannot detect objects outside this area.
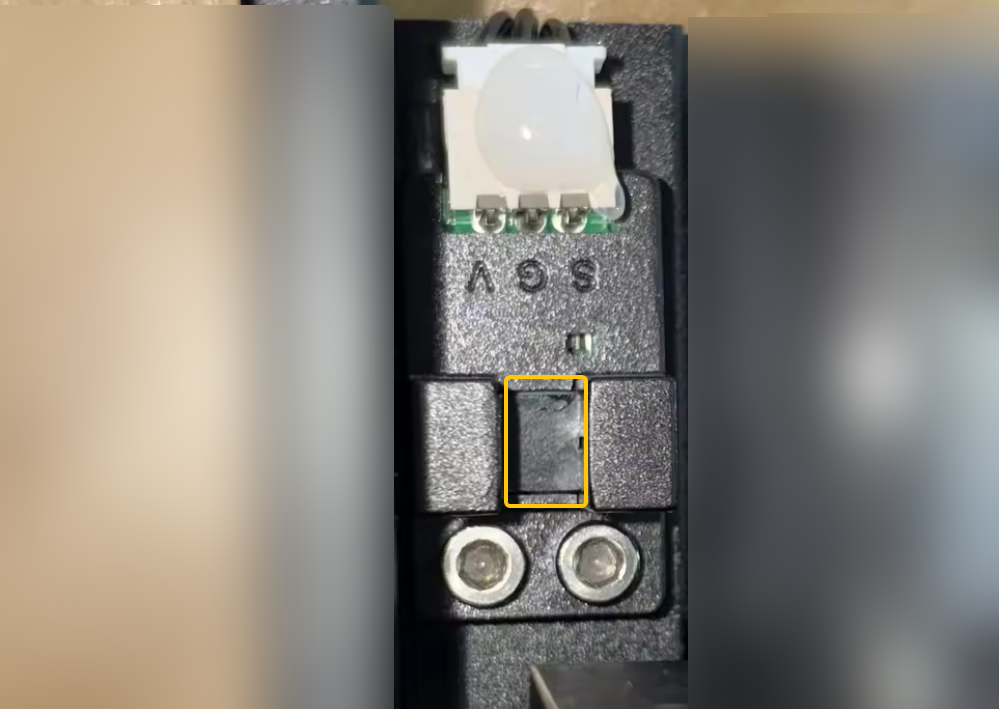
- Observe whether the Z Axis stops immediately:
- If the Z Axis stops normally, continue with the following steps to check the Z Axis limit switch mounting screws and the Z Axis limit trigger plate.
- If the Z Axis does not stop, immediately turn off the power to prevent the Z Axis arm from continuously moving upward and damaging printer components. Then proceed with the following steps to focus on checking the Z Axis limit switch connector.
¶ 2. Check the Z Axis Limit Switch for Looseness
-
Turn off the printer using the Power Switch, then unplug the adapter.
-
Refer to the video below (00:00-00:50) to remove the Anti-UV Cover and check whether the Z Axis limit switch connector and mounting screws are loose.
Video:
https://www.youtube.com/watch?v=72U202_kn14
Note: To prevent the Z Axis limit switch connector from becoming loose, a small amount of hot glue has been applied to the connector during factory assembly. If the connector is not loose, do not remove the hot melt glue.
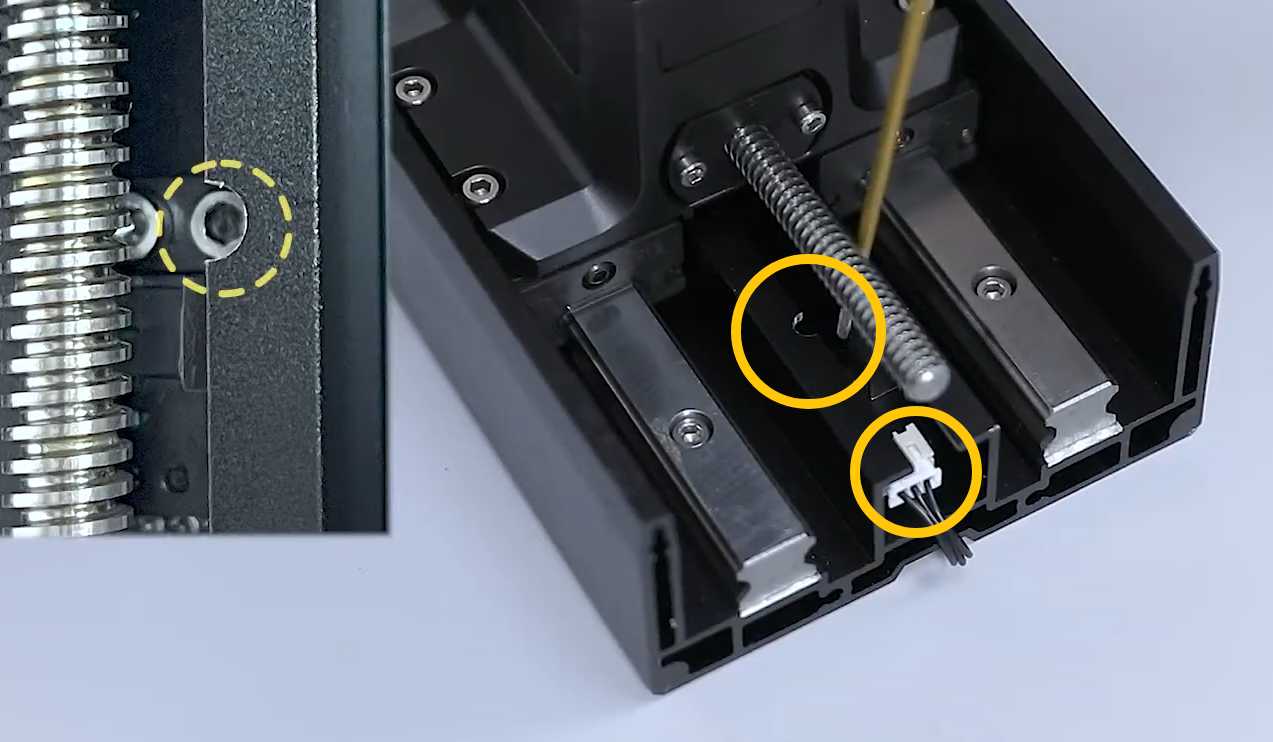
- If the connector is loose, reinstall the connector properly.
- If the connector is not loose, continue with the following troubleshooting steps. Do not reinstall the Anti-UV Cover yet.
¶ 3. Check the Z Axis Limit Trigger Plate
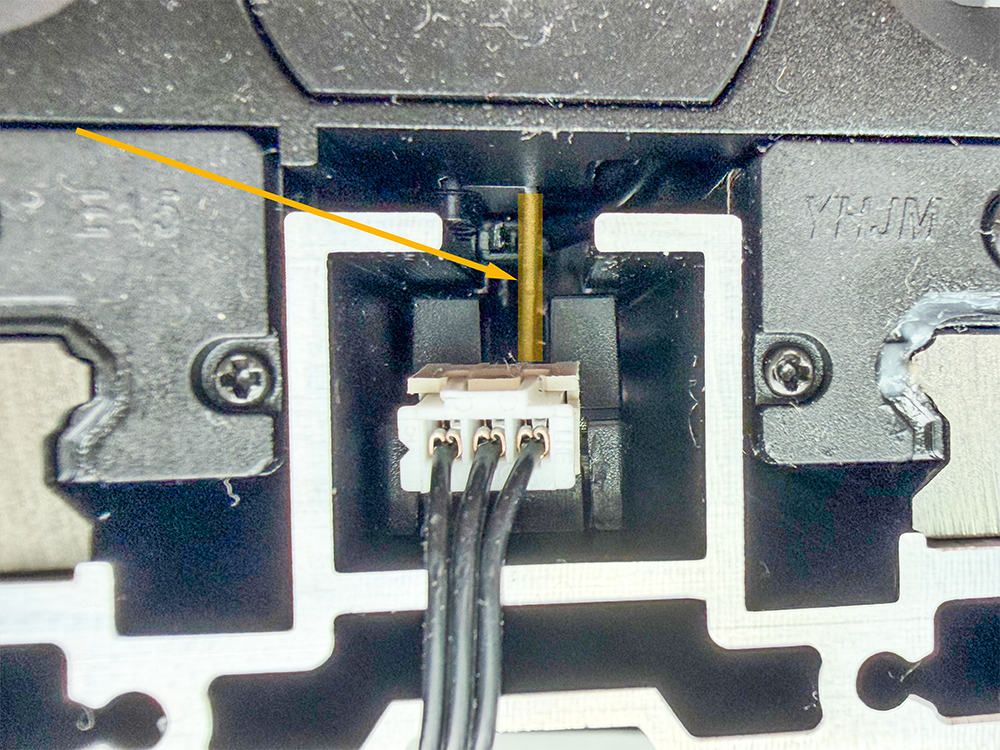
Observe the Z Axis limit trigger plate from the upper side of the Z Axis and check whether it is deformed.
Normally, the Z Axis limit trigger plate should be approximately centered on the limit switch and should not touch the surface of the limit switch.
- If the Z Axis limit trigger plate is deformed, replace it with a new one.
¶ Contact Technical Support
If the issue remains unresolved after completing the above steps, please provide the following information and contact technical support:
Email: 3dp@elegoo.com
- Test result — When manually triggering the limit switch, does the Z Axis stop normally?
- Photo — Provide a photo of the Z Axis limit switch connector.
- Photo — Provide a photo of the Z Axis limit trigger plate.
¶ Help us improve
If you have any ideas about the wiki pages, please let us know via ELEGOO official feedback channel