¶ Tools and Materials
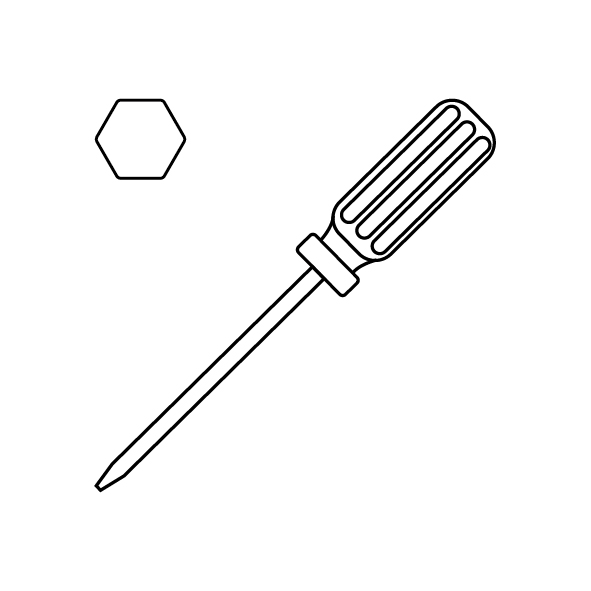
- A 1.5 mm Allen wrench
- A new camera
¶ Tutorial Video
https://www.youtube.com/watch?v=fp78YYW3LSs
¶ Instruction
- Power off the printer and unplug the power cord.
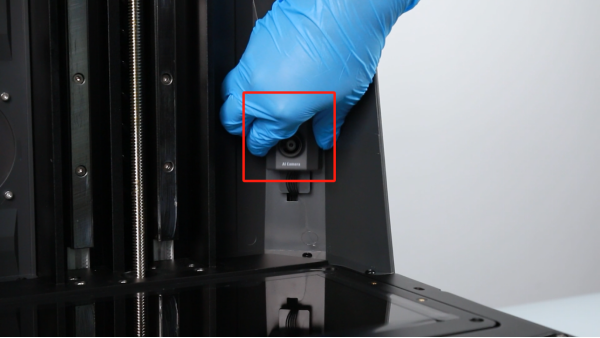
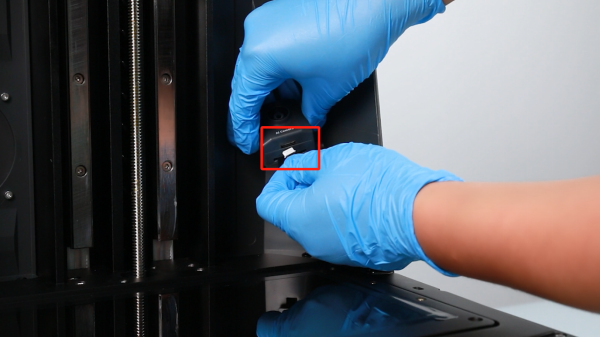
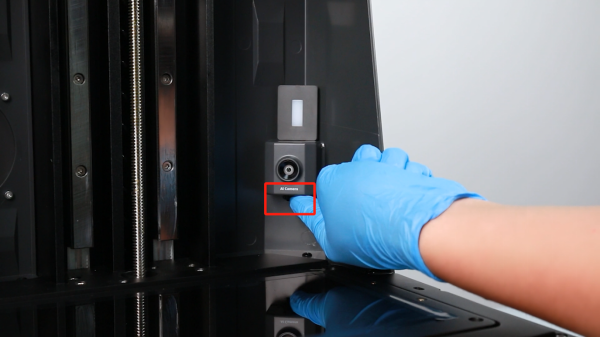
- Lift up the camera and unplug the ribbon cables at the bottom of the camera.

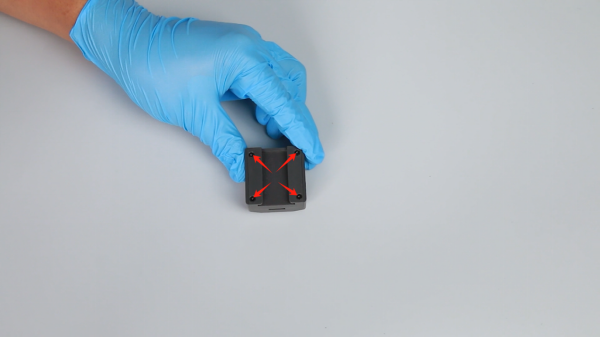
- Use a 1.5 mm Allen wrench to loosen the 4 screws securing the back cover of the camera.

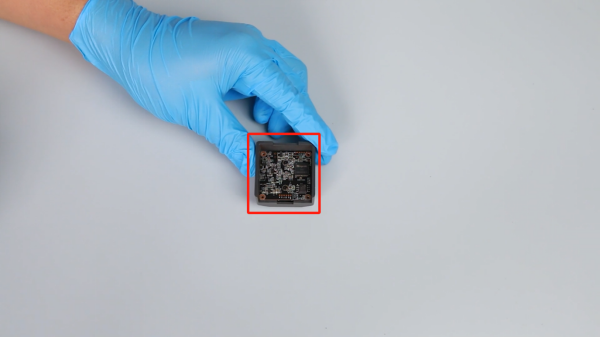
- Remove the back cover and the old camera.
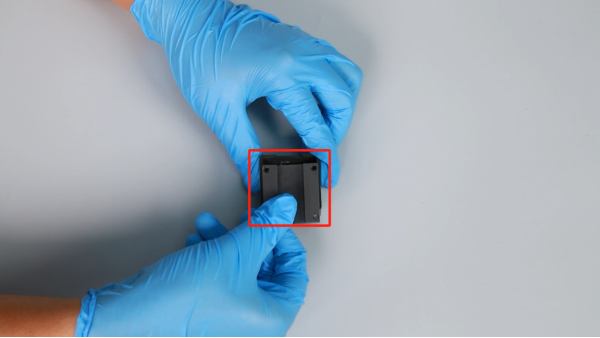

- Prepare the new camera, then put it in the installation position by aligning it with the screw holes.
- Put the back cover in the installation position. Use a 1.5 mm Allen wrench to tighten the 4 screws.
- Insert the ribbon cables of the camera into the camera assembly.
Note: The port of the ribbon cables has its fixed insertion direction,
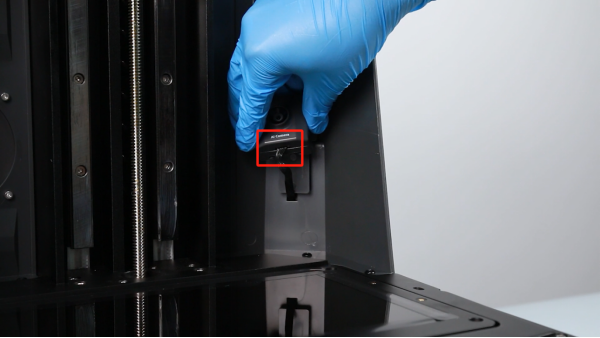
- Put the camera in the installation position by aligning it with the clip and organize the ribbon cables into the inner of the printer.

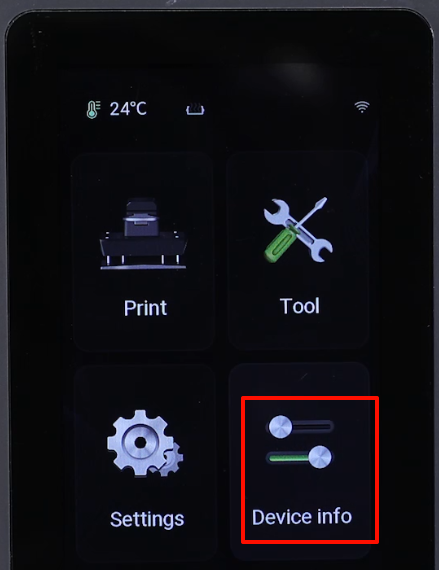
- Power on the printer and connect the printer to Wi-Fi. Touch "Information" on the printer to record the IP address of the printer.

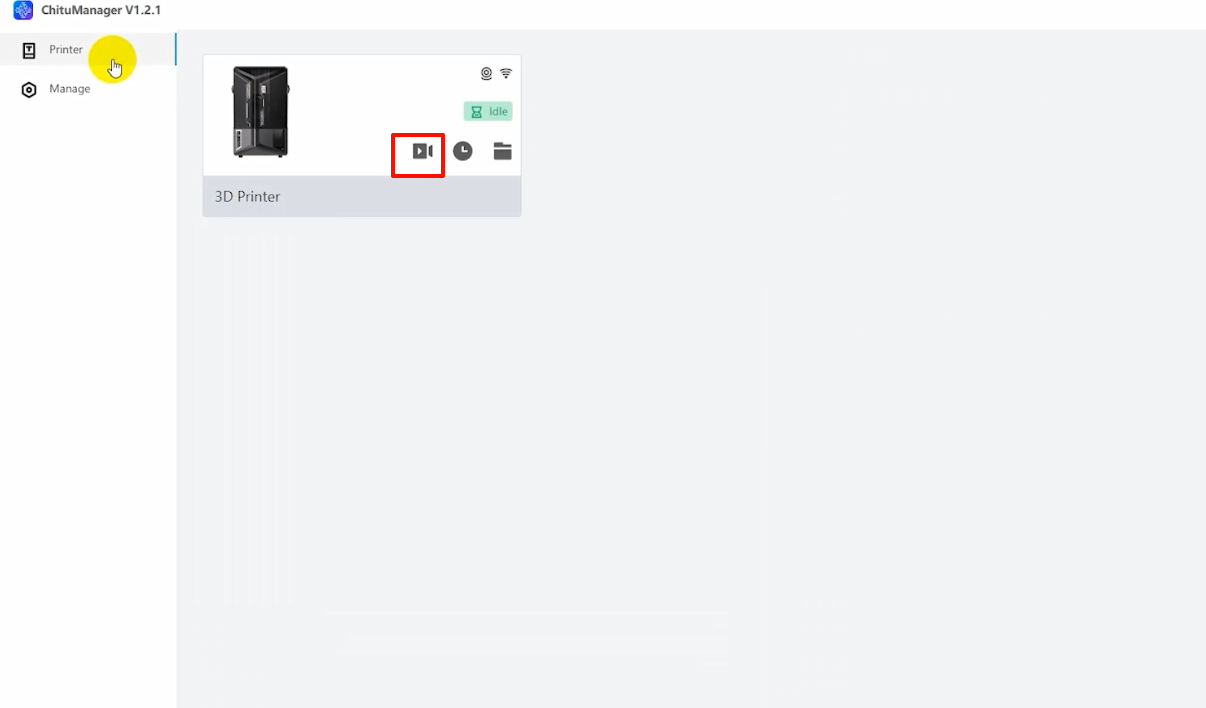
- Connect to the same LAN network as the printer via the computer, and then click "ChituManager" of Chitu software to add the printer.
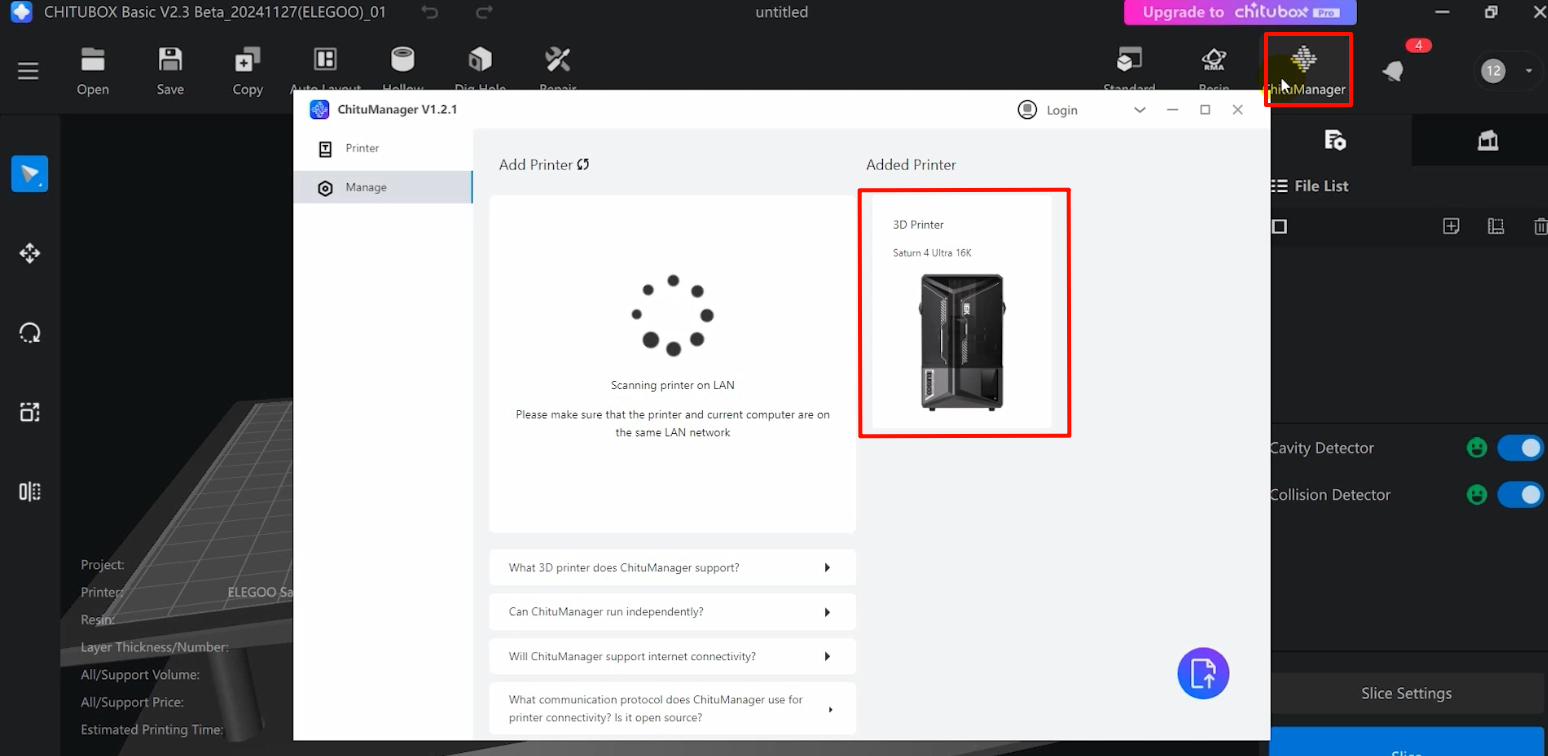
- The printer is ready for use after the camera works normally in the "Printer" interface.