¶ Tools and materials needed
- 2.5 mm Allen wrench
- New touchscreen
- Diagonal pliers
¶ Reference video
¶ Operation steps
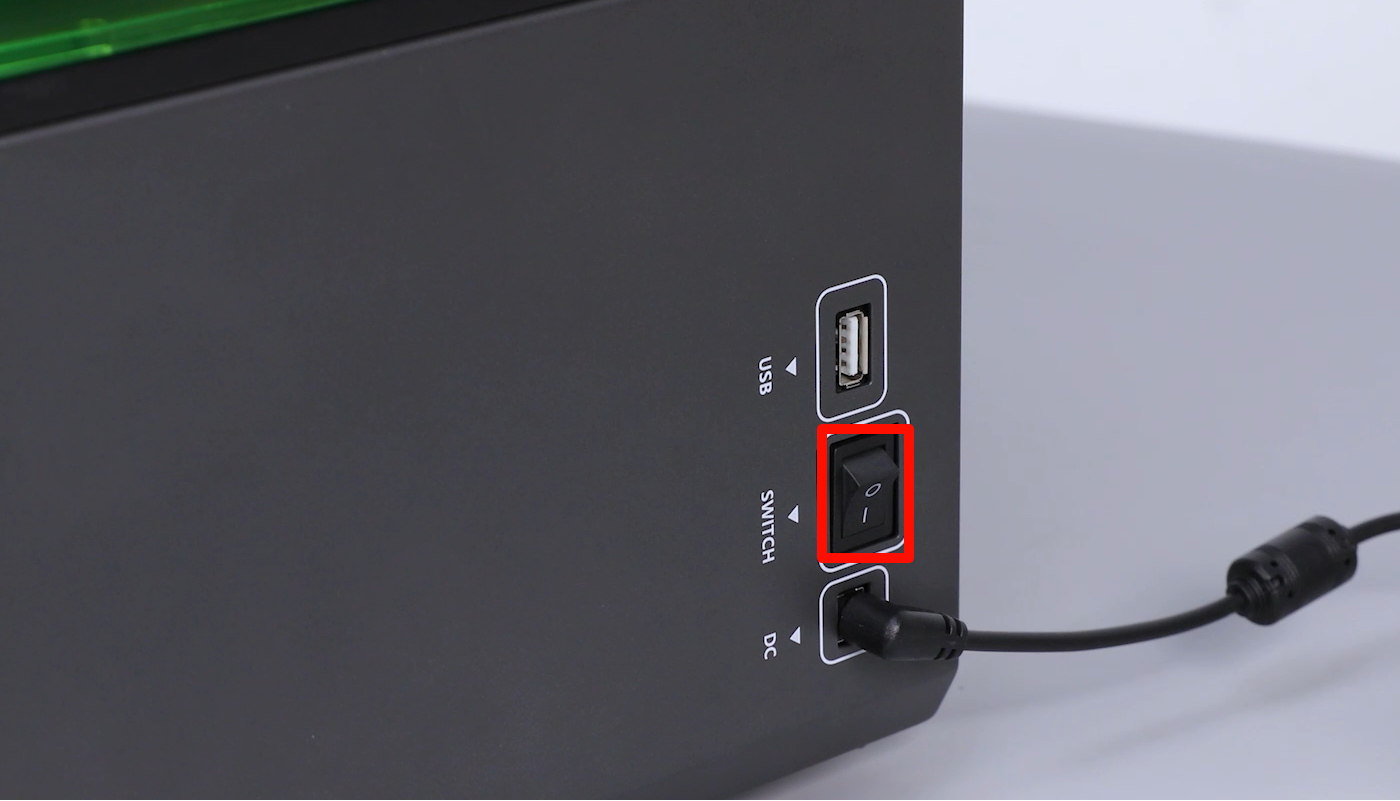
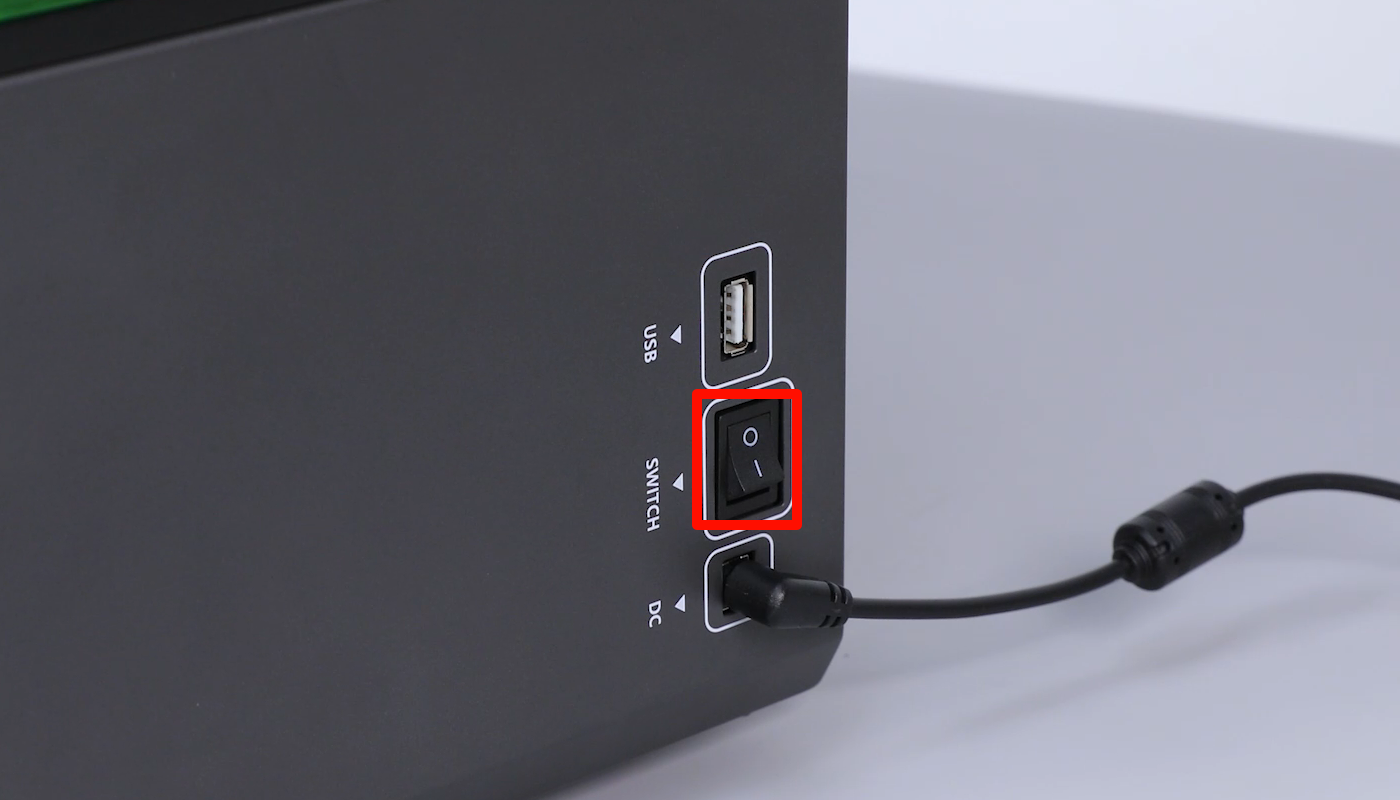
- Power off the printer and disconnect the power cord.

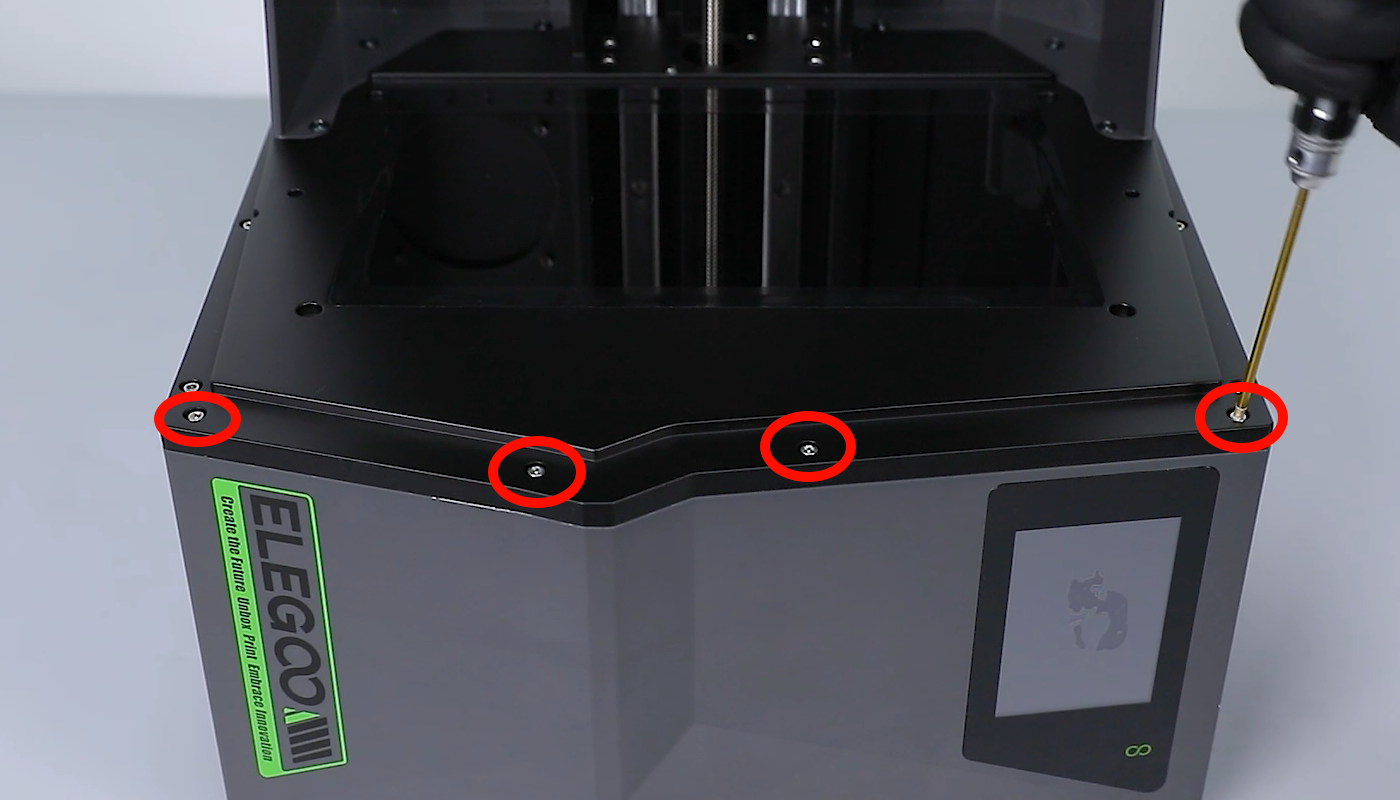
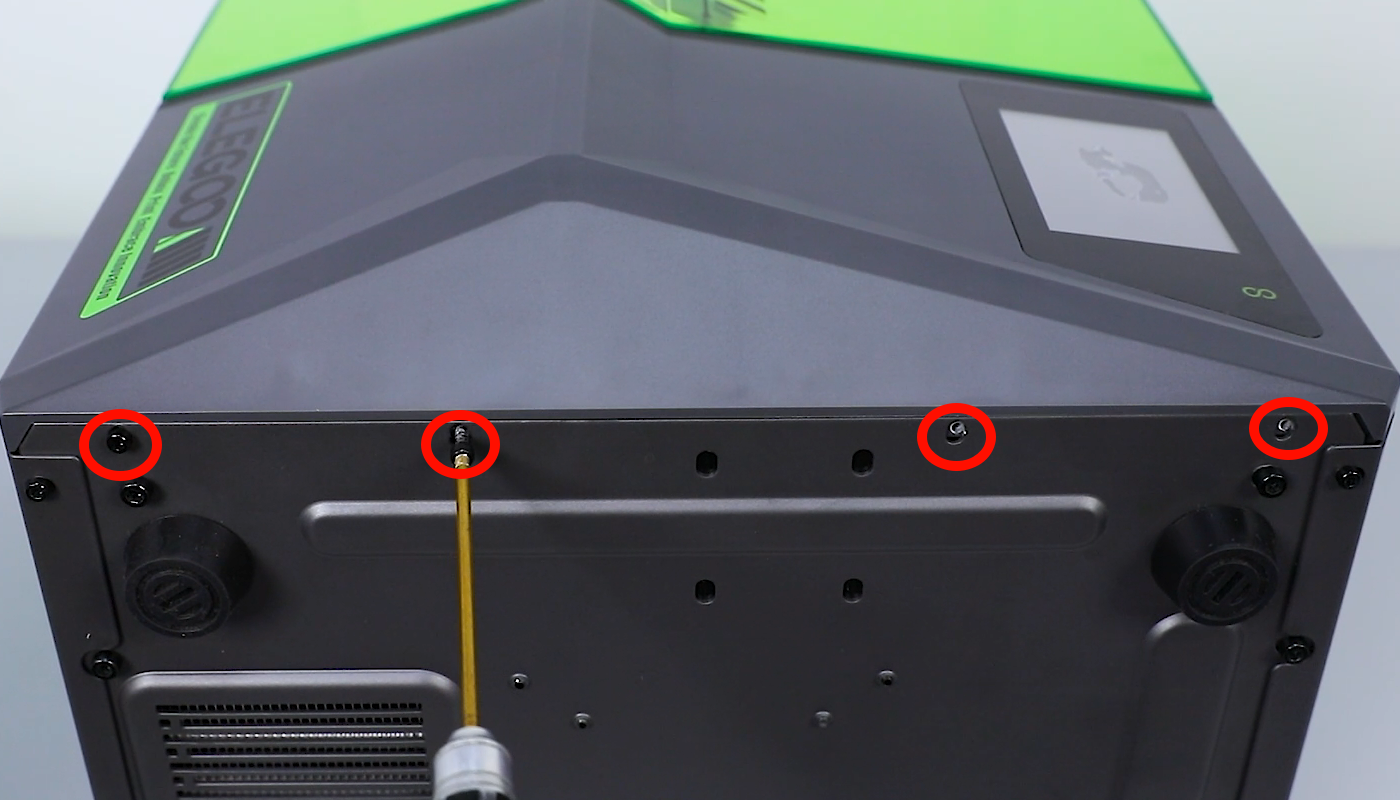
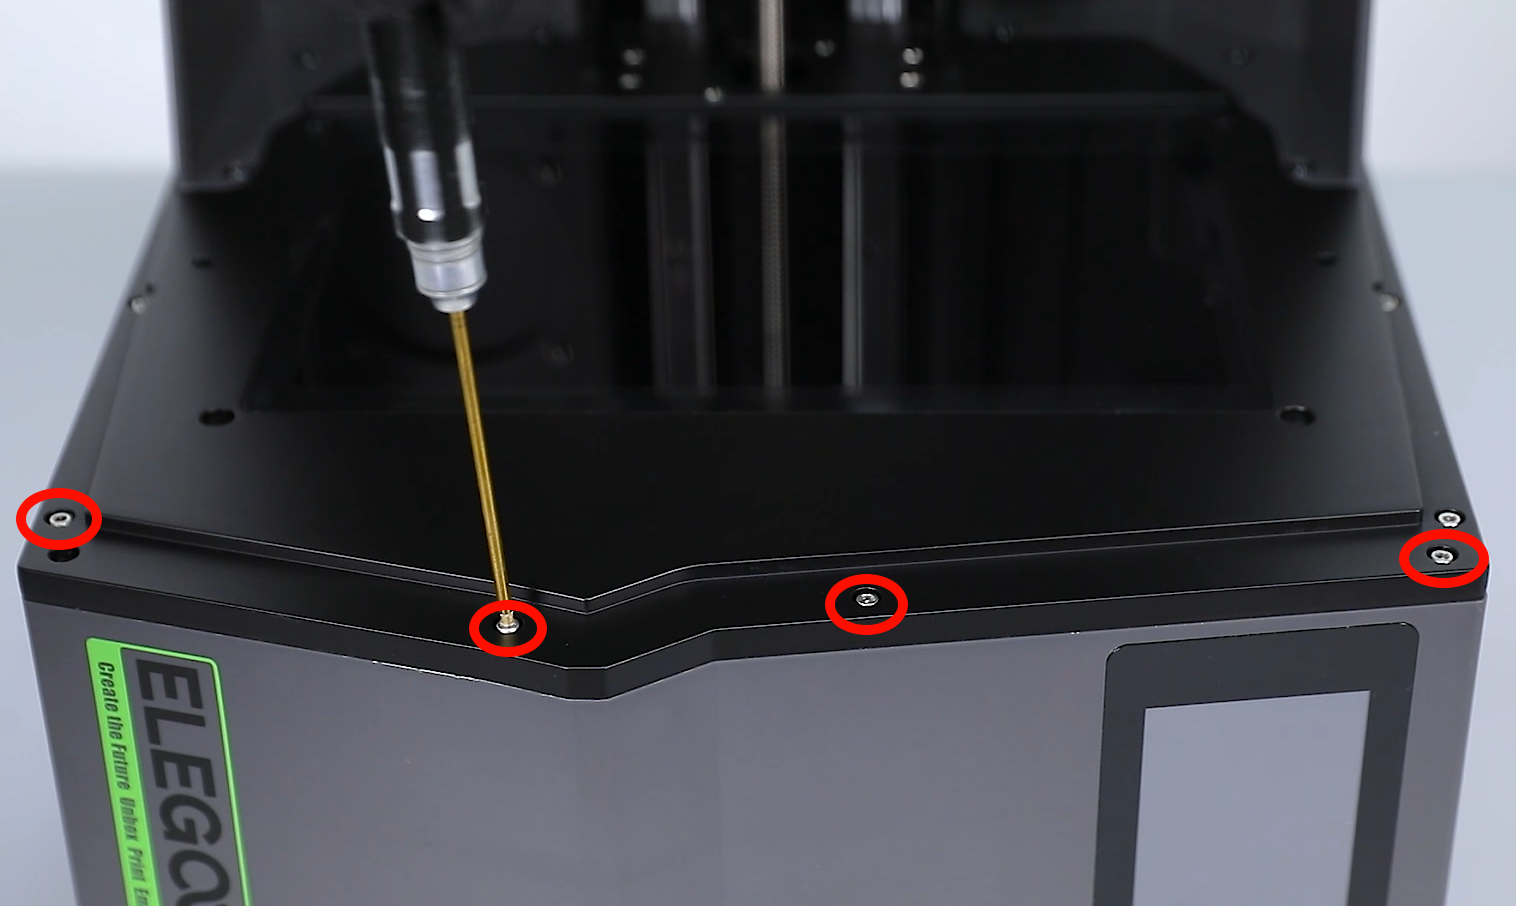
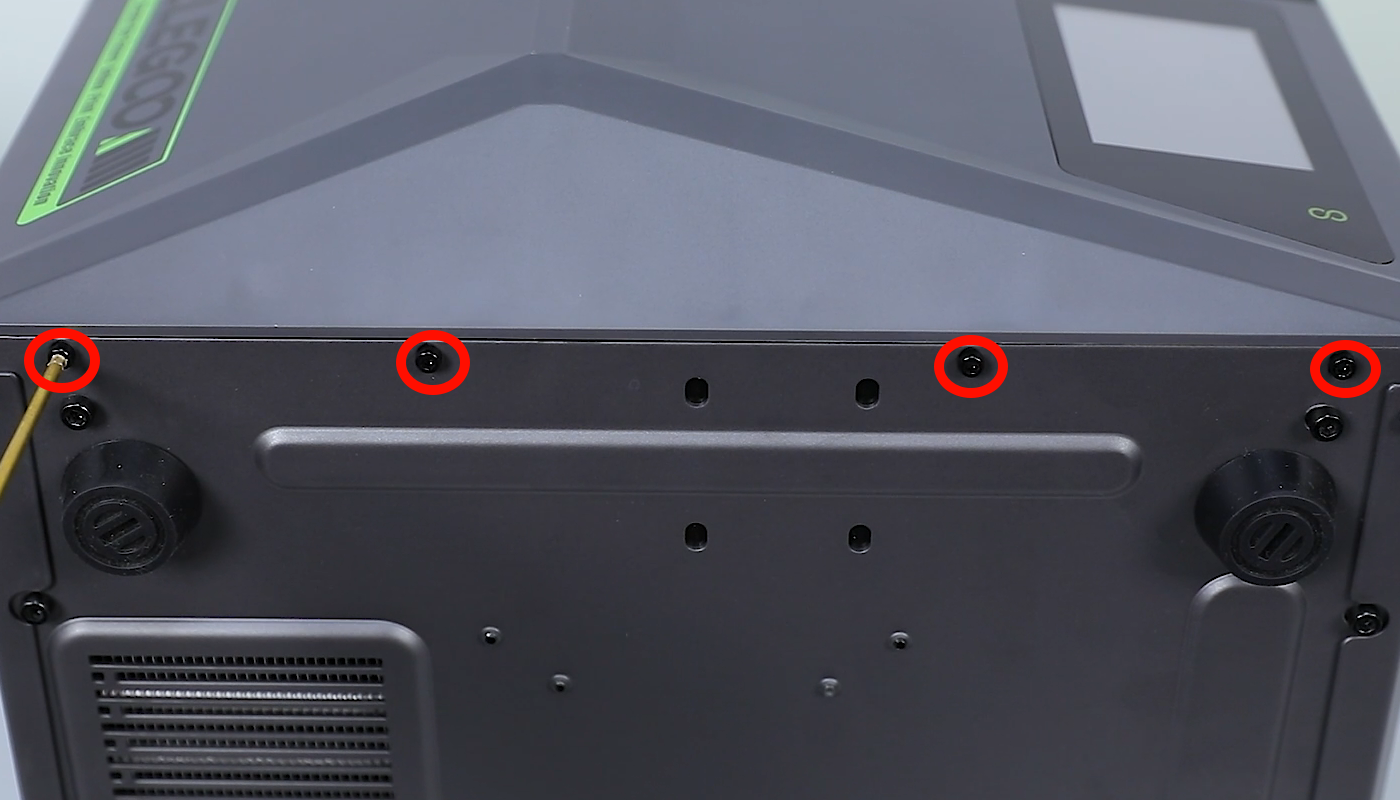
- Lift the top cover and use a 2.5 mm Allen wrench to loosen the four screws securing the front cover to the middle plate. Then close the top cover and use a 2.5mm Allen wrench to loosen the four screws securing the front cover to the bottom.
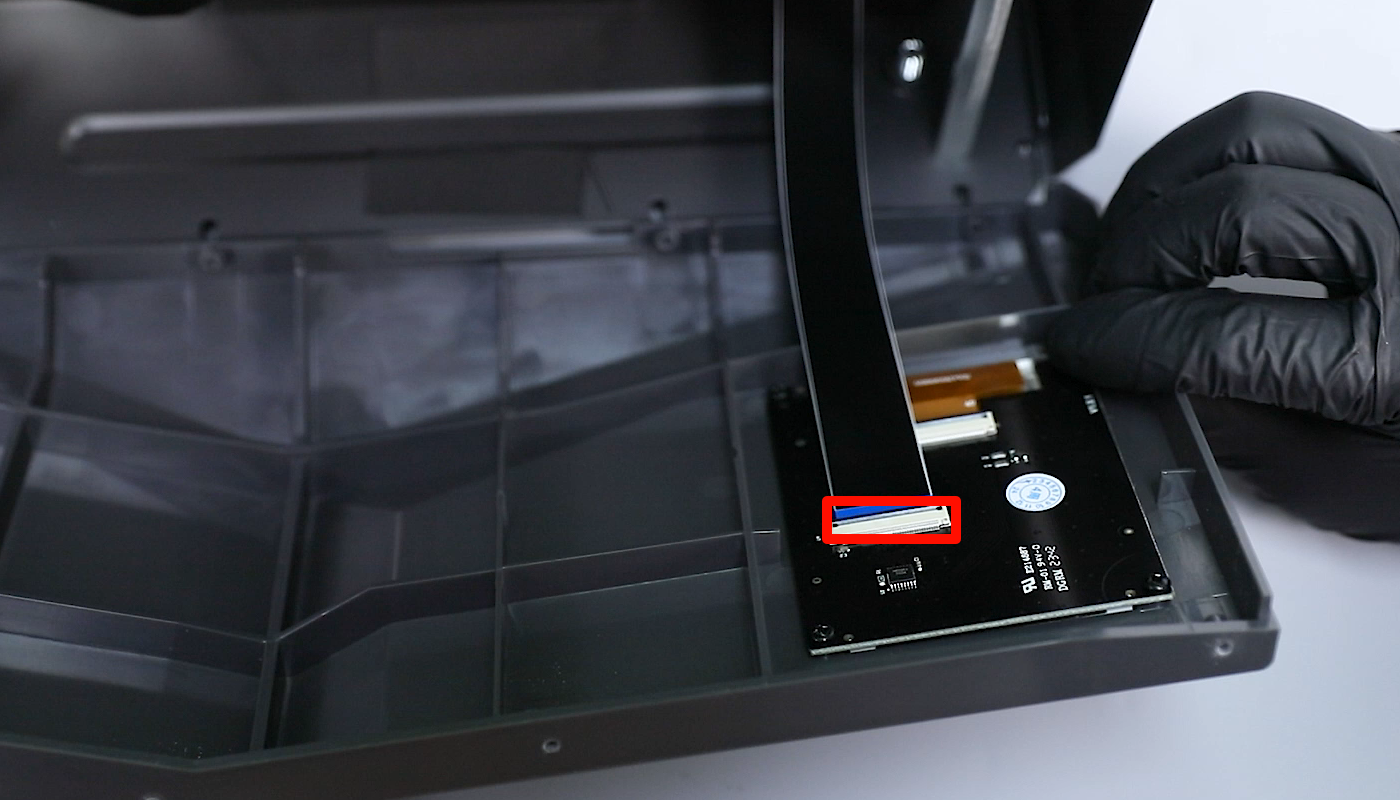
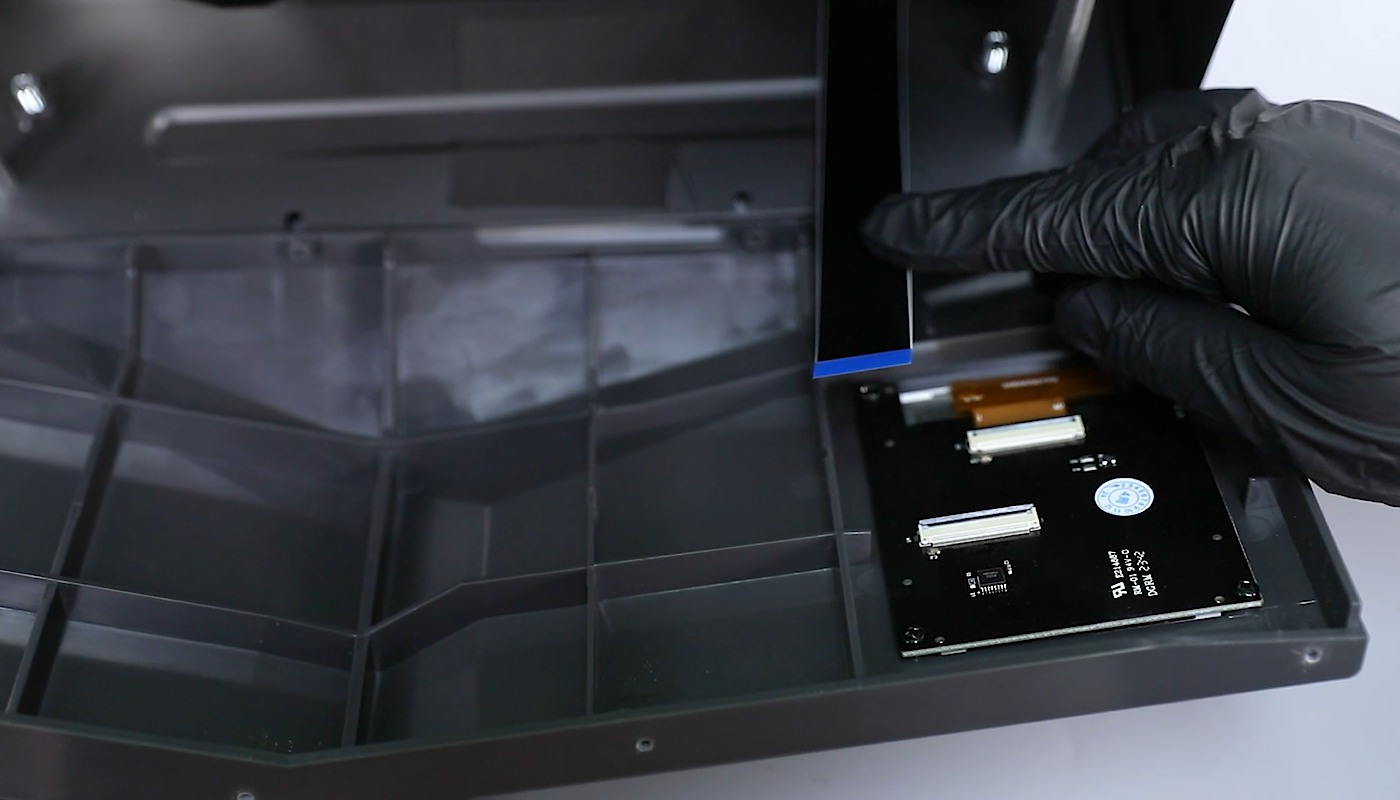
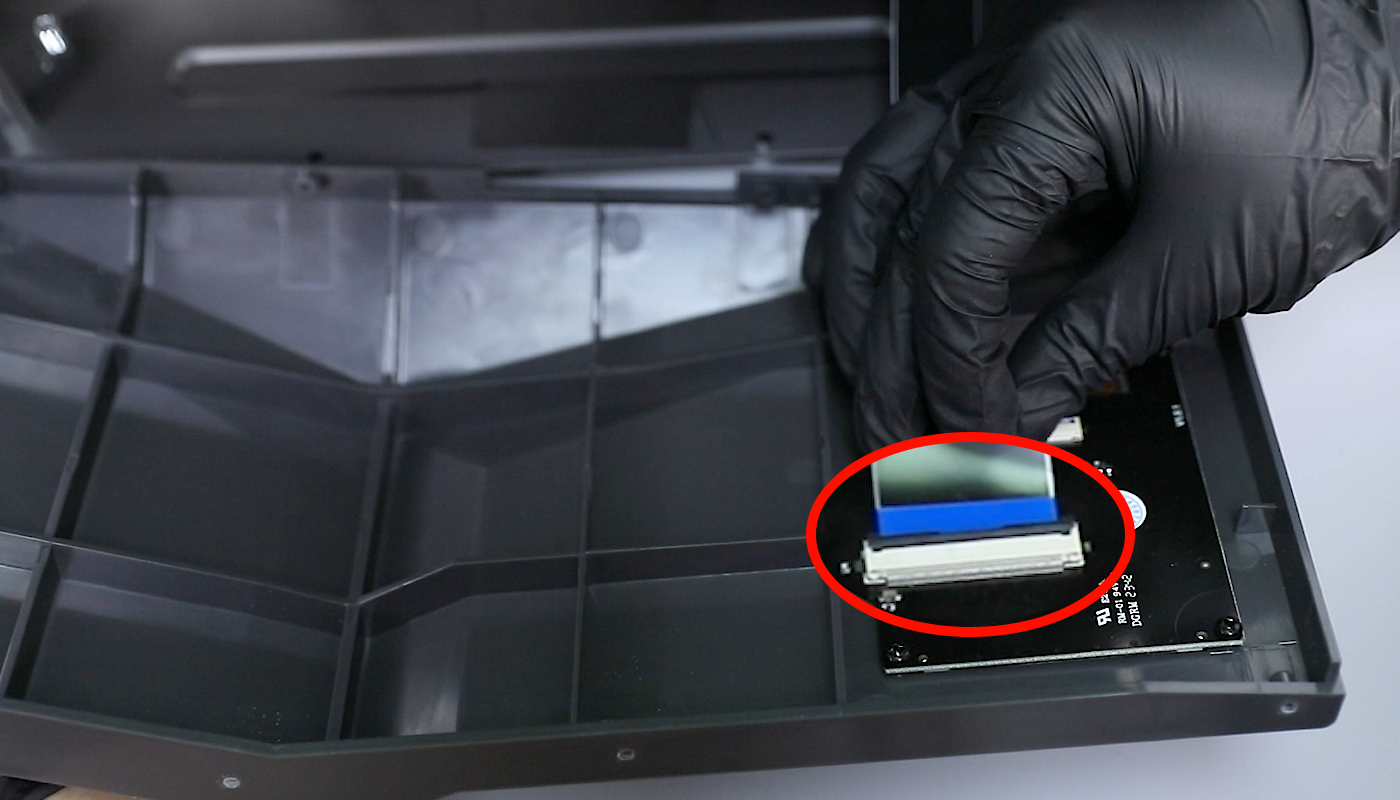
- Open the front cover slightly. Flip open the locking cover for the touch screen ribbon cable and remove the cable.
(Note: Handle with care due to the internal ribbon cable connection.)
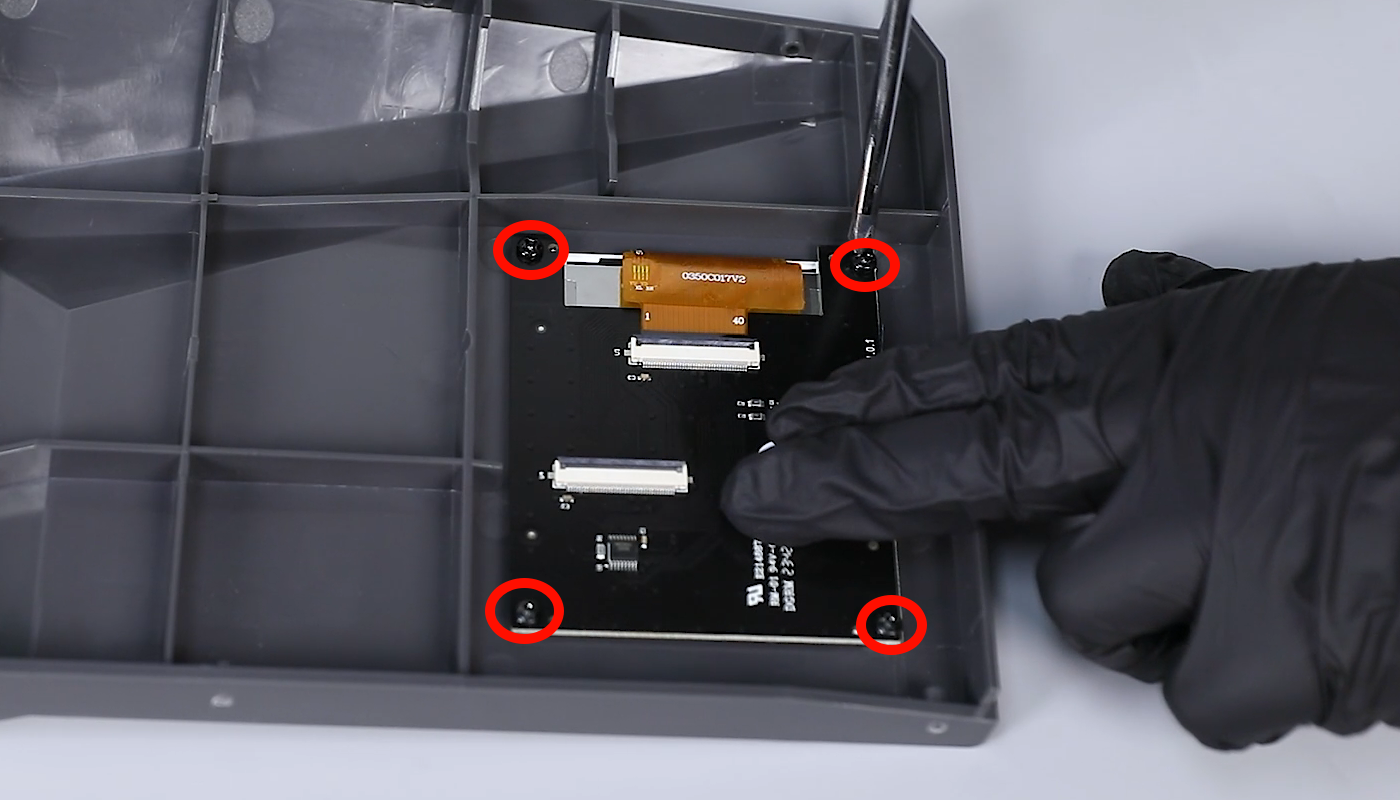
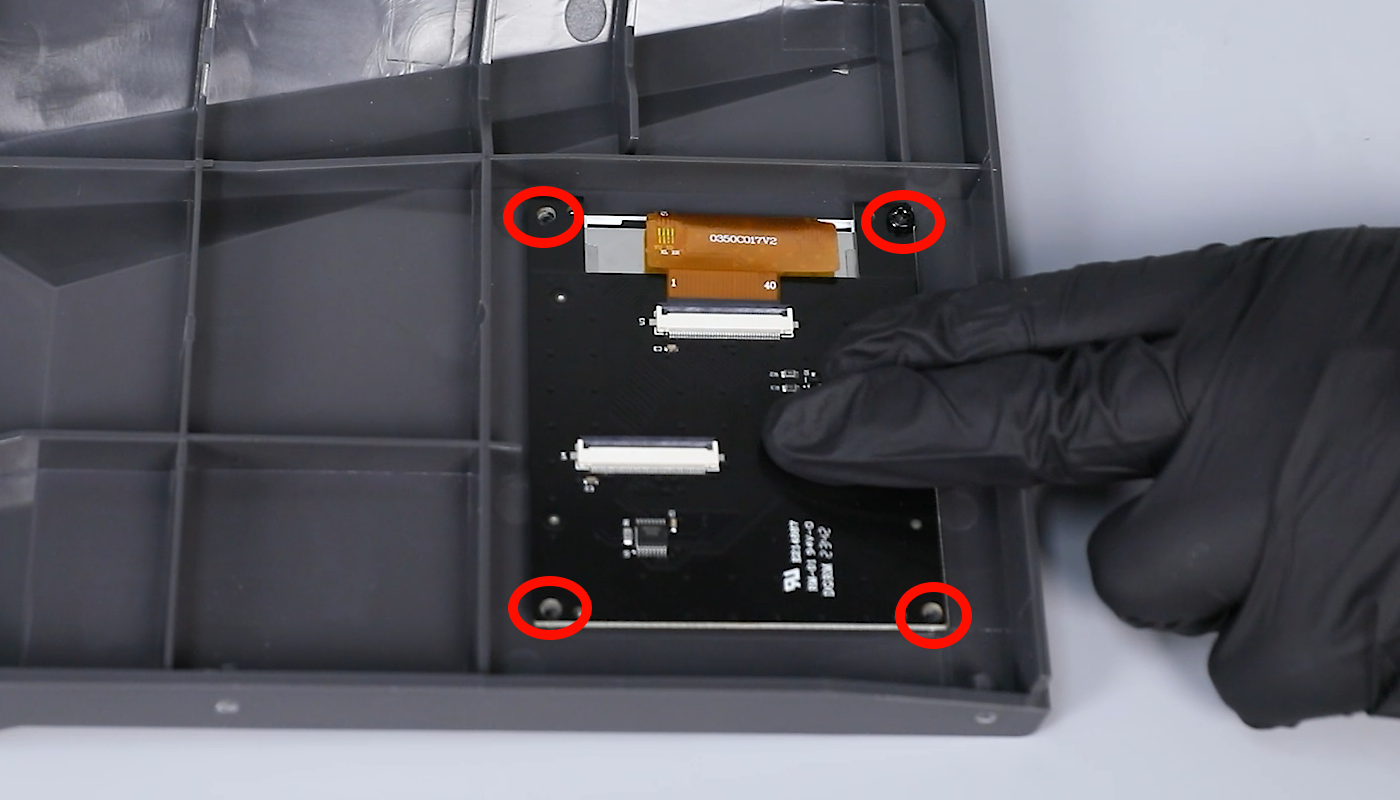
- Use a Phillips screwdriver to loosen the four screws securing the touch screen. Remove the old touch screen.
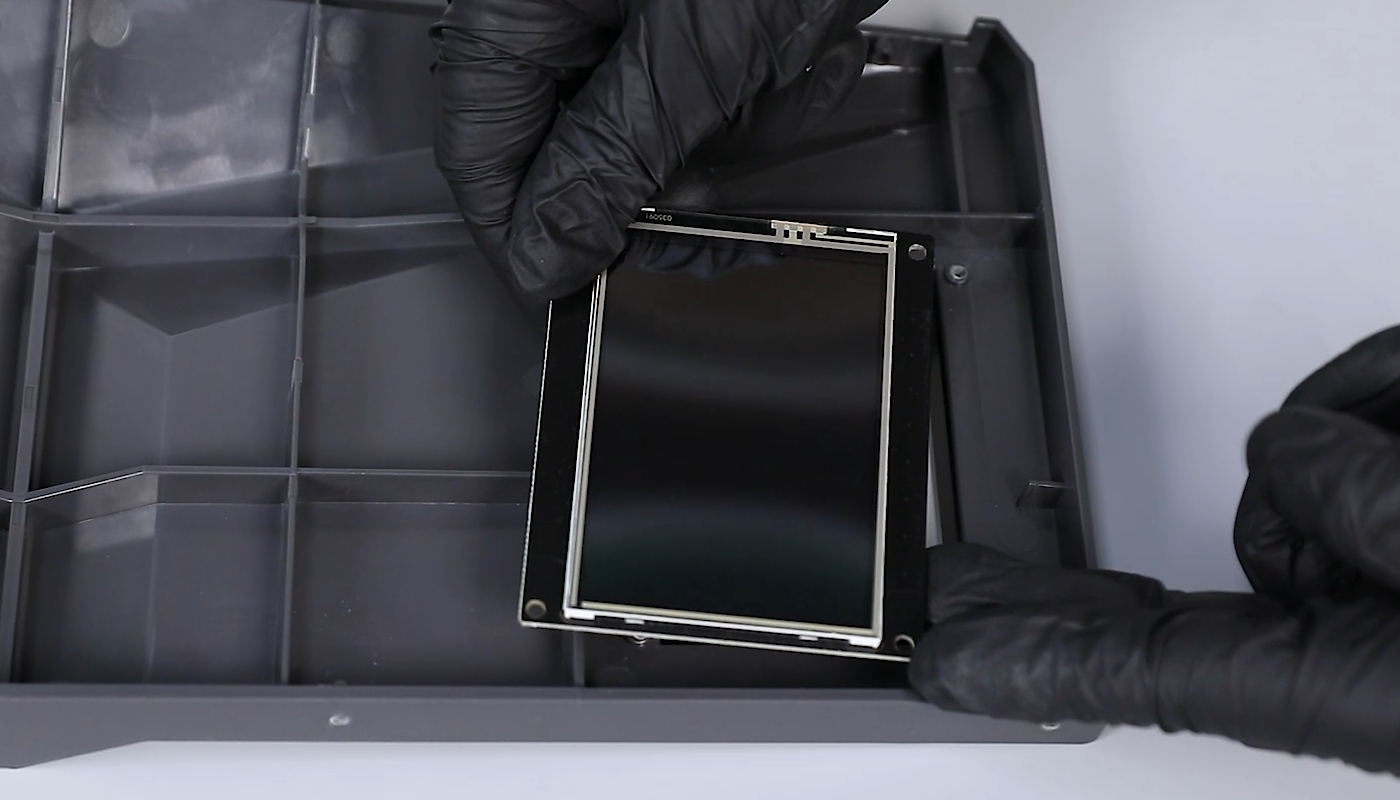
- Take out the new touch screen. Align the touch screen with the screw holes and position it for installation. Use a Phillips screwdriver to tighten the four screws that secure the touch screen.
(Note: Install with the numerical markings and chip facing downwards.)
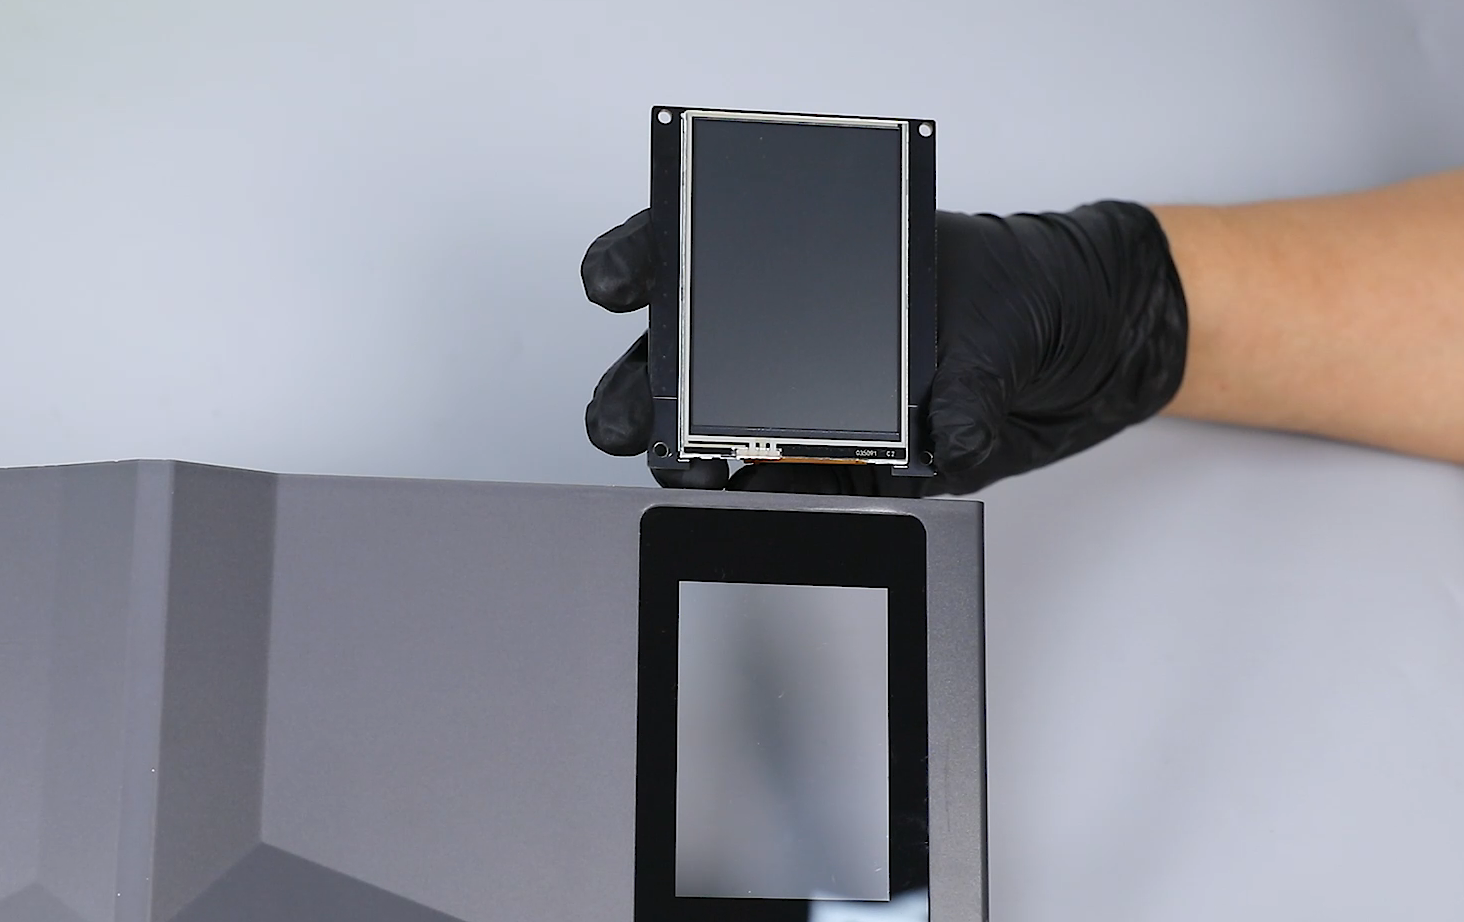
- Place the printer’s front cover back in its position. Reconnect the touch screen ribbon cable and securely fasten the locking cover.
(Note: Ensure the correct installation direction of the touch screen ribbon cable.)
- Align the front cover with the screw holes and place it in the installation position. Use a 2.5mm Allen wrench to tighten the four screws that secure the upper part of the front cover and the four screws that secure the lower part.
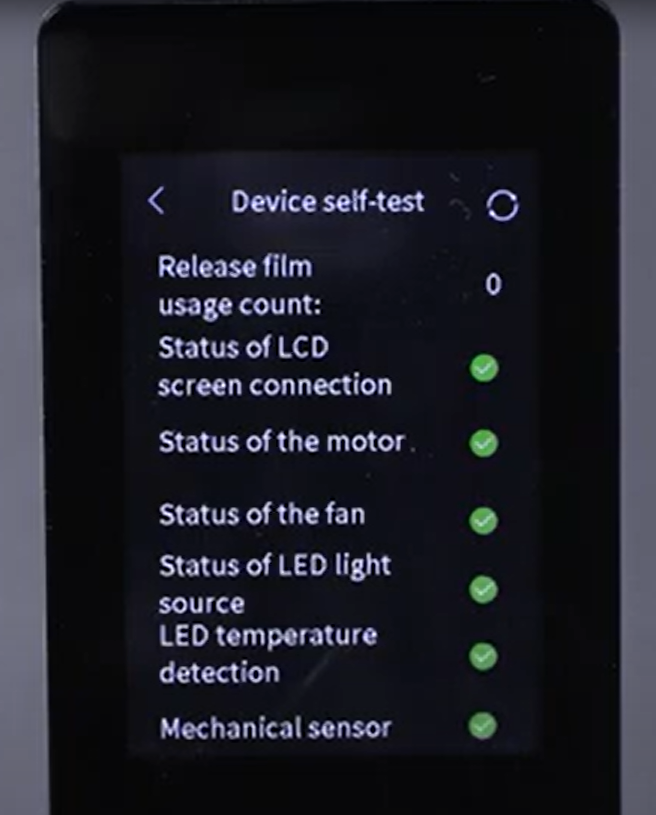
- Power on the printer, wait for the device self-test to finish, and the printer will be ready for normal use.