Saturn 3 Ultra-Lead Screw Motor Replacement
Tools and materials needed
●4.0mm Allen wrench
●3.0mm Allen wrench
●2.5mm Allen wrench
●Pliers
●Marker
●Brush
●Grease
●Dust-free cloth
●Gloves
Reference video
Coming soon.
Operation steps
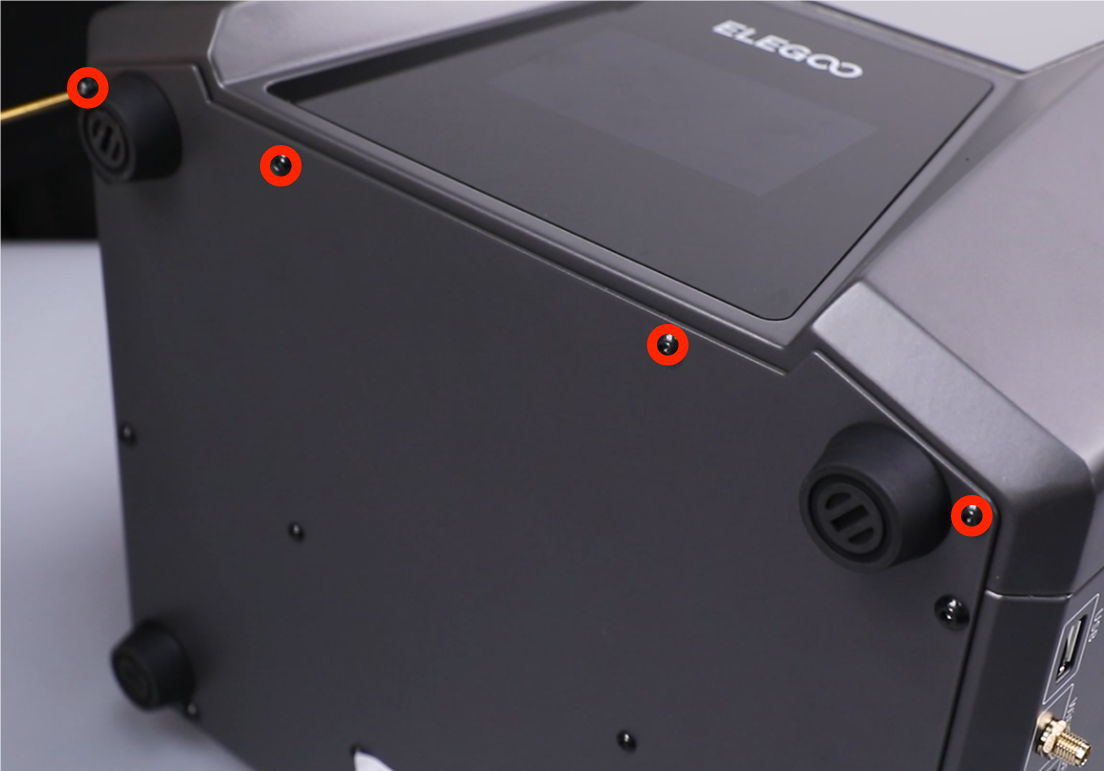
1. Use a 2.5mm Allen wrench to loosen the 4 screws at the bottom.
 |
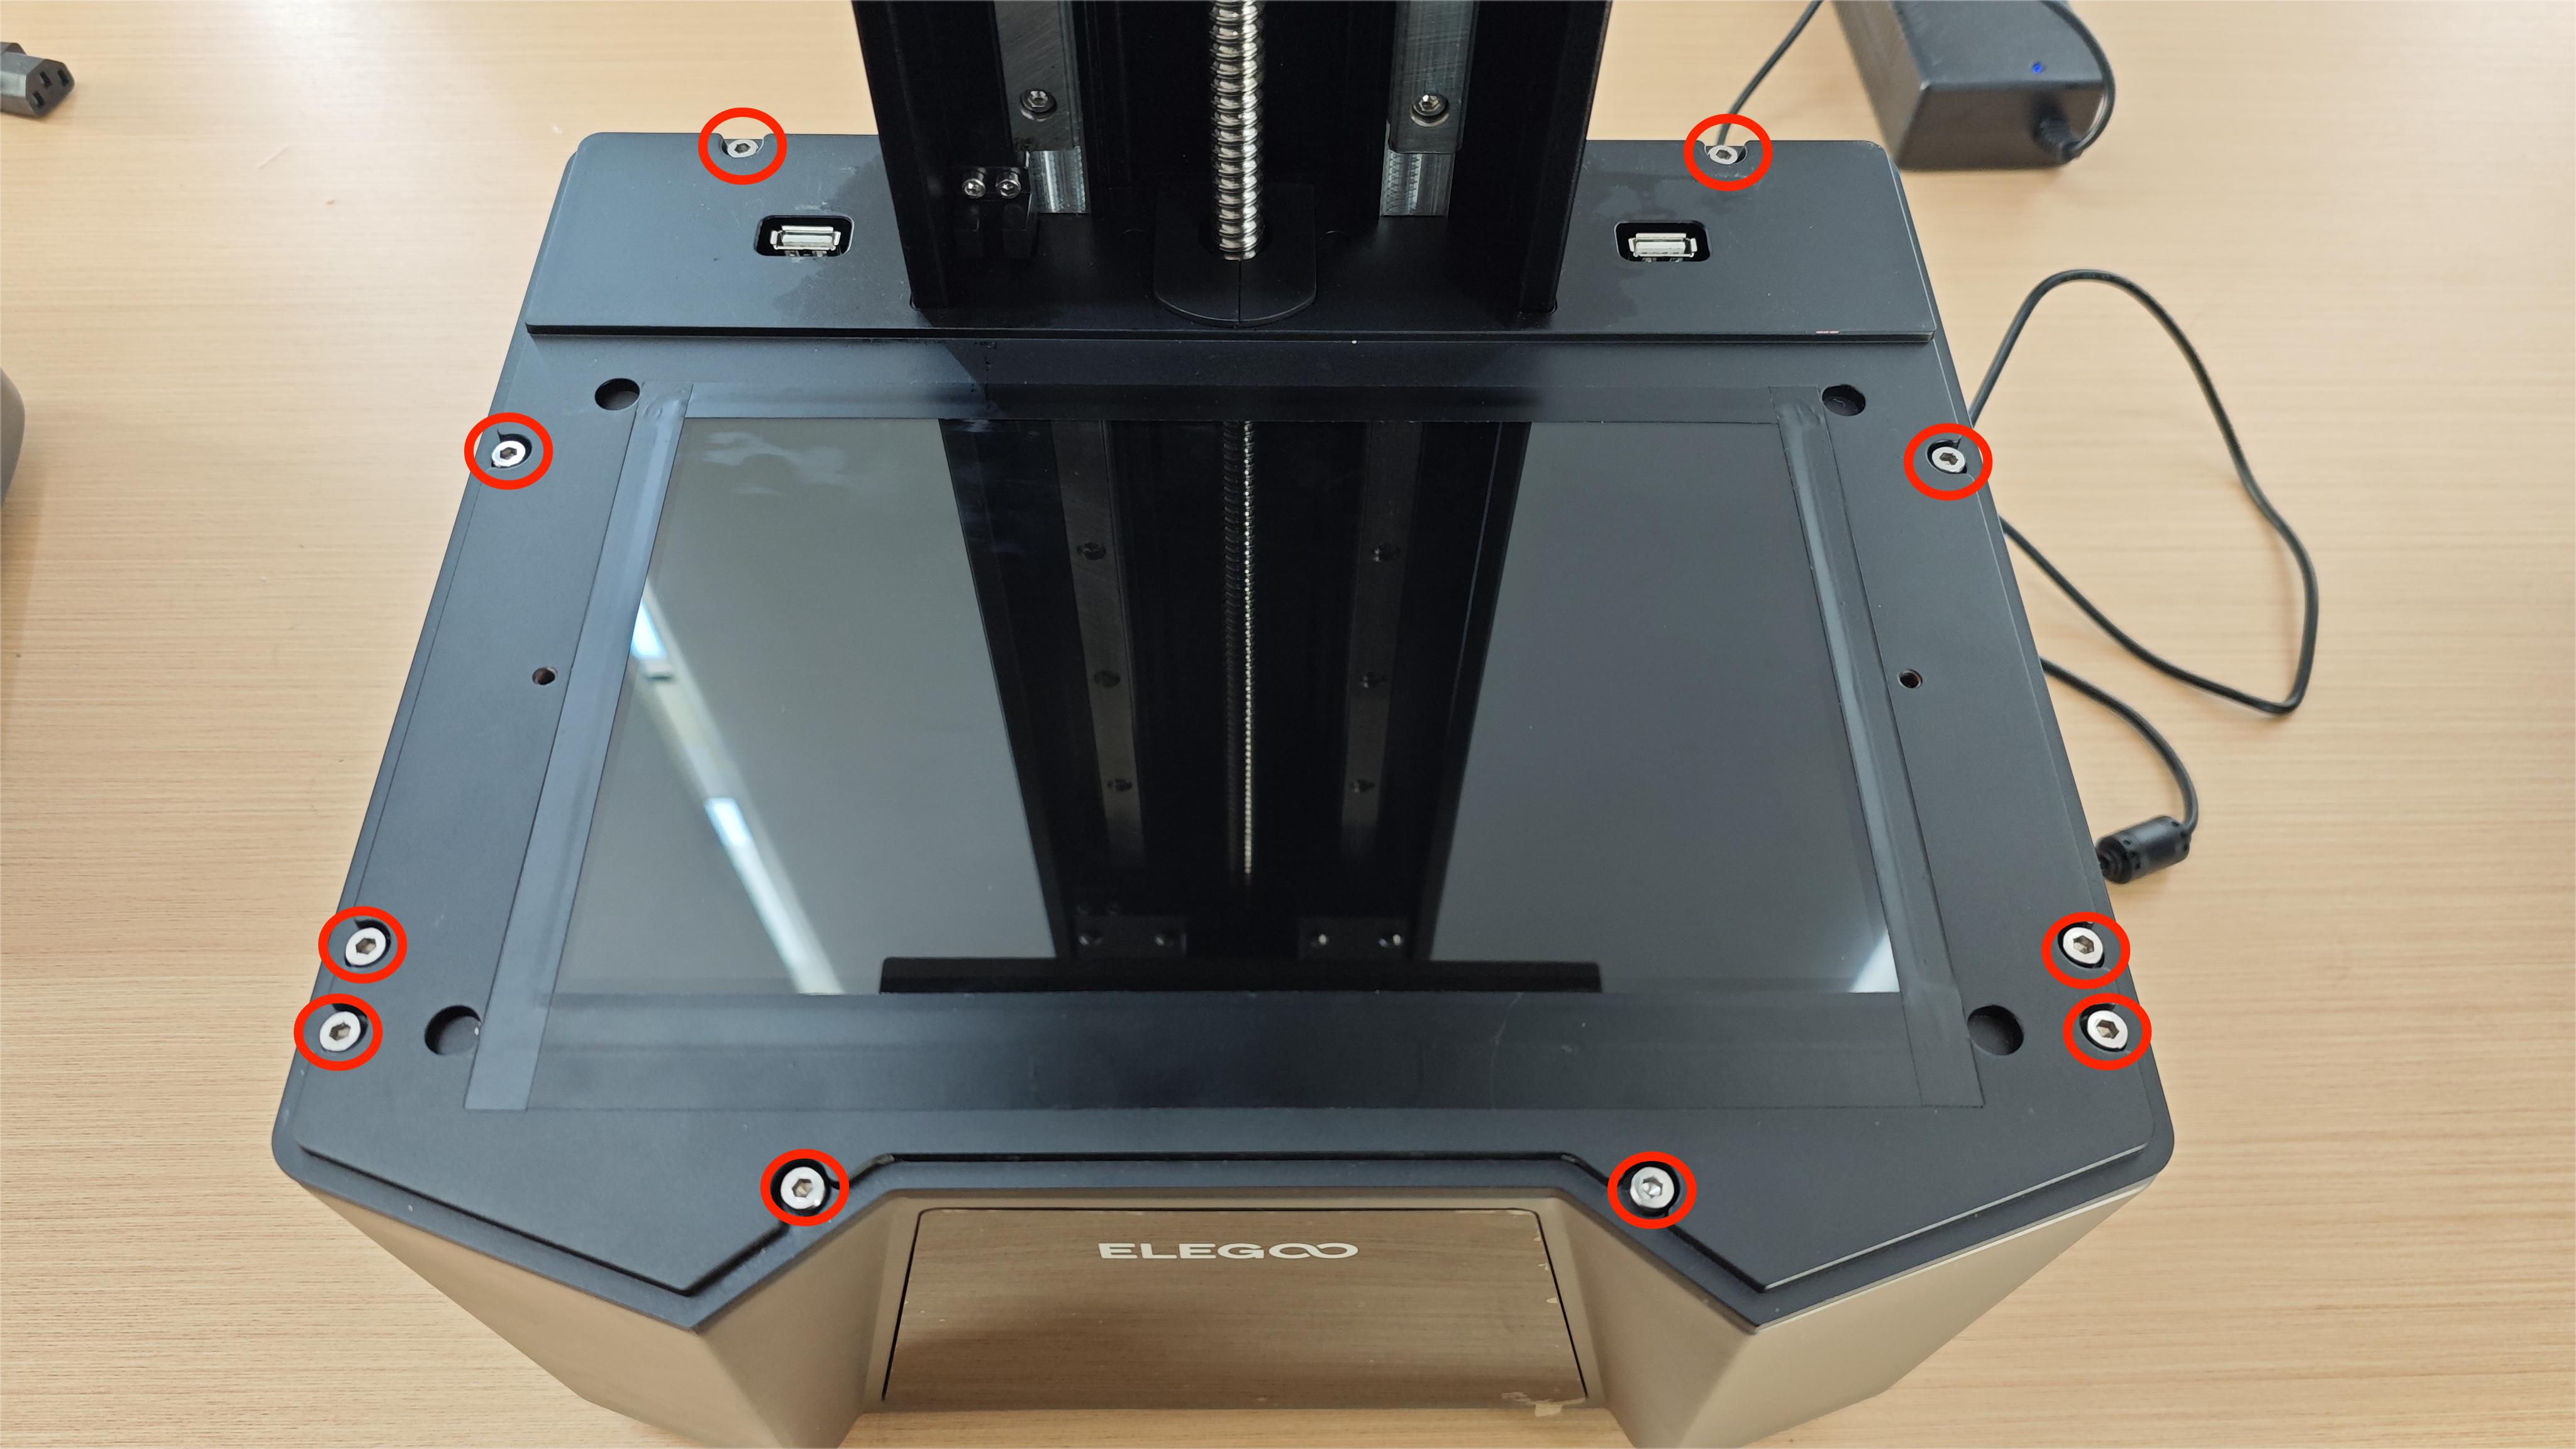
2. Use a 3.0mm Allen wrench to loosen a total of 11 screws on the surface of the middle plate (There is a fixing screw behind the Z-axis). After removal, place the front plate flat on the table.
 |
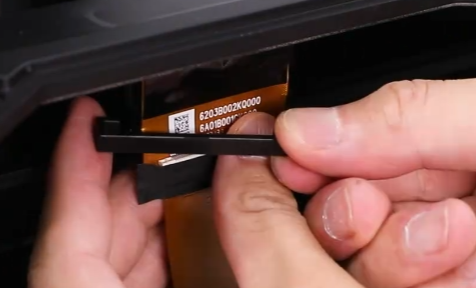
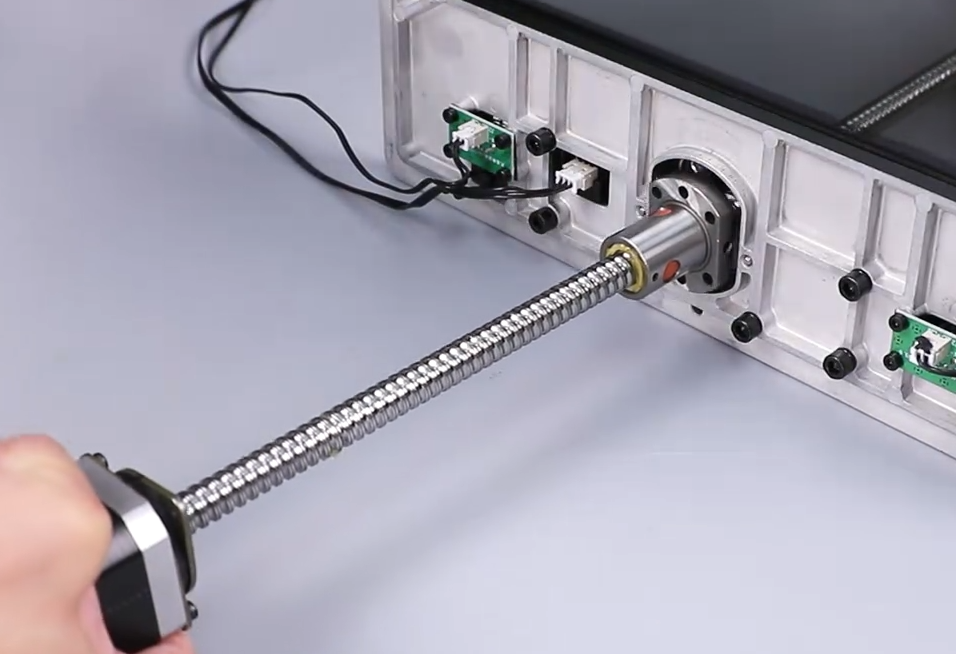
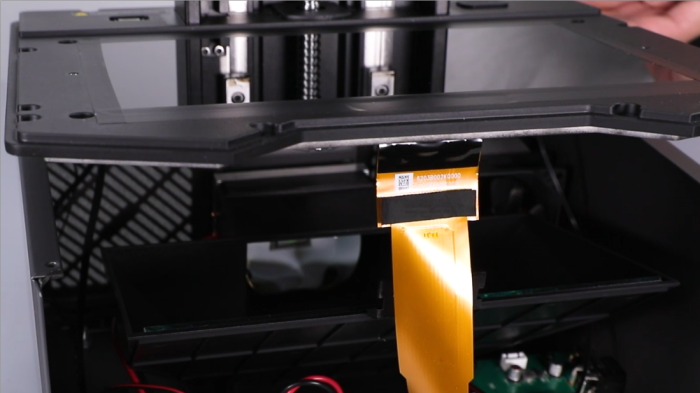
5. Mark the cable port of the motherboard (you can take a photo and save it) to facilitate subsequent installation and prevent the wrong interface from being inserted; then remove the limit switch cable, the two USB interface cables, the two fan cables and the motor cable in sequence.
 |
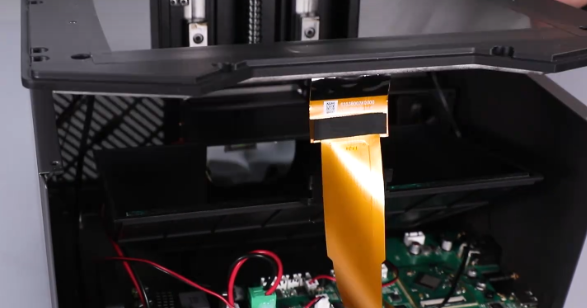
6. Remove the entire middle plate. (Note: When taking out the middle plate, please be careful not to break the connecting wires underneath)
 |
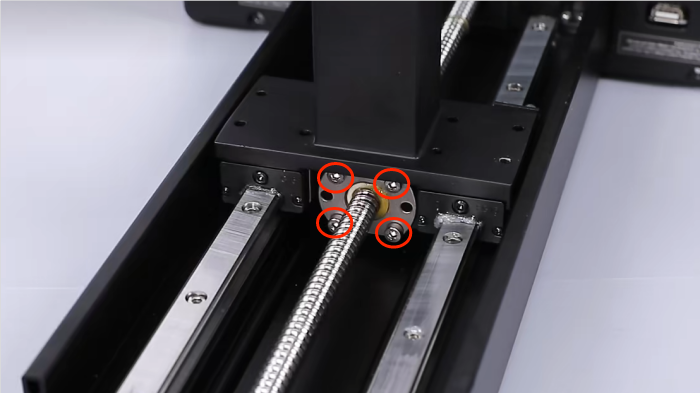
9. Use a 3.0mm Allen wrench to twist out the 4 screws connecting the ball screw and remove the connecting slider (It is recommended to raise the connecting slider to the top in advance to facilitate subsequent operations).
 |
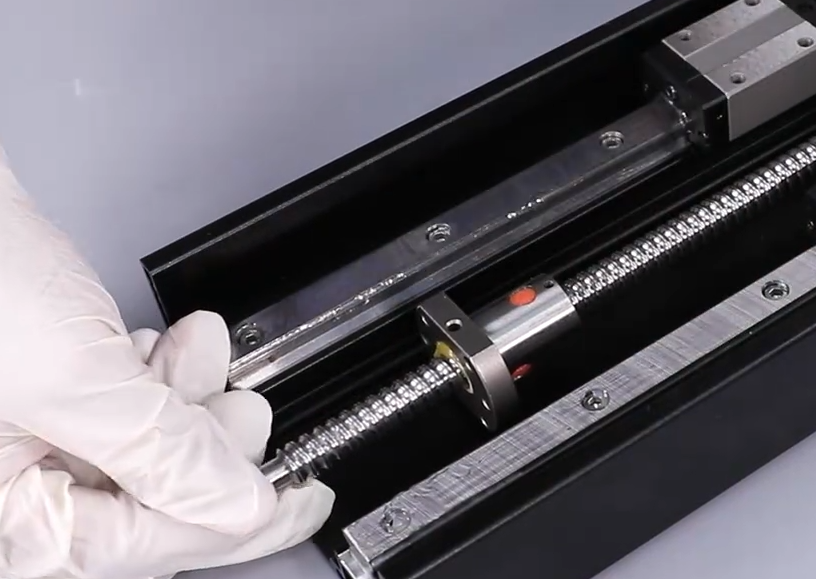
15. After inserting the connecting cable, install it back to the original position of the machine, paying attention to the direction of the motor cable port. (Note that the lead screw nut is rotated in the direction it was removed).
 |
17. Install the slider and lock it with a 2.5mm Allen wrench (8 screws).
Suggestion: It can be manually rotated to the top of the lead screw (but not out of the lead screw) for easy operation.
 |
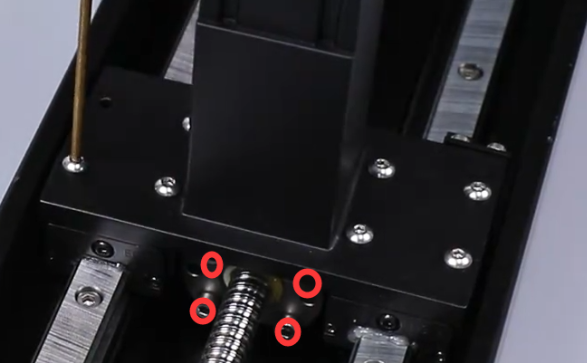
18. Use a 2.5mm Allen wrench to tighten the ball screw fixing screws (4 screws).
 |
20. Install the middle plate (be careful not to press the cables) and use a 2.5mm Allen wrench to tighten the 7 fixing screws on the back of the middle plate. Note that there is another one behind the Z axis.
 |