¶ Screw Motor Replacement
¶ Tools and materials needed
● 4.0mm Allen wrench
● 2.5mm Allen wrench
● 2.0mm Allen wrench
● Grease
● Pliers
● Brush
● Gloves
¶ Reference video
Coming soon.
¶ Operation steps
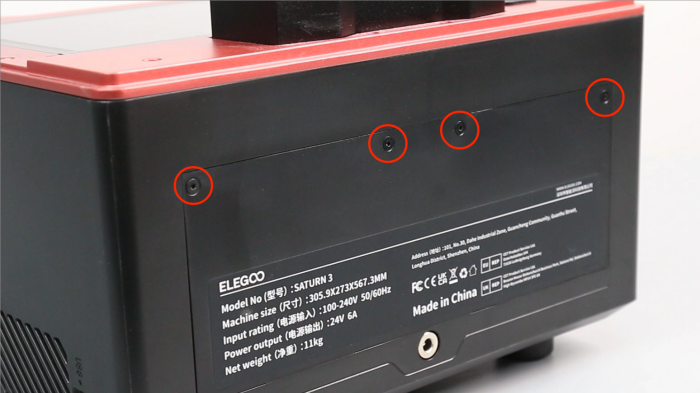
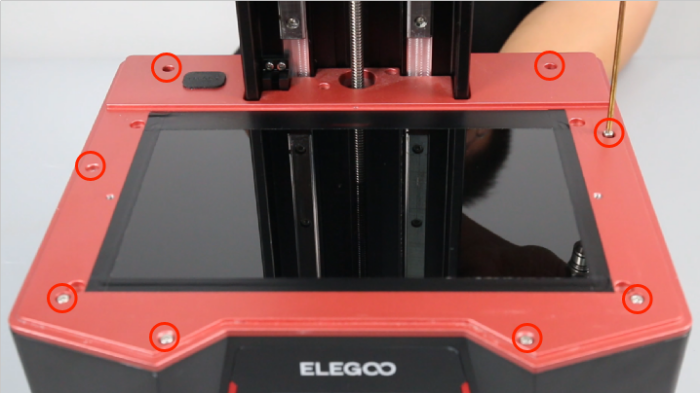
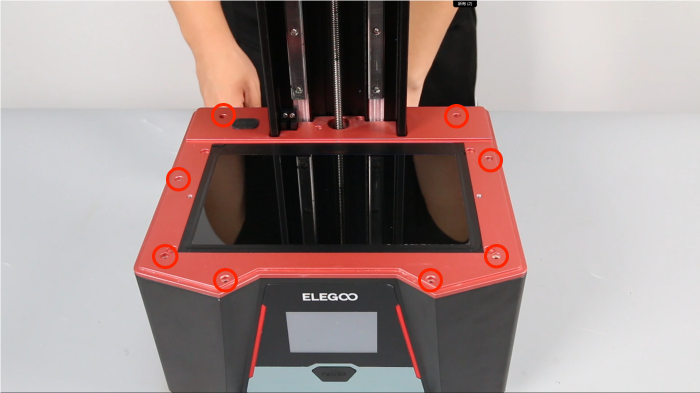
1. Use a 2.0mm Allen wrench to unscrew the 4 fixing screws on the back cover and remove the back cover.
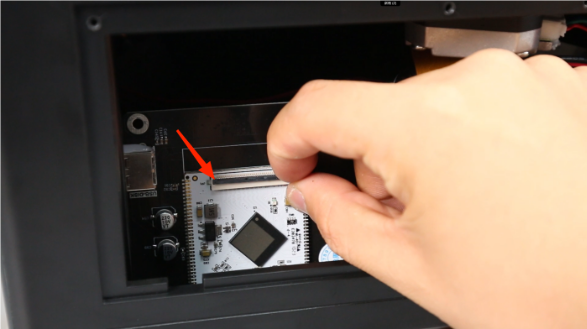
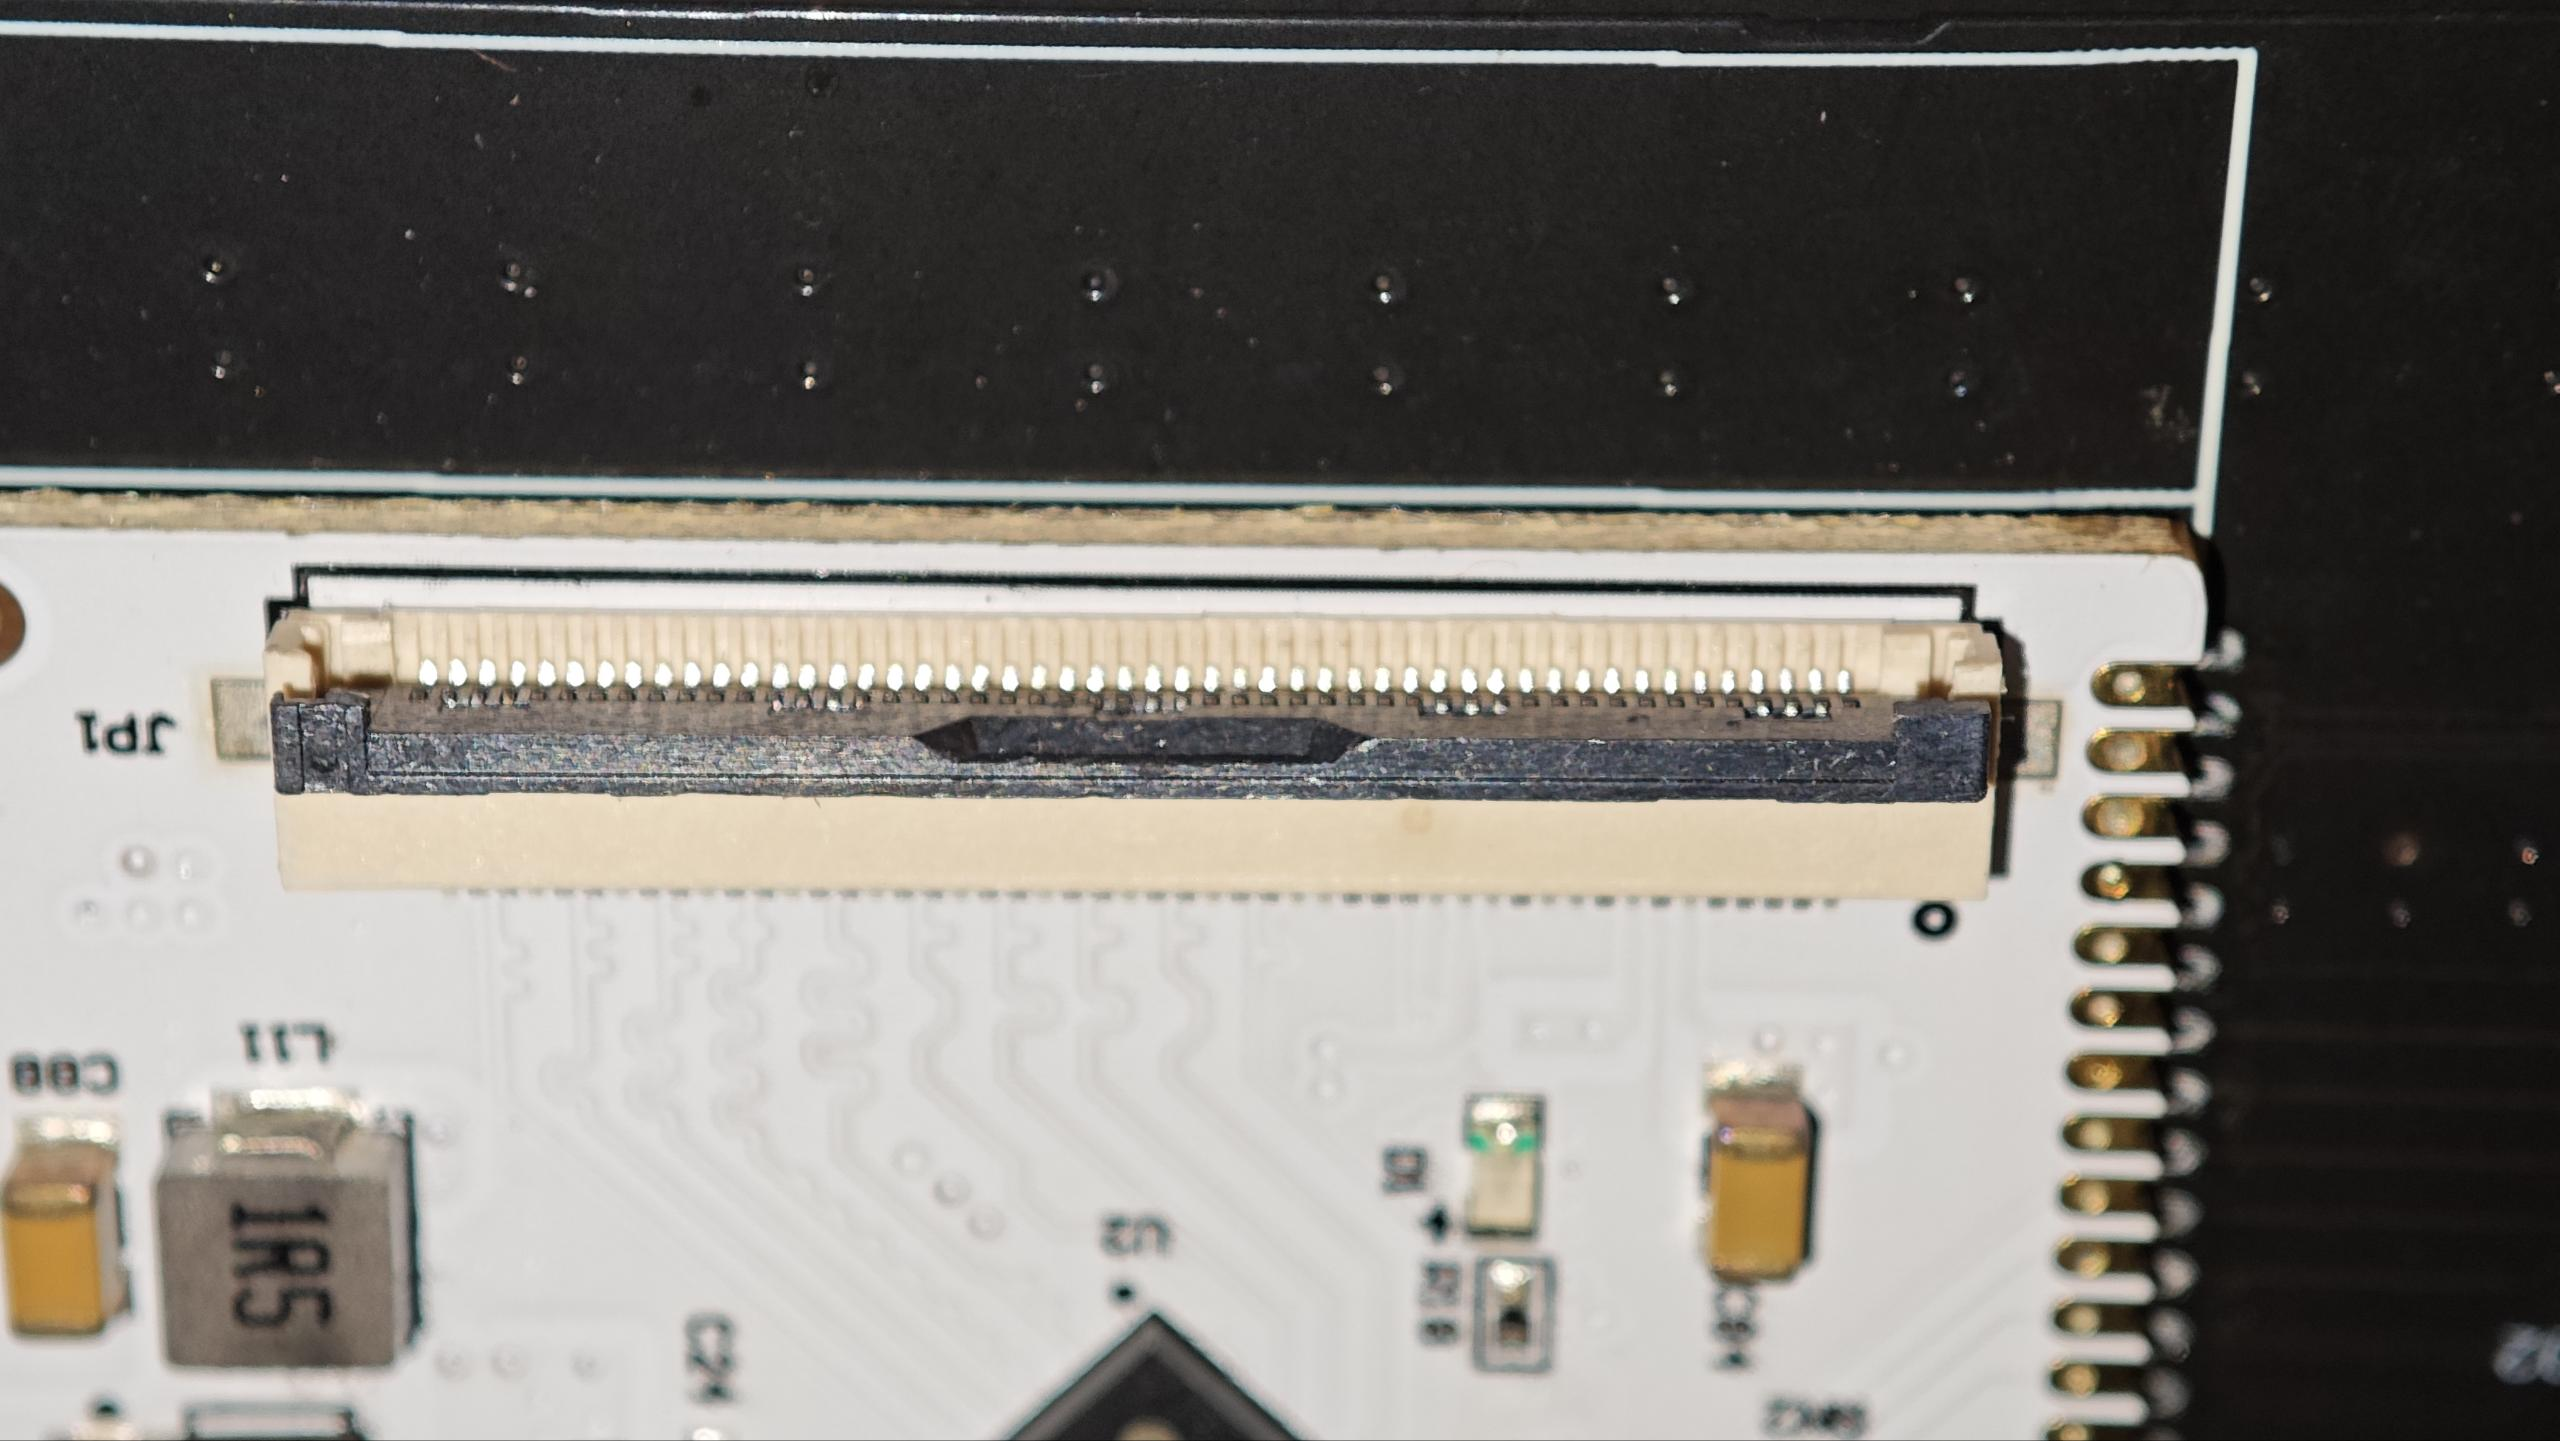
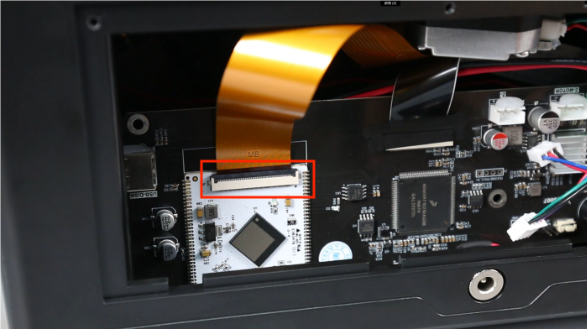
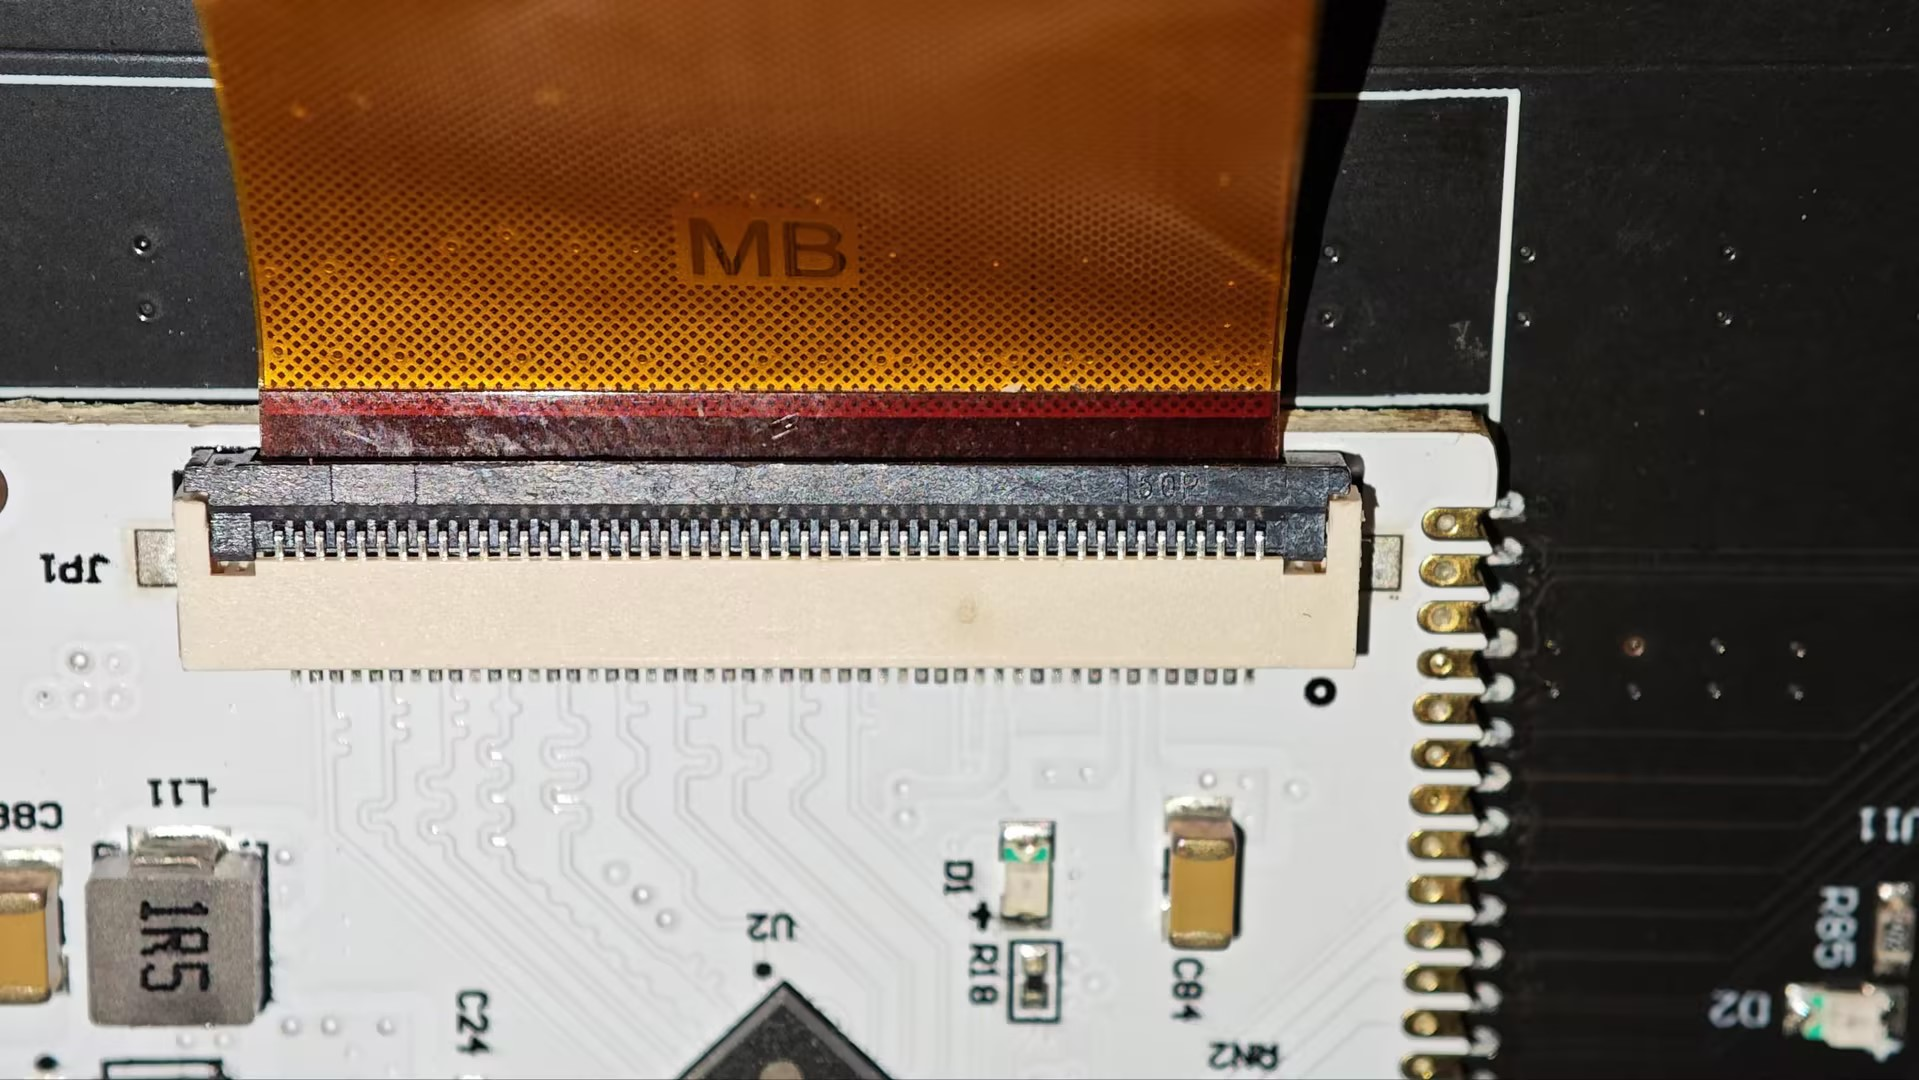
2. Tear off the tape fixing the LCD cable, open the cover of the LCD cable holder, and remove the LCD cable.
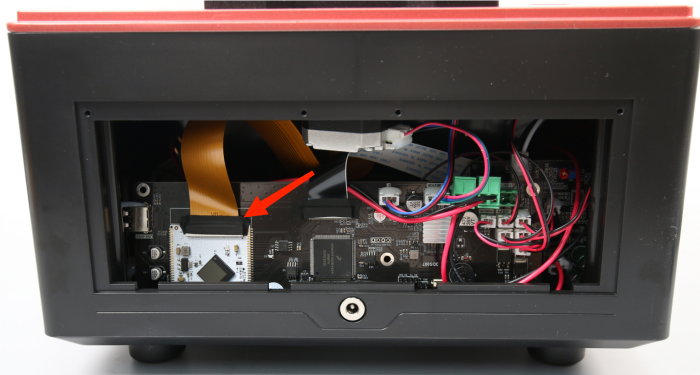
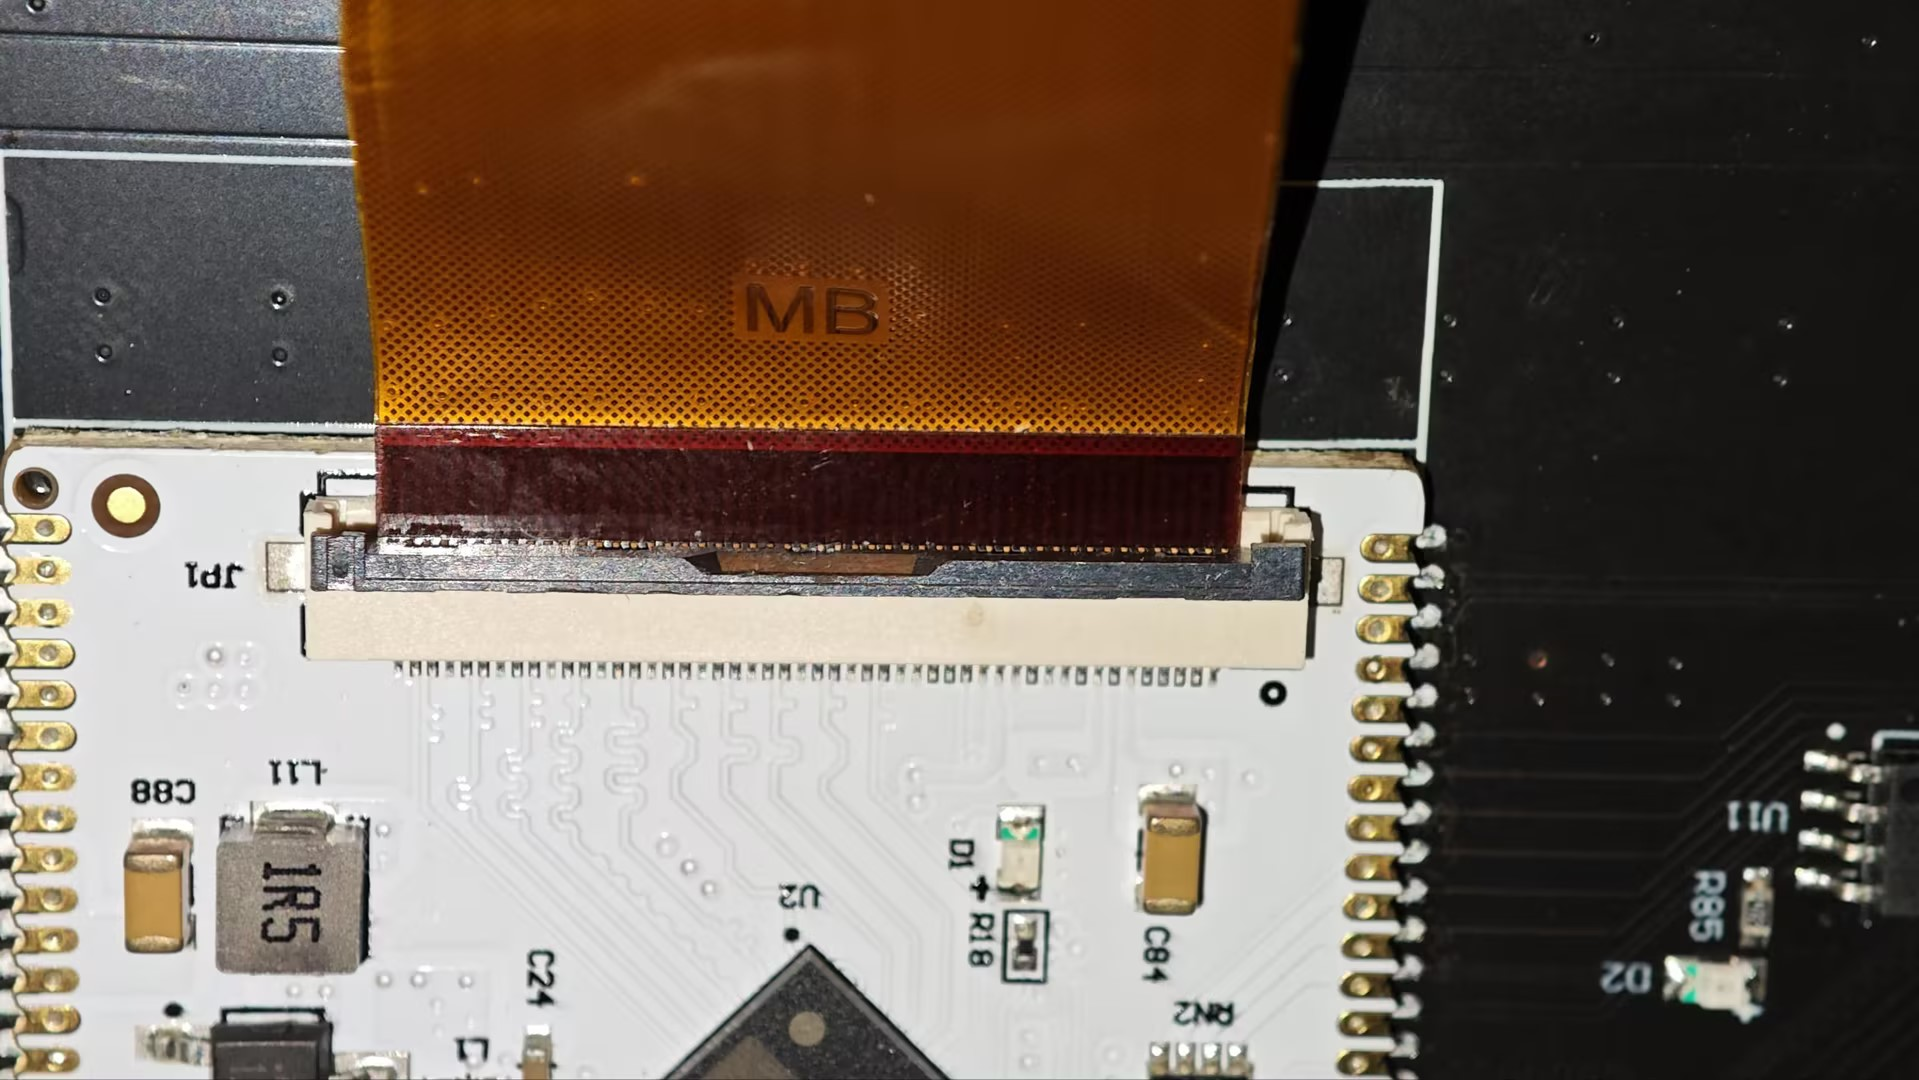
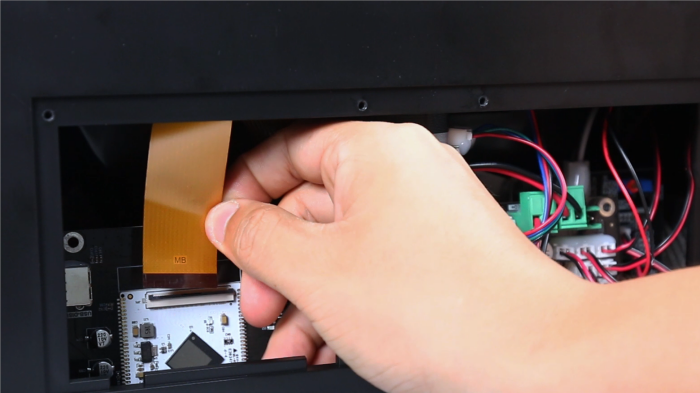
LCD screen
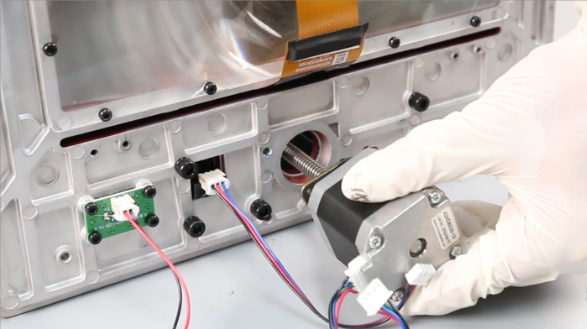
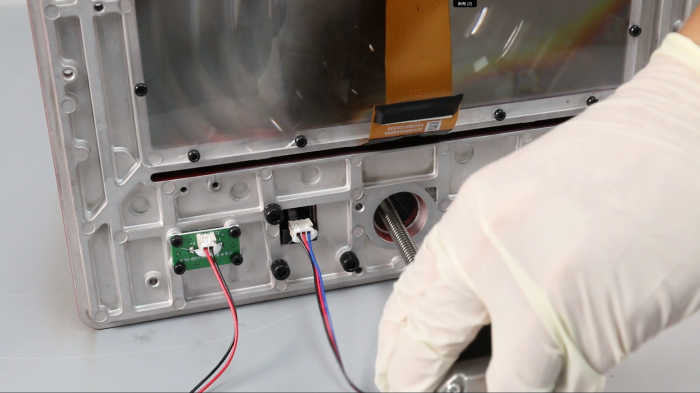
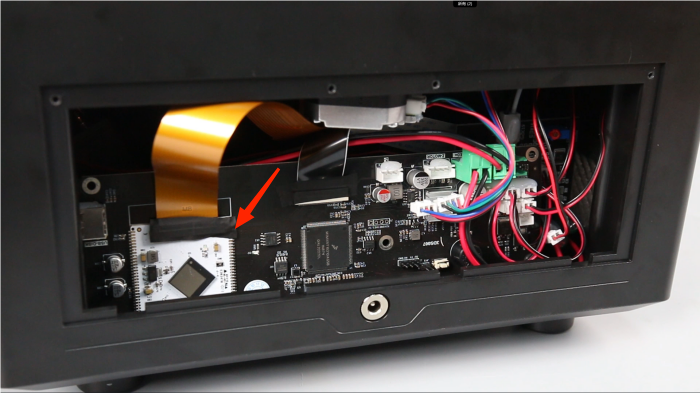
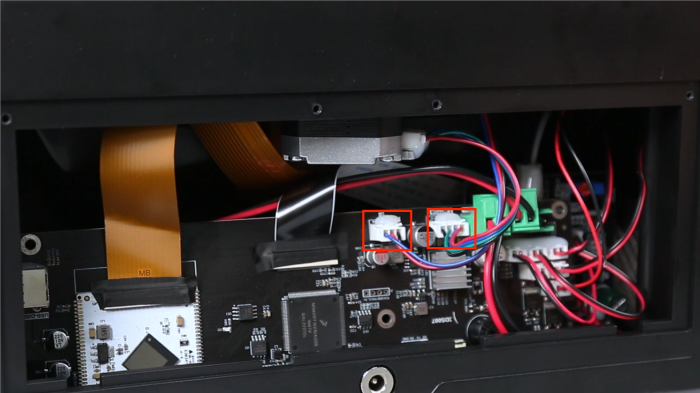
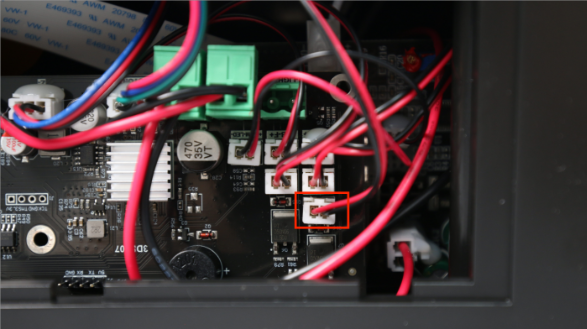
3. Use pliers to remove the hot melt glue from the cable port (Be careful when using pliers to prevent cutting the cable), mark the motherboard cable port to facilitate subsequent installation, and then remove the limit switch cable and air purifier USB port cable and motor cable in sequence.

Limit Switch Cable & Motor Cable

Air purifier USB port cable
4. Use a 2.5mm Allen wrench to twist out the 10 fixing screws on the middle plate and remove the middle plate.

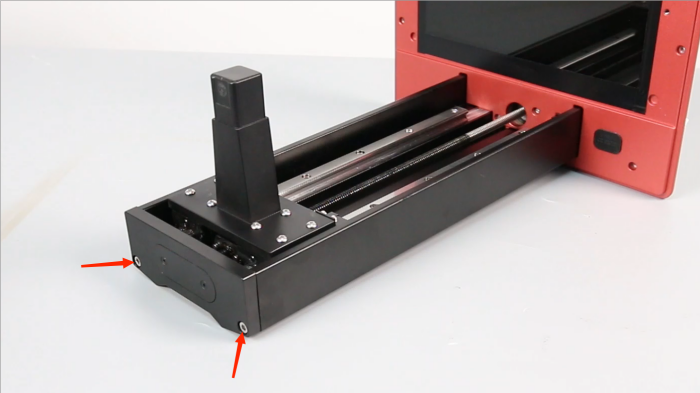
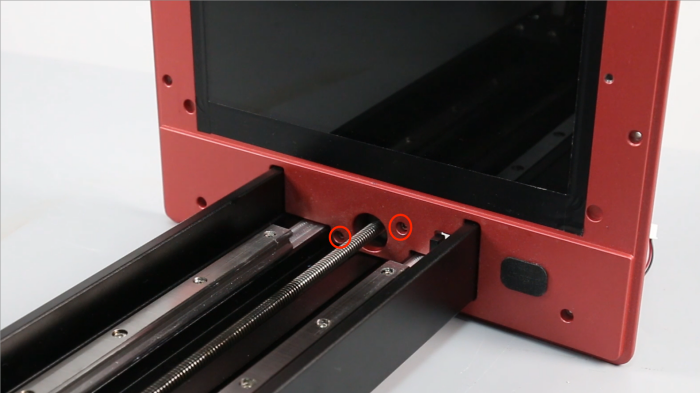
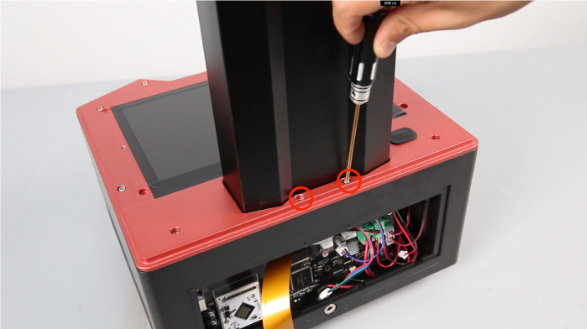
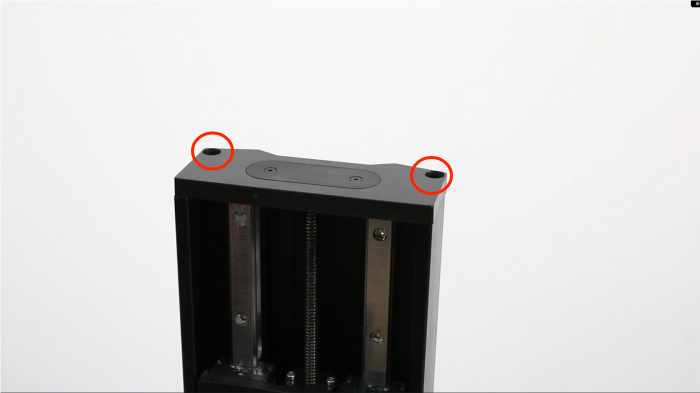
5. Use a 4.0mm Allen wrench to unscrew the 2 fixing screws on the top cover and remove the top cover.
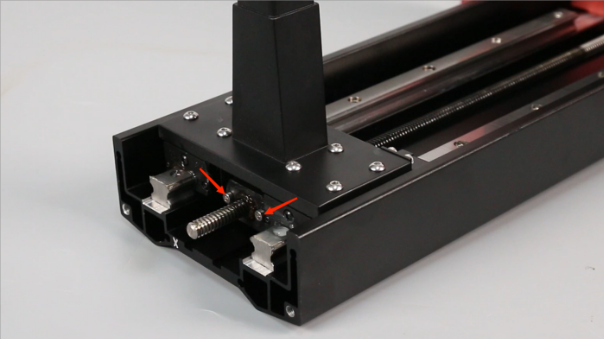
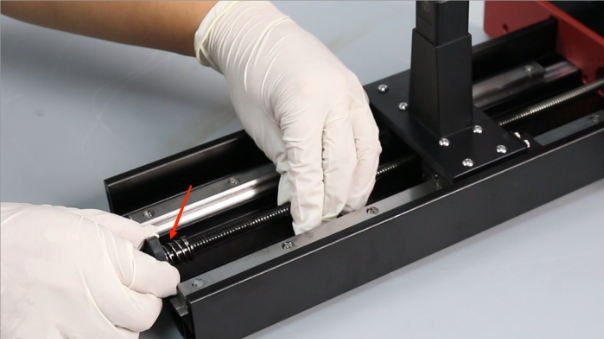
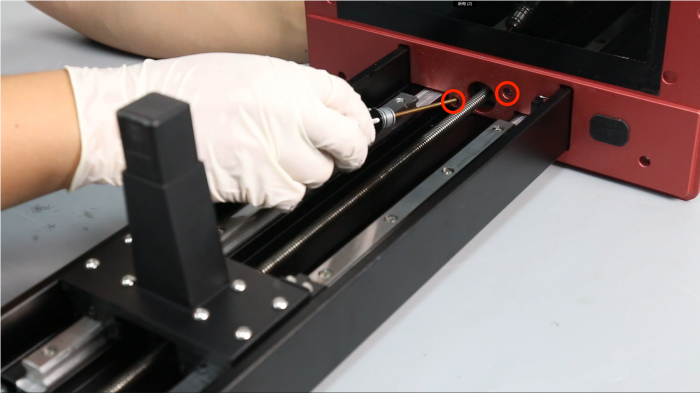
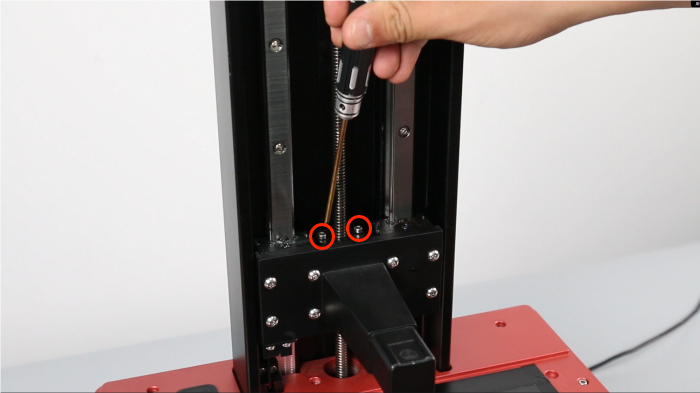
6. Use a 2.5mm Allen wrench to twist out the 2 fixing screws of the anti-backlash nut.
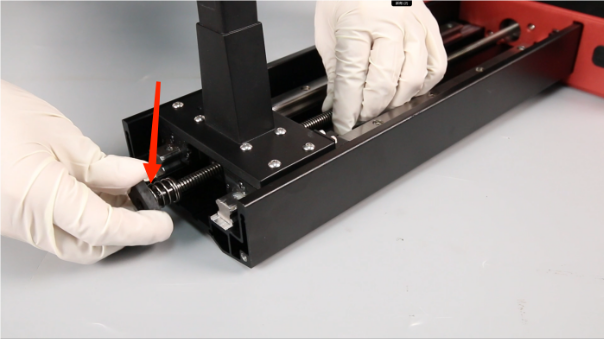
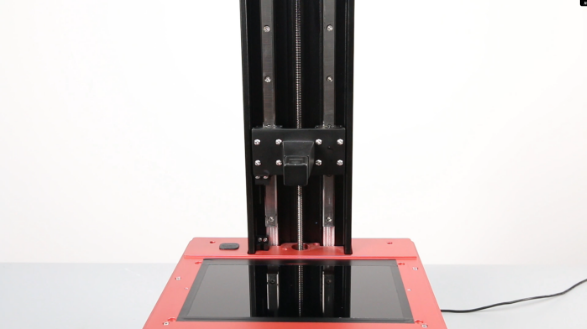
7. Push the connecting slider downward, hold the lead screw with one hand, turn the anti-backlash nut counterclockwise with the other hand, and remove the anti-backlash nut from the top of the screw rod.
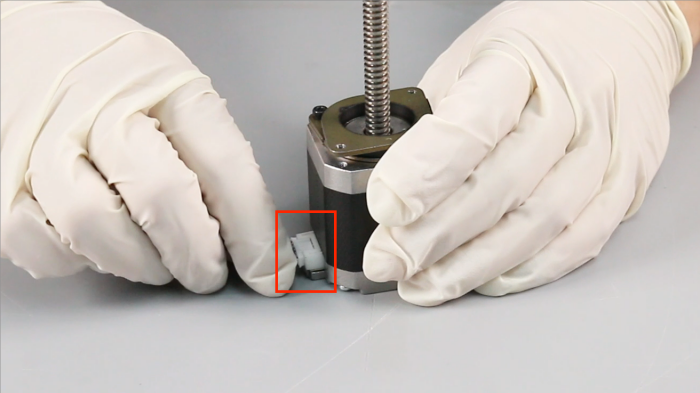
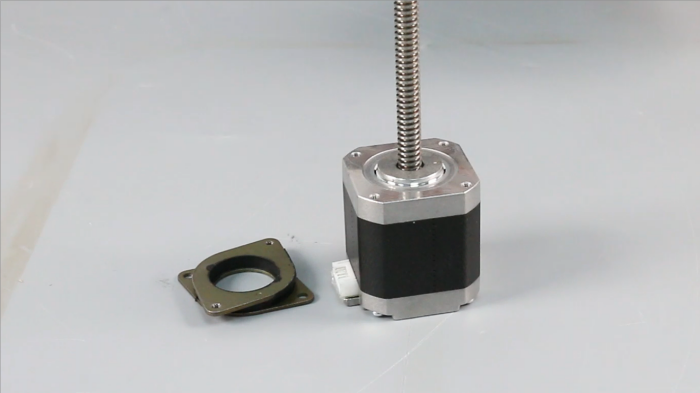
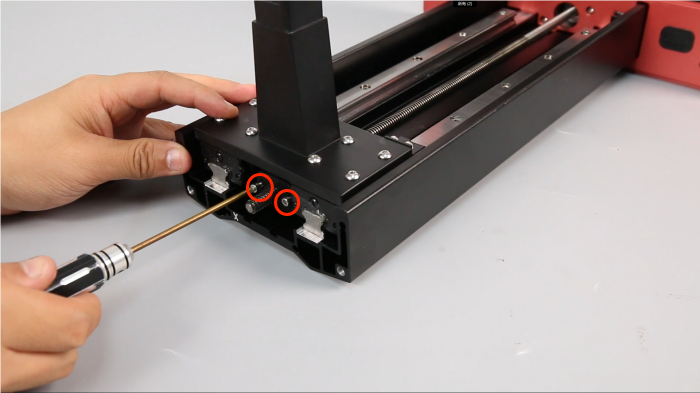
8. Use a 2.5mm Allen wrench to twist out the 2 fixing screws of the motor and remove the lead screw motor from the rear. (When twisting the screws, hold the motor from the rear to prevent it from falling).
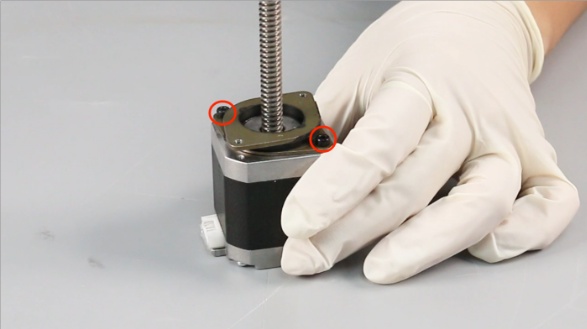
9. Remove the motor cable and use a 2.5mm Allen wrench to twist out the 2 fixing screws of the motor shock washer.
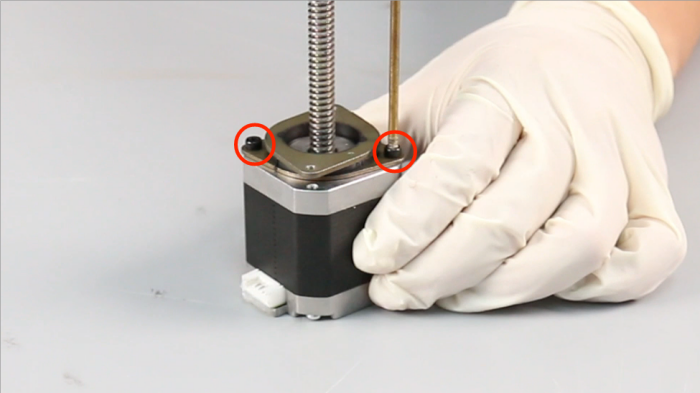
10. Take out the new lead screw motor, put the shock washer from the top of the lead screw to the mounting position, use a 2.5mm Allen wrench to tighten the 2 fixing screws of the shock washer, and insert the motor cable.

11. Insert the lead screw motor behind the mounting hole of the middle plate, and use a 2.5mm Allen wrench to tighten the two fixing screws of the motor.
12. Install the anti-backlash nut from the top of the screw rod. Hold the lead screw with one hand and turn the anti-backlash nut with the other hand.
13. Use a 2.5mm Allen wrench to twist the two fixing screws of the anti-backlash nut halfway. (Note that the two screws can not be tightened, and they will be tightened later)
14. Align the screw holes and install the middle plate. (Pay attention to organizing the cables)
15. Use a 2.5mm Allen wrench to tighten the 10 fixing screws on the middle plate.
16. Open the black cable cover, insert the LCD cable, snap the cable cover, and attach the fixing tape. (Note the positive and negative side of the LCD cable)
Cable gland
17. Insert the limit switch cable, motor cable, and air purifier USB cable in sequence.
Limit Switch Cable & Motor Cable
Air purifier USB port cable
18. Close the back cover and use a 2.0mm Allen wrench to tighten the 4 fixing screws.

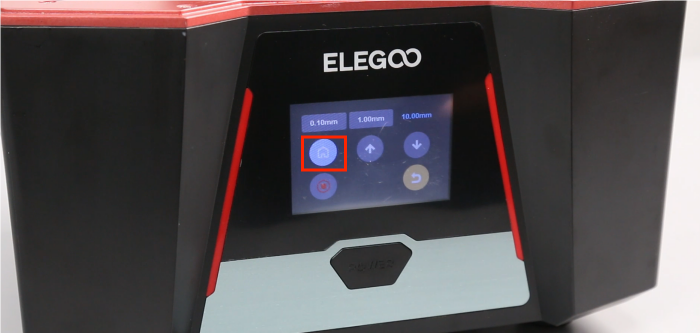
19. Power on the machine and perform the homing operation on the touch screen. After the machine returns to zero, tighten the two fixing screws of the anti-backlash nut.
20. Align the top cover with the holes, and use a 4.0mm Allen wrench to tighten the 2 fixing screws.
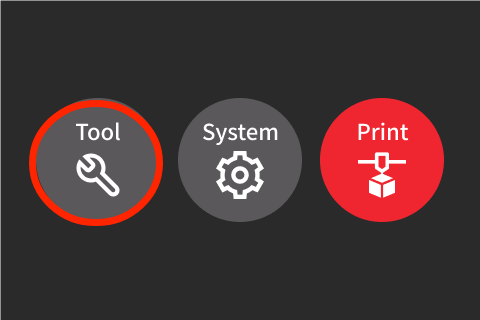
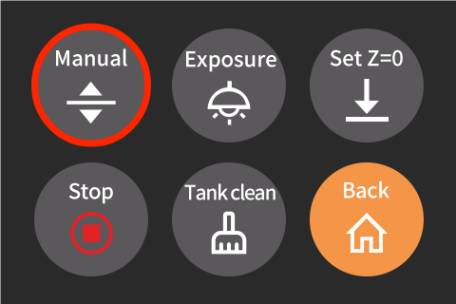
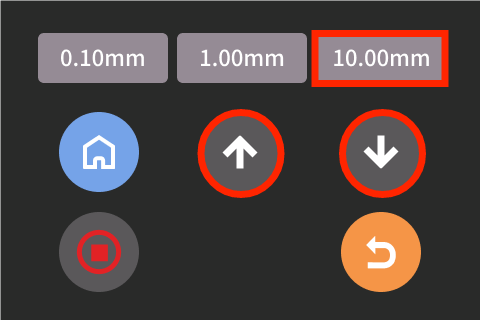
21. Use a brush to apply grease on the lead screw, and click [Tools] - [Manual] on the touch screen to control the machine to move up and down so that the grease evenly covers the lead screw.
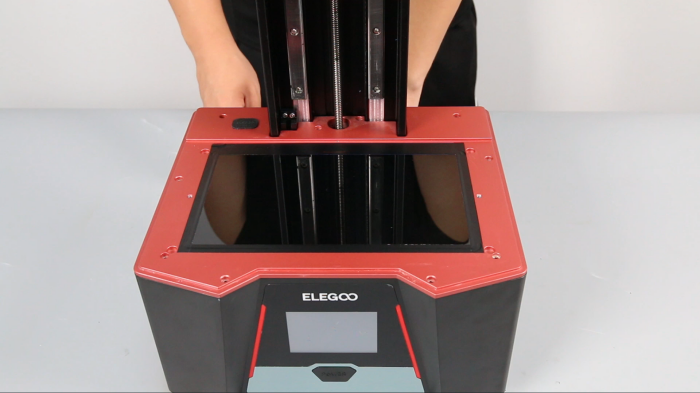
22. The machine can be used normally after the exposure test.
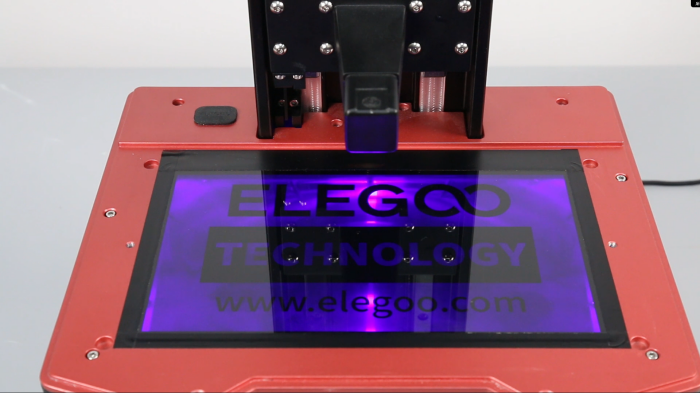
Exposure Test