Limit Switch Replacement
Tools and materials needed
●2.5mm Allen wrench
●2.0mm Allen wrench
●Diagonal pliers
Reference video
Coming soon.
Operation steps
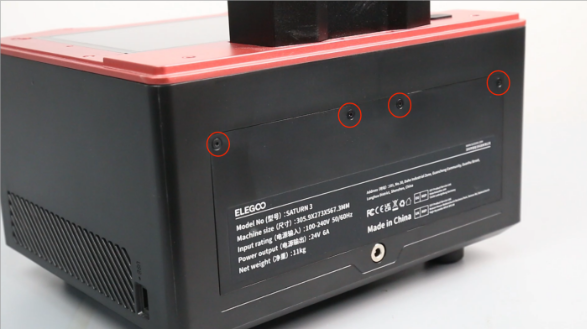
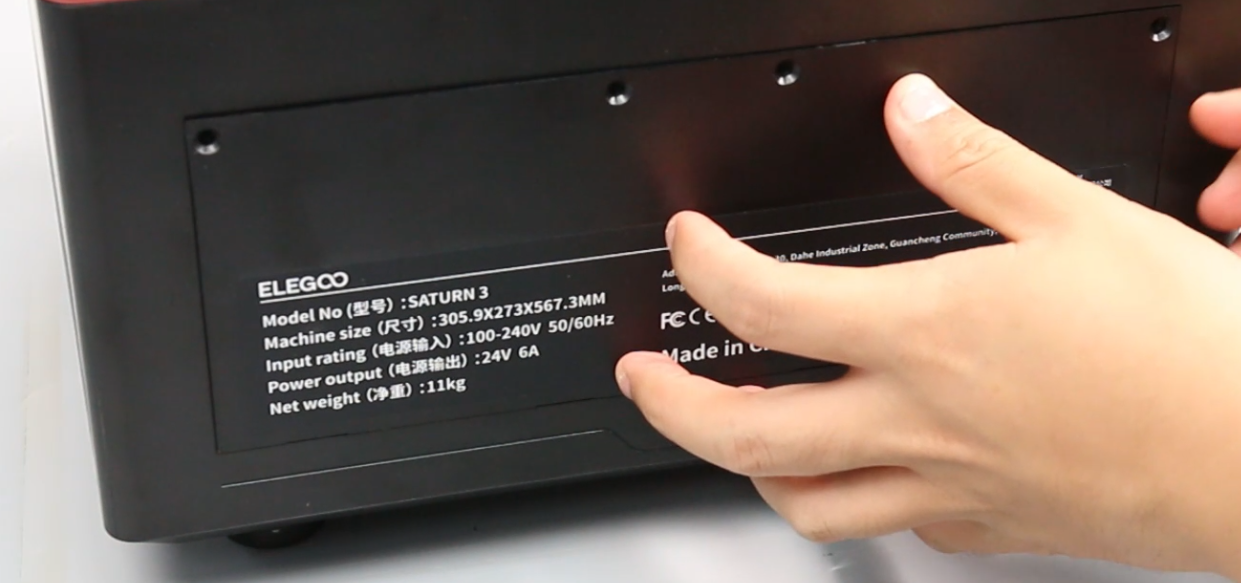
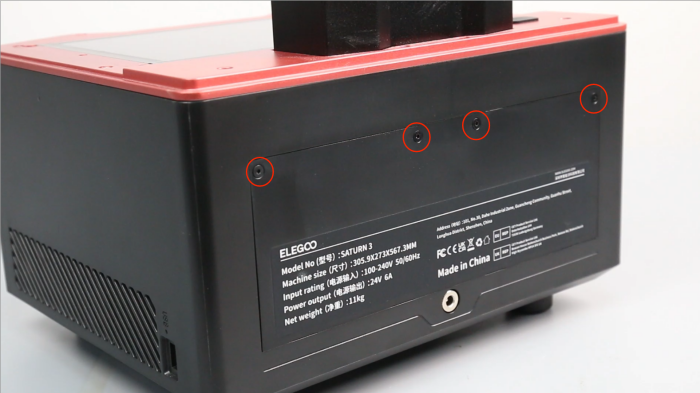
1. Use a 2.0mm Allen wrench to loosen the four screws securing the printer back cover, and remove the printer back cover.
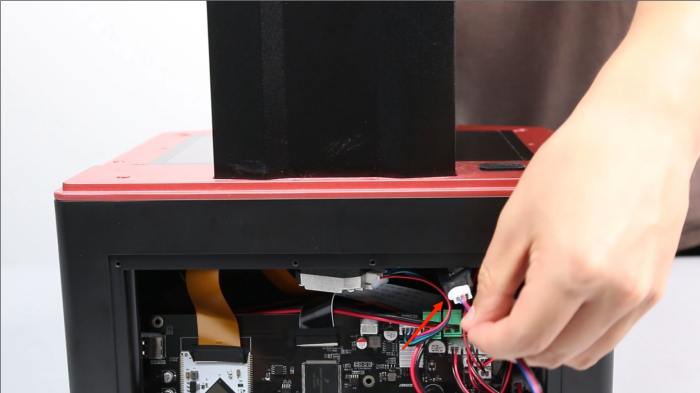
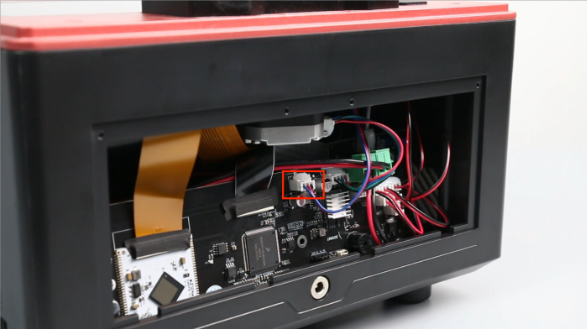
2. Use pliers to remove the hot melt adhesive from the limit switch cable interface (Be careful when using pliers to prevent cutting the cable), and remove the limit switch cable from the motherboard.

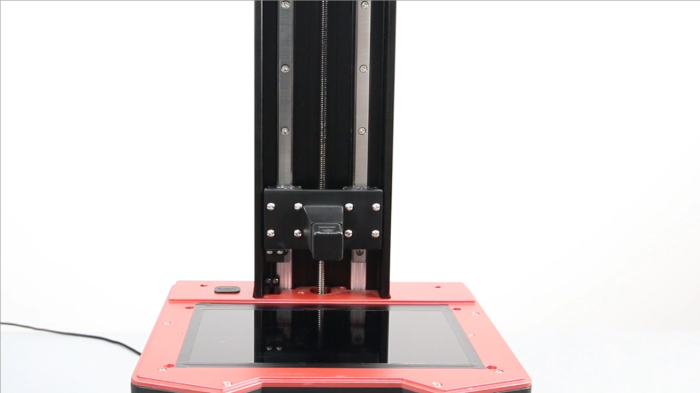
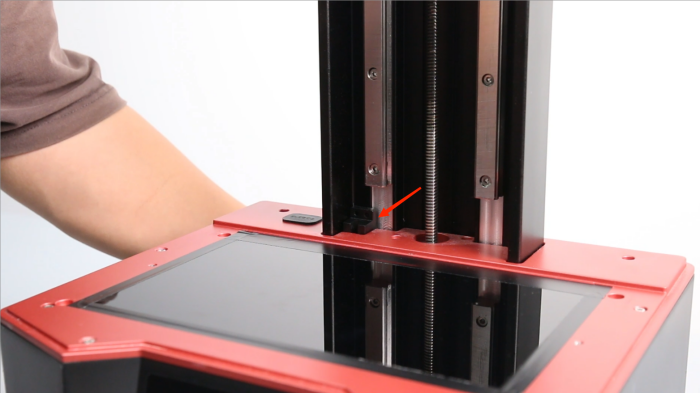
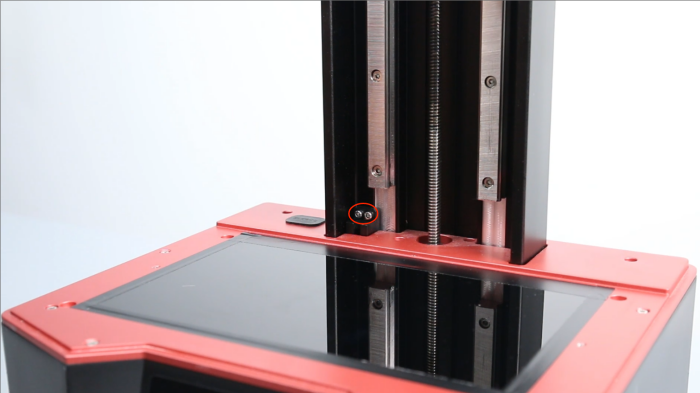
3. Use a 2.5mm Allen wrench to twist out the 2 fixing screws of the limit switch, and remove the limit switch from under the middle plate.
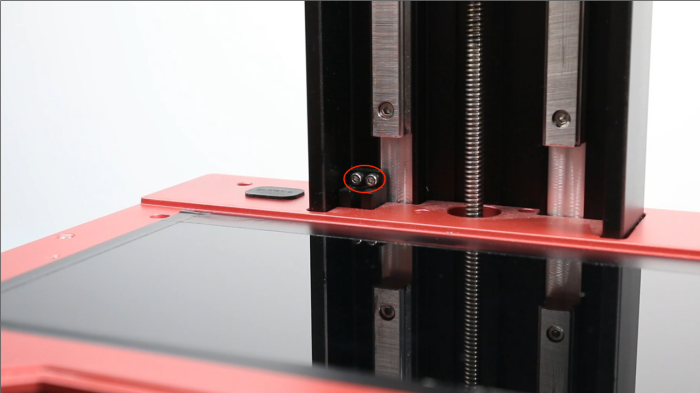
4. Take out the new limit switch, place it in the mounting position from the rear of the middle plate, and use a 2.5mm Allen wrench to tighten the two fixing screws.
5. Insert the limit switch cable into the limit switch port on the motherboard.
6. Align the screw holes and put the printer back cover into the mounting position.
7. Use a 2.0mm Allen wrench to tighten the four screws securing the back cover of the printer.
8. Power on the machine, click the "[Tools]-[Manual]-[Return to zero]" button on the touch screen, and the printer will return to zero.

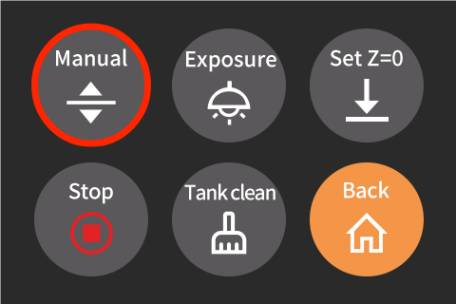
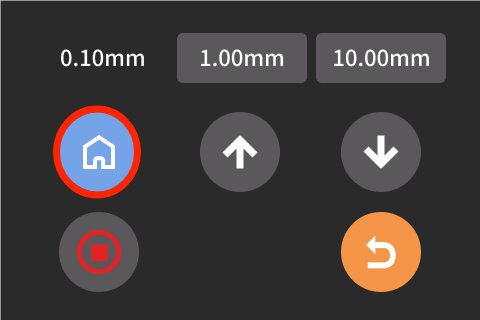
- Observe that the printer’s homing movement is normal. After re-leveling the printer, it can be used normally.