¶ Tools and Materials
- 2.5mm Allen key x 1
- 2.0mm Allen key x 1
¶ Tutorial Video
Coming soon.
¶ Instruction
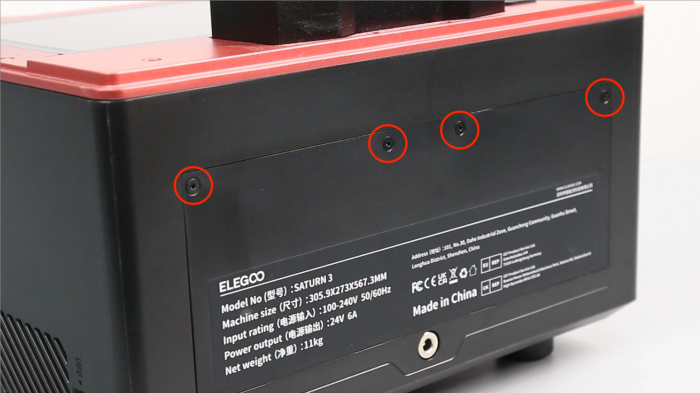
- Using a 2.0 mm Allen key, loosen the four screws securing the back cover of the printer and remove the back cover.
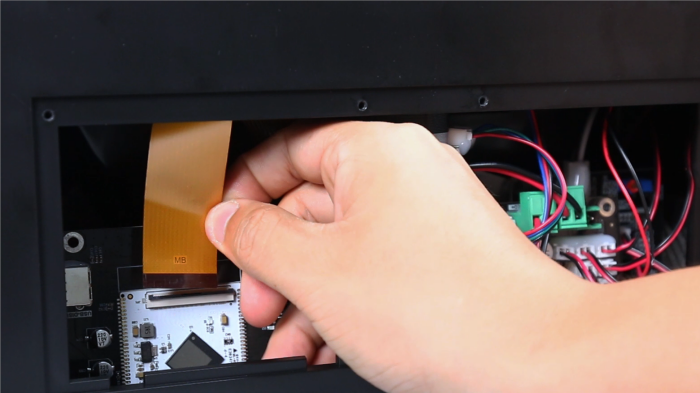
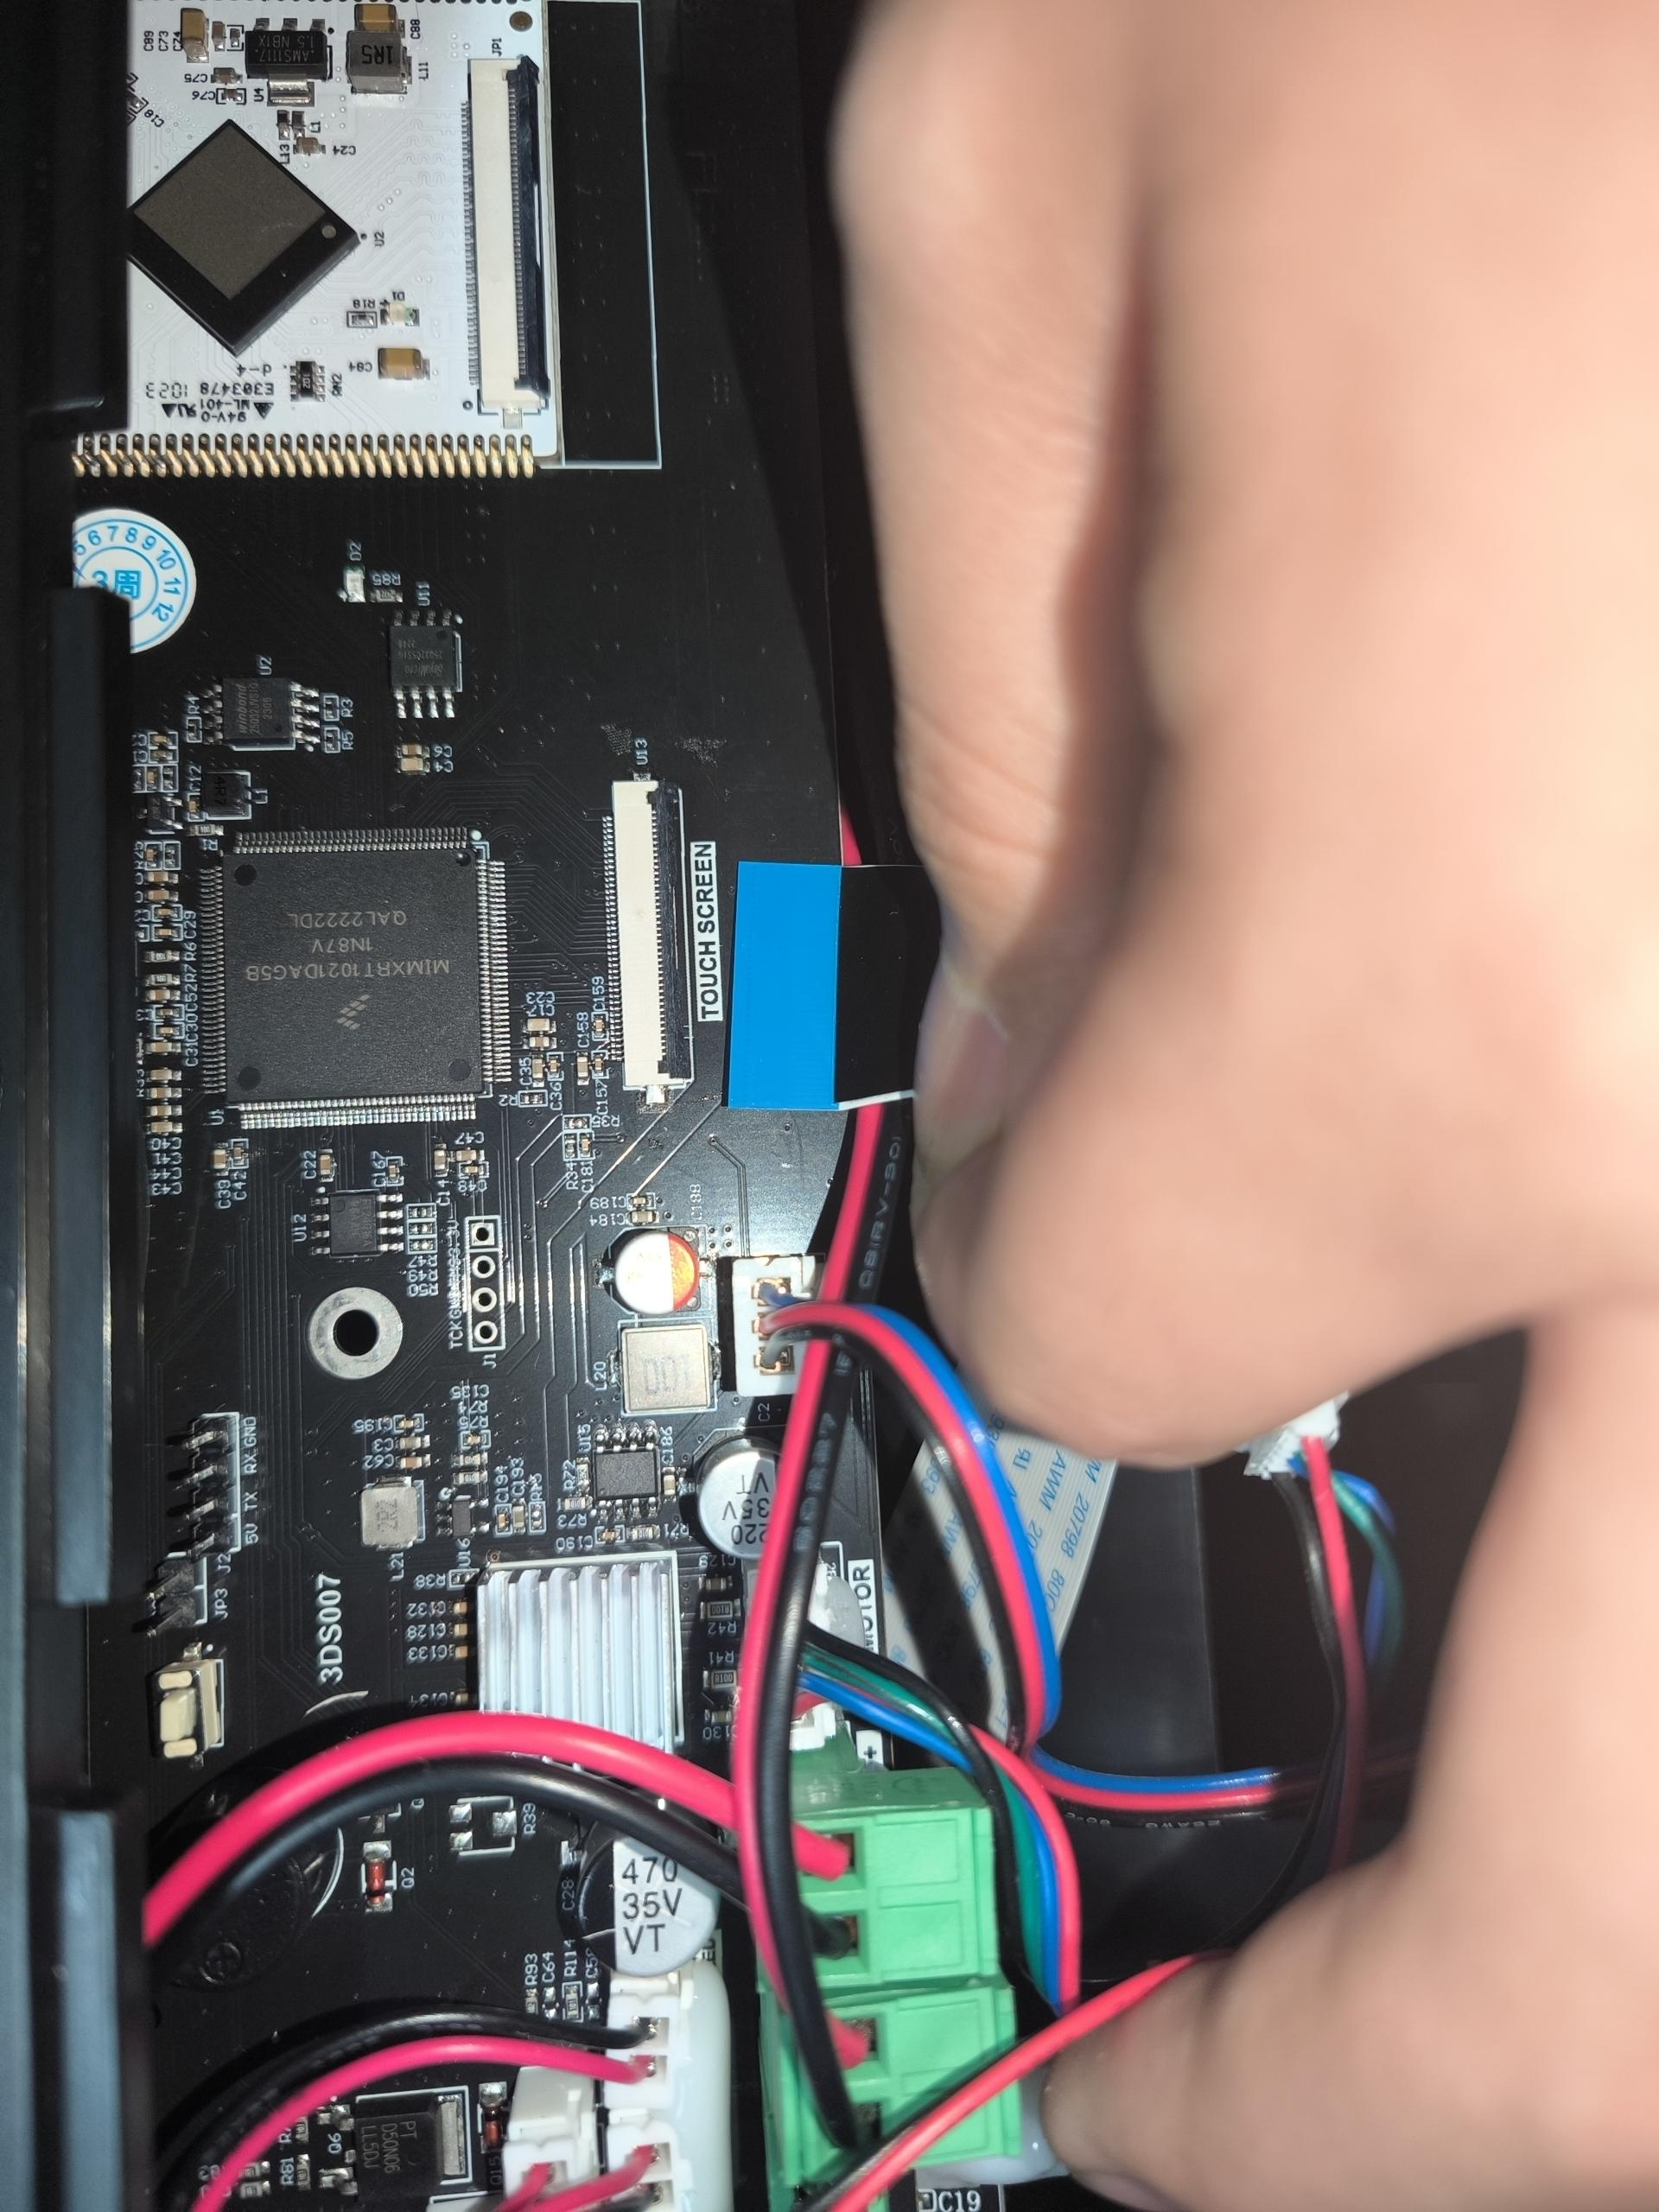
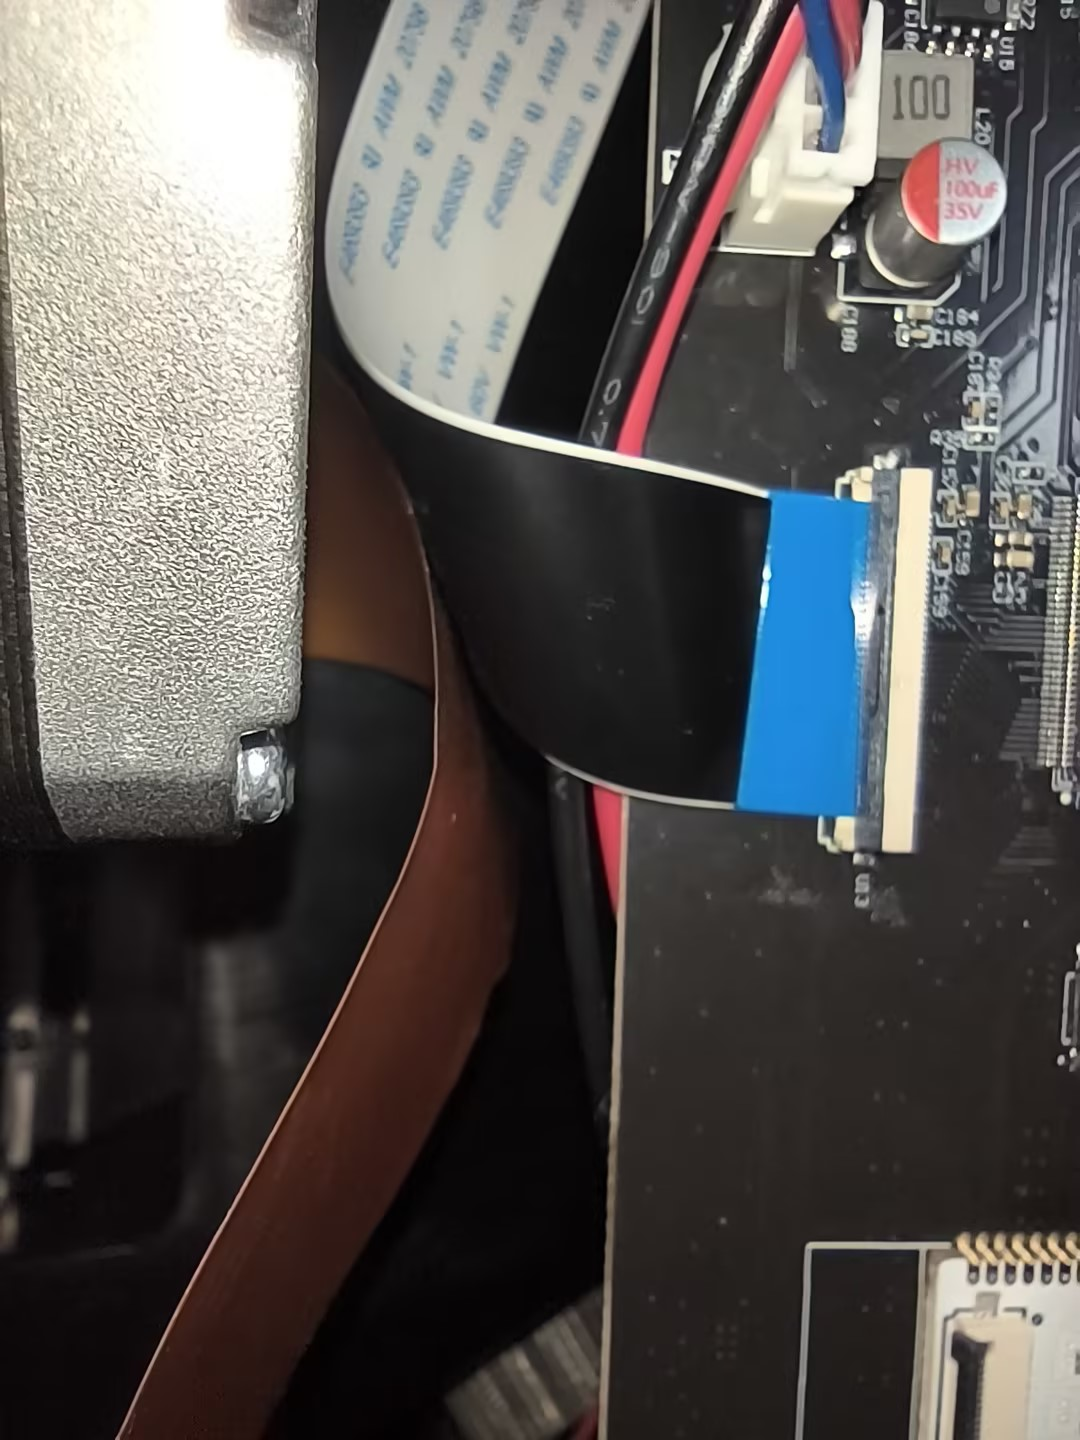
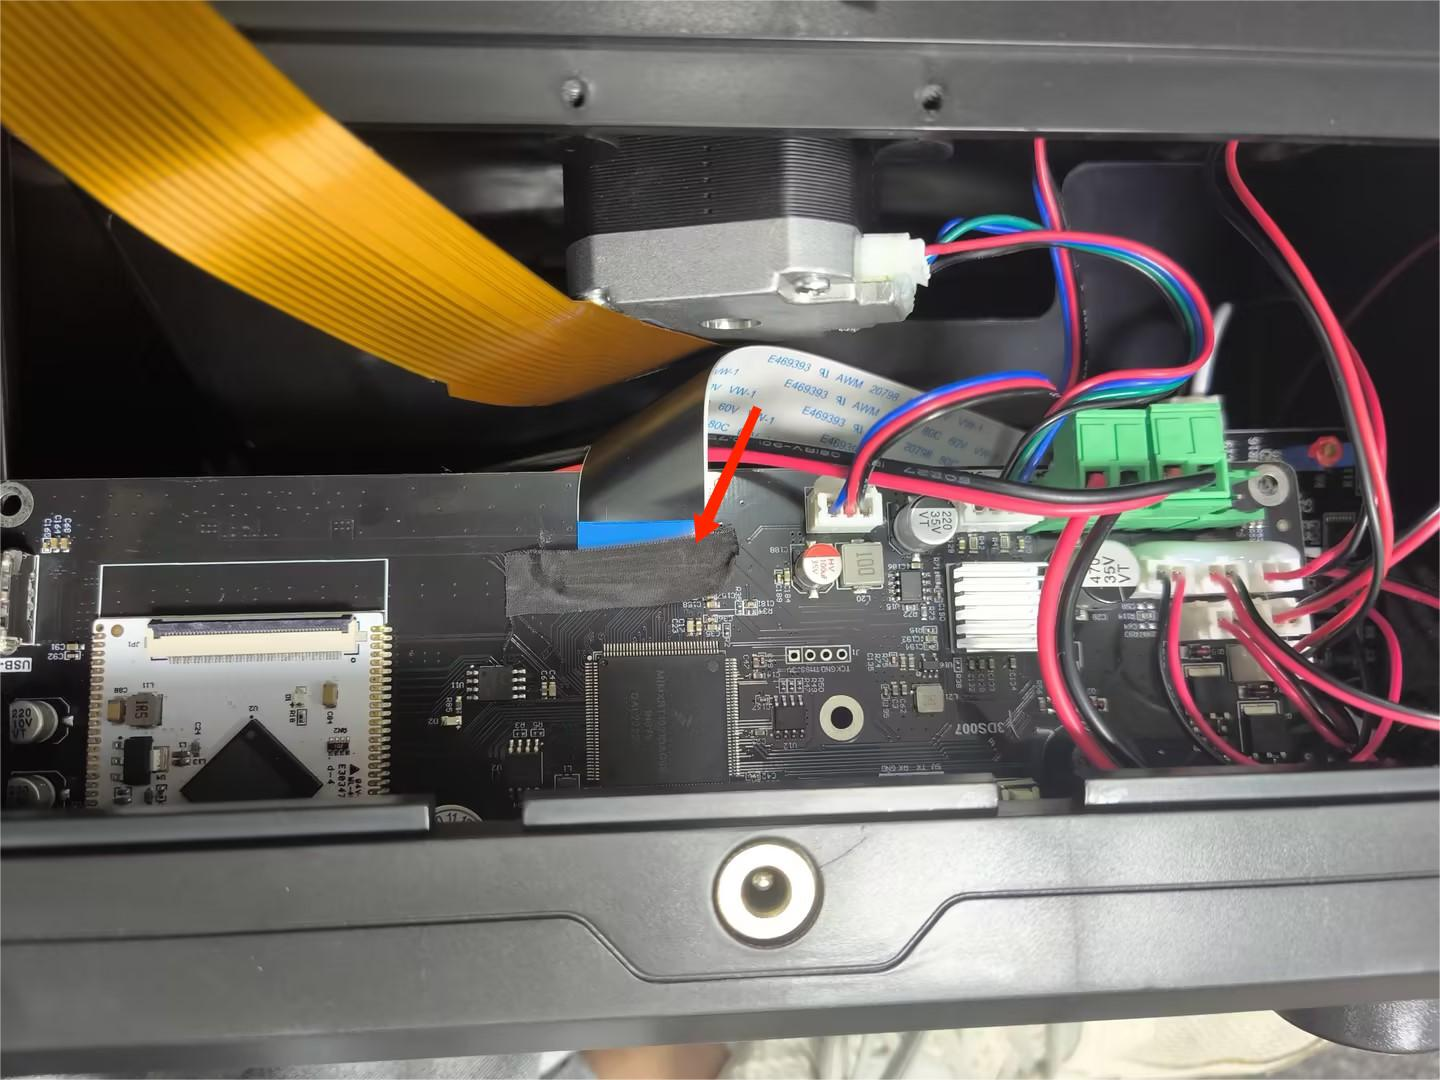
- Peel off the tape securing the ribbon cable of the LCD screen. Lift the cover securing the bases of the LCD ribbon cable. Remove the ribbon cable. Peel off the tape securing the ribbon cables of the touchscreen. Lift the cover securing the base of the touchscreen. Remove the ribbon cable of the touchscreen.
Ribbon cable of the LCD screen
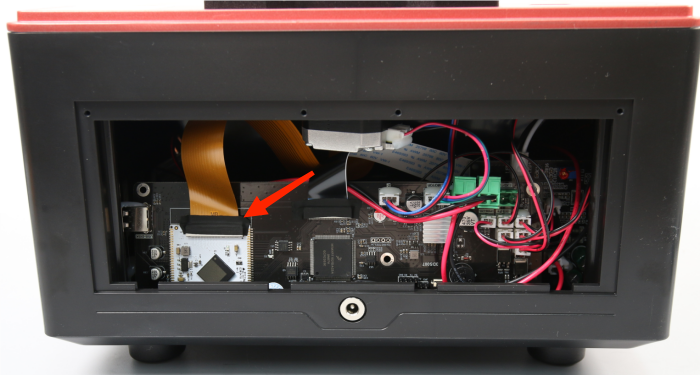

Ribbon cable of the touchscreen


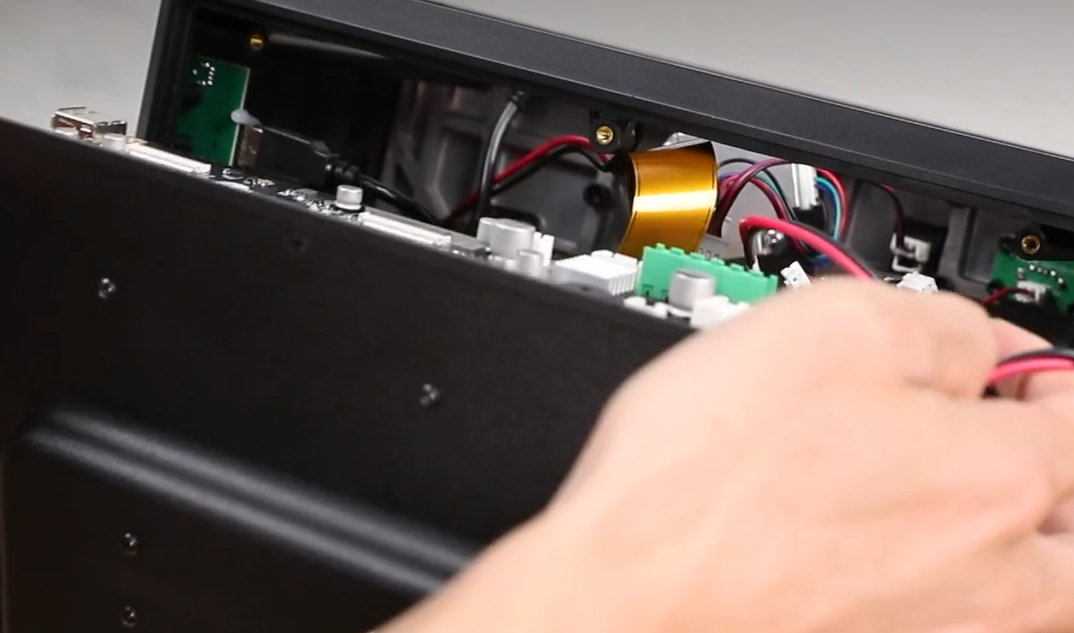
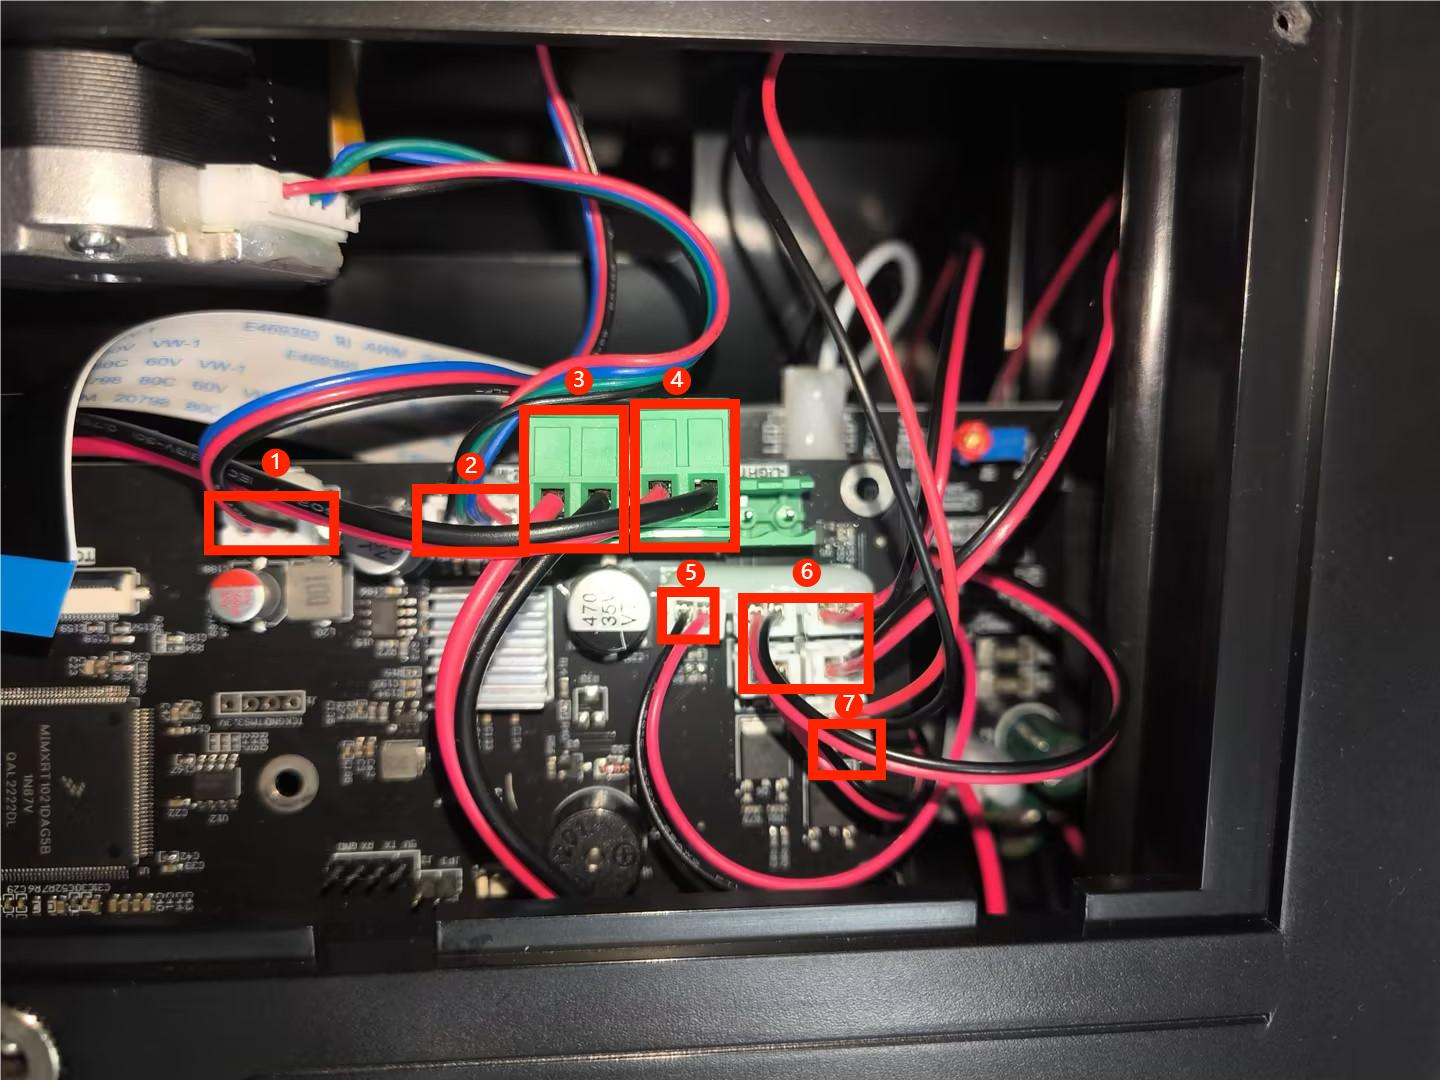
3. Label the connection wires, then remove them. ①Limit switch connection wire, ②Motor connection wire, ③Connection wire between the PCB and the motherboard ④Connection wire between the constant current board and the motherboard ⑤Connection wire between the motherboard and the PWM constant current board ⑥Cooling fan connection wire ⑦USB connection wire of the air purifier

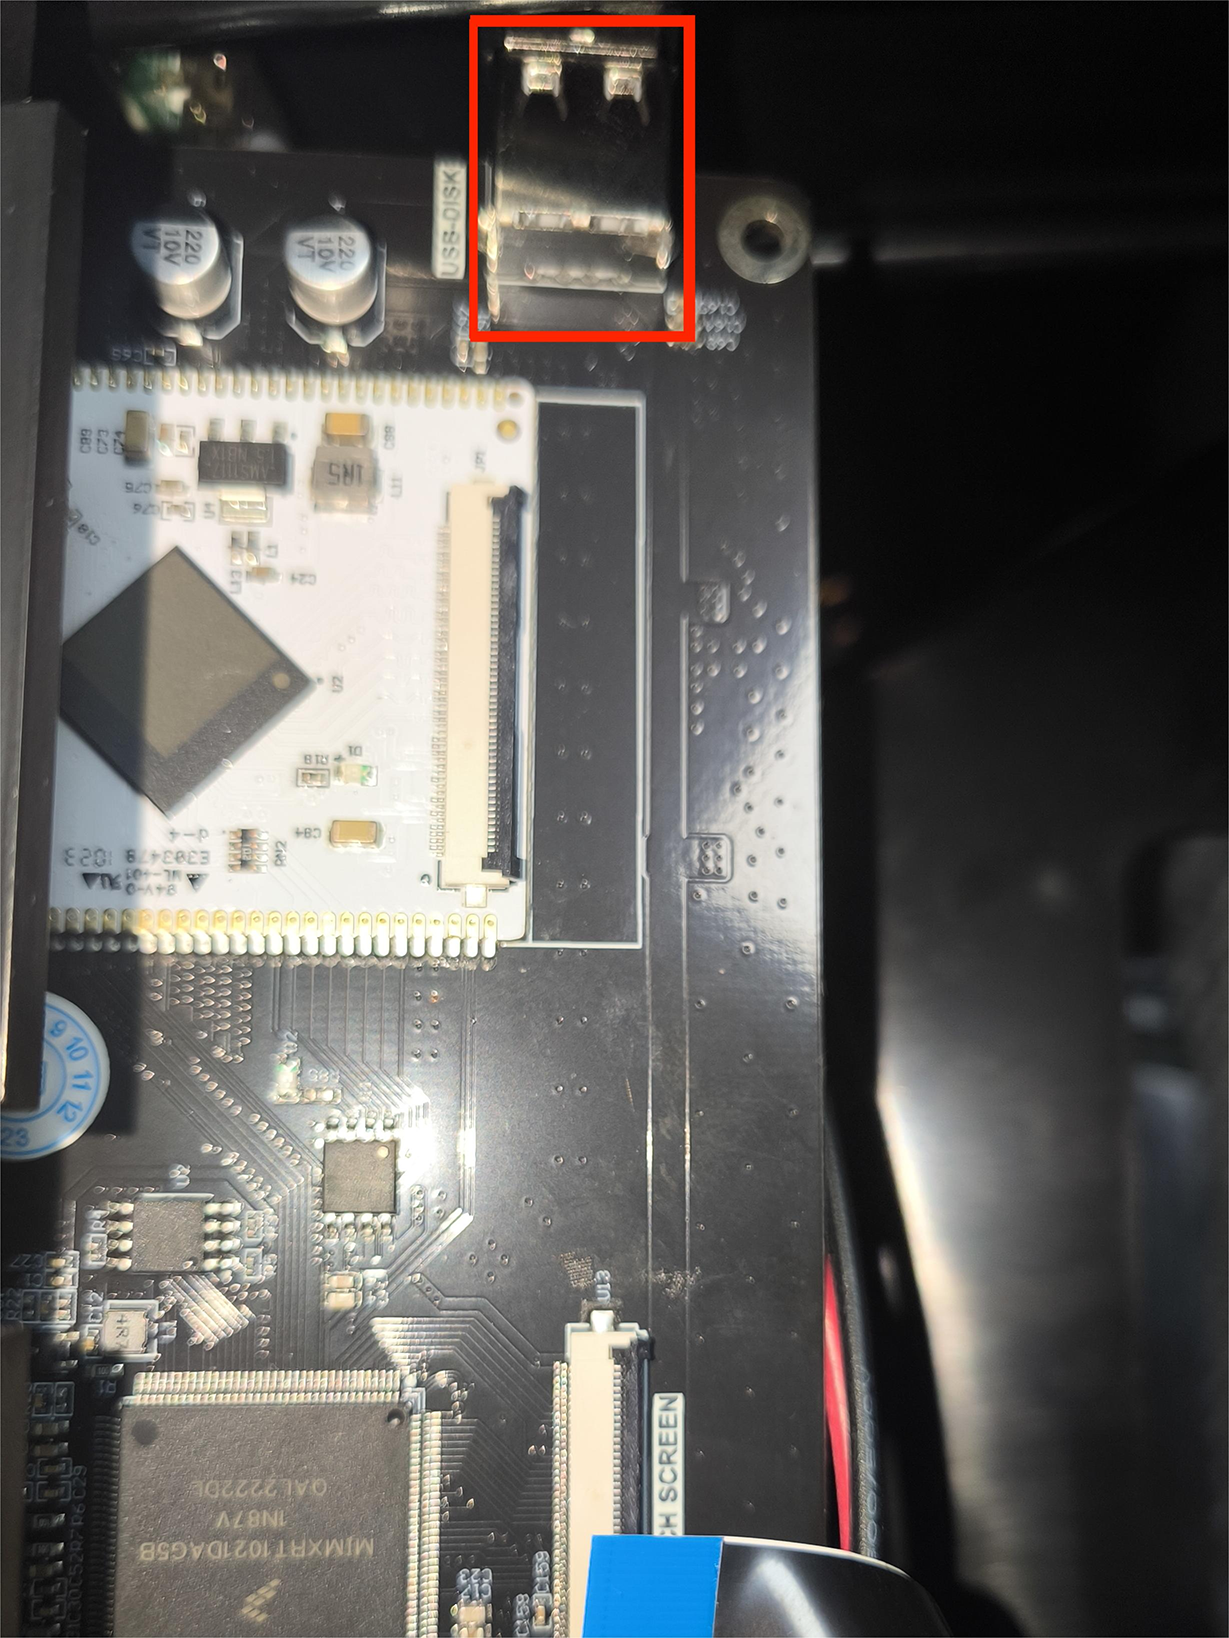
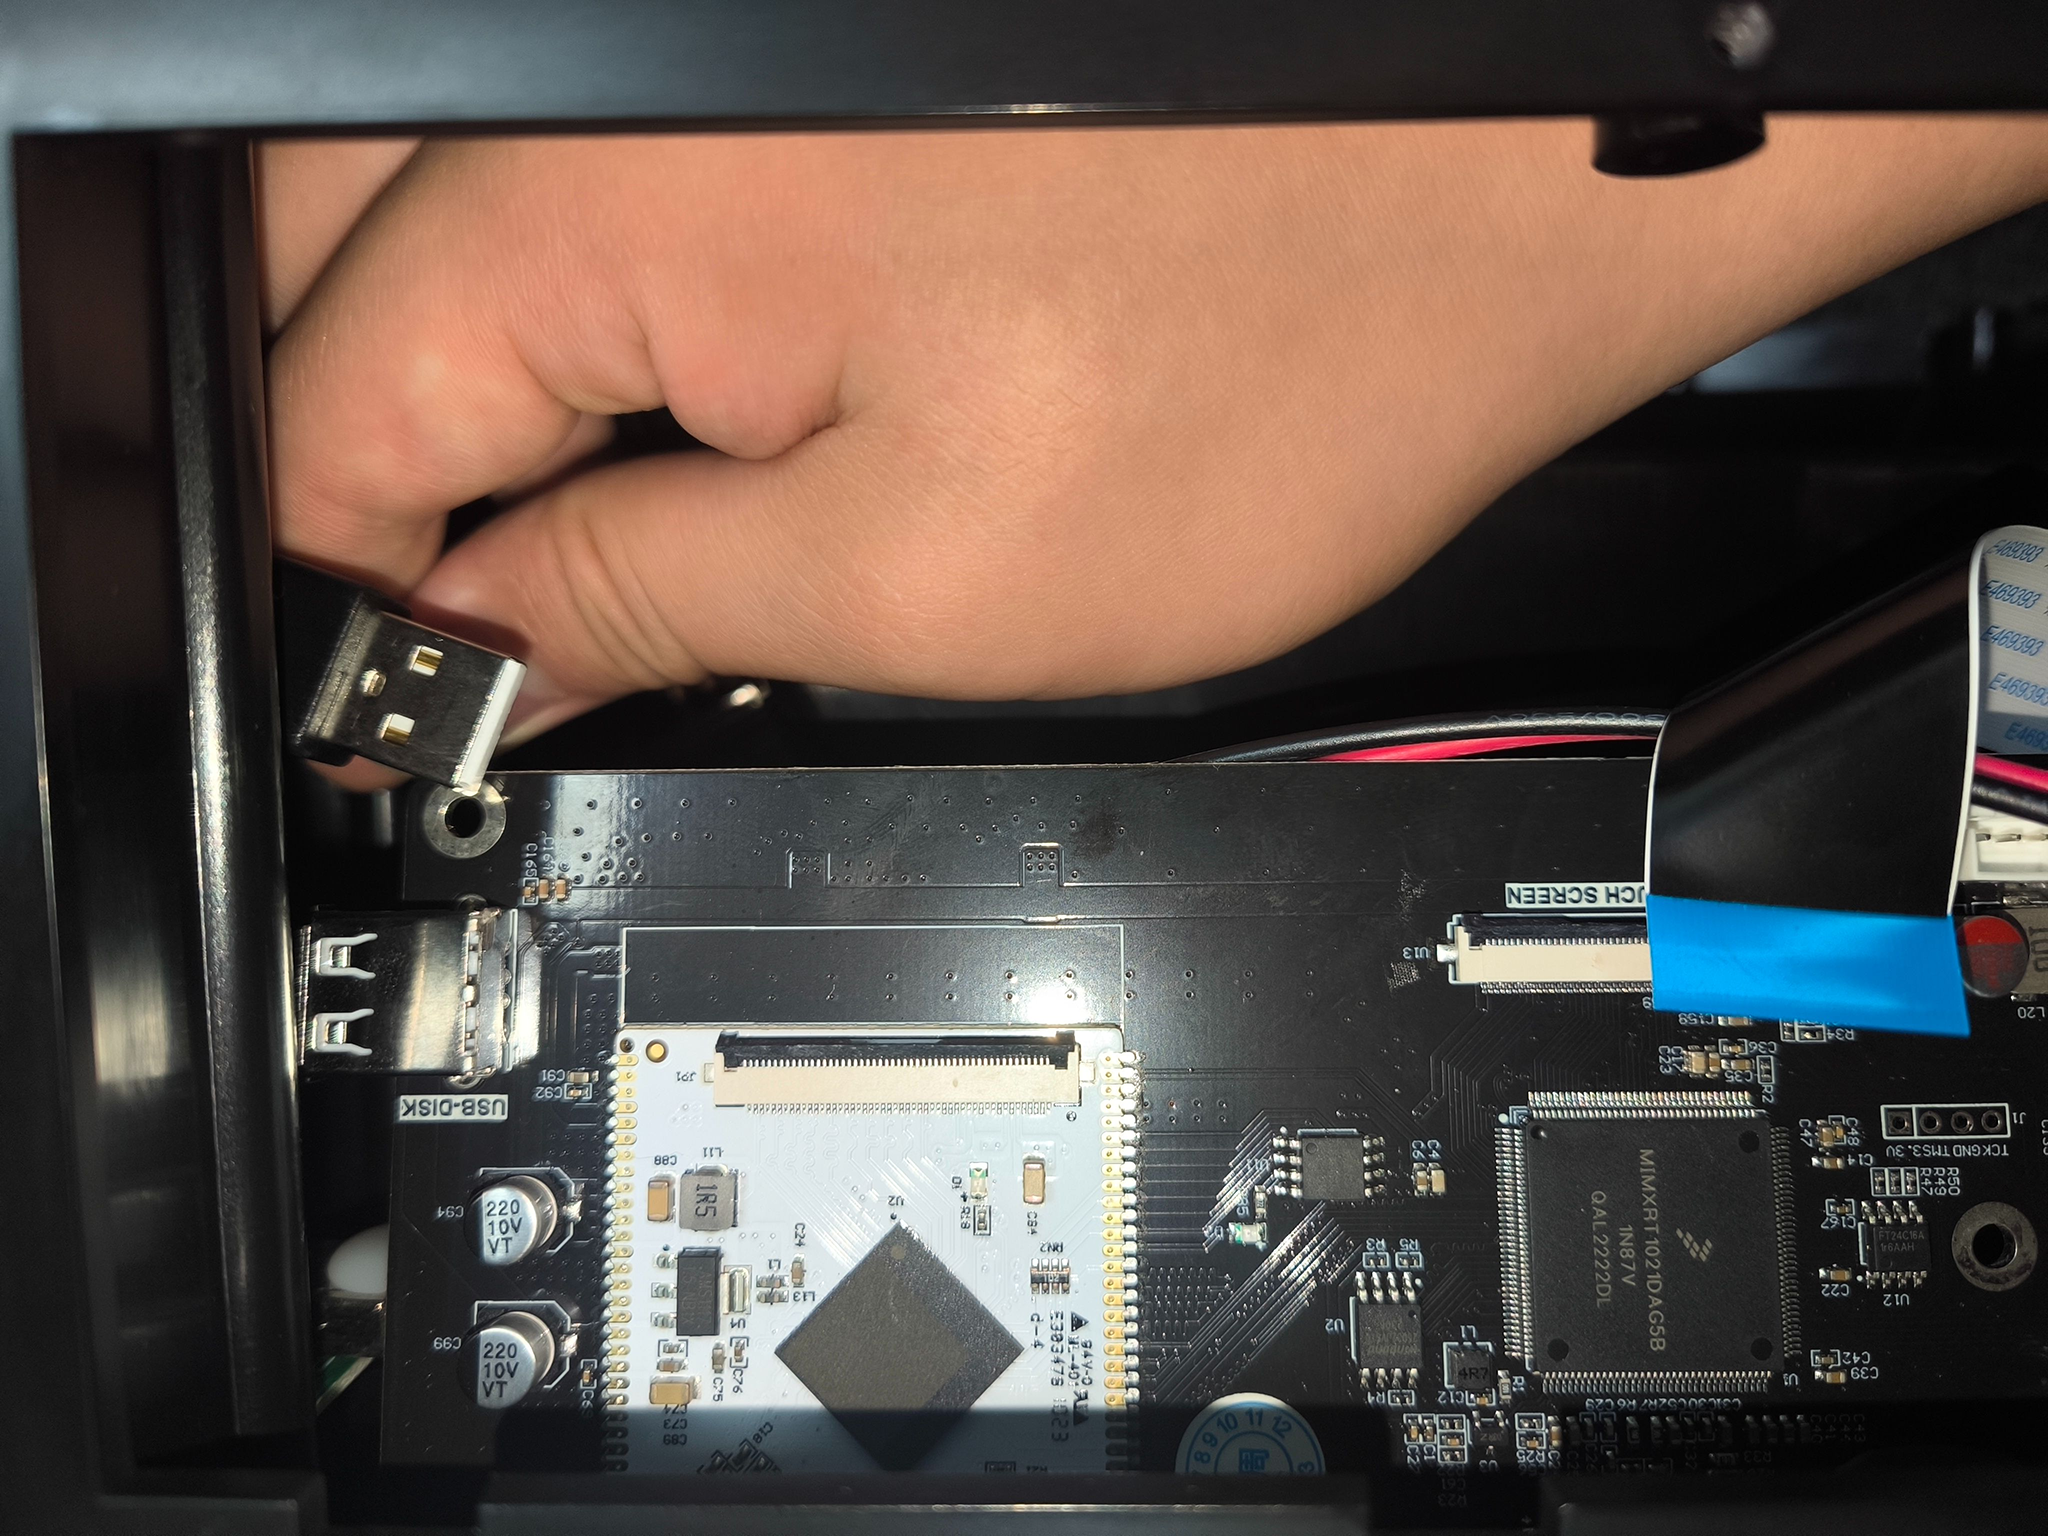
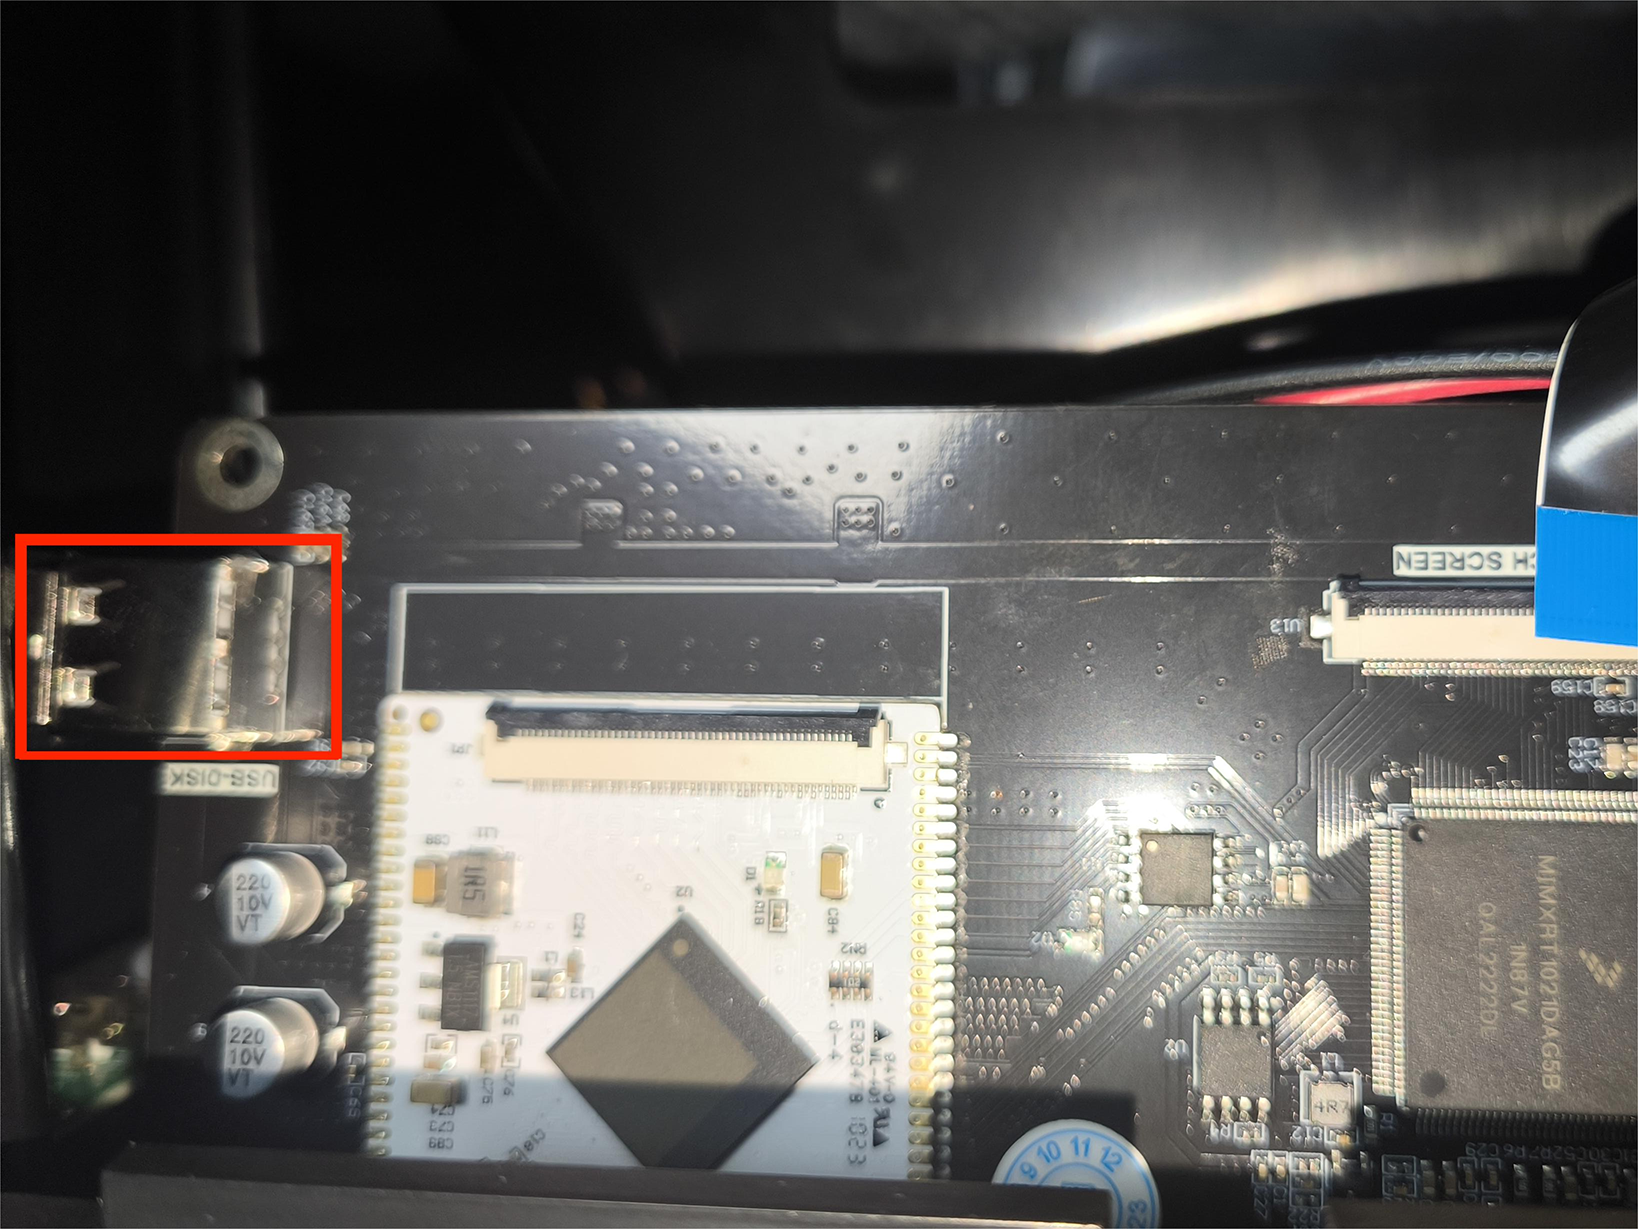
4. Remove the USB connector at the motherboard port.
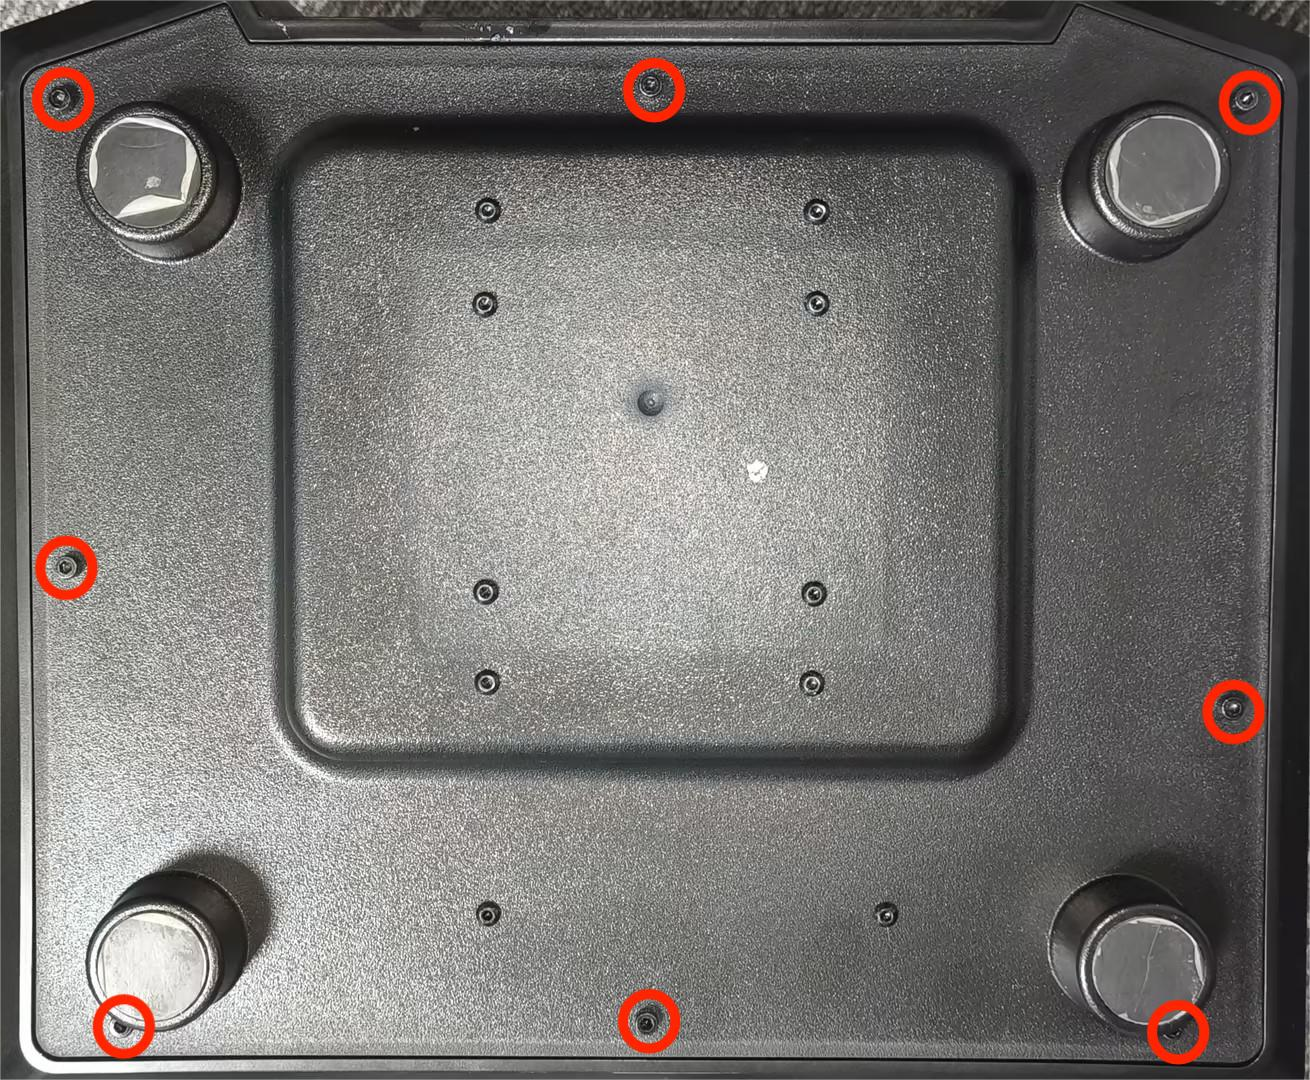
5. Using a 2.5 mm Allen key, loosen the eight screws securing the bottom cover. Remove the bottom cover.
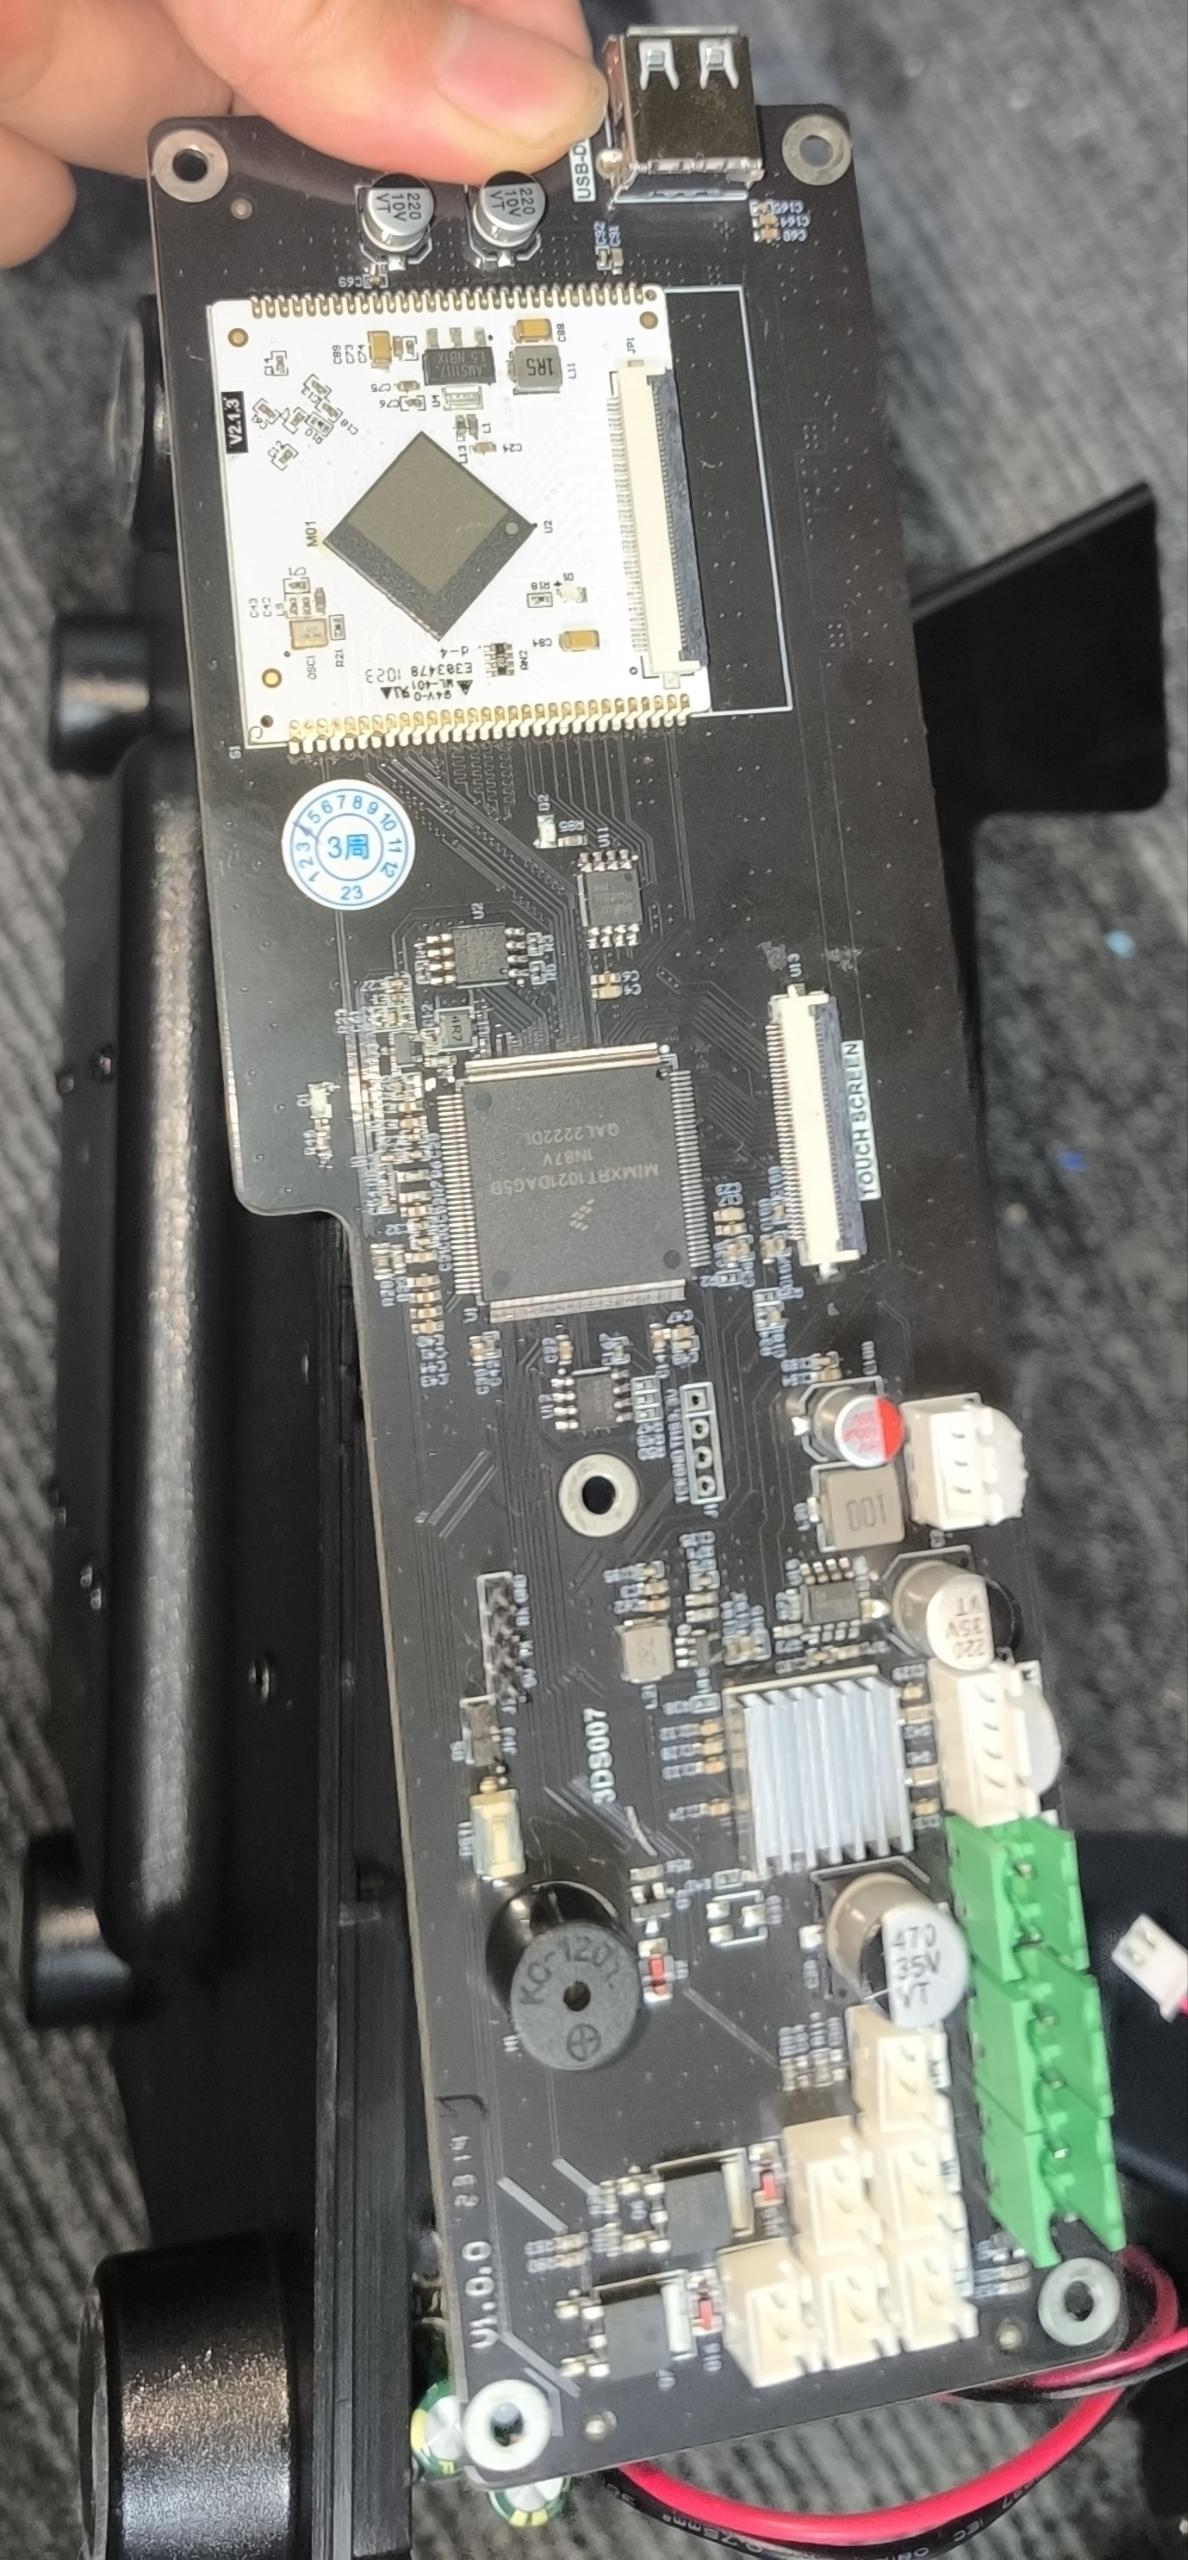
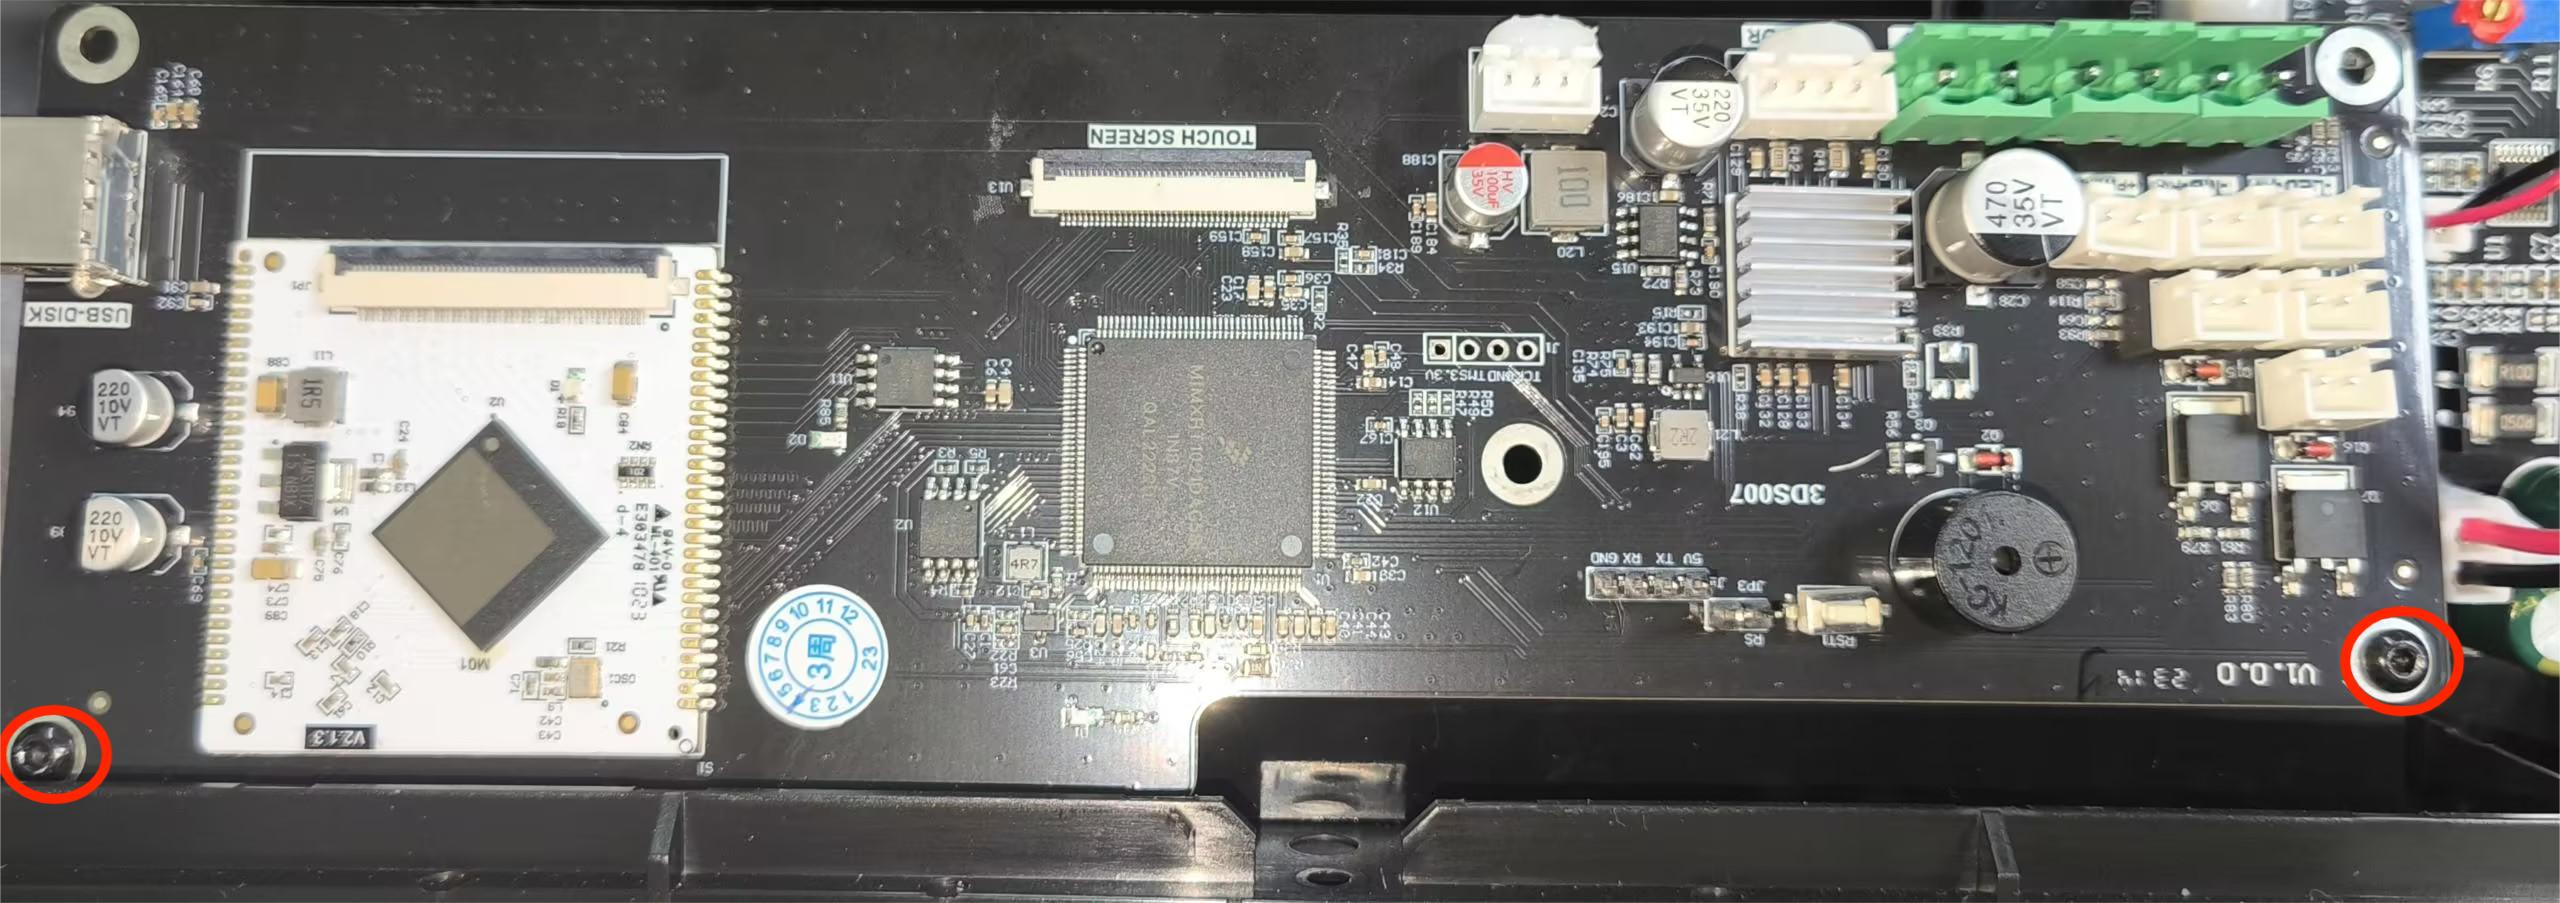
6. Using a 2.5 mm Allen key, loosen the two screws securing the motherboard and remove the motherboard.


7. Prepare the new motherboard. Align it with the screw holes and put it in the installation position. Tighten the two screws using a 2.5 mm Allen key.
8. Align the bottom cover with the screw holes and put it in the installation position. Tighten eight screws using a 2.5 mm Allen key.


9. Insert the USB connection wire.

10. Insert the connection wires according to the labels. ①Limit switch connection wire, ②Motor connection wire, ③Connection wire between the PCB and the motherboard ④Connection wire between the constant current board and the motherboard ⑤Connection wire between the motherboard and the PWM constant current board ⑥Cooling fan connection wire ⑦USB connection wire of the air purifier
11. Lift the cover of the black ribbon cable and connect the LCD ribbon cable. Close the cover and adhere the black tape. Lift the cover of the black ribbon cable and connect the touchscreen ribbon cable. Close the cover. Adhere the black tape. (Match the cable's orientation with the installation position.)
Ribbon cable of the LCD screen


Ribbon cable of the touchscreen
12. Align the back cover with the screw holes and put it in the installation position. Using a 2.0mm Allen key, tighten the four screws securing the back cover .

13. Power on the printer. The printer is ready for use after the functions operates normally.