LCD Screen Replacement
Tools and materials needed
●2.5mm Allen wrench
●2.0mm Allen wrench
●Diagonal pliers
●Cable ties
●Gloves
Reference video
Coming soon.
Operation steps
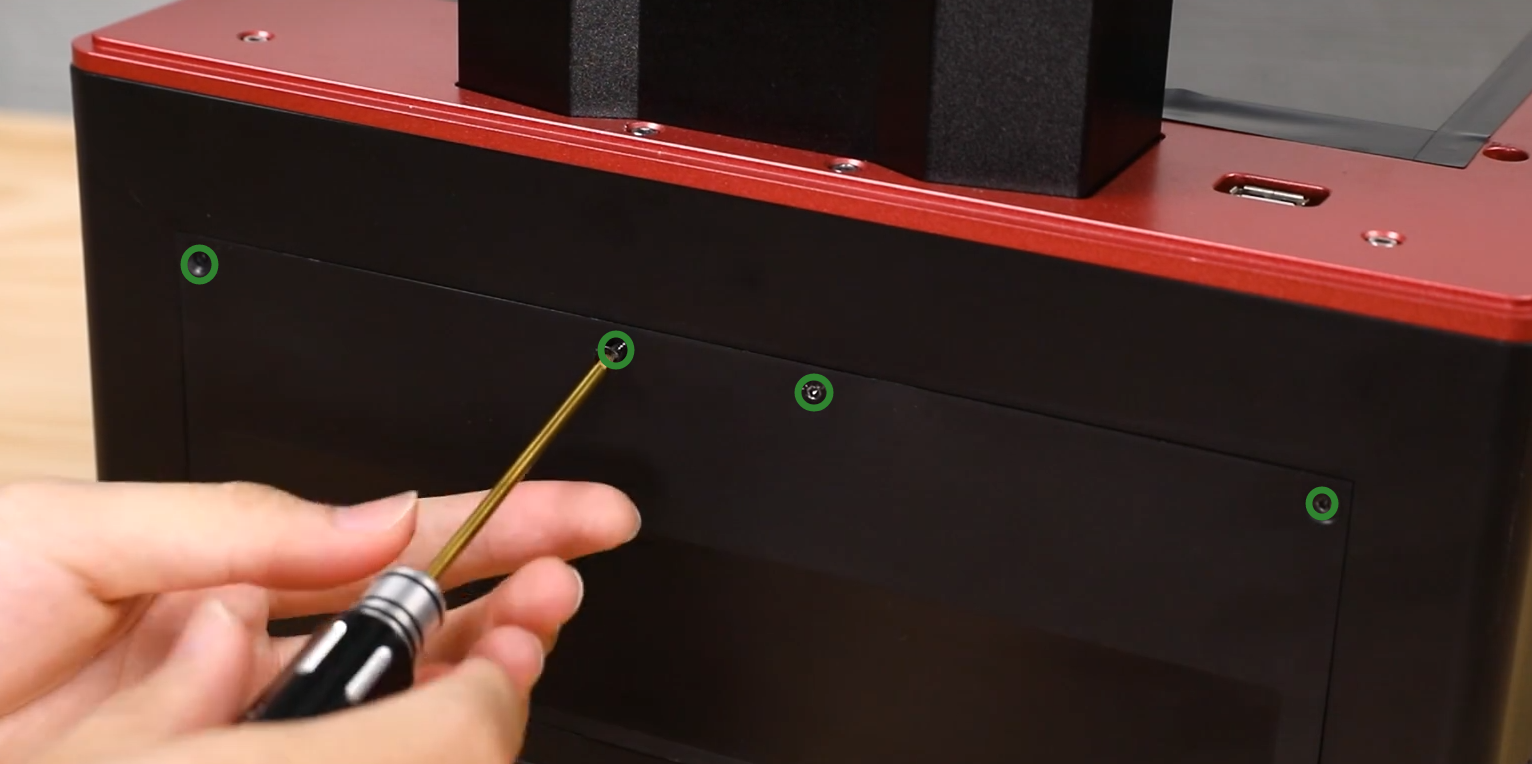
1. Use a 2.0mm Allen wrench to loosen the 4 fixing screws on the back cover of the machine in sequence, and remove the back cover.
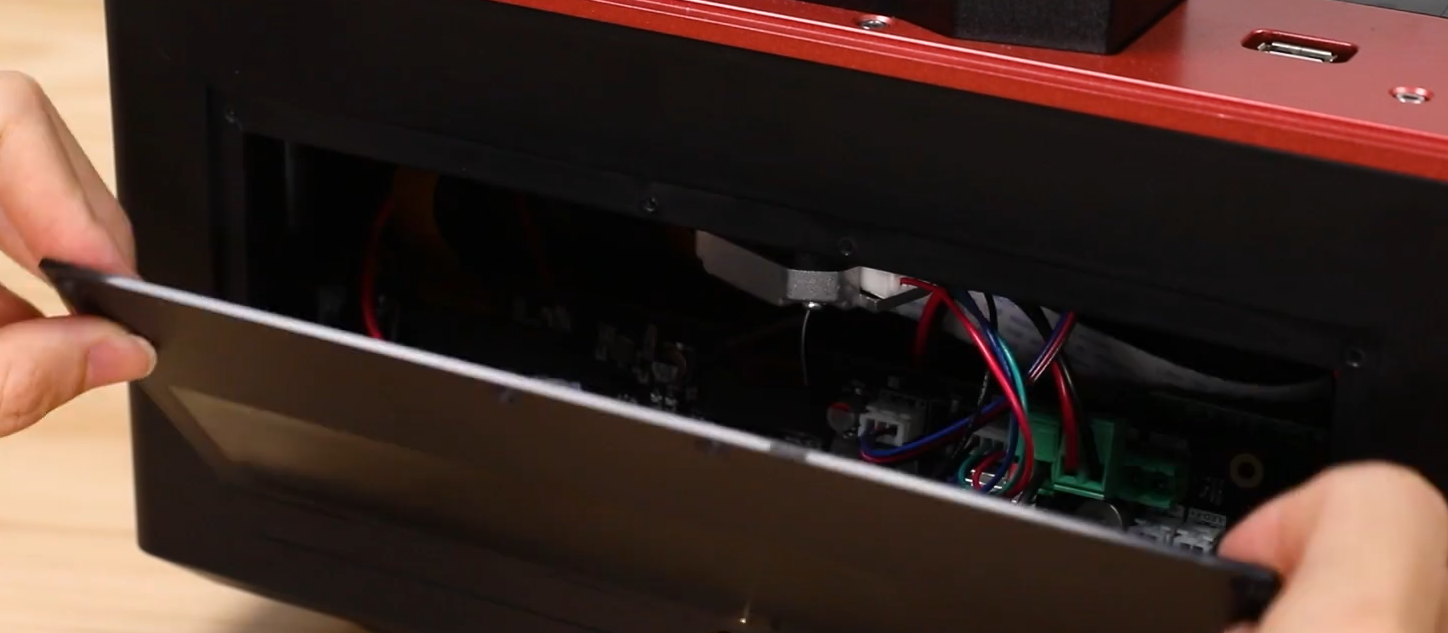
2. Remove ① the limit switch cable, ② the motor cable, and ③ the air purifier USB cable in sequence.

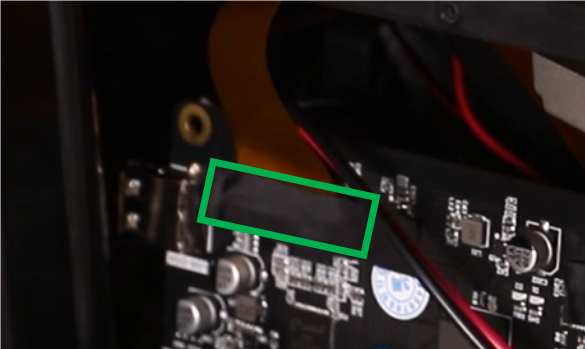
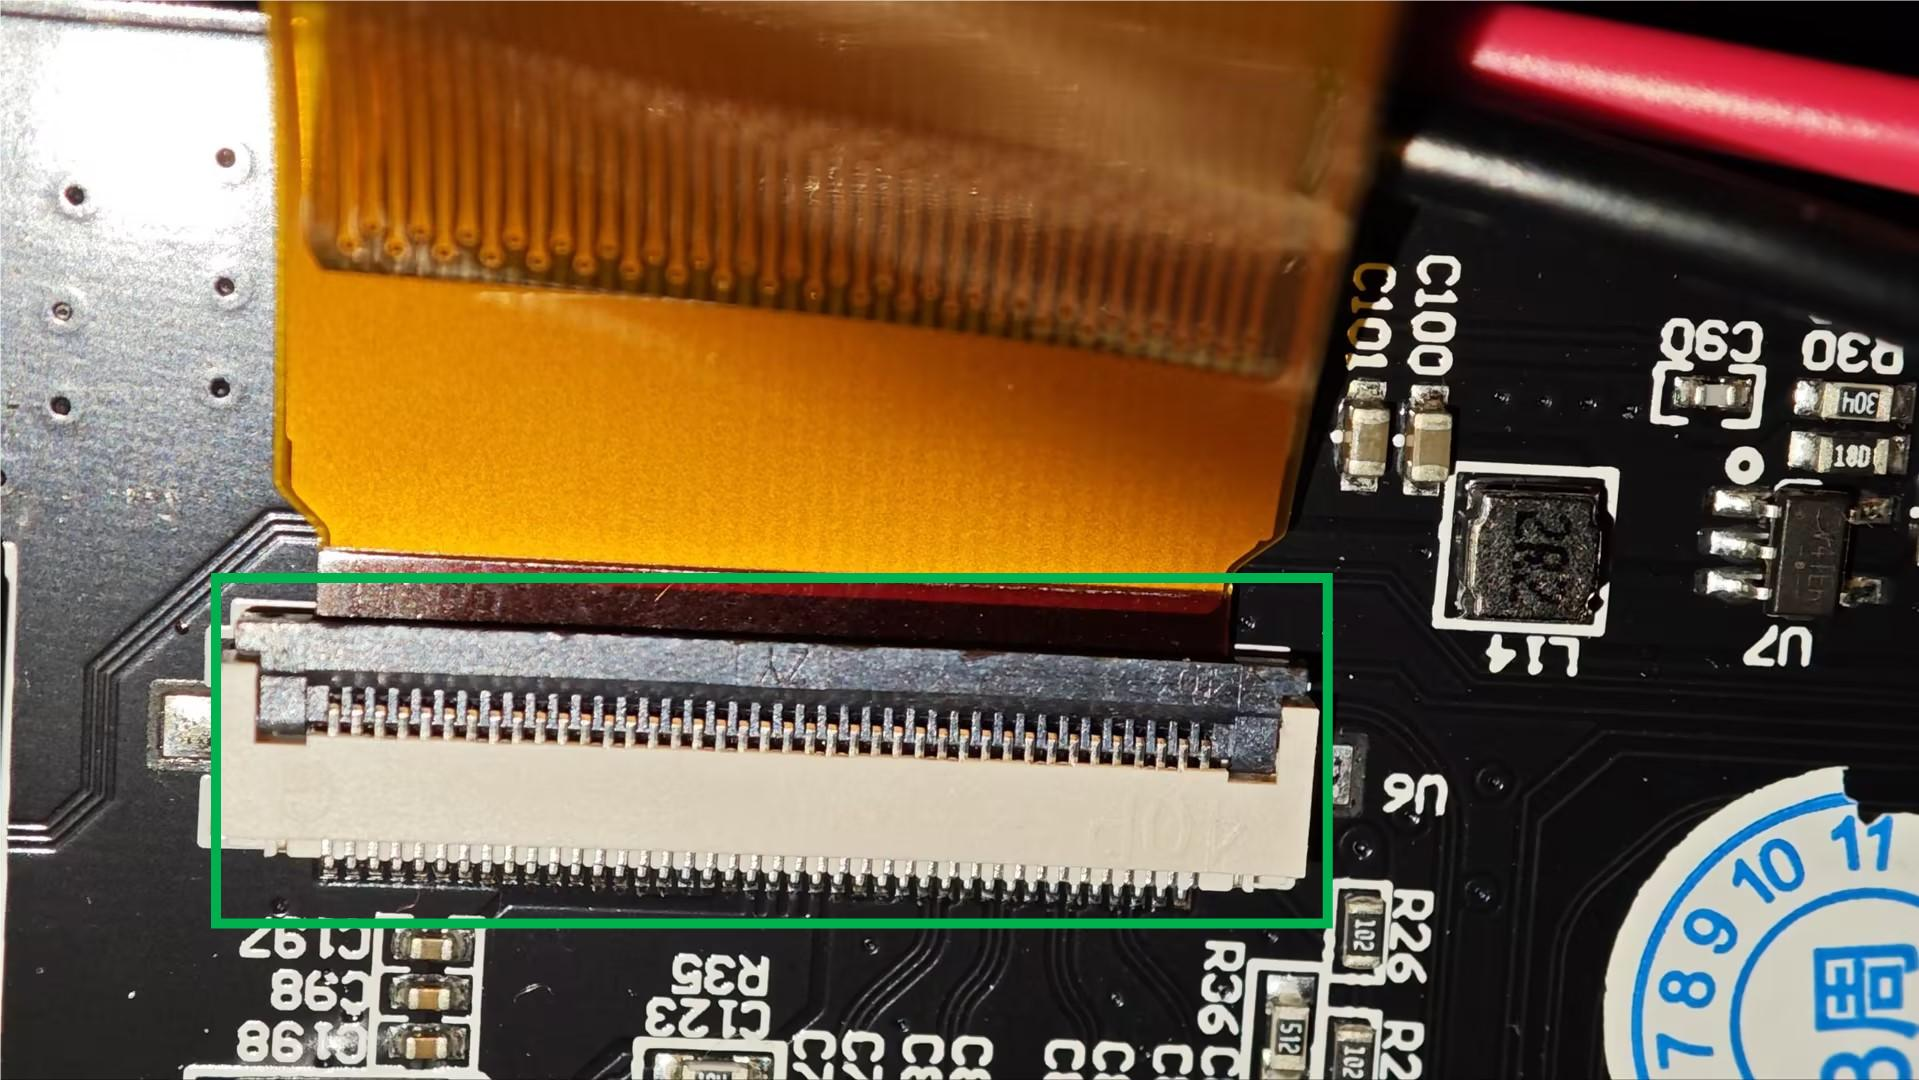
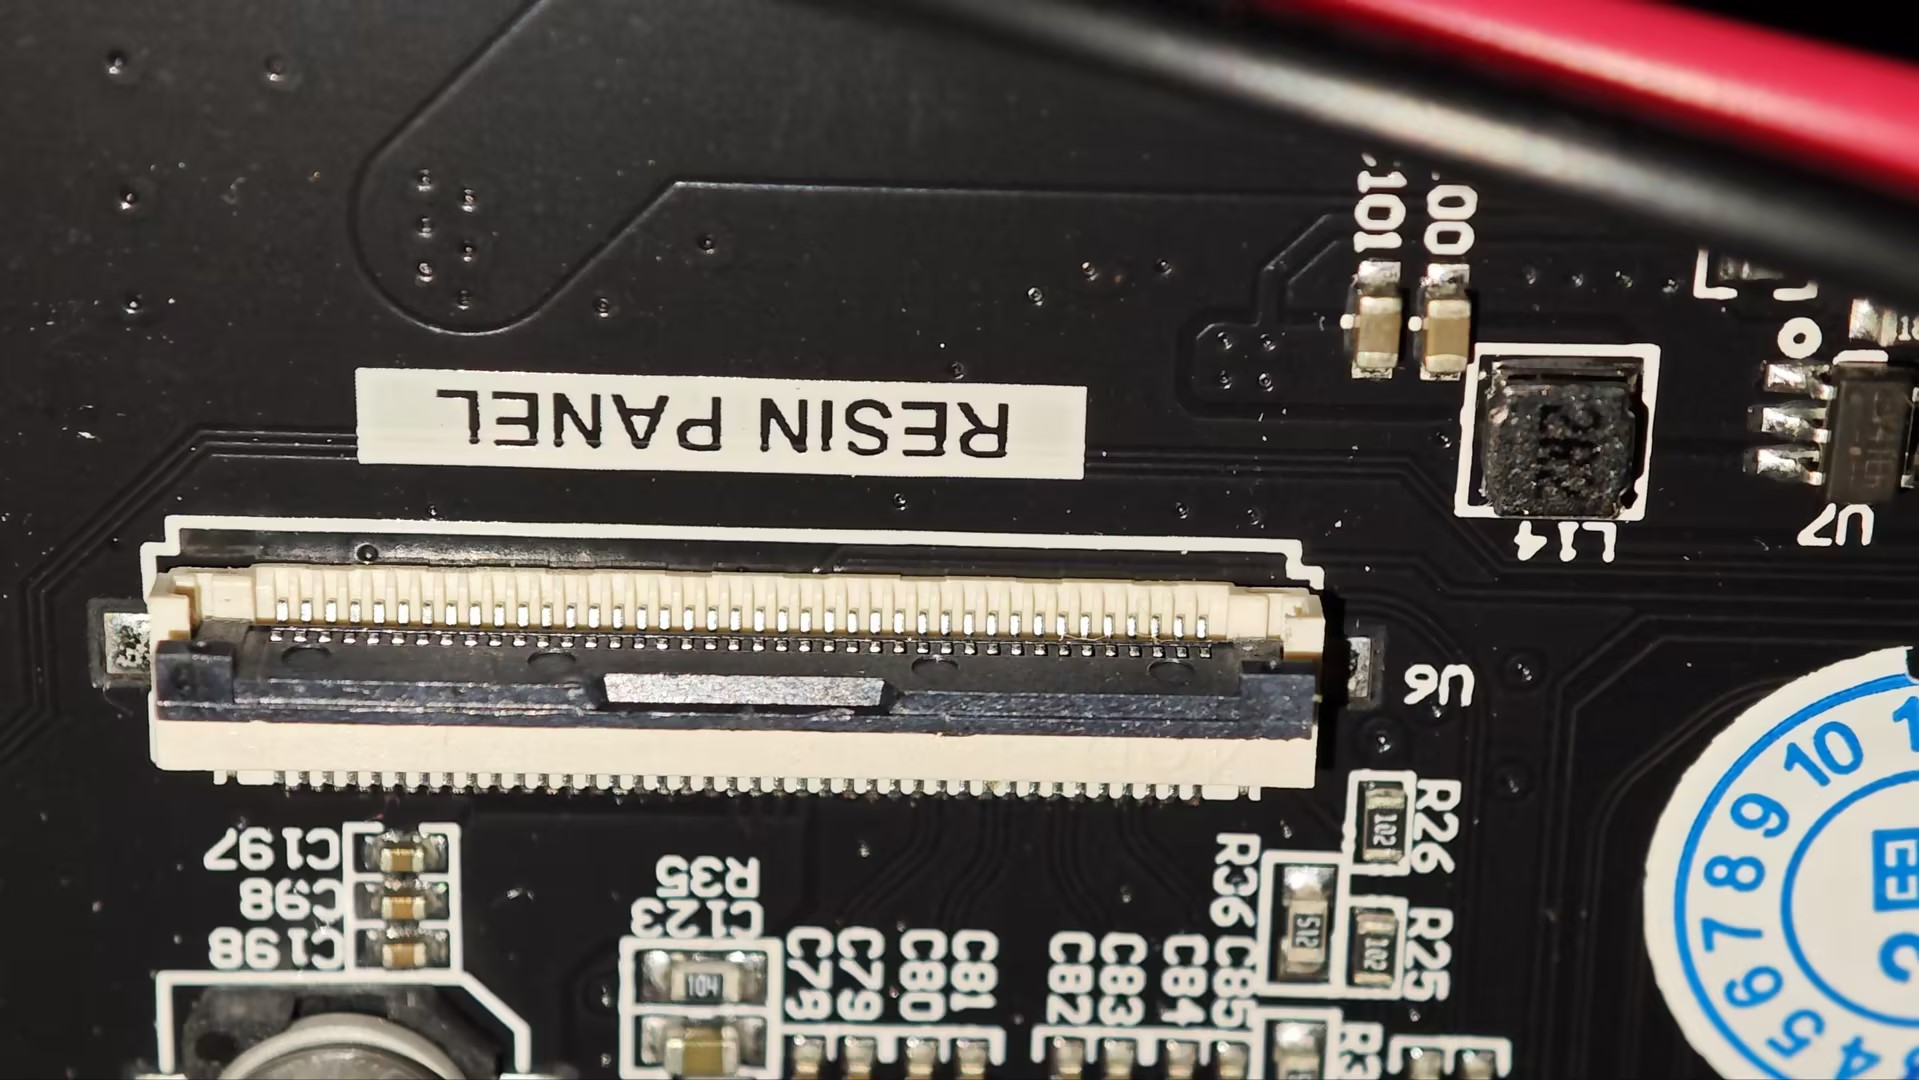
3. Tear off the adhesive tape on the LCD screen cable. (Do not discard the torn-off tape, you can continue to use it later) Open the cover of the LCD screen cable holder on the motherboard, and remove it.
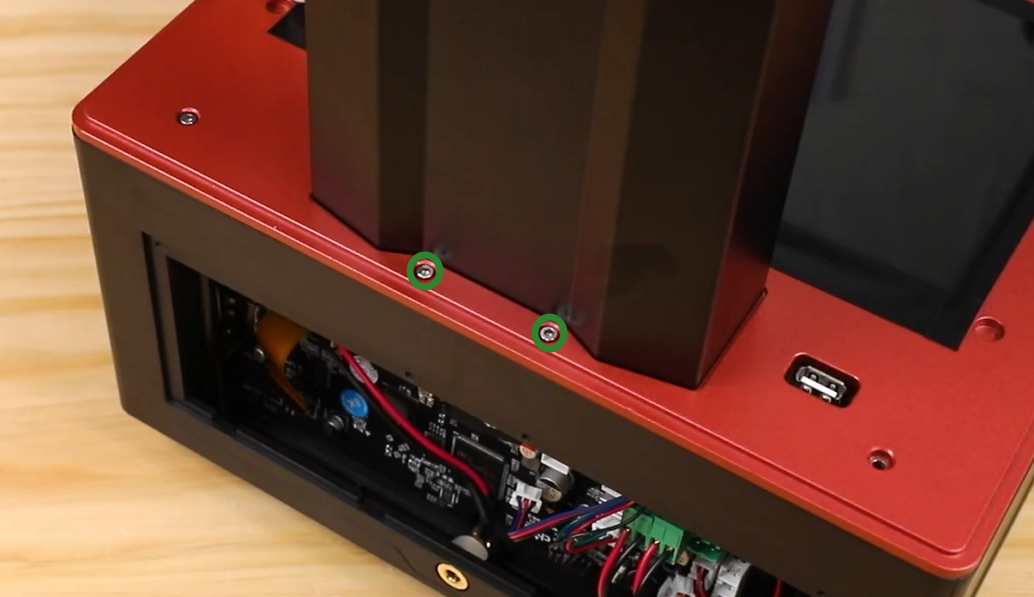
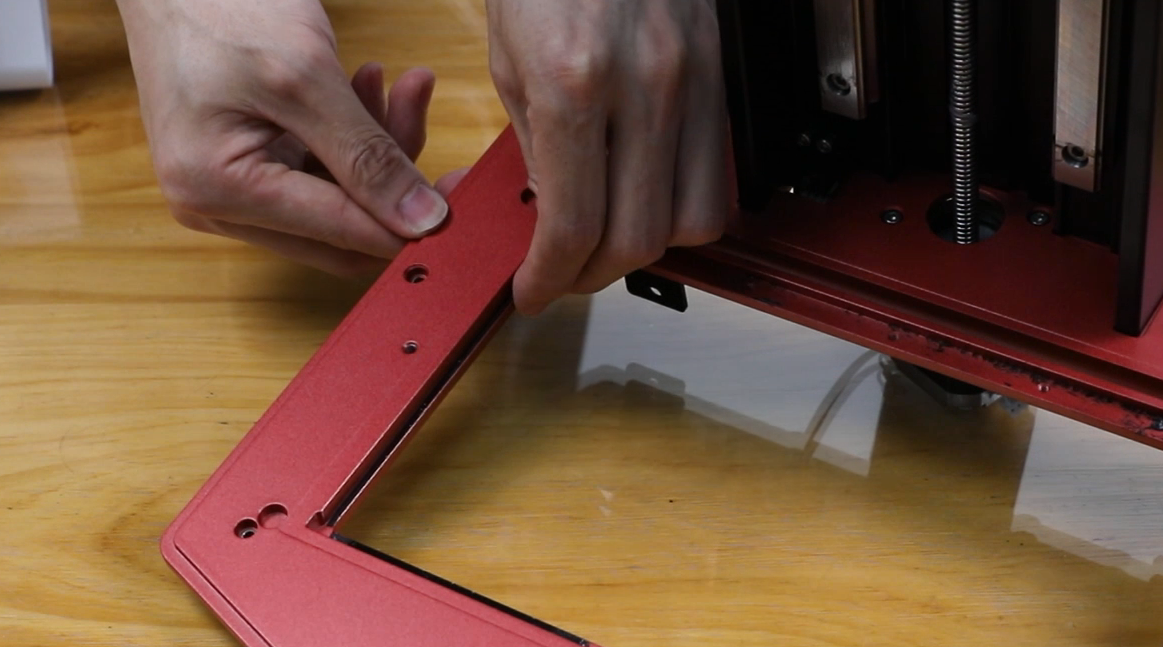
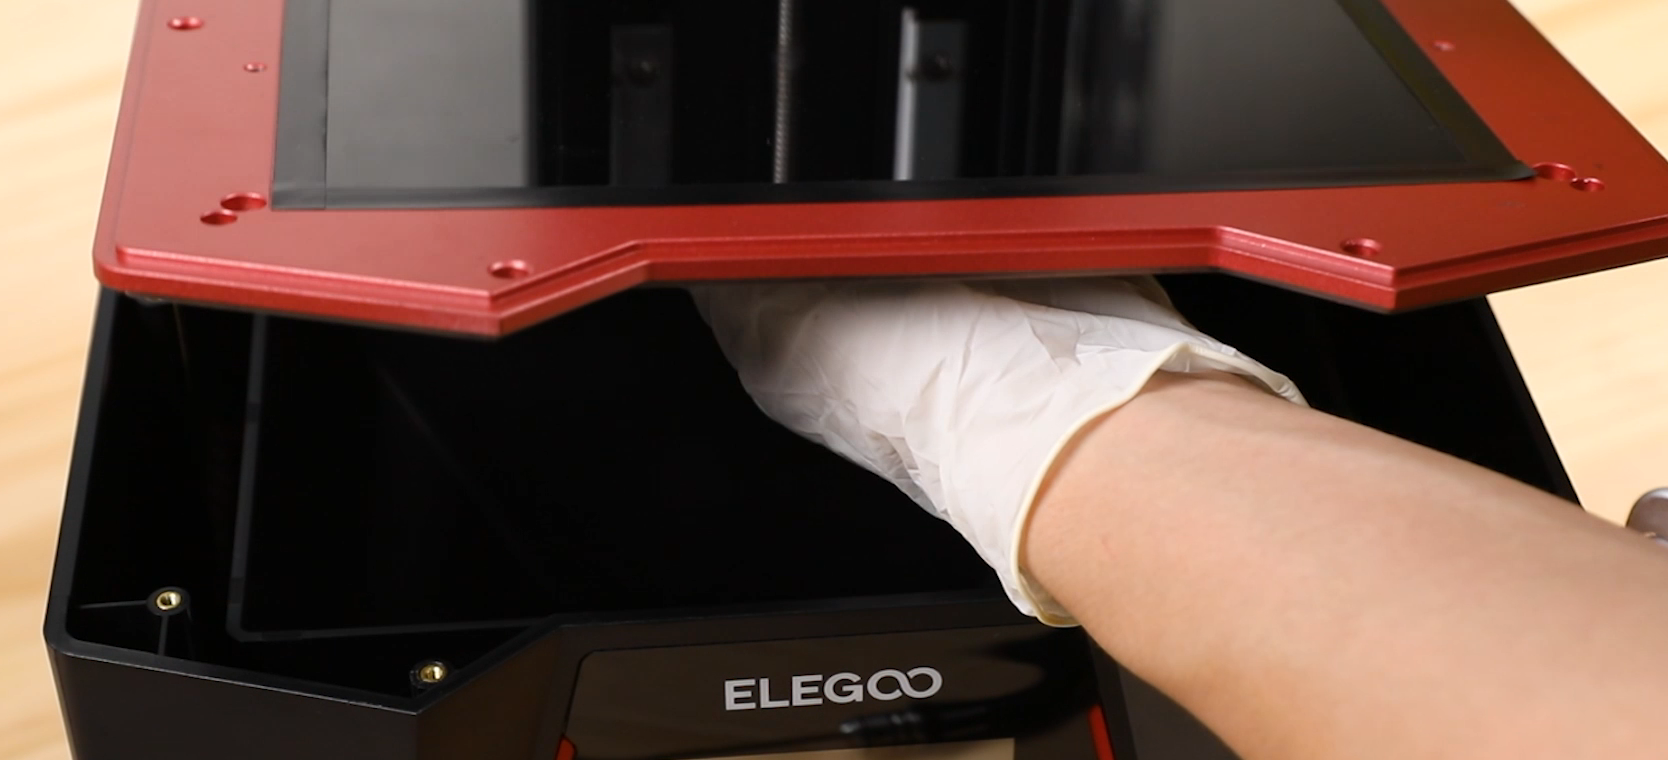
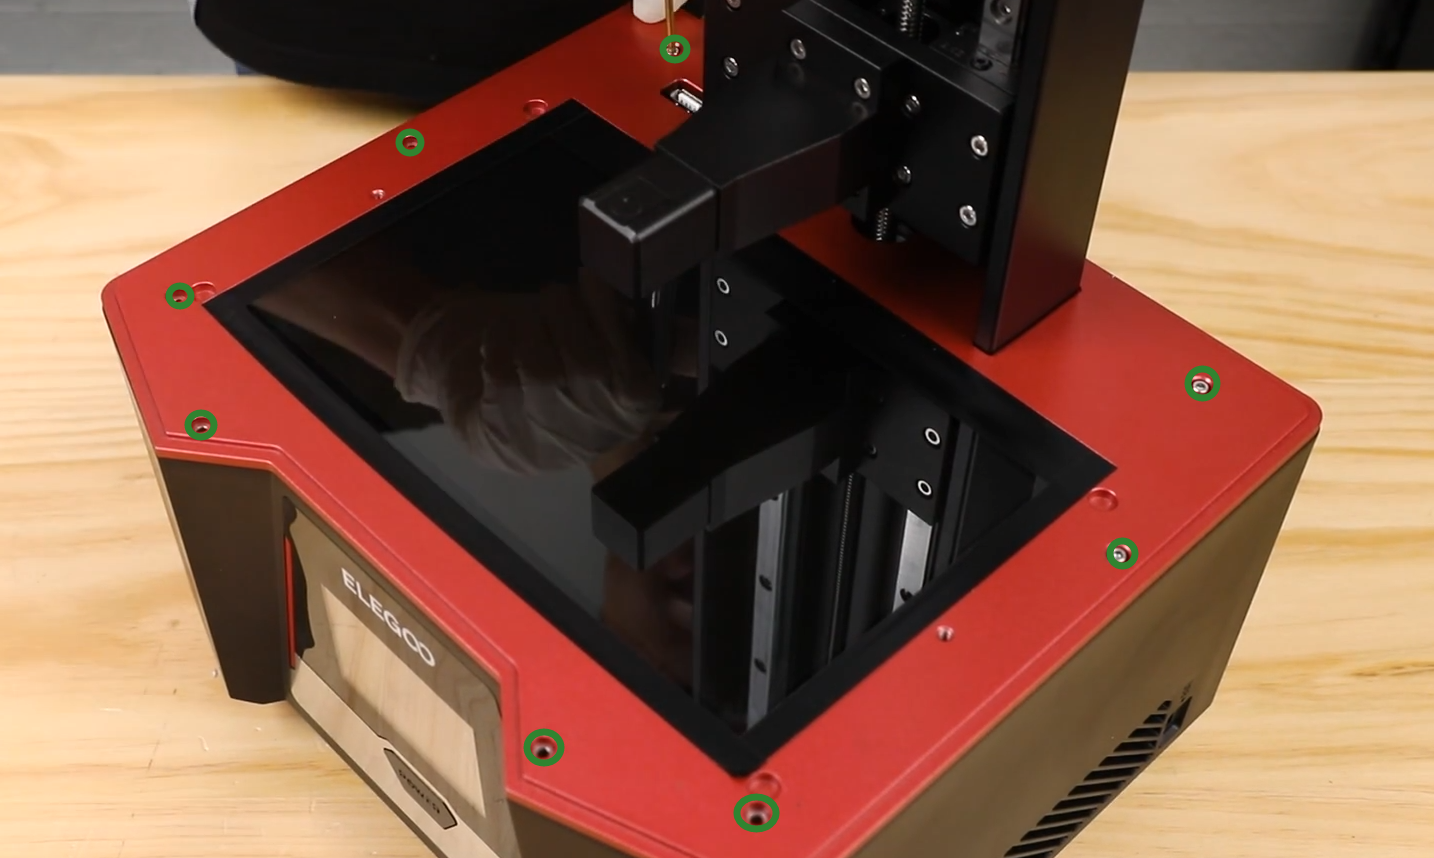
4. Use a 2.5mm Allen wrench to loosen the 10 fixing screws on the middle plate of the machine, and remove the entire middle plate.

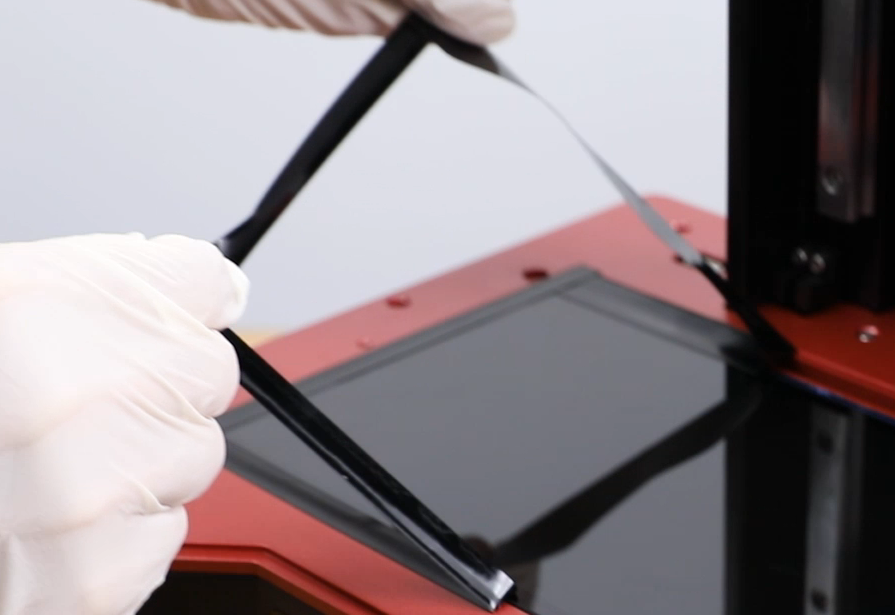
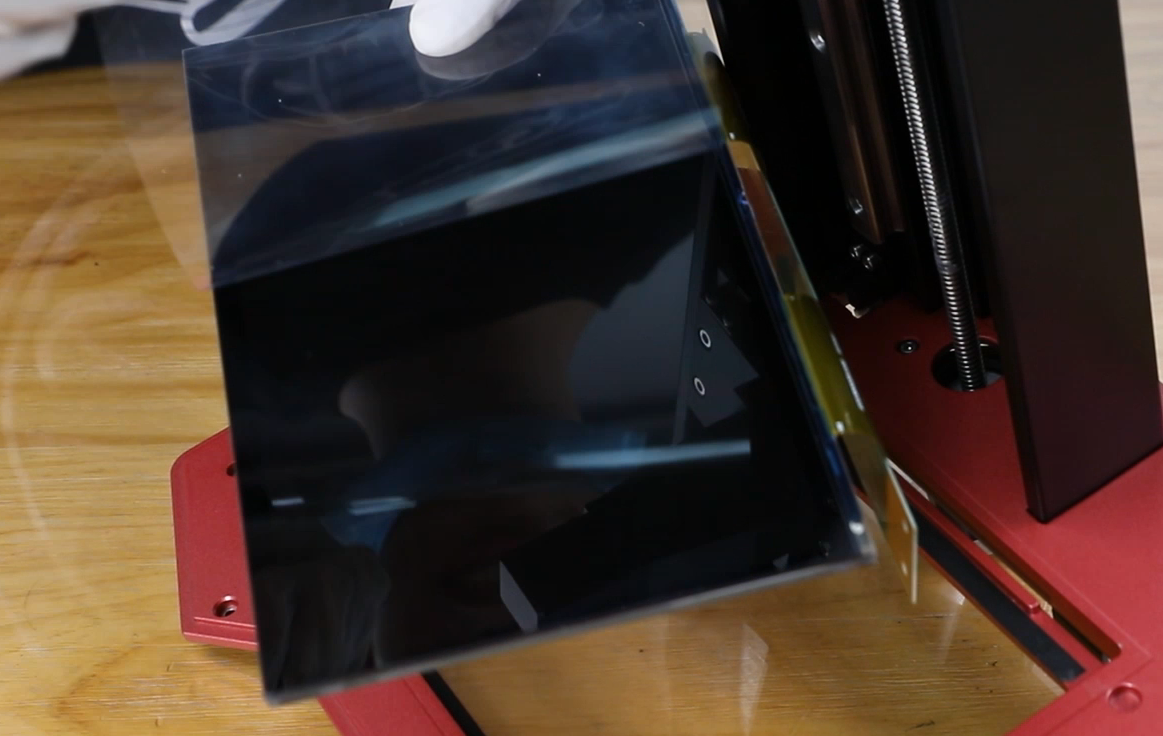
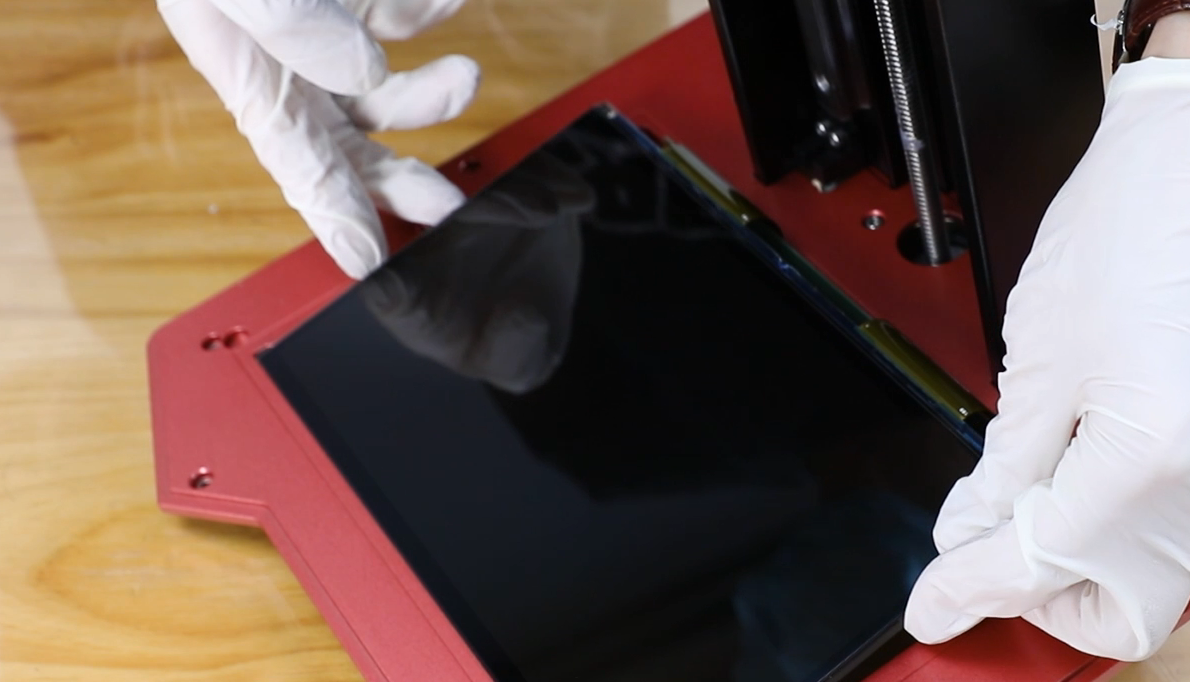
5. Remove the fixing tape of the LCD screen and remove the entire middle plate.
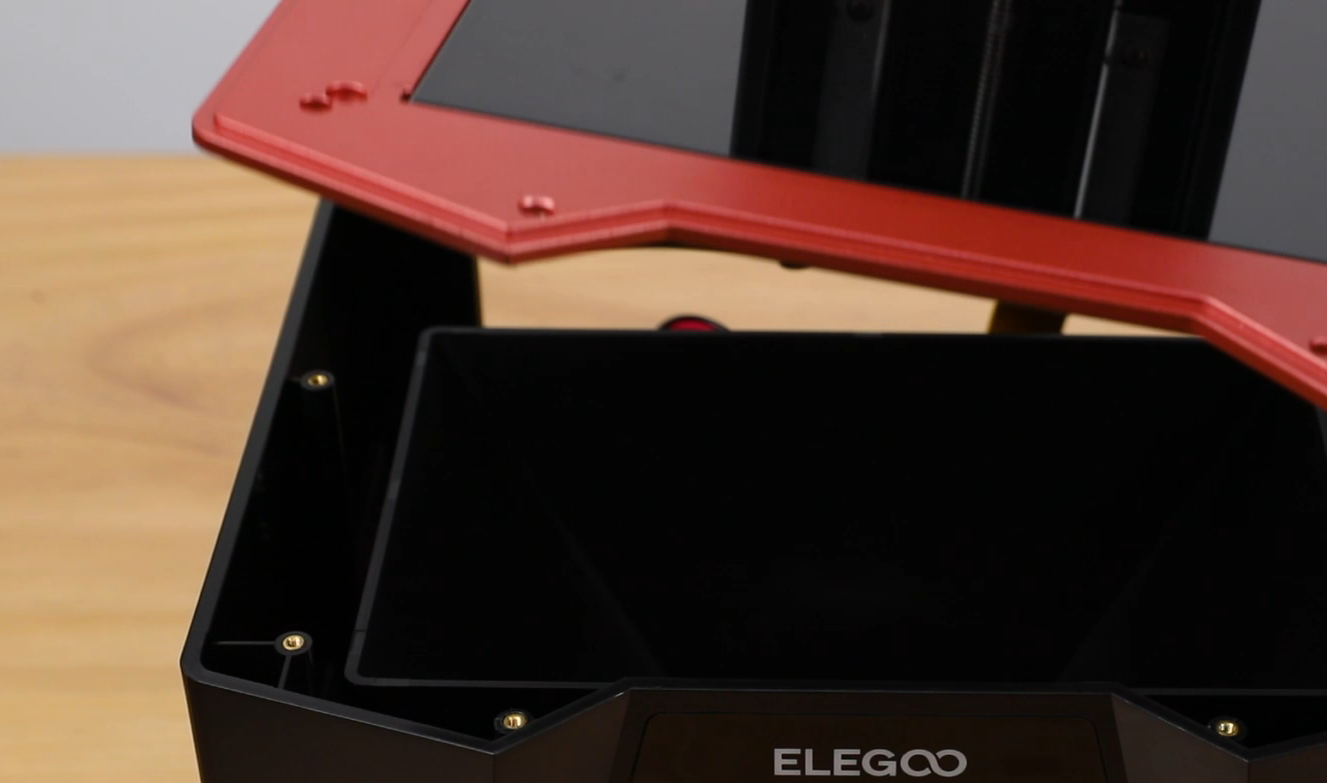
6. Use a 2.5mm Allen wrench to loosen the 14 screws fixing the Fresnel collimating lens, remove the fixing screws of the Fresnel collimating lens, and place them on clean paper or cloth to avoid damage to the Fresnel collimating lens.

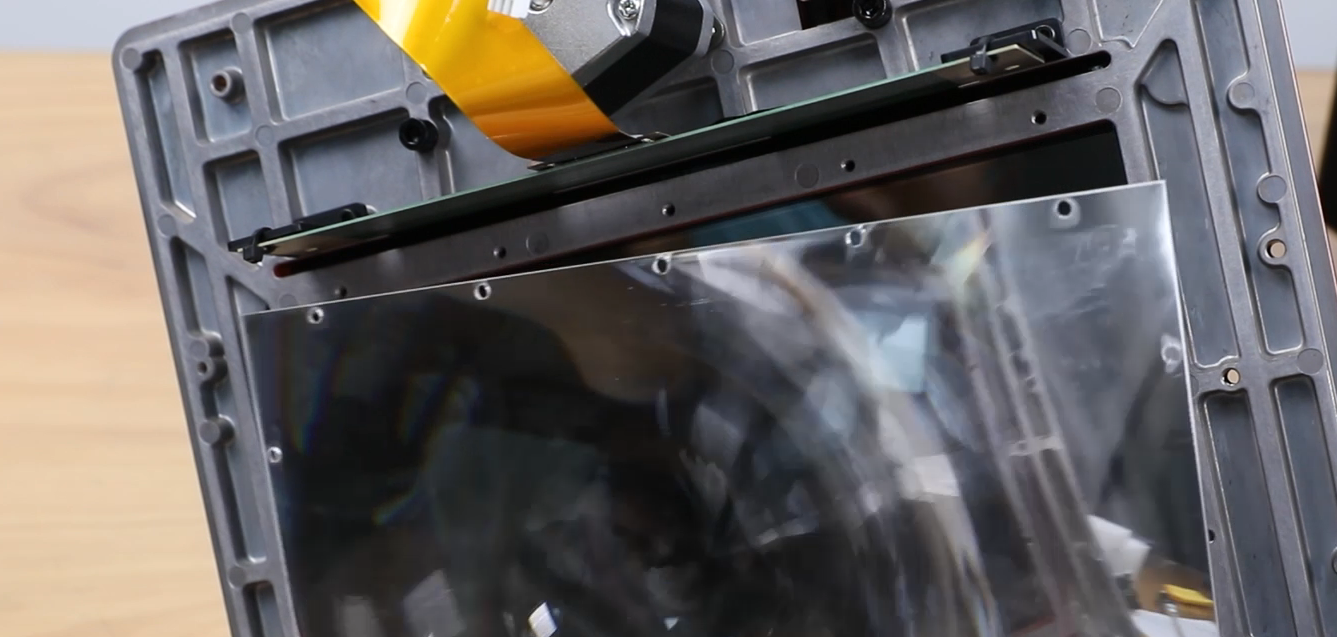
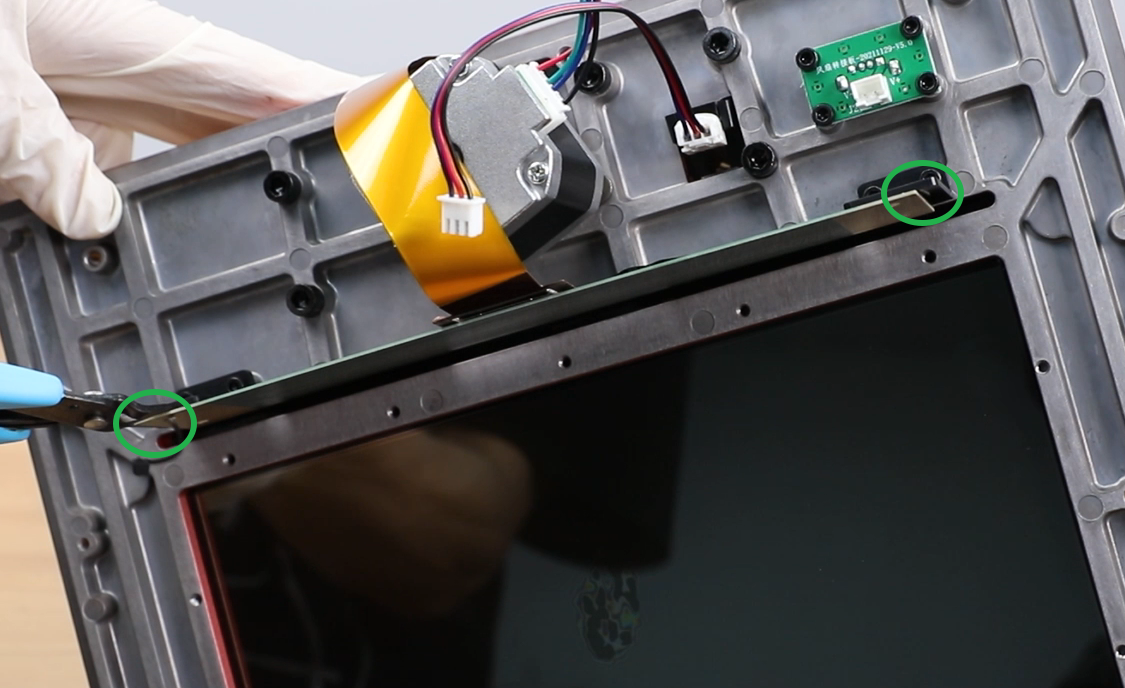
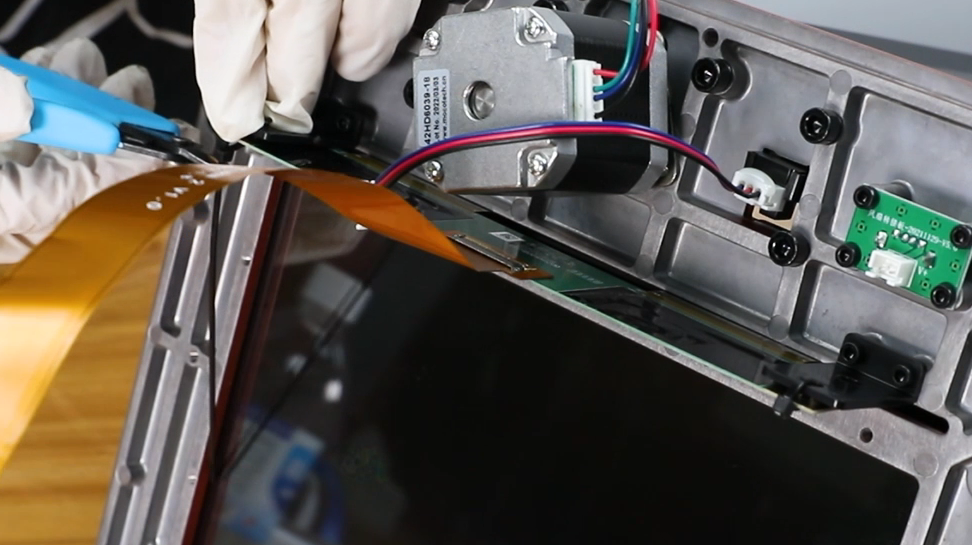
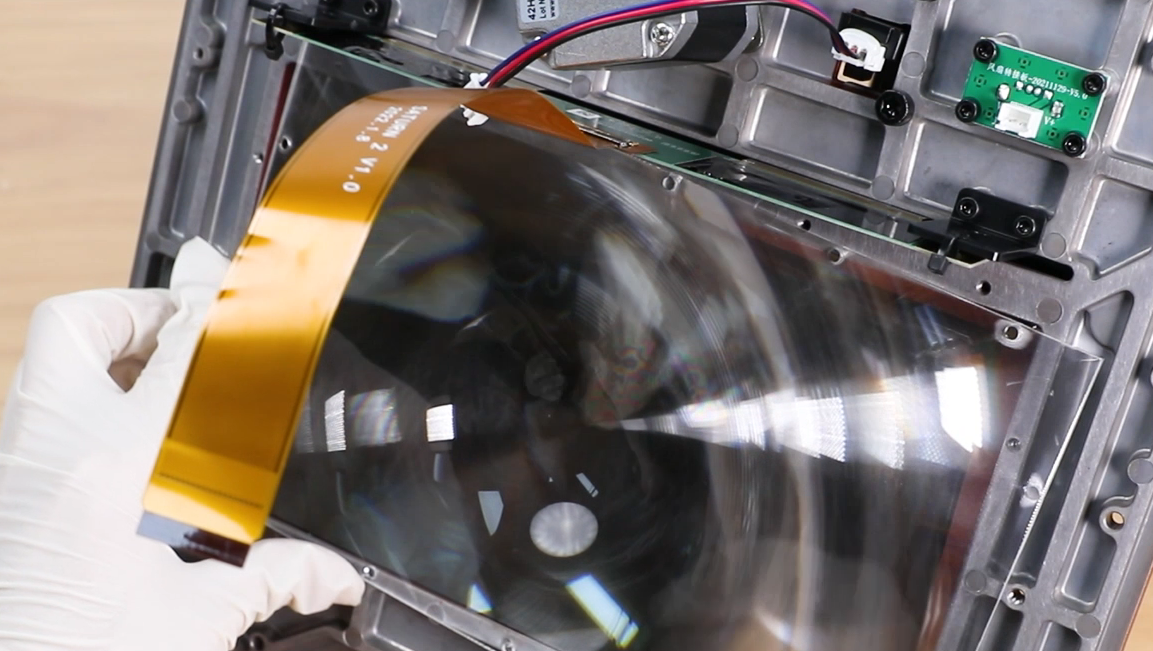
7. Use diagonal pliers to remove the screen PCB board fixed cable tie, and manually push the screen from the inside out to remove the screen (You can use a hair dryer to heat the edge of the back of the screen first for easier to remove the screen).
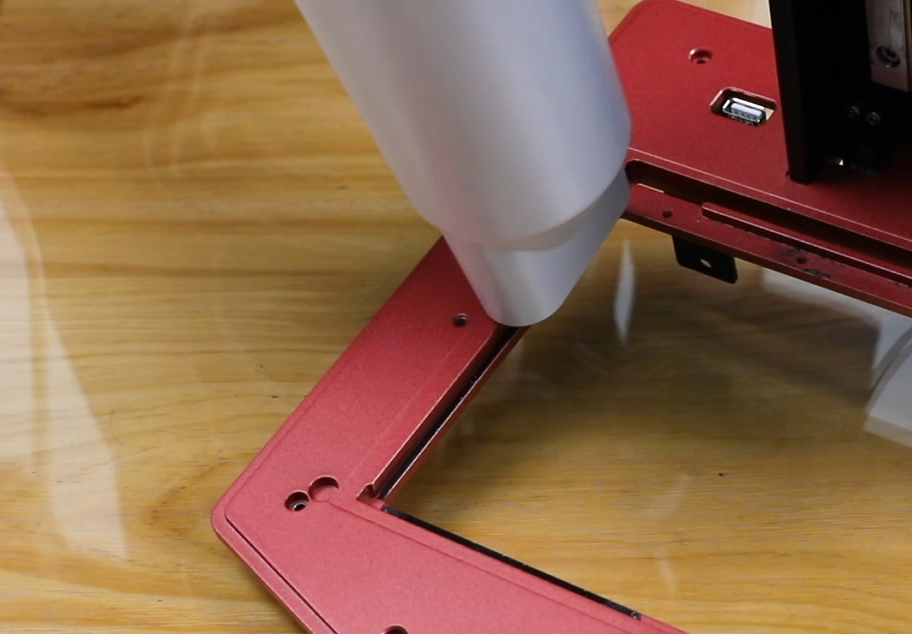
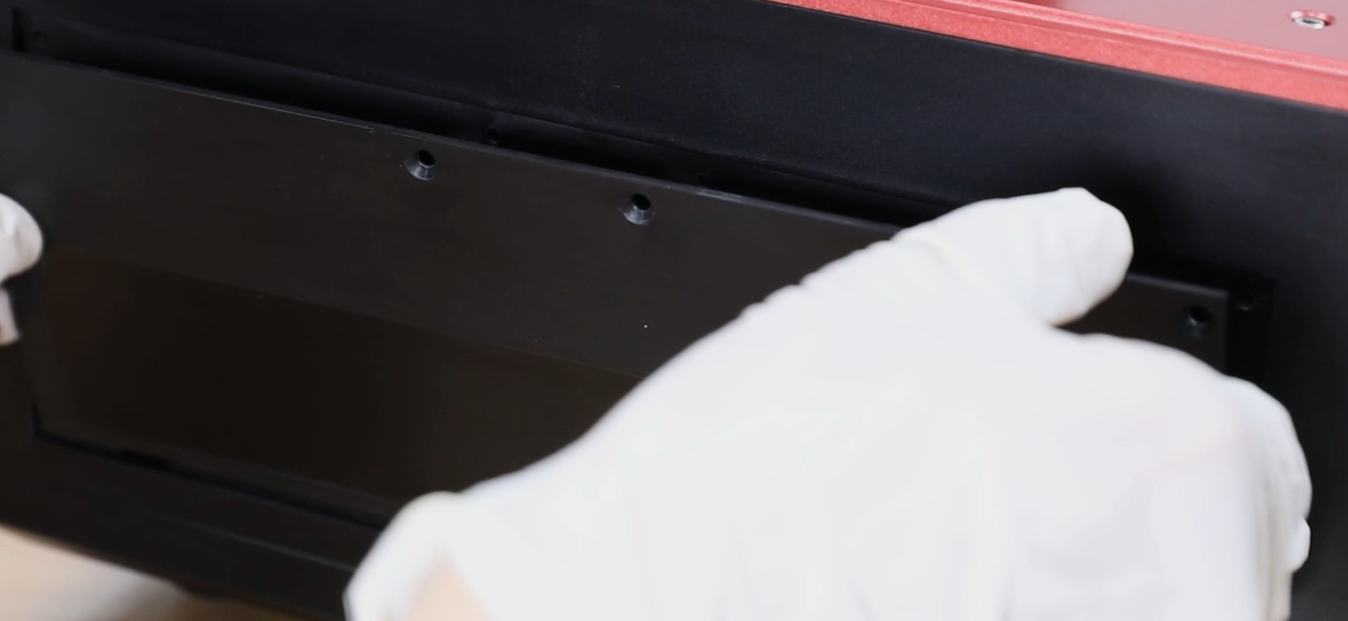
8. Remove the excess tape on the middle plate to facilitate the subsequent installation of new tape.
(Note: If the adhesion is strong and difficult to remove, you can try to use a hair dryer and alcohol to remove the excess glue).
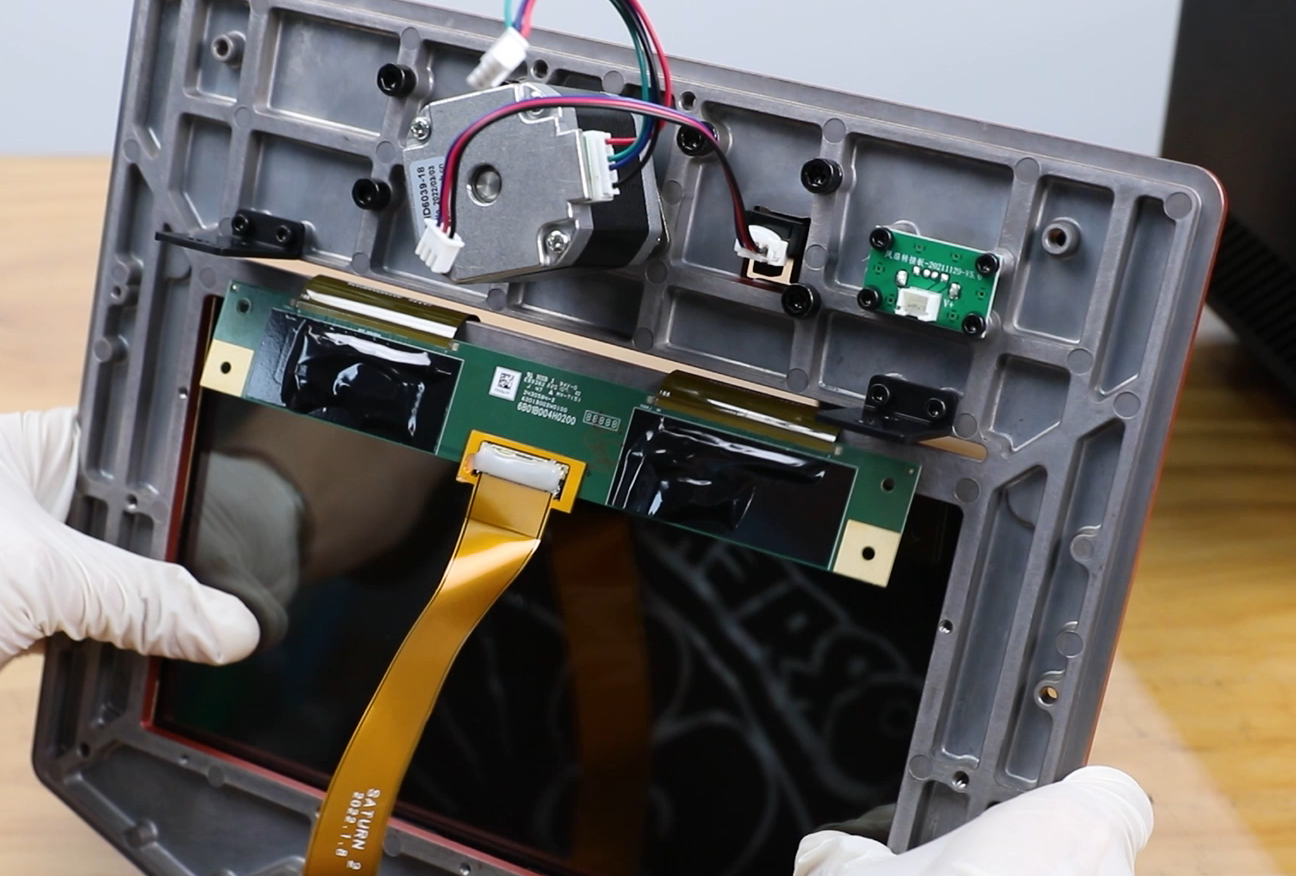
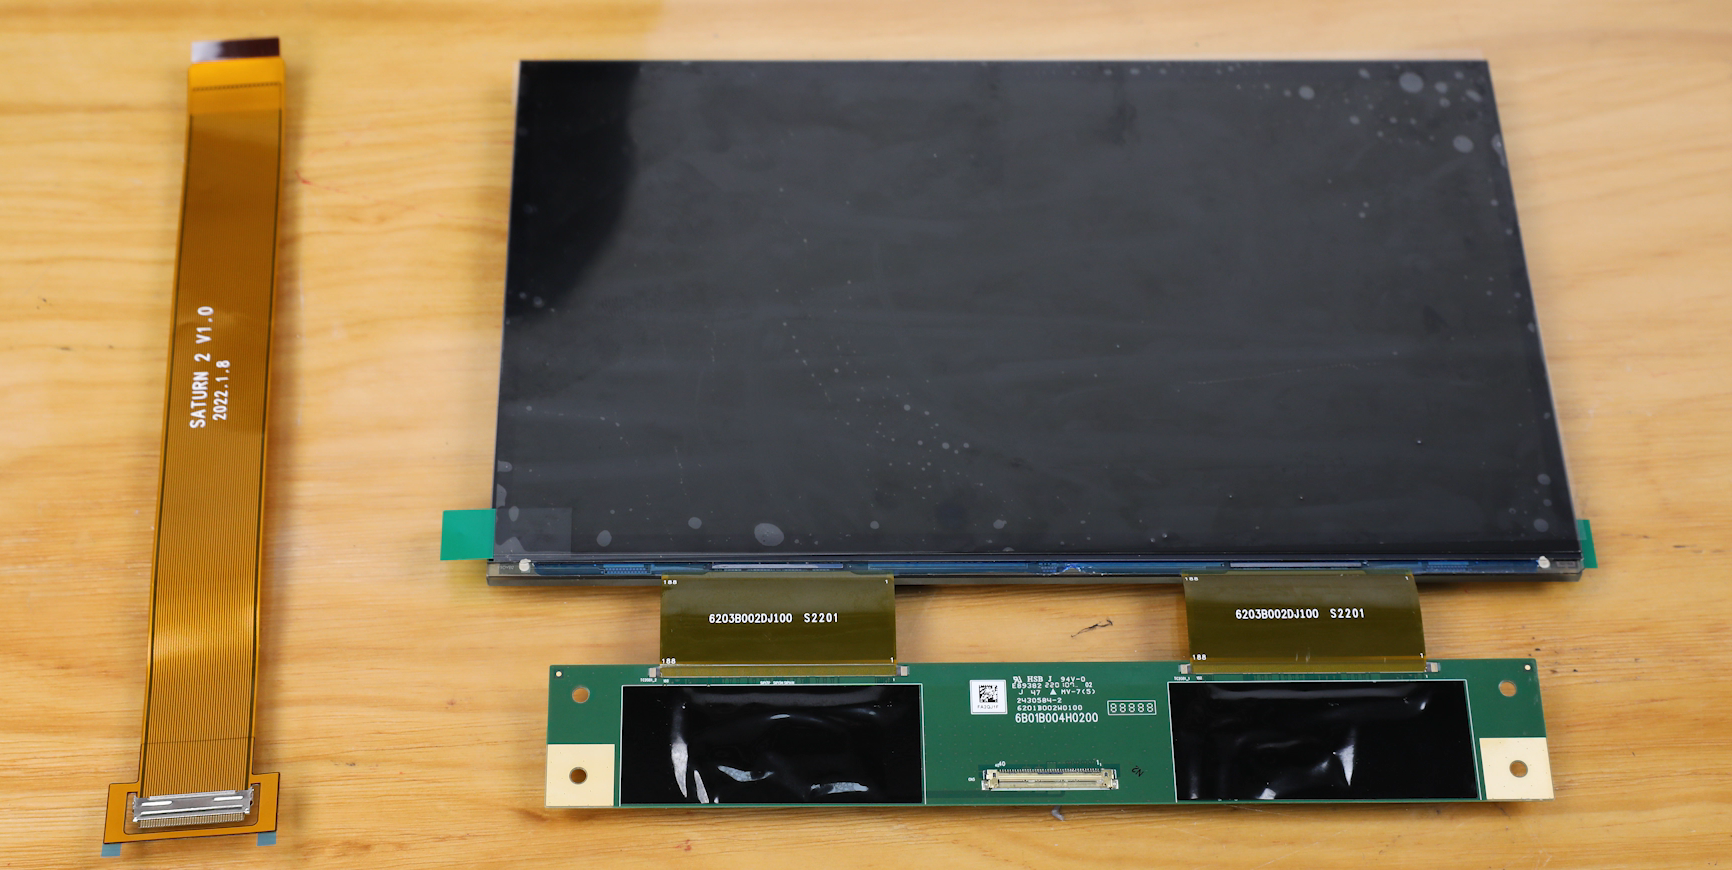
9. Take out the new LCD screen and LCD screen cable.
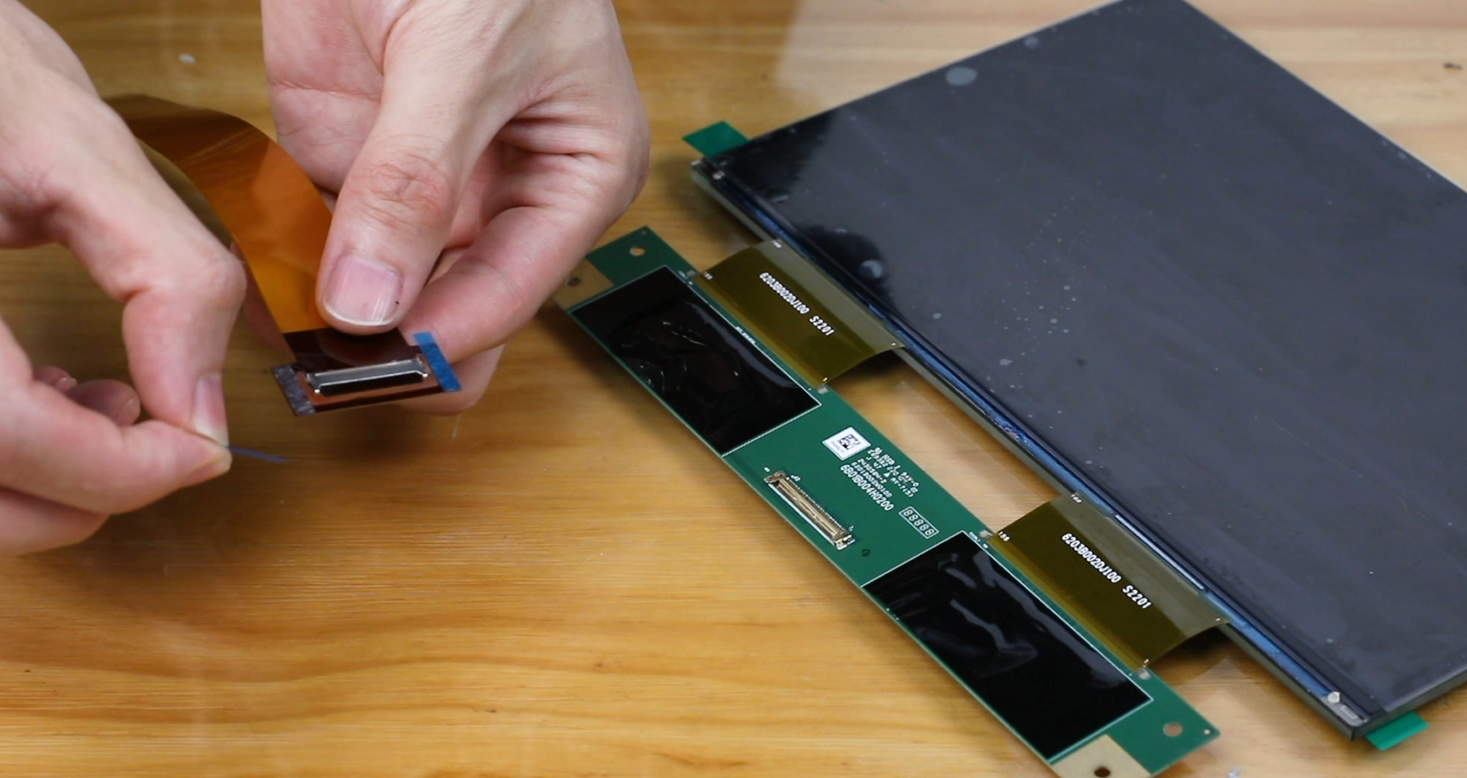
10. Remove the protective film of the screen cable fixing tape and install it on the screen PCB board, then reinstall the fixing tape.

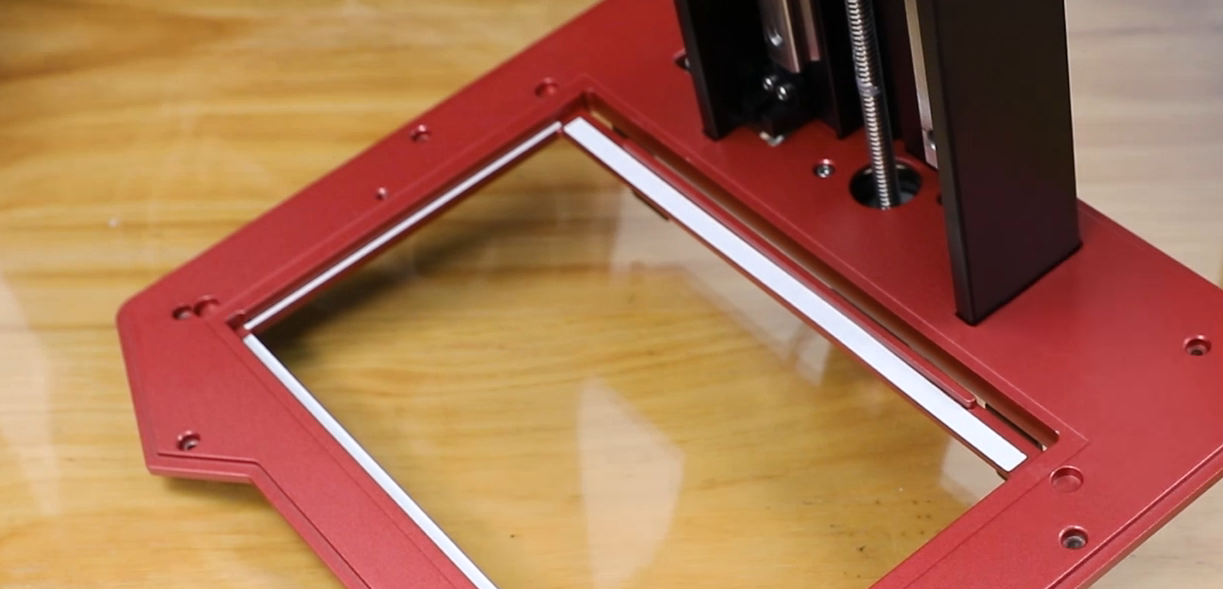
11. Remove the protective film from the new screen surface, reinstall the screen, and secure it with the new LCD screen's Mara tape. (Note: Refer to the reference slot of the installation when mounting)

12. Use cable ties to re-fix the PCB board of the screen, and use diagonal pliers to remove the excess part of the cable ties.

13. The Fresnel collimating lens has two sides, the textured side faces the screen. Use a 2.5mm Allen wrench to tighten the 14 screws fixing the Fresnel collimating lens.
(Note: The incorrect installation will affect printing, and you must wear gloves when installing the Fresnel collimating lens).

14. Install the middle plate of the machine, align it with the screw holes, and use a 2.5mm Allen wrench to tighten the 10 fixing screws on the middle plate of the machine.

15. Connect the ① limit switch cable, ② motor cable, and ③ air purifier USB cable in sequence.

16. Align the back cover with the holes, and use a 2.0mm Allen wrench to tighten the 4 fixing screws on the back cover of the machine in sequence.

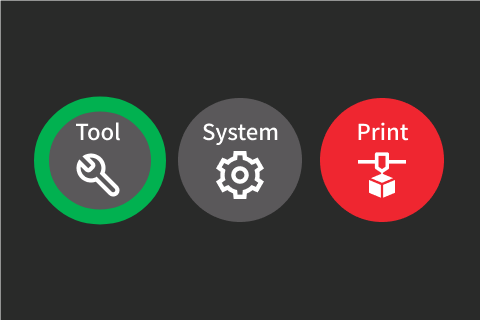
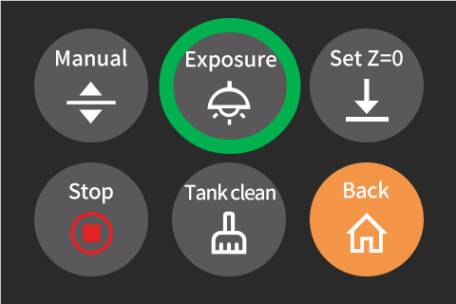
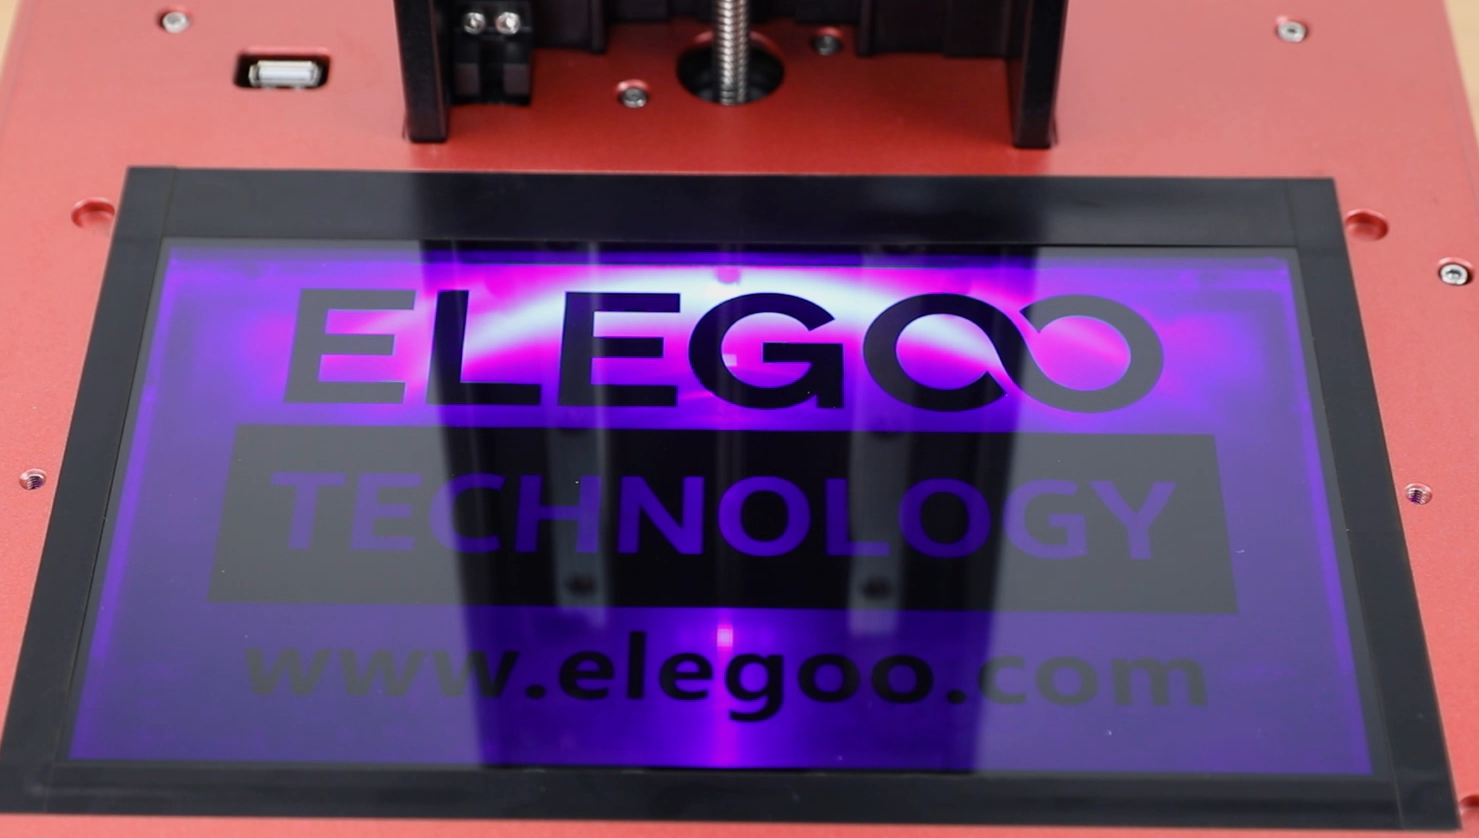
- Turn on the machine and perform an exposure test. Click the [Tools]-[Calibration]-[Exposure] button. After the LCD screen displays normally, you can use the machine normally.