¶ Tools and Materials
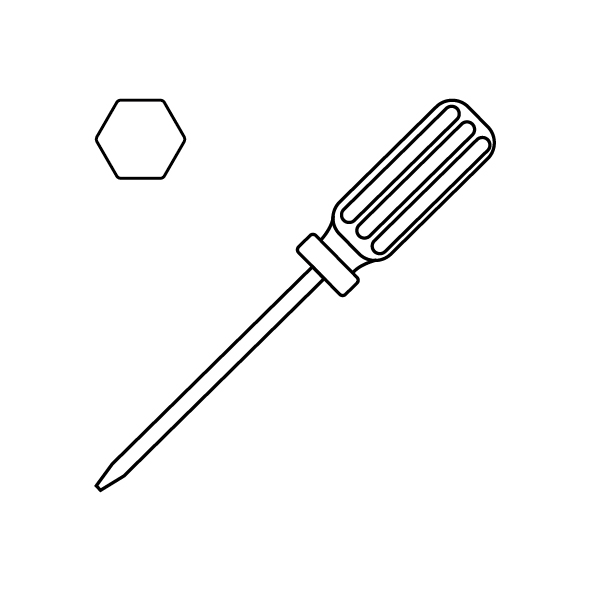
- A 2.0 mm Allen wrench
- A 2.5 mm Allen wrench
- A 3.0 mm Allen wrench
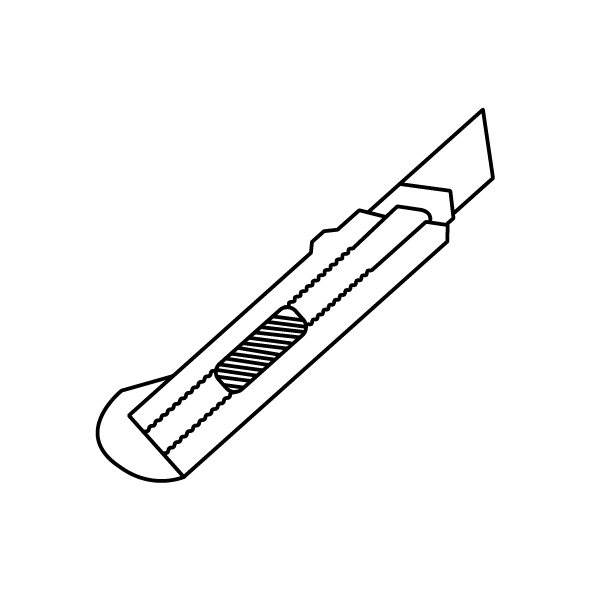
- An utility knife
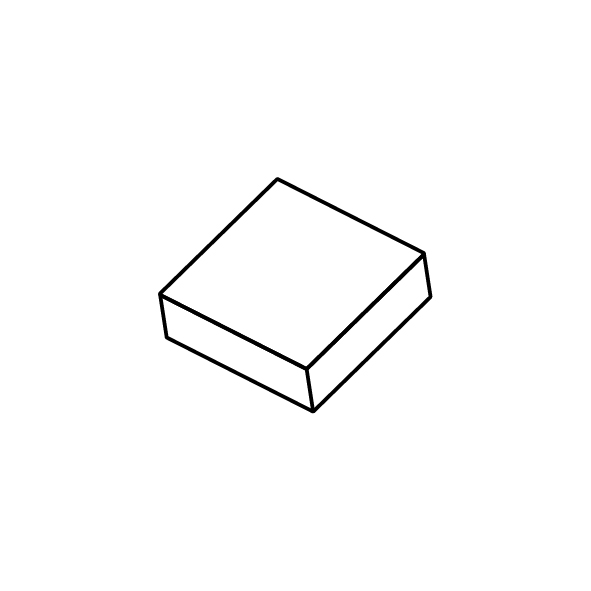
- A foam (80808 mm)
- Dust-free cloth

¶ Tutorial Video
¶ Instruction
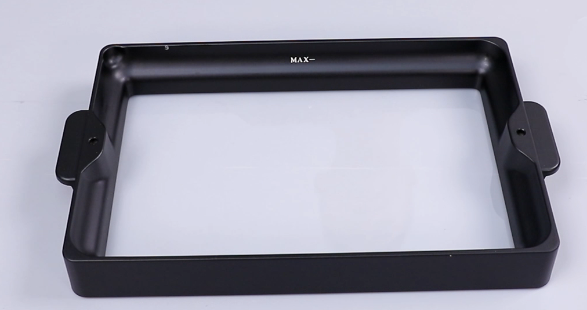
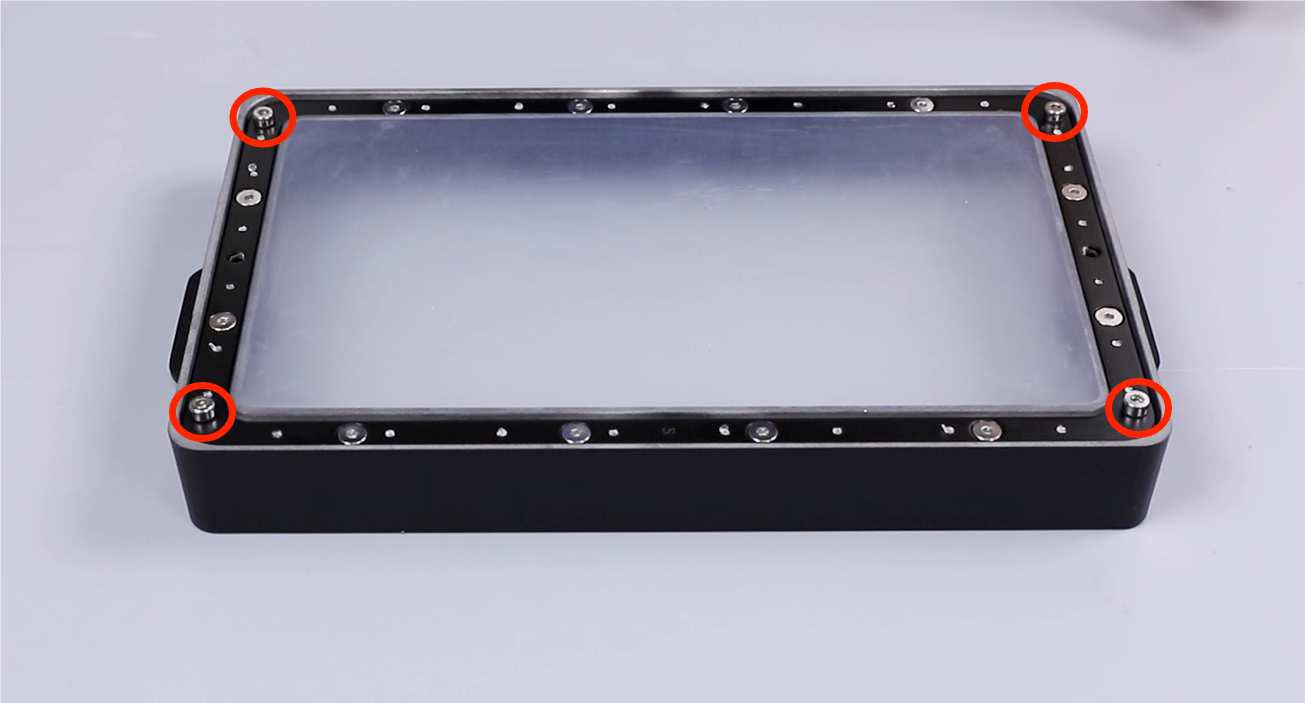
- Use a 3.0mm Allen wrench to loosen the 4 positioning screws on resin tank, then remove them.
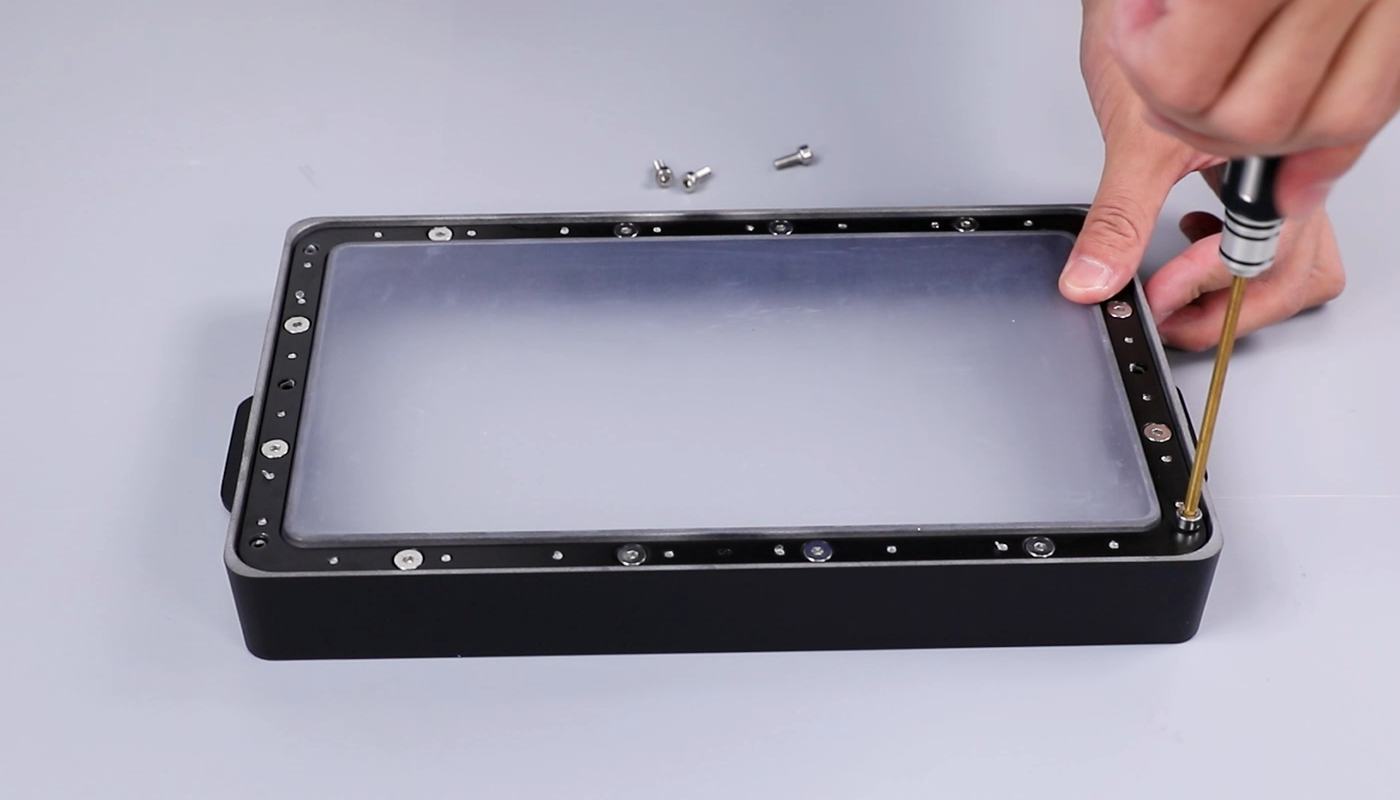
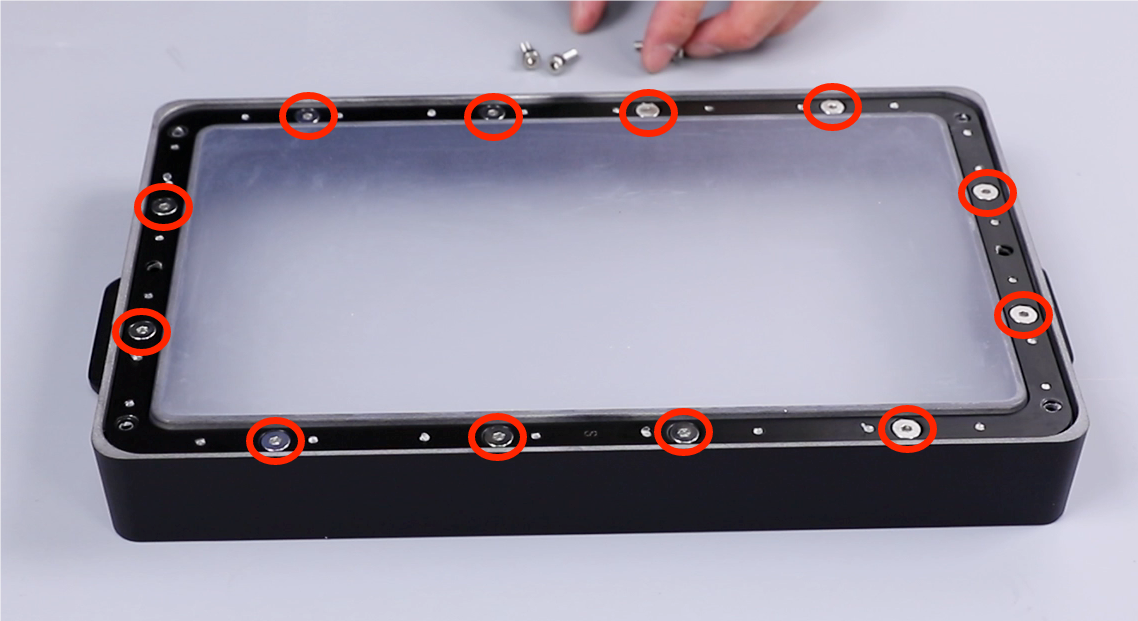
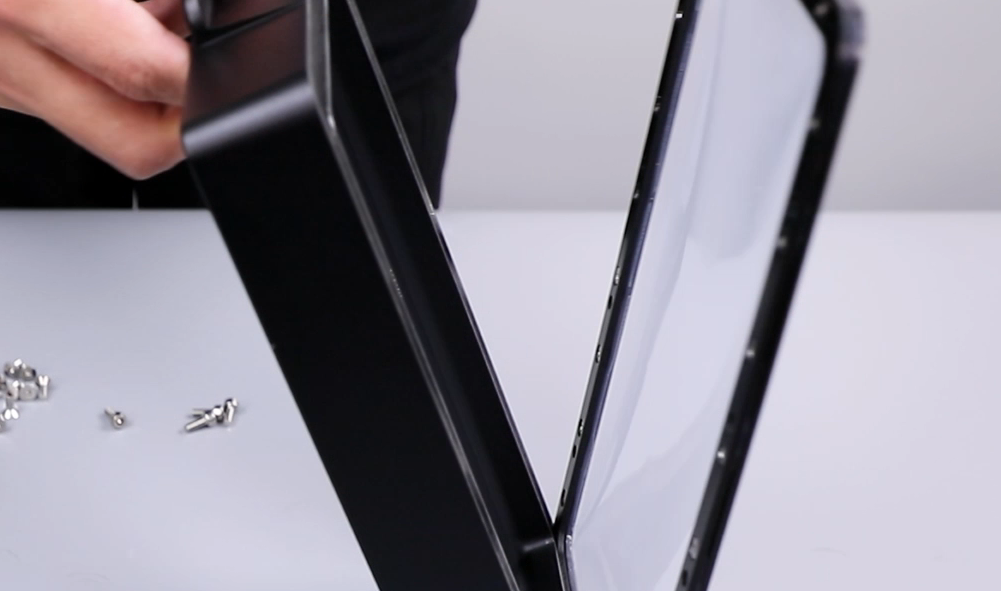
- Use a 2.5mm Allen wrench to loosen the 12 screws securing the tablet of the resin tank, then remove the screws. After removal, separate the tablet assembly carefully.
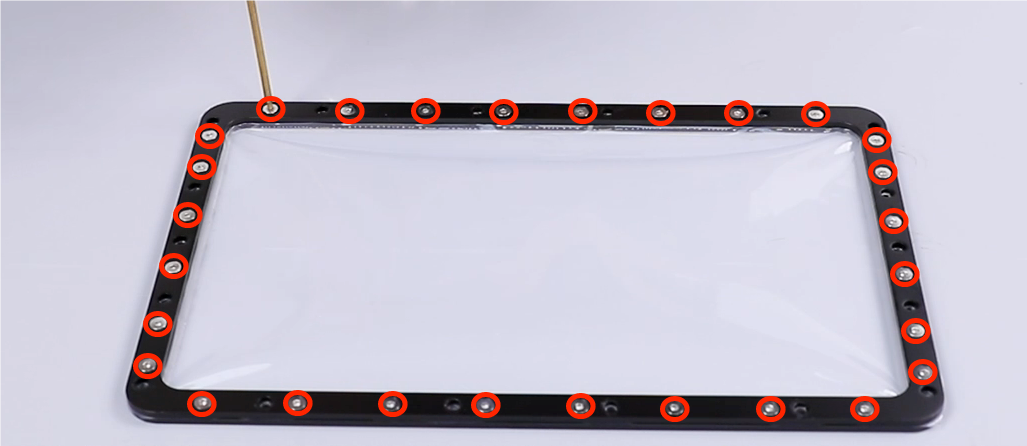
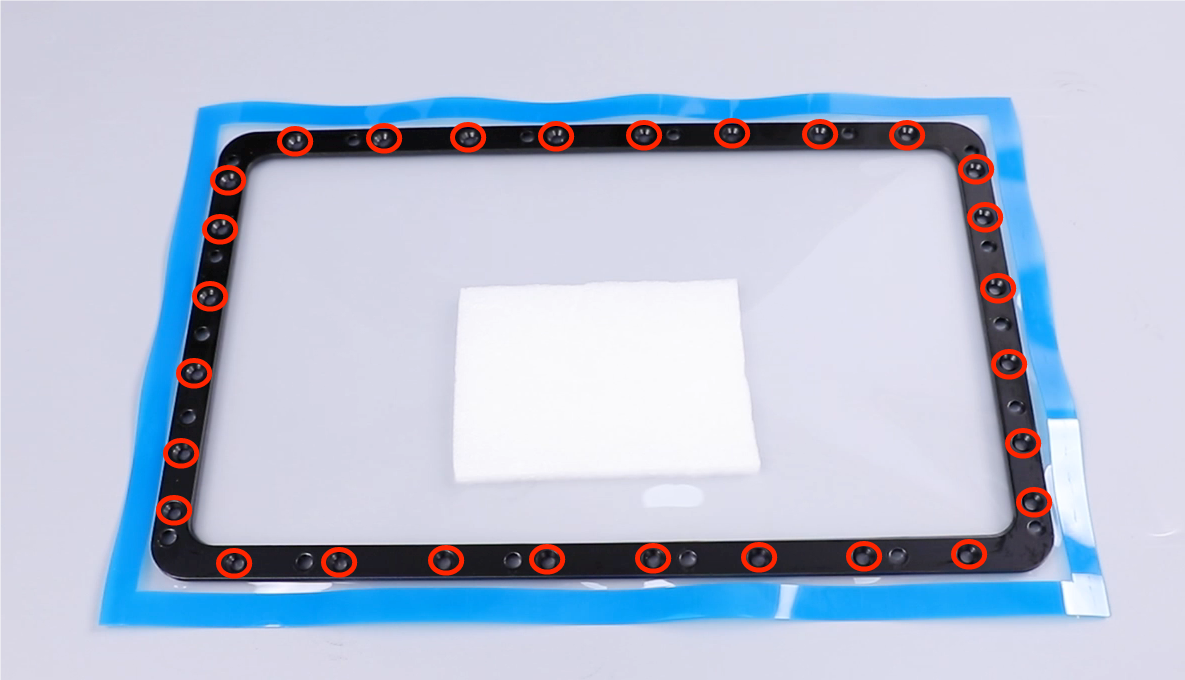
- Use a 2.0mm Allen wrench to loosen and remove the 28 fixing screws of the tablet, then disassemble the tablet and remove the old release film.
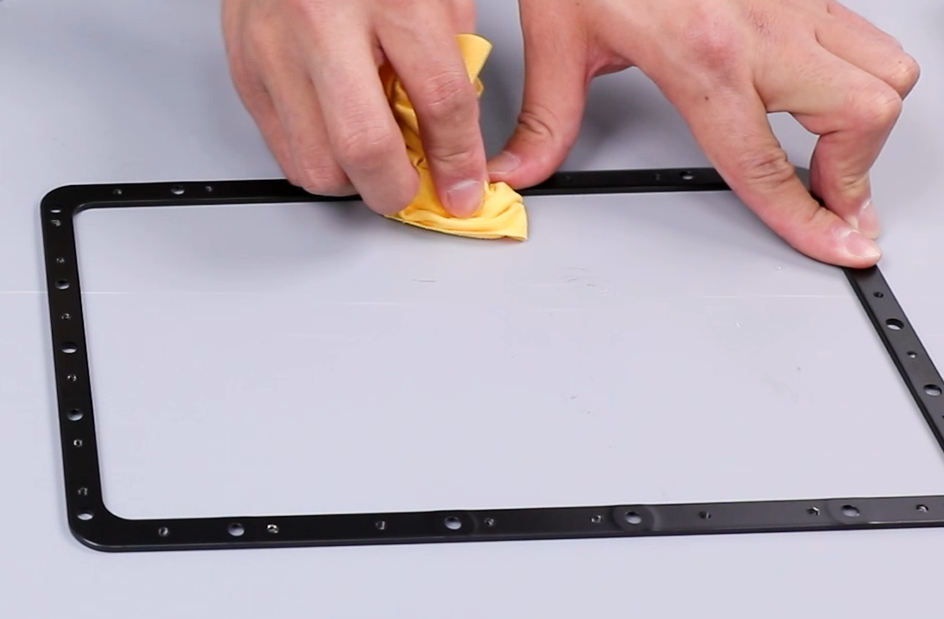
(Note: After disassembly, use a lint-free cloth to clean the resin tank and tablet.)

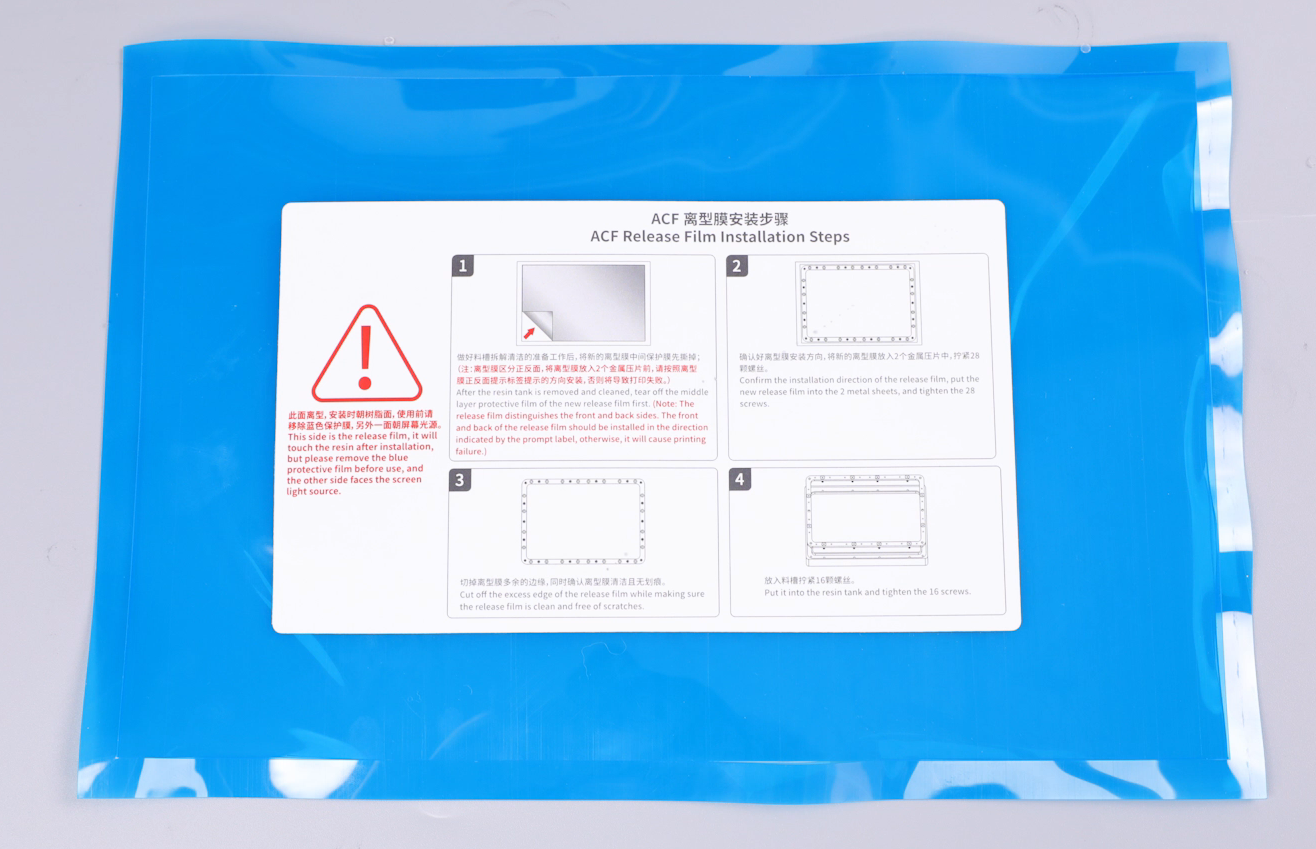
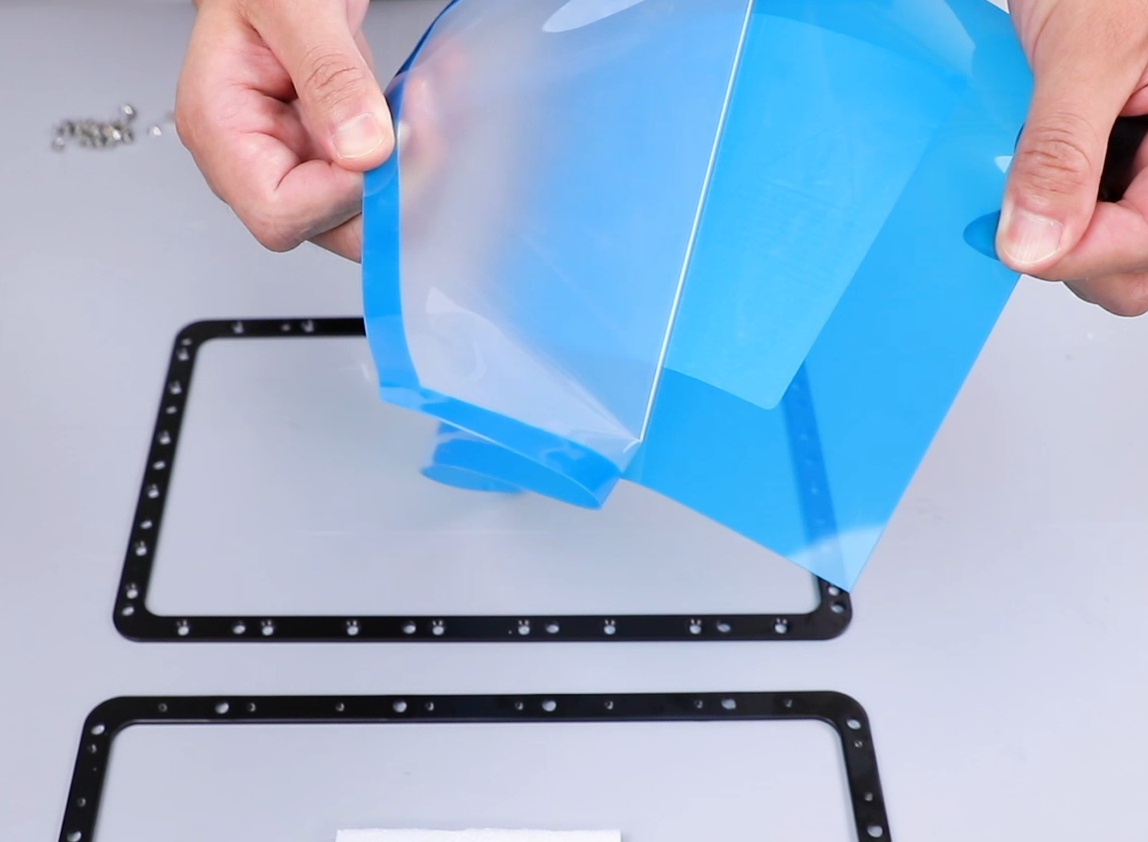
- Prepare the new ACF release film.
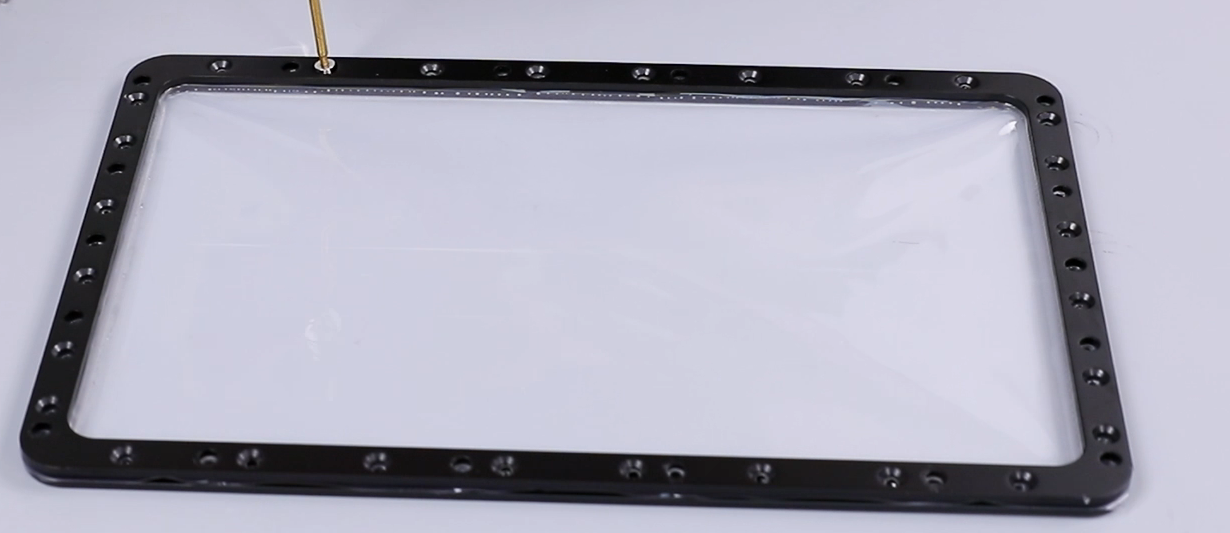
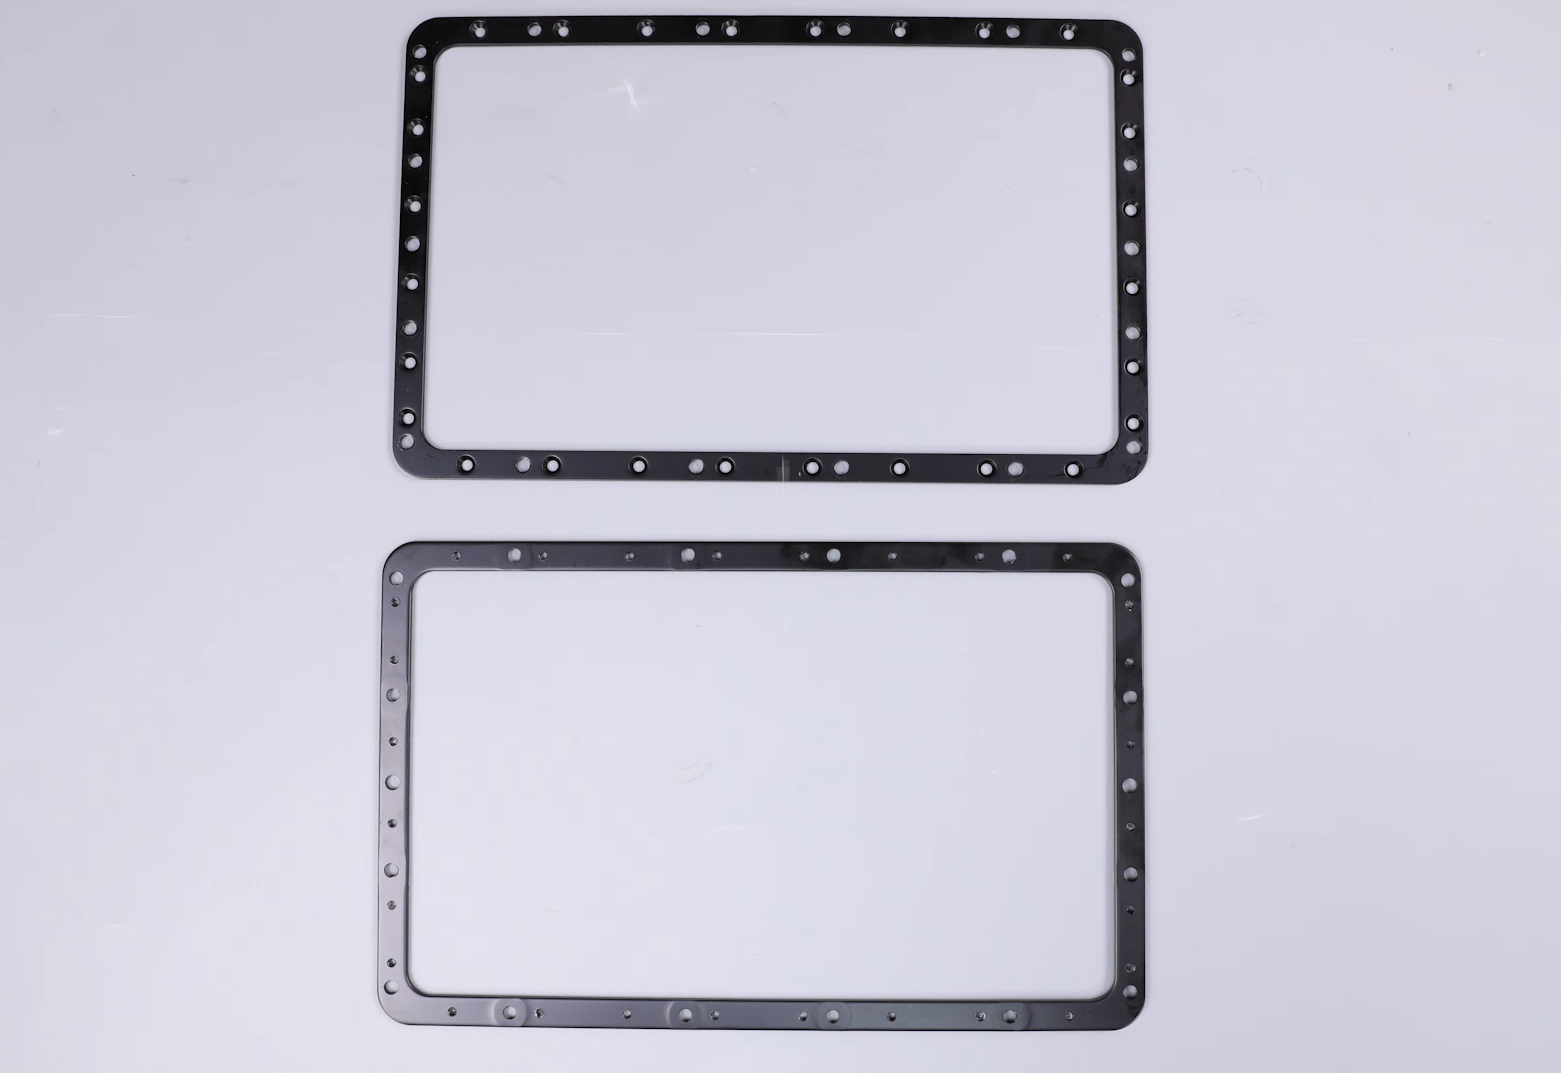
- Note: The larger screw holes are for the upper tablet, and the smaller ones are for the lower tablet. Ensure proper orientation.
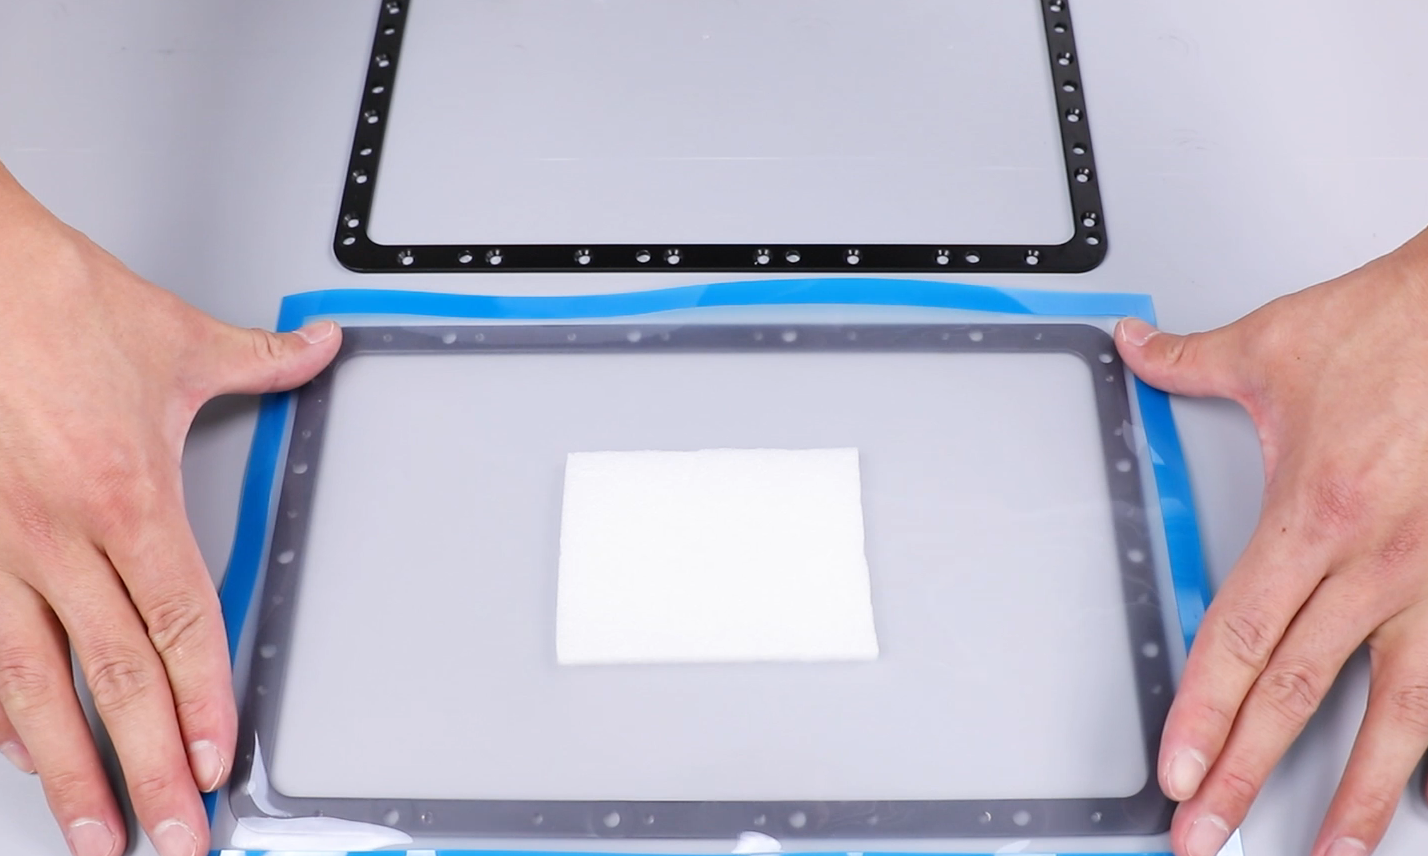
- Put the foam in the center of the lower tablet. Gently peel off the protective film from the ACF release film and evenly spread it across the center of the lower pressing plate. The smooth side should face upward.
(Note: The ACF release film has both front and back sides. The side with the protective film removed is the smooth release side, which should be facing upward (in contact with the resin). Do not place it upside down.)
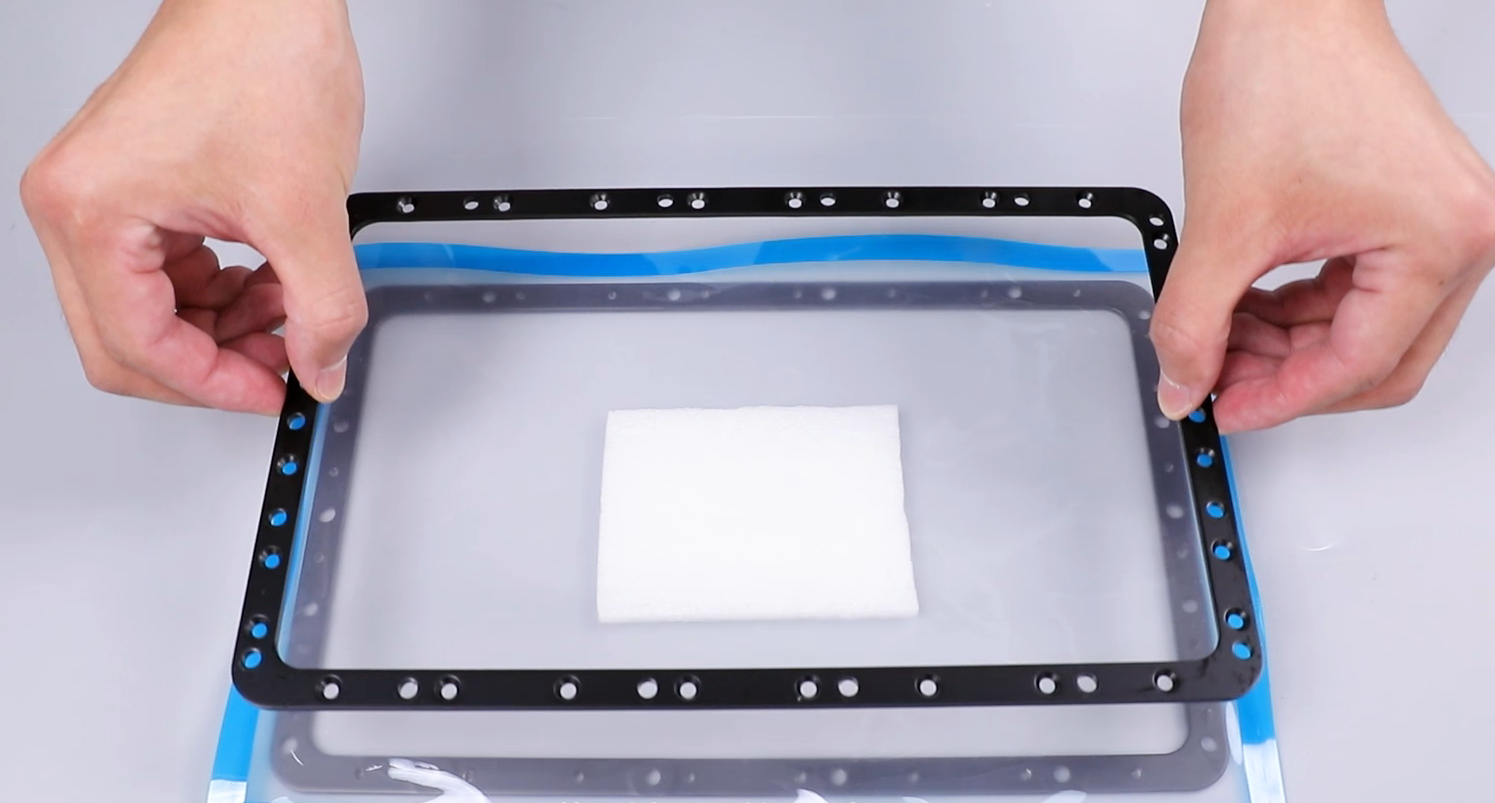
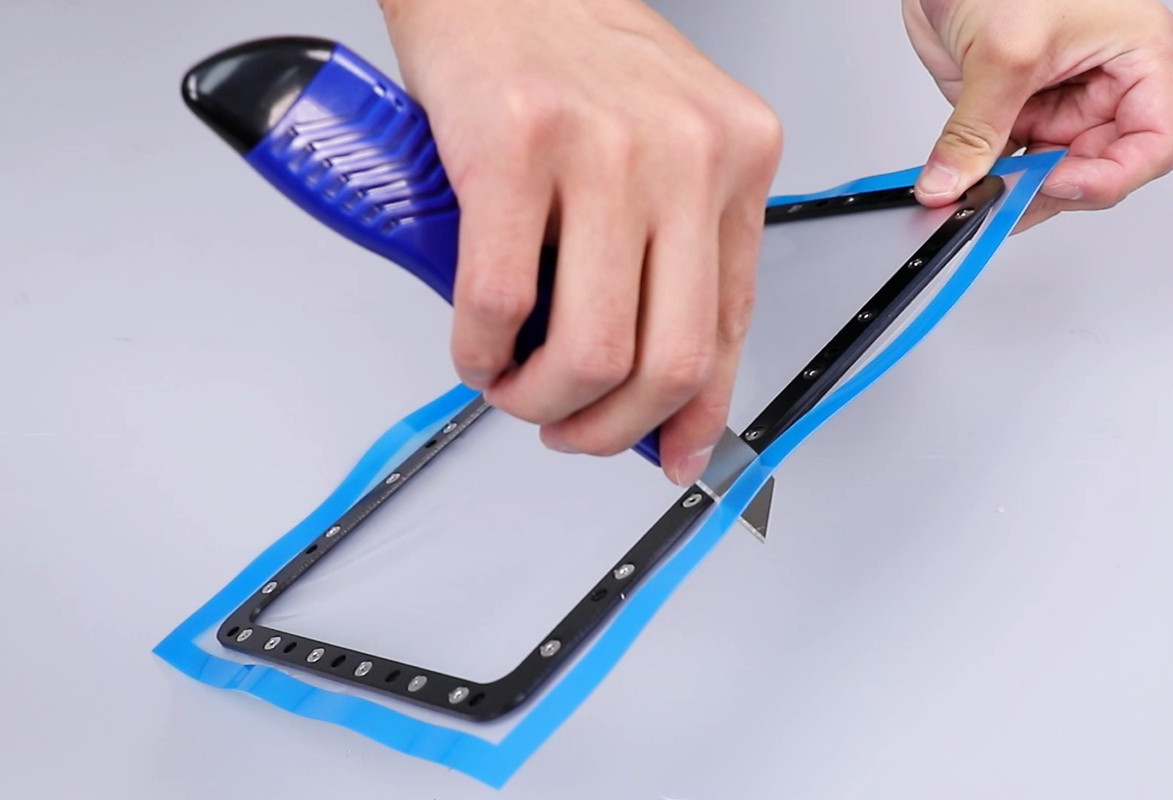
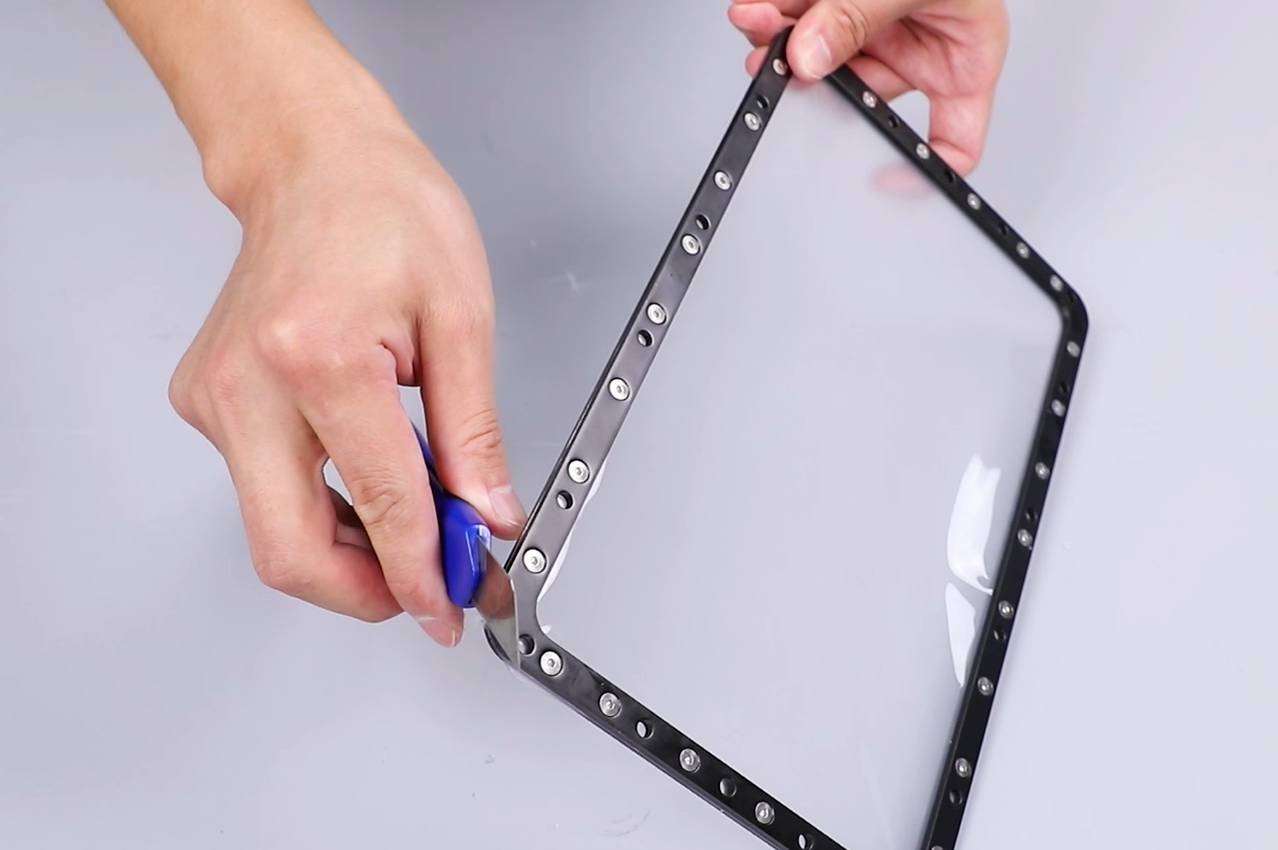
- Use a 2.0mm Allen wrench to tighten the 28 fixing screws of the tablet assembly one by one. After tightening, use a utility knife to remove the excess ACF film.
(Note: Use the utility knife with caution.)
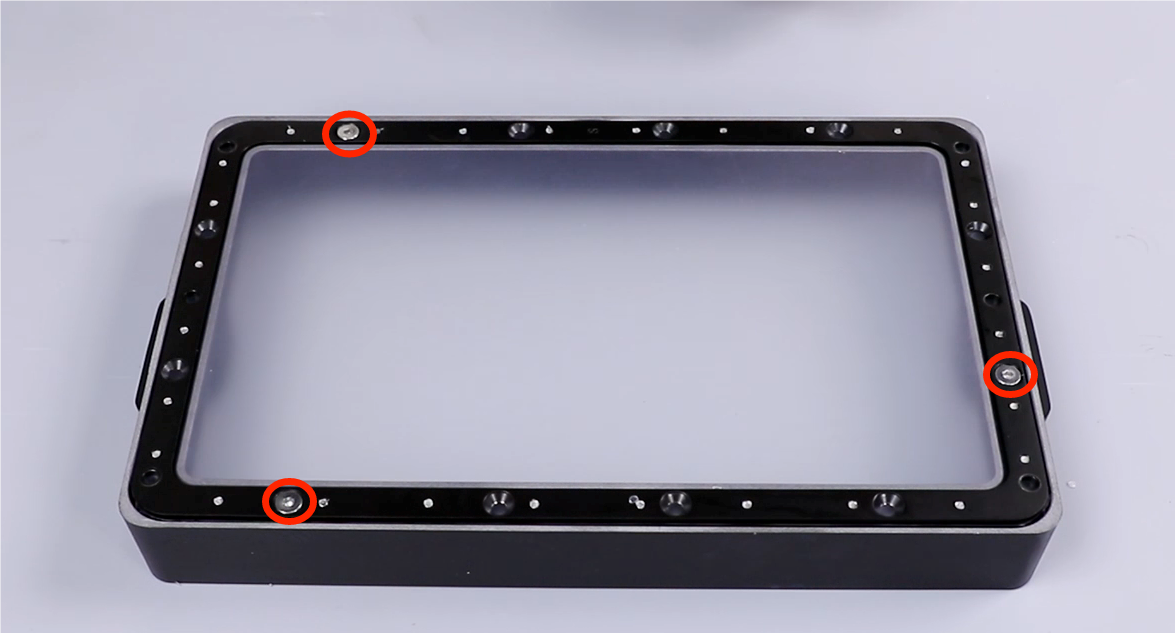
- Flip the pressing component over and put it in the installation hole. First, use a 2.5mm Allen wrench to tighten the 3 diagonal fixing screws on the tablet. After tightening, tighten the remaining 9 fixing screws.
(Note: The matte side should face upward at this point.)


- Use a 3.0 mm Allen wrench to tighten the 4 positioning screws on the tablet. Te replacement is complete.