¶ Issue description
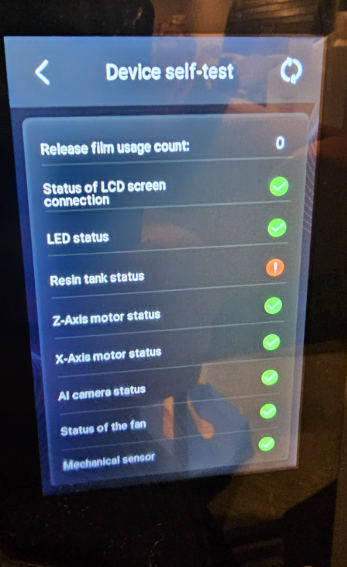
- During the printer startup self-test or manual self-test, the LCD screen displays an Resin Tank error.
- When attempting to print, the printer displays a Resin Tank Not Detected message.
¶ Reasons
- The resin tank is incompatible of the printer or that the resin tank installation direction is wrong.
- The dispensing tips have contact problem.
- The dispensing tips is cover by release film or is incorrectly installed.
- Poor connection between adapter board and the contact points.
- The contact points are contaminated.
- The resin tank circuit is broken.
¶ Solutions
¶ Step 1. Check your printer’s model and the installation direction of the resin tank.
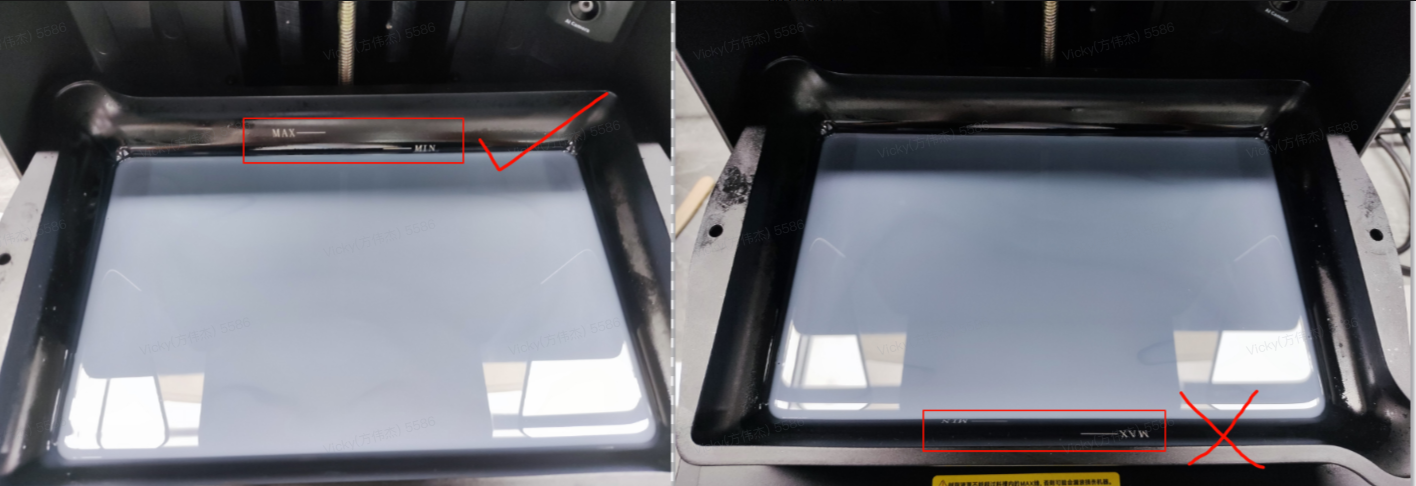
Refer to the printer manual to verify the model. If the resin tank is not from the original manufacturer, replace it with a compatible one.
Additionally, adjust the installation angle and direction of the resin tank and ensure that all screws are tightened to prevent any shifting.
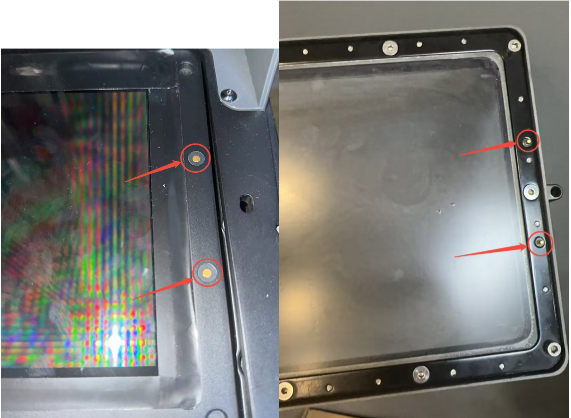
¶ Step 2. Check for any physical damage of the dispensing tips and the size deviation or wear of the dispensing tips.
If the dispensing tips have slight deformation, you can correct the deformation using special tools. However, if the deformation is severe, replace the resin tank with a new one.
Measure the length of the dispensing tips with calipers. If the measurement exceeds the acceptable limit, replace the resin tank with a new one. If the length is within the acceptable range, then fine adjustments can be made to the installation position.
¶ Step 3. Check the dispensing tips on the release film.
If the dispensing tips are covered by the release film, puncture a hole above the dispensing tips.
If the release film is wrinkled and offset, reset the release film or replace it with a new one.
¶ Step 4. Reconnect the adapter board and the contact points.
Power off the printer and inspect the wiring. If it is loose, reinsert and tighten the connections.
Sand any oxidized areas and apply conductive paste before reconnecting. If the contact points are severely damaged, replace the adapter board with a new one.
¶ Step 5. Clean the contact points.
Power off the printer. Wipe the contact points using a lint-free cloth soaked by alcohol. Then, test the power after the cleaner has evaporated.
¶ Step 6. Check the connectivity of the accessory circuit.
- Set the multimeter to continuity mode.
- Power off the printer.
- Position the multimeter's red and black probes on either side of the component or circuit path of the dispensing tips and the heating adapter board.
- If there is no beep and the multimeter shows "OL" (Over Limit or Open Loop), it indicates open circuit.
If the resin tank circuit is open, replace it with a new one.
If the heating adapter board is open, replace it with a new one.