¶ Tools and Materials
- A 2.0 mm Allen wrench
- A 2.5 mm Allen wrench
¶ Tutorial Video
¶ Instruction
- Power off the printer and unplug the power cord.
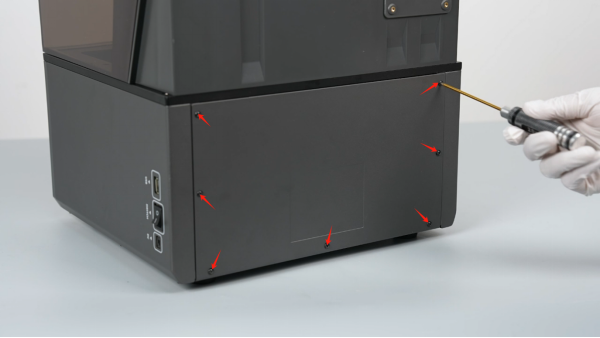
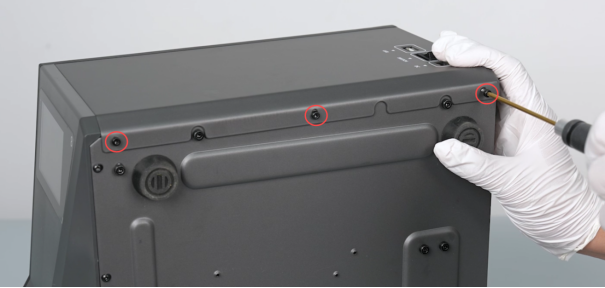
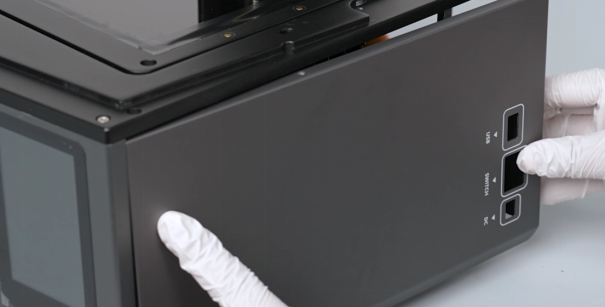
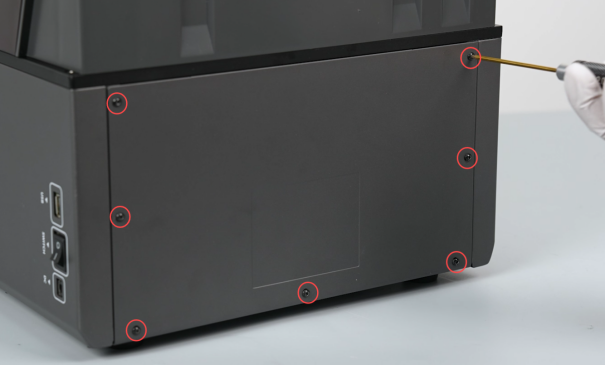
- Use a 2.0 mm Allen wrench to loosen the 7 screws securing the back cover of the printer, then remove the back cover.
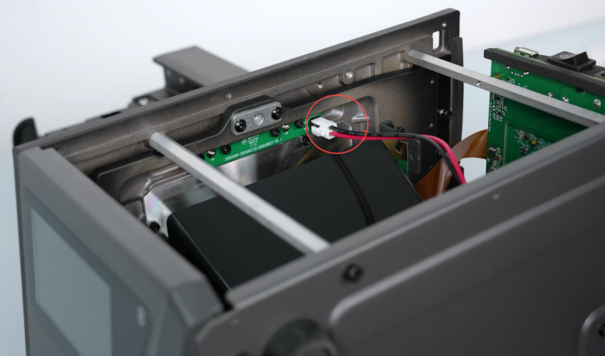
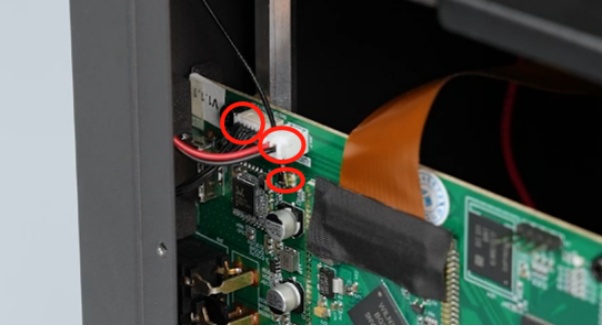
- Unplug the ribbon cables of the illuminator, camera and Wi-Fi from their ports on the motherboard.

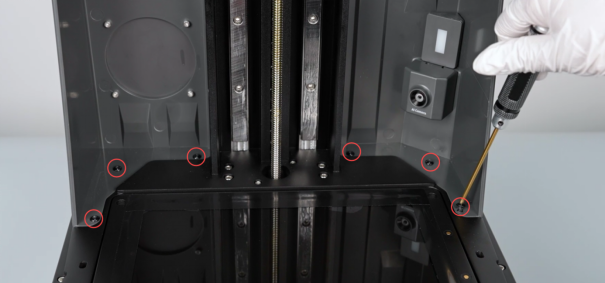
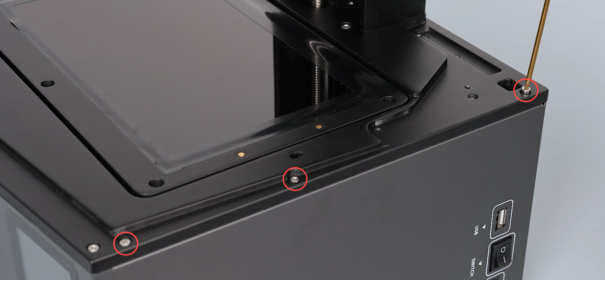
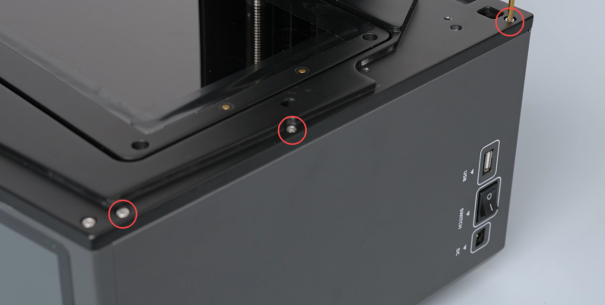
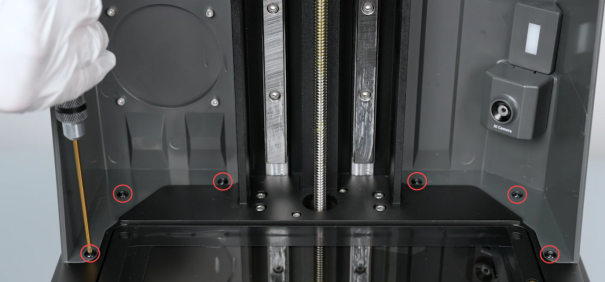
- Lift the top cover. Use a 2.5 mm Allen wrench to loosen the 6 screws fixed at the lower part of the top cover.
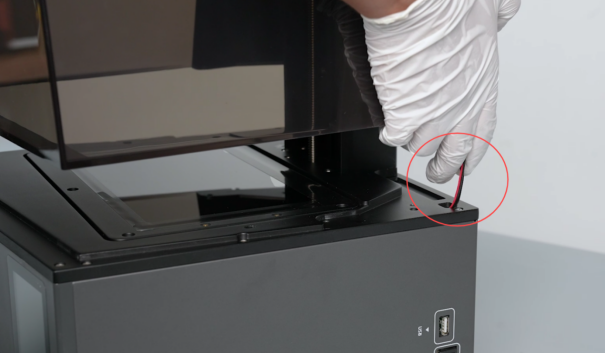
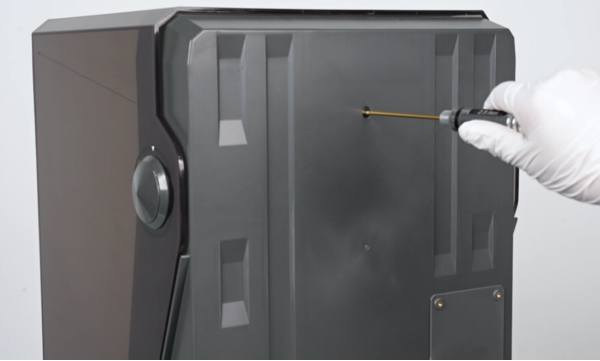
- Place the top cover back on. Use a 2.5 mm Allen wrench to loosen the screw at the back of the top cover.

- Remove the top cover of the printer.
Note: Organize the 3 ribbon cables in the reserved holes on the right side.
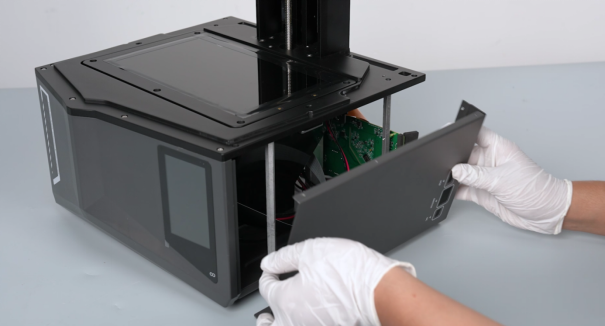
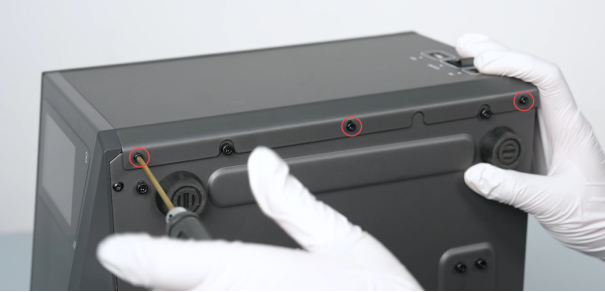
- Use a 2.5 mm Allen wrench to loosen the 3 screws securing the upper and lower parts of the printer's right cover, then remove the cover.
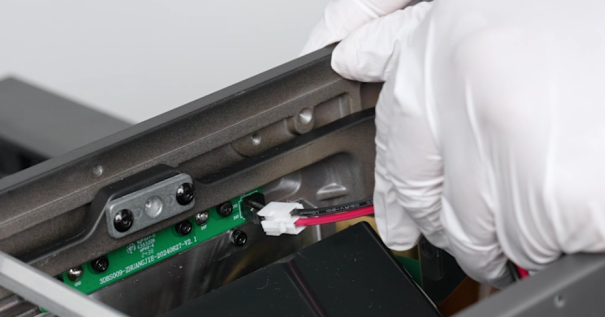
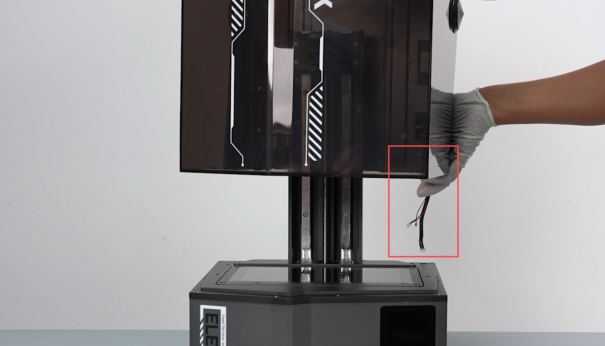
- Put the printer on its side. Unplug the ribbon cables of the heating adapter board of the resin tank.
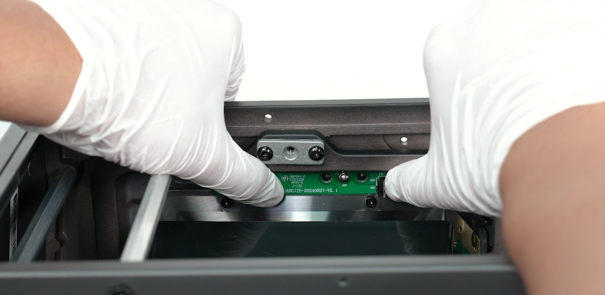
- Use a 2.5 mm Allen wrench to loosen the 4 screws securing the resin tank heated adapter board.
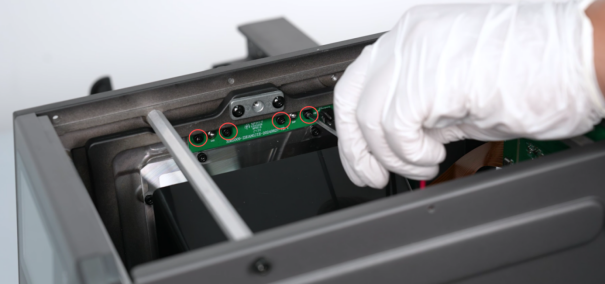
- Remove the old heating adapter board.

- Put the new heating adapter board of the resin tank in the installation position by aligning it with the screw holes.
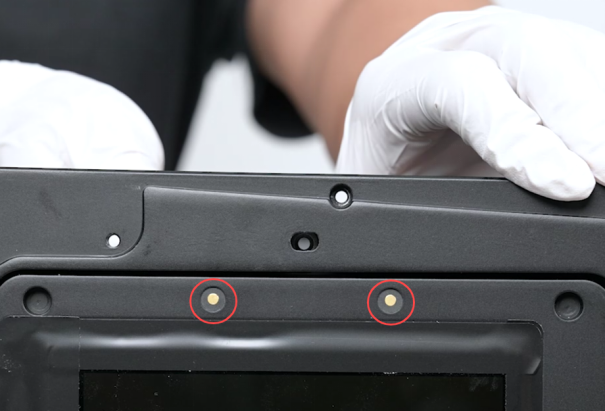
- Use a 2.5 mm Allen wrench to tighten the 4 screws securing the heating adapter board of the resin tank.

- Insert the ribbon cables of the heating adapter board of the resin tank.
- Prepare the right-side cover, then put it in the installation position.
- Use a 2.5 mm Allen wrench to tighten the 3 screws securing the upper side and the 3 screws at the lower side. Note: Align the right-side cover with screw holes and button holes.
- Remove the top cover of the printer. Put the top cover in the installation position by aligning it the the screw holes.
Note: Tidy up the 3 ribbon cables in the reserved holes at the right side.
- Use a 2.5 mm Allen wrench to tighten the 6 screws underneath the top cover.
- Use a 2.5 mm Allen wrench to tighten the 1 screw at the back of the top cover.
- Insert the ribbon cables of the illuminator, camera and Wi-Fi back into their ports on the motherboard according to the size and shape of the ports.
- Remove the back cover of the printer. Use a 2.0 mm Allen wrench to tighten the 7 screws securing the back cover of the printer.
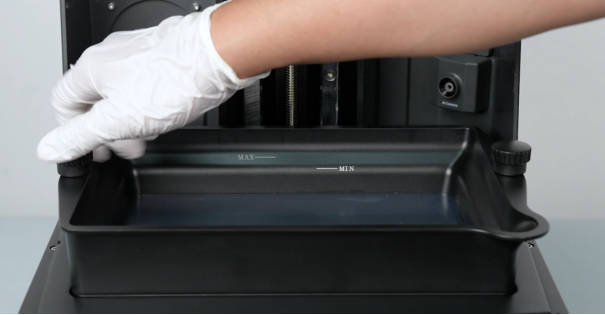
- Put the resin tank in the installation position and tighten the 2 screws at the two sides of the resin tank.
- Power on the printer. The printer is ready for use after its self-inspection.