¶ Tools and Materials
- A 2.0 mm Allen wrench
- A 2.5 mm Allen wrench
- A 3.0 mm Allen wrench
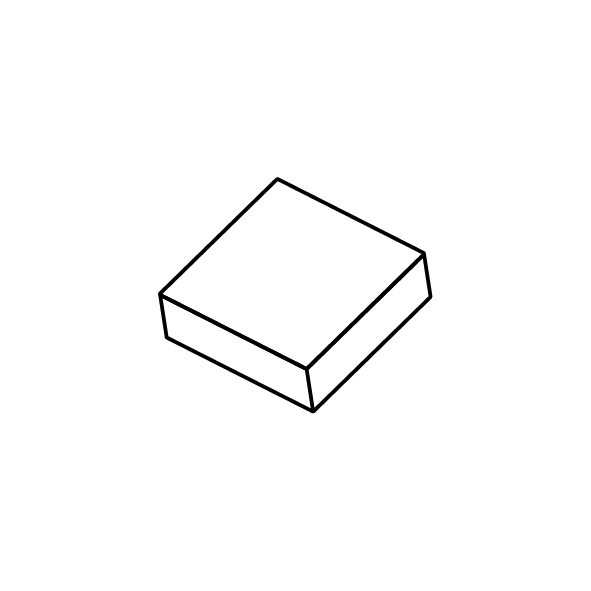
- A 80 ╳ 80 ╳ 8 mm foam cube
¶ Tutorial Video
¶ Instruction
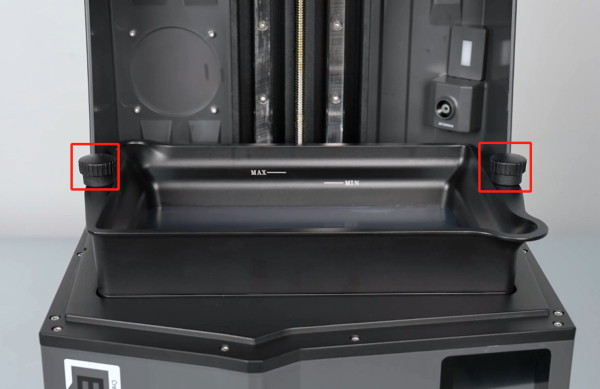
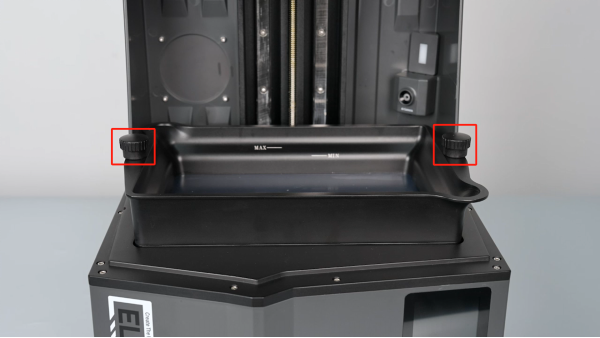
- Lift the top cover and loosen the 2 screws fixing both sides of the resin tank. Remove the resin tank.
- Use a 3.0 mm Allen wrench to loosen the 5 screws securing the resin tank at the bottom.

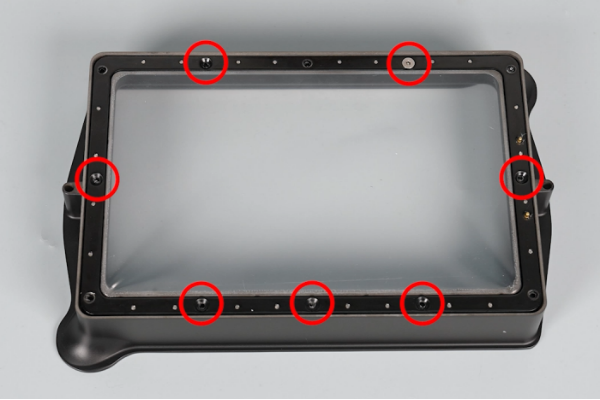
- Use a 2.5 mm Allen wrench to loosen the 7 screws securing the release film assembly at the bottom of the resin tank. Remove the release film assembly from the resin tank bottom.
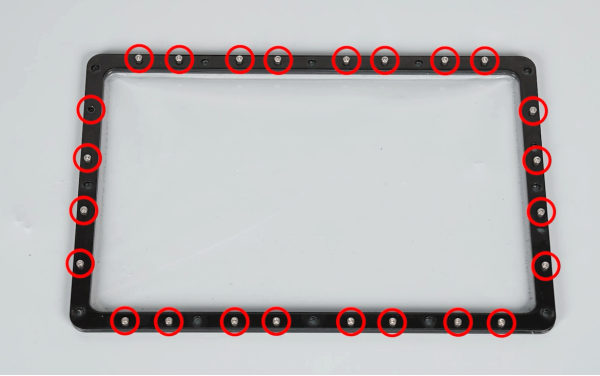
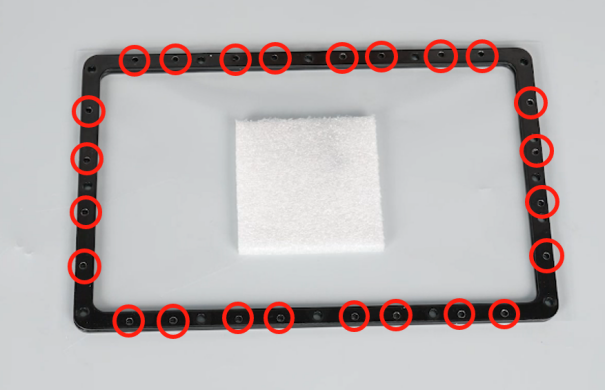
- Use a 2.0 mm Allen wrench to loosen the 24 screws of the upper and lower clamping plates of the release film assembly.
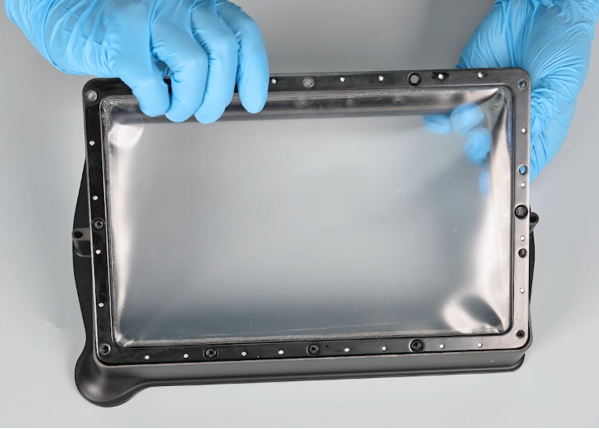
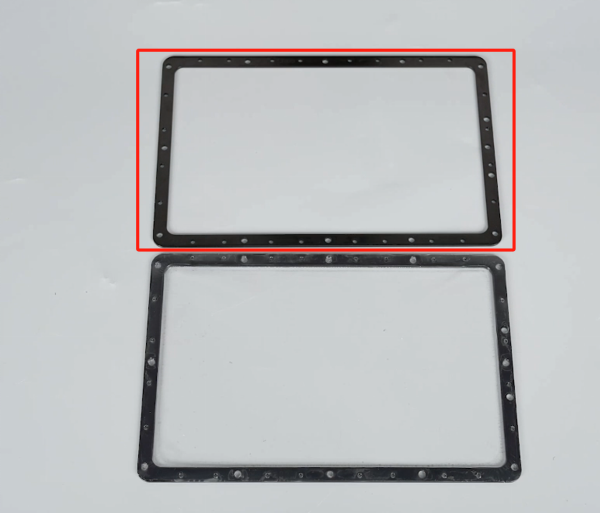
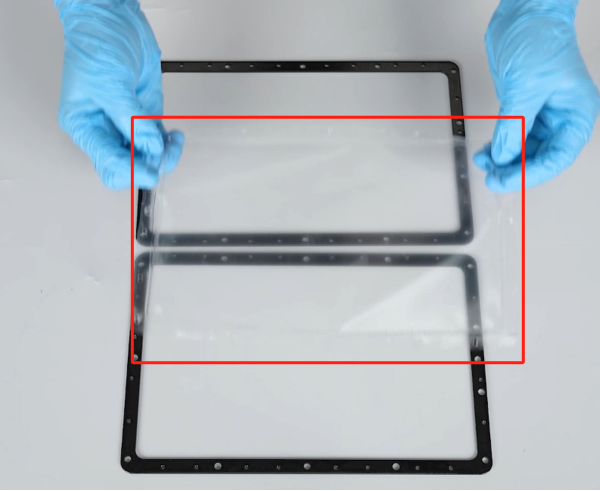
- Remove the upper and lower clamping plates of the release film and the old release film.
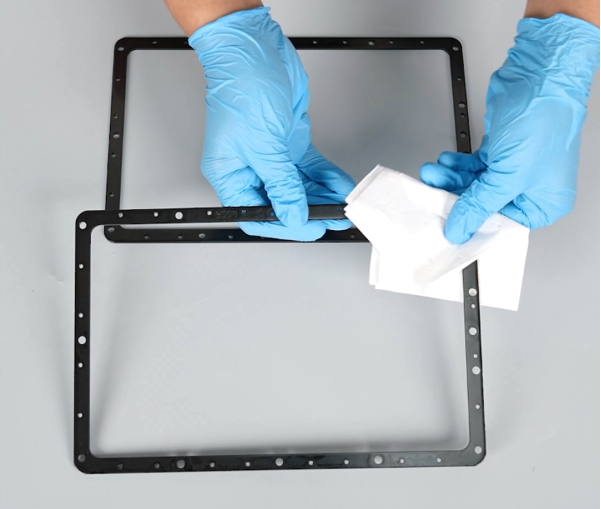
- Use tissues to wipe off the residual resin on the surface of the upper and lower clamping plates of the release film.
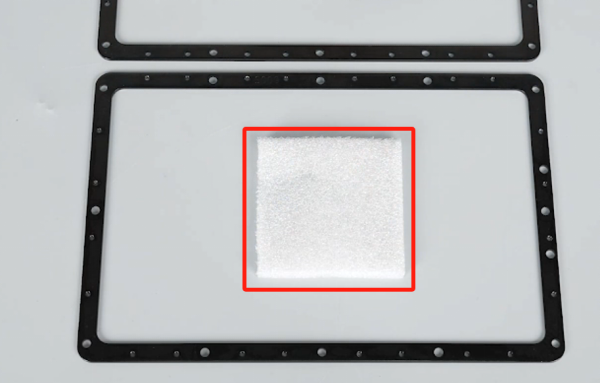
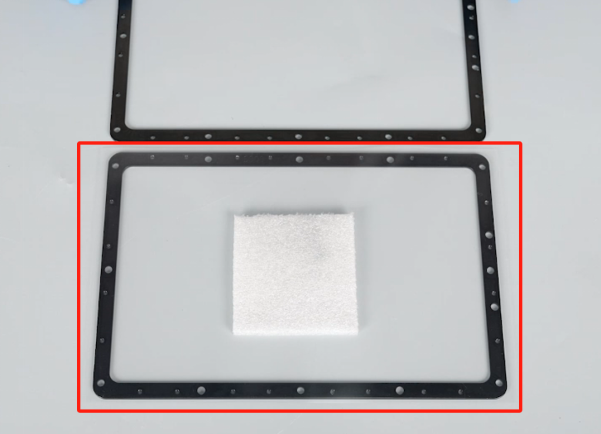
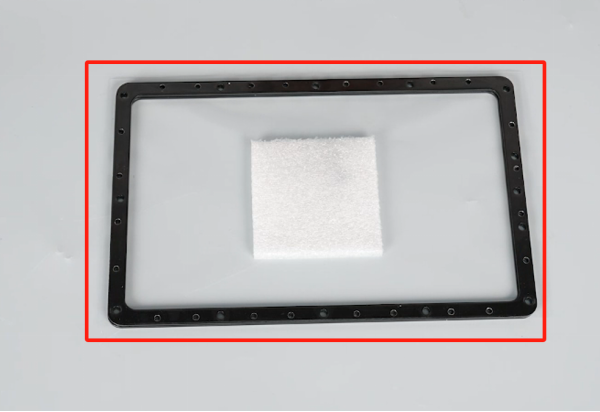
- Put a 80 ╳ 80 ╳ 8 mm foam cube in the center of the lower clamping plate.
- Prepare the new release film. Tear off the protective films on both sides of the release film.
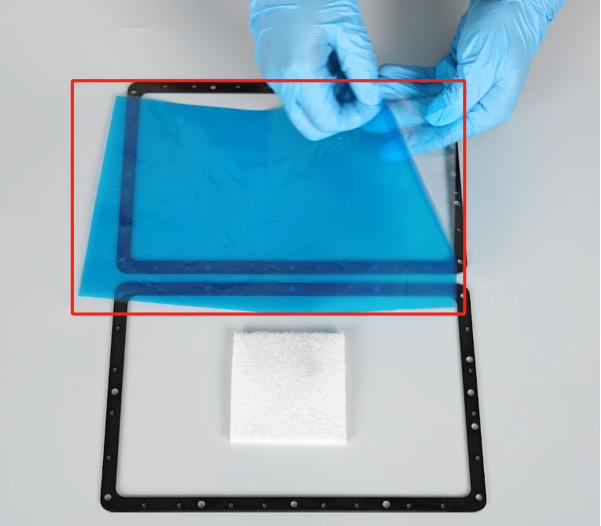
- Put the release film in the installation position by aligning it with the 4 corners of the lower clamping plate.
Note: PFA release film does not need to distinguish the front and back side.
- Reserve the same distance to the 4 corners. Close the upper clamping plate.
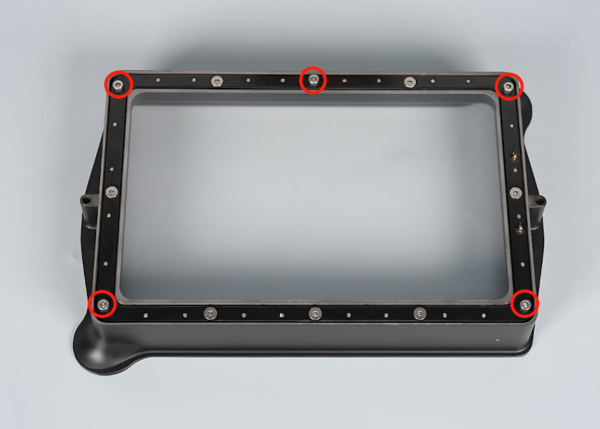
- Use a 2.0 mm Allen wrench to tighten the 24 screws of the upper and lower clamping plates of the release film.
Note: Tighten the screws that are in a diagonal line each time.
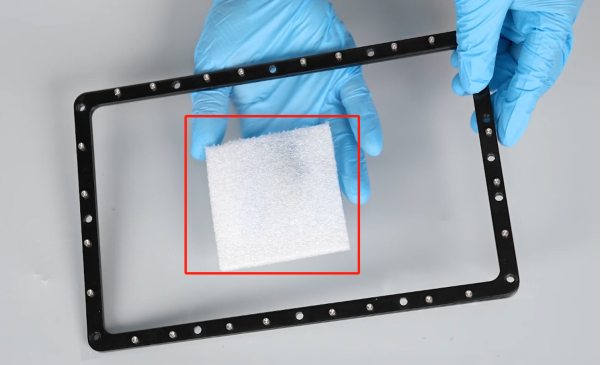
- Remove the foam cube underneath the release film assembly.
- Use an utility knife to tear off the residual film around the edge of the release film assembly.
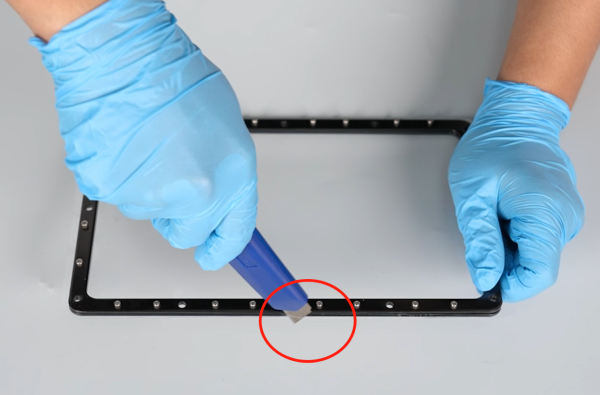
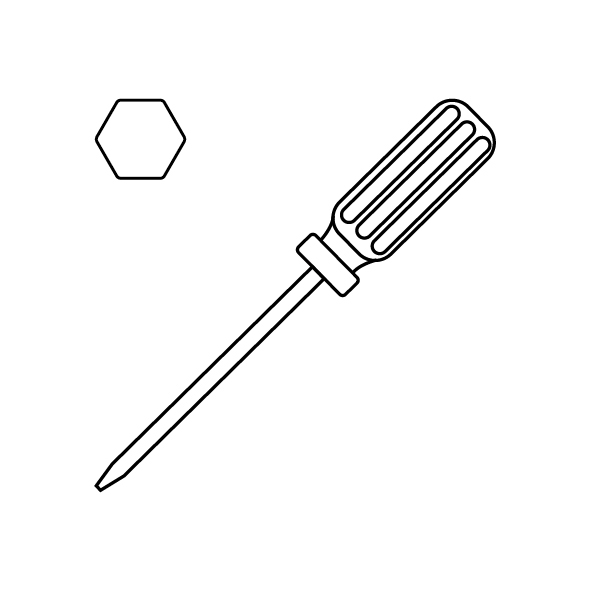
- Use a screwdriver to poke through the 2 heating point holes.
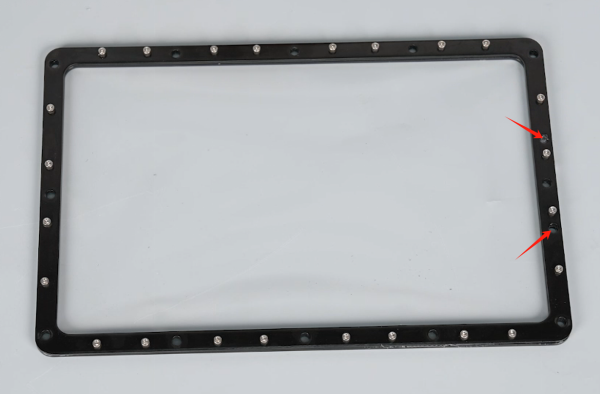
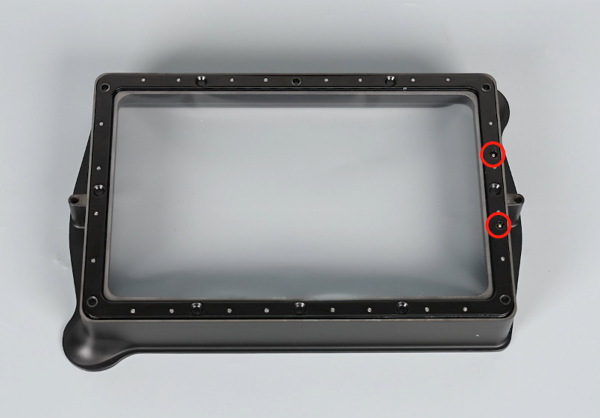
- Remove the resin tank and use tissues to wipe off the grooves inside the resin tank. Put the release film assembly in the installation position by aligning it with the screw holes. Note: The 2 heating point holes have their fixed installation positions.
- Use a 2.5 mm Allen wrench to tighten the 7 screws securing the release film assembly at the bottom of the resin tank to two-thirds of the required torque. Then, tighten the screws completely.
Note: Tighten the screws that are in a diagonal line each time.
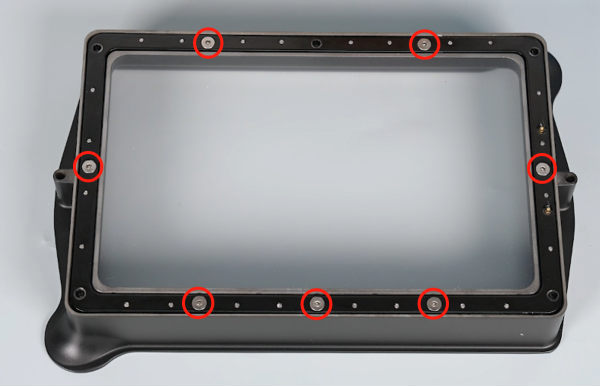
- Use a 3.0 mm Allen wrench to tighten the 5 screws securing the bottom of the resin tank.
- Put the resin tank in the installation position and tighten the 2 screws fixing both sides of the resin tank. Close the top cover. The printer is ready for use.