Reference video
https://youtu.be/ho15mrY3RME?si=1zfK1PJWLjYyTXXb
Tools and materials needed
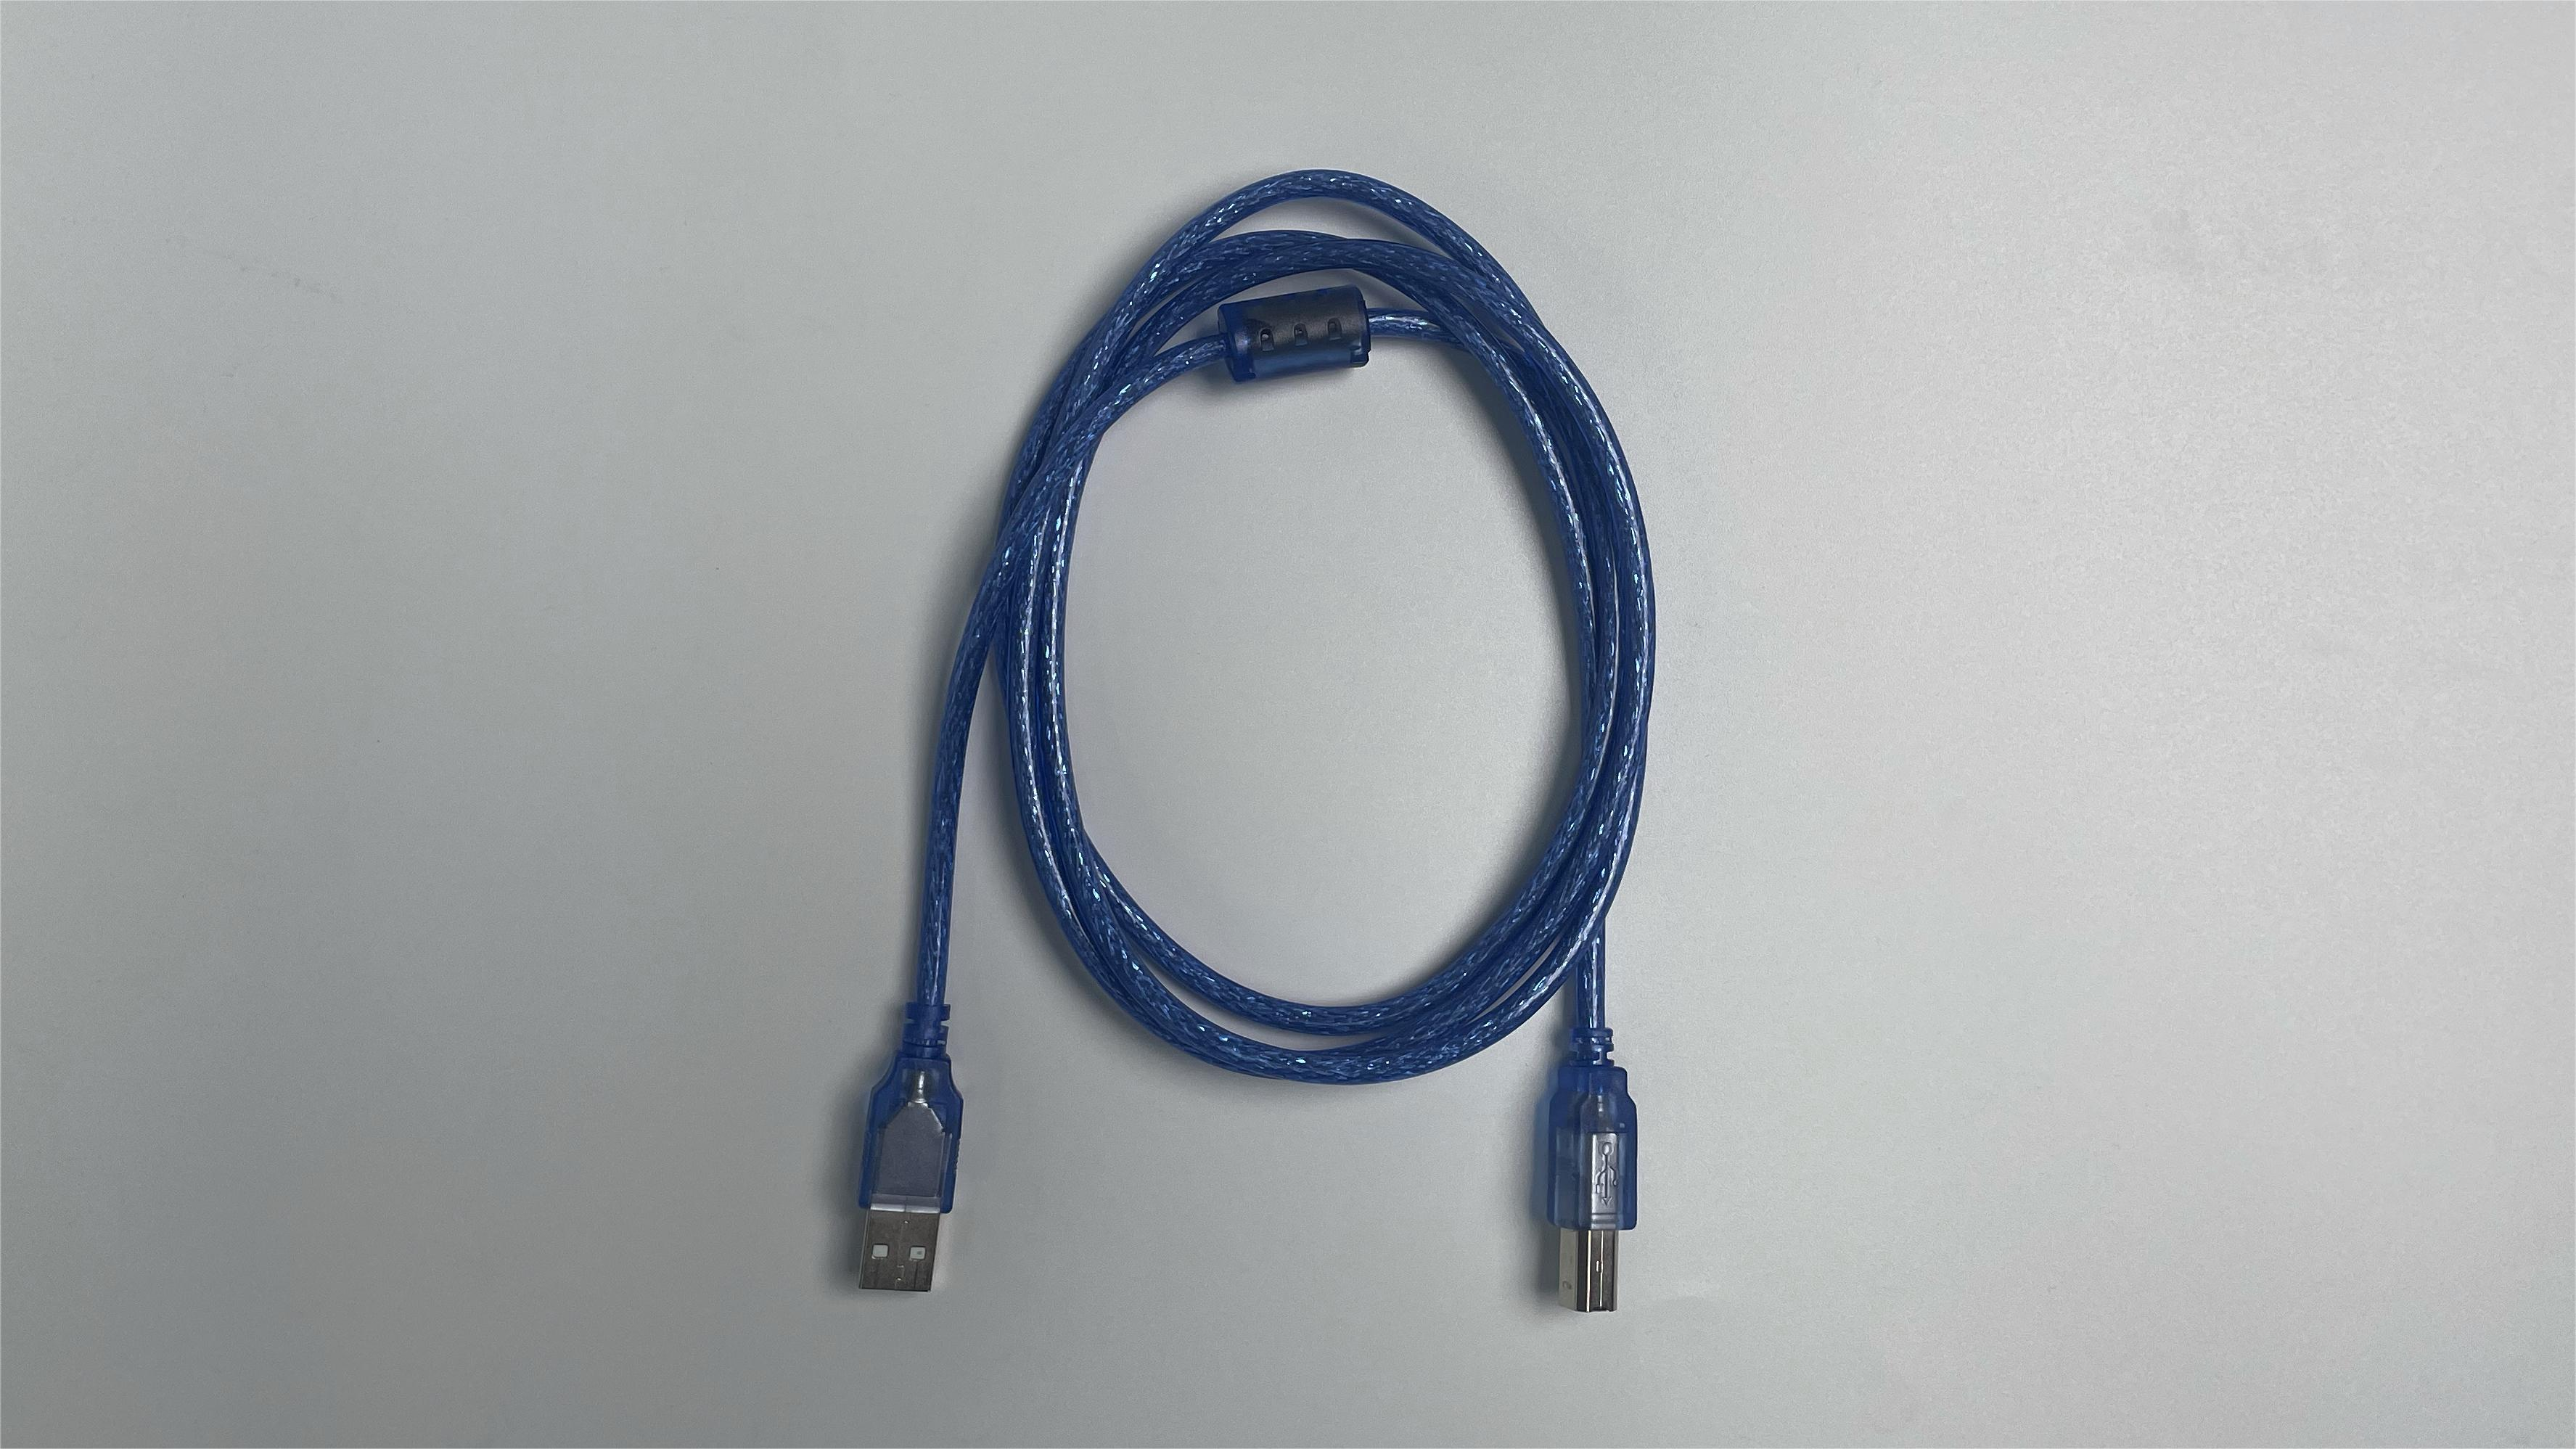
●USB-A to USB-B 2.0 cable X 1
●Type-C data cable X 1
 |
Step 3 - Set parameters for motherboard firmware update
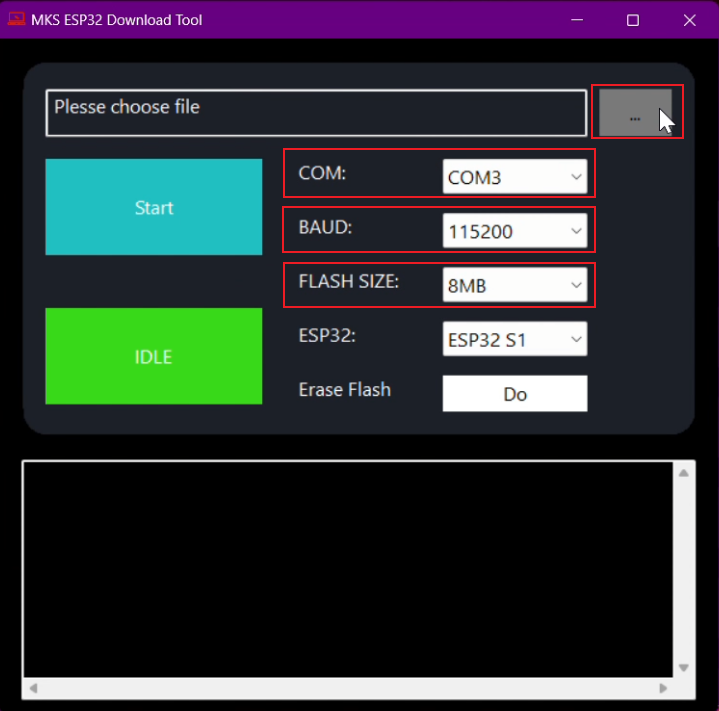
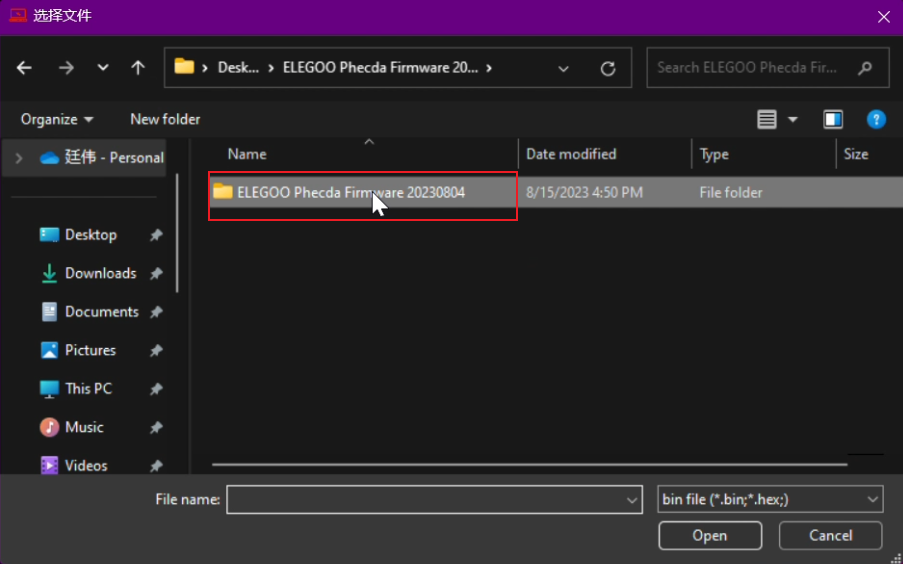
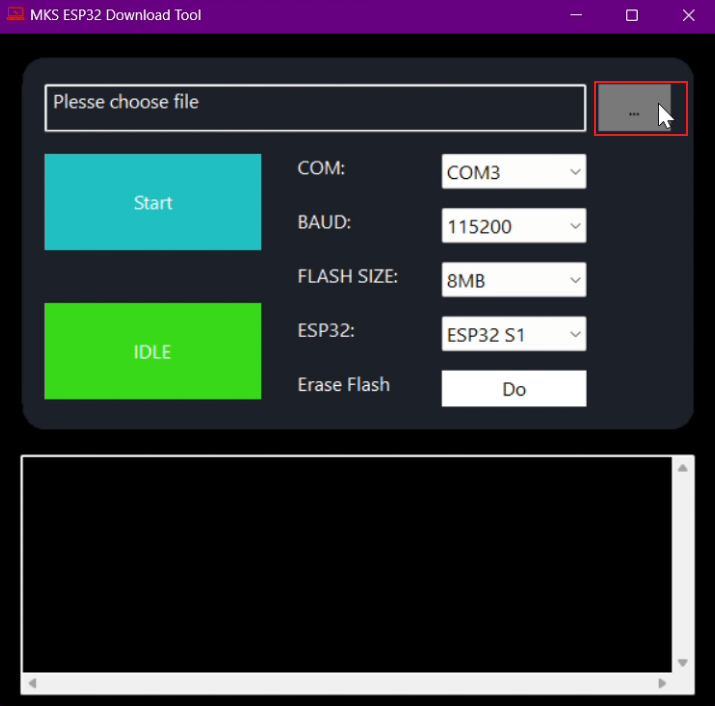
In the firmware upload interface, set the driver COM port to COM3 (corresponding to the port queried in the device manager), set the BAUD port to 115200, and set the FLASH SIZE port to 8MB. Click the button next to the file selection box "plesse choose file" to enter the file selection window.
    Step 4 - Set parameters for screen firmware update In the firmware upload interface, set the driver COM port to COM3 (corresponding to the port queried in the device manager), the BAUD port to 115200, and the FLASH SIZE port to 4MB. 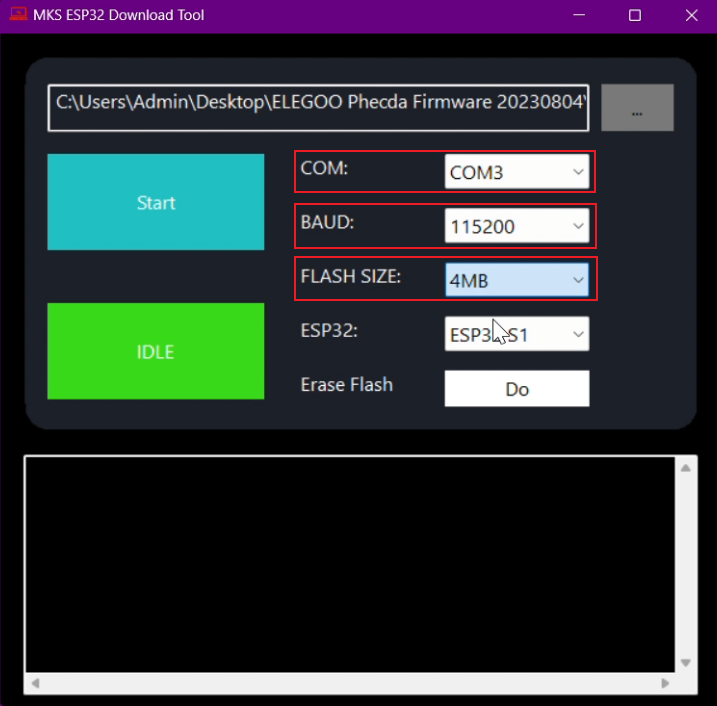 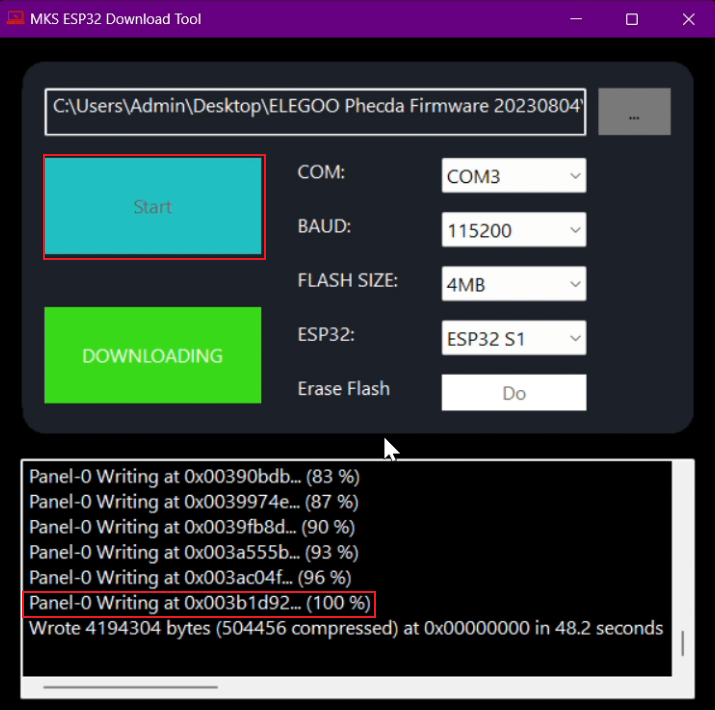 FAQ 1. Garbled code error occurs during the update? The data cable is not connected properly. Check the connection of the data cable or reconnect it. 2. Can't read the memory card and can't control the engraving machine after the update is completed? The screen file is used when updating the motherboard firmware. Just update the correct motherboard firmware again. 3. The screen does not light up after the update is completed? The motherboard file is used when updating the screen firmware. Just update the correct screen firmware again. 4. Unable to read the port when preparing to update firmware using MKSLaserTool? 1. The port is occupied by other software, please close other software. 2. The data cable is not connected correctly. Please check the connection of the data cable or reconnect it. 5. Report an error when starting the update? If the FLASH SIZE is selected incorrectly, the screen firmware needs to be changed to 4MB and the motherboard firmware needs to be changed to 8MB. After changing to the correct FLASH SIZE, update the firmware again. |