¶ LED Matrix Edito
¶ Overview
This document details the complete usage of Arduino's official online tool, LED Matrix Editor (URL:
https://ledmatrix-editor.arduino.cc/). It is compatible with Arduino development boards that support LED matrix displays such as the Arduino UNO R4 WiFi. Catering to both beginners and users with basicexperience, it features image-rich, step-by-step explanations to help you quickly design LED matrixpatterns/animations and export the corresponding code for practical project implementation.
¶ Tool
¶ Tool Positioning
LED Matrix Editor is a free online LED matrix editing tool officially launched by Arduino. It requires no
software installation and can be used directly in a web browser. Its core functions include visual design of
static LED matrix patterns and dynamic animations, with automatic generation of Arduino-compatible
code. The generated code can be directly copied to the Arduino IDE and burned to the development board, which greatly simplifies the programming difficulty of LED matrix displays and is especially suitable for
beginners to get started quickly.
¶ Applicable Scenarios
- Compatible with Arduino UNO R4 WiFi (equipped with 12x8 LED matrix) and other development boards featuring LED matrices (e.g., 8x8 matrix requiring MAX7219 driver).
- Suitable for designing static patterns (e.g., text, icons) and simple dynamic animations (e.g., blinking, scrolling) for Arduino introductory experiments and creative projects (e.g., matrix clock, name display);
- Supports code export, project save/load for easy subsequent modification and reuse, and real-time preview for intuitive design effect checking during the design process.
¶ Core Advantages
- No installation required: A pure online tool that can be used by entering the URL in mainstream browsers without any environment configuration;
- Visual operation: Design patterns with simple clicks and drags, no need to write complex matrix code manually, lowering the programming threshold;
- Automatic code generation: After design completion, the tool automatically generates Arduino-compatible code that can be used by simple copy and paste, supporting multiple code formats;
- Animation design support: Create multi-frame images and set frame intervals to achieve dynamic effects such as scrolling and blinking;
¶ Tool Access
Open the browser and enter the official URL: https://ledmatrix-editor.arduino.cc/. Wait for the page to load completely (the first load may take 3-5 seconds depending on network speed). After loading, you will enter the main interface of the tool!
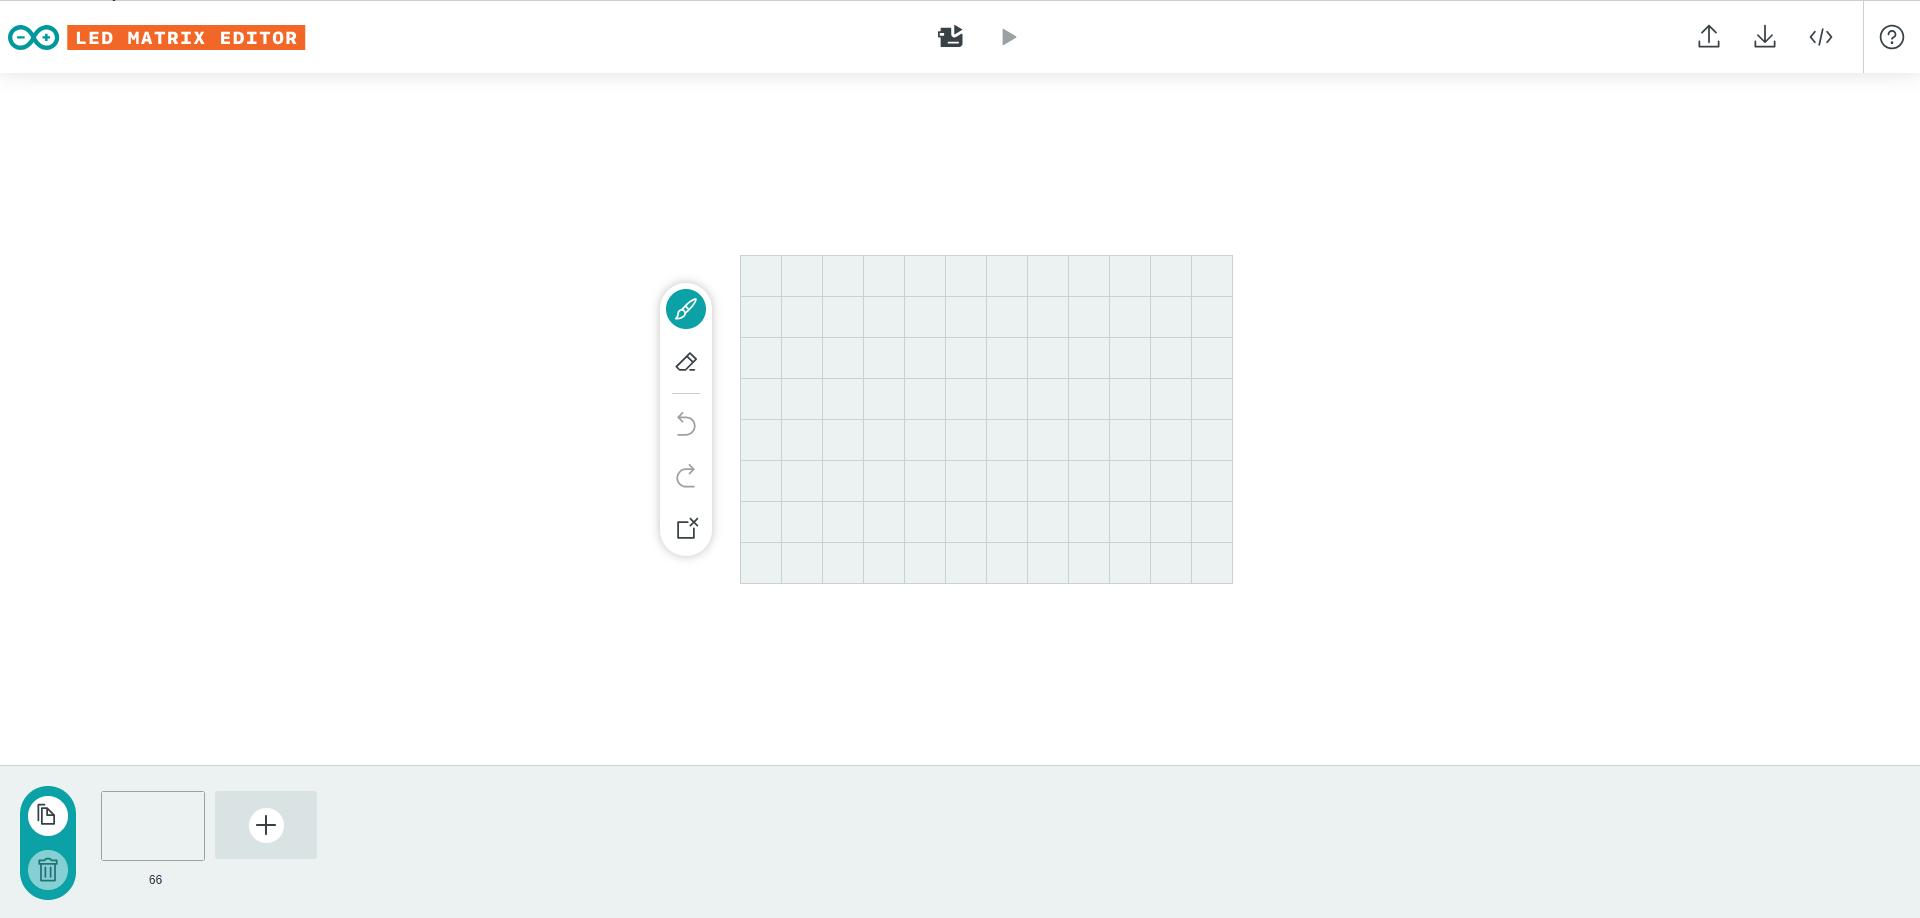
¶ Main Interface Explanation
The tool's main interface is divided into 5 core areas, which are clear and easy to understand. Here's a step-by-step
introduction

¶ Top menu bar
Located at the top of the page, it contains the core tool operation entry and supports shortcut key operations. Common functions are as follows (ordered by usage frequency):
- Upload project: Use the shortcut Ctrl + U to load previously saved project files (JSON format) and restore previous designs.
- Save project: Use the shortcut Ctrl + S to save the current design as a JSON file for easy access and modification later.
- Export code: Use the shortcut Ctrl + E to generate Arduino-compatible code from your current design, a core feature.
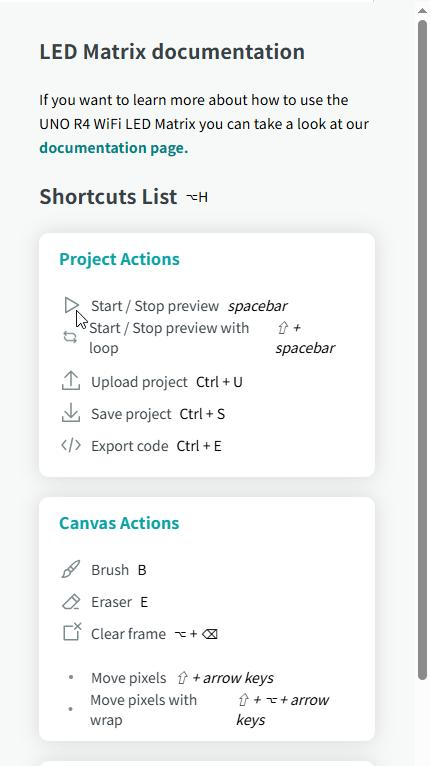
- Live Preview: Click to preview the design on the development board in real time, provided it is connected to a computer and the corresponding sketch is uploaded. Manual code burning is required, and the preview may not work.
- Help (?): Click to view tool instructions, shortcut keys, and more. Useful for troubleshooting.
¶ Canvas Operation Area
Located in the center of the page is the LED dot matrix visualization design area, which defaults to a 12x8 dot matrix (compatible with the UNO R4 WiFi onboard dot matrix). You can design patterns through the following operations:
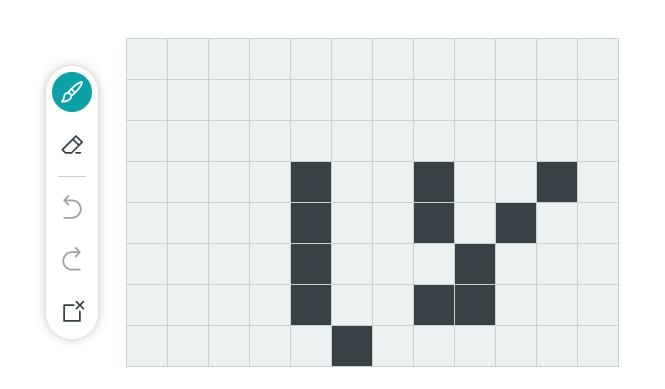
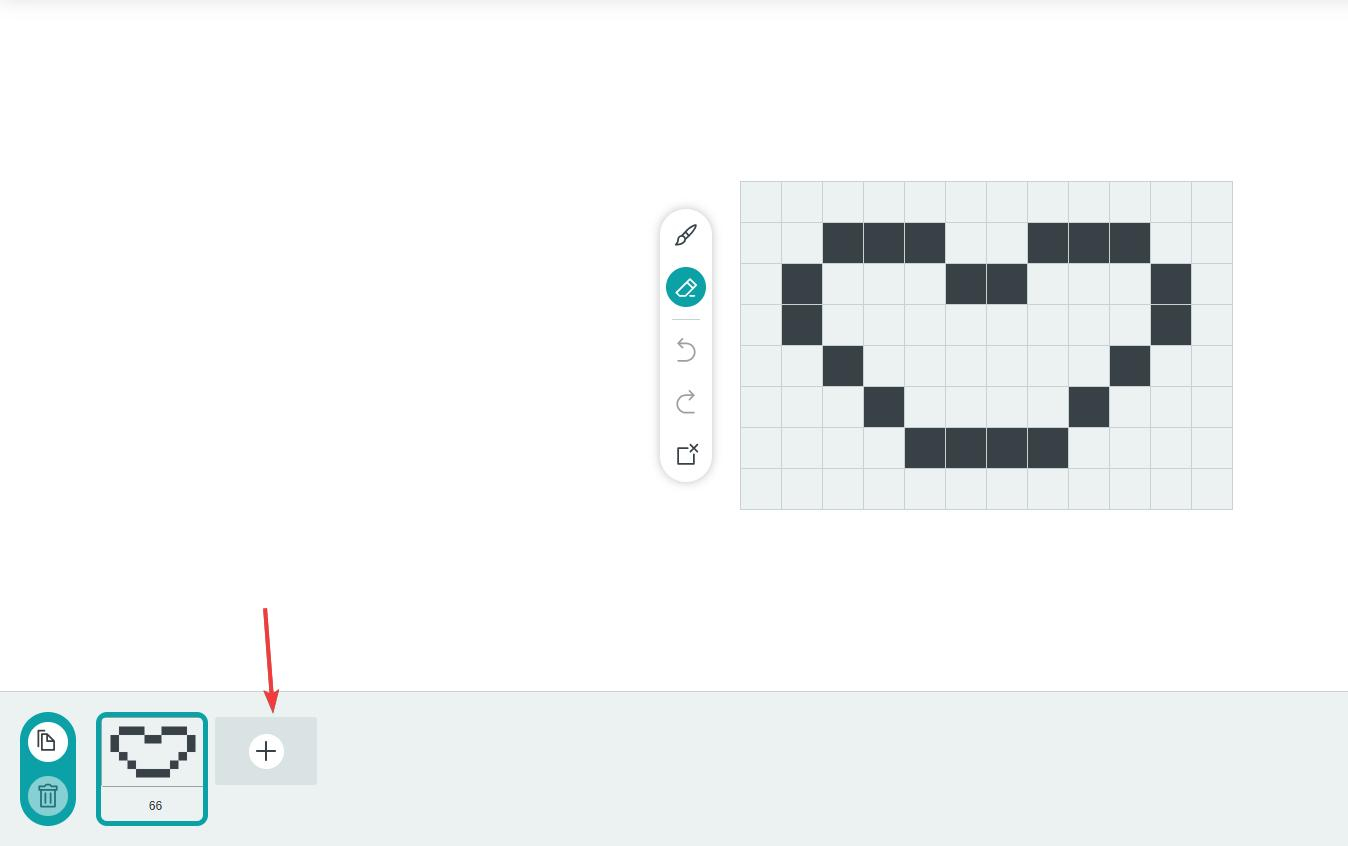
- Clicking a single dot to toggle the LED's light state (green for on, gray for off) is the most basic design operation.
- Brush tool (Brush, shortcut B): Click to activate, then hold and drag to light up multiple dots in succession, ideal for drawing continuous patterns.
- Eraser tool (shortcut key E): Click to activate, then hold and drag to extinguish multiple dots in succession for pattern modification.
- Clear Frame (Shortcut): Delete all pixels in the current frame and restore it to blank.
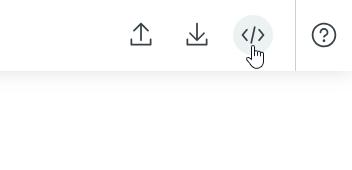
¶ Downloading raster images
After designing the dot matrix pattern, you can download it to UNO R4 for display. Here are the steps:
- Click the button shown in the image to download the file to your local computer.
- Copy the downloaded file to the LED_Matrix_tool folder under the course file and replace the original file.
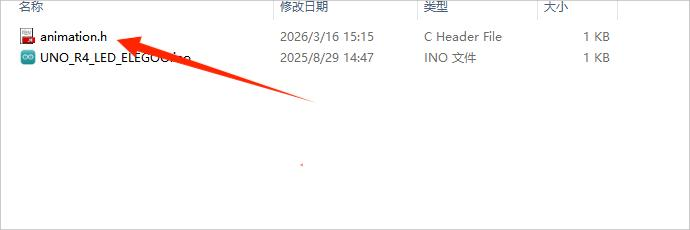
- Open the.ino file, connect it to the motherboard, and upload the code. The motherboard will then display your designed pattern.
¶ Timeline Operation Area
Located below the canvas operation area, this tool is used to create dynamic animations (multi-frame transitions). Core operations include the following, with shortcut keys supported:
-
New Frame (+): Use the shortcut Ctrl + N to add a blank frame after the current one for designing the next frame of the animation. Some browser versions may not support this feature.
-
Duplicate Frame: Use the shortcut key Ctrl + D to copy the current frame and add it to the end of the timeline. This is ideal for creating similar frames (e.g., slightly moving animations).
-
Delete frame: Use the shortcut key Ctrl + ⌫to delete the selected frame.
-
Delete all frames: Ctrl +shift +⌫,, Delete all frames
-
Frame Switch: Click different frames on the timeline to edit the corresponding frame. Use the arrow keys to quickly switch between frames.
-
Frame order adjustment: Hold a frame and drag it to another position on the timeline to adjust the animation playback order
-
Frame display duration adjustment: After creating a new frame, a number (e.g., 66 in the example) appears below each frame on the timeline. This number indicates the frame display delay in milliseconds, representing how long the frame remains visible on the development board. A higher number means longer display time per frame. You can manually adjust this value to match the animation's playback rhythm, creating different animation effects.
¶ Code
You can click the blue text link to download the program file to your local device, and double-click the file to open it after the download is complete. Please note: Before opening the file, ensure that you have installed the Arduino IDE development environment and completed the installation of relevant components such as the board support package and driver corresponding to the development board.