¶ Manually Install Drivers on Windows
Learn how to install Arduino drivers manually on Windows 7, Vista & 10.
The following instructions are for Windows 7, Vista and 10. They are valid also for Windows XP, with small differences in the dialog windows. In the following instruction only the 2560 board will be mentioned, but the same procedure is valid for all the Arduino boards.
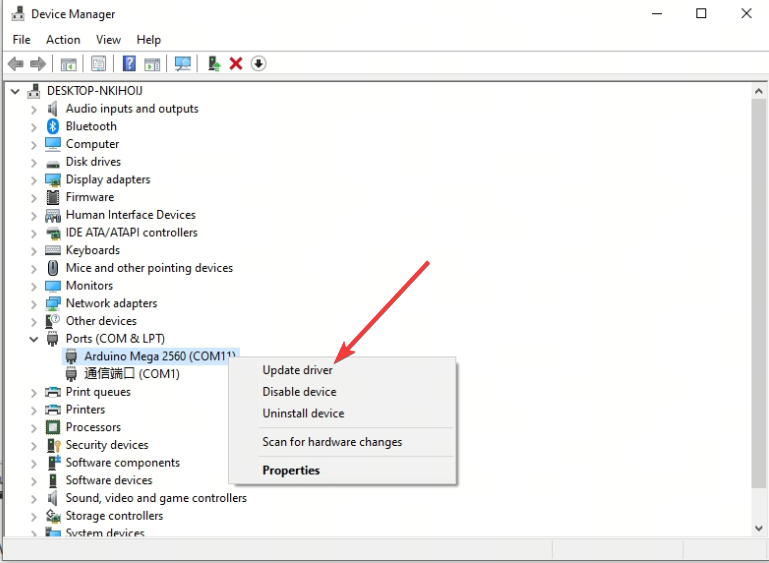
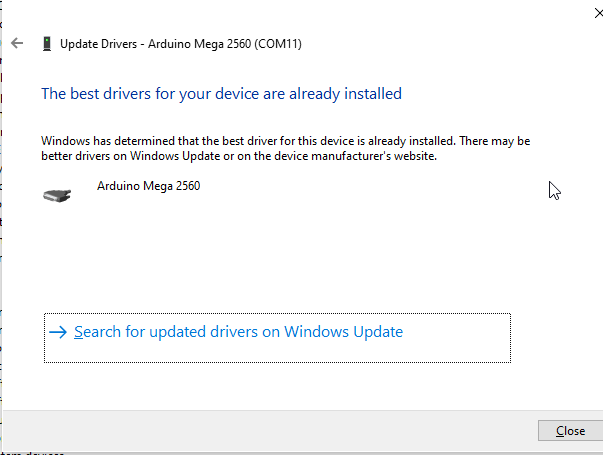
Plug in your board and wait for Windows to begin its driver installation process. If the installer does not launch automatically, navigate to the Windows Device Manager (Press win + x, then press M to proceed) and find the Arduino MEGA 2560 listing. Right click and choose Update driver.
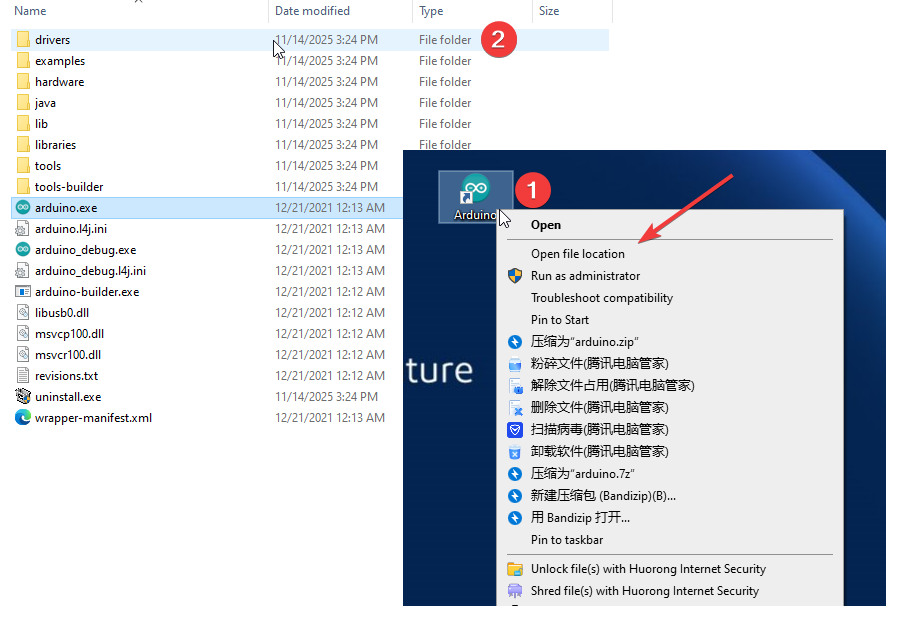
For Arduino IDE version 1.8.x: Right-click the IDE icon → select "Open file location" → locate the driver folder. If the opened path is not the actual installation directory, right-click again in the current folder and select "Open file location" to navigate to the true installation path.
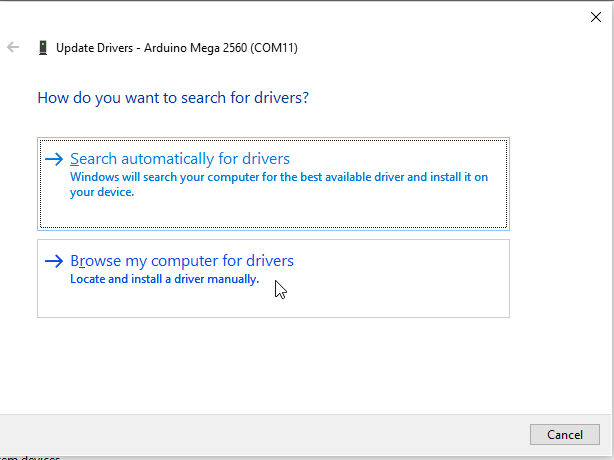
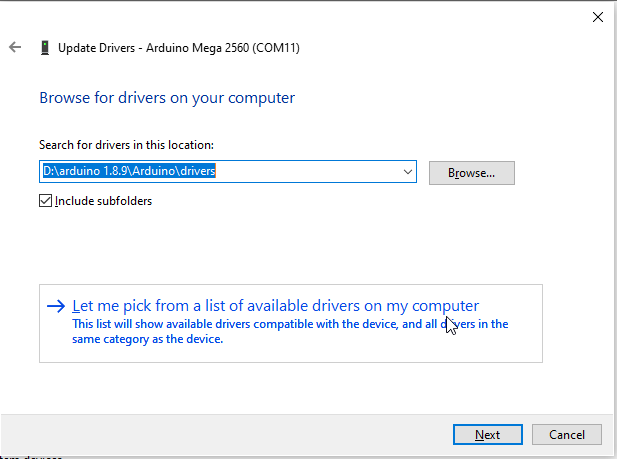
Once you locate the actual installation directory of the IDE, you will see a driver folder inside. Note the path to this folder, then select it in Device Manager when updating the driver, click "Next", and wait a moment for the driver to load.
If you are using Arduino IDE 2.0, the driver files may not be found in the folder opened by the above steps. In this case, there are two solutions:
- Solution 1: Via Boards Manager (Recommended for IDE 2.0)
- Open Arduino IDE 2.0
- Go to Tools → Board → Boards Manager...
- Install "Arduino AVR Boards"
- The driver will be configured automatically
- Solution 2: If Device Manager Shows Unknown Device
- Right-click the unknown device → Update driver
- Select Search automatically for drivers
- Windows will automatically download and install from Windows Update (the 16U2 uses the standard USB CDC driver)