¶ Run OneGPIO ESP32 locally
OneGPIO is a free open-source project compatible with a wide range of microcontrollers, including the ESP32. For full project details, visit:https://github.com/MrYsLab/s3onegpio
Now we will proceed with local deployment by following the steps below:
¶ 1.Download
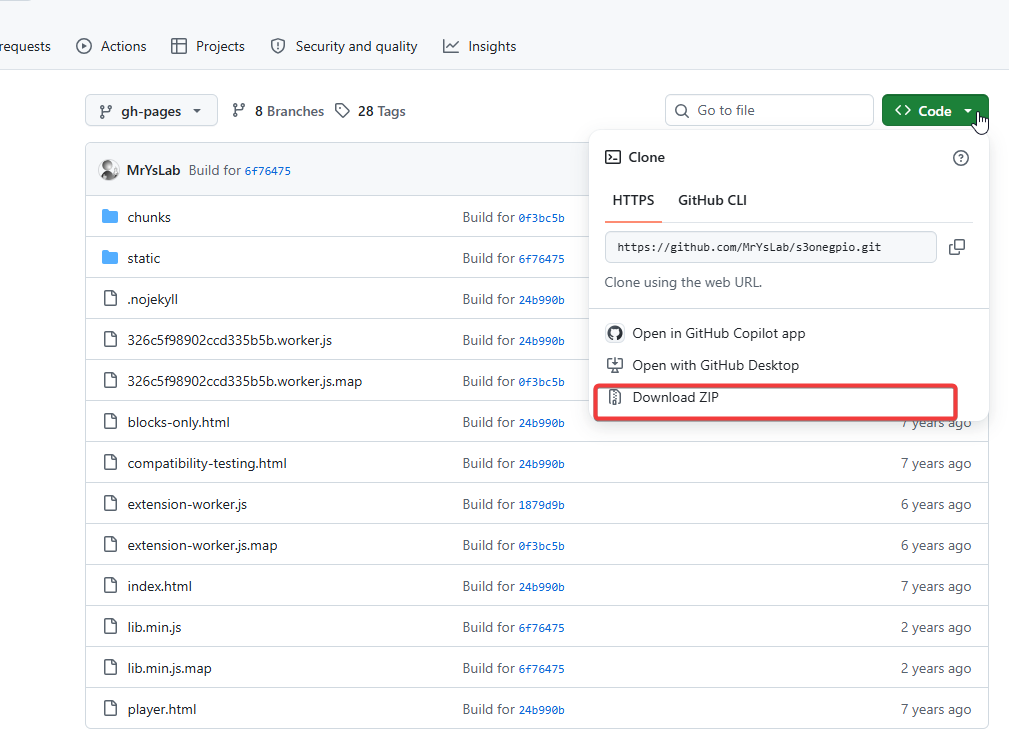
Visit the link https://github.com/MrYsLab/s3onegpio/tree/gh-pages to download the Scratch editor for this project. After opening the page, click the green Code button and select to download the ZIP archive to your local computer, as shown in the figure.
¶ 2. Unzip
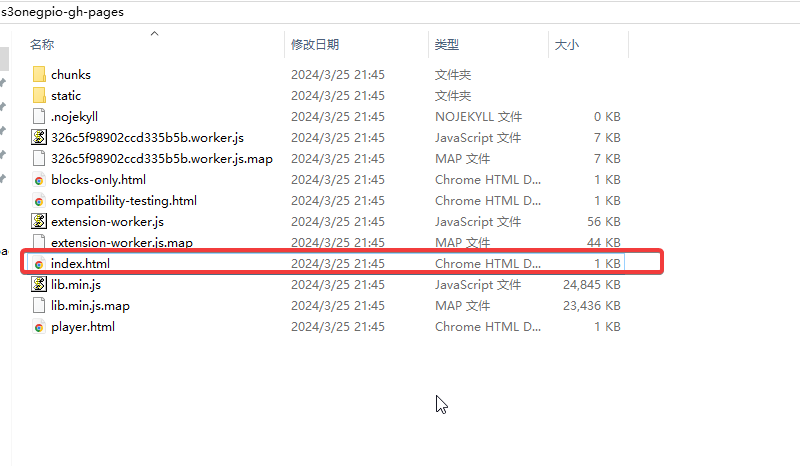
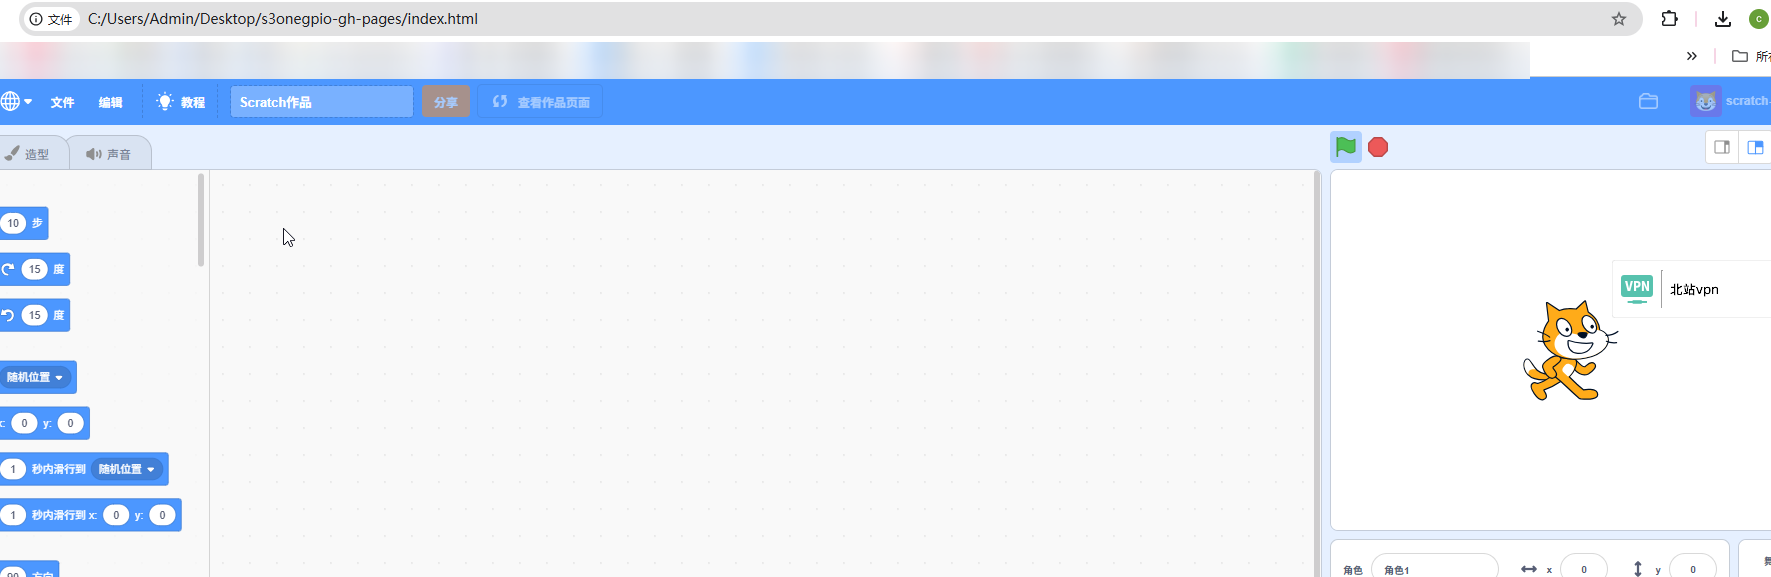
Unzip the downloaded ZIP archive to your local directory, then double-click the index.html file to launch the Scratch editor.
¶ 3. Install Python (version 3.8 or higher is recommended).
Download your required version from the official website: https://www.python.org/downloads/.
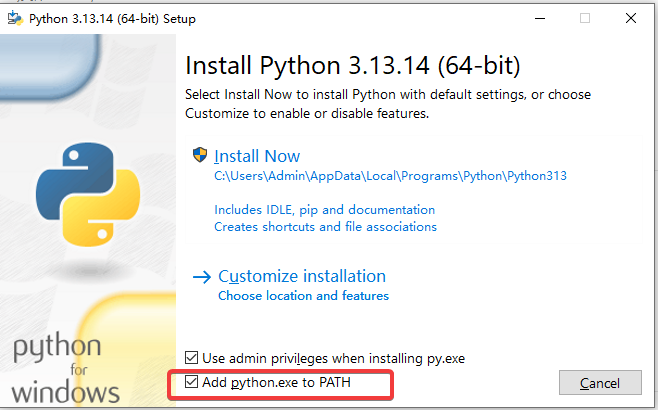
Make sure to check the box labeled "Add python.exe to PATH" during installation. Otherwise, Python commands will not work in CMD. If you missed this option, you have two solutions: reinstall Python, or manually configure the system environment variables.
¶ 4. Create a virtual environment
Create a project folder on the desktop or any other location. Open the command line: for Windows, press Win+R; for Mac, press Command+Space to launch Terminal.
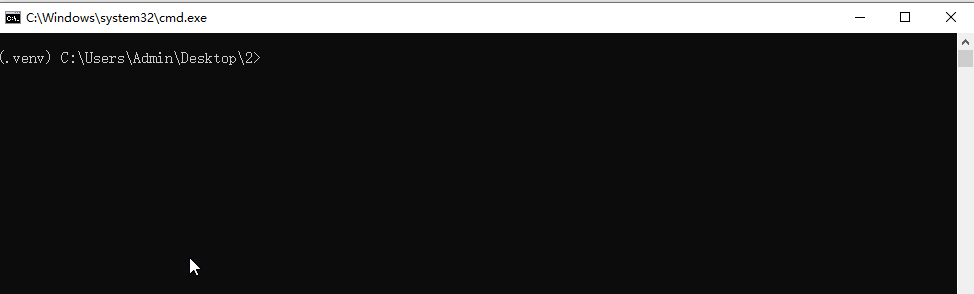
Run the commands below to create a virtual environment. The demonstration uses a folder on the desktop as an example.
cd C:\Users\Admin\Desktop\2
python -m venv .venv
.venv\Scripts\activate//Activate the virtual environment
If the virtual environment is created successfully, a folder named .venv will appear in the corresponding directory. If there is no .venv folder, the virtual environment creation command failed. Try the commands below:
py -3 -m venv .venv
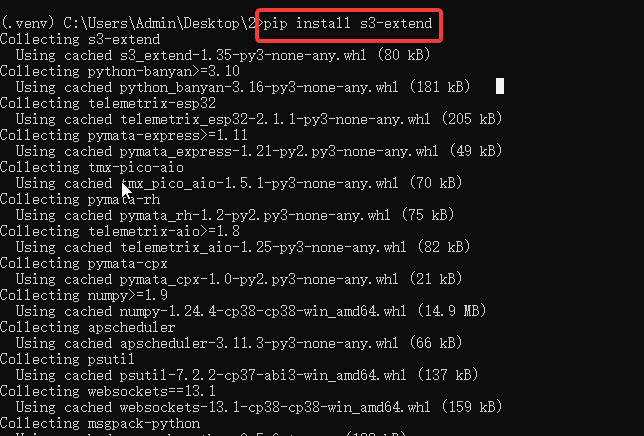
Enter the command pip install s3-extend to install the S3 extension library and wait for the installation to complete.
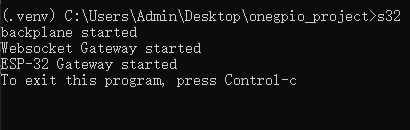
After installation, enter the command s32 to open the terminal window. The corresponding microcontroller code is as follows:
- s32 - for the ESP-32
- s3a - for the Arduino
- s3c - for the Adafruit Circuit Playground Express
- s3e - for the ESP-8266
- s3p - for the Picoboard
- s3pup - for the Pupper Robot
- s3r - for the Raspberry Pi
- s3rp for the Raspberry Pi Pico
- s3rh - for the RoboHAT MM1
¶ 5.Install ESP32 driver in IDE
For software installation and operation guides, please visit the link: ide-download.
Install the Telemetrix4ESP32 library
- Sketch → Include Library → Manage Libraries...
- Search for "Telemetrix"
- Install Telemetrix4ESP32
Open the IDE interface and open the file following the path shown in the figure.
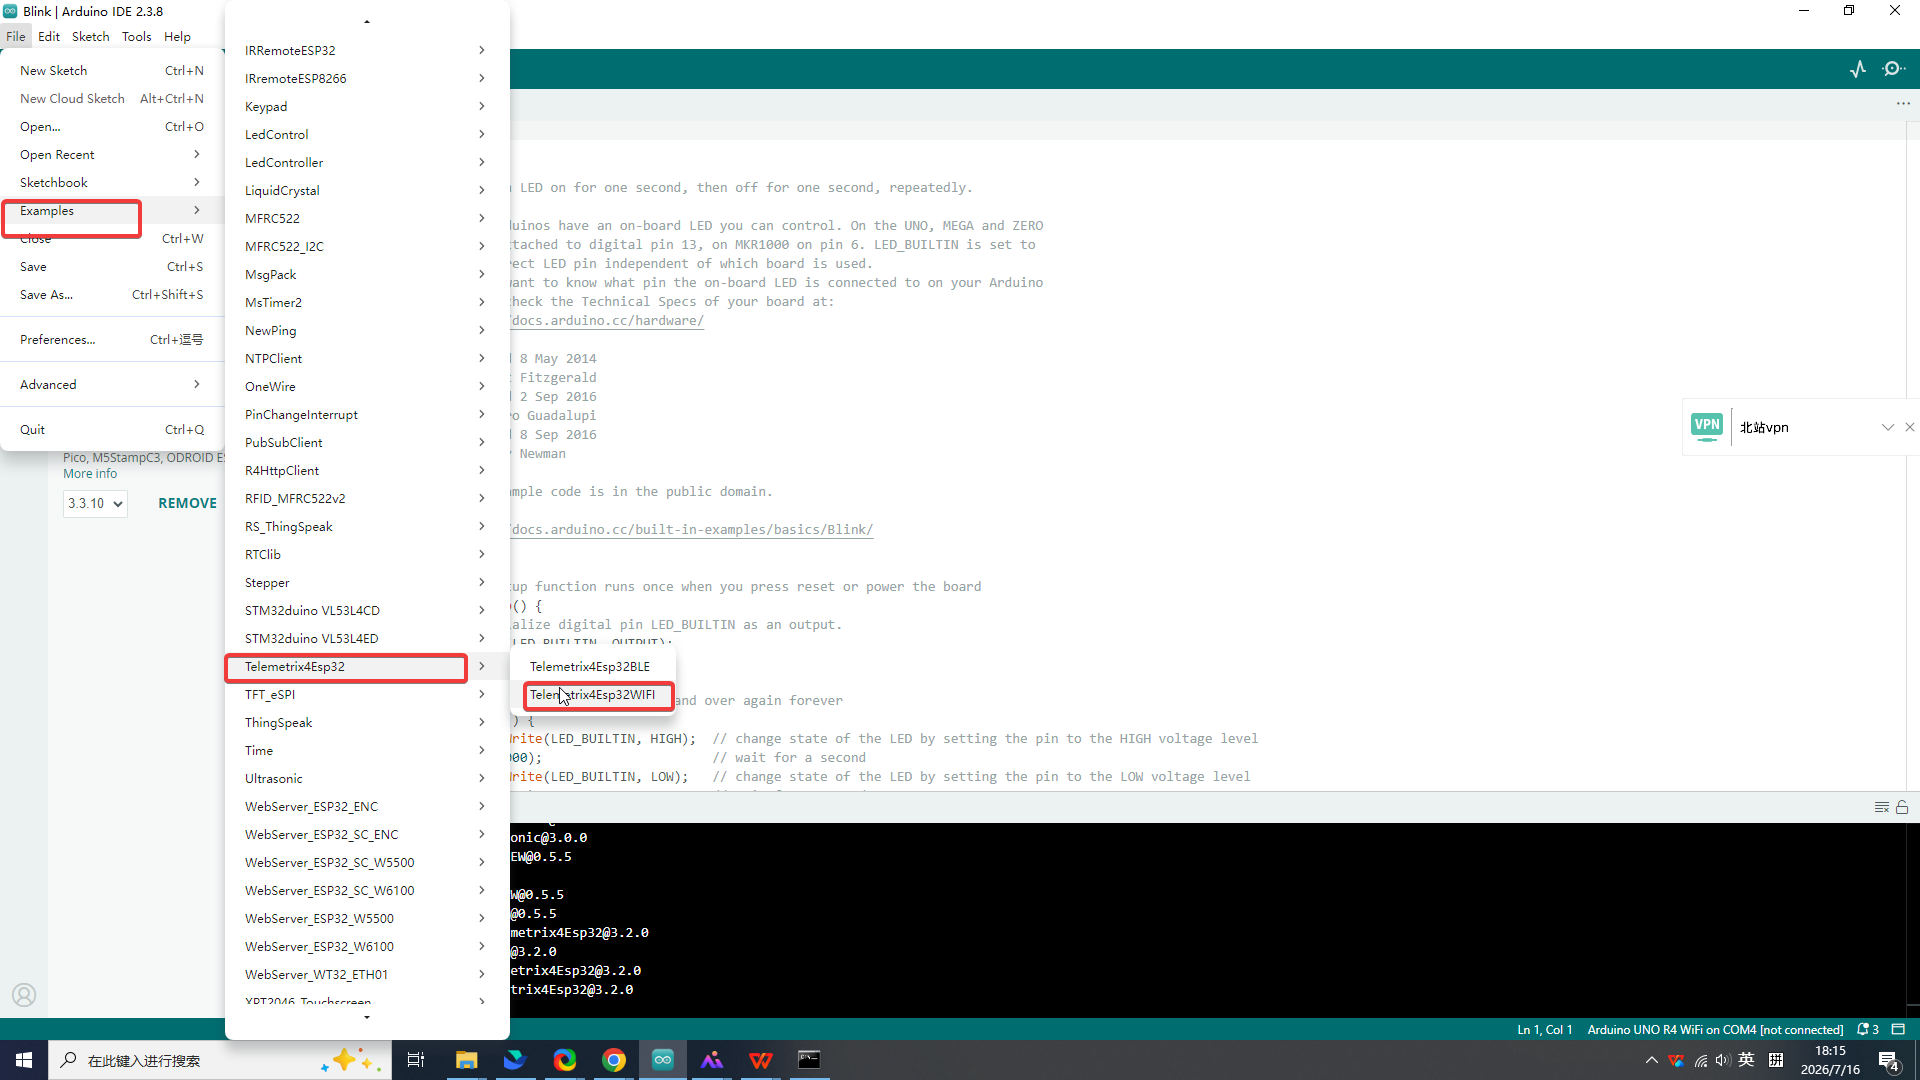
After opening the file, there are three sections that need modification. Once finished, upload the program to the ESP32 as shown in the figure below:
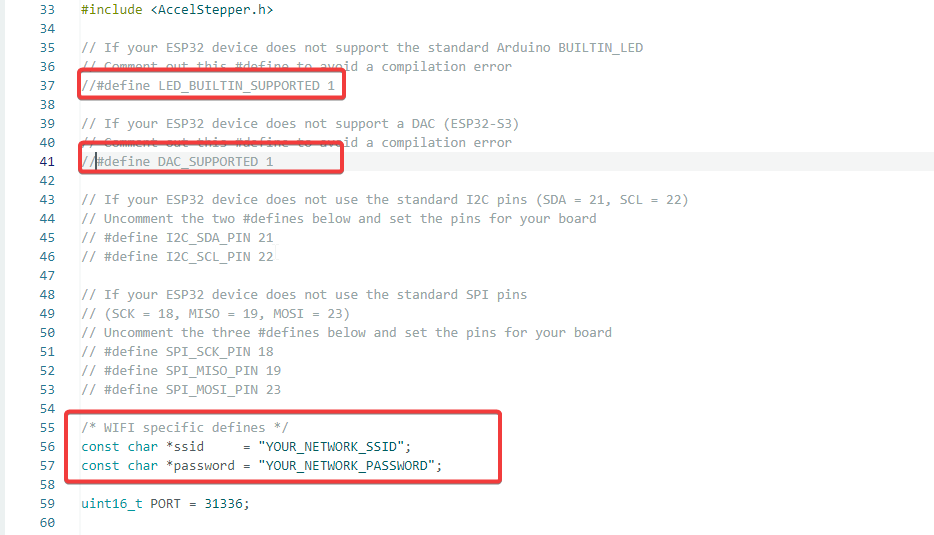
After the upload is complete, click the Serial Monitor button at the top right of the IDE to open the serial port window, and verify that the baud rate is set to 115200. If the serial interface remains stuck on the screen shown in the figure for a long time, double-check whether the WiFi name and password are entered correctly. Only 2.4GHz WiFi networks are supported; 5GHz WiFi is not compatible.
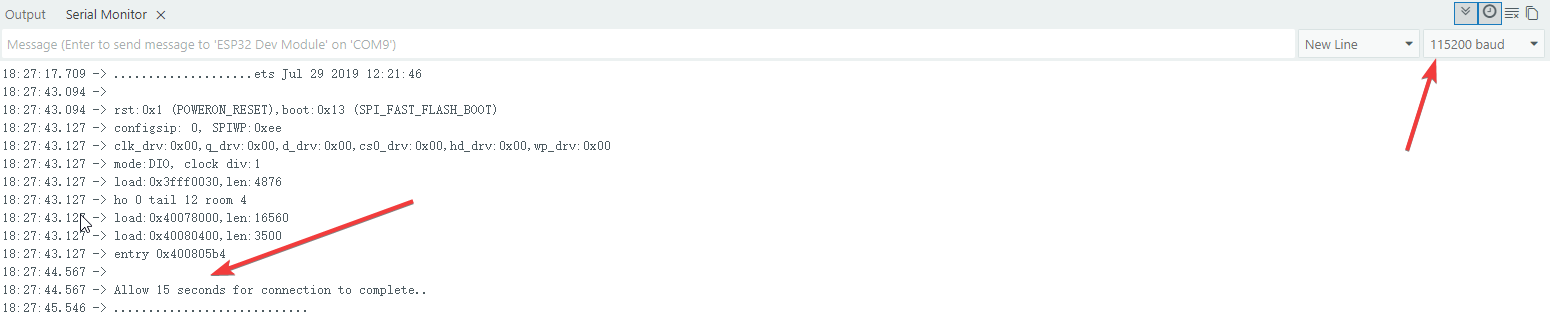
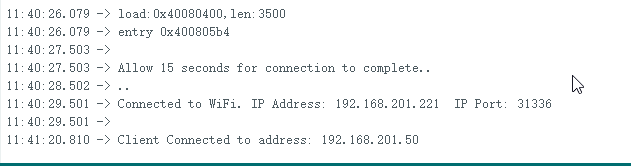
If the WiFi connection is successful, the serial monitor will display the corresponding IP address and port number. Note down this IP address, as it will be required for connecting via the web editor.

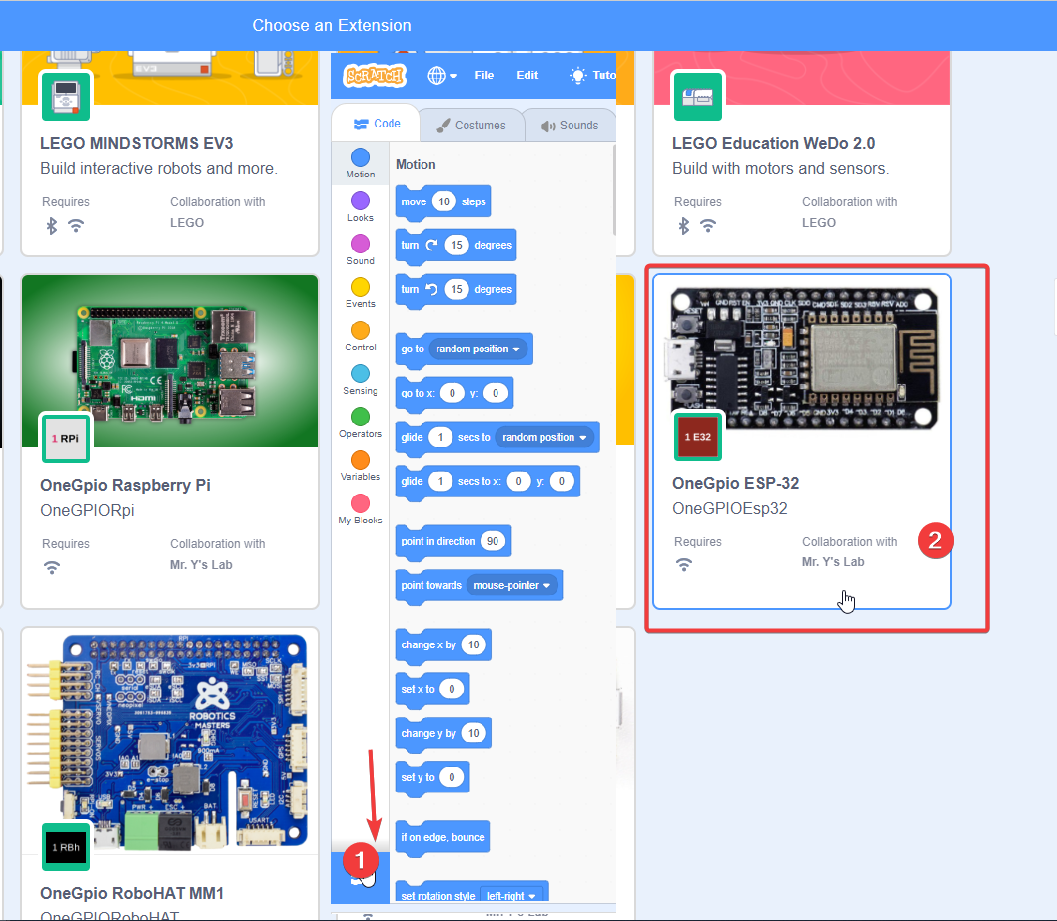
Open the index.html file extracted in Step 2. Click the extension button at the bottom left of the interface to add the ESP32 extension. Follow the numbers 1 and 2 to click in sequence as shown in the figure.
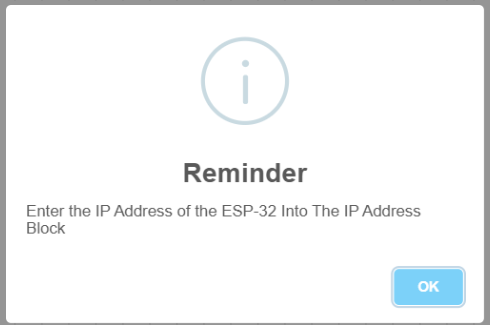
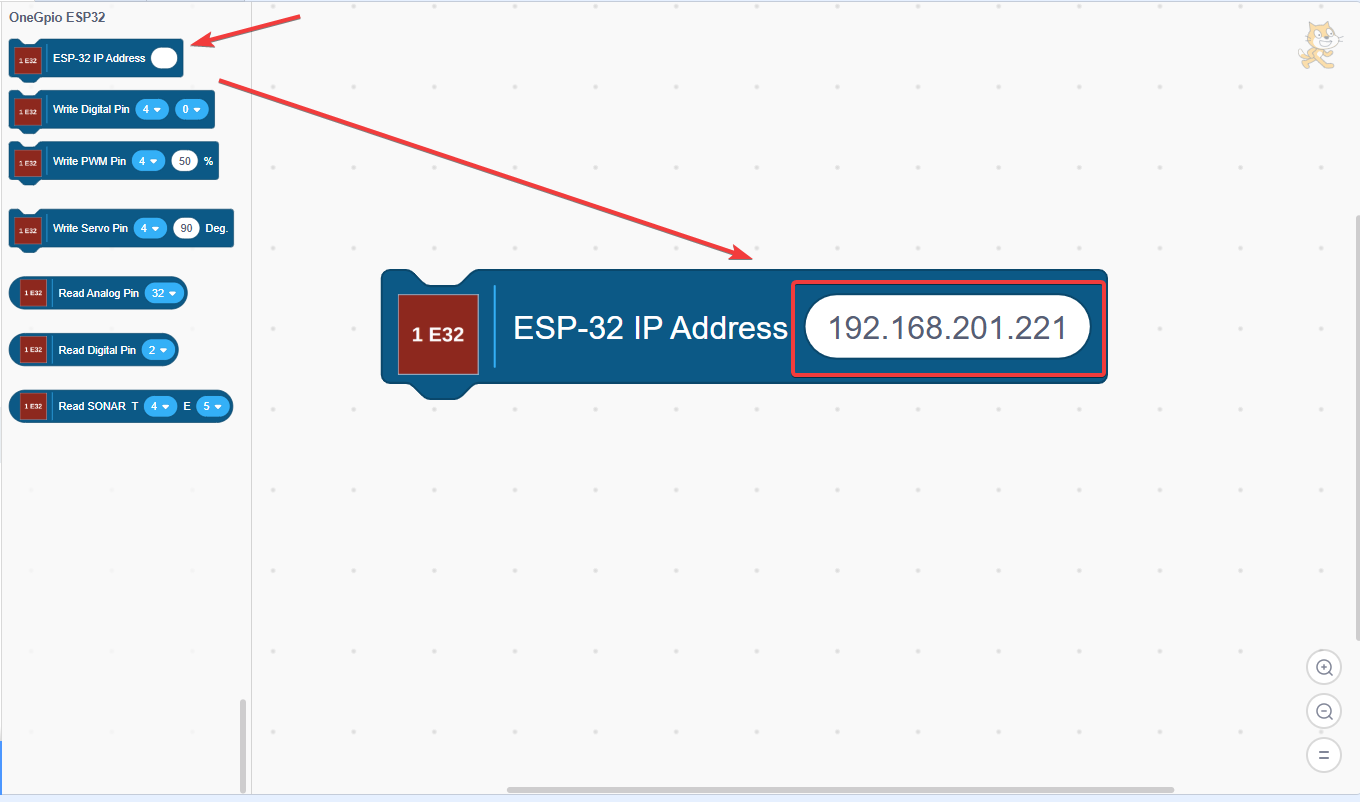
Locate the first block under the ESP32 category for IP configuration as shown in the figure, then fill in the IP address recorded from the IDE serial monitor.
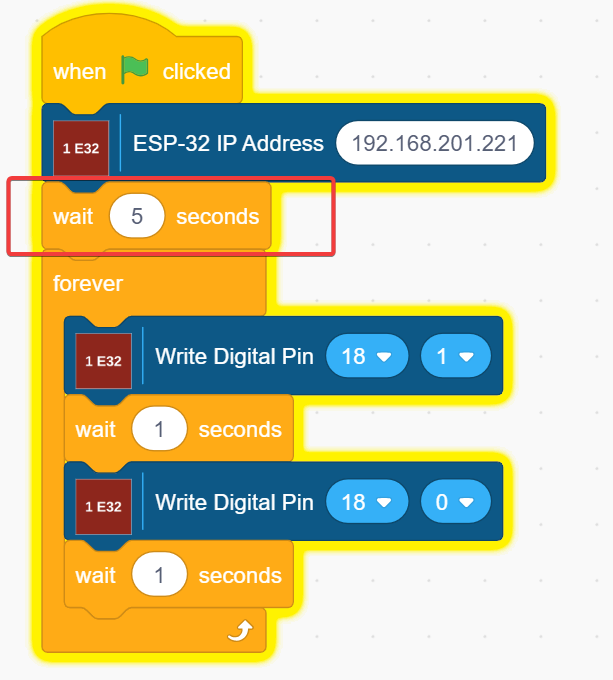
This is a test case designed to make the LED connected to GPIO18 blink repeatedly.
After finishing programming, click the green flag. If logs as shown in the figure appear in the IDE serial monitor, the connection is established successfully and the LED will start blinking.
¶ Troubleshooting
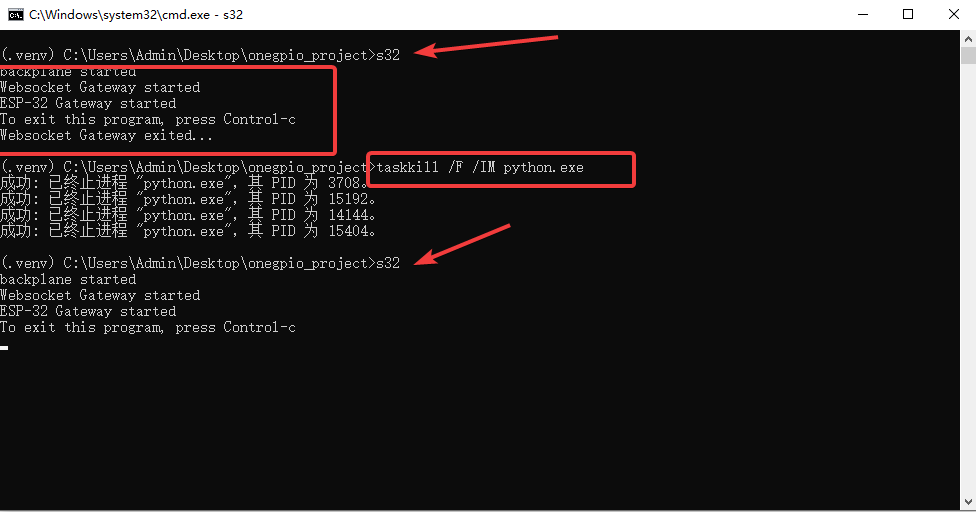
1.Failed to launch the terminal by entering s32: Run the command taskkill /F /IM python.exe to terminate all Python processes, then retype s32.
2.Unable to open index.html directly in Step 2
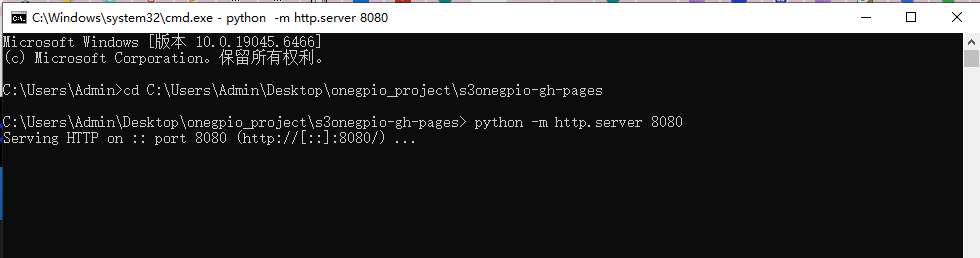
If your browser does not support opening the file directly, you can create a local web server via CMD commands. The specific commands are as follows:
Enter the following in CMD
cd C:\Users\Admin\Desktop\onegpio_project\s3onegpio-gh-pages //Replace it with the actual local folder path
python -m http.server 8080
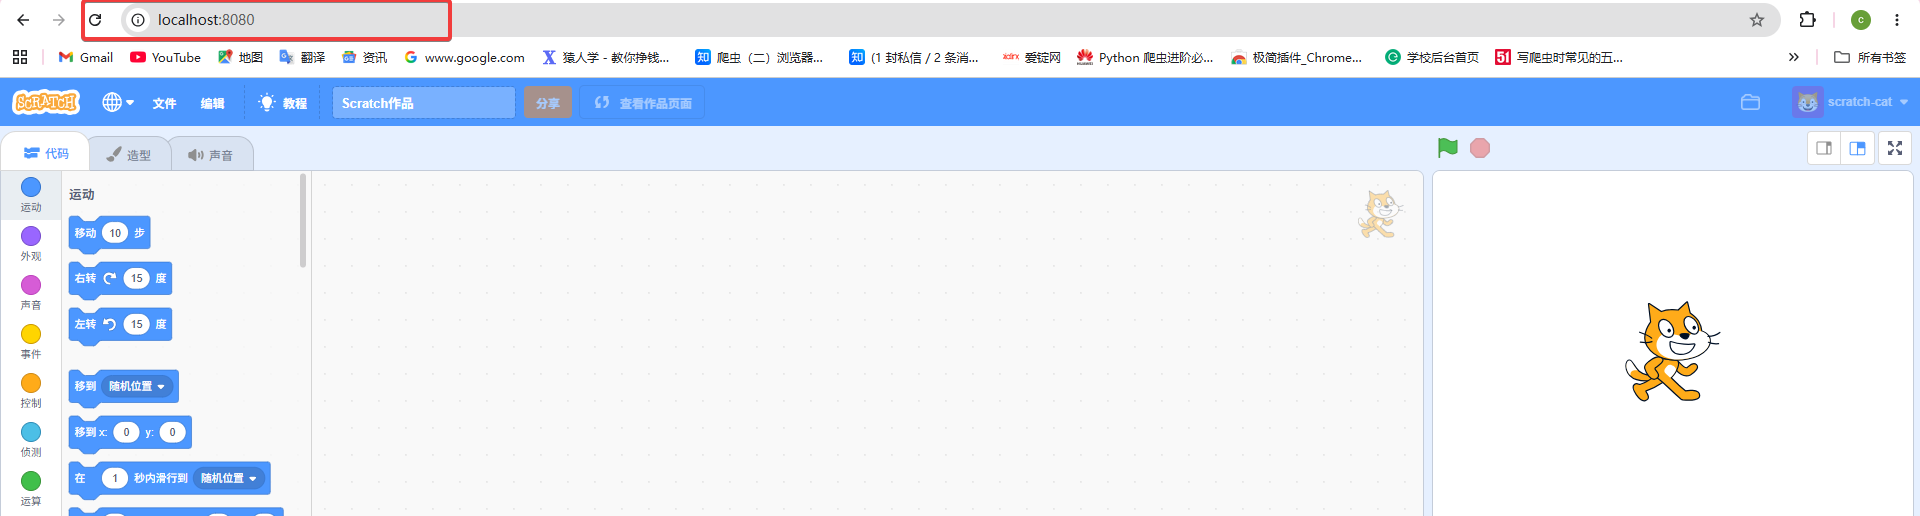
enter in the browser
3.Connection Interruption
Ensure the port mentioned in the first troubleshooting step remains open all the time. Restart it if it closes automatically, otherwise the connection may fail.