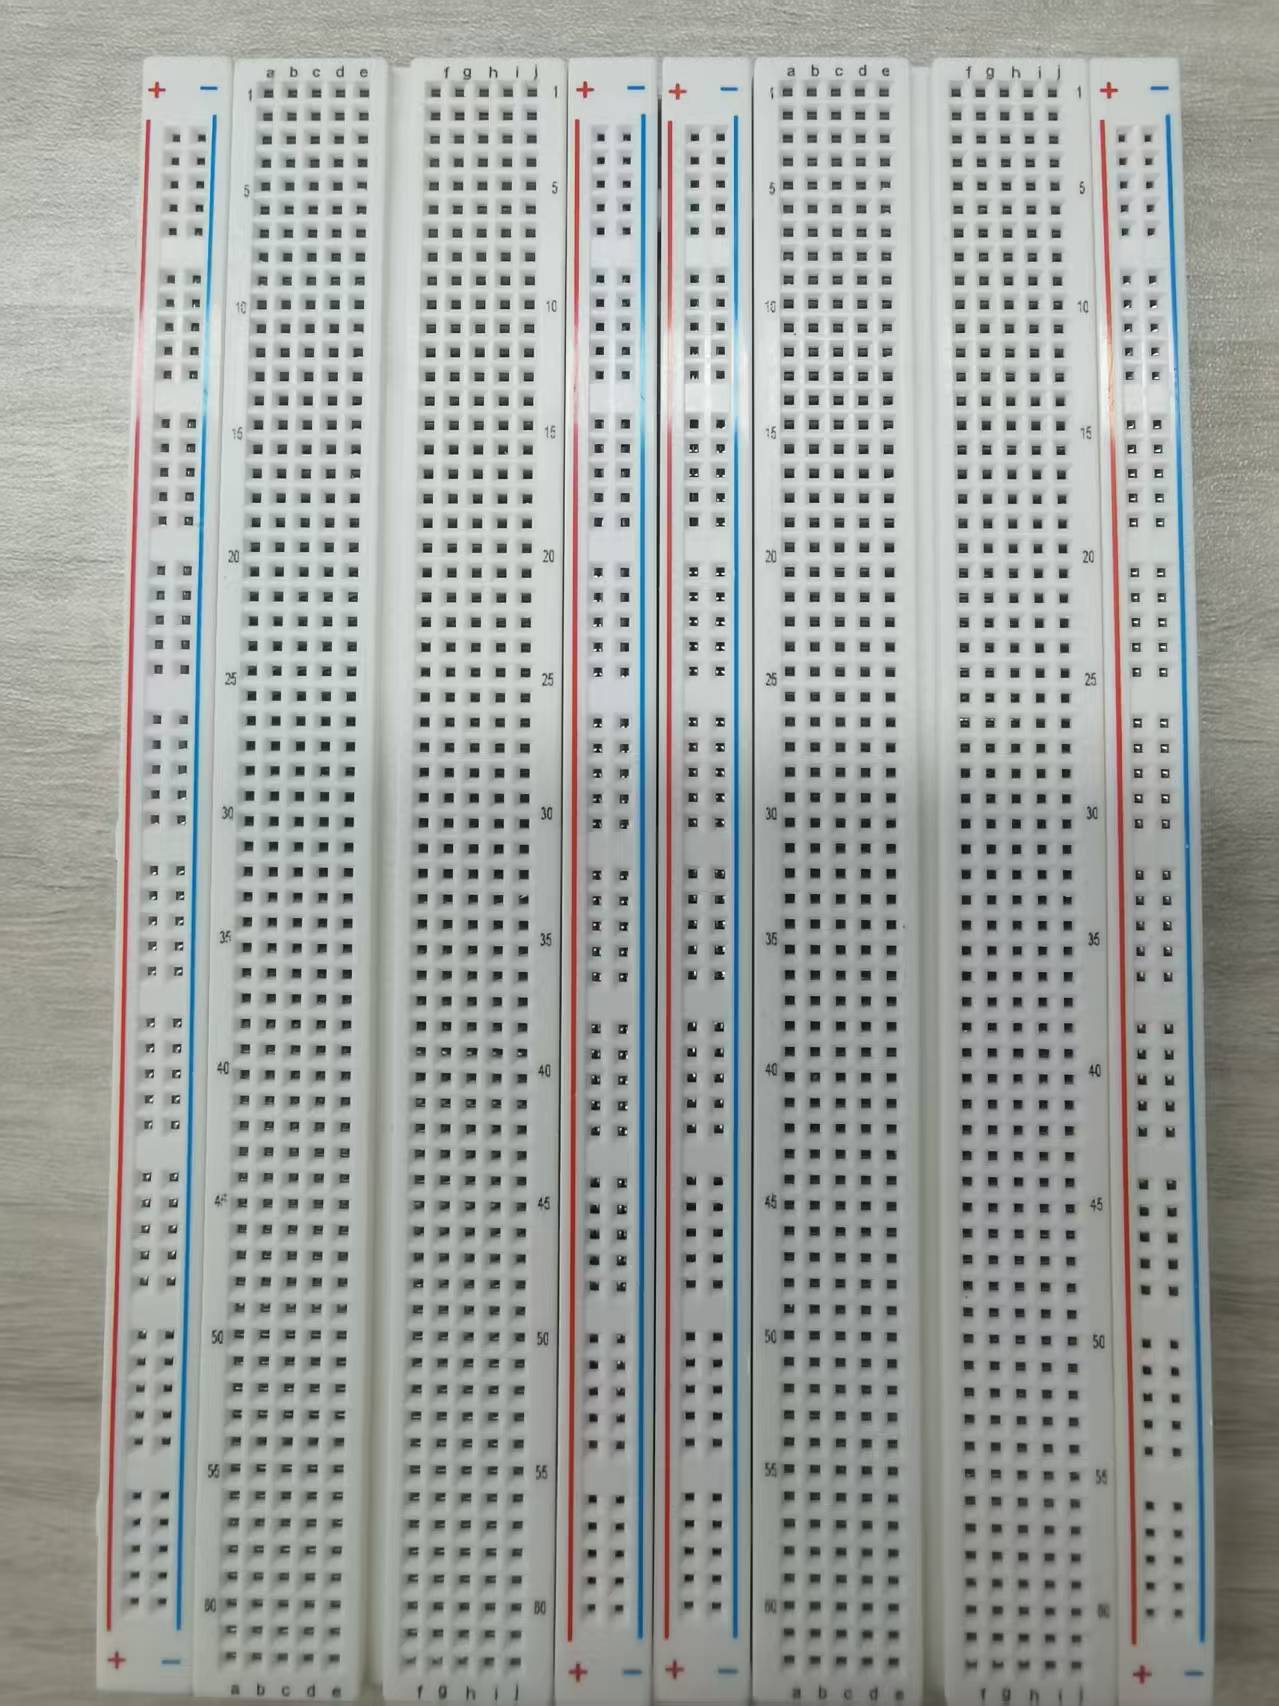
¶ extend breadboards
¶ Method of Combining Breadboards
Breadboards include a built-in tongue-and-groove interlocking design, allowing simple and secure assembly:
- Align the connection edges:
Position the tongue side of one breadboard against the groove side of the other.
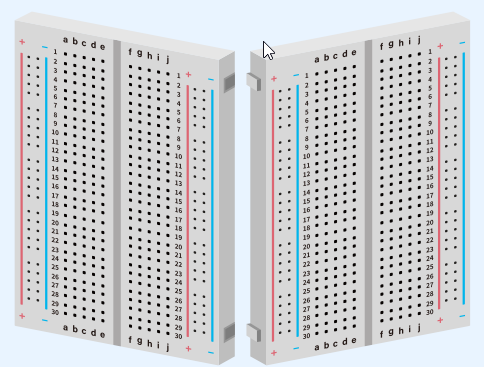
2. Press to lock in place:
Apply gentle downward pressure from underneath to engage the interlocking structure, forming a stable combined breadboard platform.
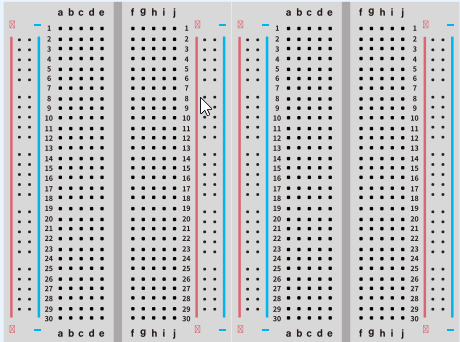
¶ Practical Operation Demonstration:
Standard breadboards have protruding latches on one side and matching grooves on the other. To expand the circuit area by connecting two breadboards together, align the latches with the grooves of another board as shown in the figure.
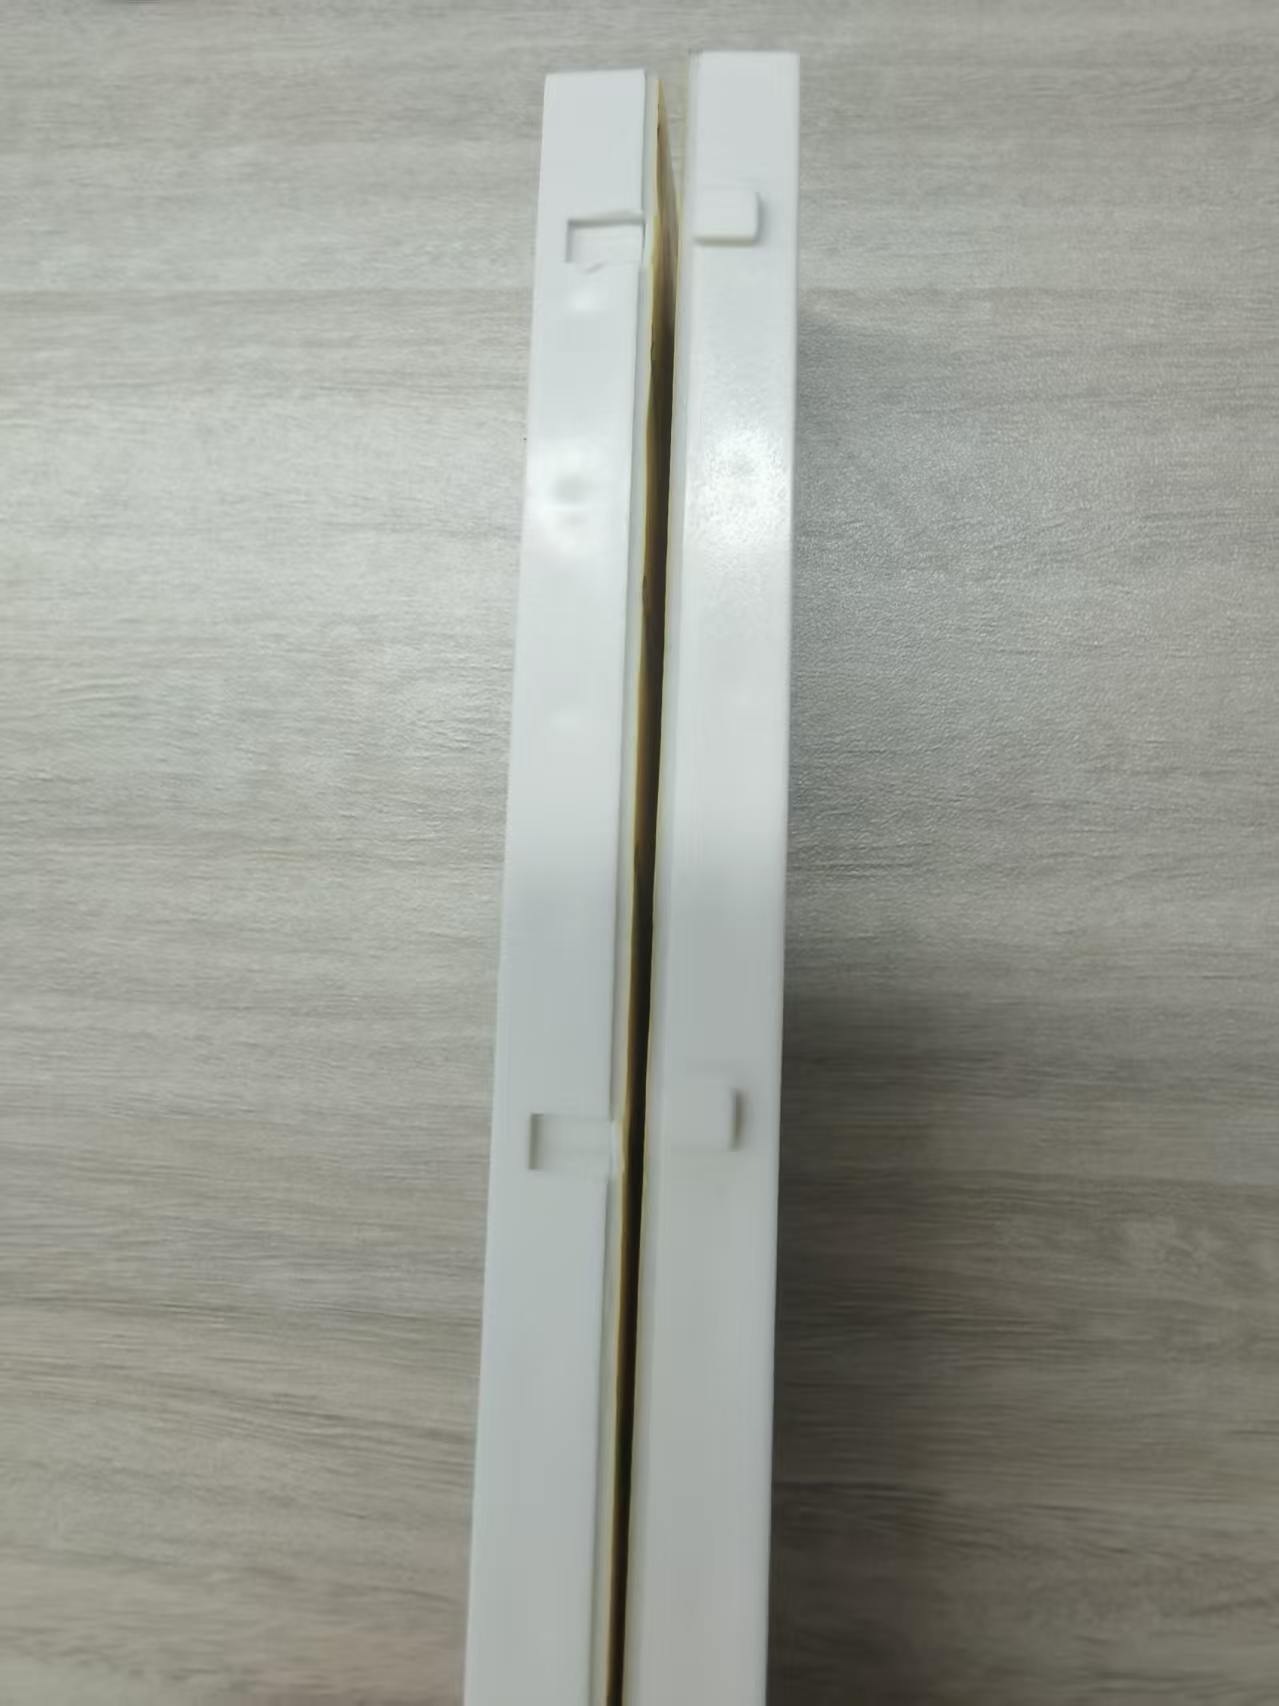
The unassembled state is shown in the figure. You can see the positive and negative power rails of the two breadboards are arranged alternately. Direct horizontal squeezing cannot engage the latches and grooves together. This is because the breadboard latches are trapezoidal instead of rectangular, so the boards can only be joined by fitting them from bottom to top
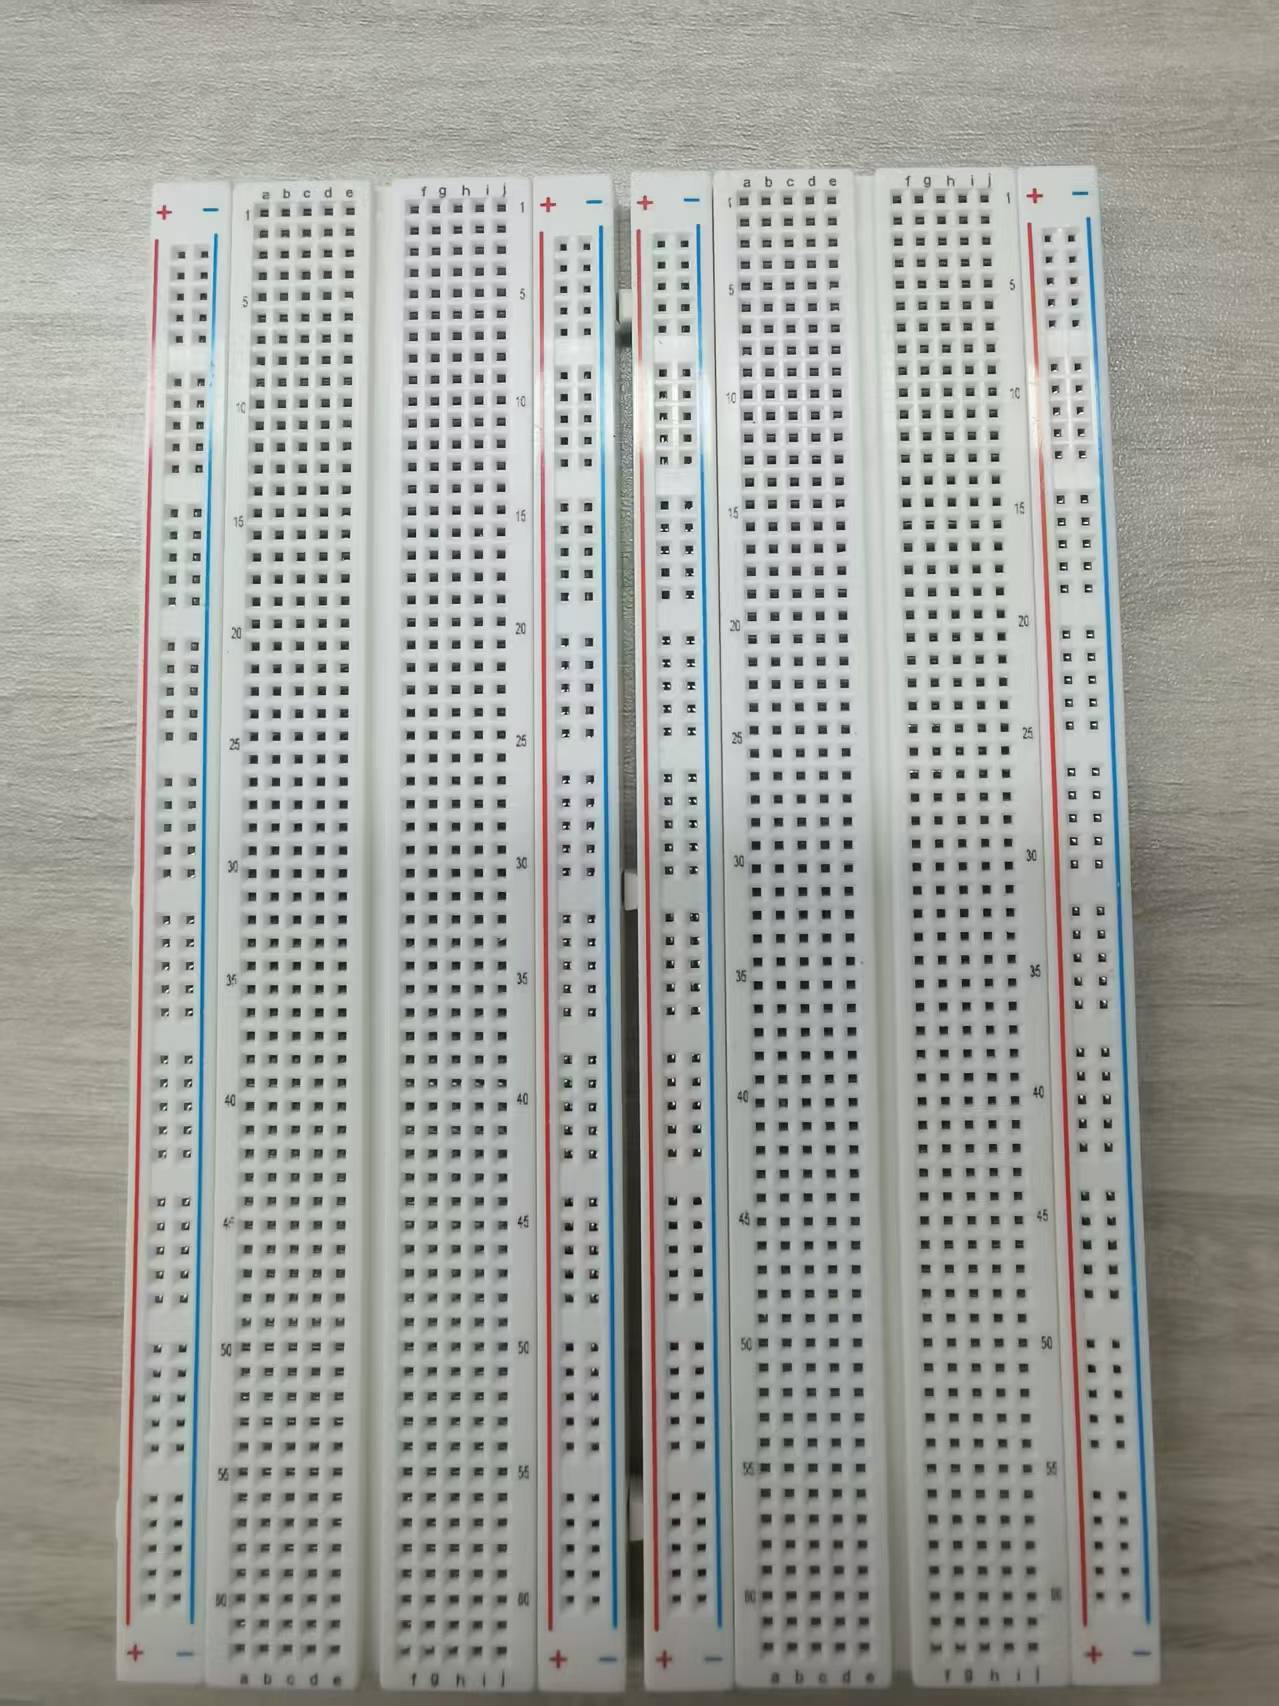
The correct operation is to stagger the two breadboards vertically, align the grooves and latches first, then apply pressure to fully lock them together as shown in the figure. If the adhesive tape on the back of the breadboard gets in the way, gently lift the tape near the grooves before splicing.
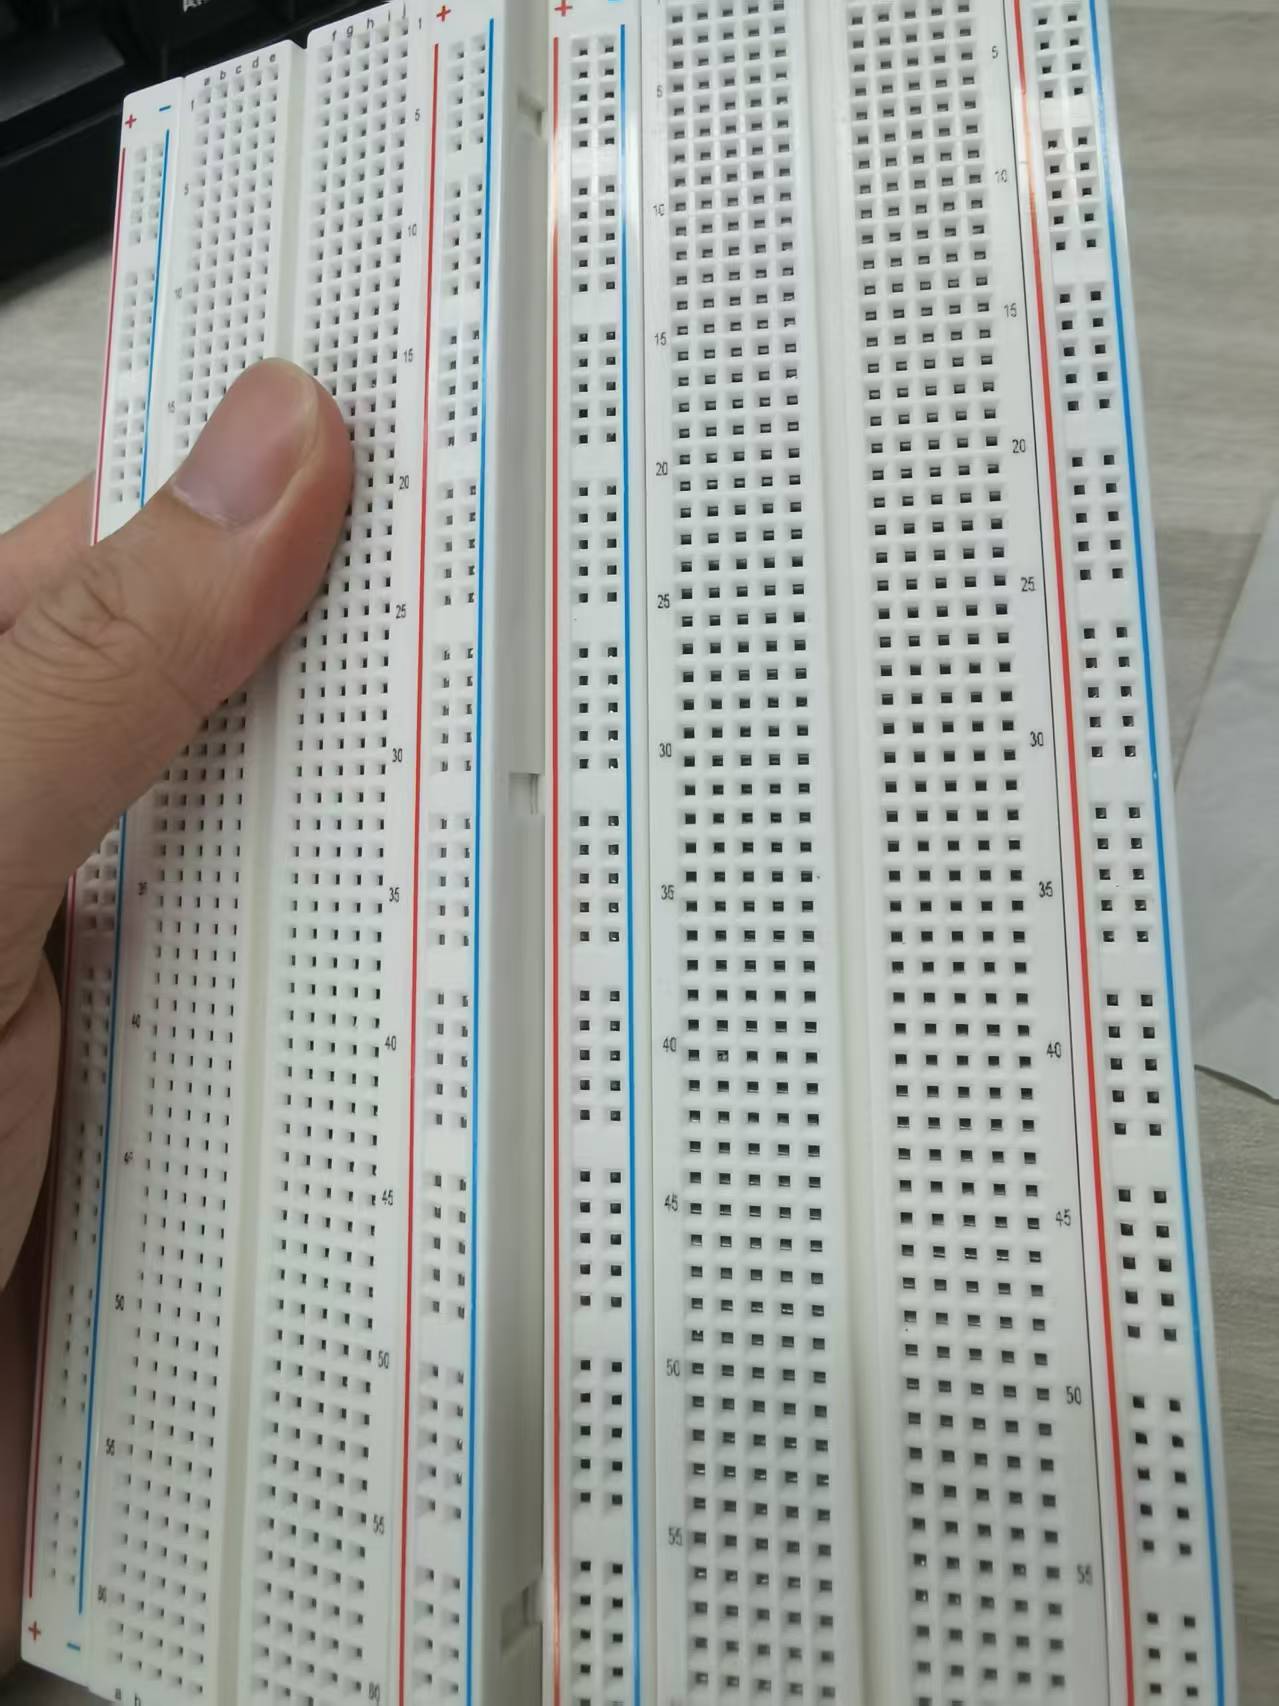
Properly spliced breadboards feature alternating positive and negative power rails with a flat, warp-free surface, as shown in the figure.