¶ Tools and Materials
- A 2.0 mm Allen wrench
- A 4.0 mm Allen wrench
- A papir of needle-nose pliers
- A new Y-axis motor
¶ Tutorial Video
¶ Instruction
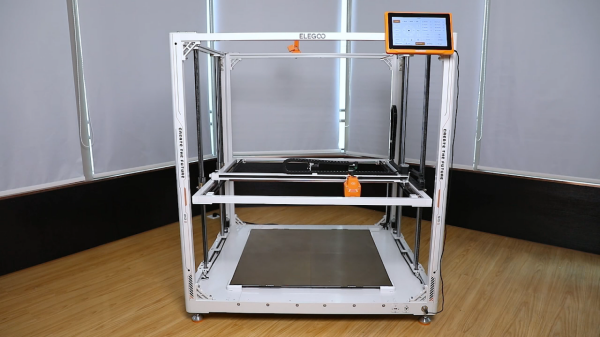
- The Y-axis motor is located in the rear of the printer.
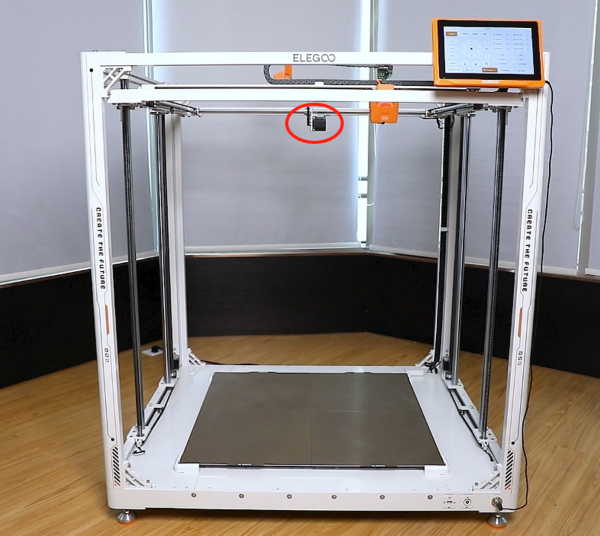
- Remove the cable protection sleeve securing the Y-axis motor ribbon cables from the groove of the aluminum frame.
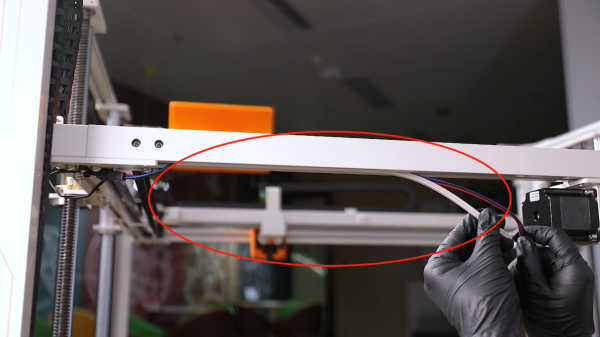
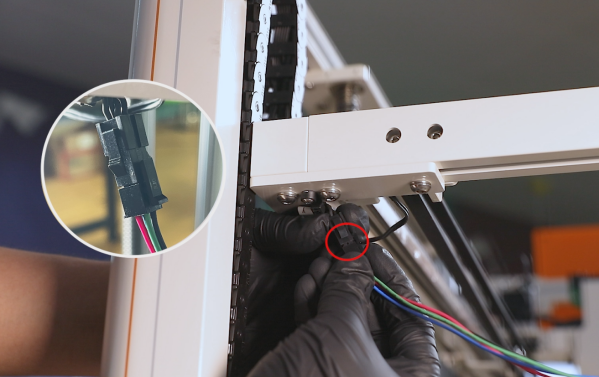
- Unplug port of the ribbon cables of the Y-axis motor.
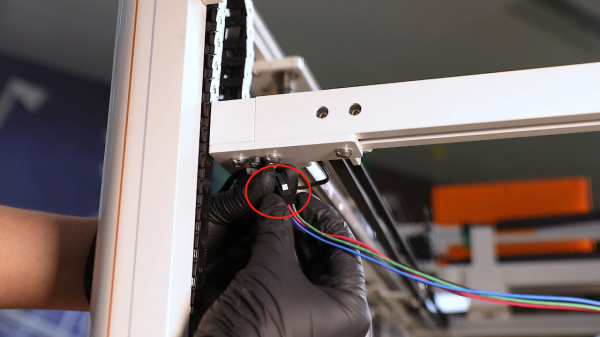
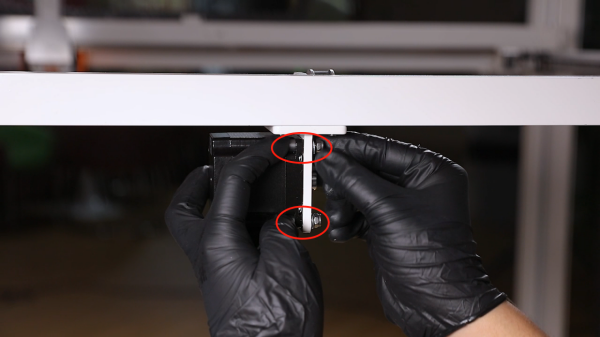
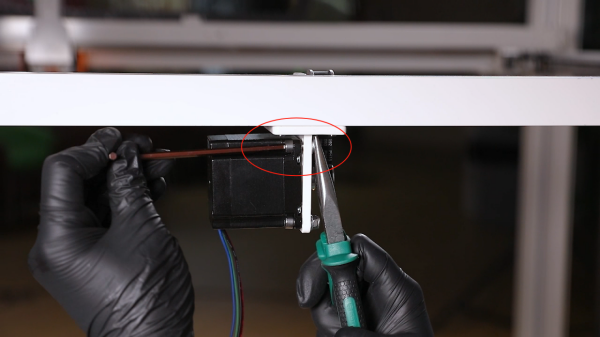
- Hold the nut behind the securing screw using a pair of needle-nose pliers. Loosen the screw fixing the motor using a 4.0 mm Allen wrench, and remove the nut, pad, and screw.
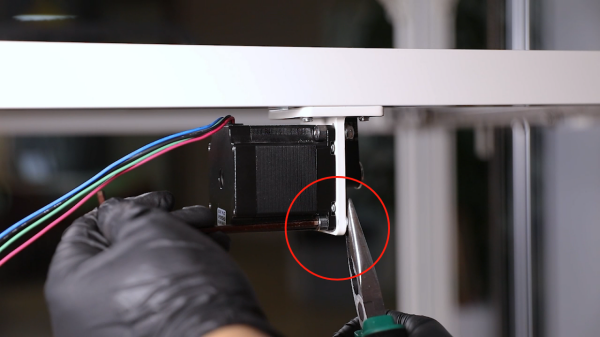
- Loosen the remaining three screws securing the Y-axis motor and remove the Y-axis motor assembly. Note: Holding the motor while loosening the last screw to prevent it from falling.
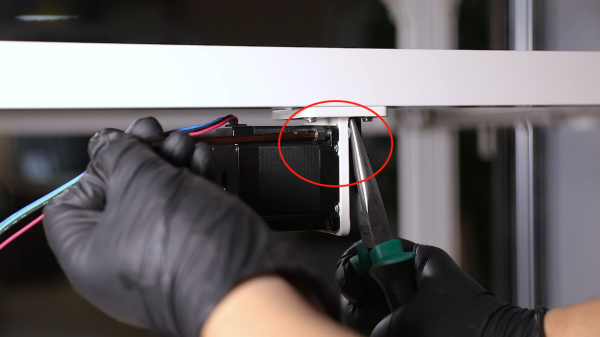
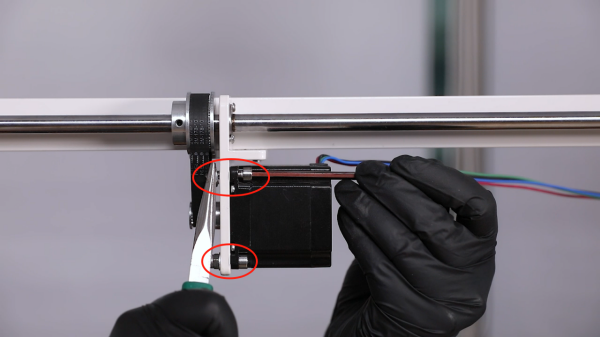
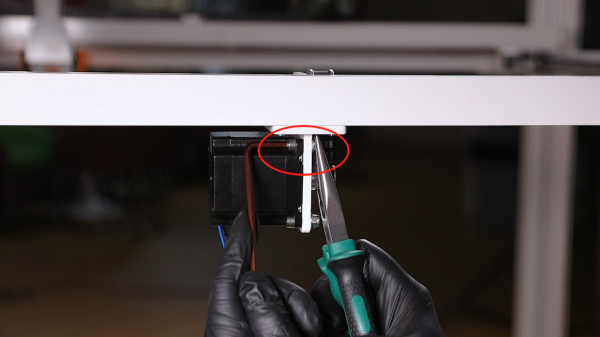
- Loosen the 2 positioning screws securing the timing pulley using a 2.0 mm Allen wrench and remove the old Y-axis motor.
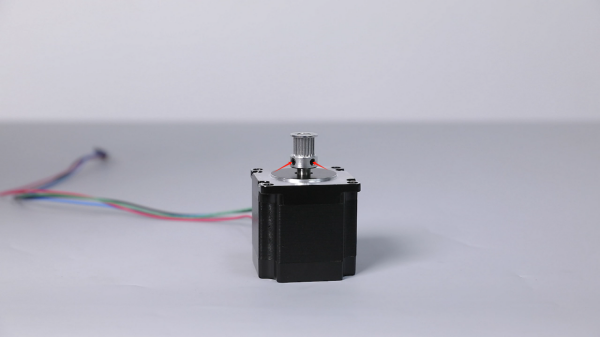
- Prepare the new Y-axis motor and timing pulley.
Note: One of the positioning screws on the timing pulley should be fixed on the cross-section of the motor shaft.
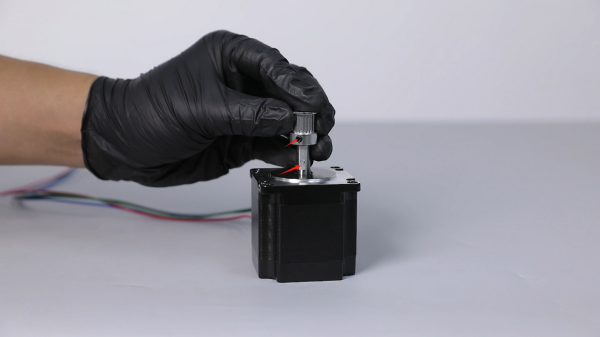
- Put the timing pulley in the installation position by aligning it with the motor shaft, and tighten the 2 positioning screws using a 2.0 mm Allen wrench.
Note: Align the top of the timing pulley with the top of the motor shaft.


- Put the Y-axis motor in the installation position by aligning it with the screw holes, and loop the belt over the timing pulley of the Y-axis motor.
- Insert the 4 screws into the screw holes. Put the pads and nuts behind the screws, and then tighten them.
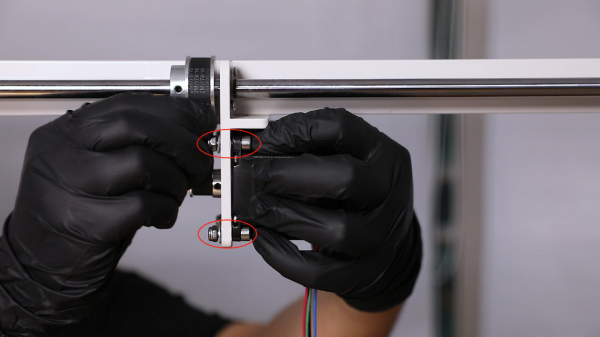
- Holding the nut behind the securing screws using a pair of needle-nose pliers. Tighten the 4 screws to third-fourths of the required torque using a 4.0 mm Allen wrench.
- Hold the motor and timing pulley and then pull the Y-axis motor downward to ensure the timing belt is taut.
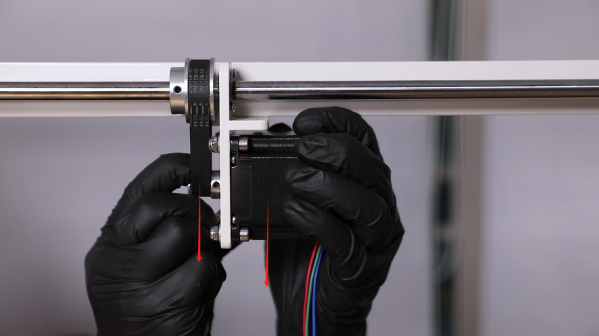
- Finally, fully tighten the 4 screws securing the motor using a pair of needle-nose pliers and a 4.0 mm Allen wrench.
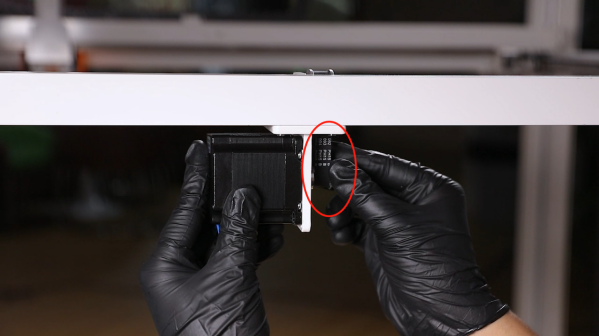
- Insert the ribbon cables of the Y-axis motor into the port.
Note: The clamp of the port has its fixed installation direction.

- Prepare the cable protection sleeve, and insert the ribbon cables of the Y-axis motor, and install them into the groove of the aluminum frame.

- Plug in the power cord, and power on printer. Touch "Prepare - all (Home button)" on the touchscreen.
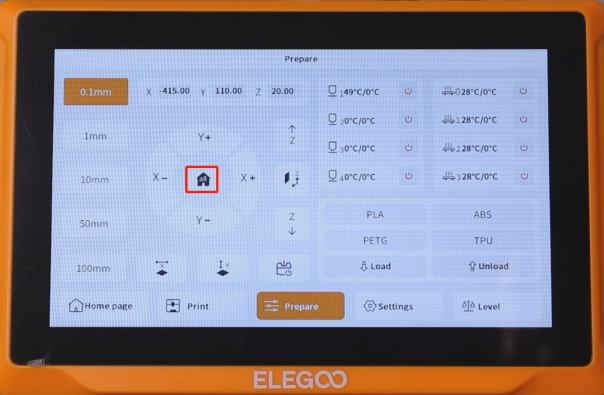
- The printer returns to zero. The printer can be used as usual after it operates normally.