¶ Tools and Materials
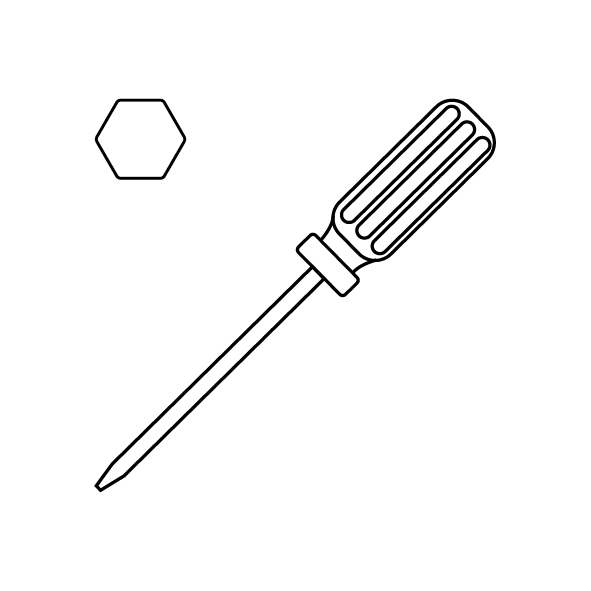
- A 2.0 mm Allen wrench
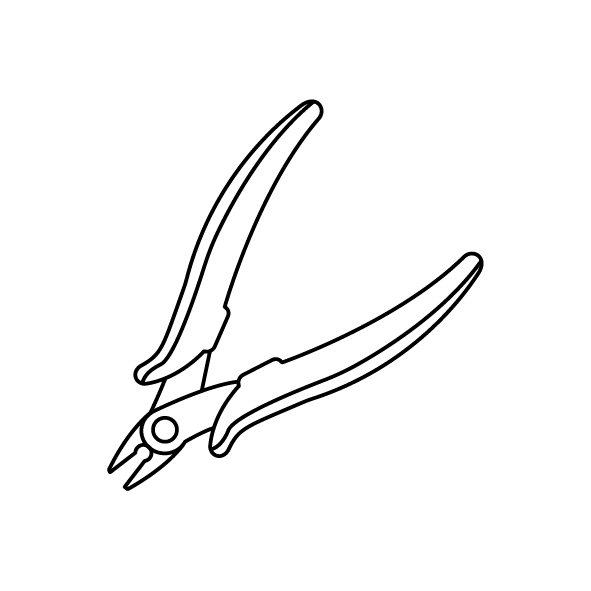
- A pair of diagonal pliers
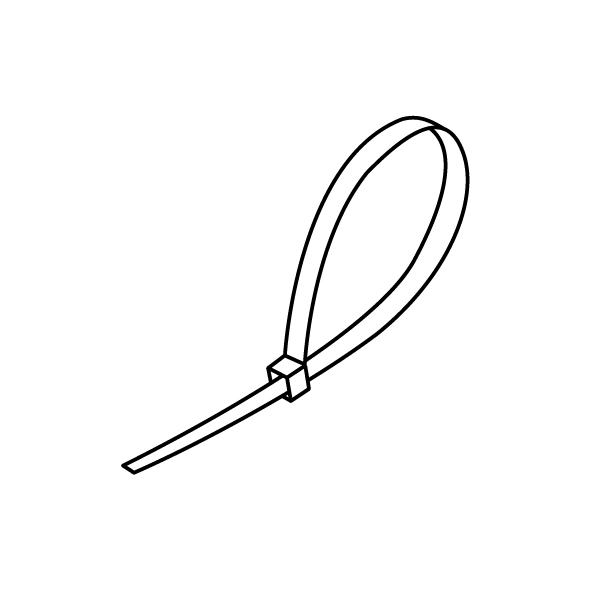
- 4 ribbo cables
- A new Y-axis timing belt
¶ Tutorial Video
¶ Operation Steps
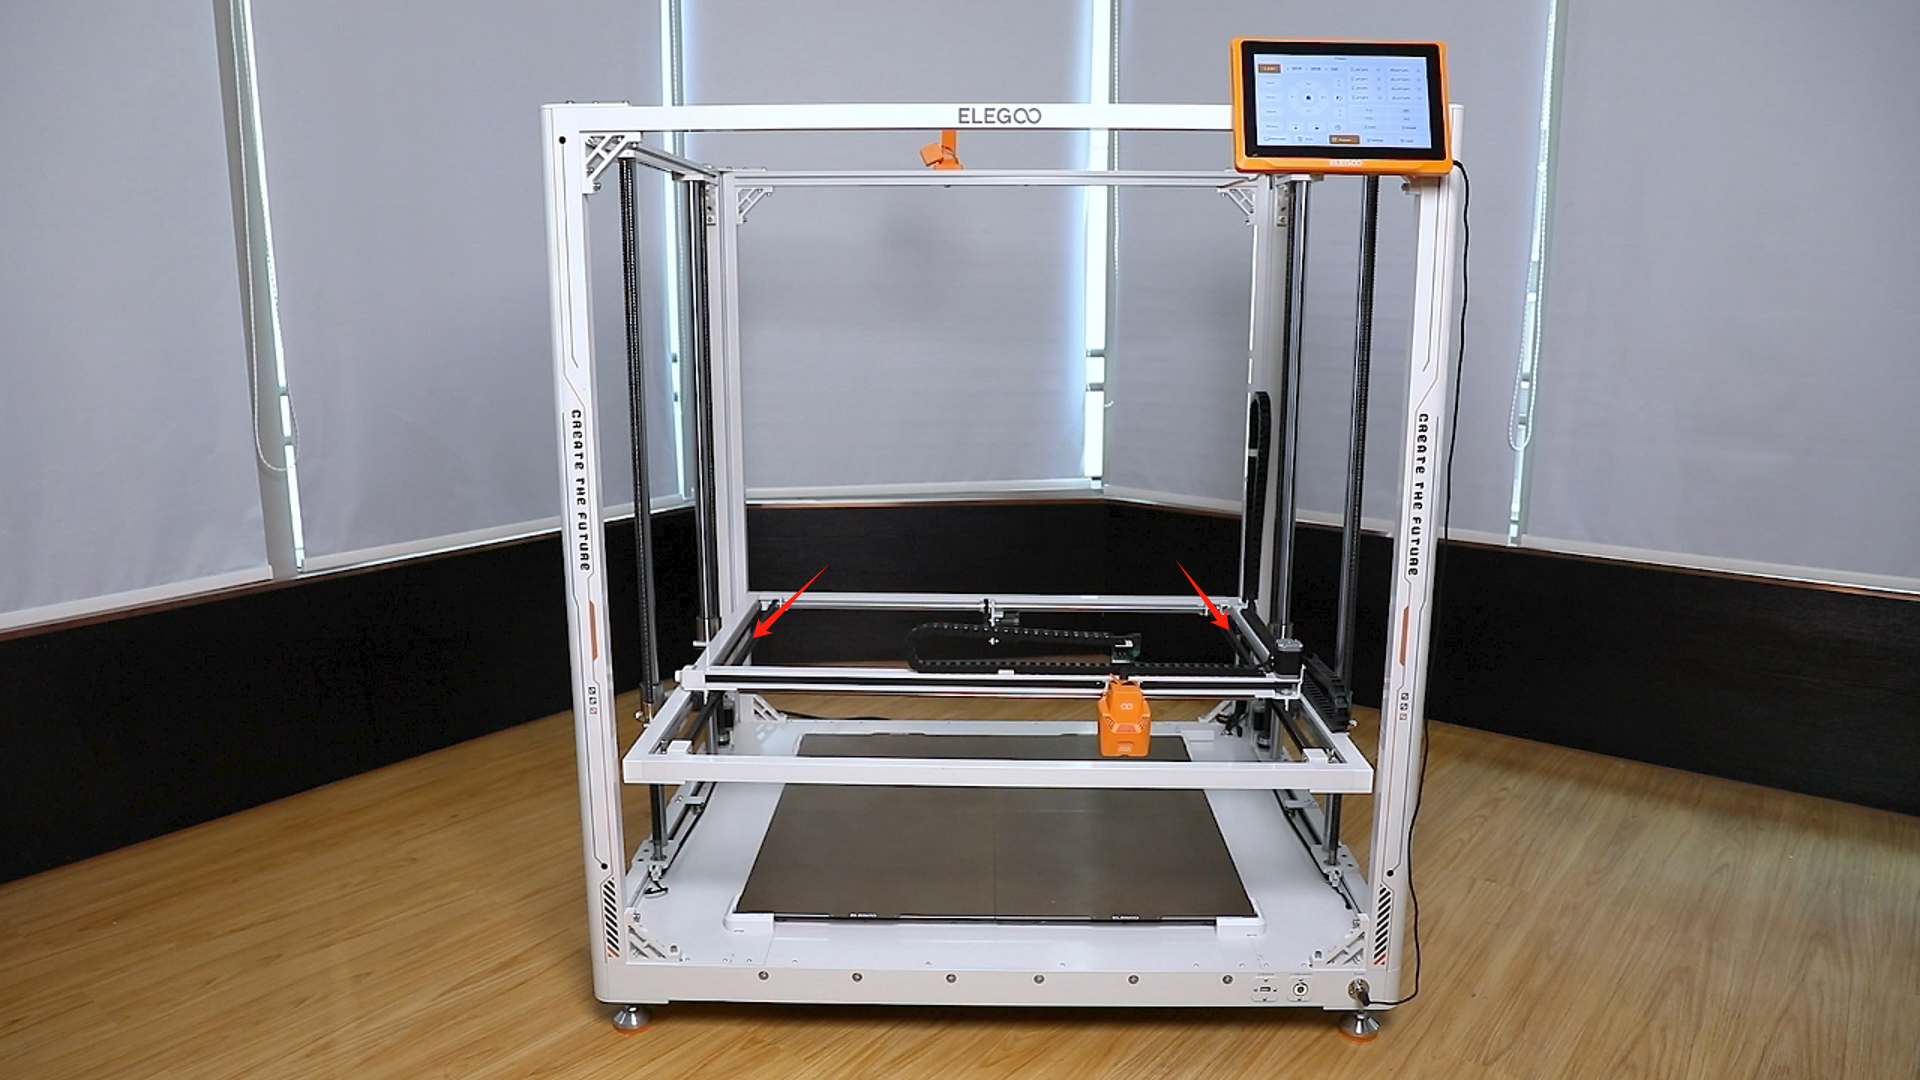
- The left and right sides of the Y-axis have one belt respectively. This tutorial guide takes the left Y-axis timing belt as an example.
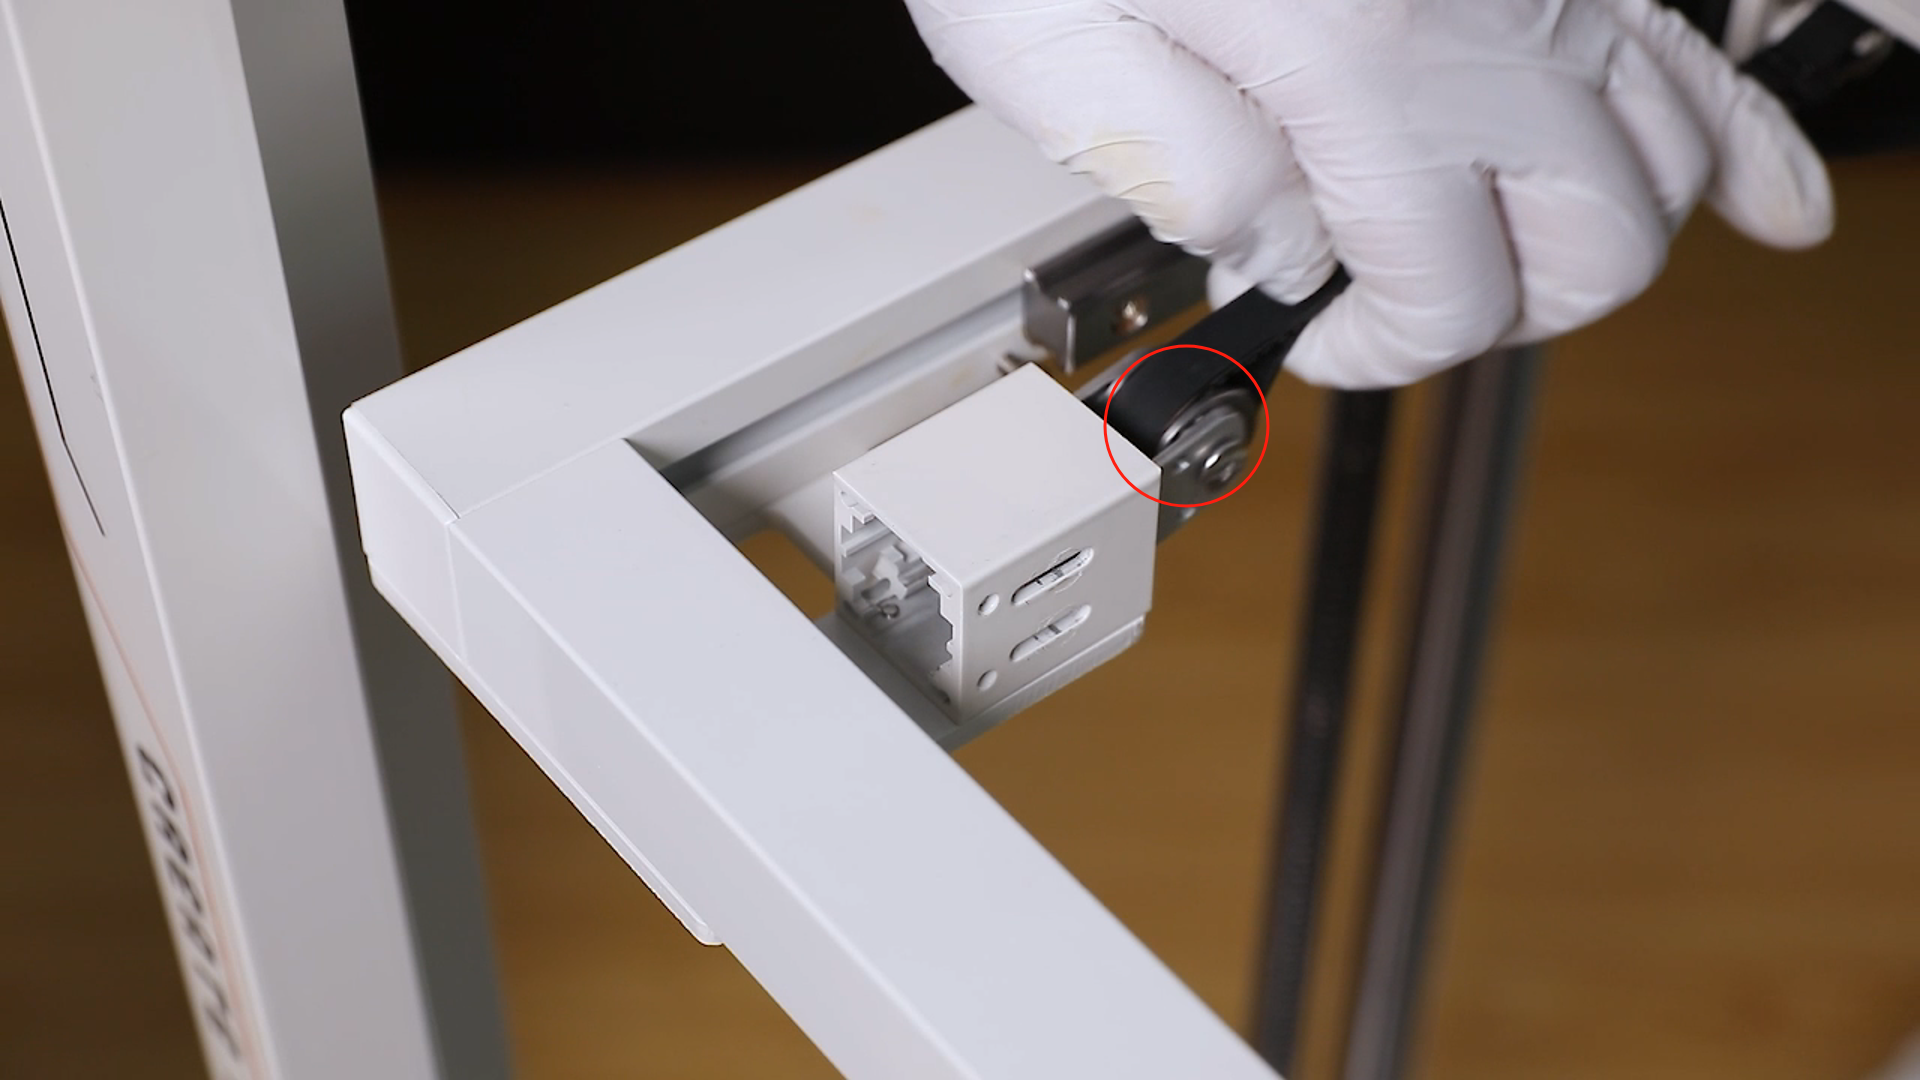
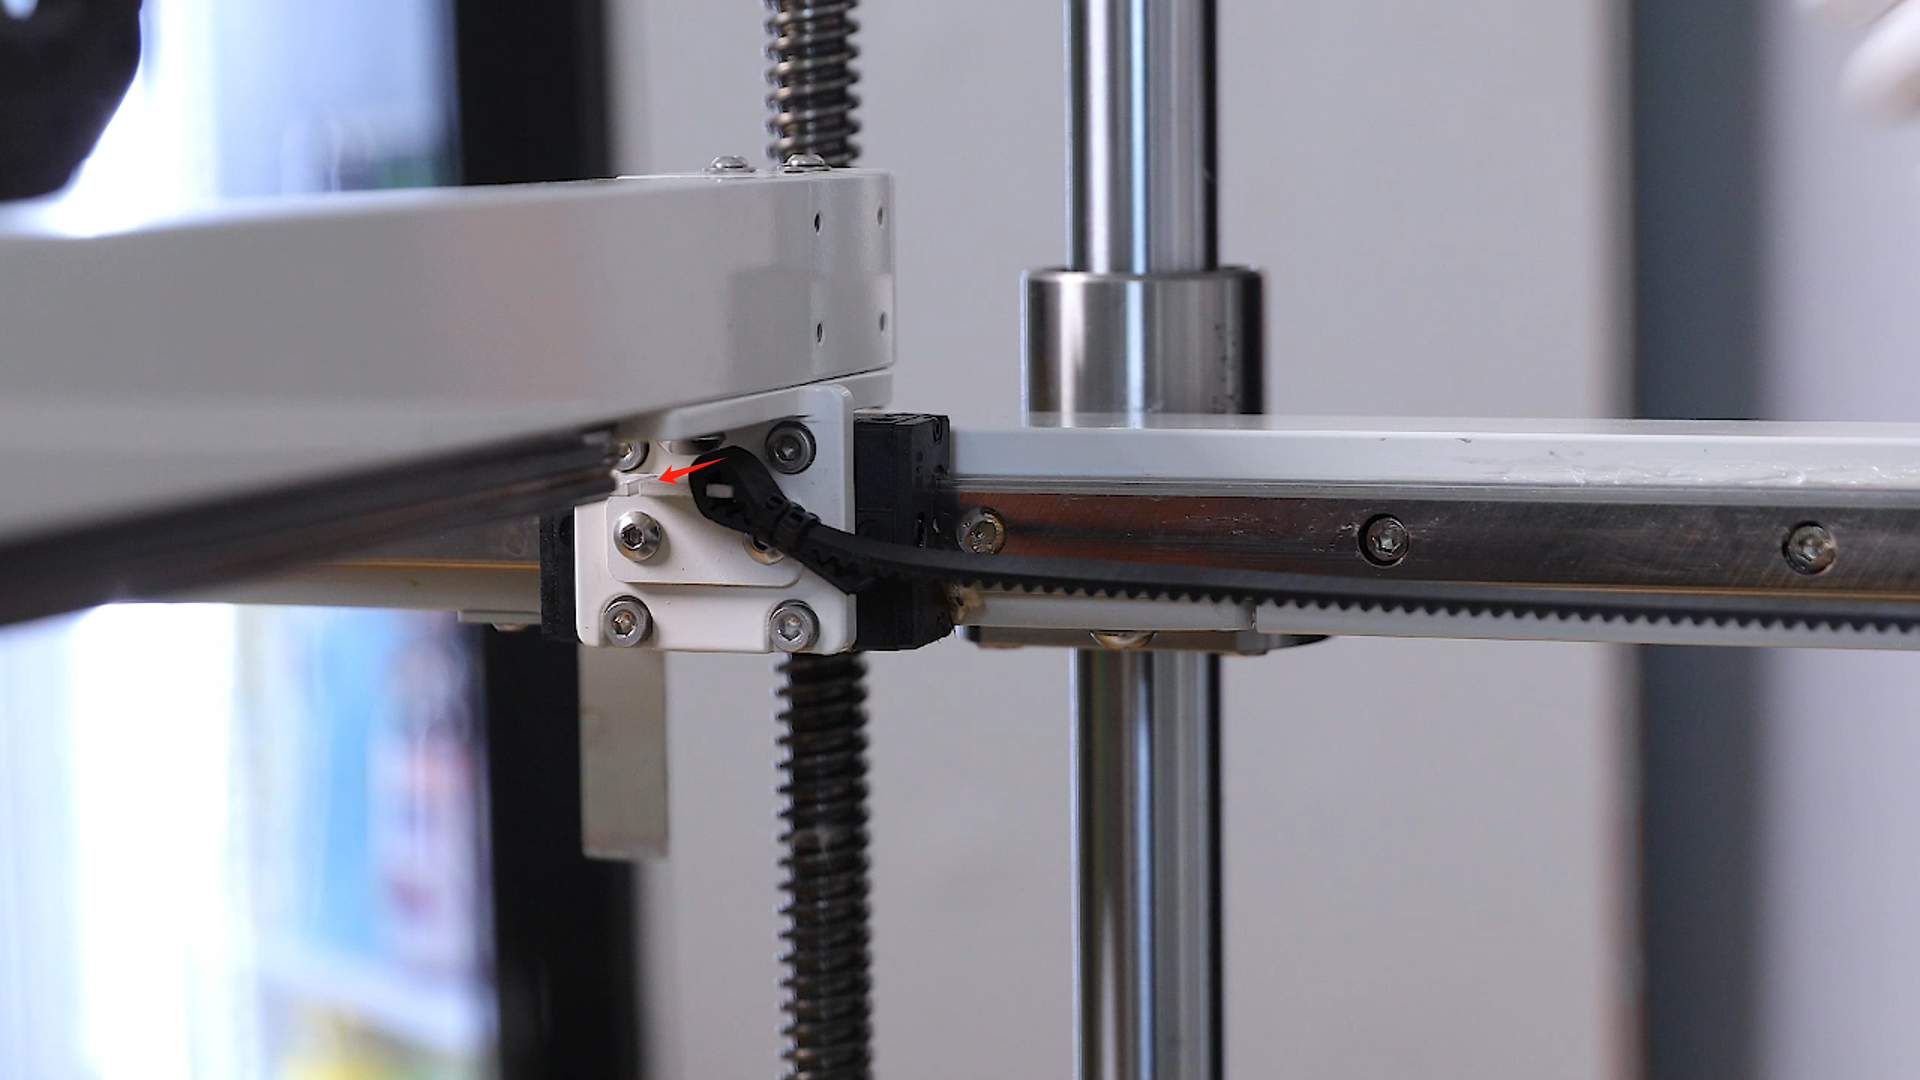
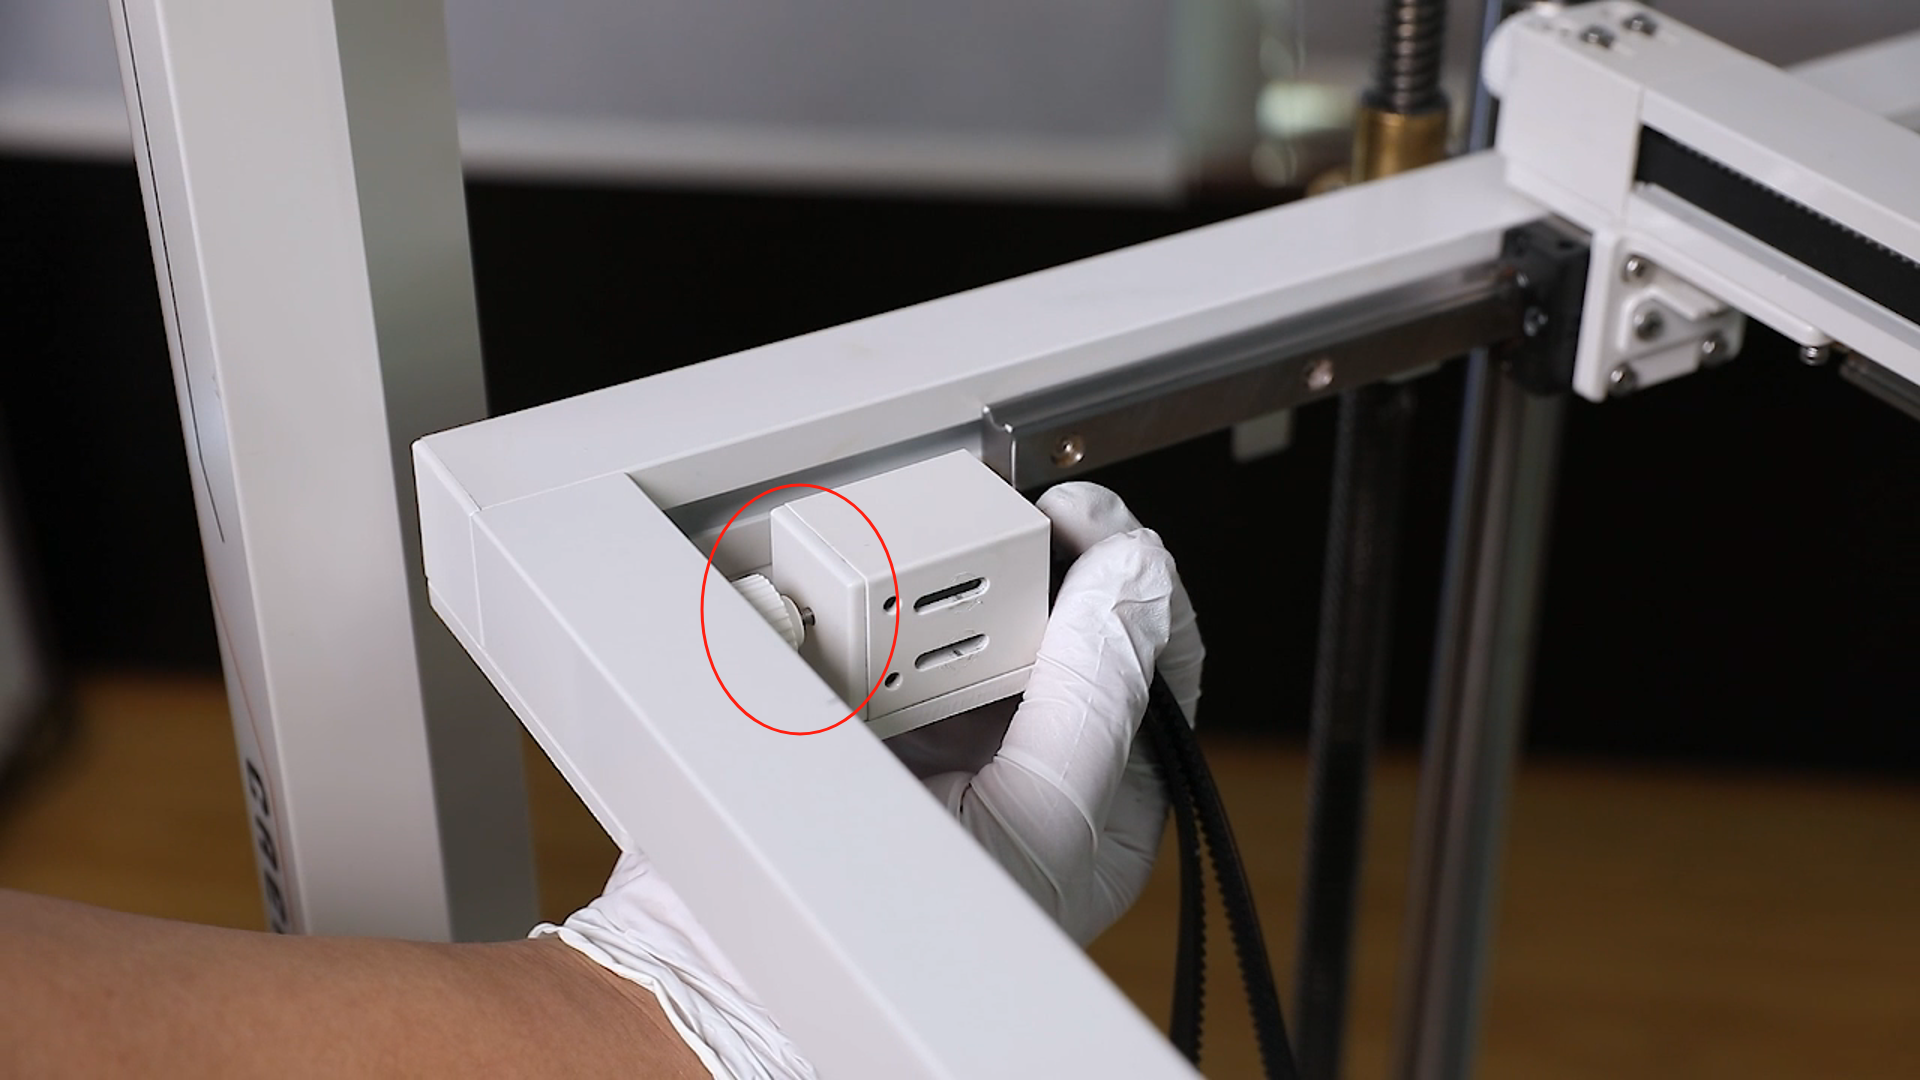
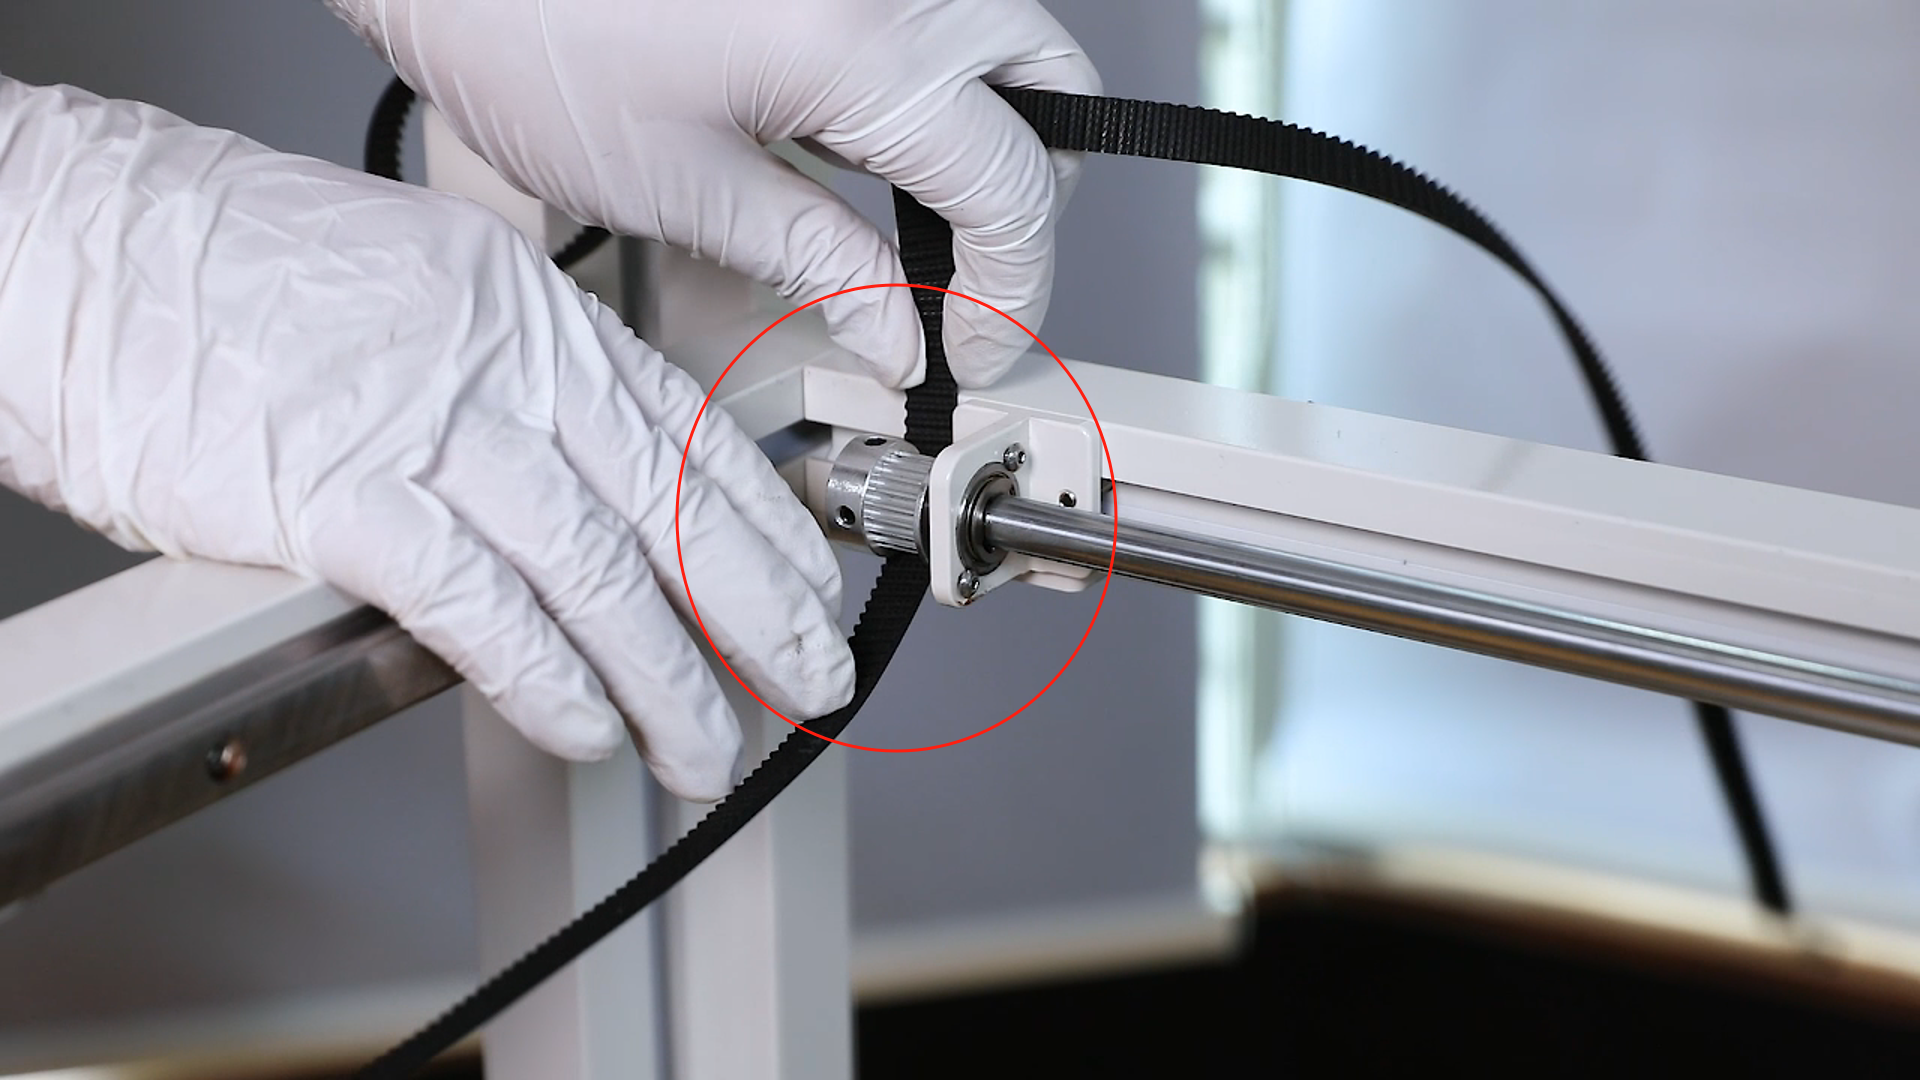
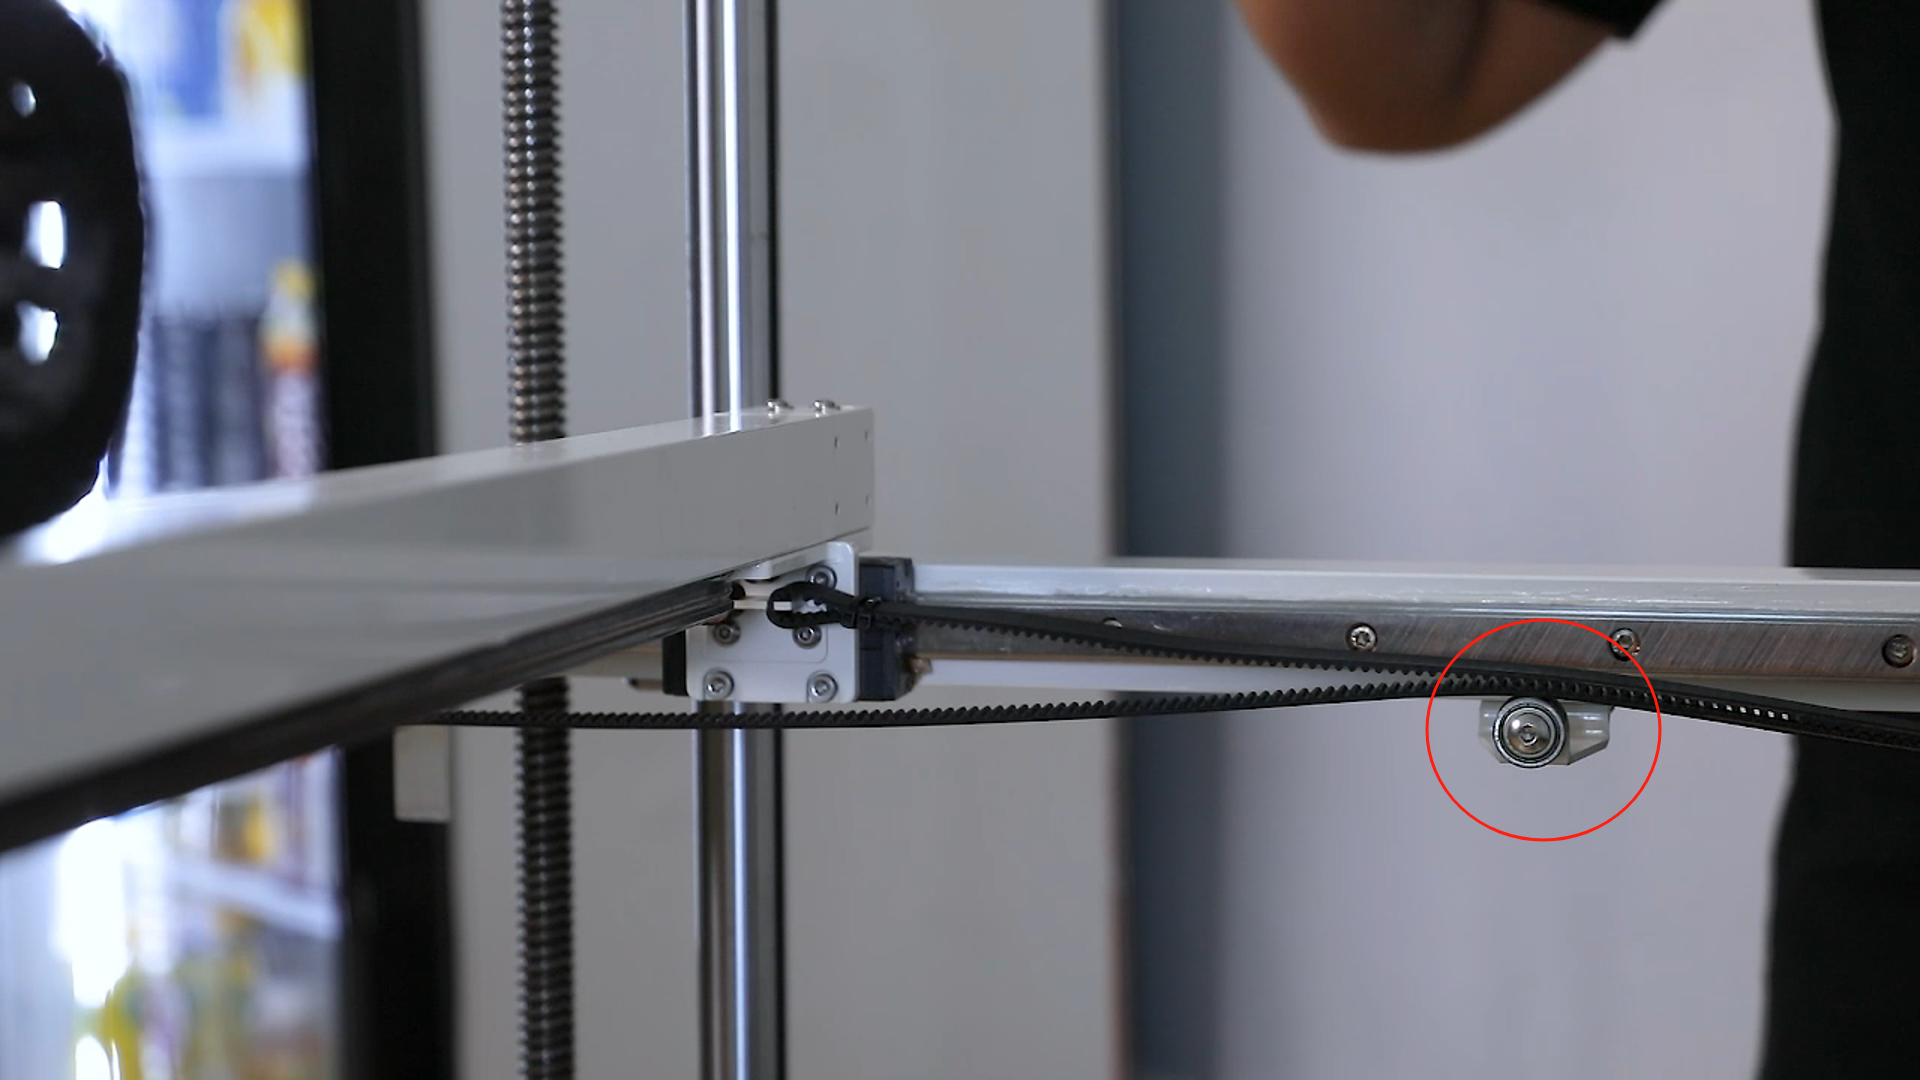
- Loosen the 2 screws securing the slider of the passive wheel using a 2.0 mm Allen wrench.
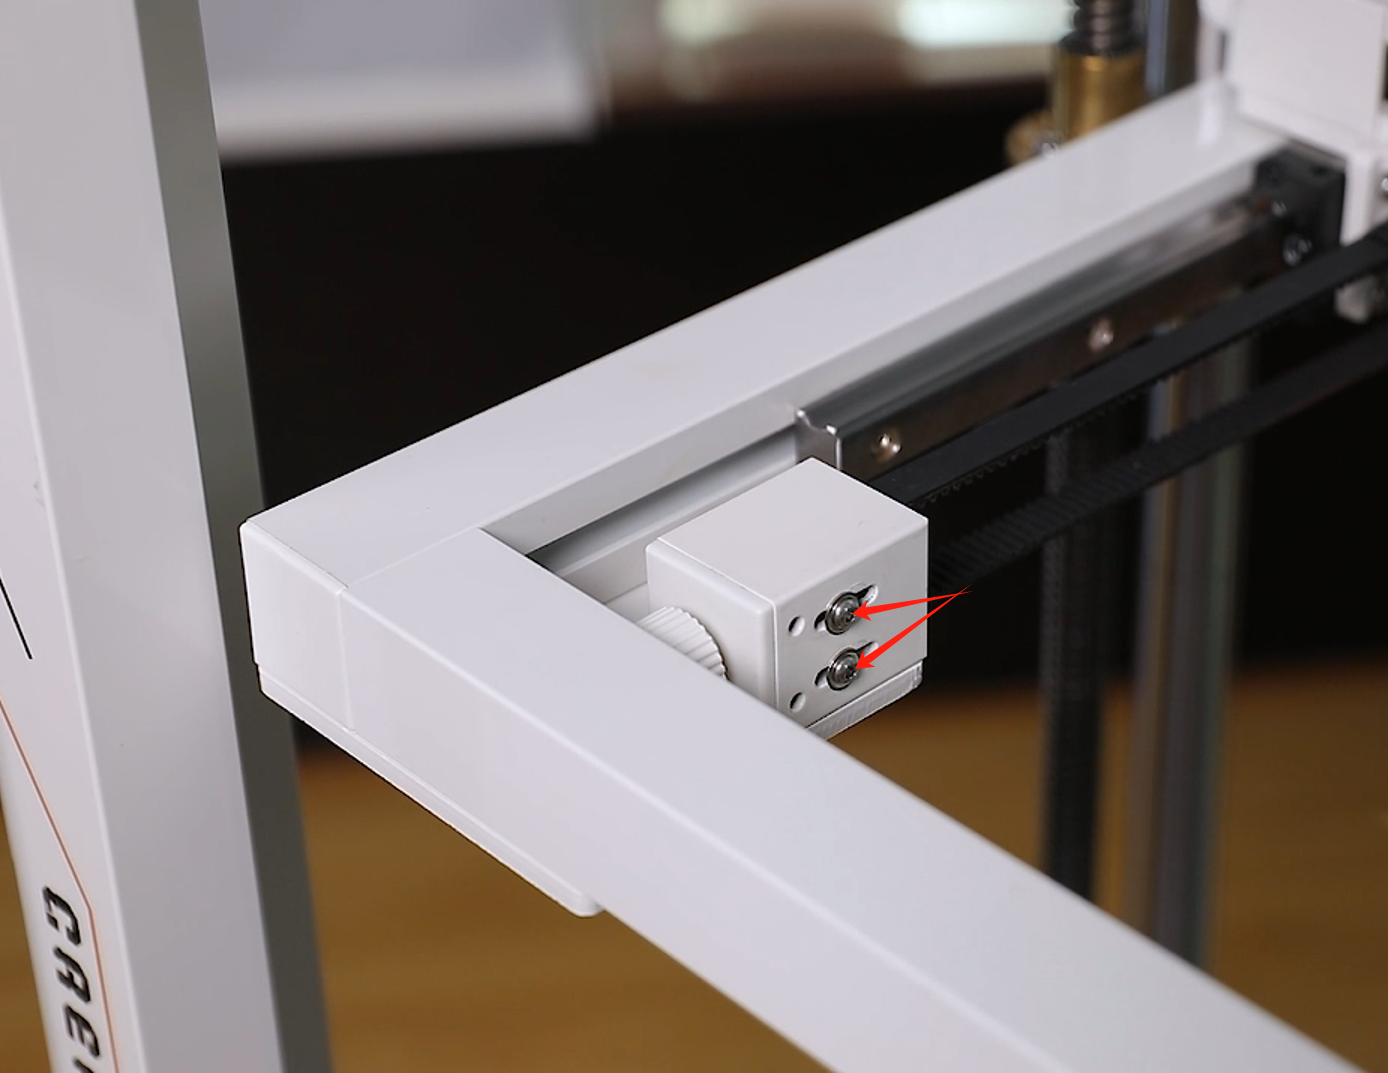
- Loosen the nut on the belt tension adjustment device and remove the nut and the cover plate.
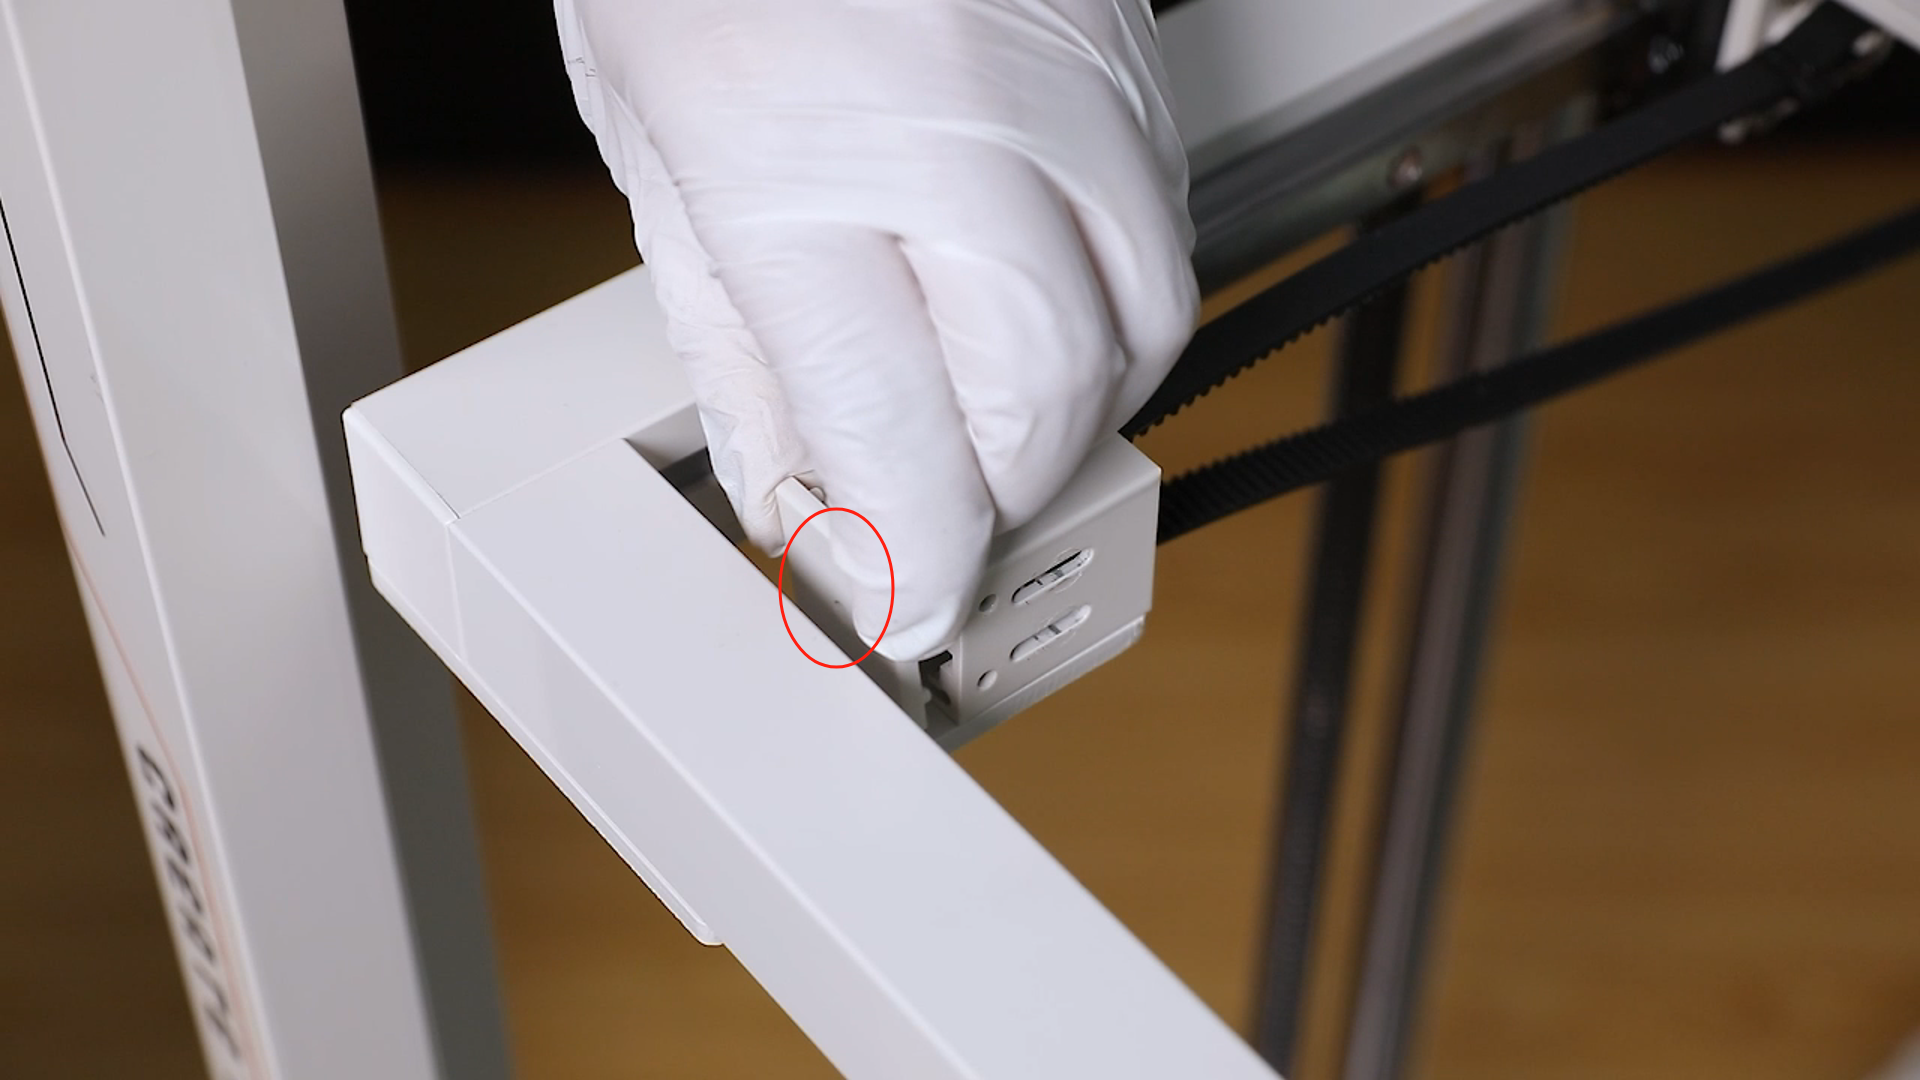
- Remove the slider of the passive wheel out of the mounting bracket.
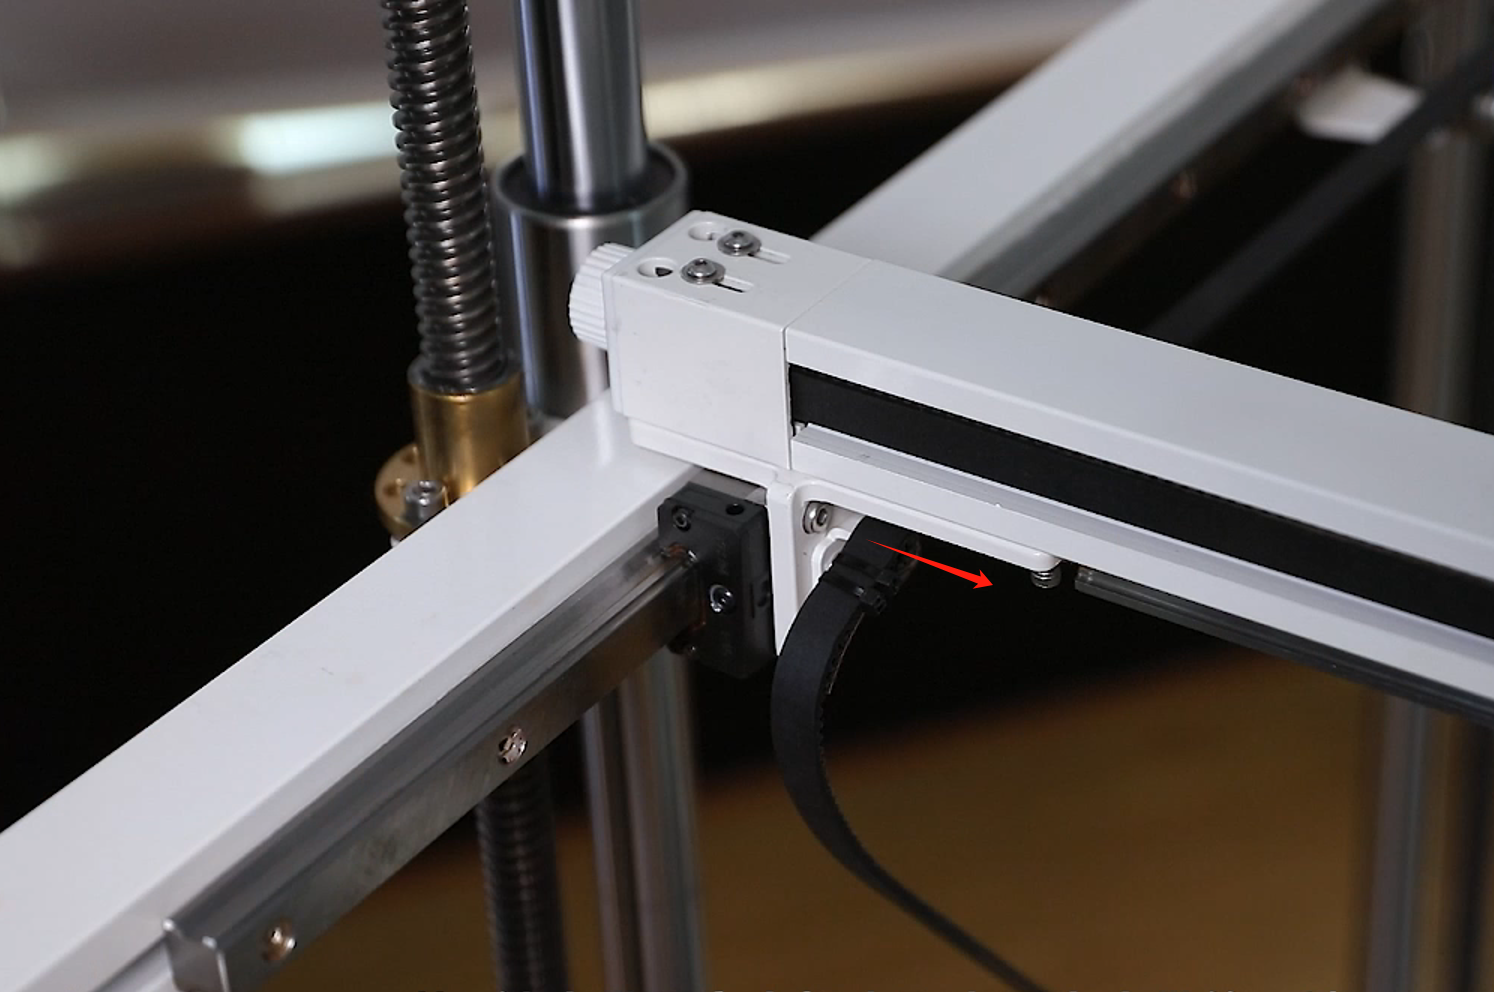
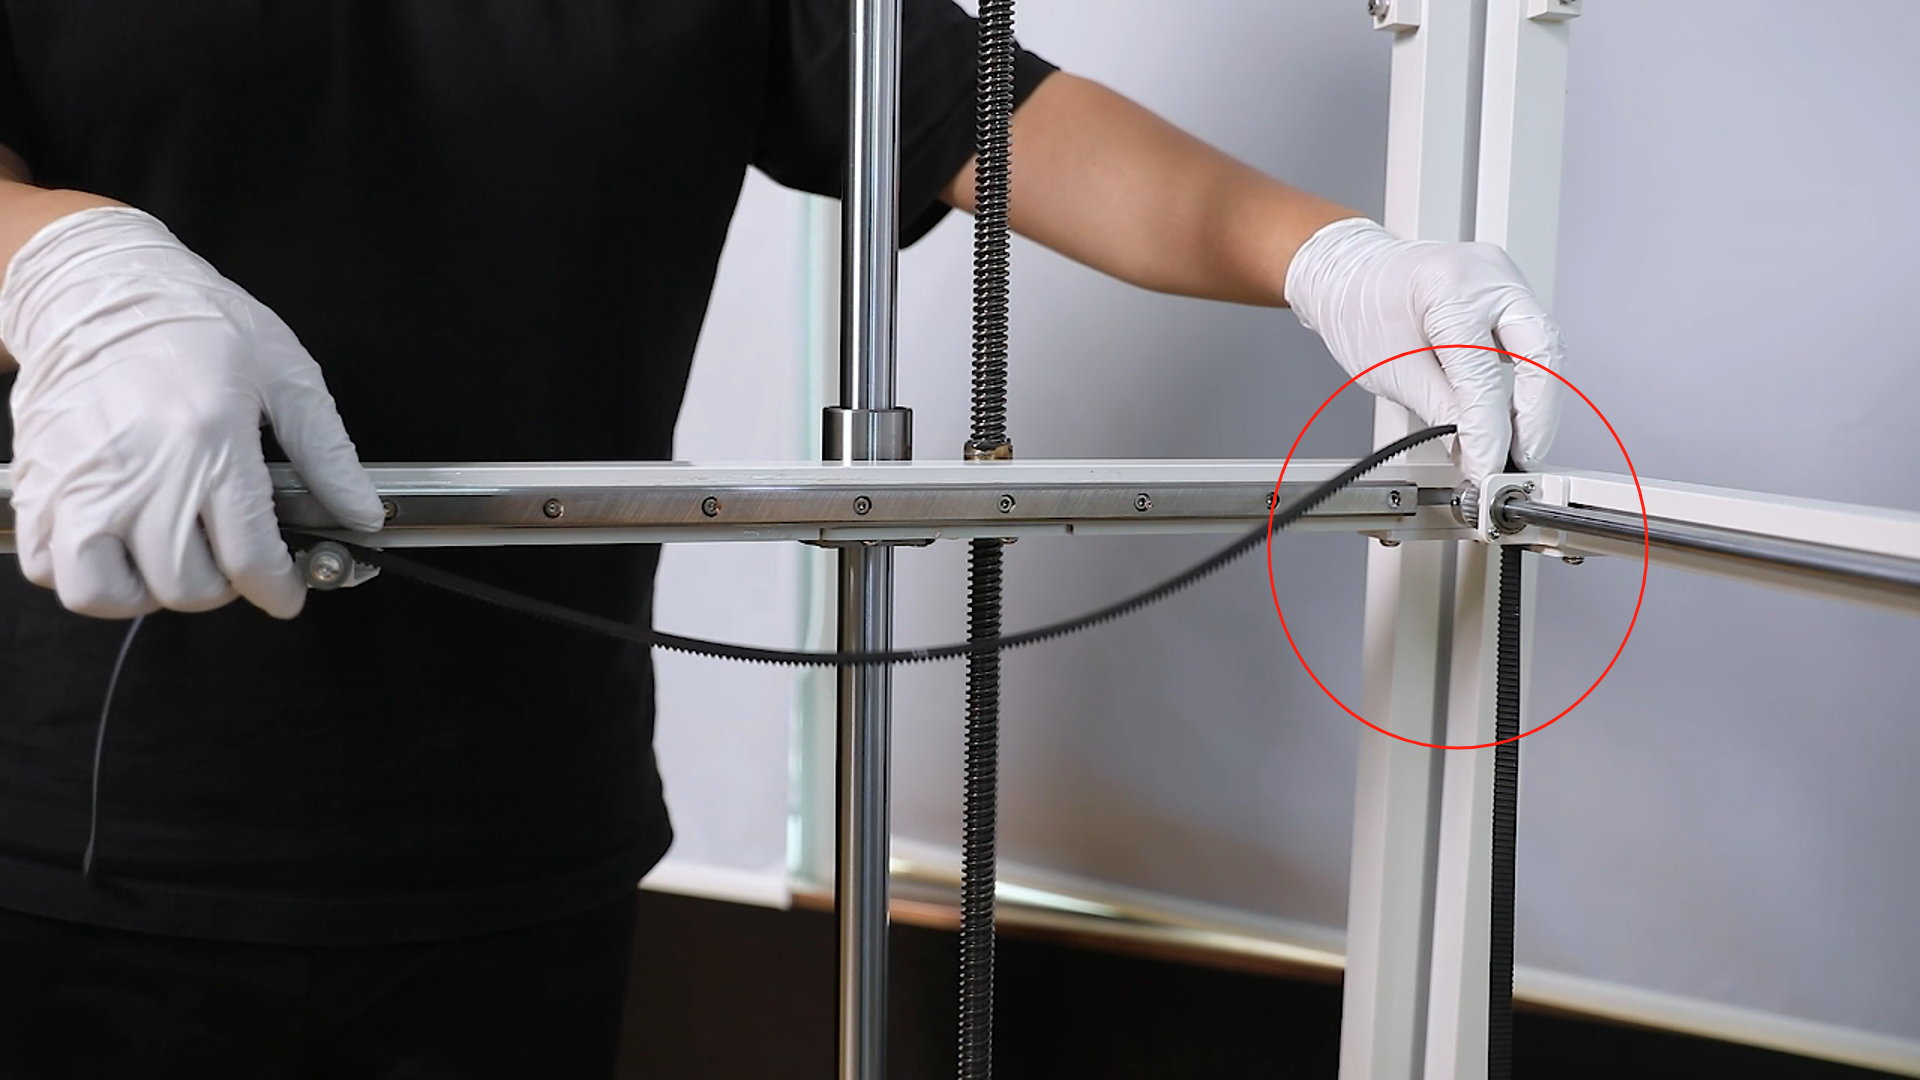
- Remove one end of the timing belt from the mounting bracket of the Y-axis belt. Cut the ribbon cables securing the timing belt using a pair of diagonal pliers.
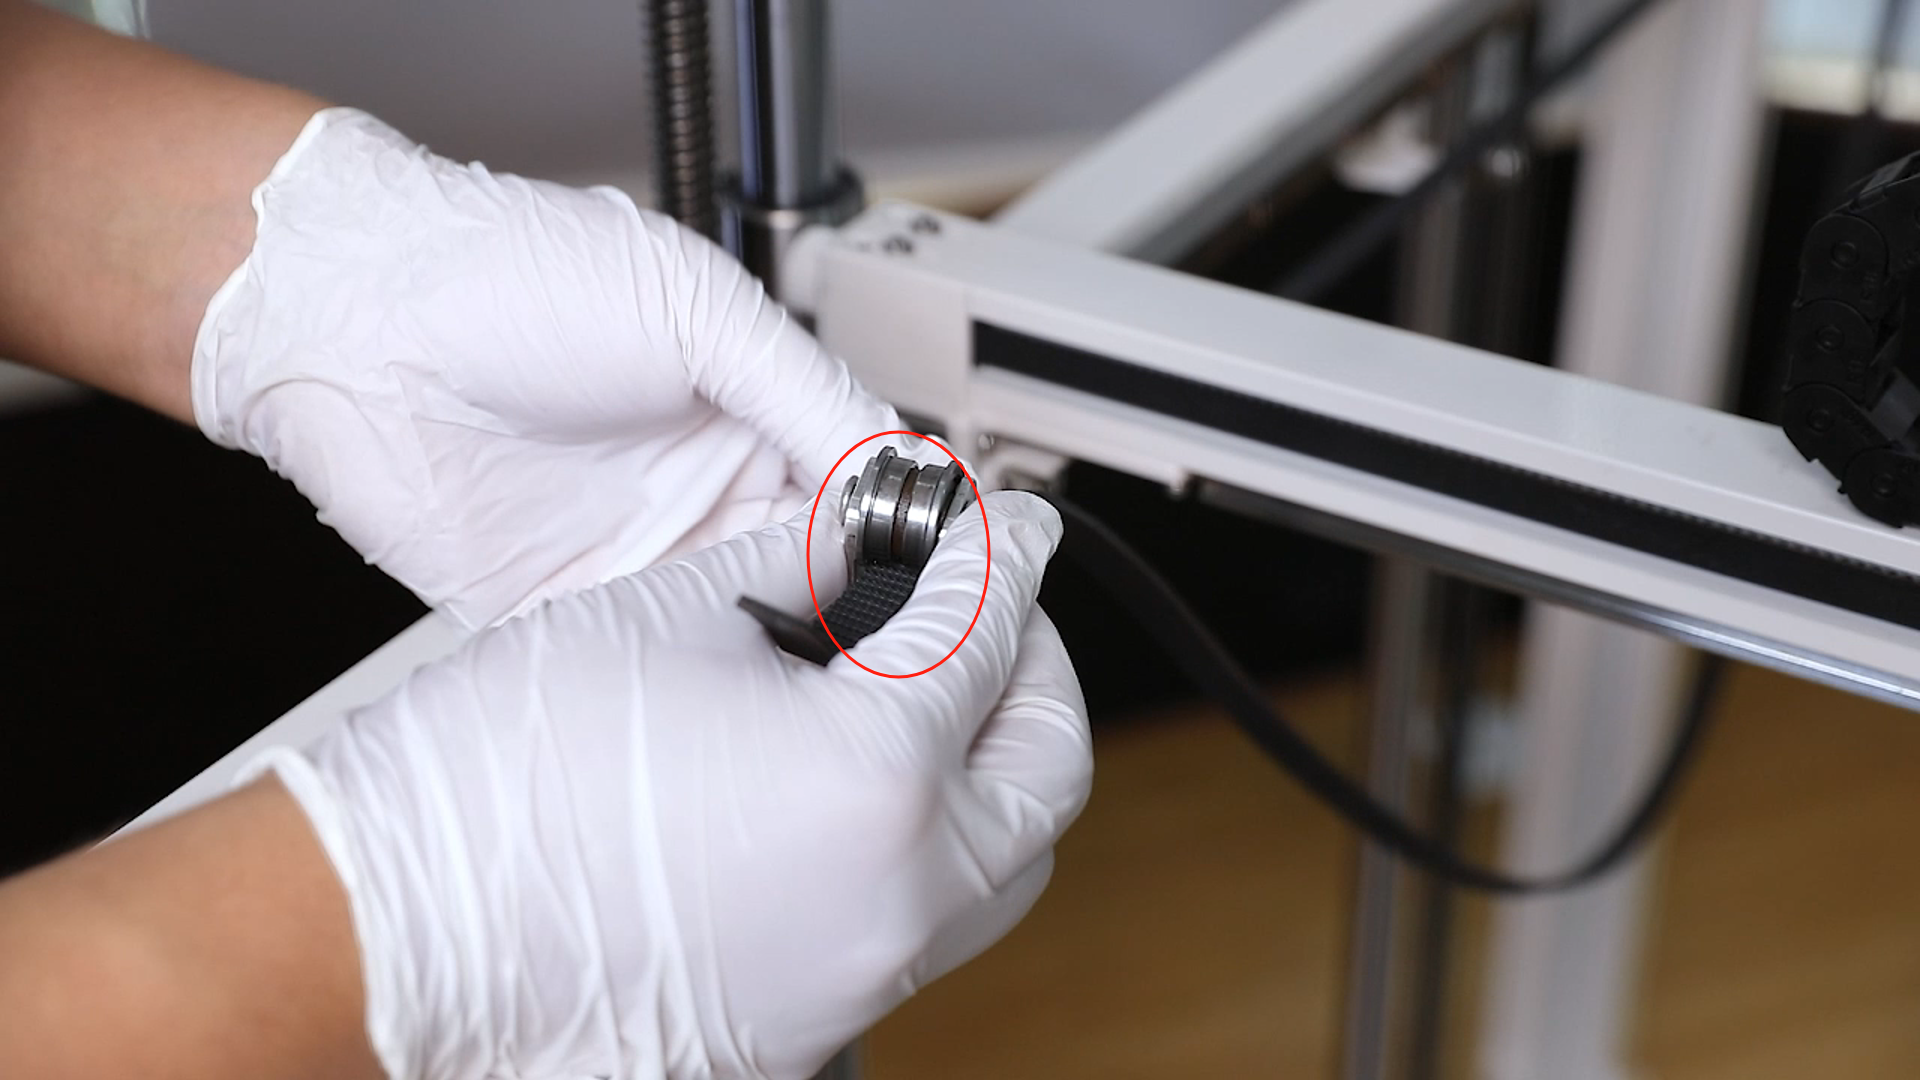
- Remove the passive wheel slider from the timing belt.
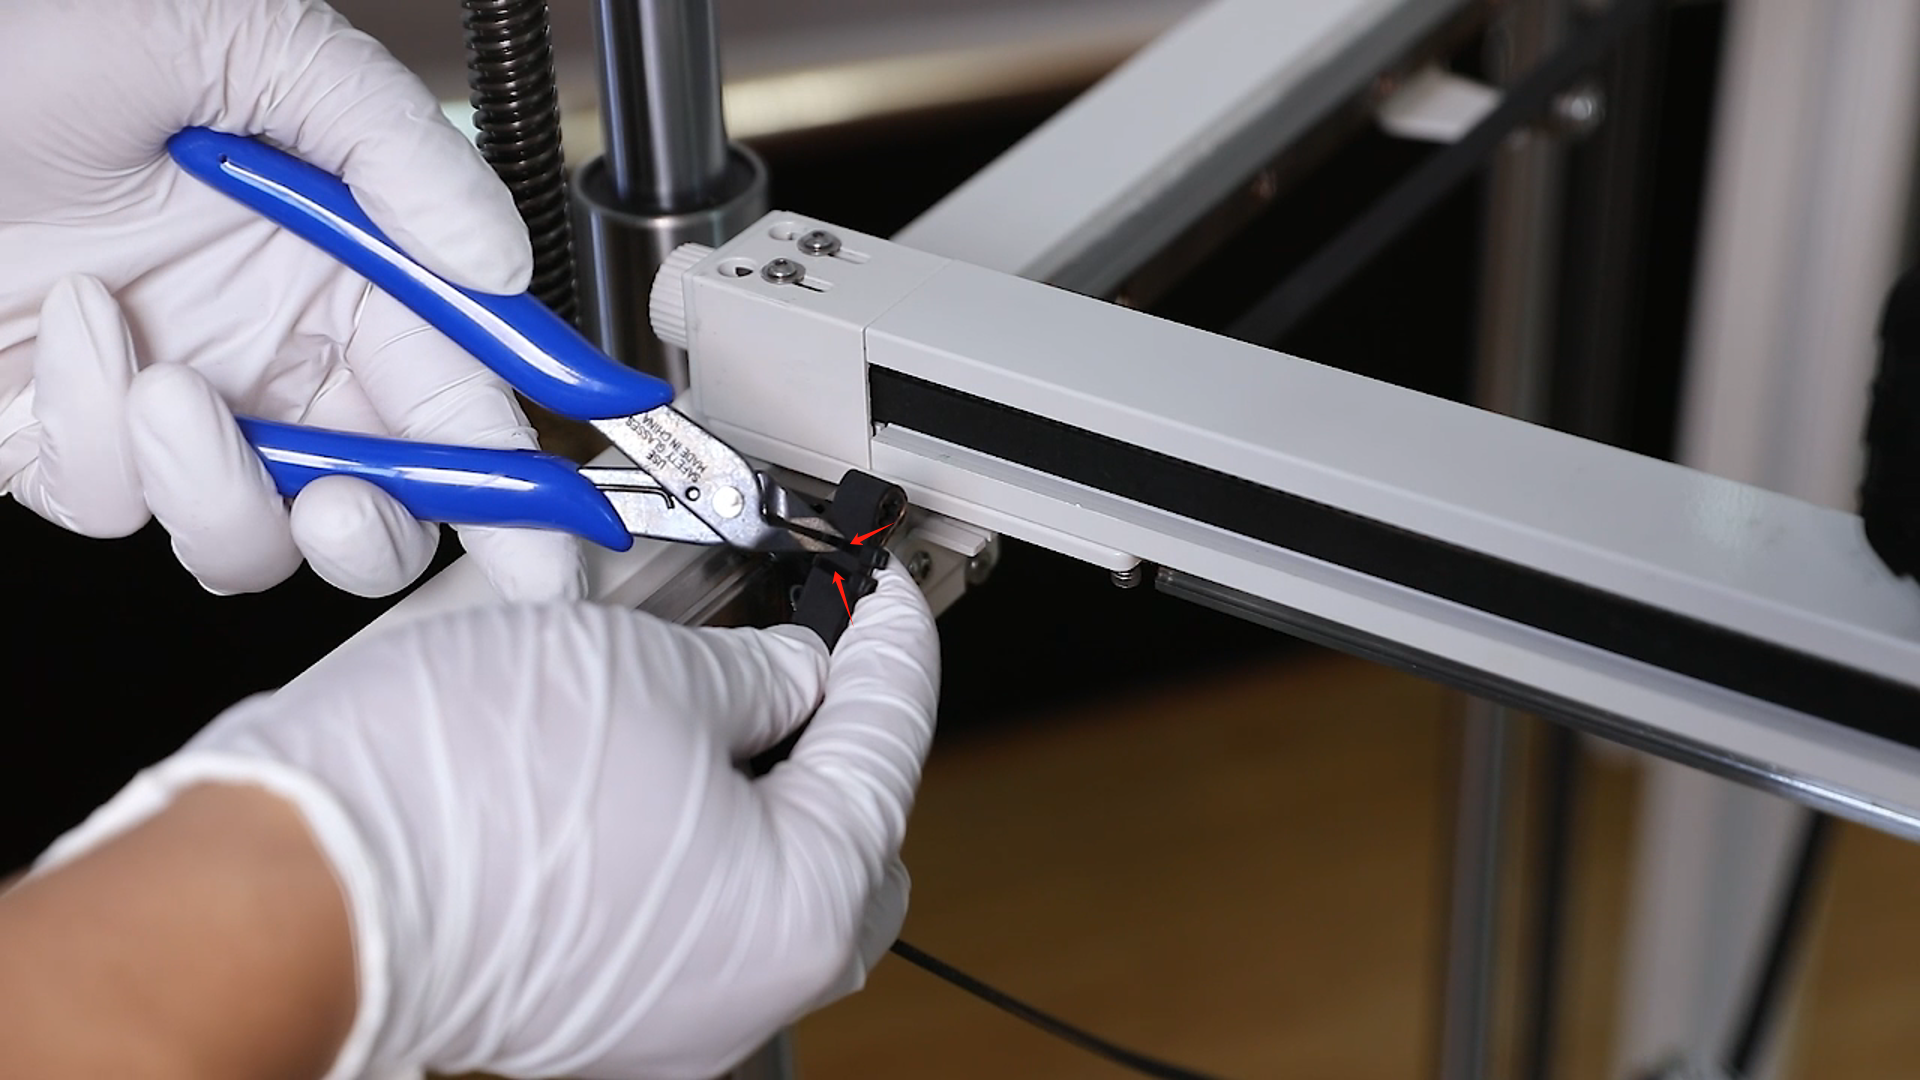
- Remove the other end of the belt and cut the ribbon cables securing the timing belt using a pair of diagonal pliers. Remove the old Y-axis timing belt.
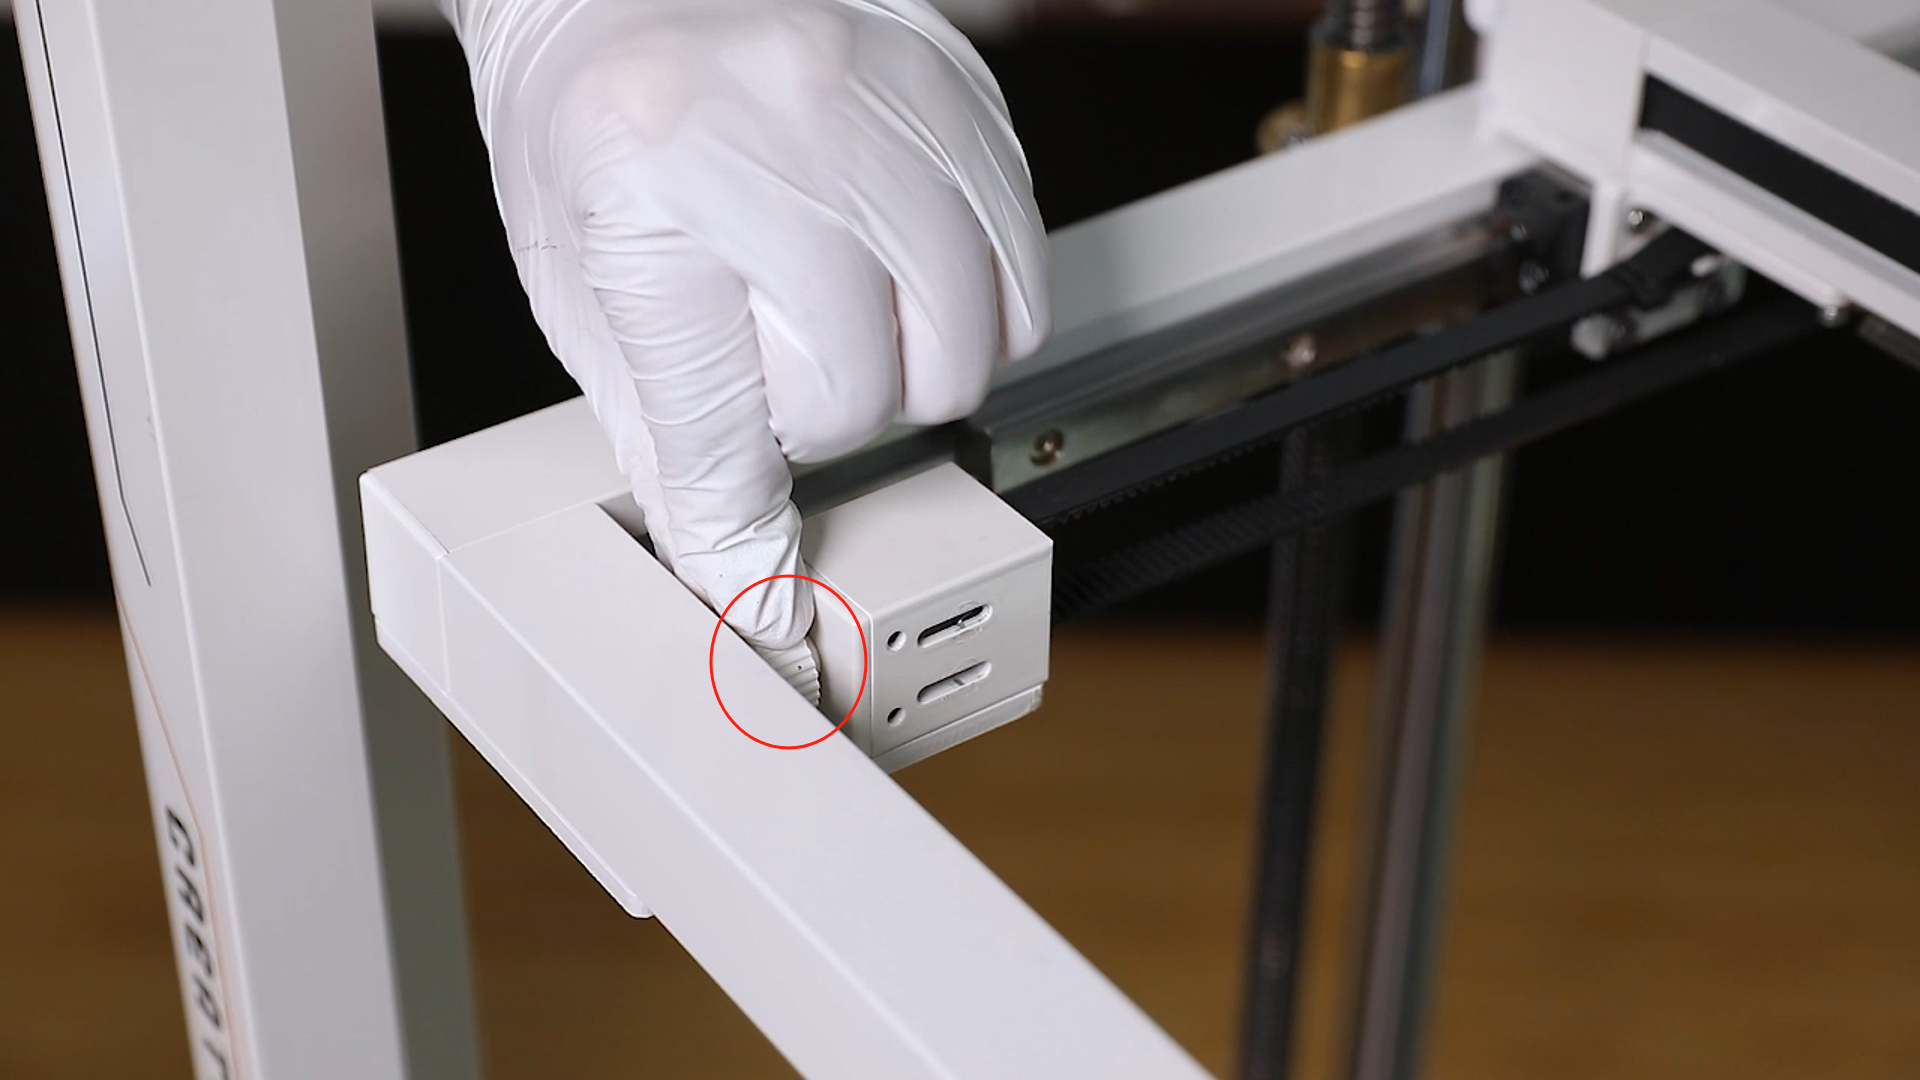
- Prepare the new Y-axis timing belt and thread one end of the timing belt through the passive wheel slider.
Note: The timing pulley has its fixed installation direction.
- Place the slider of the passive wheel in its installation position and install the cover plate and the nut by turning the nut in two full turns.
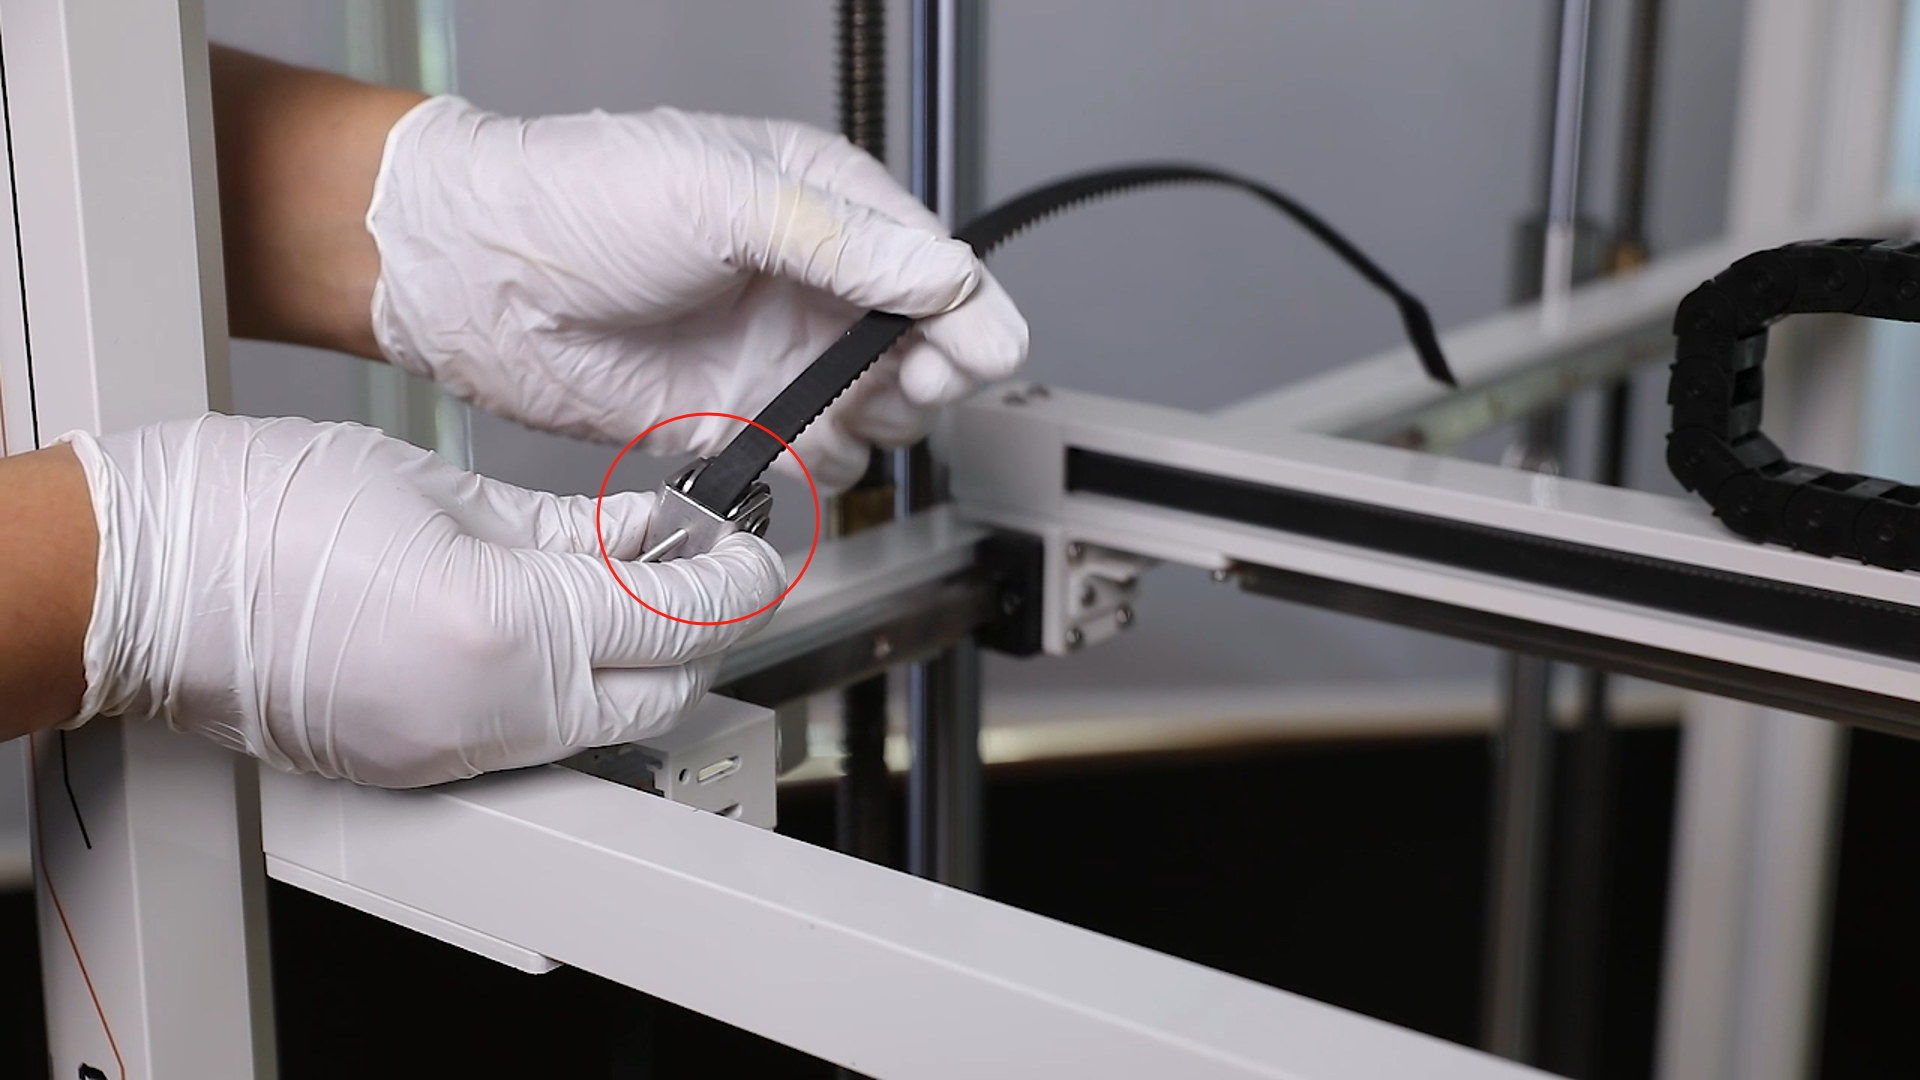
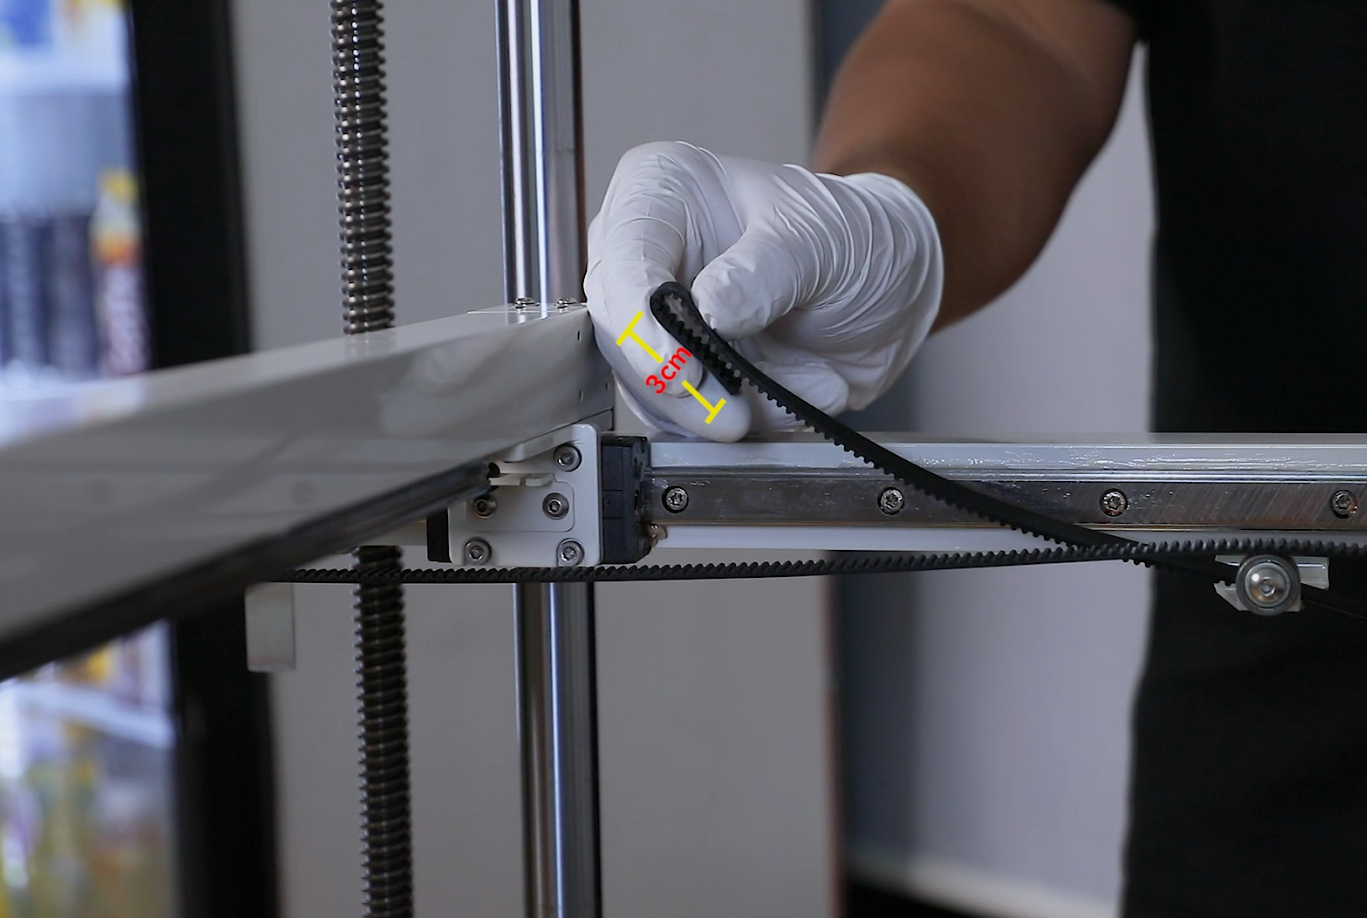
- Prepare the end of the belt. Fold approximately 3 cm of the end and secure this part using a ribbon cable.

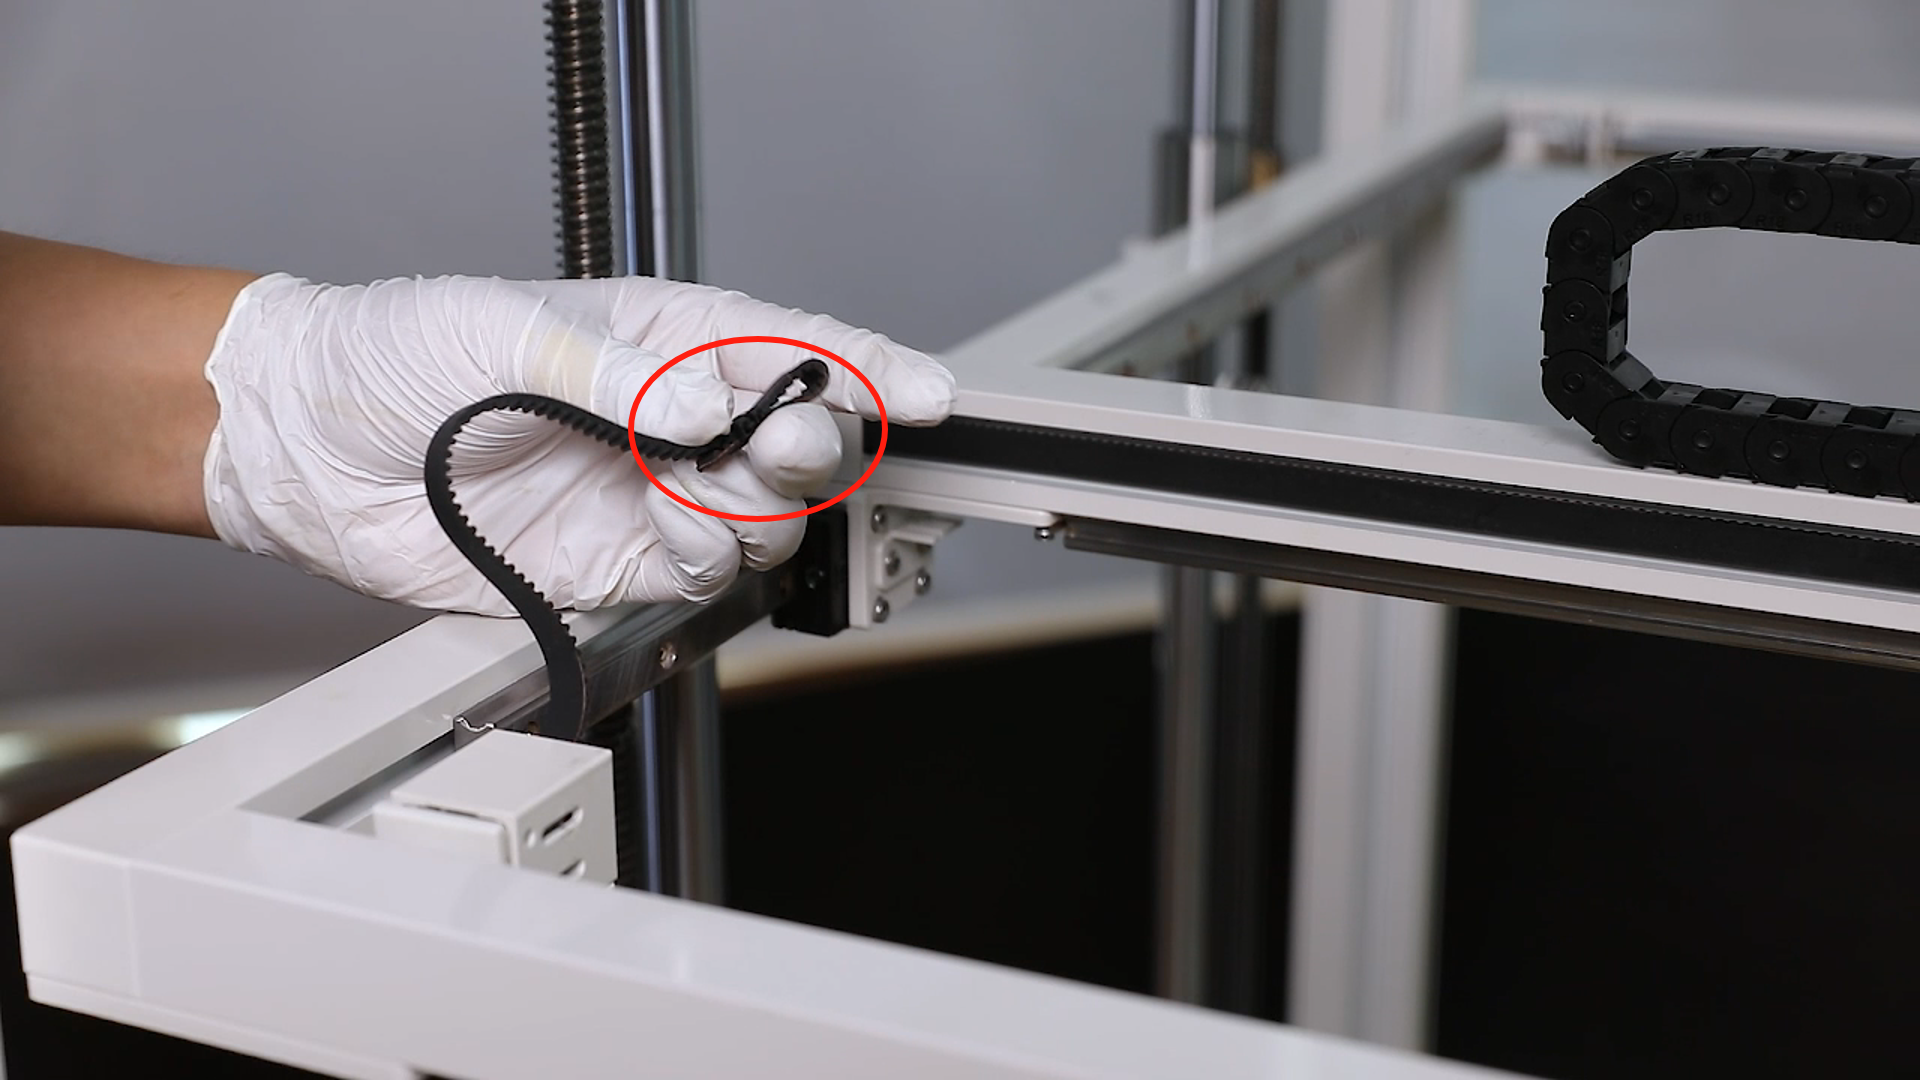
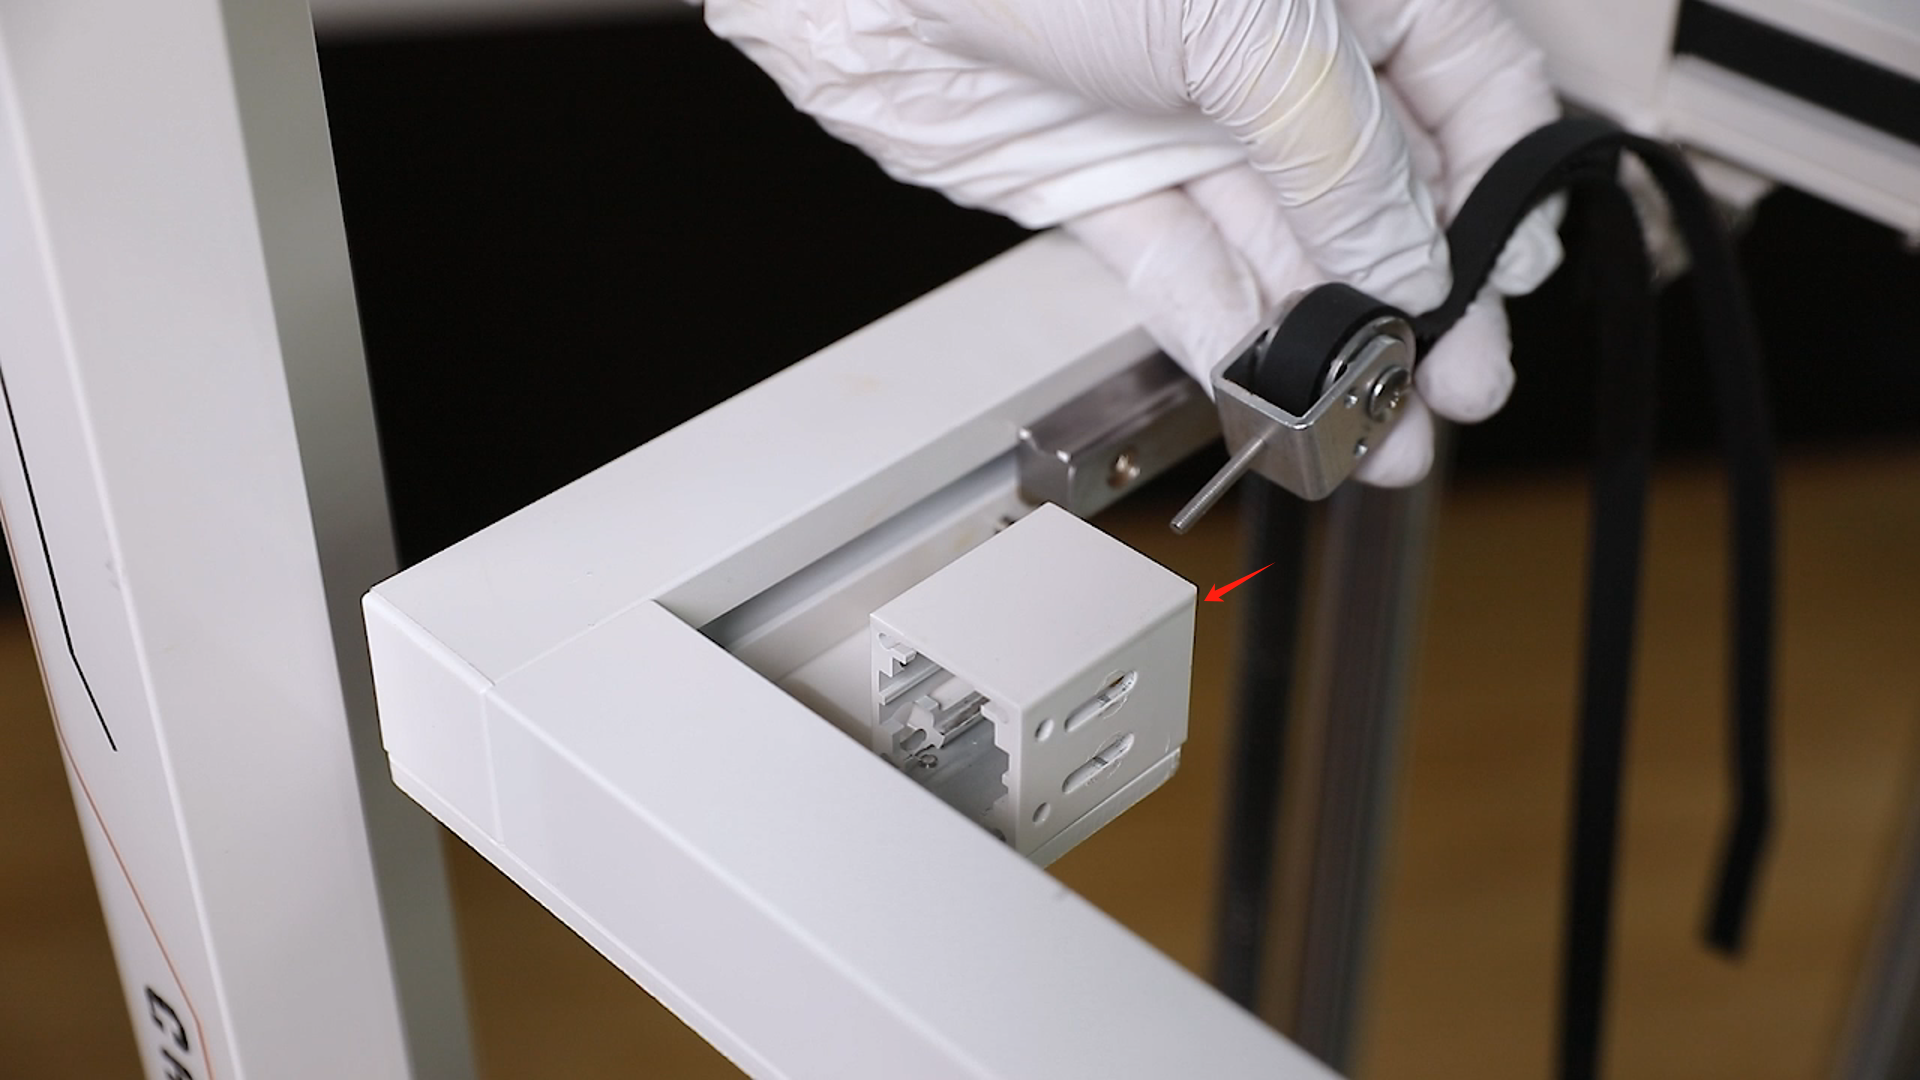
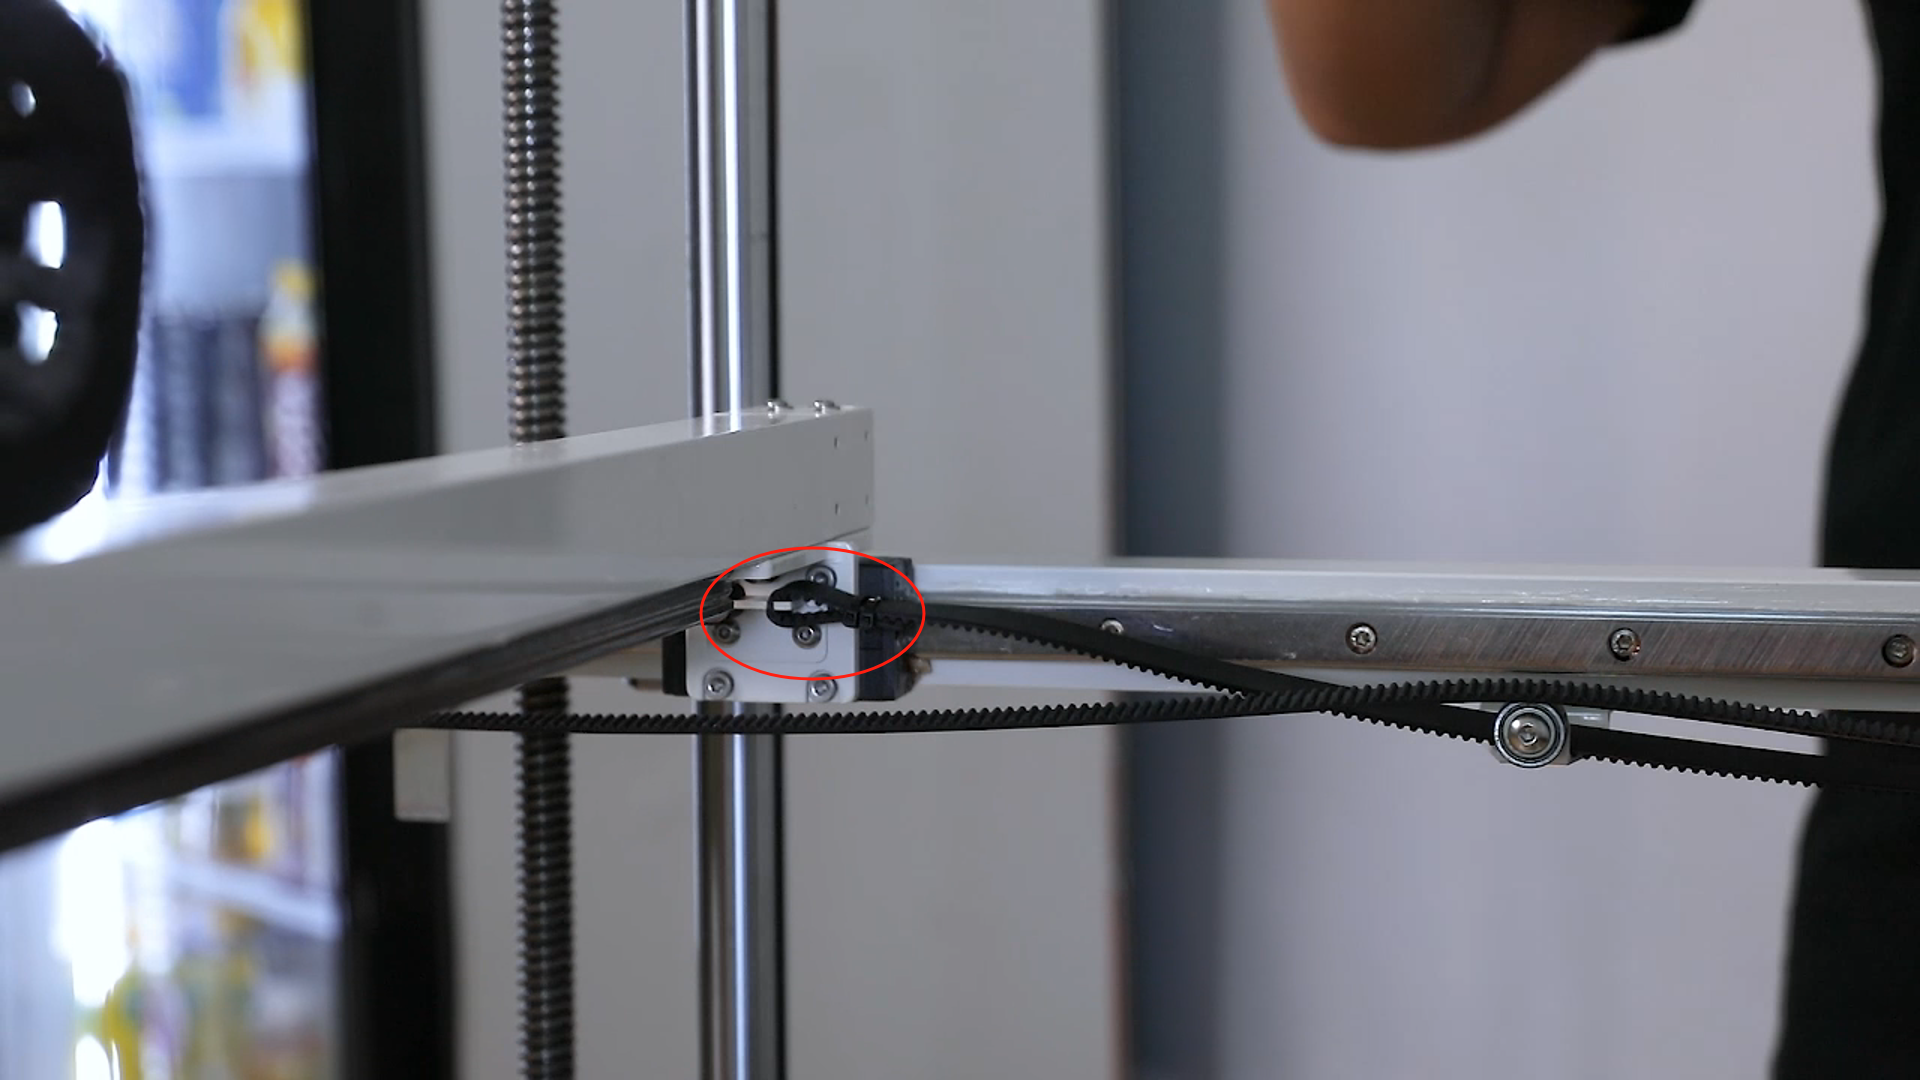
- Loop the folded end of the timing belt around its mounting bracket.
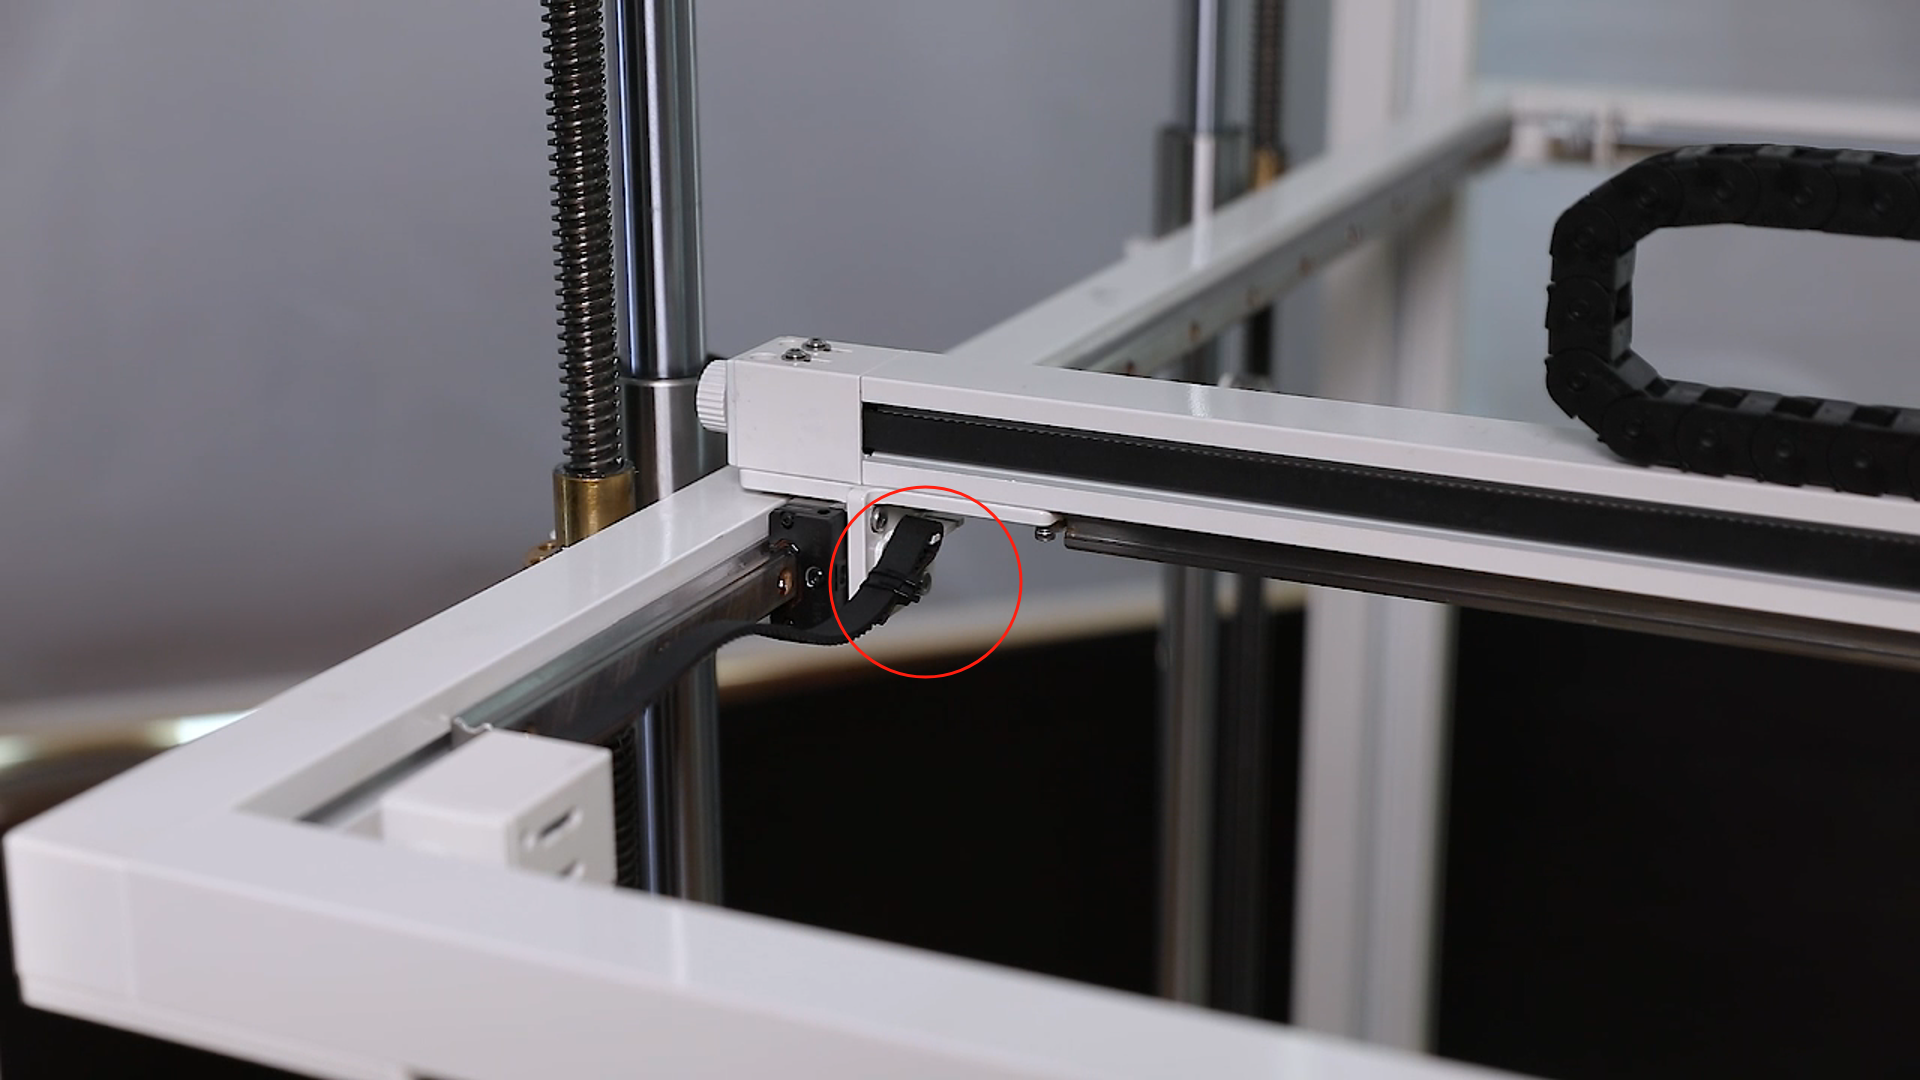
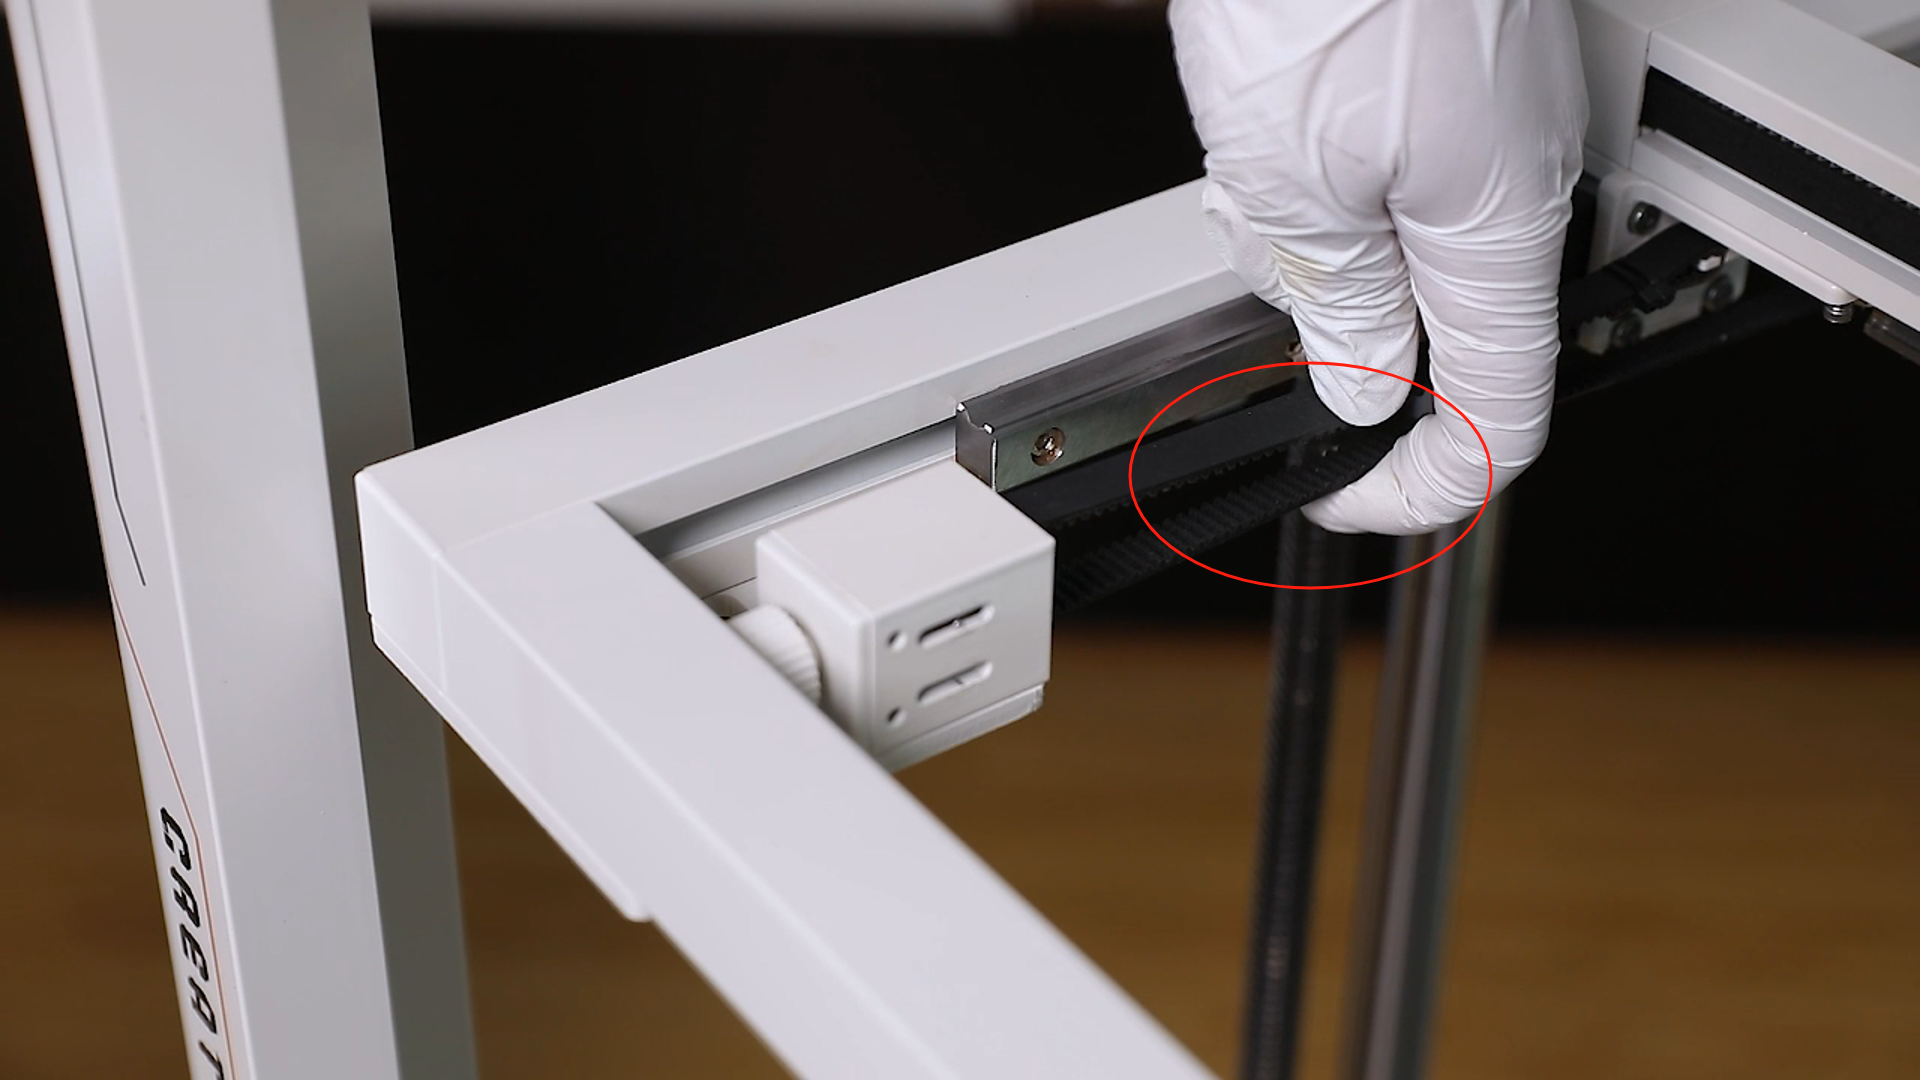
- Tidy up the timing belt Y-axis and thread it through the tension adjustment wheel and the rear timing pulley.
- Prepare the other end of the timing belt and fold approximately 3 cm of the front. Secure this part using a ribbon cable.
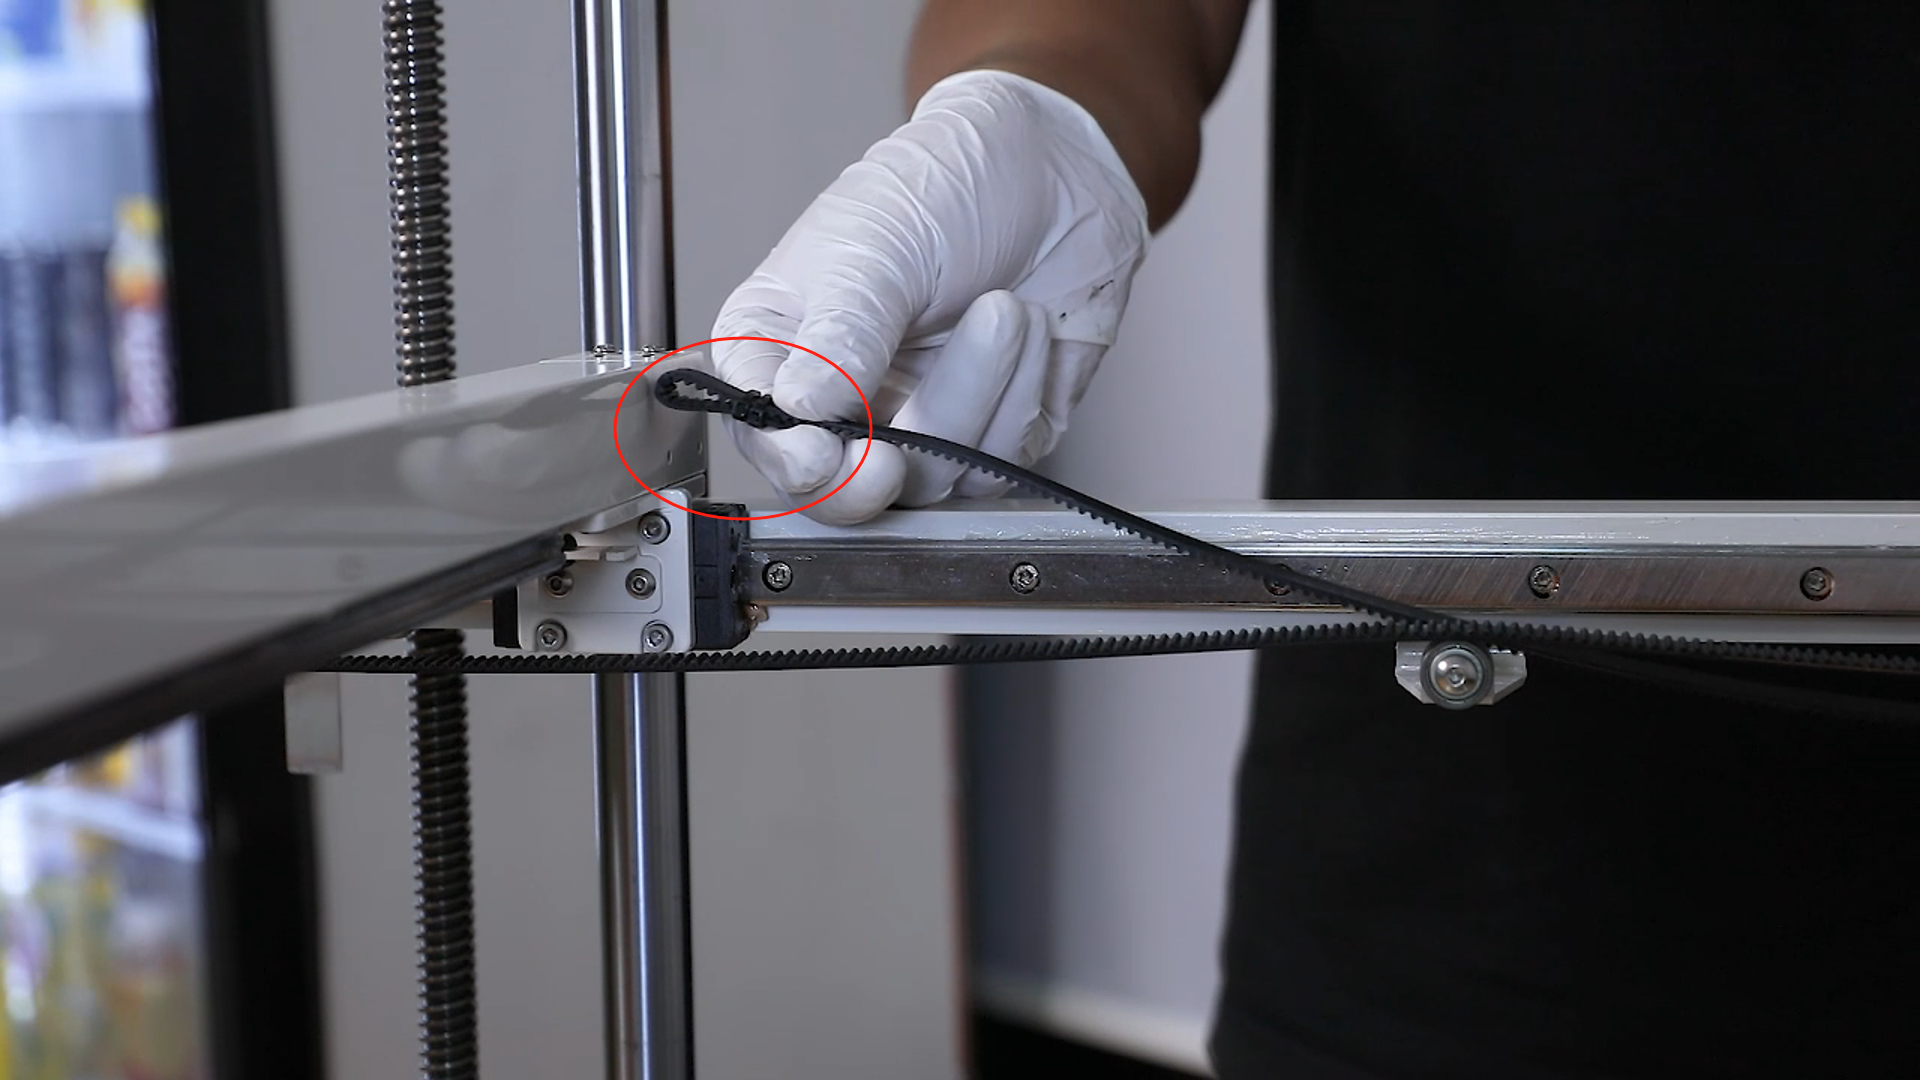
- Loop the folded end of the timing belt around its mounting bracket.
- Tidy up the timing belt of the Y-axis and put it on the tension adjustment wheel.
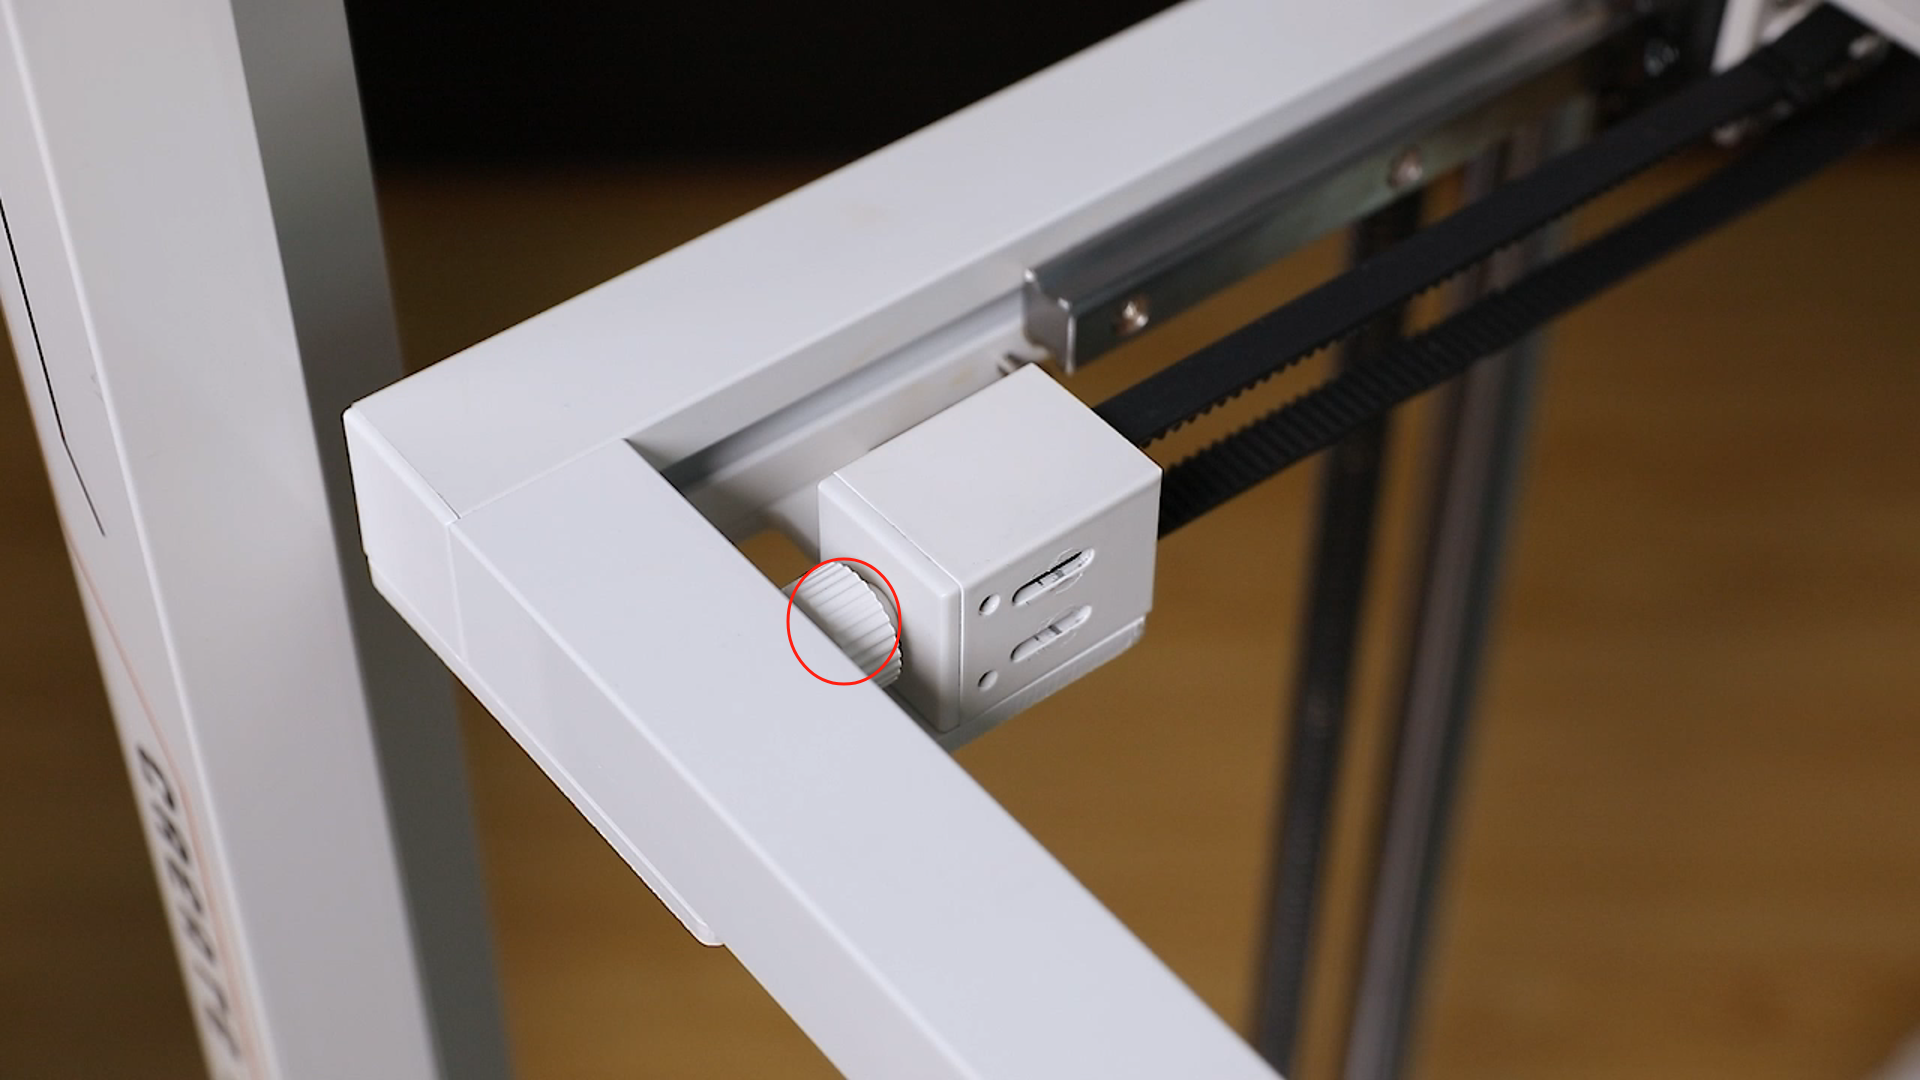
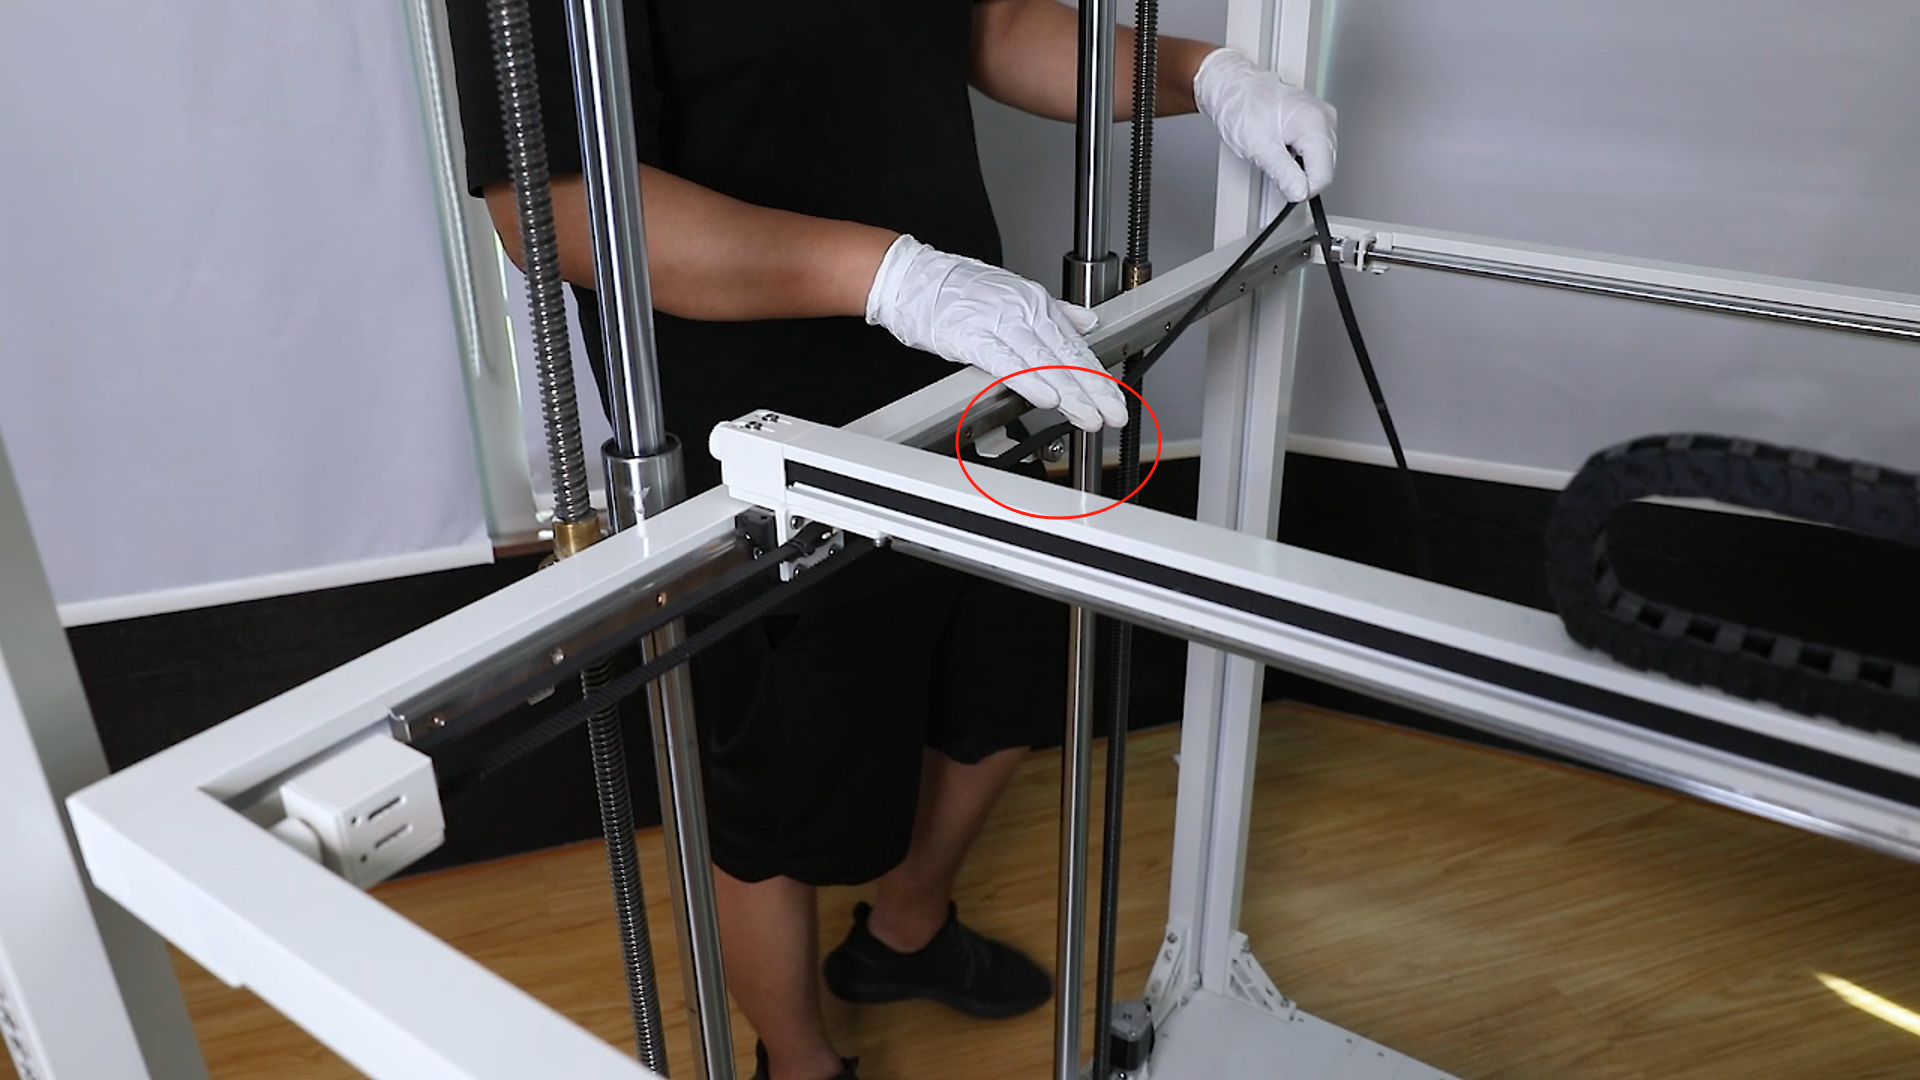
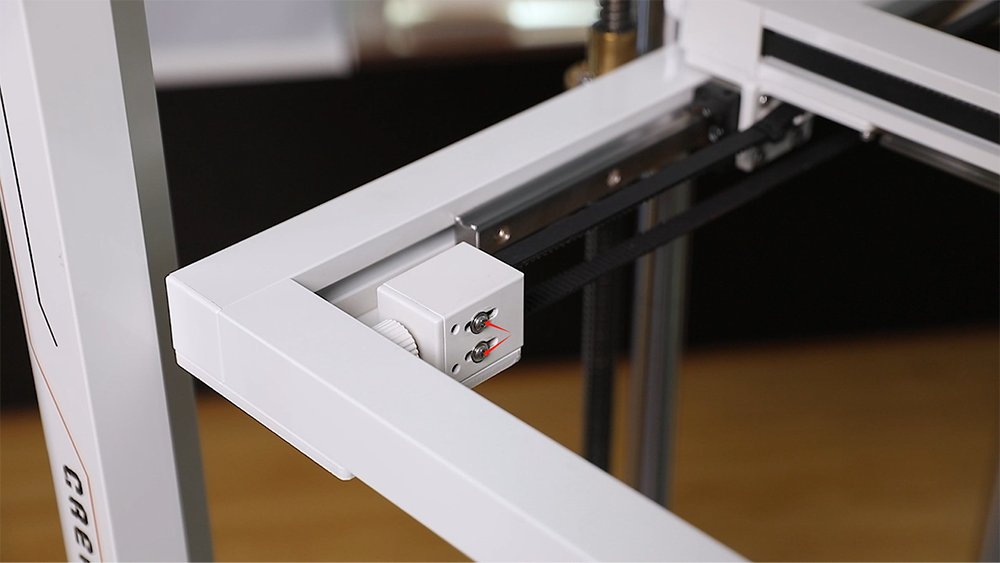
- Rotate the tension adjustment knob of Y-axis belt to adjust the belt tension to an appropriate degree, neither too loose nor too tight.
- Tighten the 2 screws securing the slider of the passive wheel using a 2.0 mm Allen wrench.
- Replace the timing belt on the other side of the Y-axis in the same way.
- Plug in the power cord and power on the printer. Touch "Prepare-all (Home button)" on the touchscreen.
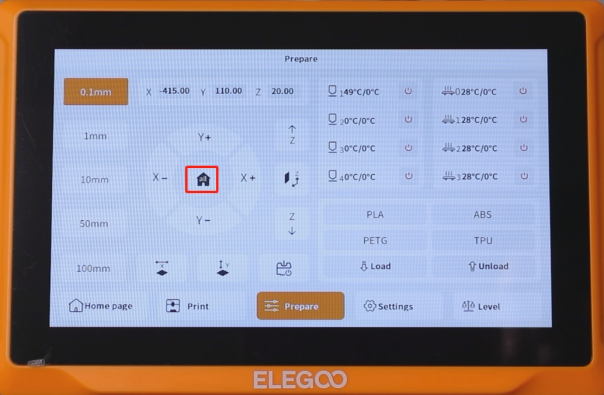
- The printer returns to zero. The printer can be used as usual after it works normally.