¶ Motherboard Replacement
¶ When to Replace the Motherboard
If the motherboard is not functioning properly, it needs to be replaced with a new one.
¶ Tools and Materials
- A 2.0mm Allen wrench
- A flathead screwdriver
- A phillips screwdriver
- 5 cable ties
- A new motherboard
¶ Tutorial Video
¶ Precautions and Machine Status Before Starting Operation
The procedure involves replacing the motherboard and managing the wiring. Before disassembly, ensure all necessary precautions are taken, turn off the machine, and disconnect the power.
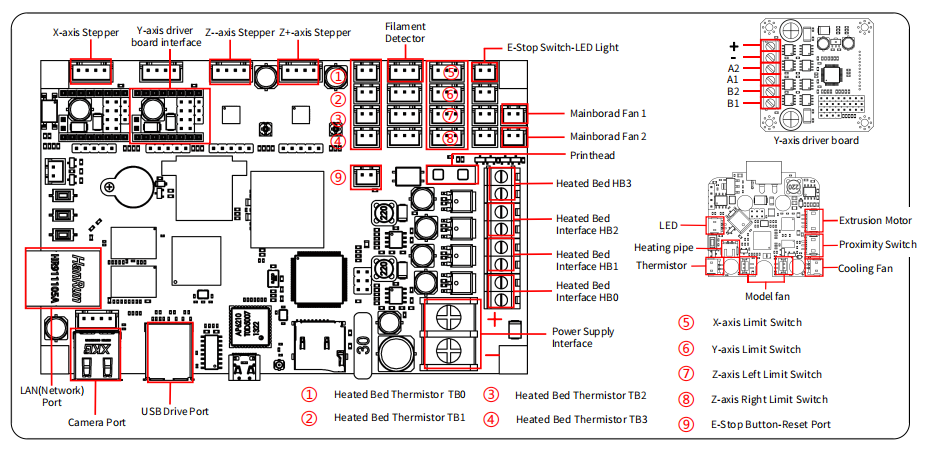
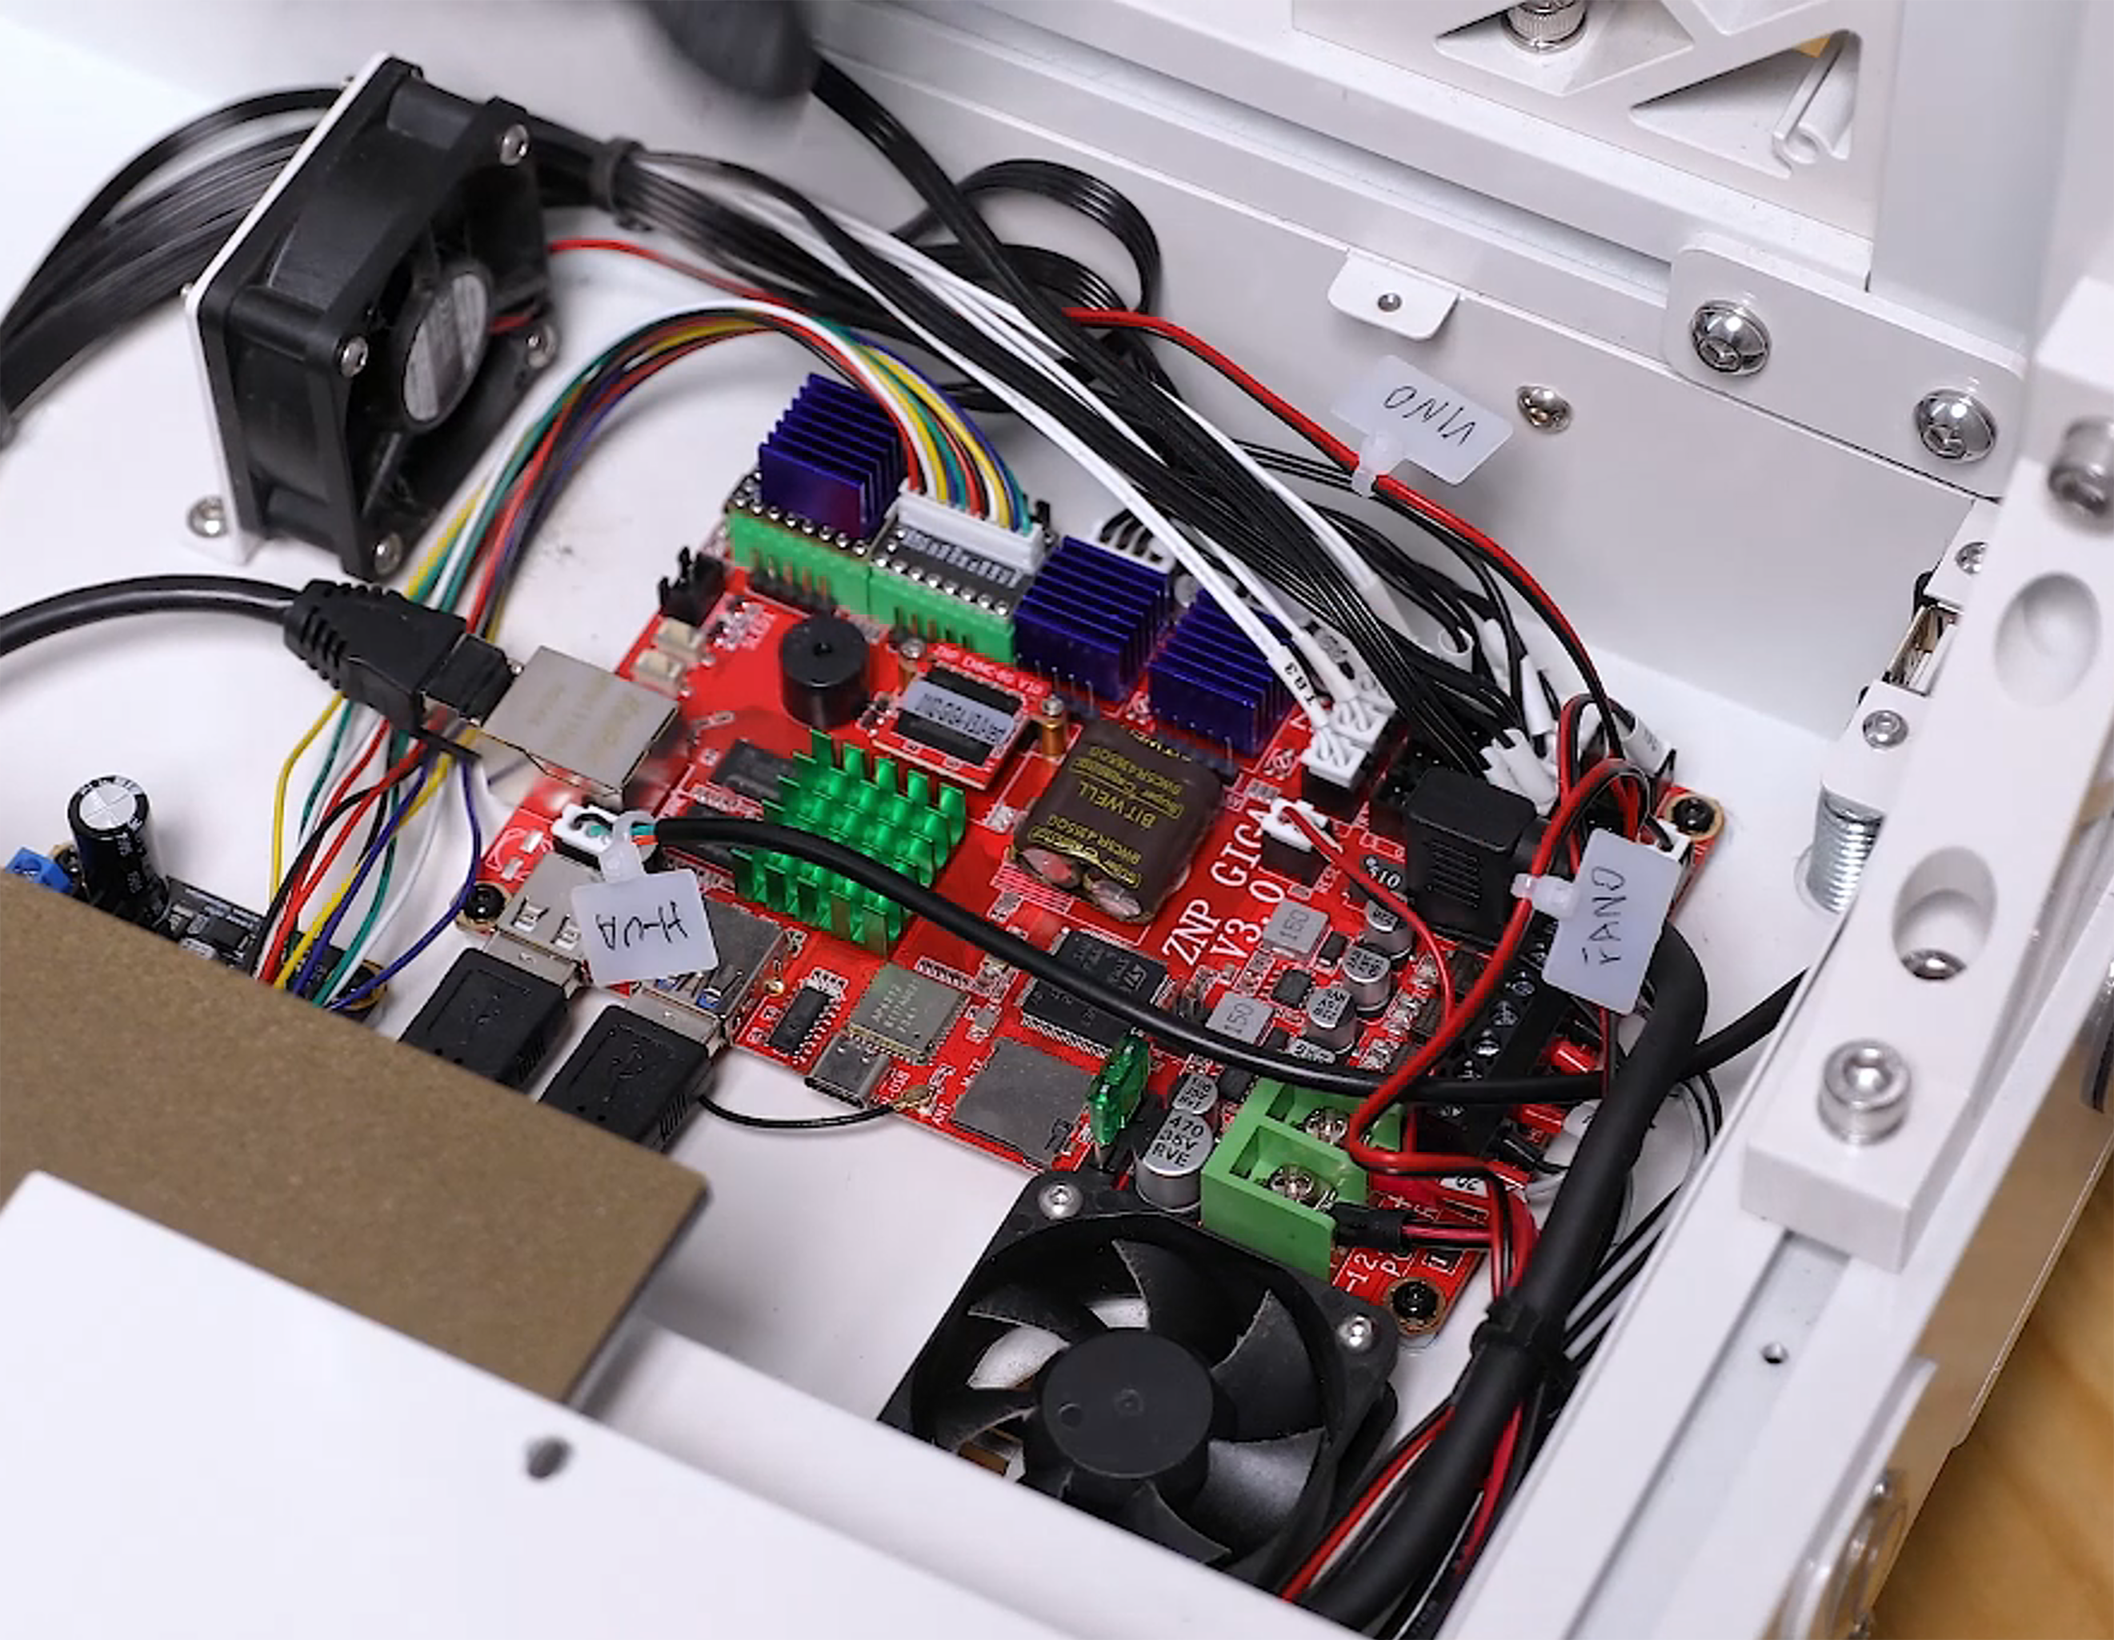
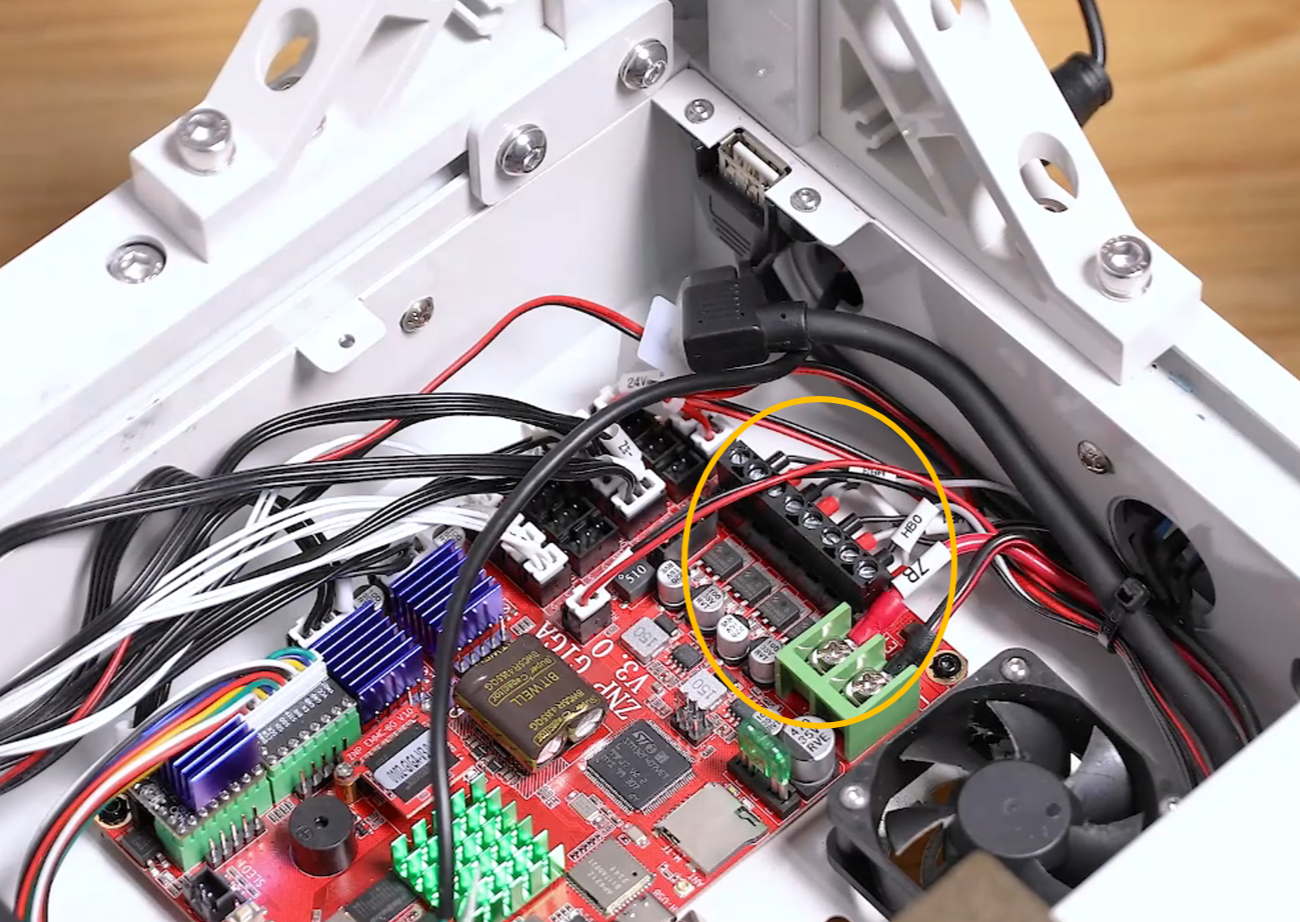
¶ Motherboard Circuit Wiring Diagram
¶ Instruction
- Power off the printer and unplug the power cord.
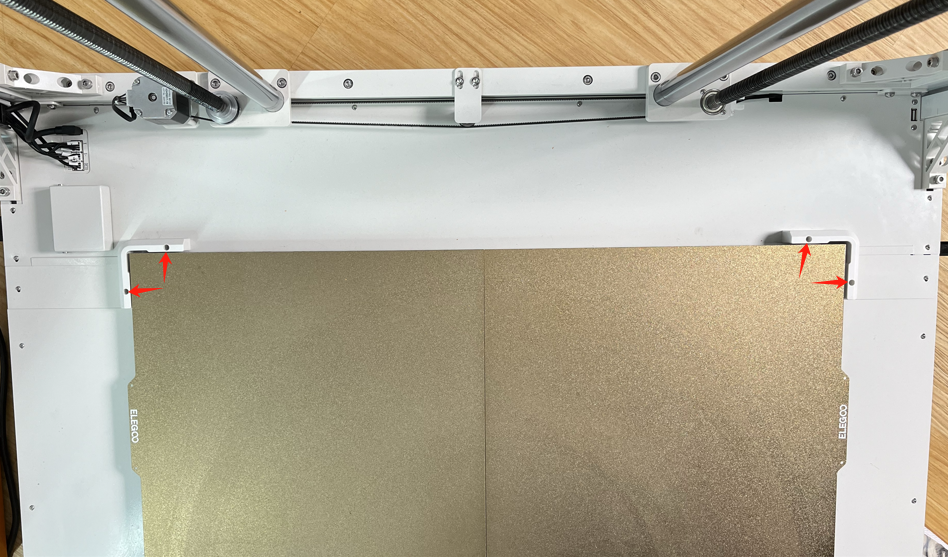
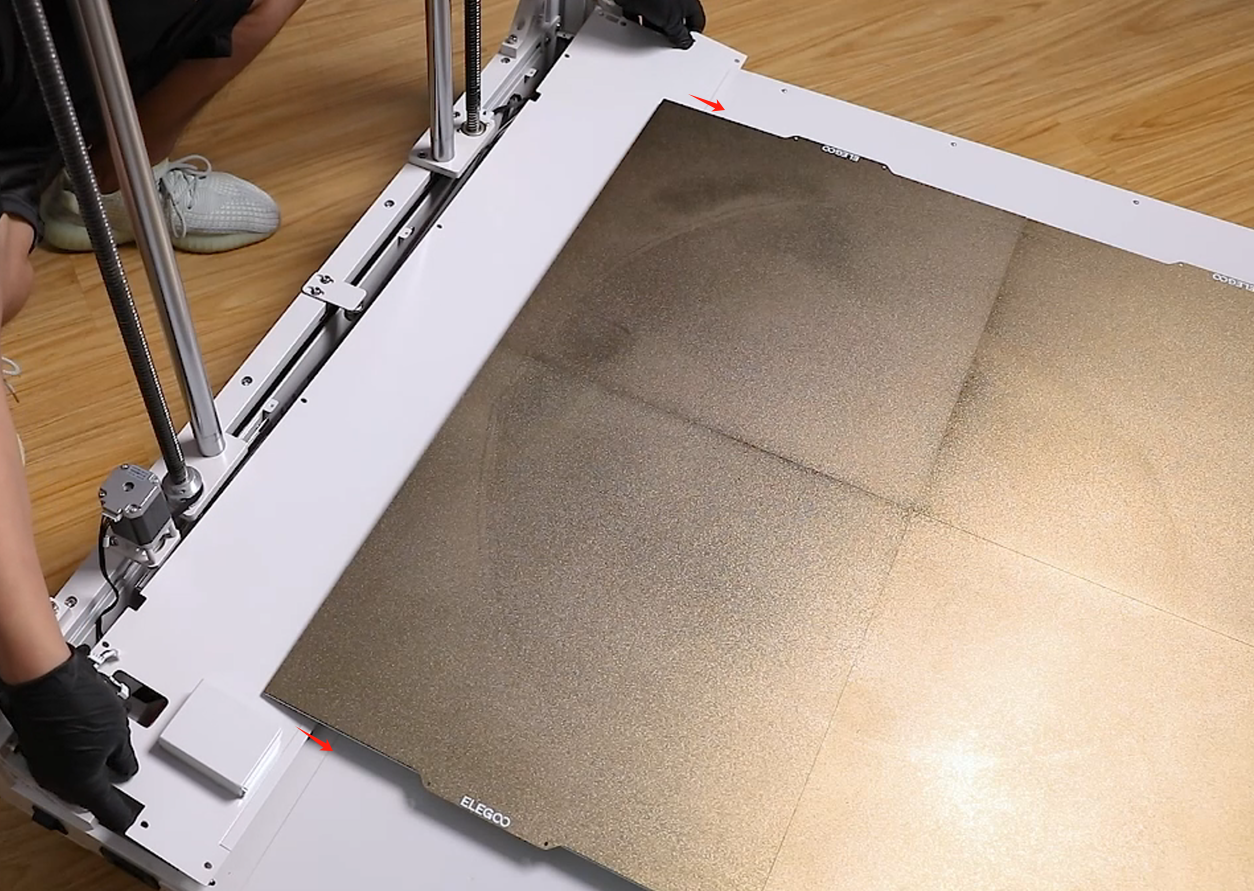
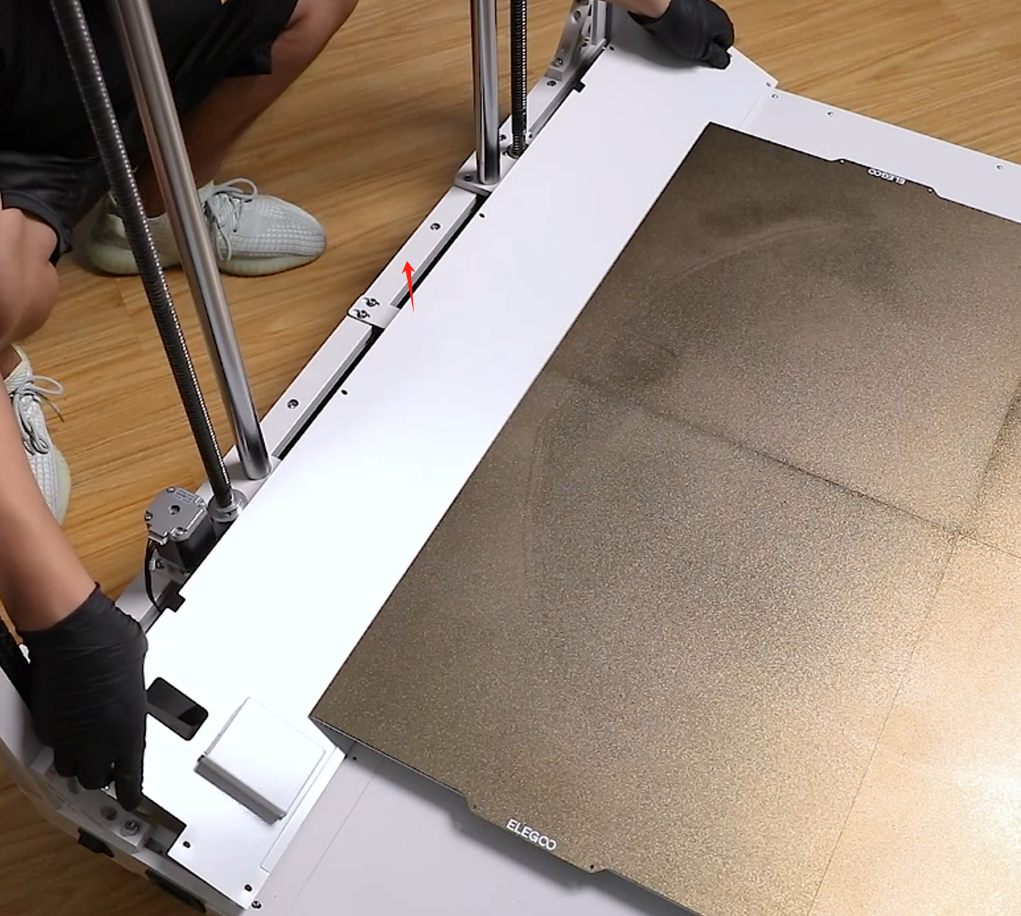
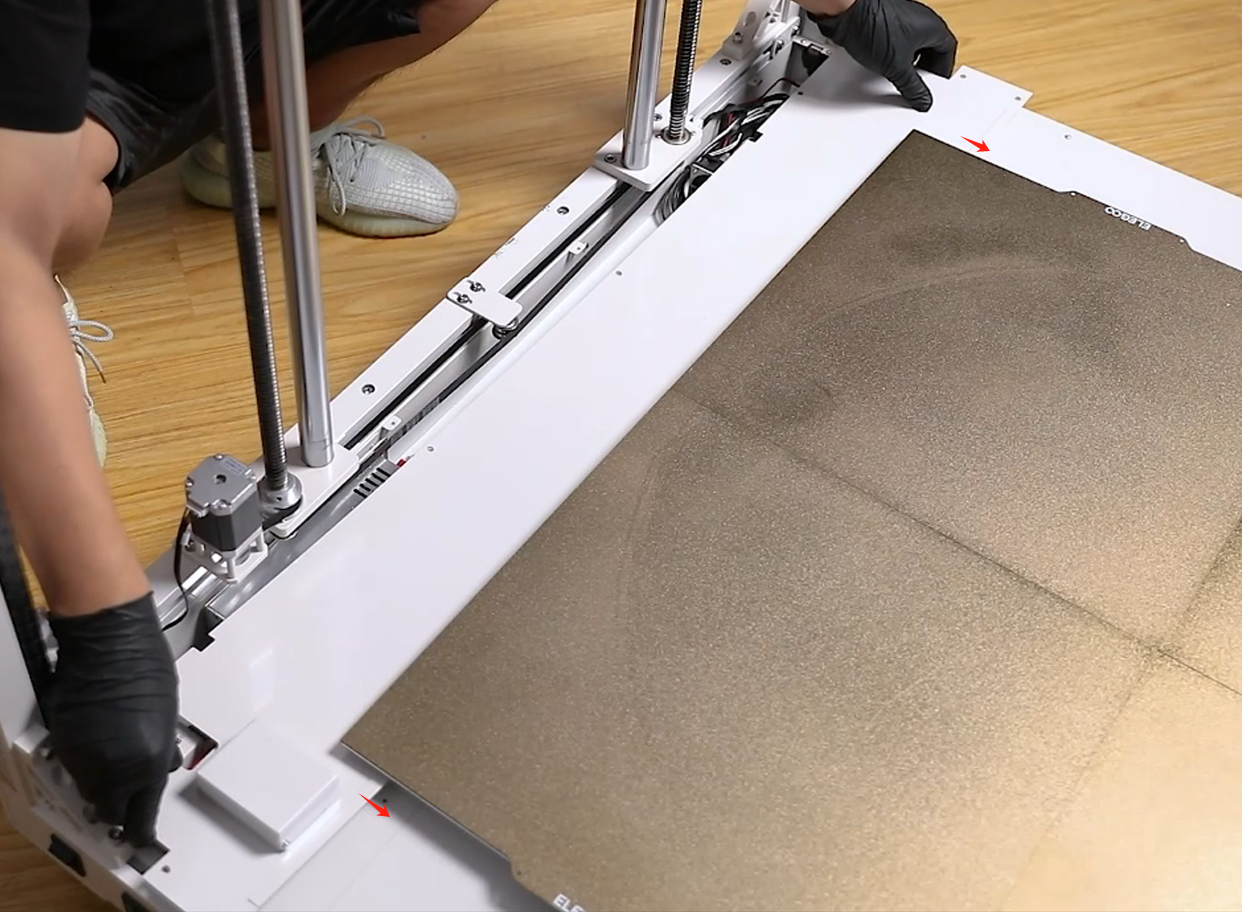
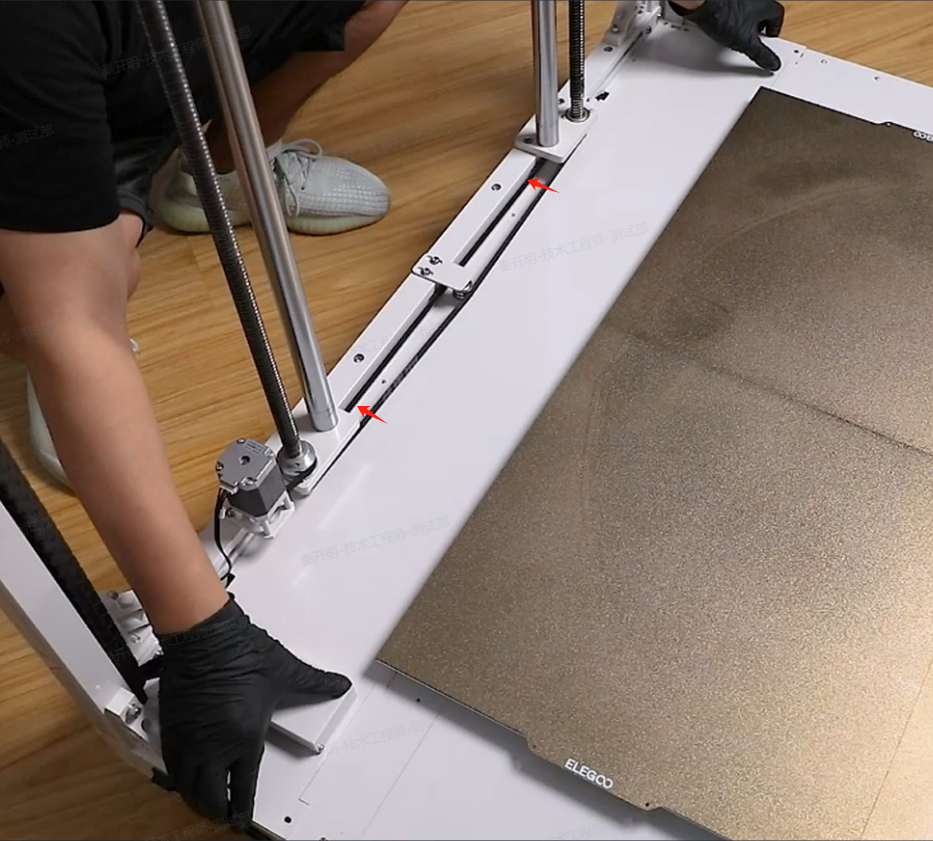
- Use a 2.0 mm Allen wrench to loosen the two screws securing the PEI limit block located at the front and back right sides of the printer, then remove the PEI limit block.
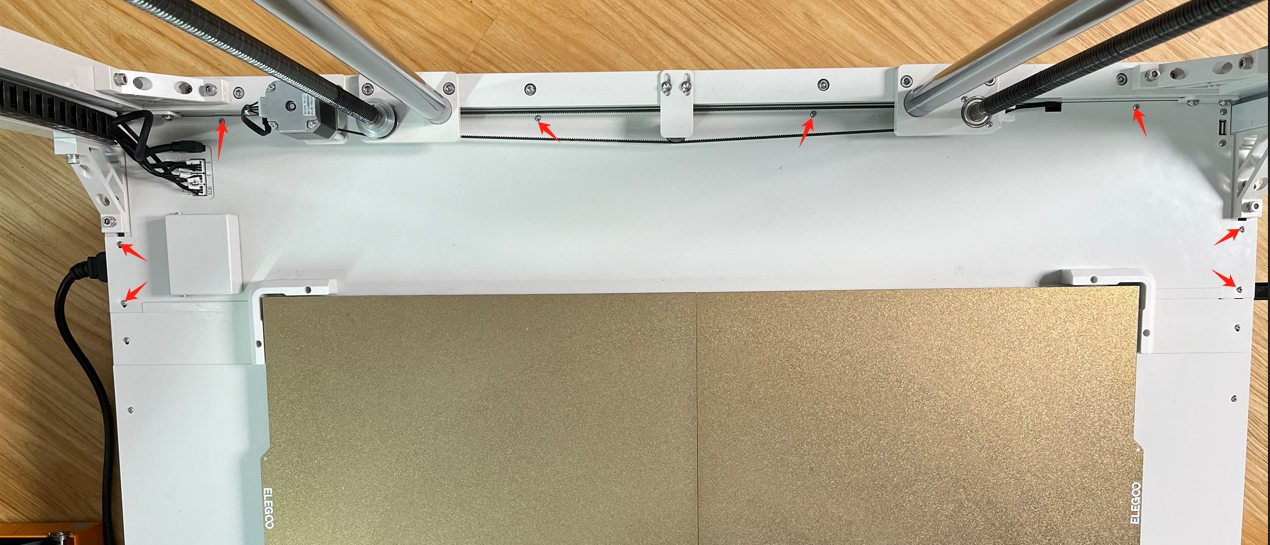
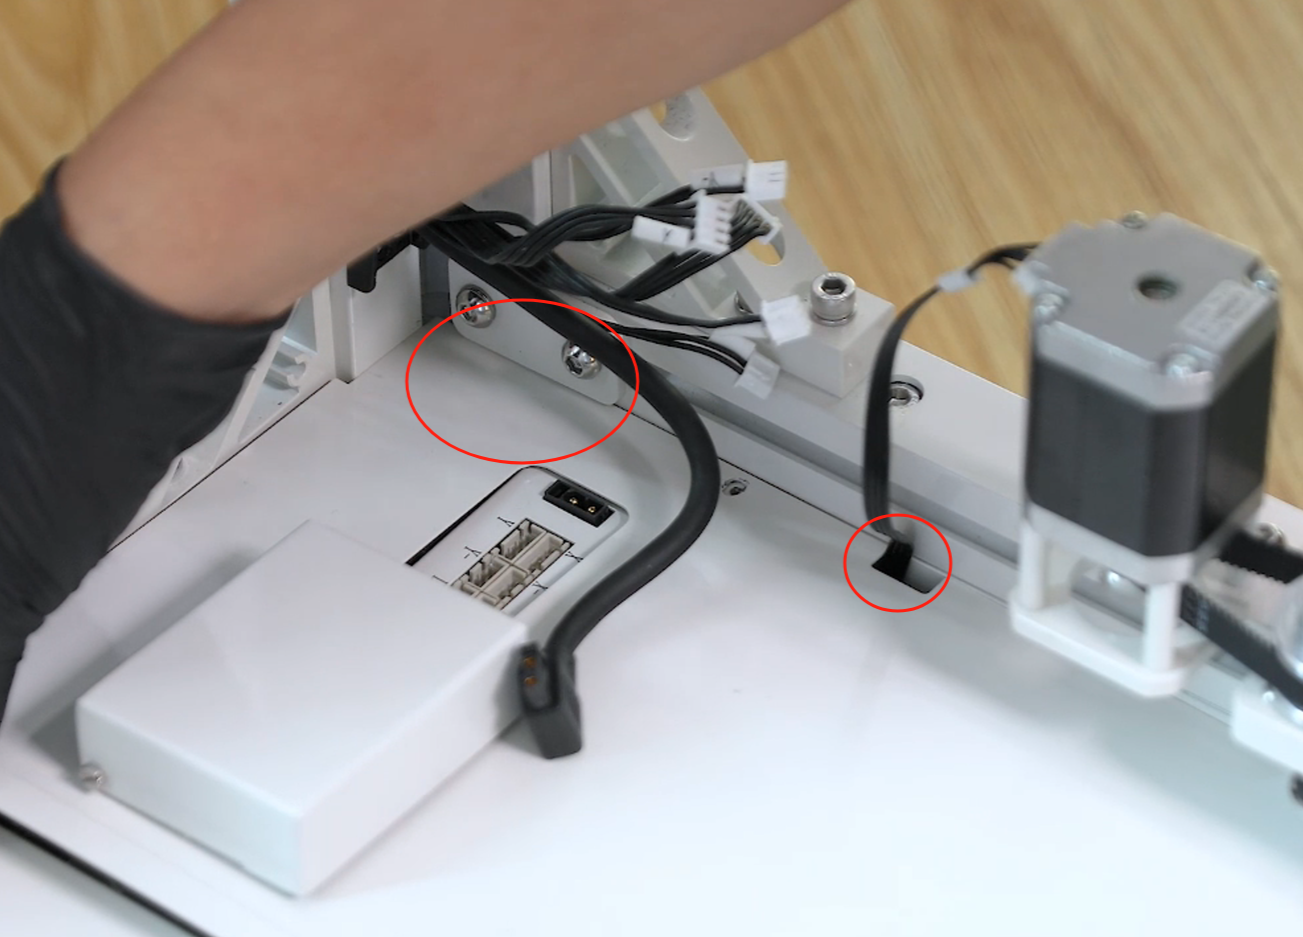
- Disconnect the ribbon cables from the rear adapter board located on the right side of the printer.

- Use a 2.0mm Allen wrench to loosen the 8 screws securing the power supply cover.
- Slide the power supply cover downward towards the heated bed, then lift the outer edge of the cover to remove it.
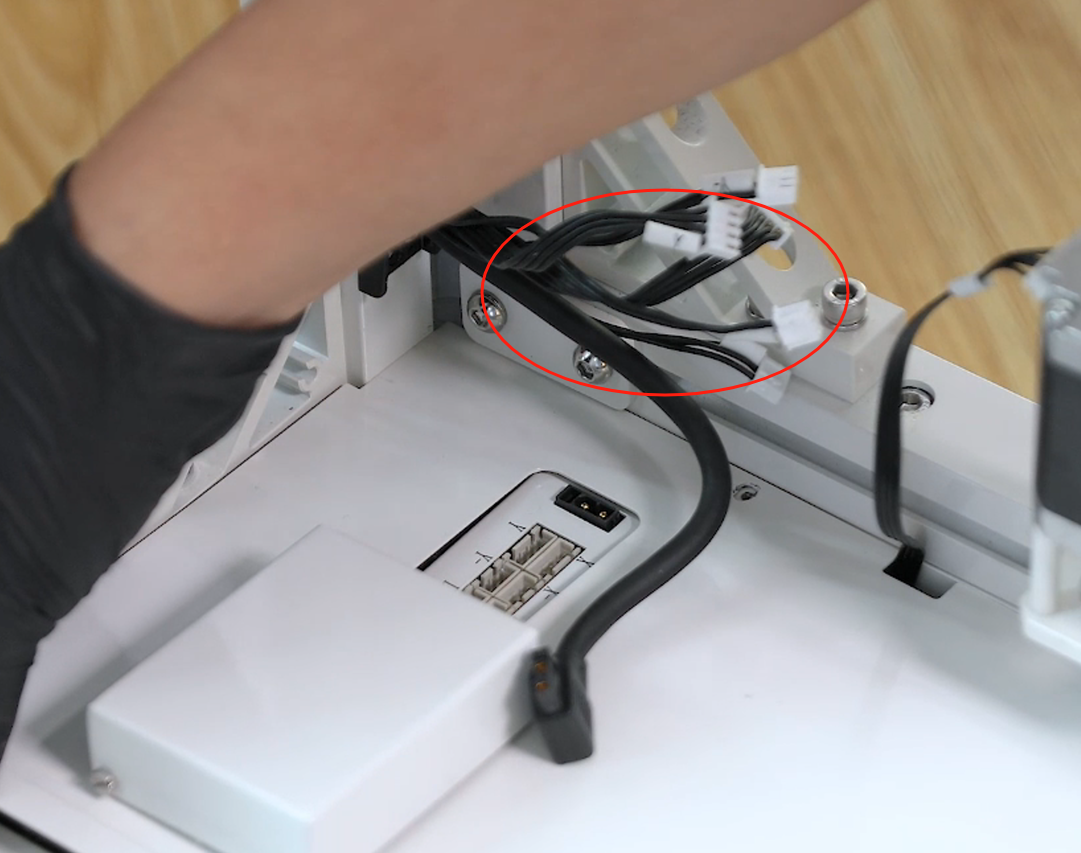
- Use cable ties or label paper to mark the ribbon cables that lack original markings, ensuring they correspond to the port names on the motherboard.
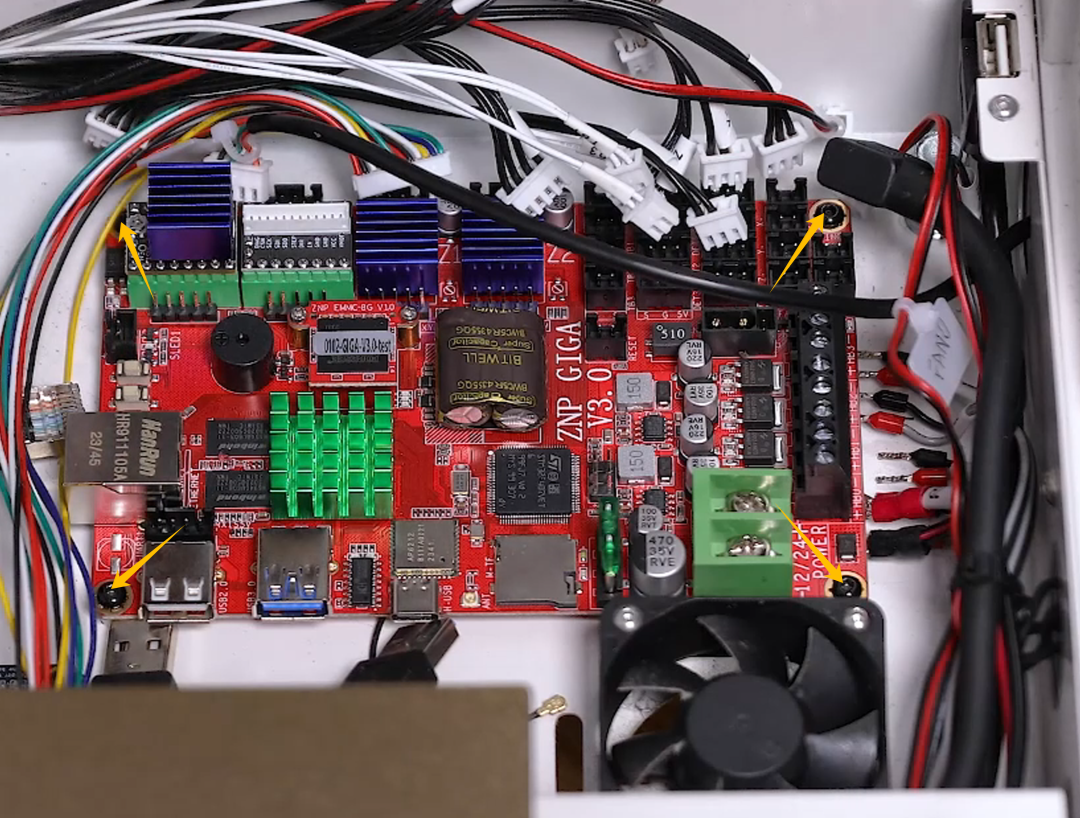
- Disconnect all ribbon cables from the ports on the motherboard. Use a 2.0mm Allen wrench to loosen the 4 screws securing the motherboard, and remove the old motherboard.

- Prepare the new motherboard, align it with the screw holes, place it in the installation position, and tighten the 4 screws using a 2.0mm Allen wrench.
- Insert each ribbon cable into the motherboard according to the port shape and label information.
Note: Follow the "red positive, black negative" principle.

- Take out the power supply cover, and tilt the inner side towards the heated bed. Slide the cover to the installation position by aligning it with the screw holes.

- Note: Tidy up the ribbon cables connected to the rear adapter board. Do not leave the cables under the power supply cover.
- Use a 2.0 mm Allen wrench to tighten the 8 screws fixing the power supply cover. (Long screws are fixed at the front and back of the cover; short screws are fixed on the right side.)

- Insert the ribbon cables into the rear adapter board on the right side of the printer according to the label information.

- Put the PEI limit block in the installation position. Use a 2.0 mm Allen wrench to tighten the 2 screws fixing the PEI limit block, with one screw in the right front of the printer and the other at the back.
- Plug in the power cord and power on the printer.
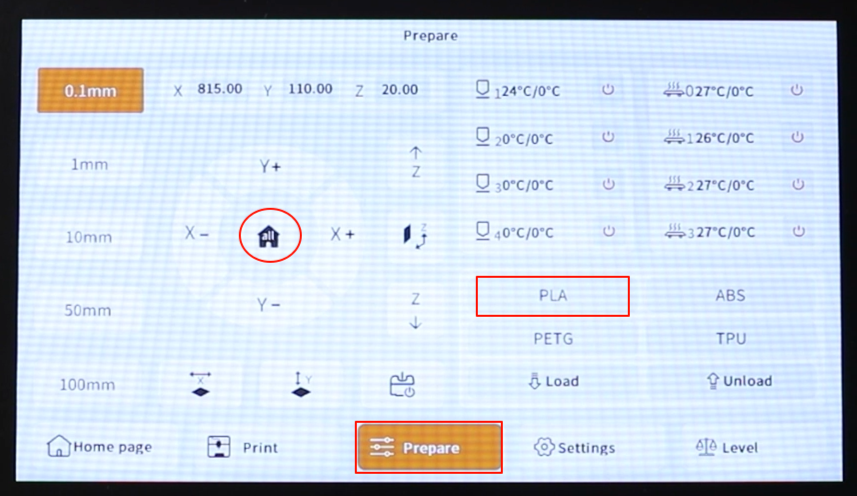
- Touch "Prepare - all (Home icon)" on the touchscreen. The printer will returns to zero position. After the printer moves normally, touch "PLA". After the nozzle and hotbed are heated, the printer can be used normally.