¶ Tools and Materials
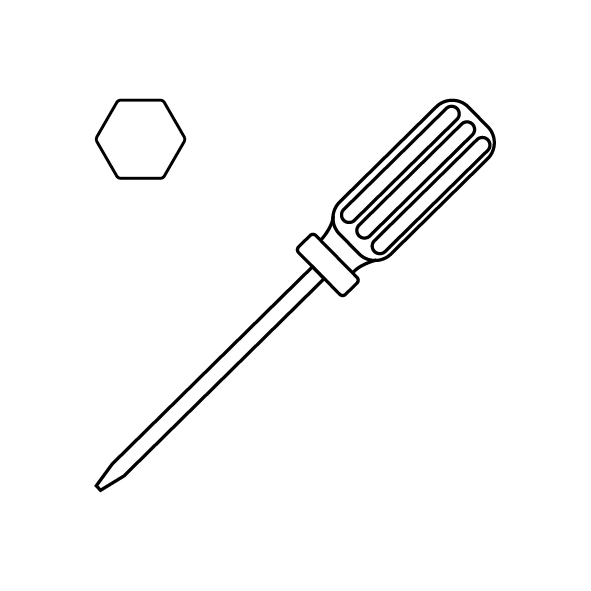
- A 2.0 mm Allen wrench
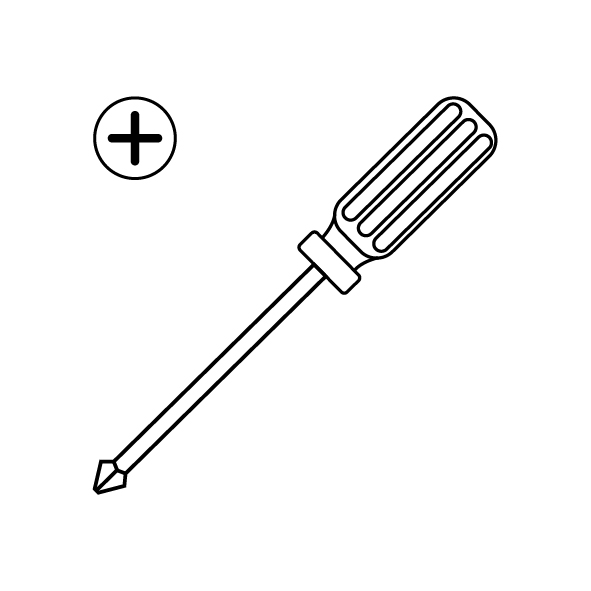
- A Phillips screwdriver
- A new camera kit
¶ Tutorial Video
Wait for upload.
¶ Instruction
- Power off the printer and unplug the power cord.
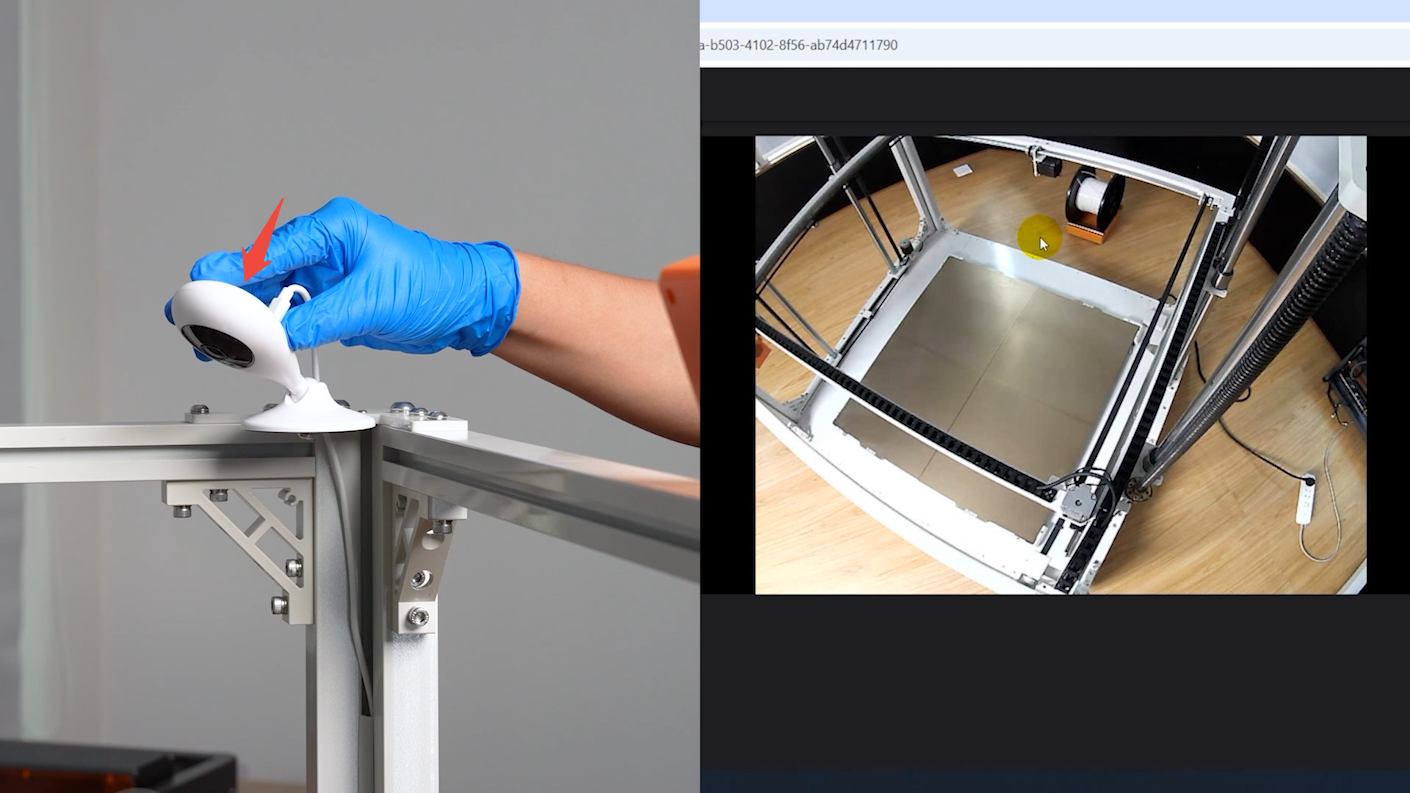
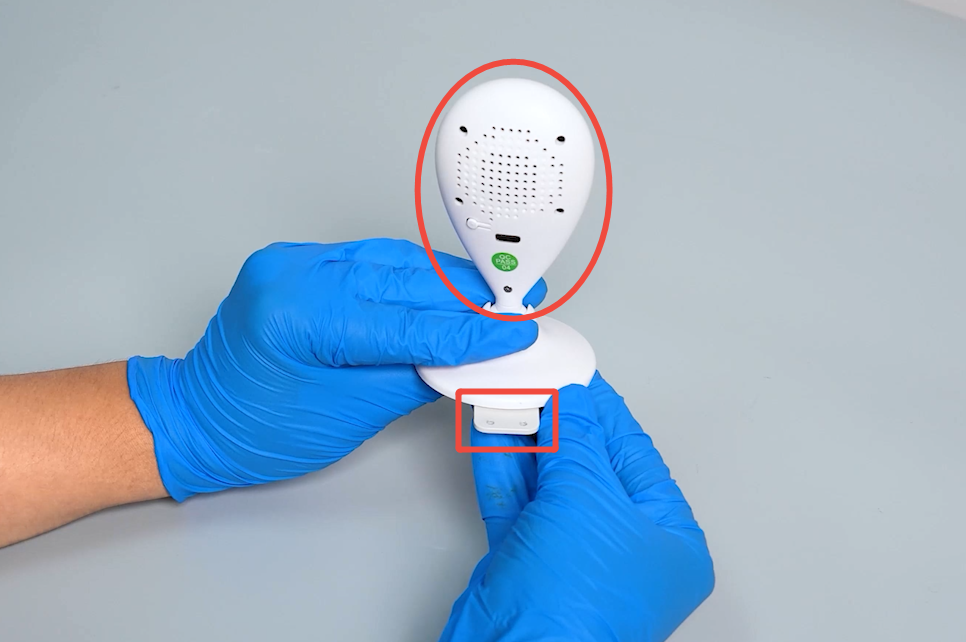
- Prepare the camera and orient the camera towards the base opening.
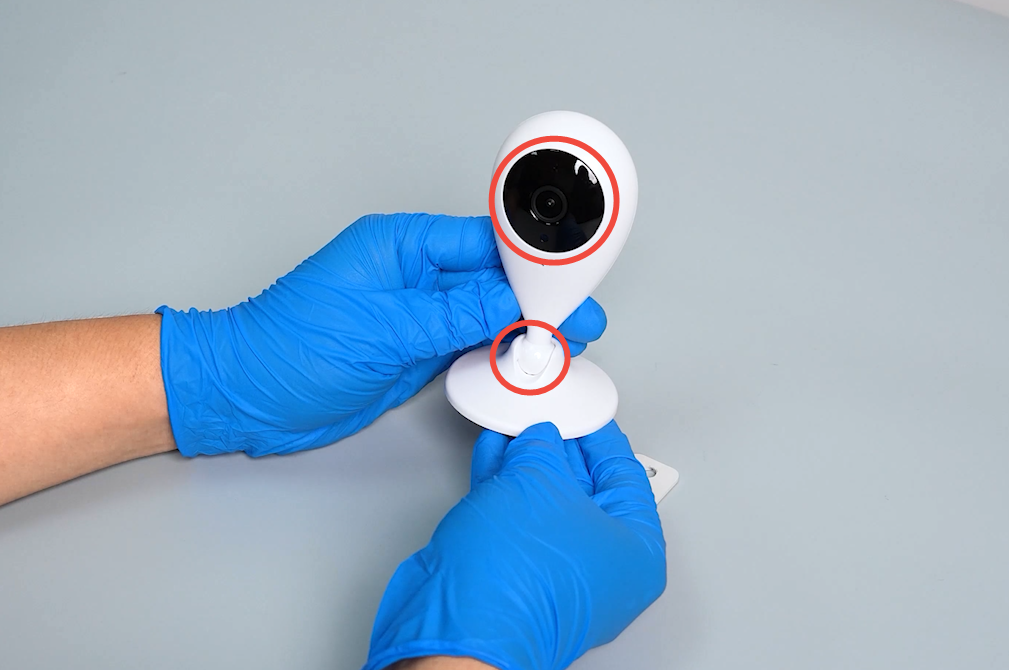
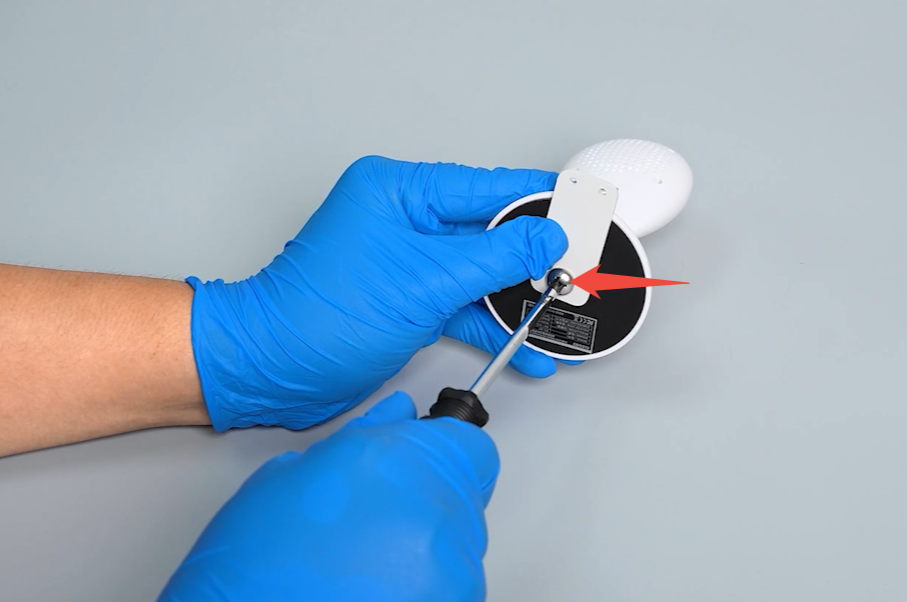
- Prepare the mounting bracket. The bracket is mounted towards the back of the camera. Use a Phillips screwdriver to tighten the screw securing the mounting bracket.
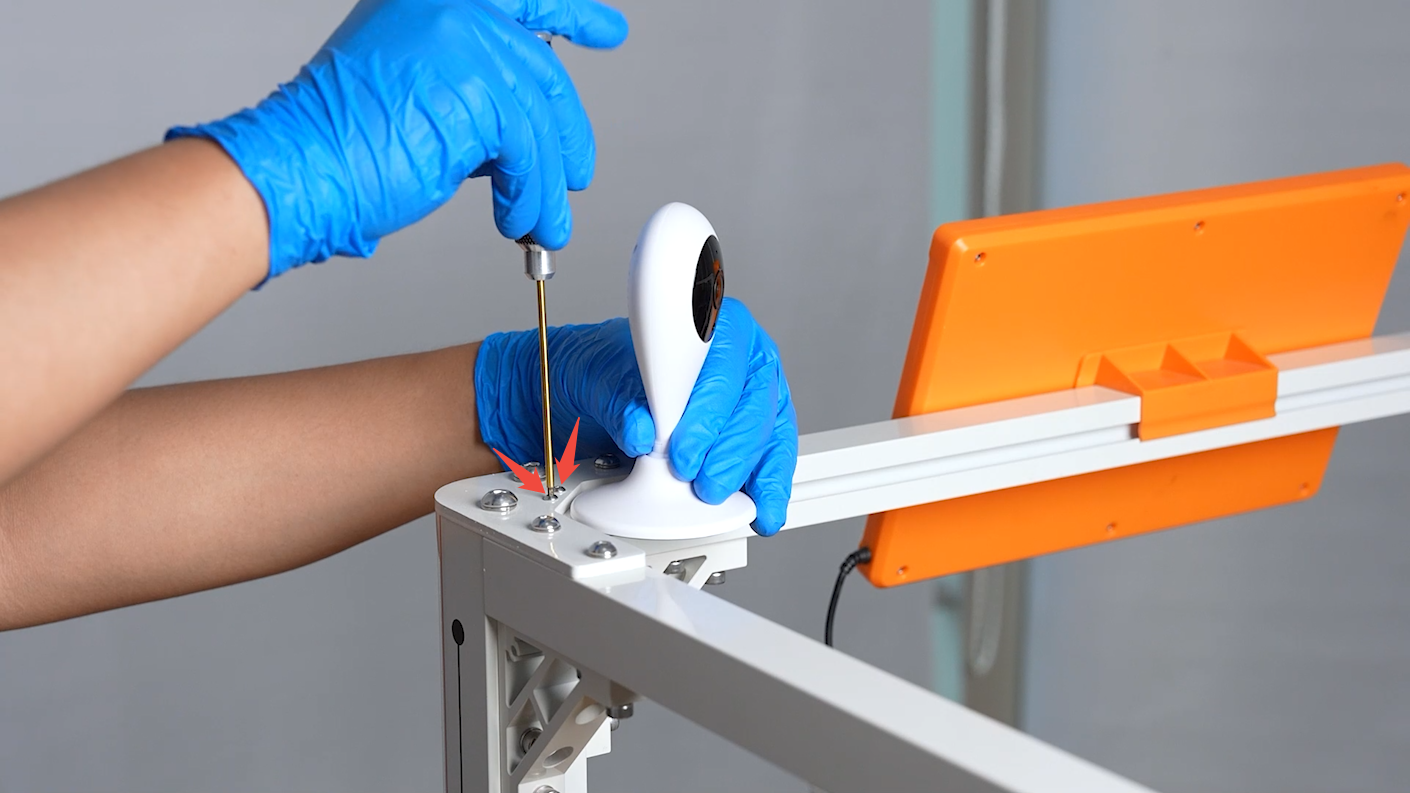
- Align the mounting bracket with the mounting holes in the top corners of the printer. Use a 2.0 mm Allen wrench to tighten the 2 screws securing the camera assembly.
Note: The camera can only be installed in the right-side corner on top of the printer.
- Prepare the Type-C data cable connecting the camera and insert the Typr-C port into the port on the back side of the camera.

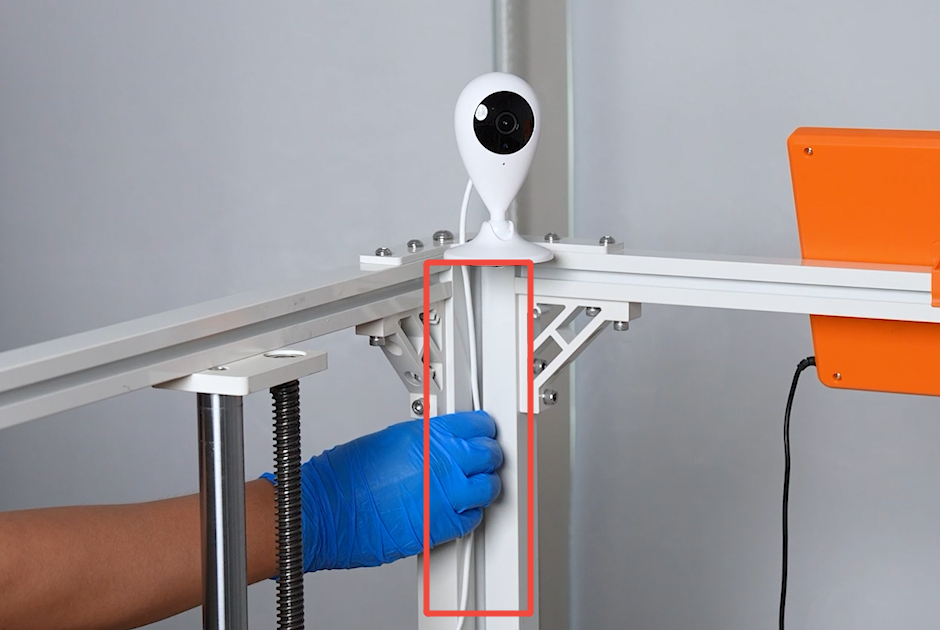
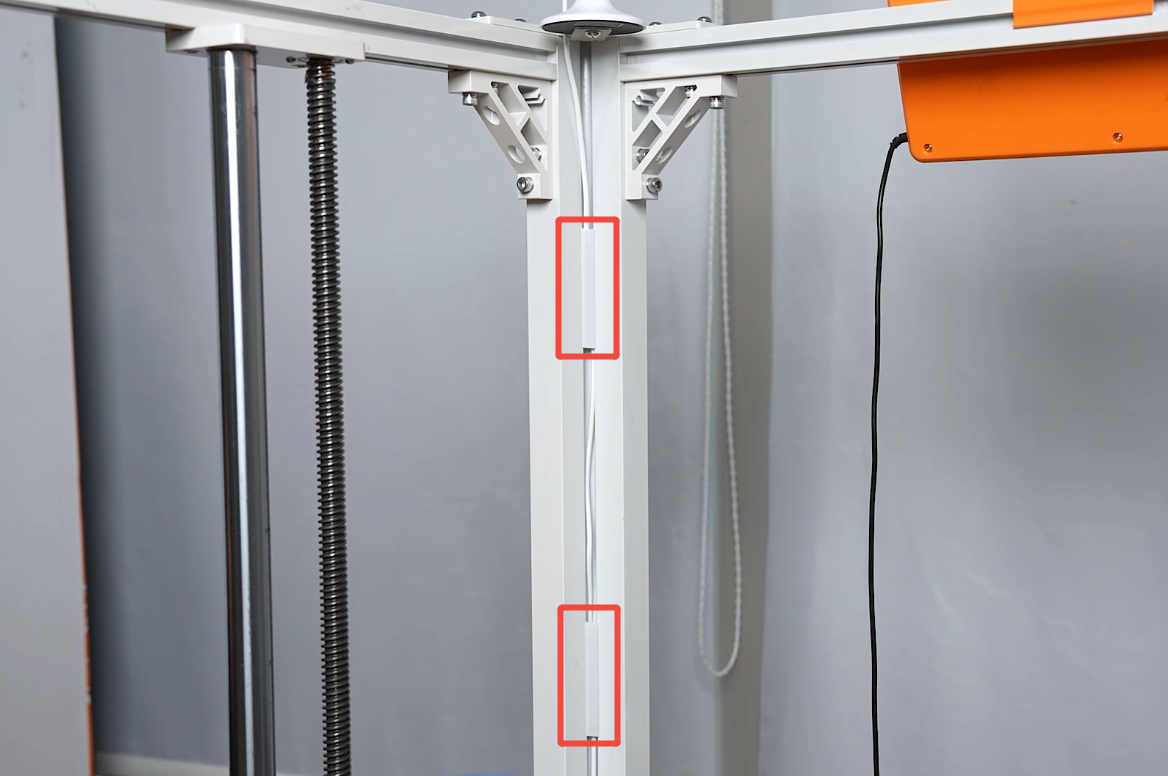
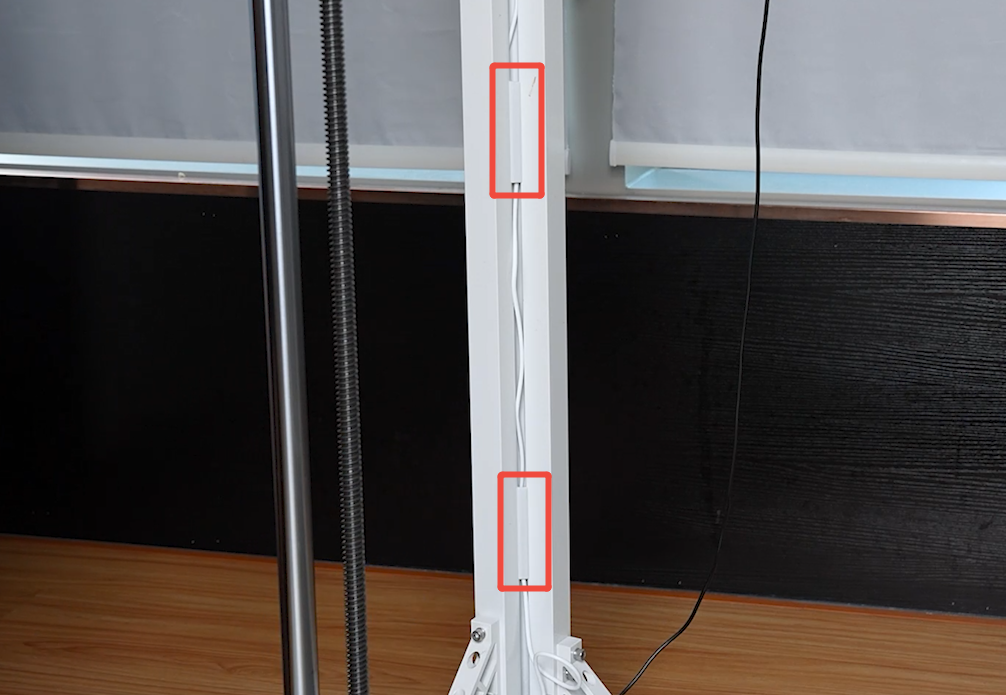
- Organize the connecting wires, then put them into the aluminum profile grooves.
- Prepare 2 strain reliefs. Press the strain reliefs to install the connecting wires into the aluminum profile grooves.
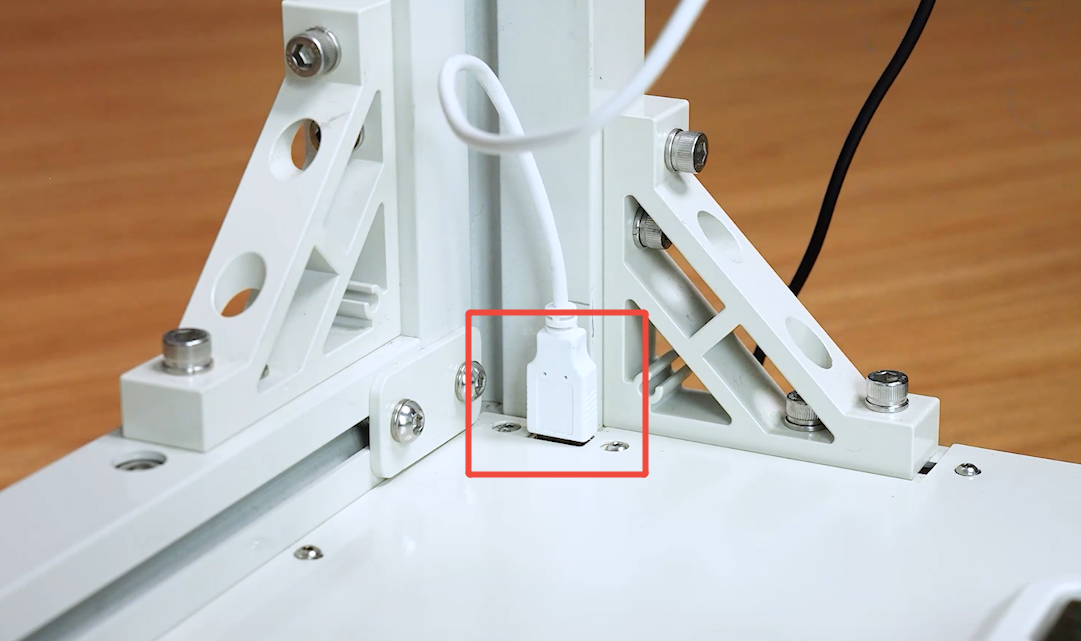
- Insert the USB port of the connecting wires into the USB connector on the inner side of the chamber.
- Prepare another 2 strain reliefs. Put the connecting wires into the aluminum profile grooves.
Note: The strain reliefs should be installed equidistant from each other.
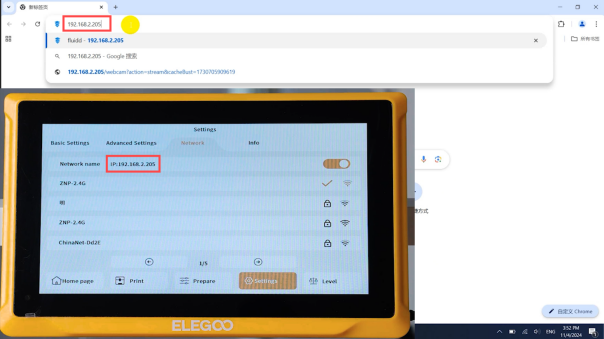
- Power on the printer. Touch "Settings - Network name" to open the network and type the password to connect the network. Check the IP information on the touchscreen to ensure that the printer is connected to the network successfully.

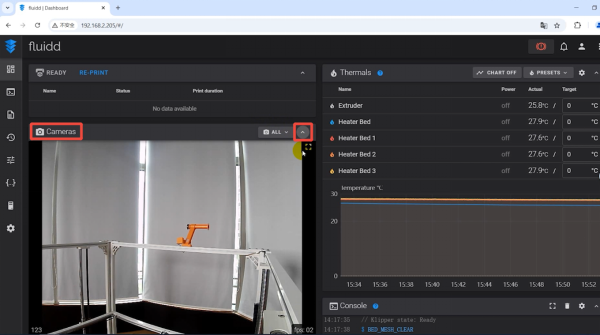
- Connect to the same network as the printer via the computer. Open the browser and type the printer's IP address in the URL field. Then, enter into the printer control page.
- The camera picture is available in the Cameras.
- Adjust the camera to an angle that clearly shows the printed model.