Neptune 4&4 Pro Throat Pipe Cooling Fan Replacement
Tools needed
●2.5mm Allen wrench
●2.0mm Allen wrench
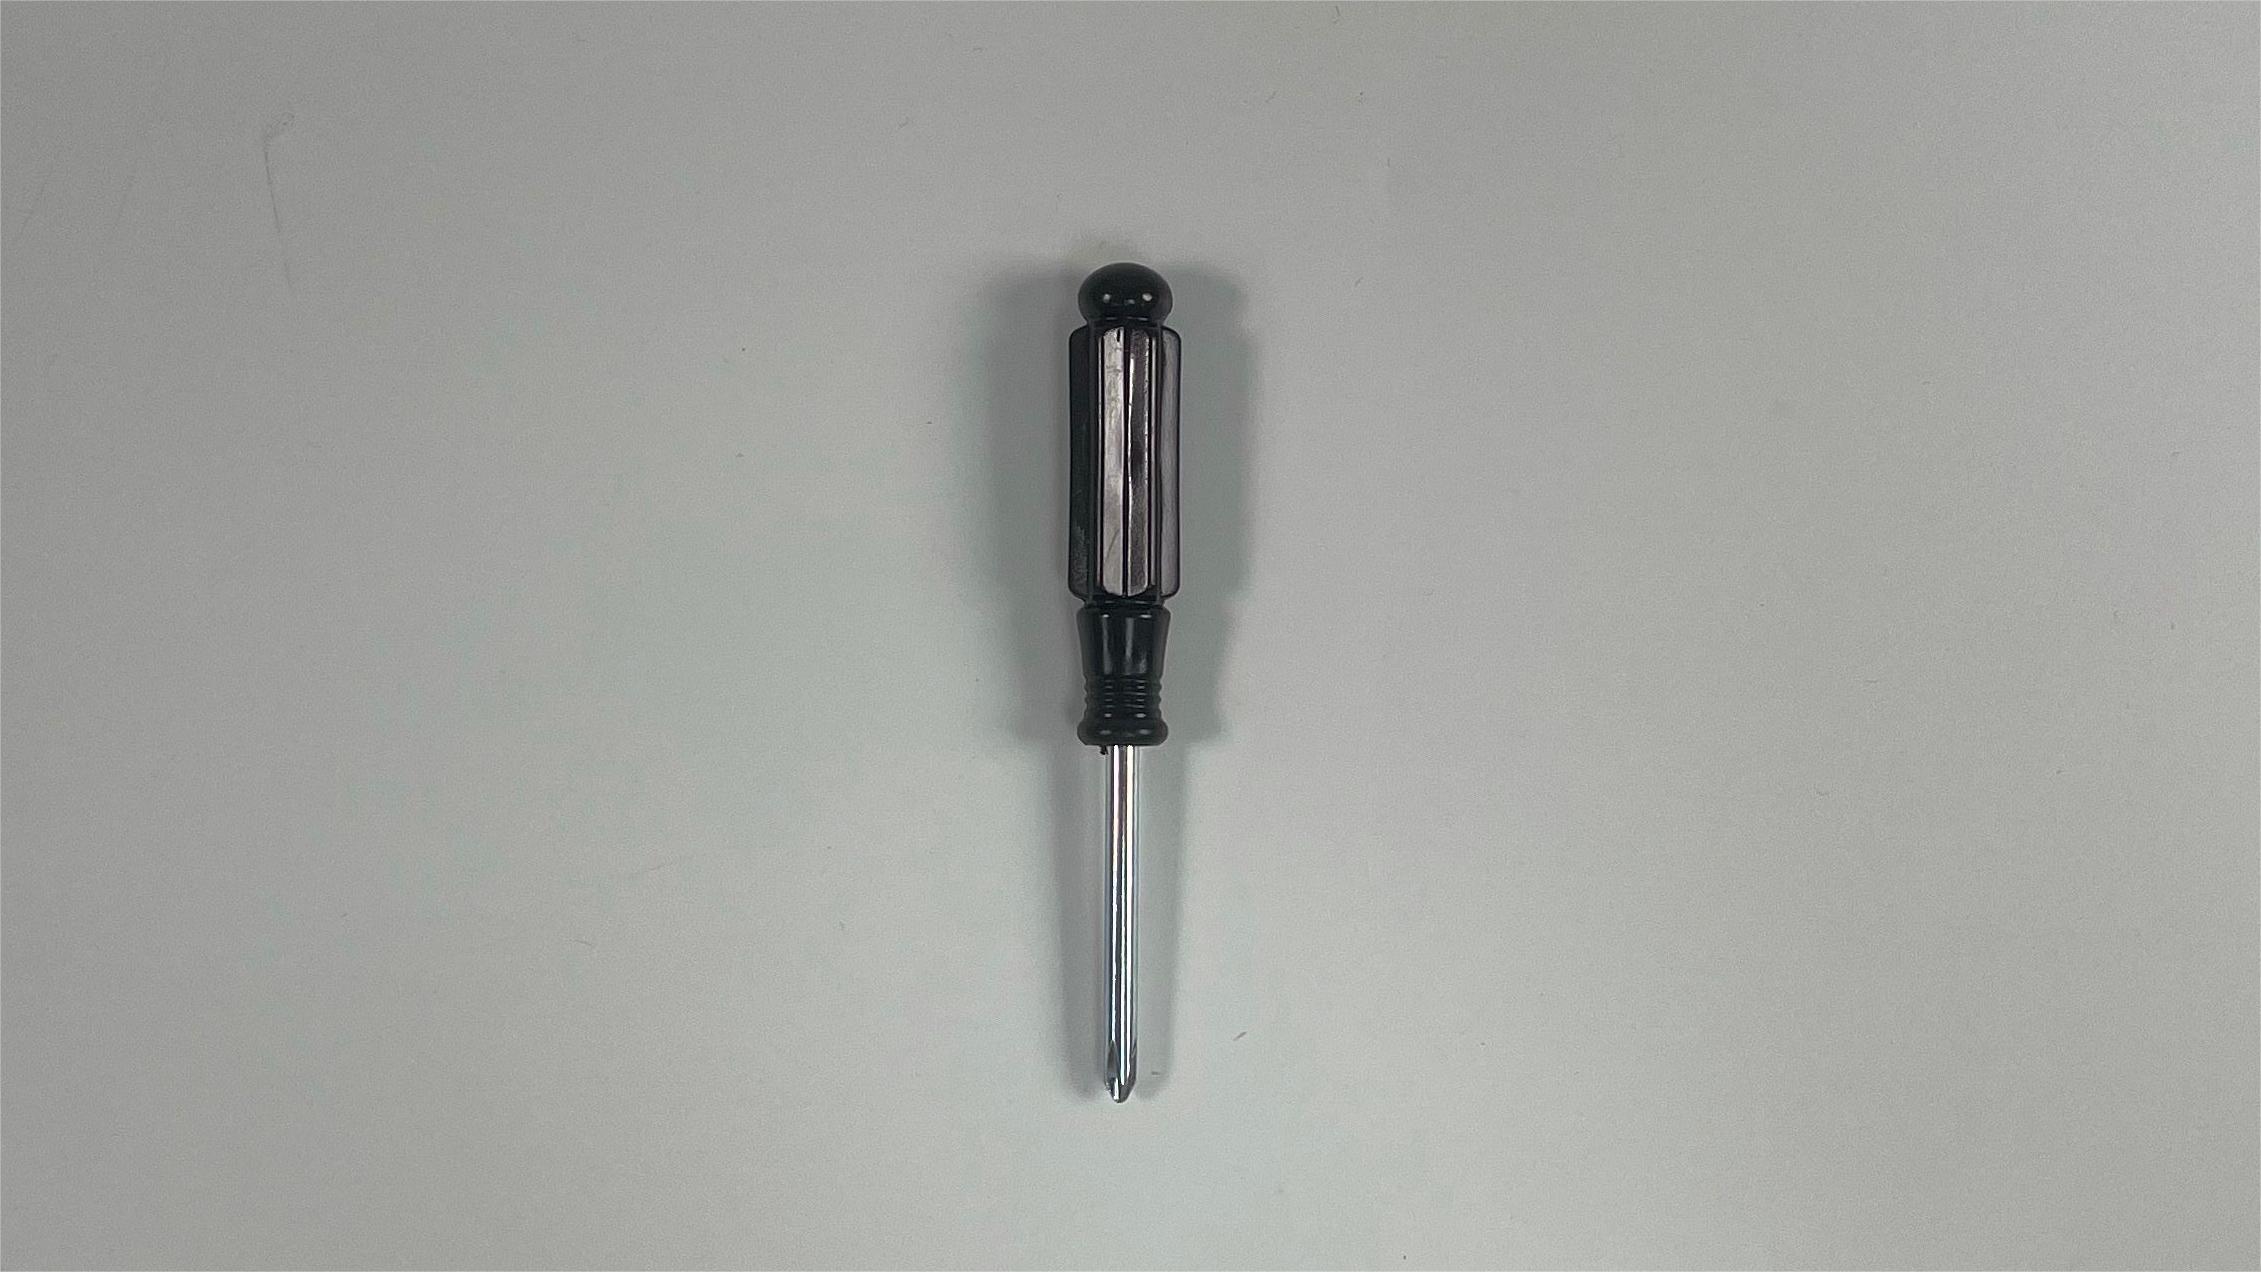
●Philips screwdriver


- Place the throat pipe cooling fan in the mounting position (The fan has a fixed installation direction, with the fan blades facing downwards and the air outlet facing inward). Align the screw holes with the screw posts and install it.

3-Install the print head
- Install the front cover of the whole print head assembly (It has a groove design and can be installed by sliding it in).


- Take out the fan assembly, align it with the screw holes mounting position, use a 2.5mm Allen wrench to tighten the three fixing screws of the rear fan assembly (install with the air outlet facing downward), and insert it into the fan assembly cable port.
