¶ Tools needed
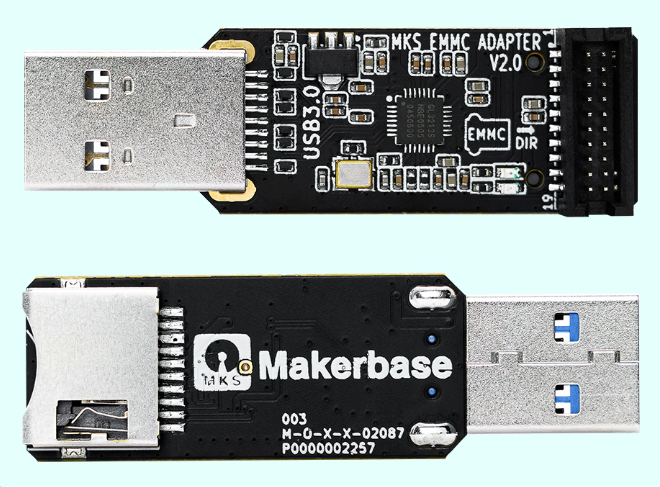
EMMC adapter (purchase by yourself,Product search keywords EMMC-Adapter V2/MKS EMMC-ADAPTER V2
)
EMMC model (removed from the main board)
Philips screwdriver
¶ Image burning software download link
https://www.raspberrypi.com/software/
¶ Image Download Link
Important: Before operation, refer to Neptune 4 Series: How to Identify Your Printer Version
Ribbon-Cable Version
Neptune 4 & Neptune 4 Pro Image
Neptune 4 Plus & Neptune 4 Max Image
Type-C Version
Neptune 4+ & Neptune 4 Pro+ Image
Neptune 4 Plus+ & Neptune 4 Max+ Image
¶ Operation steps
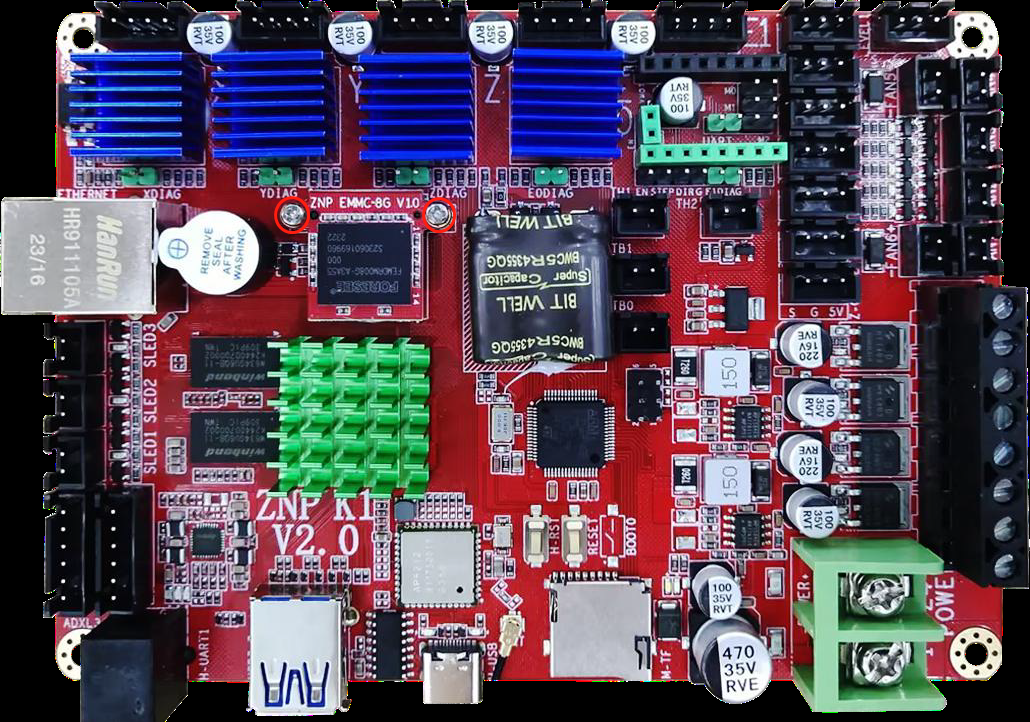
1.Use a Phillips screwdriver to loosen the fixing screws on the bottom cover, open the bottom cover, unscrew the two fixing screws of the EMMC module on the motherboard, and remove the EMMC module.
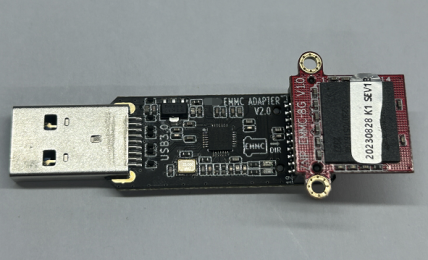
2.Insert the EMMC module into the burner (note the installation direction as shown below), insert the burner into the USB of the computer, and a newly recognized drive letter will appear on the computer.
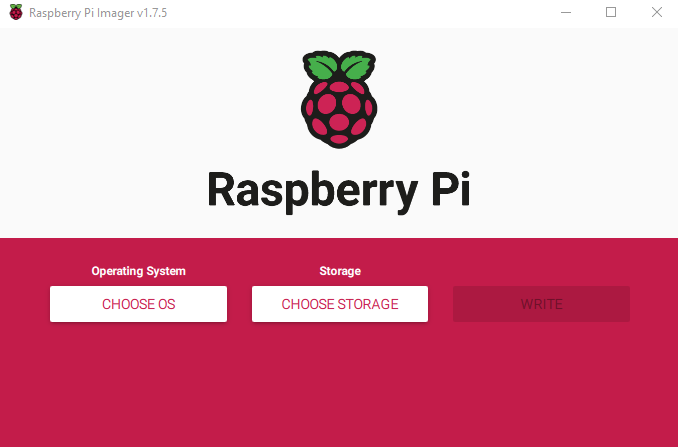
3.Install the Raspberry Pi image burning software.
4.Unzip the downloaded image compression package to obtain a system image file with the suffix .img.
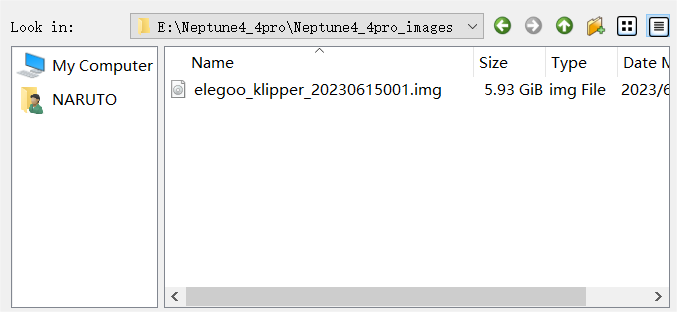
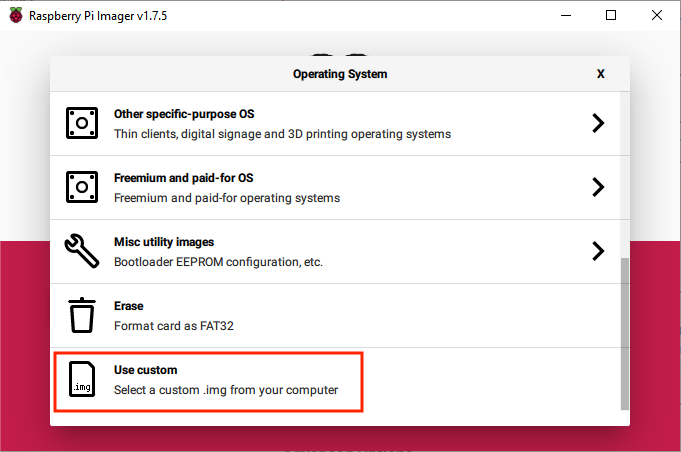
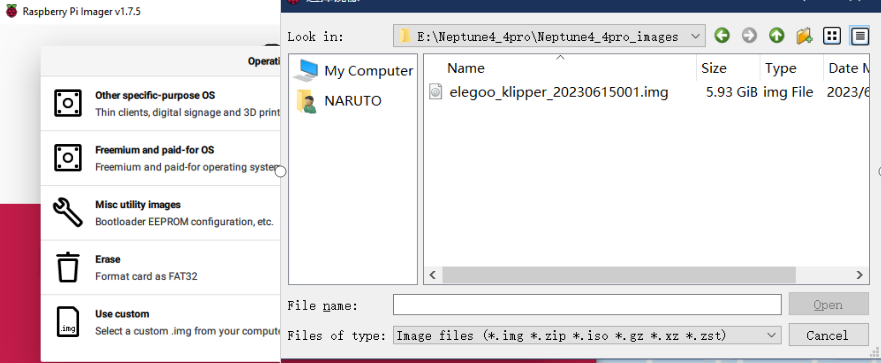
5.Open the installed image burning software, click [CHOOSE OS], select [Use custom], and select the system image file.

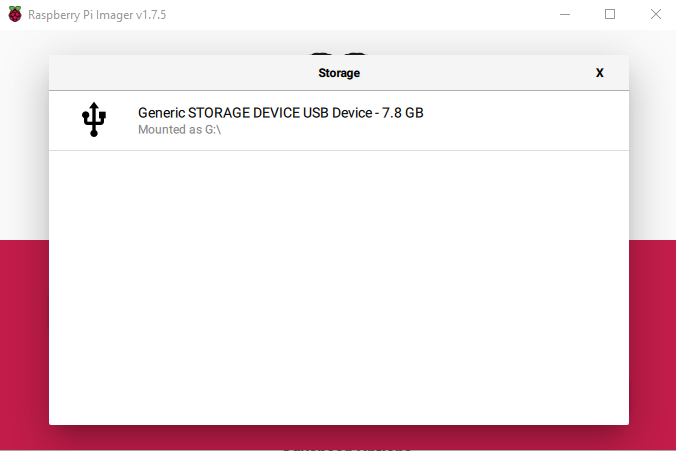
6.Click [Select SD Card] and select the USB storage device just inserted.
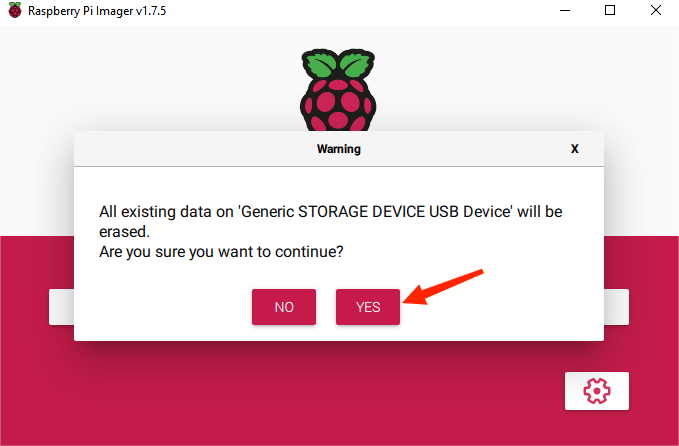
7.Click Burn.
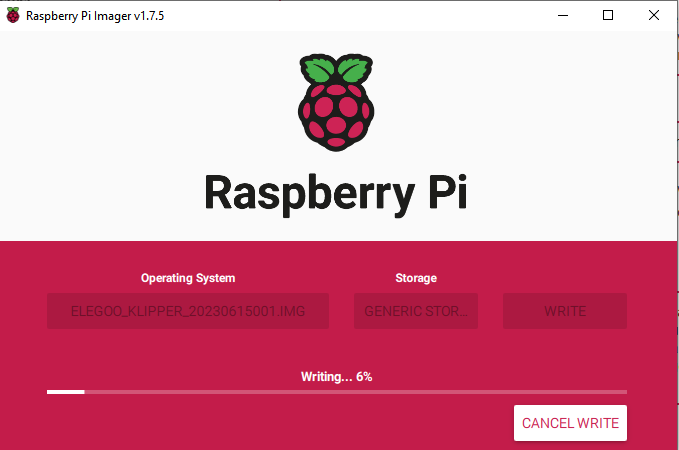
8.Wait for the writing and verification to complete.

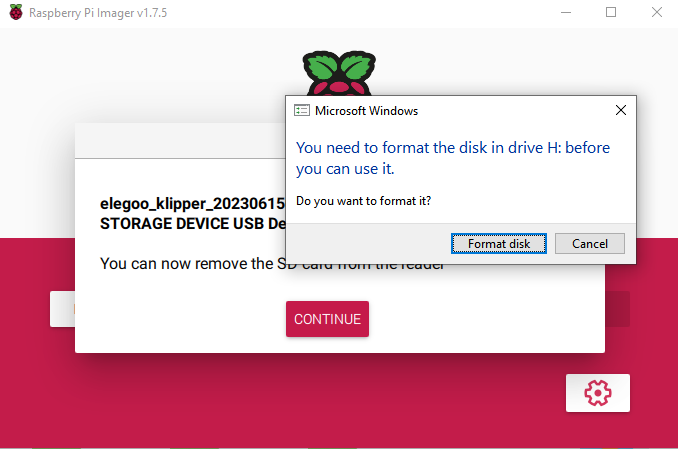
9.After the verification is completed, the error in the picture below may be prompted, or it may be prompted that formatting the disk is normal. Just close the burning software and pull out the EMMC burner.
Note:
If you are using Raspberry Pi Imager on Windows 10 with controlled folder access enabled, you need to explicitly allow Raspberry Pi Imager permissions to write to the SD card. If you don't do this, the writing process to the system image will fail and display an "Unable to write" error.