¶ Tools and materials
-
A Phillips screwdriver
-
A new eMMC module
¶ Tutorial Video
¶ Instruction
¶ Preparation
Turn the power switch OFF (symbol "〇") and unplug the power supply cable.
¶ Remove the old eMMC module
-
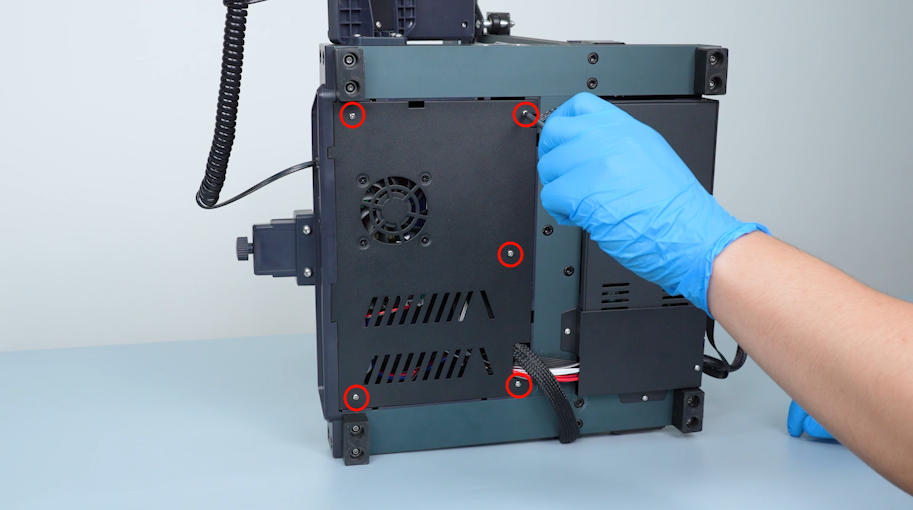
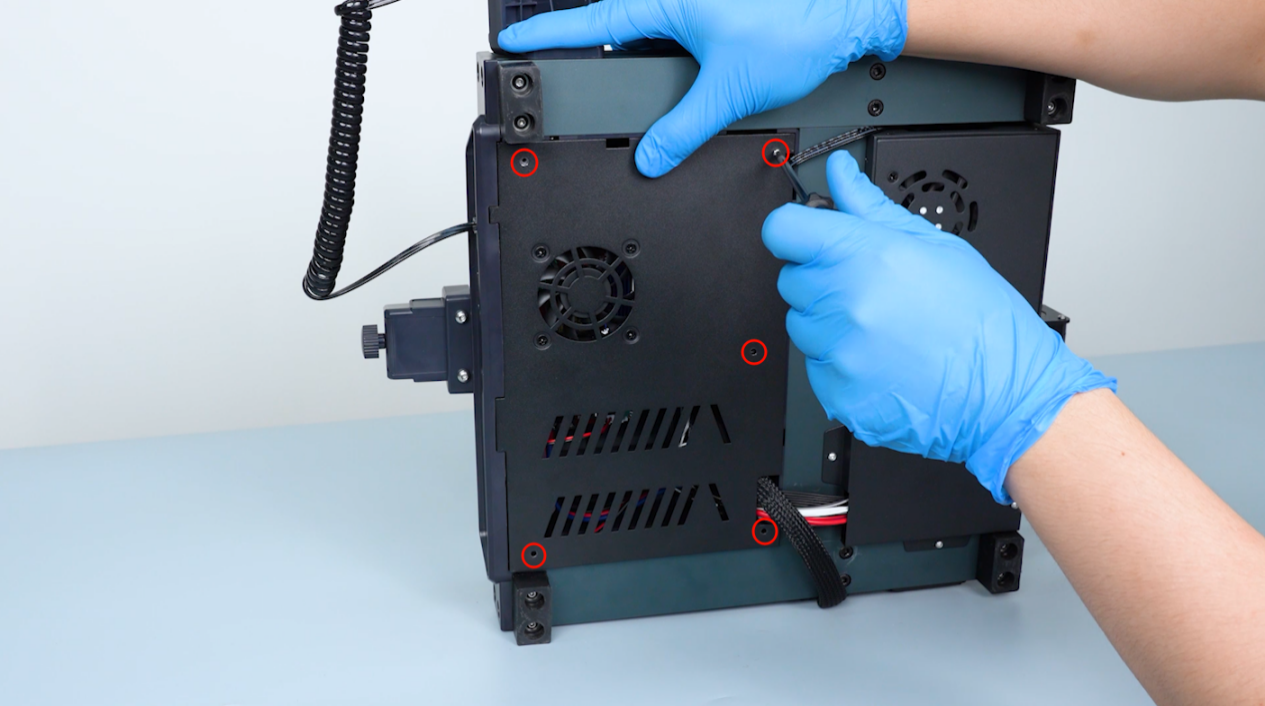
Remove the five screws securing the bottom cover.
-
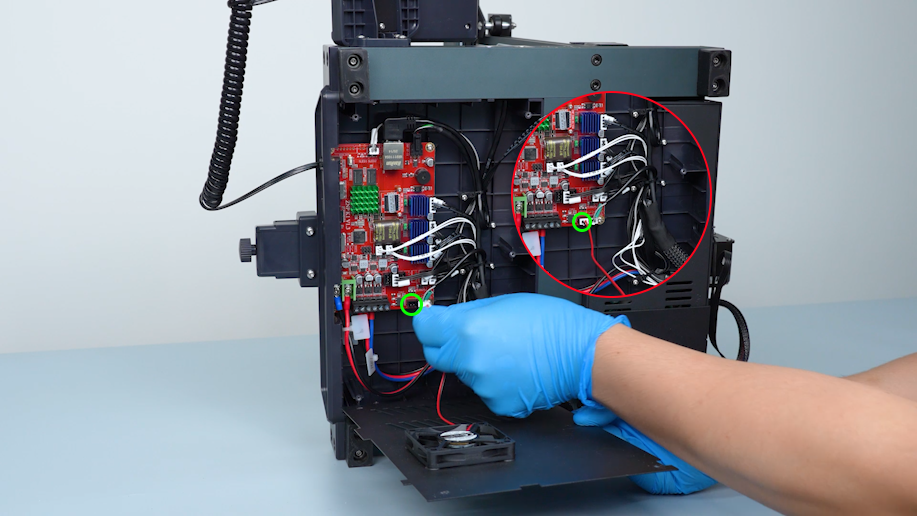
Gently open the bottom cover with a Phillips screwdriver. Remove the motherboard cooling fan plug and remove the bottom cover.
-
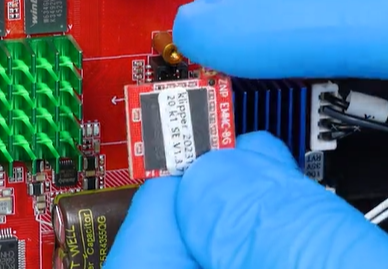
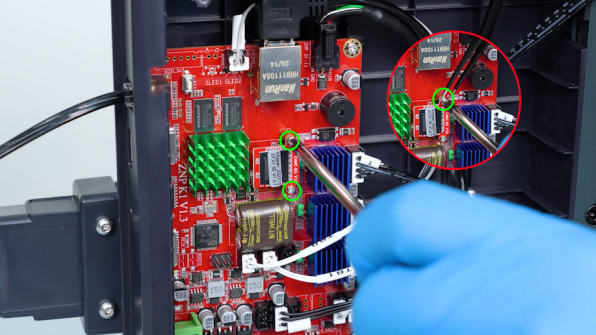
Loosen and remove the screws securing the eMMC module with a Phillips screwdriver and remove the eMMC module.
Note: Hold the screw with a pair of tweezers to prevent it from falling off.

¶ Install the new eMMC module
-
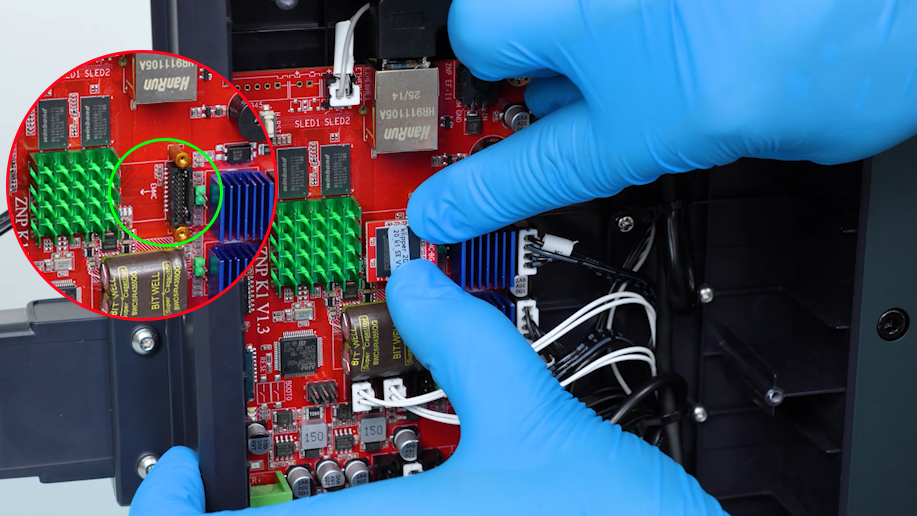
Put the new eMMC module in the installation position.
-
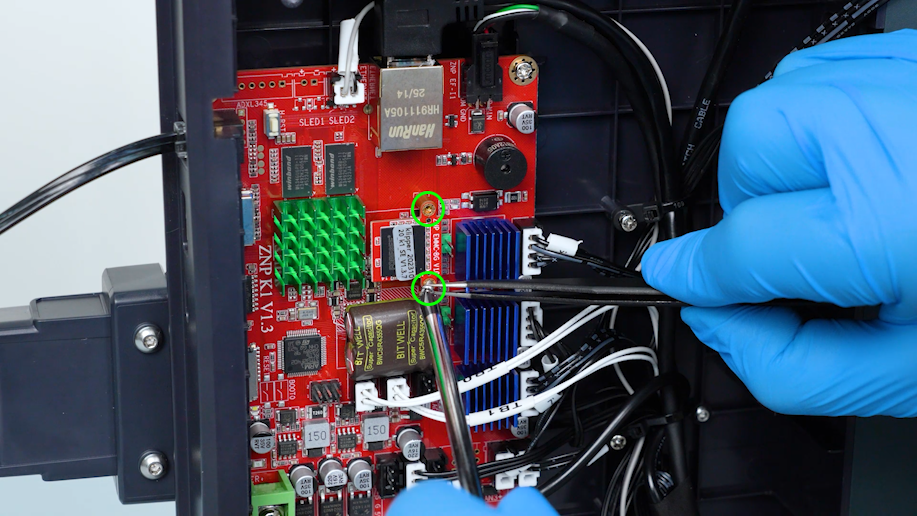
Tighten the screws securing the eMMC module with a Phillips screwdriver.
Note: Hold the screw to prevent it from falling off with a pair of tweezers.
-
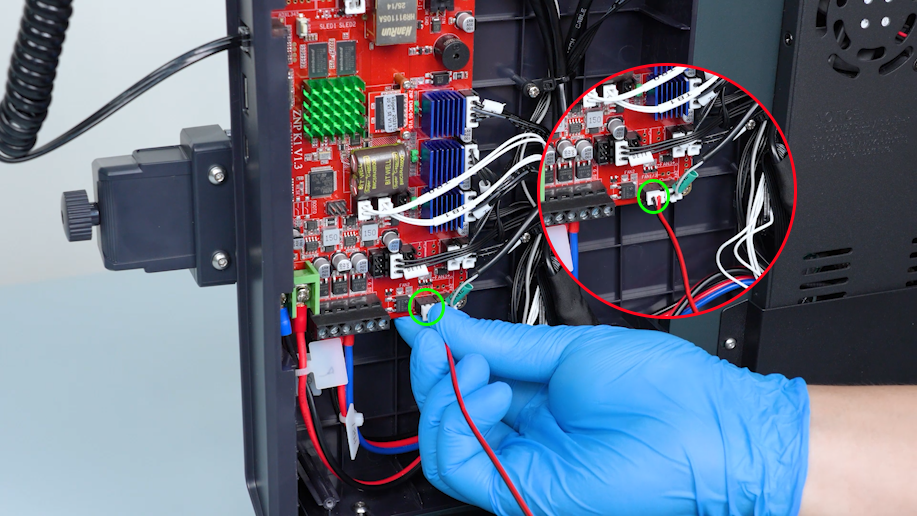
Get the bottom cover and insert the motherboard cooling fan plug. Install the bottom cover.
-
Tighten the screws securing the bottom cover in sequence with a Phillips screwdriver.
¶ Restart the Printer
-
Turn the power switch ON (symbol "|") and plug in the power supply cable.
-
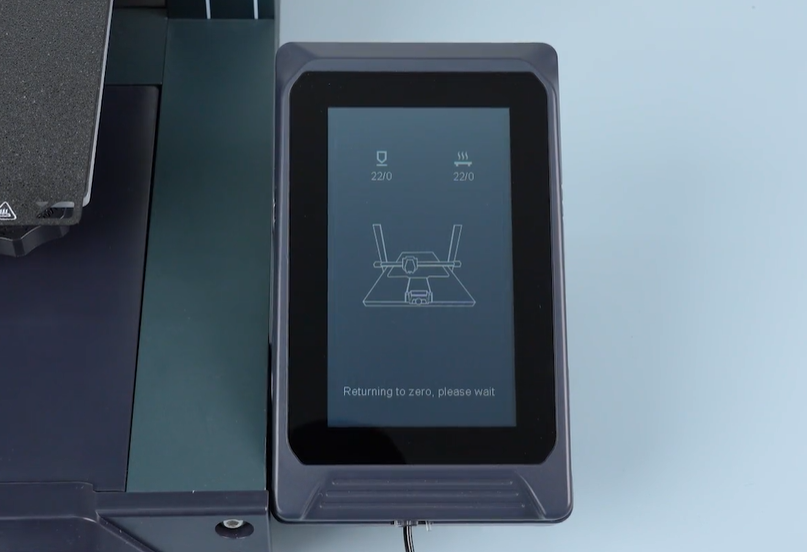
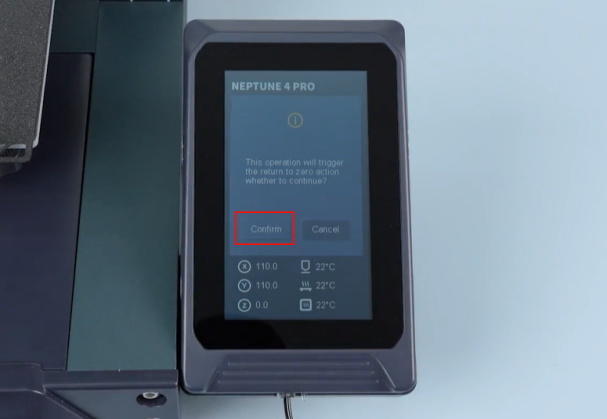
On the touch screen, select Level - Confirm to start the leveling process.
-
The printer is ready for use after the leveling is completed.