¶ Tools and Materials
A H2.0 Allen key
¶ Tutorial Video
¶ Precautions
Before operation, power off the printer.
¶ Instruction
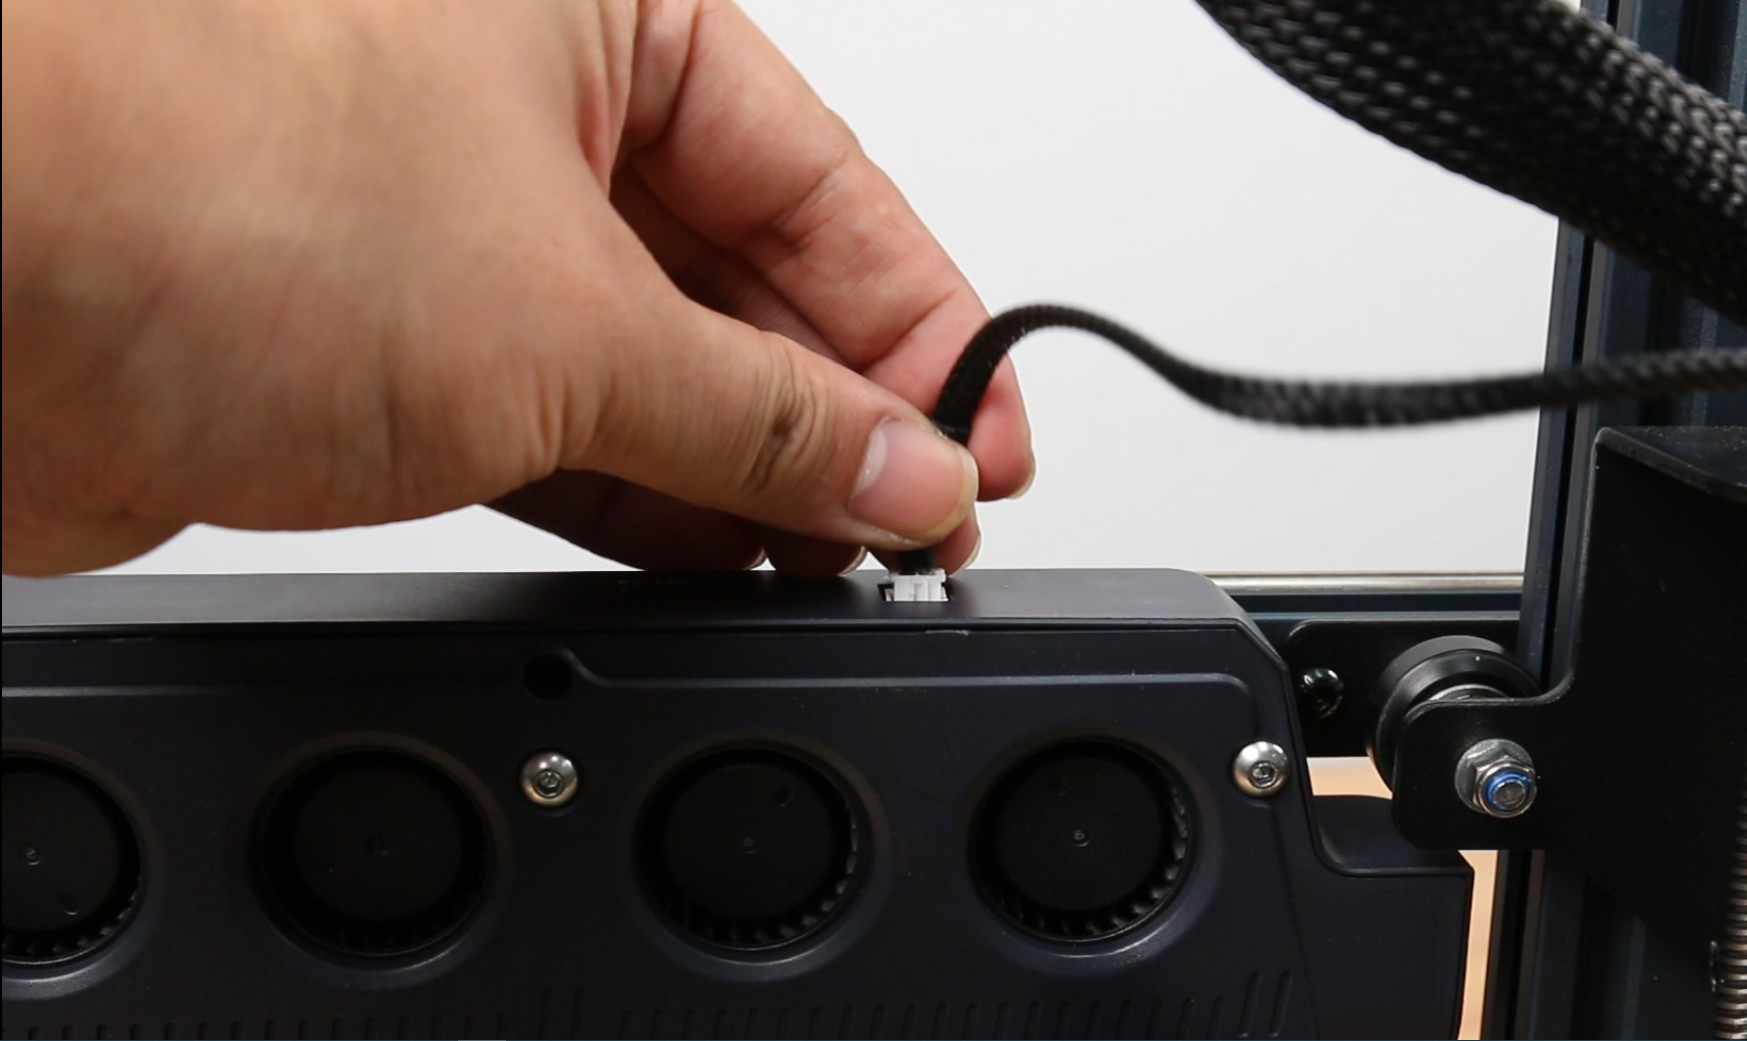
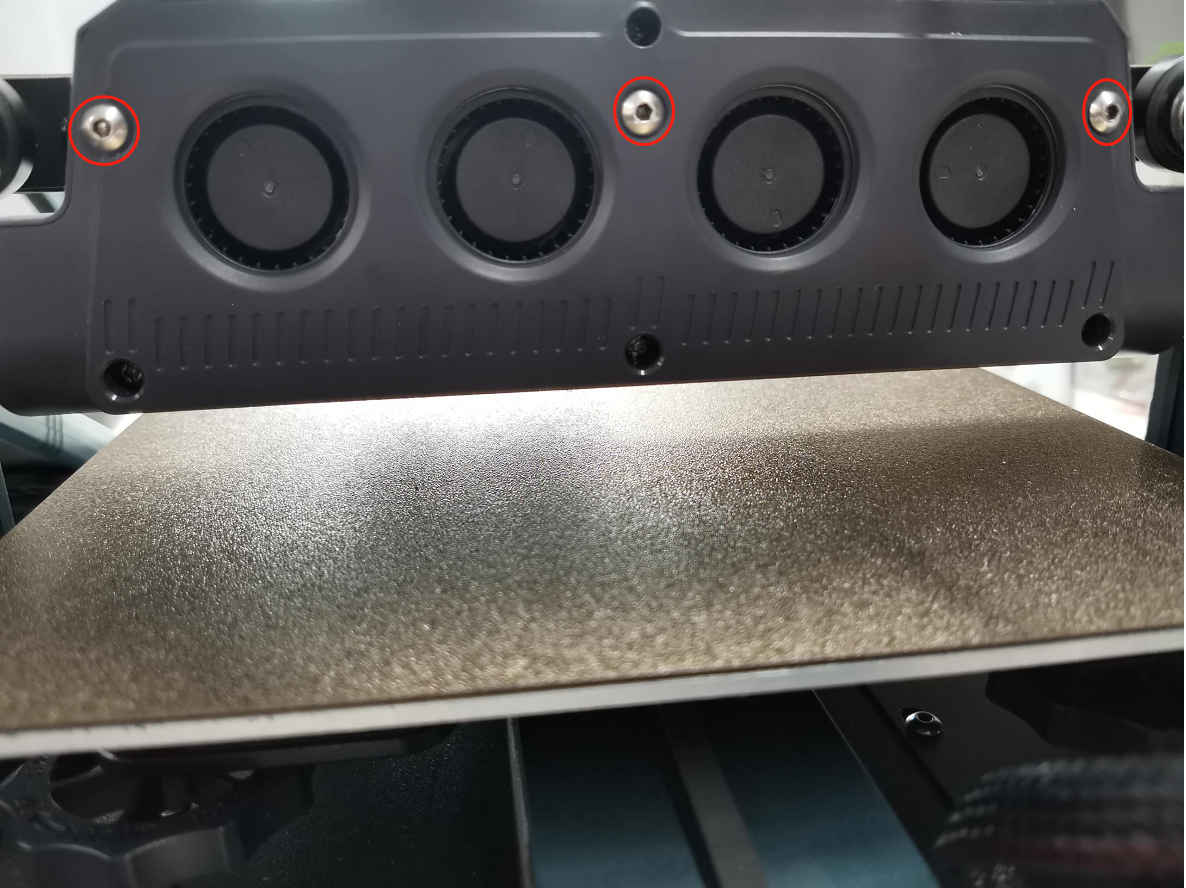
- Power off the printer. Unplug the port wires of the fan assembly located directly behind the print head. Loosen the three screws of the rear fan assembly using a 2.5mm Allen key. Remove the fan assembly.
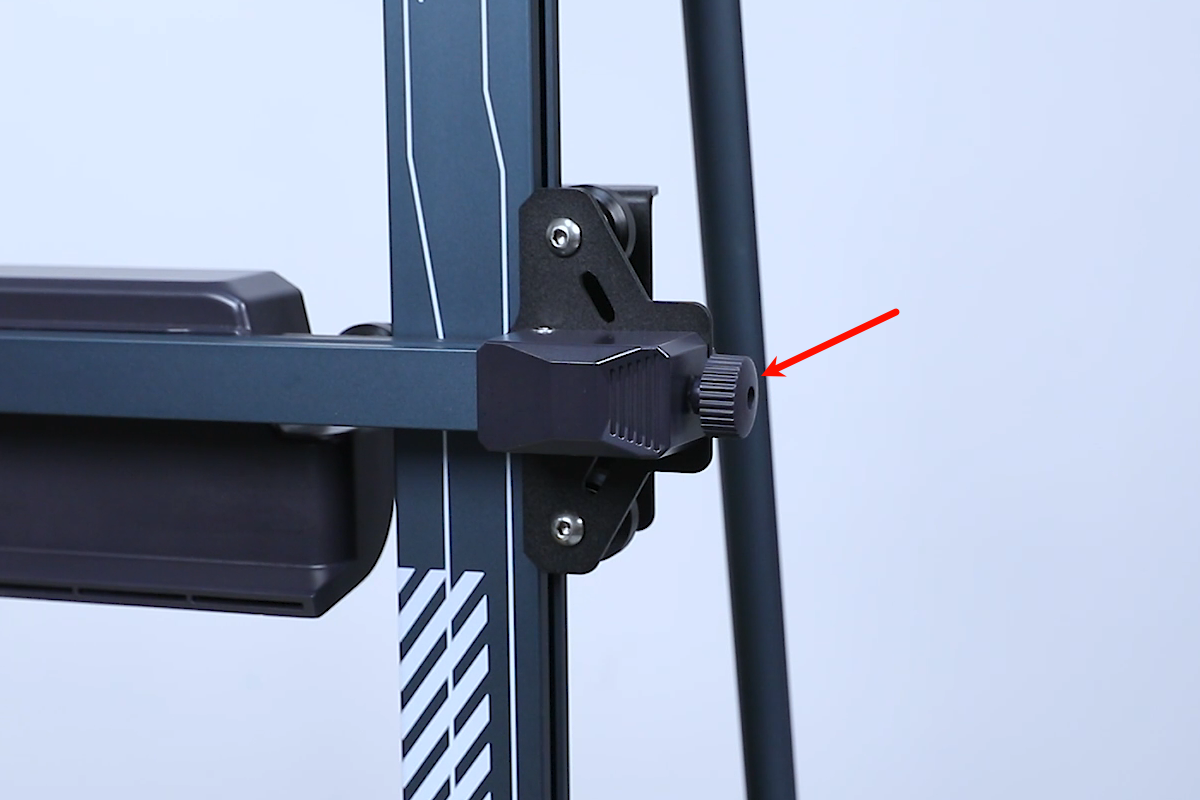
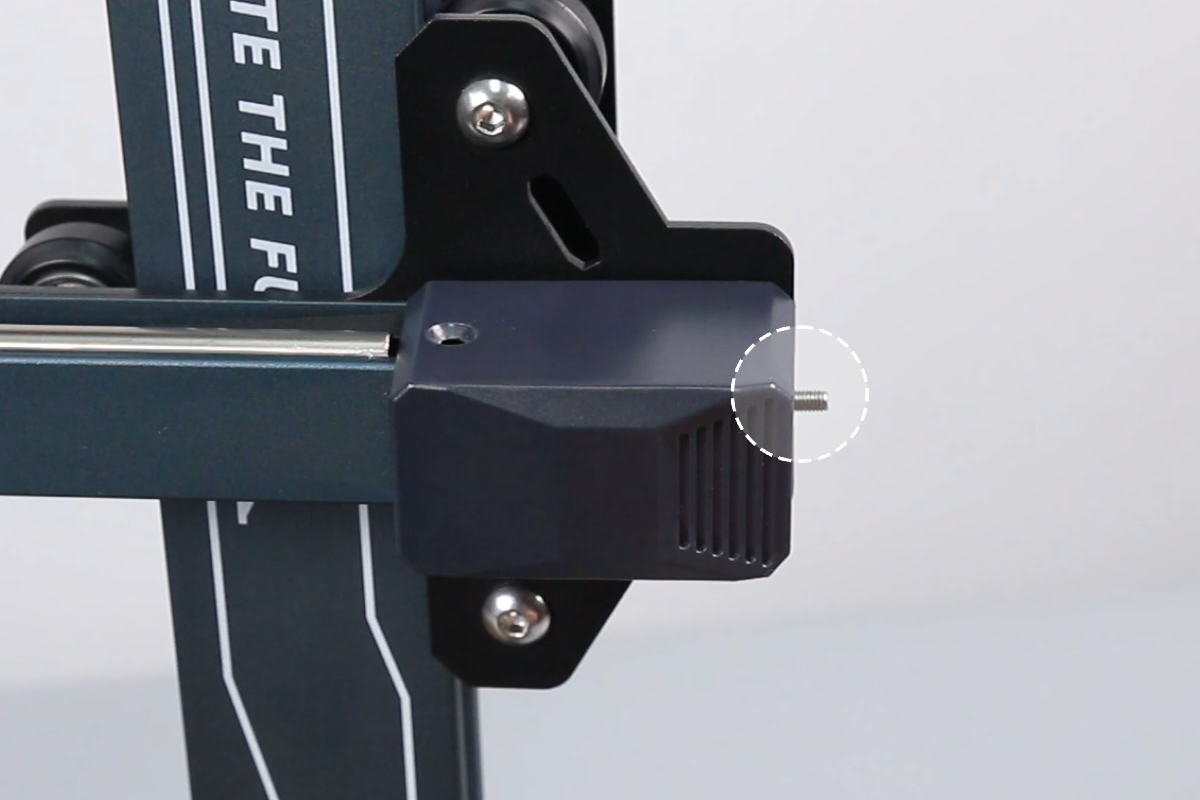
- Loosen the hand screw nut of the X-axis timing belt tensioner.
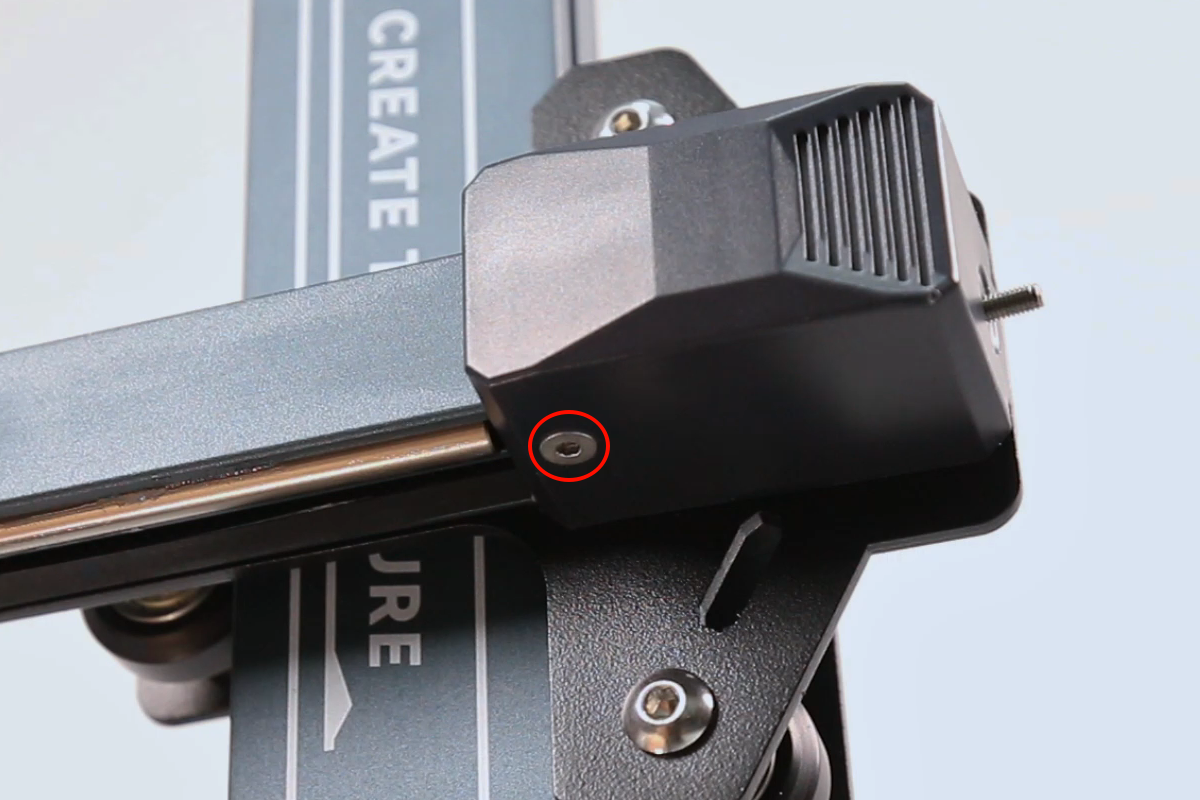
- Loosen the two screws securing the housing of the timing belt tensioner using a 2.0mm Allen key. Remove the housing.
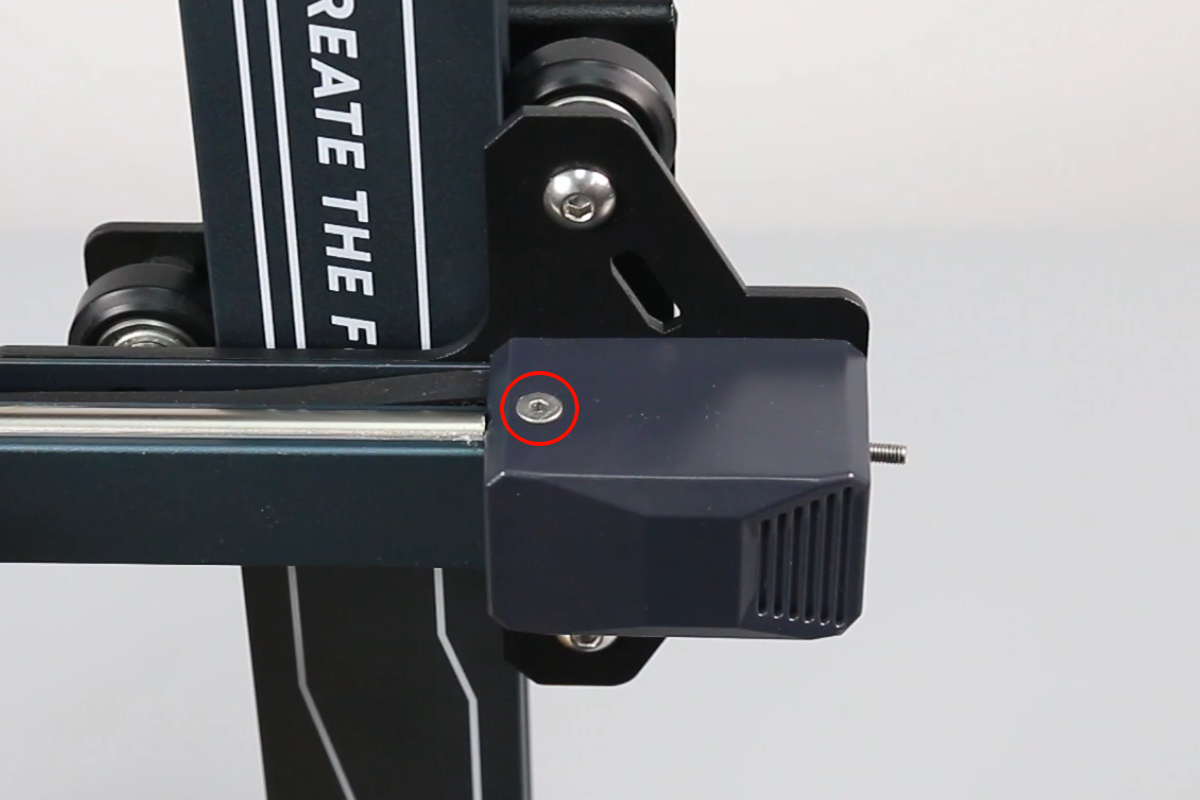

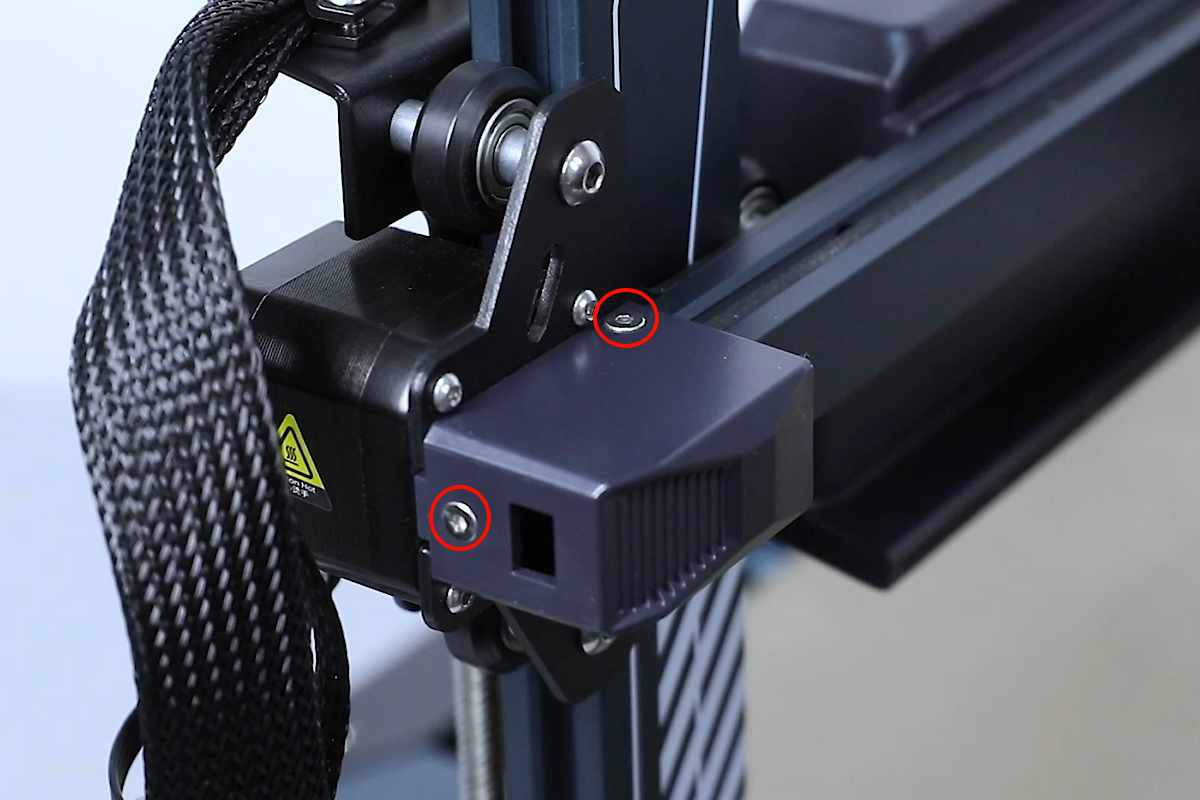
- Unplug the cable of the X-axis limit switch. Loosen the three screws securing the housing of the X-axis limit switch using a 2.0 mm Allen key.
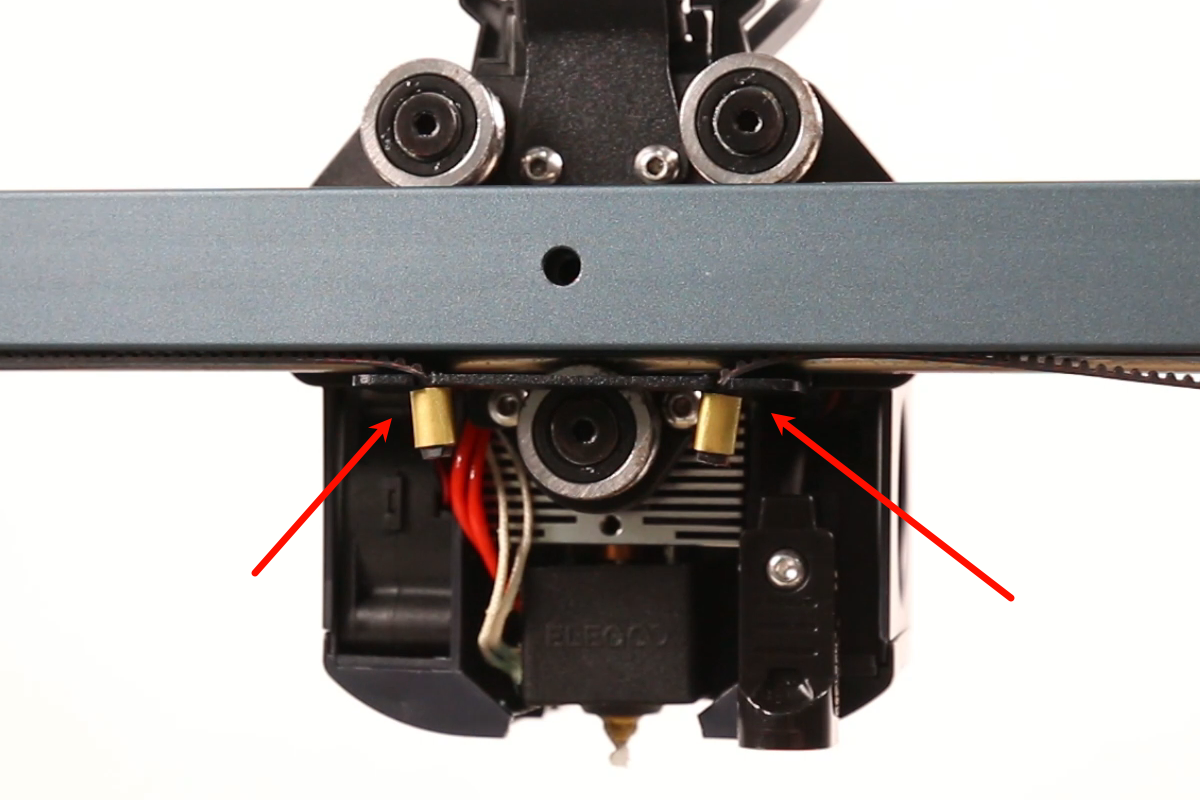
- Remove the X-axis limit switch assembly. From the back of the print head holder, remove the copper sleeve buckles from both ends of the X-axis timing belt.

- Pull the timing belt out from the right side of the X-axis, and remove the timing belt from the passive pulley assembly.
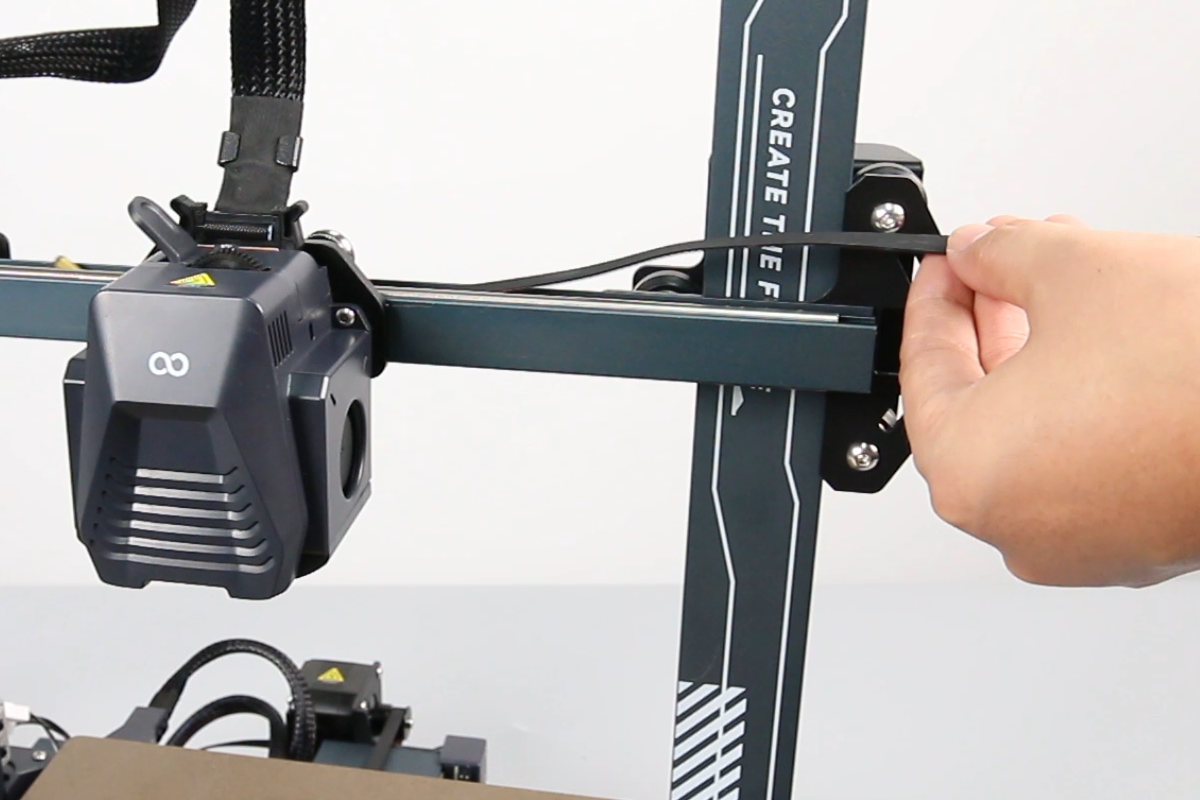
- Pass the new X-axis timing belt through the groove of the X-axis aluminum profile.
- Pass the right end of the X-axis timing belt through the passive pulley assembly.
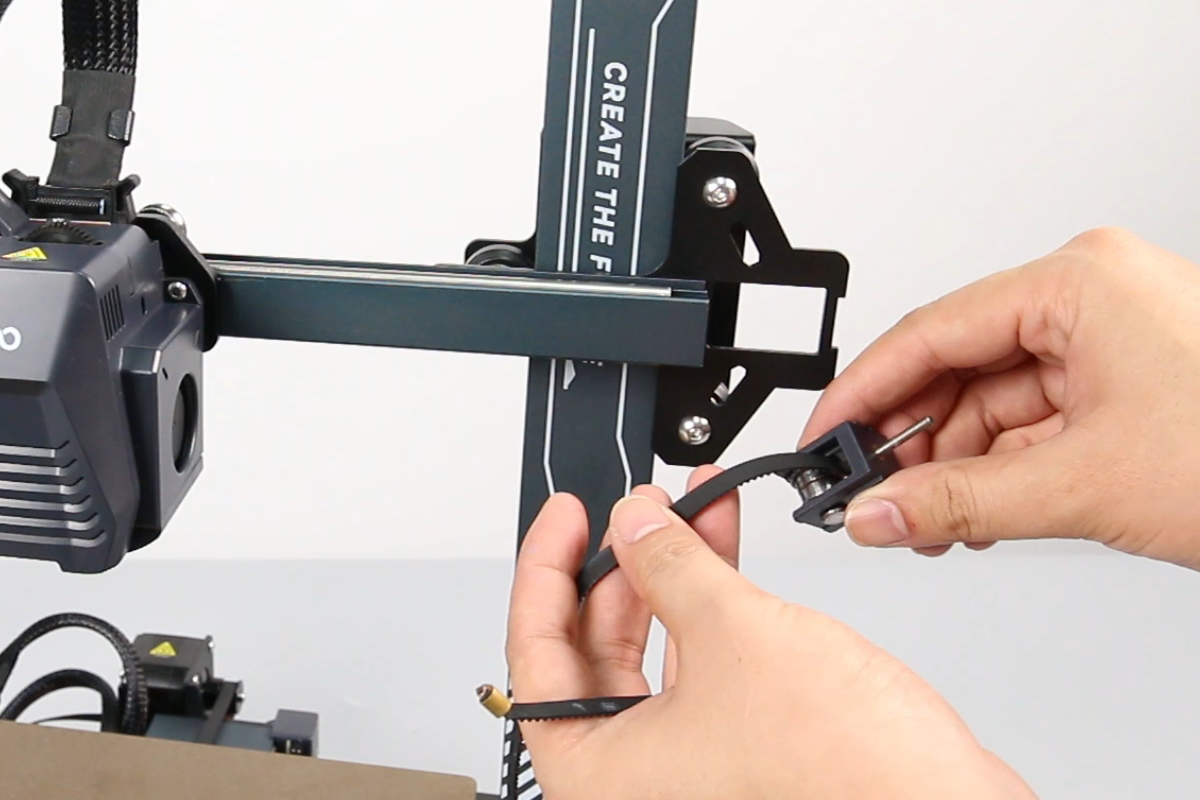
- Insert the copper sleeve clips at both ends of the X-axis timing belt into the grooves on both sides of the print head holder.
- Install the X-axis limit switch assembly. Tighten the three screws securing the housing of the X-axis limit switch using a 2.0 mm Allen key. Insert the cable of the X-axis limit switch.
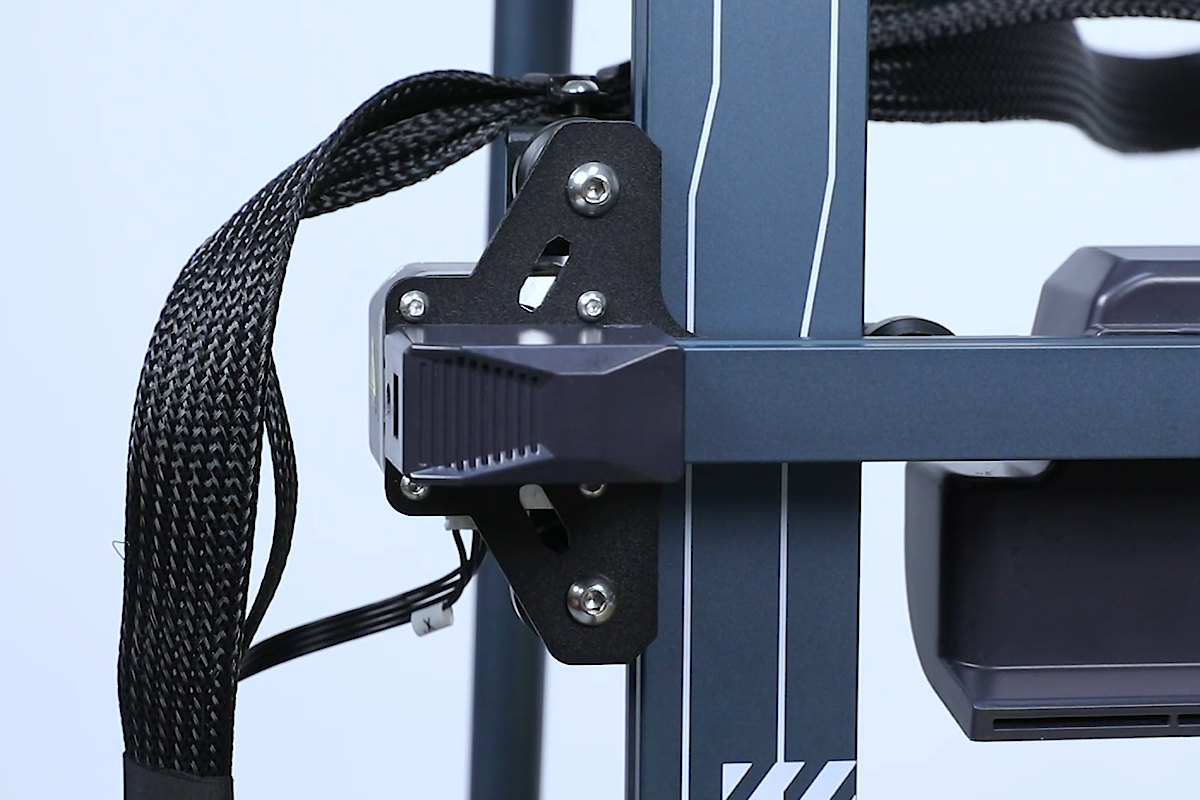
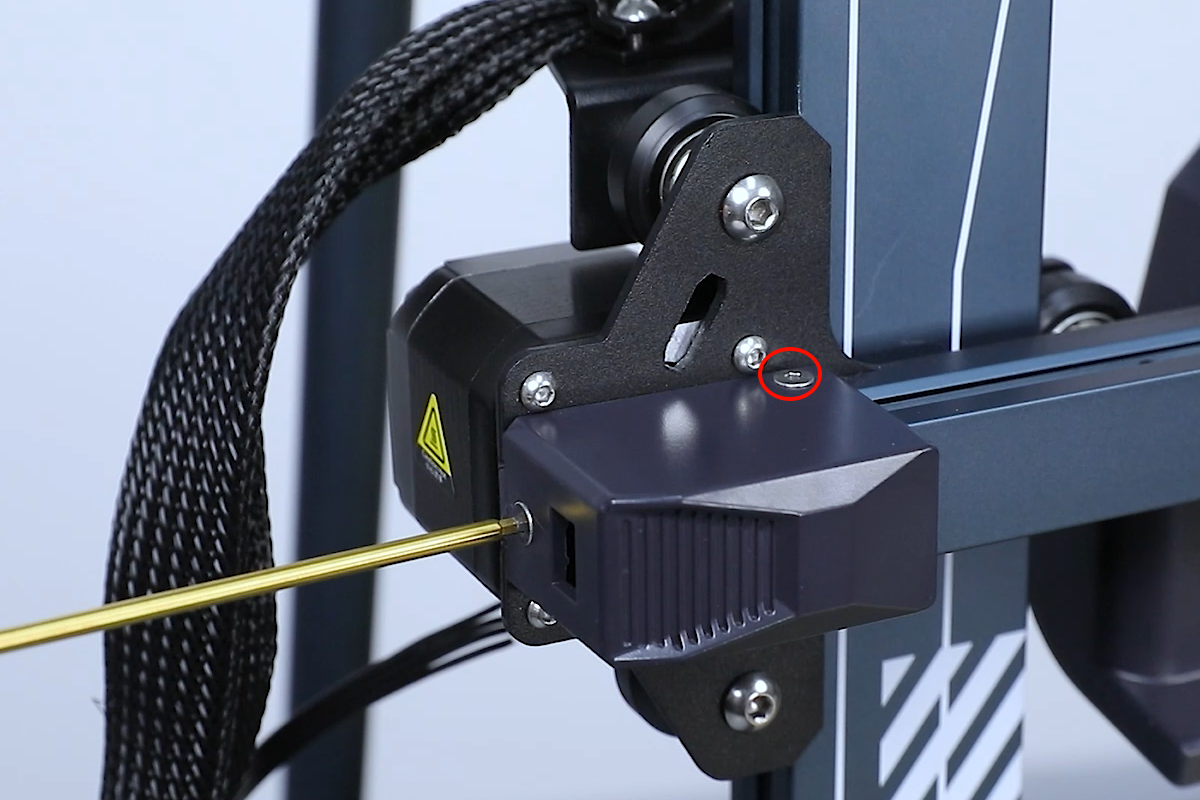
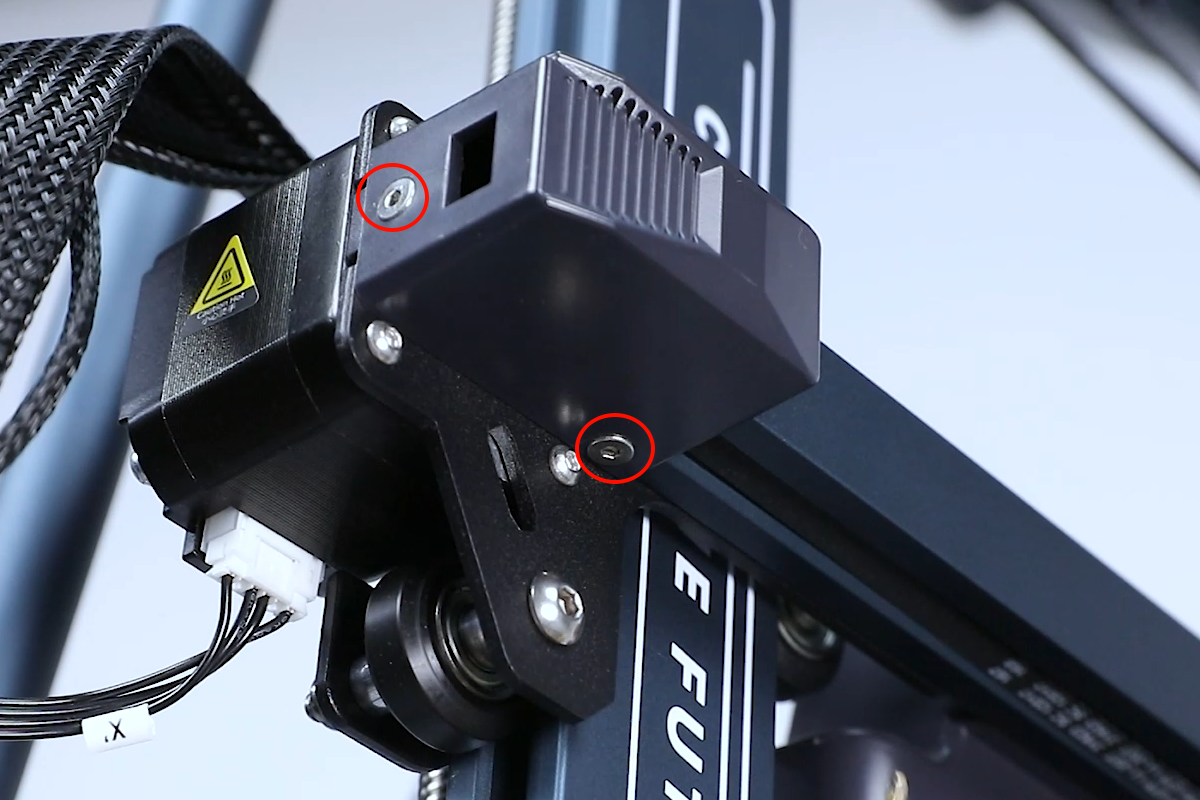
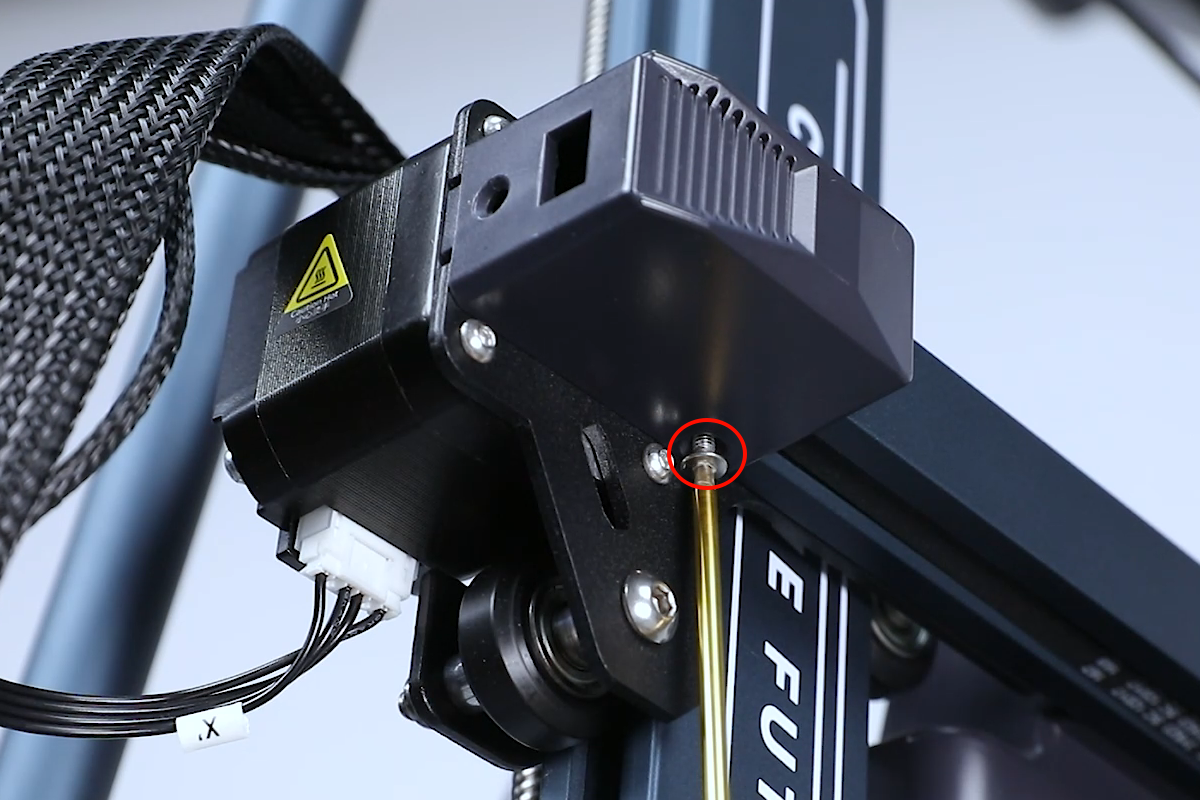
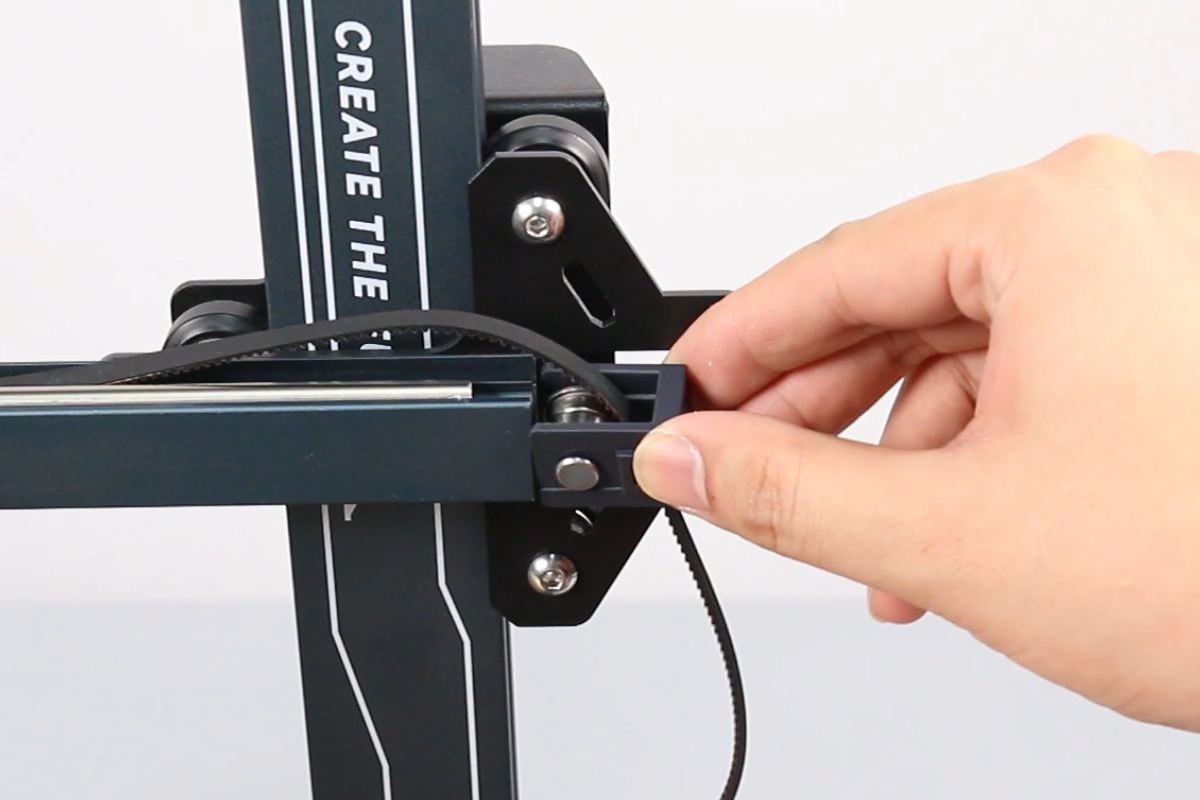
- Install the belt tensioner housing. Tighten the 2 screws securing the shell of the belt tensioner using a 2.0 mm Allen key.

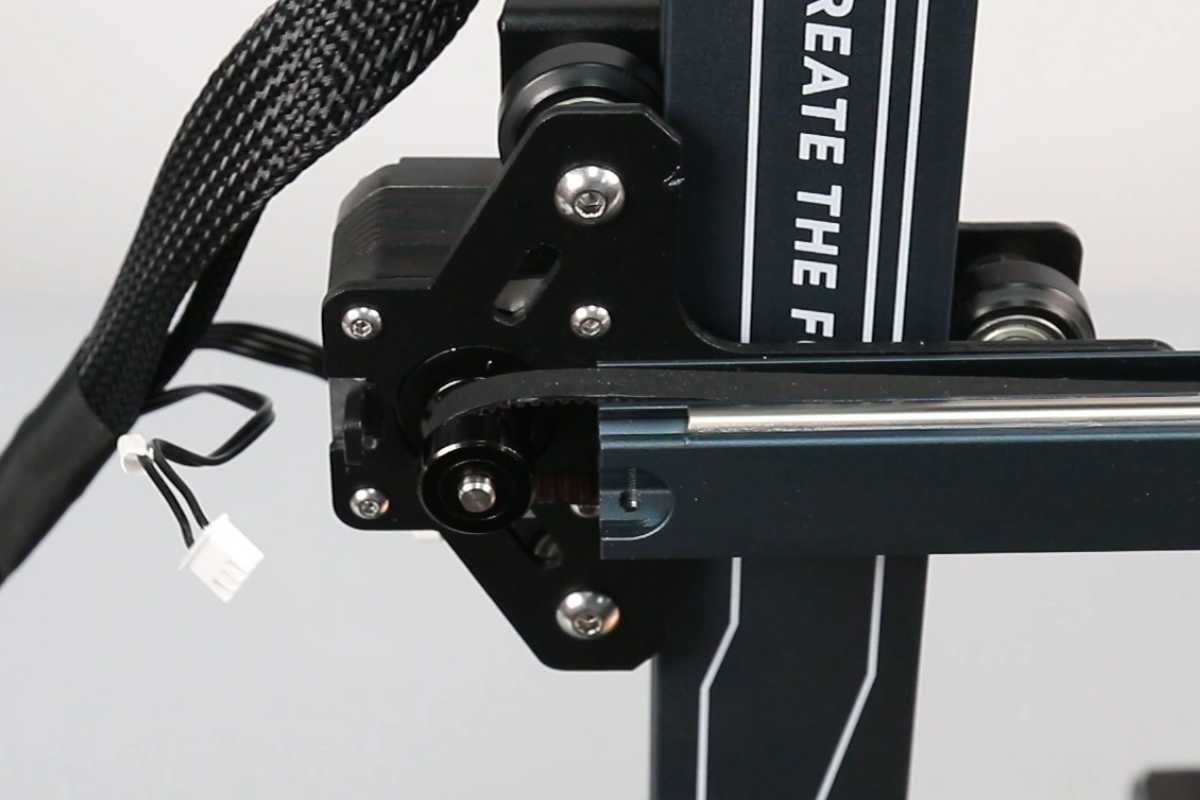
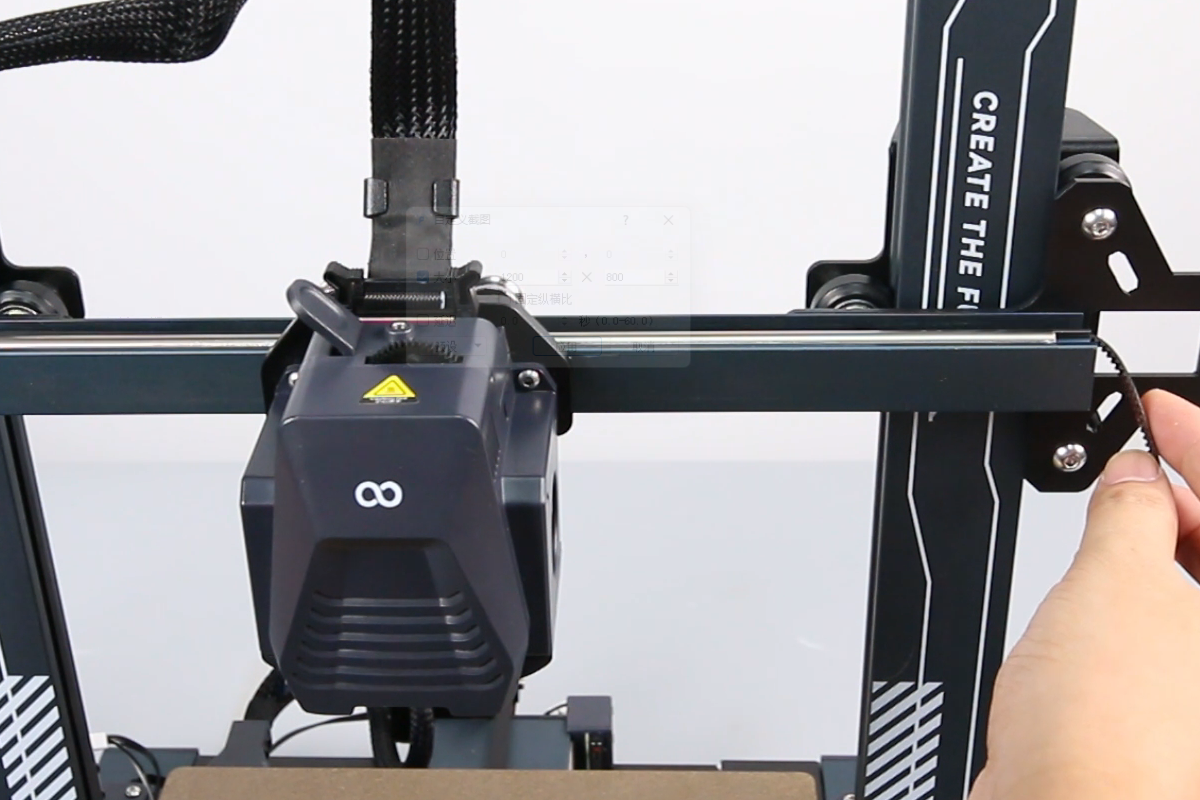
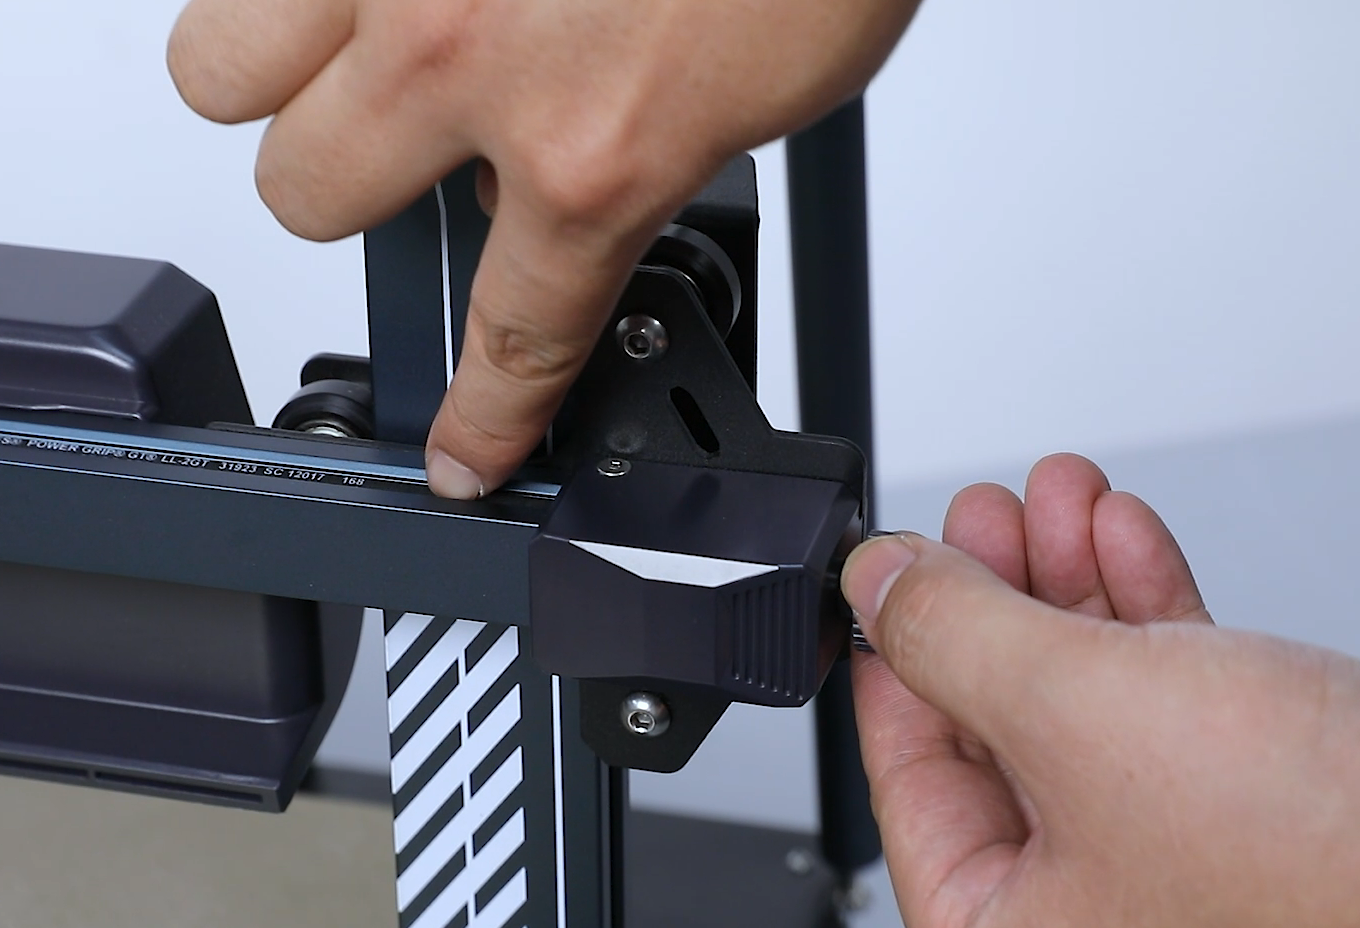
- Install the nut of the X-axis belt tensioner. Turn the X-axis belt tensioner knob, and adjust the belt tension to moderate, not too loose or too tight.
- Install the fan assembly. The air outlet face downward. Tighten the three fixing screws of the rear fan assembly using the 2.5mm Allen key. Insert the fan assembly cable port.

- Power on the printer. After the homing process, the printer is ready for use.