¶ Required Tools
1.5 mm Hex Key
2.0 mm Hex Key
2.5 mm Hex Key
Phillips Screwdriver
¶ Disassembly
- Turn off the printer and unplug the power supply cable.
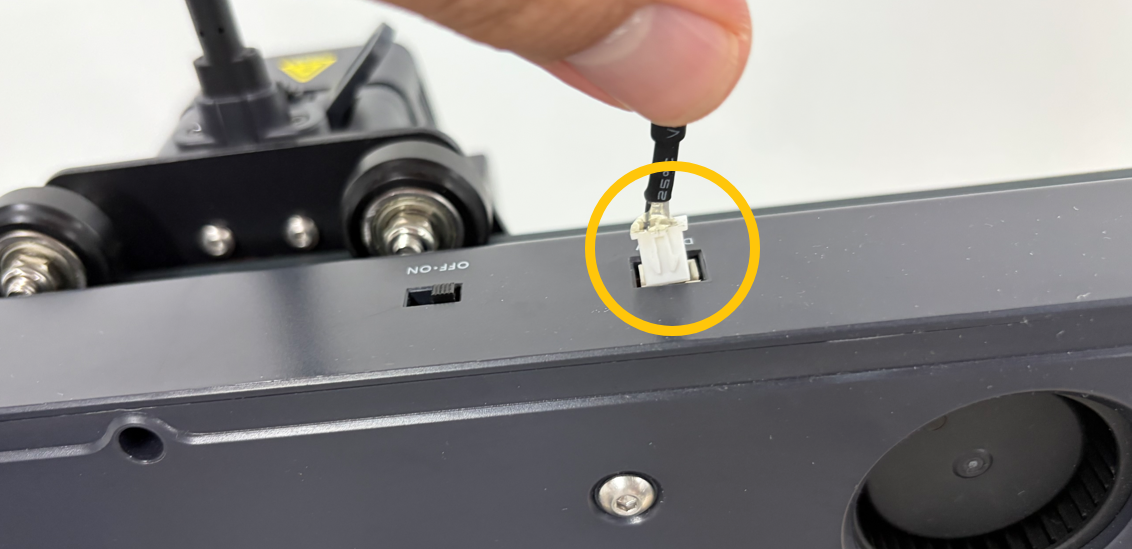
- Disconnect the rear Cooling Fan connector.

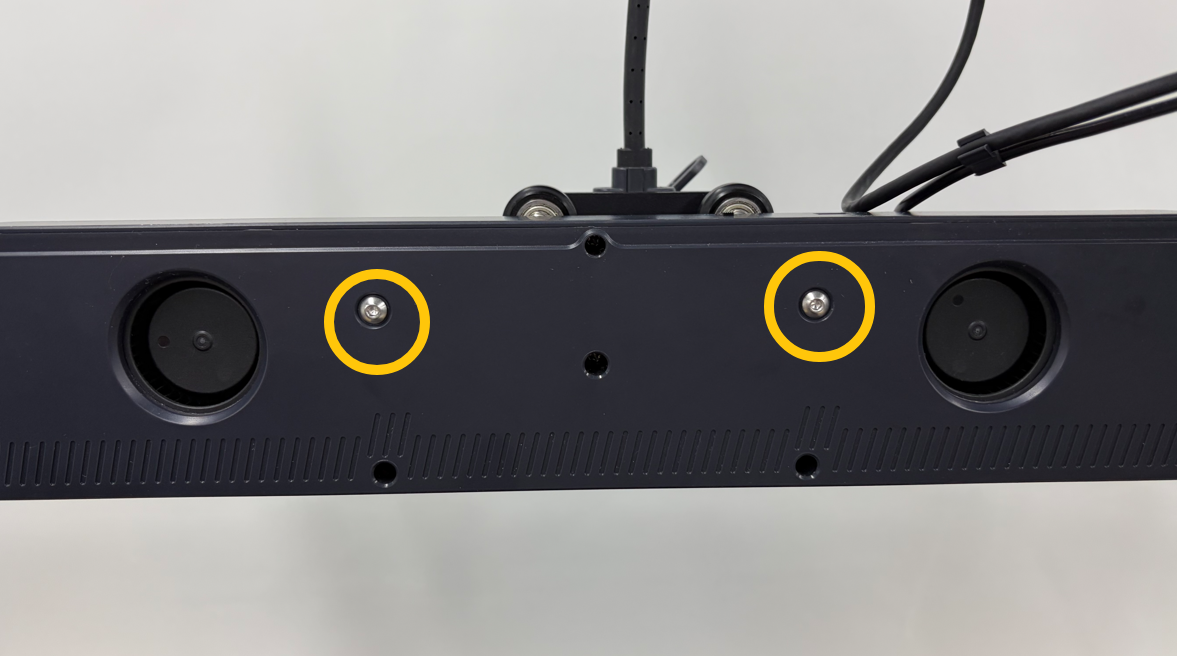
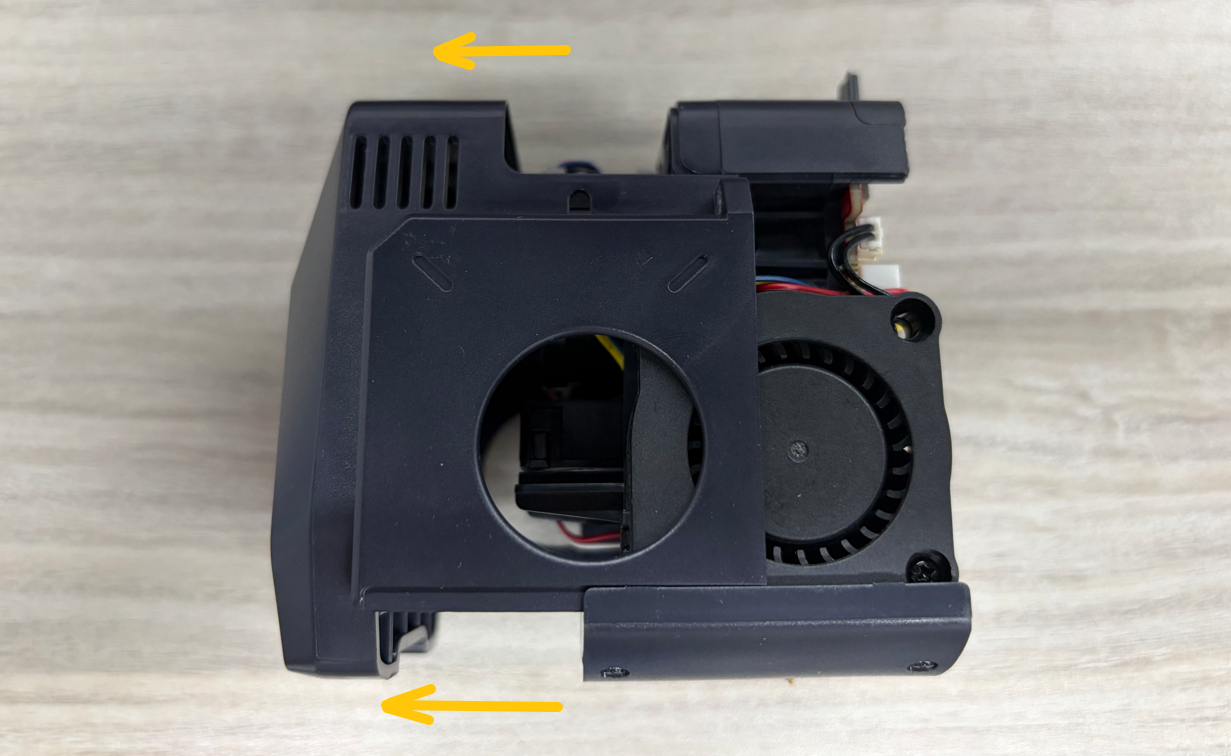
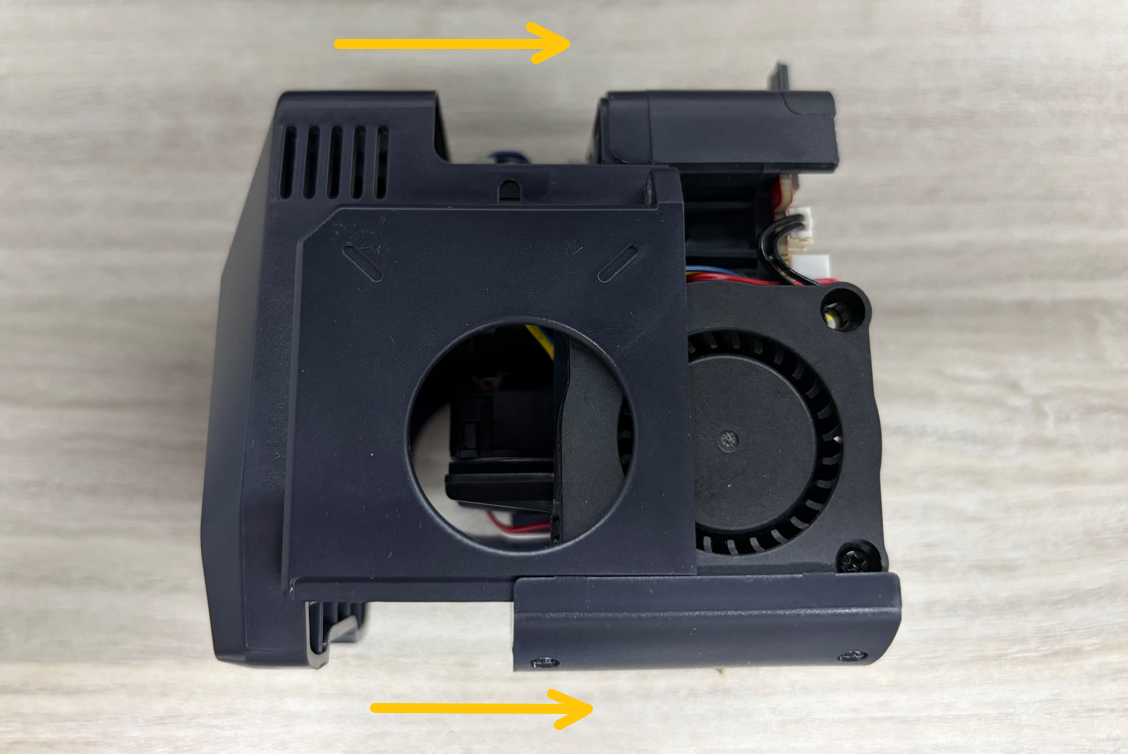
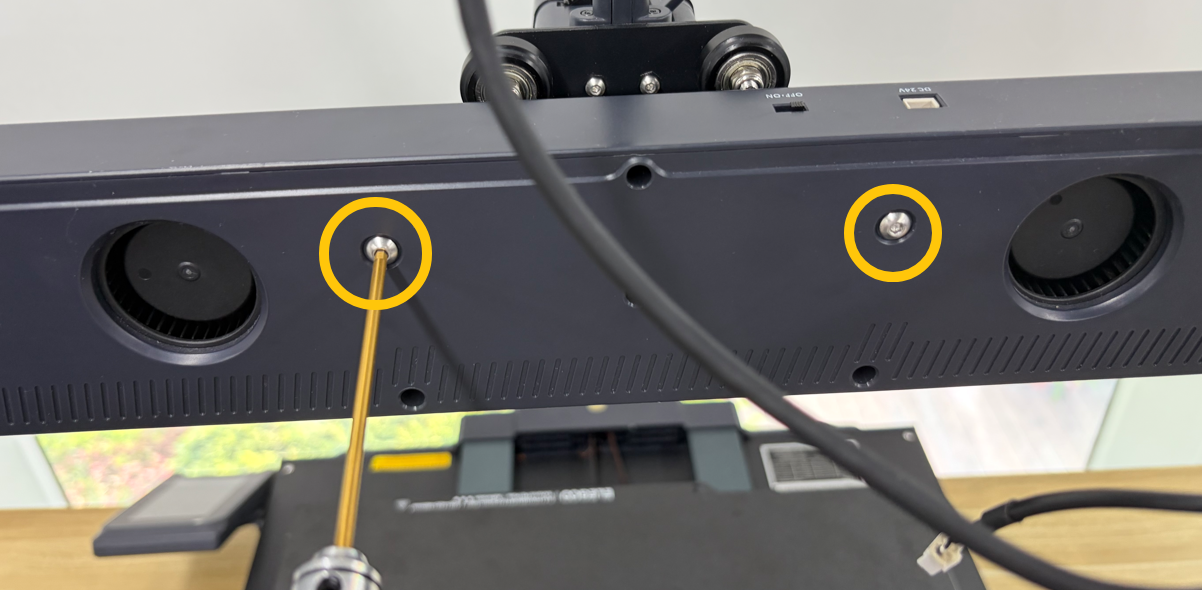
- Using a 2.5 mm hex key, remove the two screws securing the rear Cooling Fan, then remove the fan.
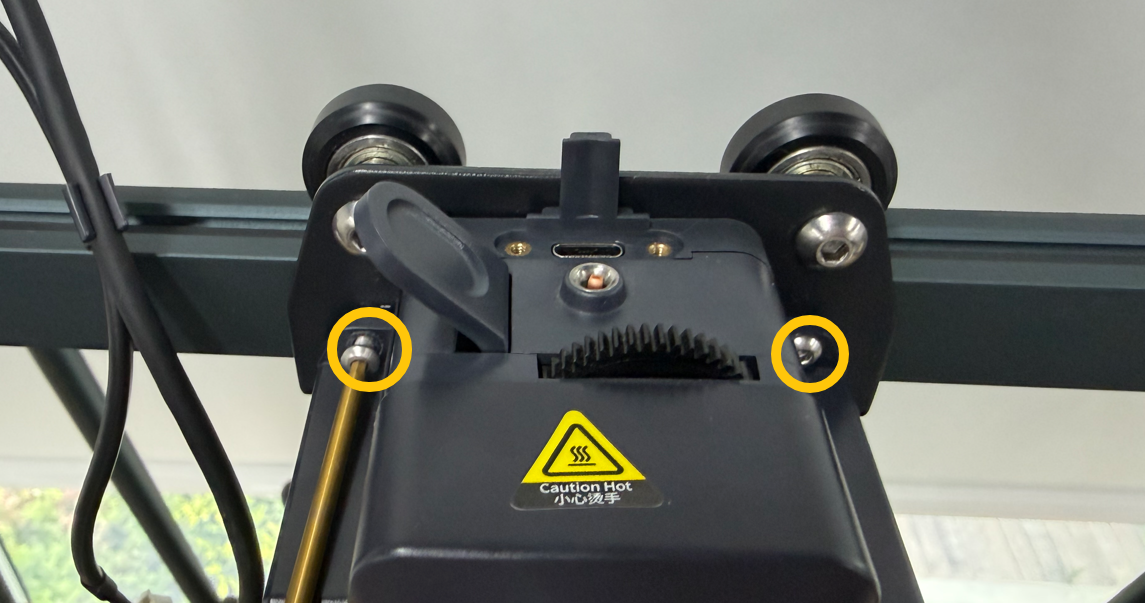
- Using a 2.0 mm hex key, remove the three screws securing the rear side of the Extruder Kit.
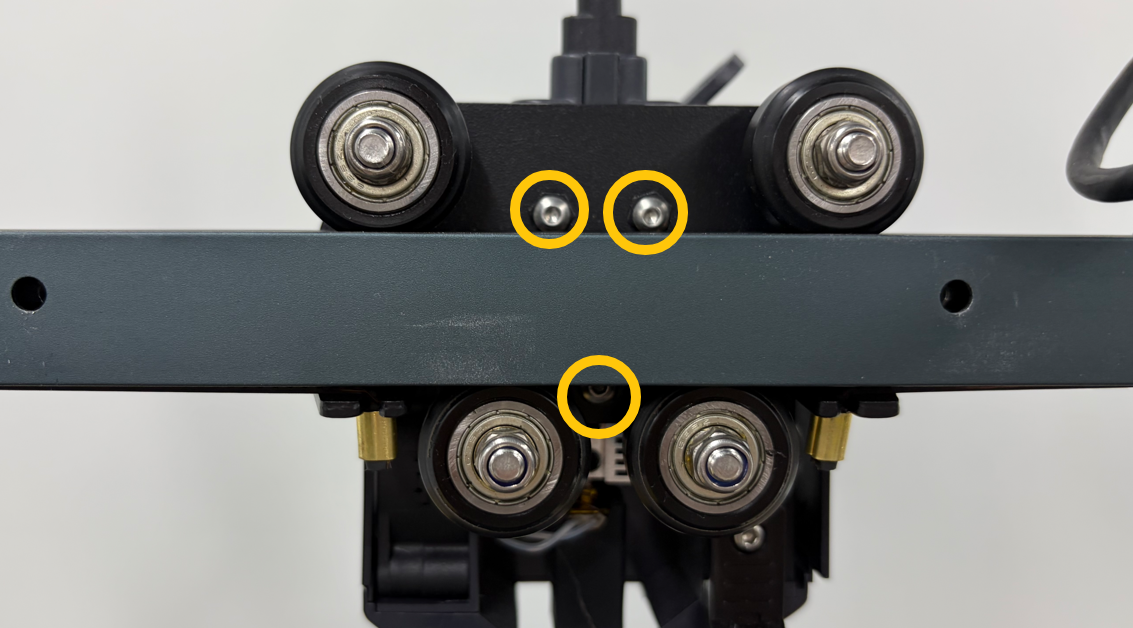
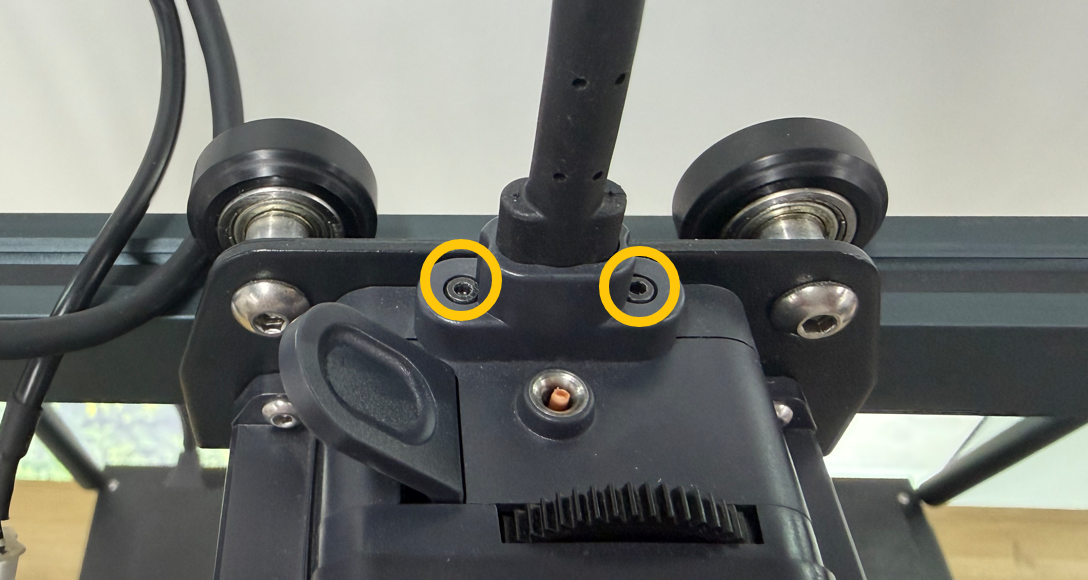
- Using a 1.5 mm hex key, remove the two screws securing the extruder connection cable, then disconnect the cable.
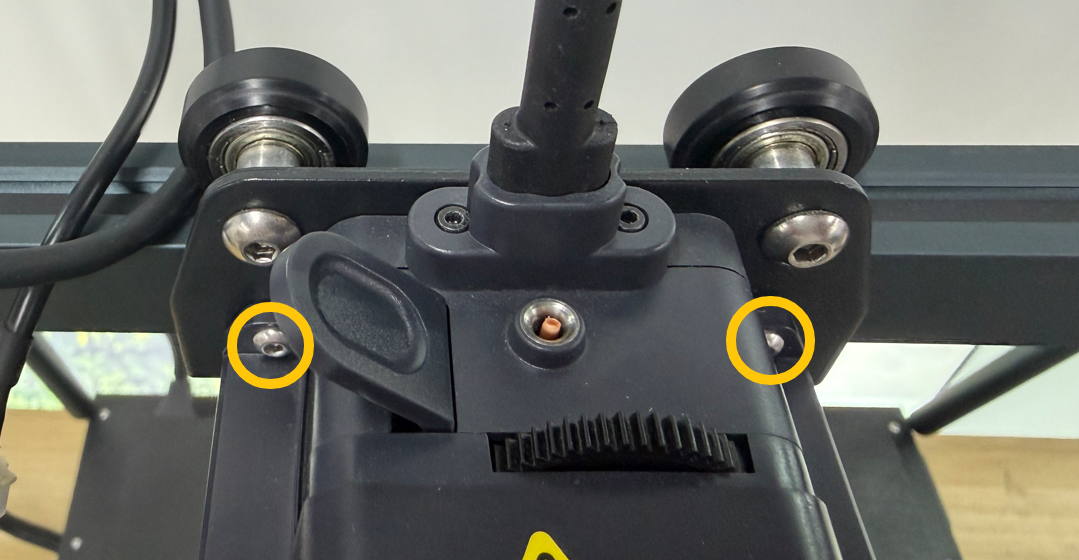
- Using a 2.0 mm hex key, remove the two screws securing the front side of the Extruder Kit, then remove the Extruder Kit.
- Remove the extruder cover.
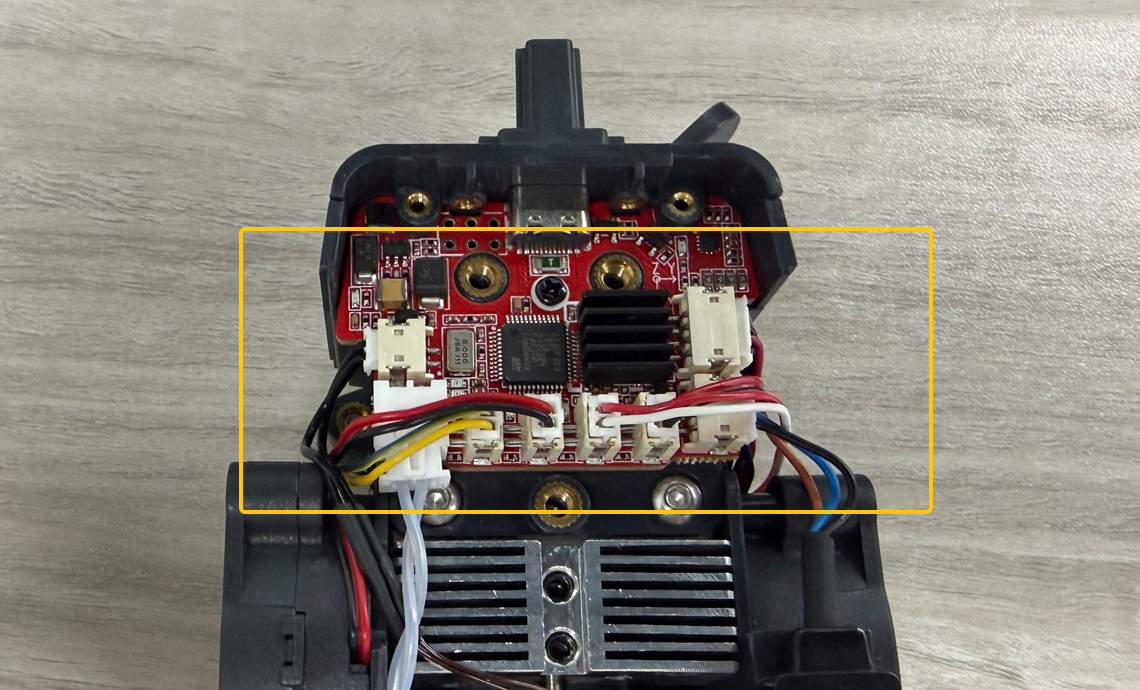
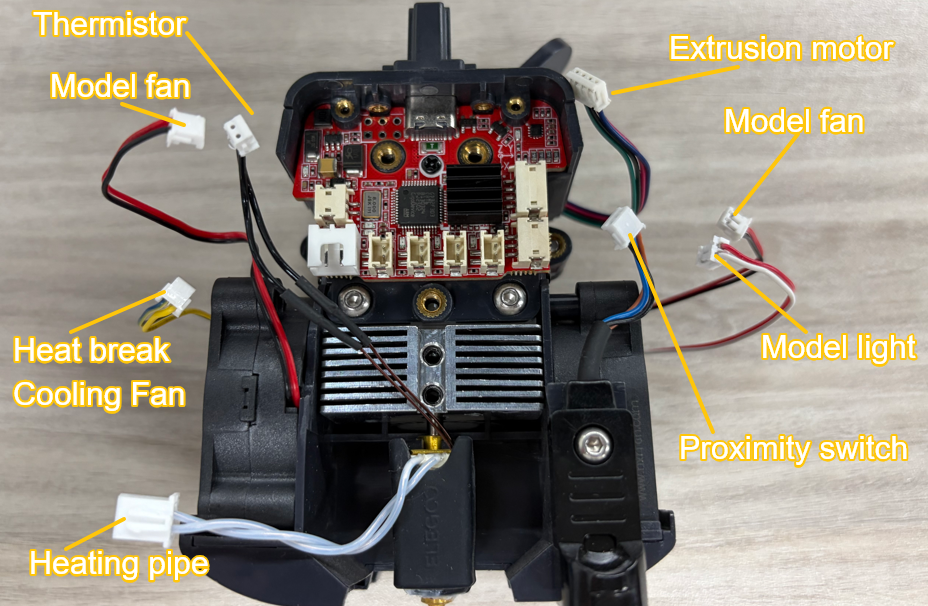
- Disconnect all connectors from the extruder adapter board.
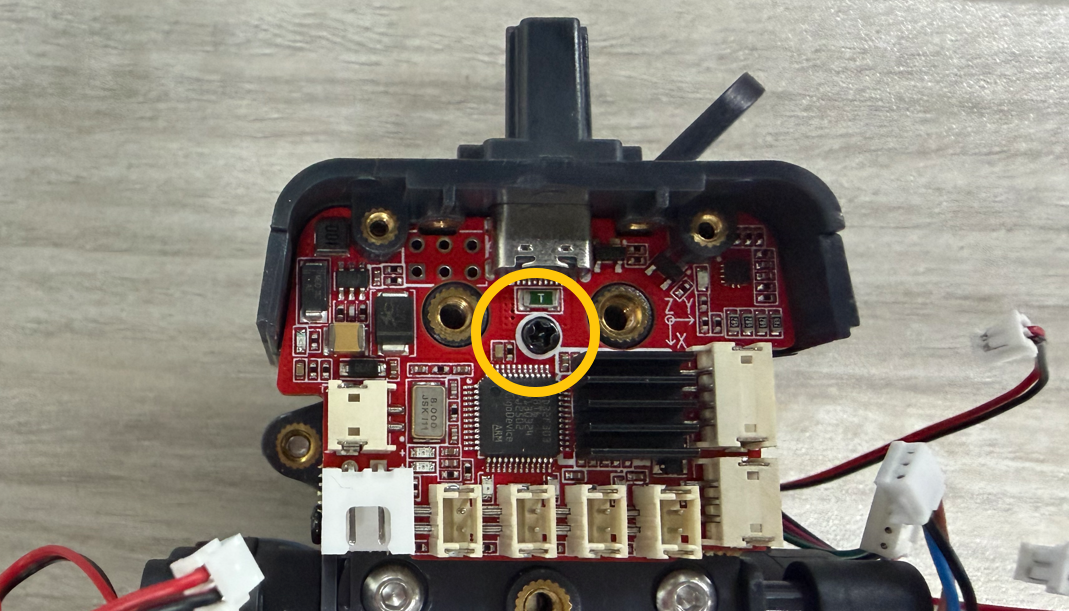
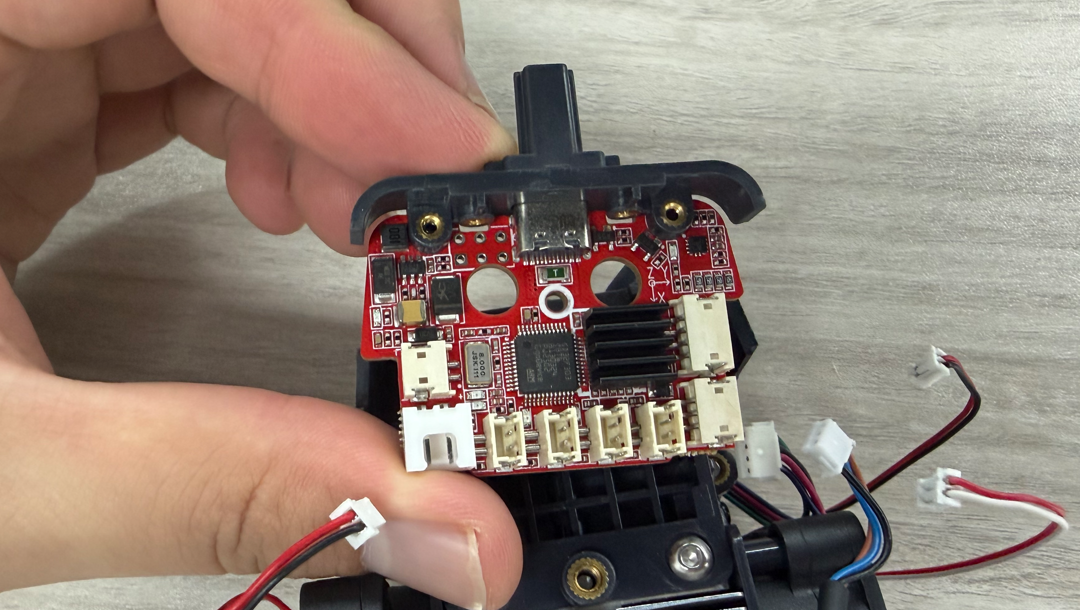
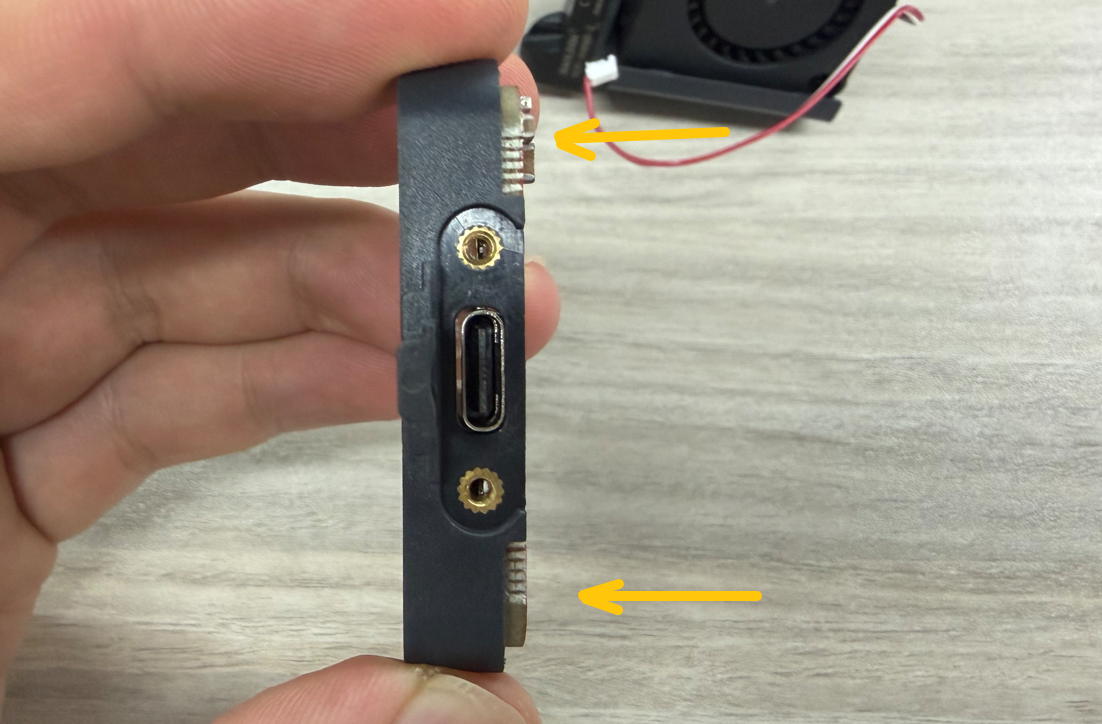
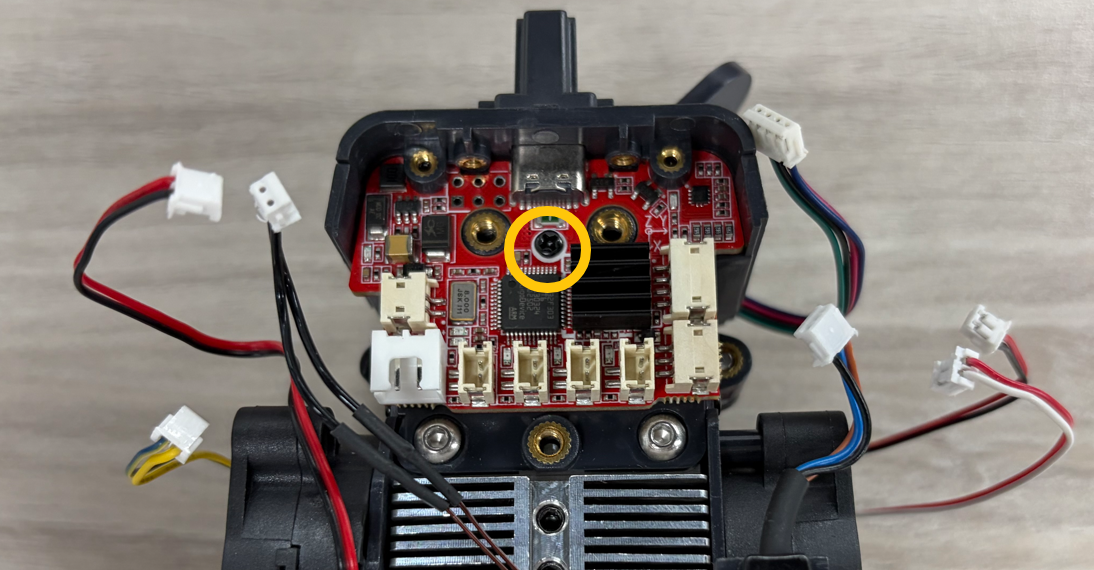
- Using a Phillips screwdriver, remove the screws securing the extruder adapter board and the USB-C port retaining bracket. Then remove both components.
- Using a Phillips screwdriver, remove the two screws securing the USB-C port retaining bracket, then remove the bracket.
¶ Installation
- Position the new extruder adapter board in its original location.
Note: Pay attention to the orientation of the USB-C port retaining bracket.

- Tighten the two screws securing the extruder adapter board.
- Position the adapter board and USB-C port retaining bracket on the front side of the Gear Box, then tighten the screws securing the extruder adapter board.
- Reconnect all connectors to their original positions.

- Reinstall the extruder cover.
- Position the Extruder Kit onto the front side of the backplate, then tighten the two front mounting screws.
- Reconnect the extruder connection cable and tighten the two cable-retaining screws.

- Tighten the three screws securing the rear side of the Extruder Kit.

- Position the rear Cooling Fan on the rear side of the X-axis assembly and tighten the two mounting screws.
- Reconnect the rear fan connector.
¶ Verification
- Connect the power supply cable and turn on the printer.
- Using the touch screen, set the Nozzle temperature to 200°C.
- Verify that:
- The Nozzle heats up normally.
- The Hotend Cooling Fan rotates normally.
- The extruder adapter board replacement is now complete.