¶ Tools and Materials
2.0mm Allen key x1

¶ Tutorial Video
¶ Precautions
Before operation, power off the printer.
¶ Instruction
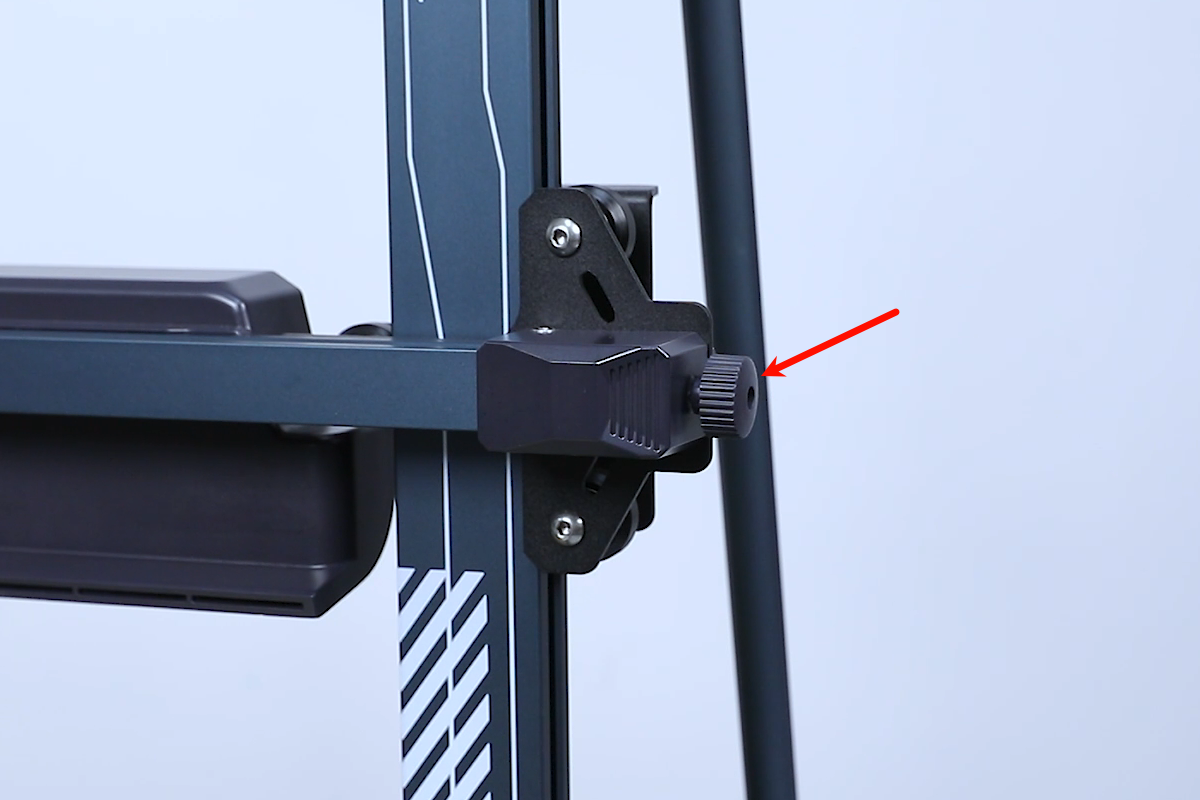
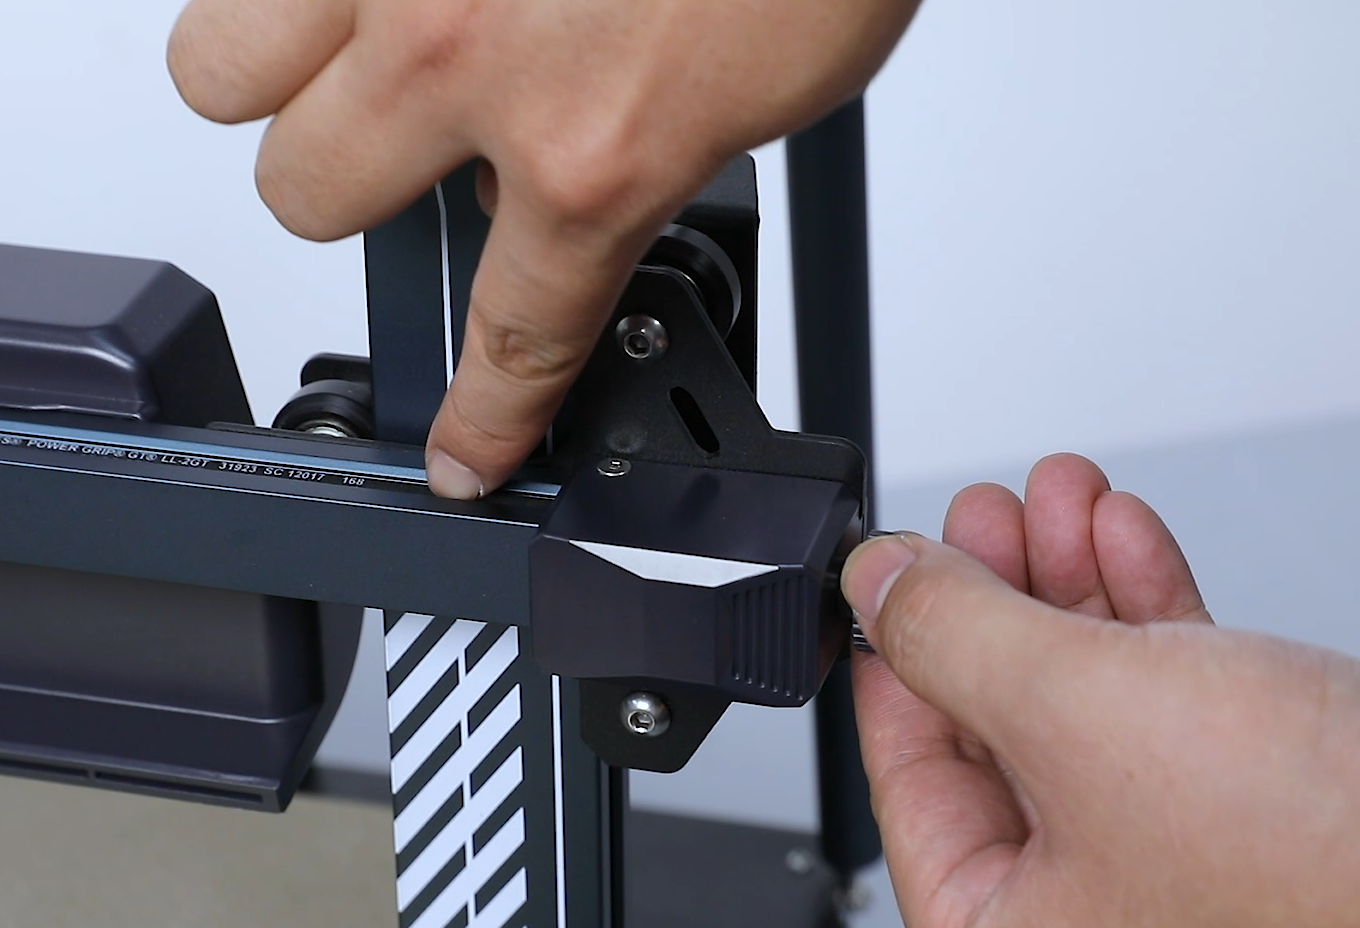
- Loosen the hand screw nut of the X-axis belt tensioner.
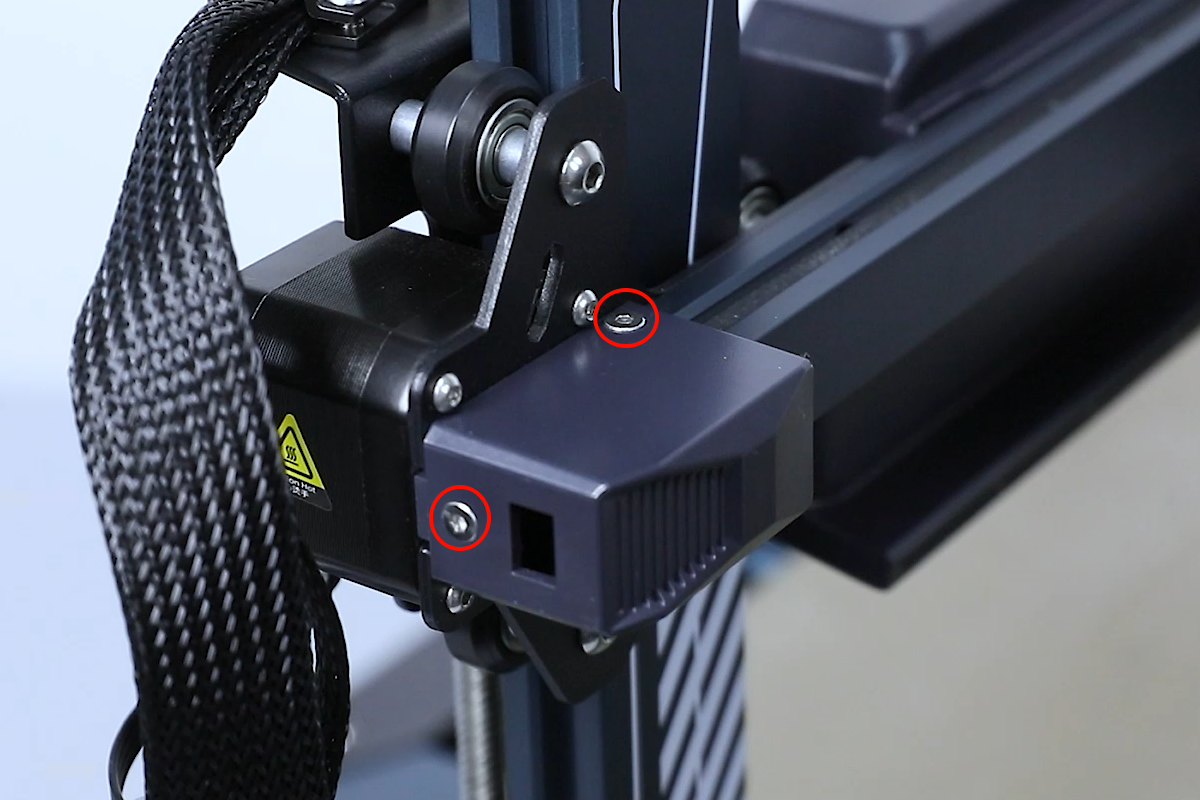
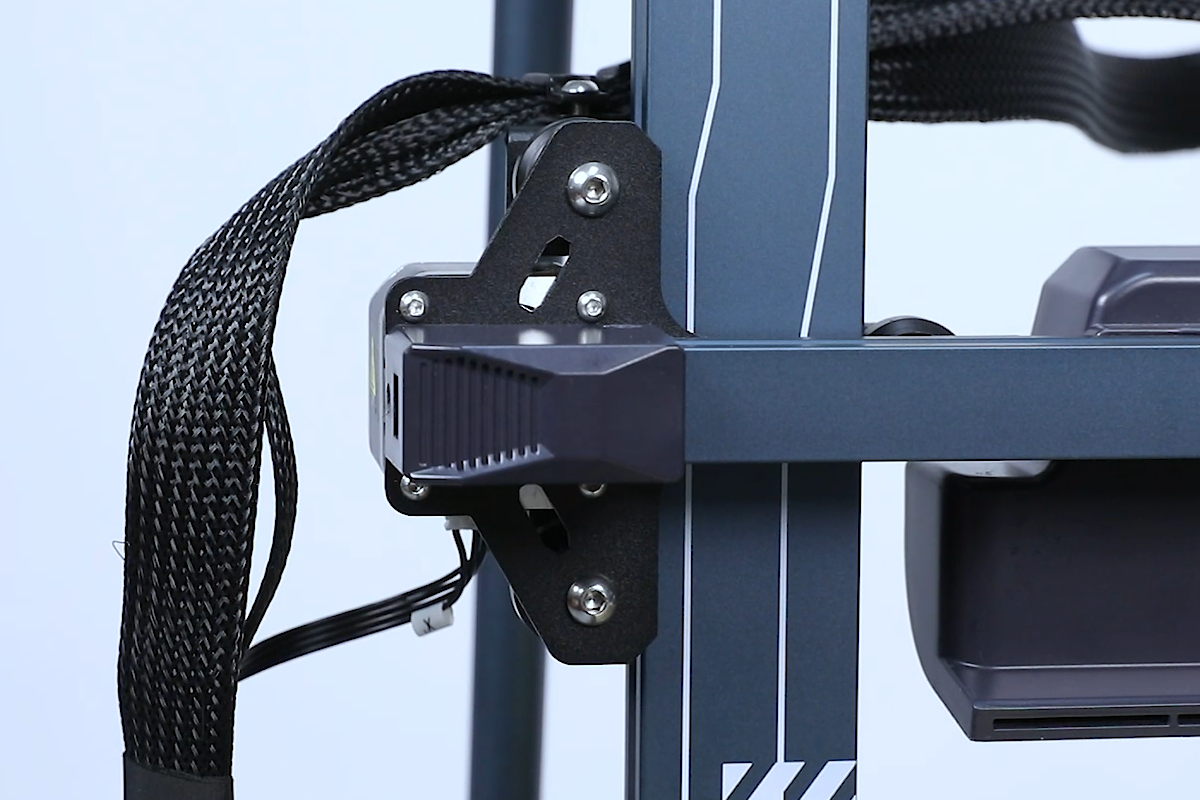
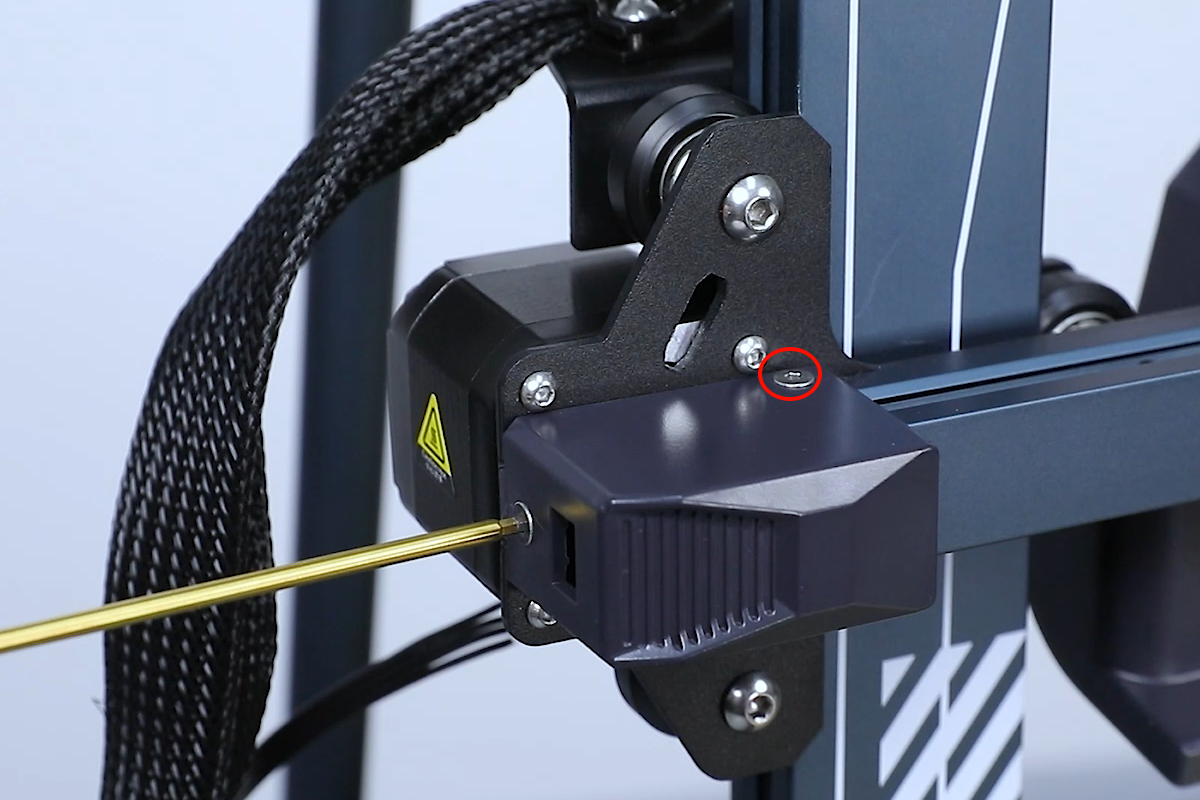
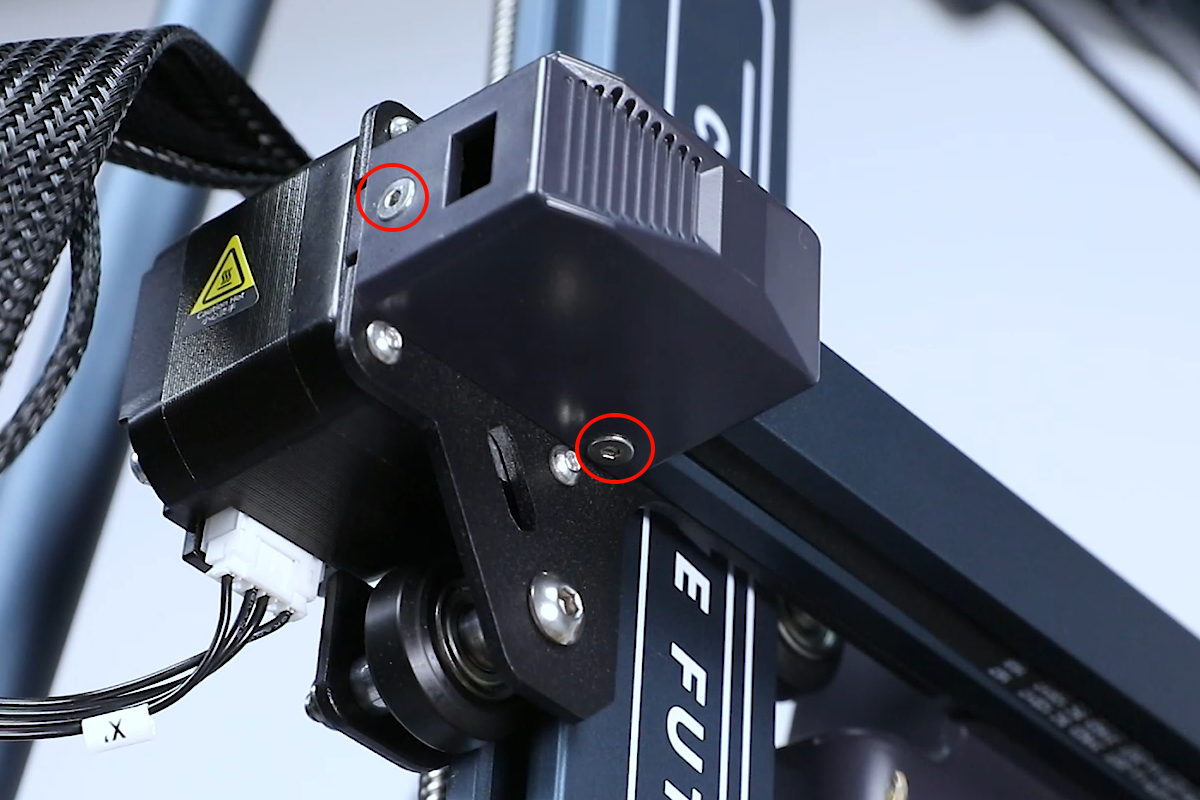
- Loosen the three screws securing the X-axis restrictor housing using a 2.0mm Allen key. Remove the restrictor housing.
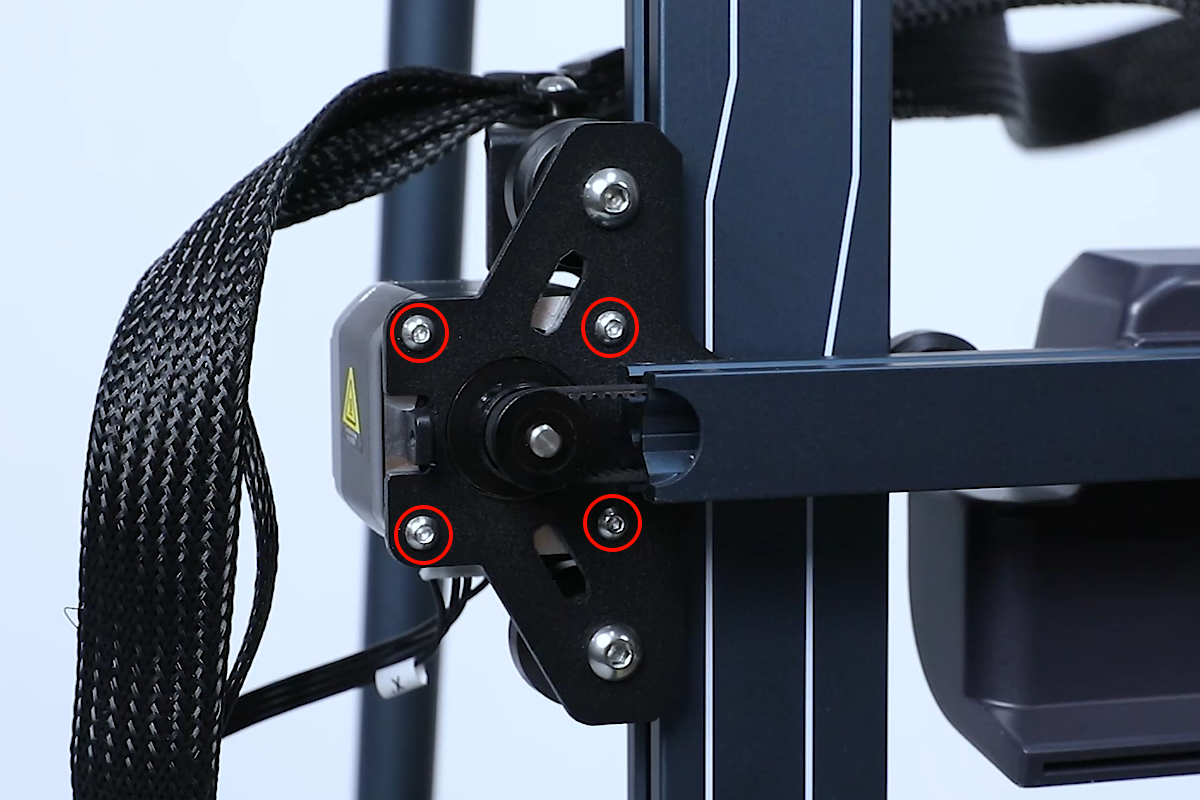
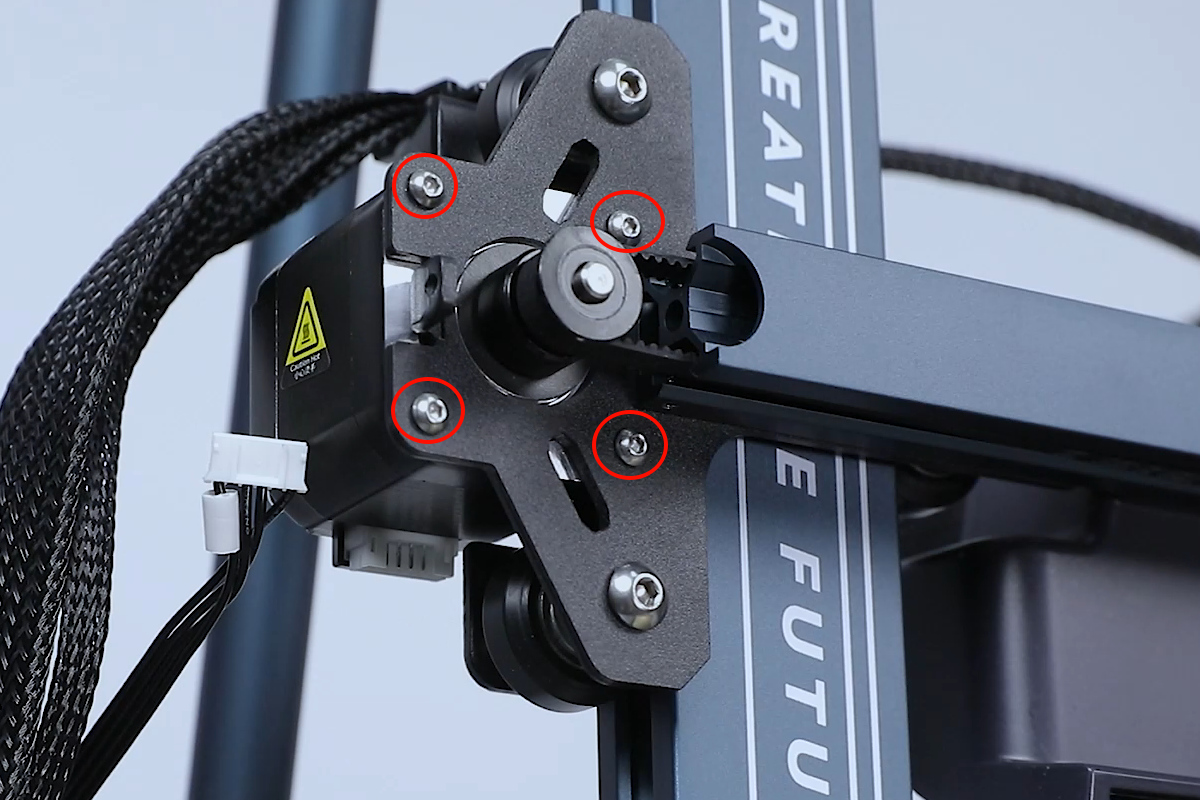
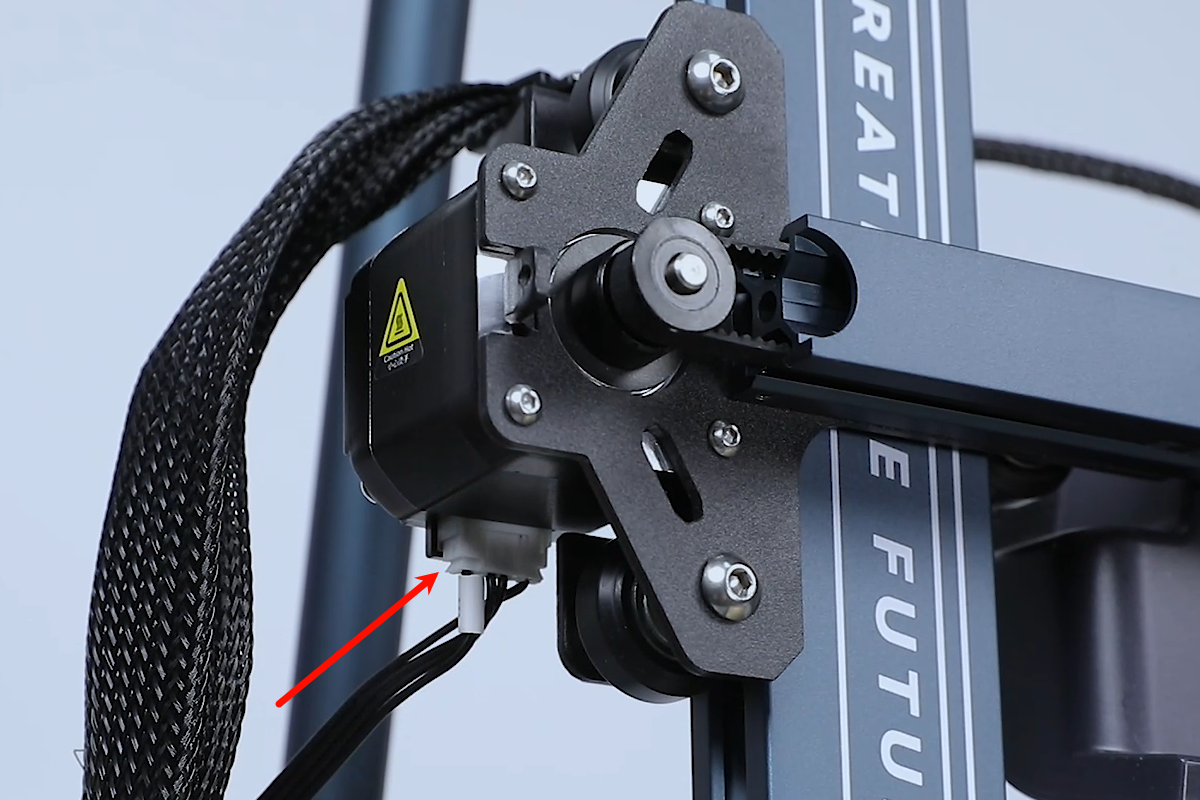
- Loosen the four screws securing the X-axis motor using a 2.5mm Allen key. Unplug the X-axis motor cables and remove the motor.
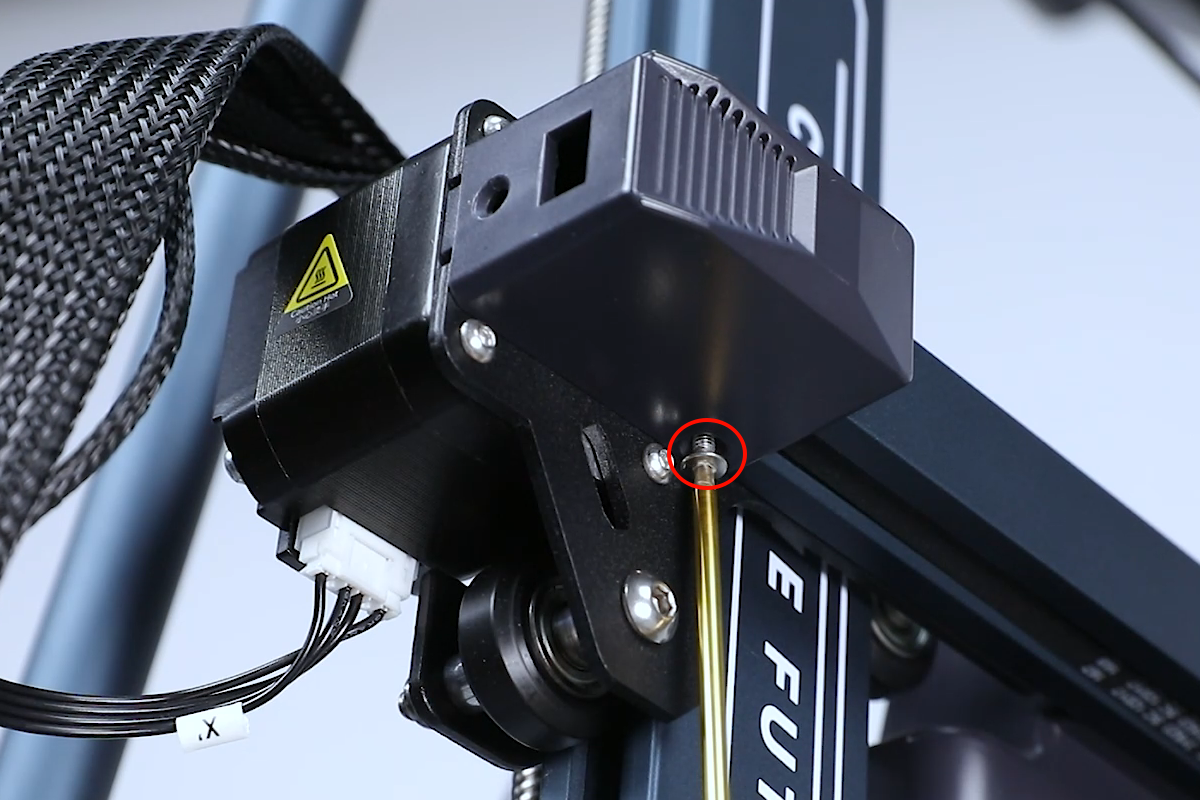
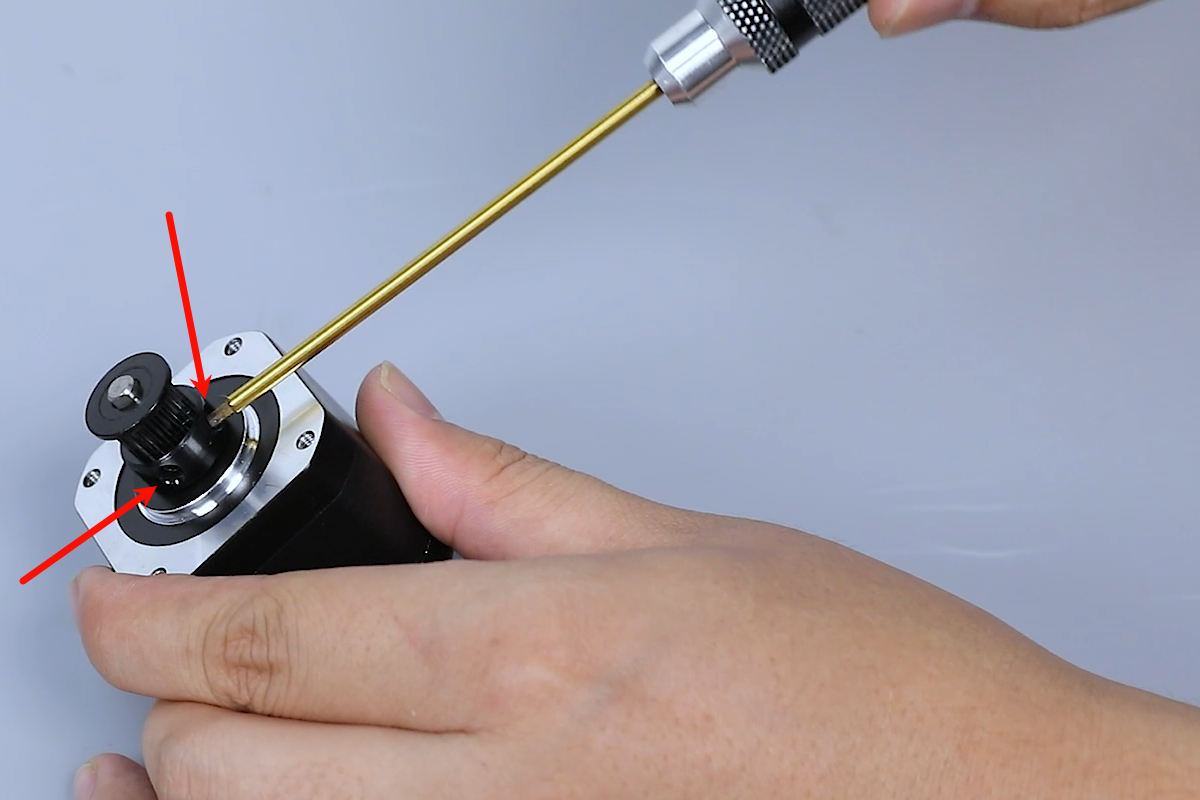
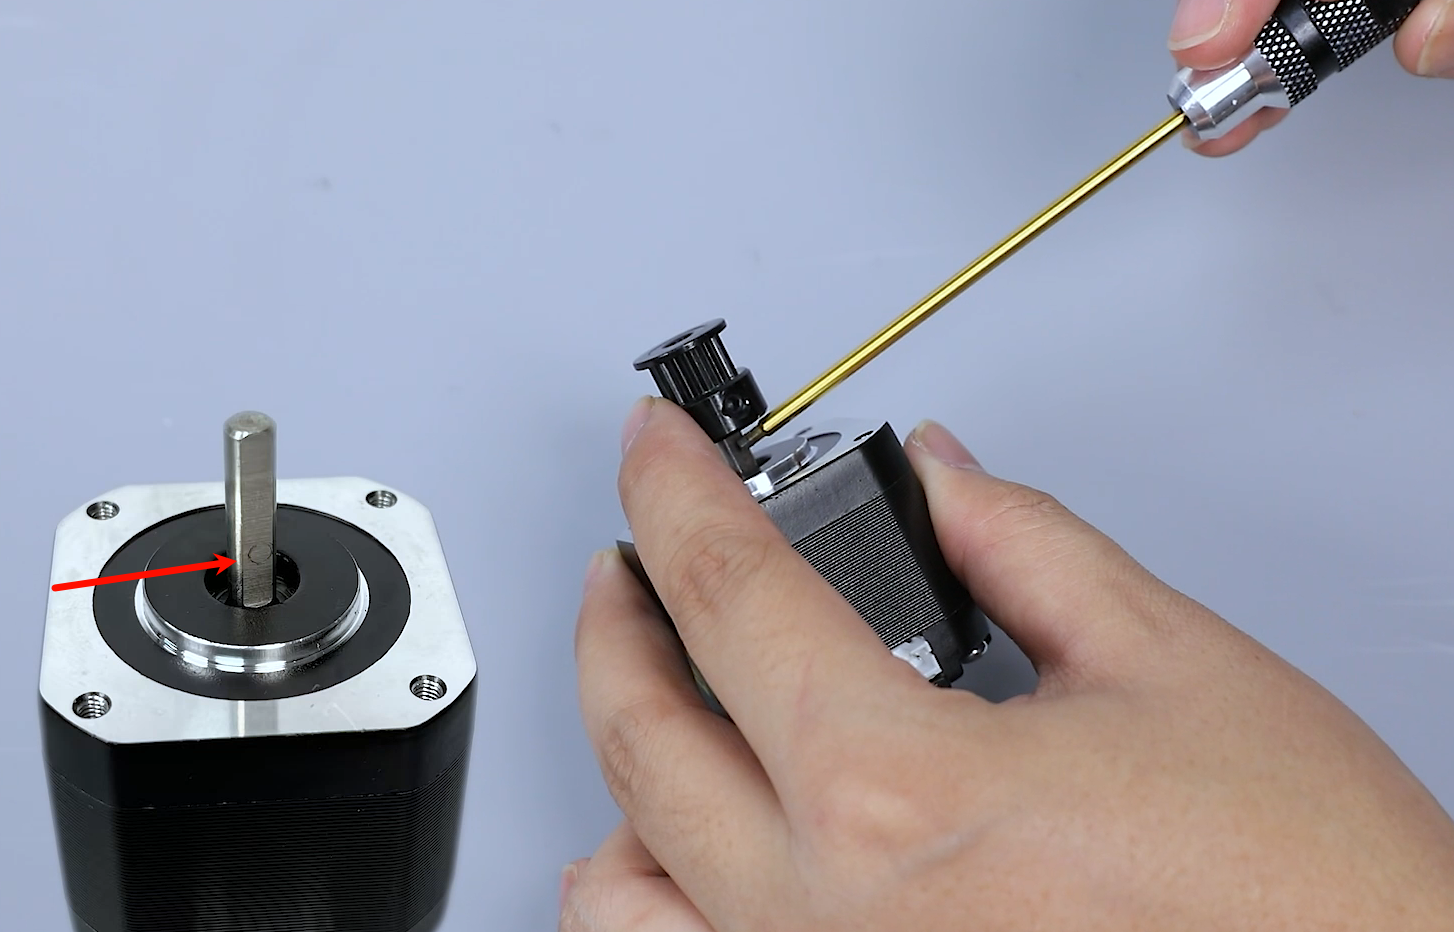
- Loosen the two screws securing the timing pulley of the motor using a 2.0mm Allen key. Remove the timing pulley.
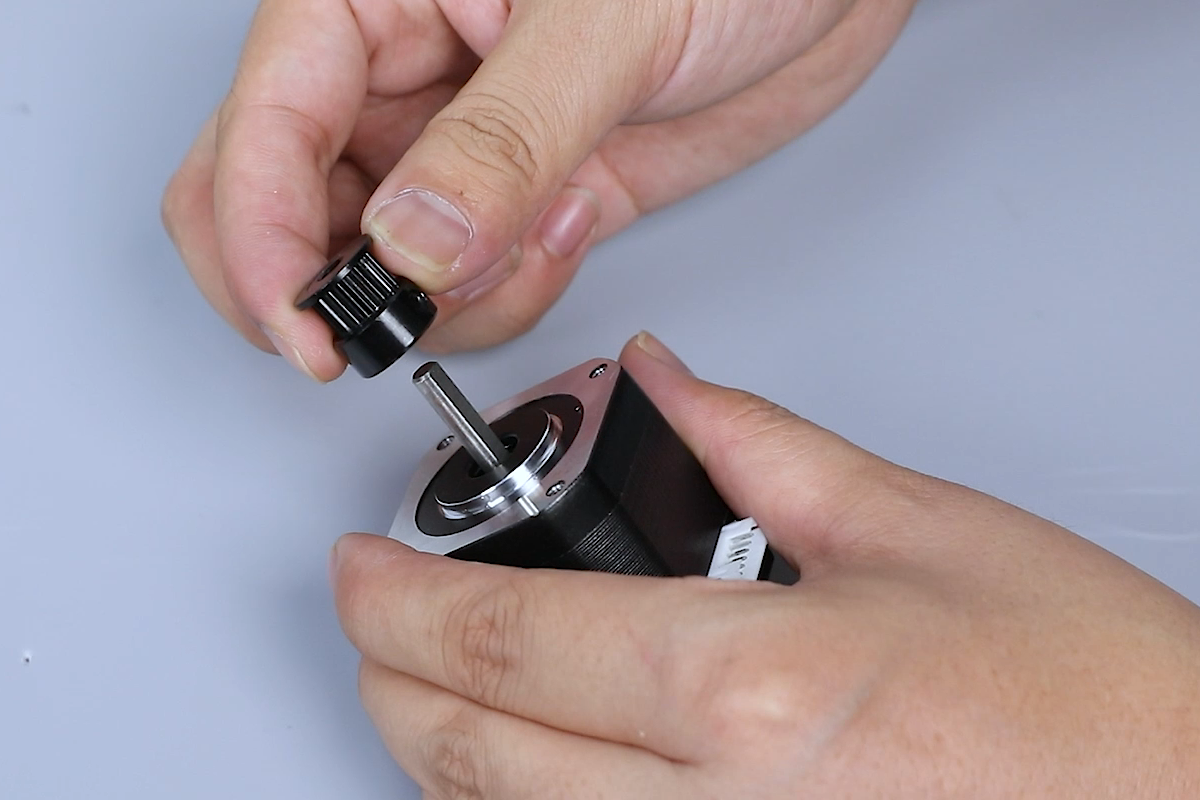
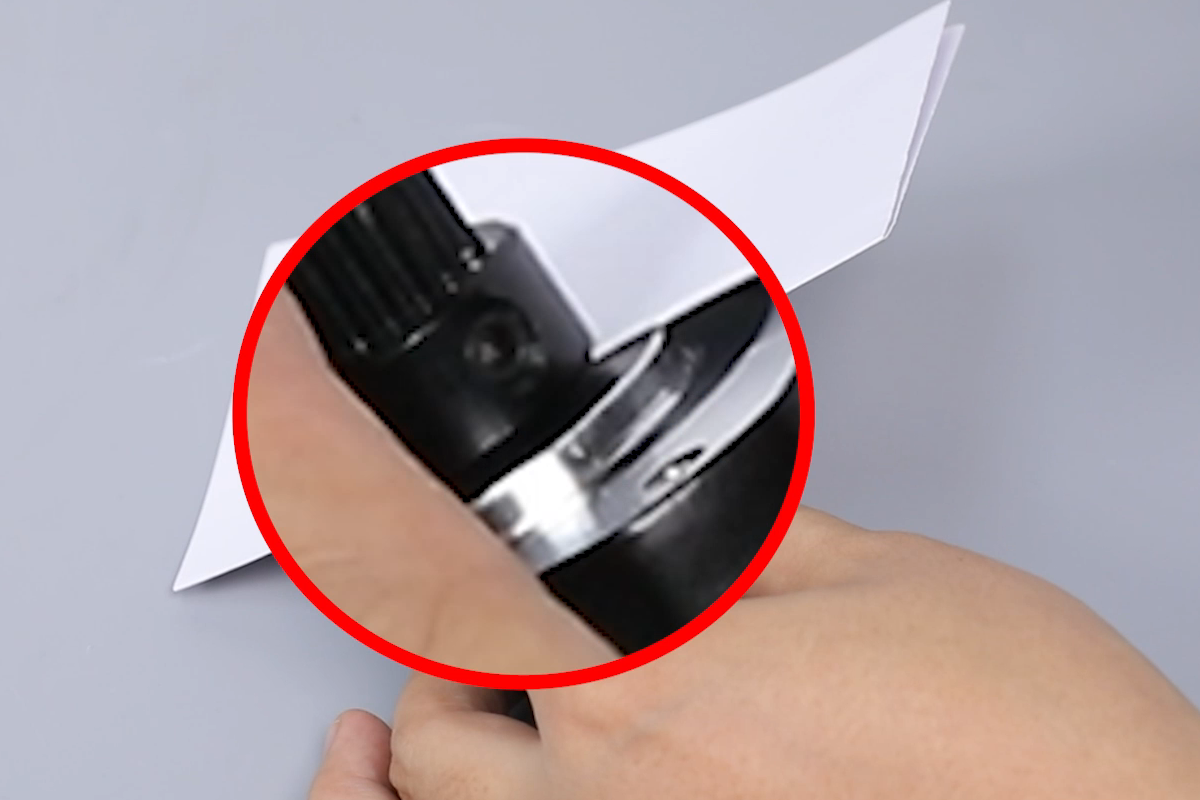
- Install the timing pulley in the shaft of the new motor. Install one of the screws of the timing pulley with the motor shaft.
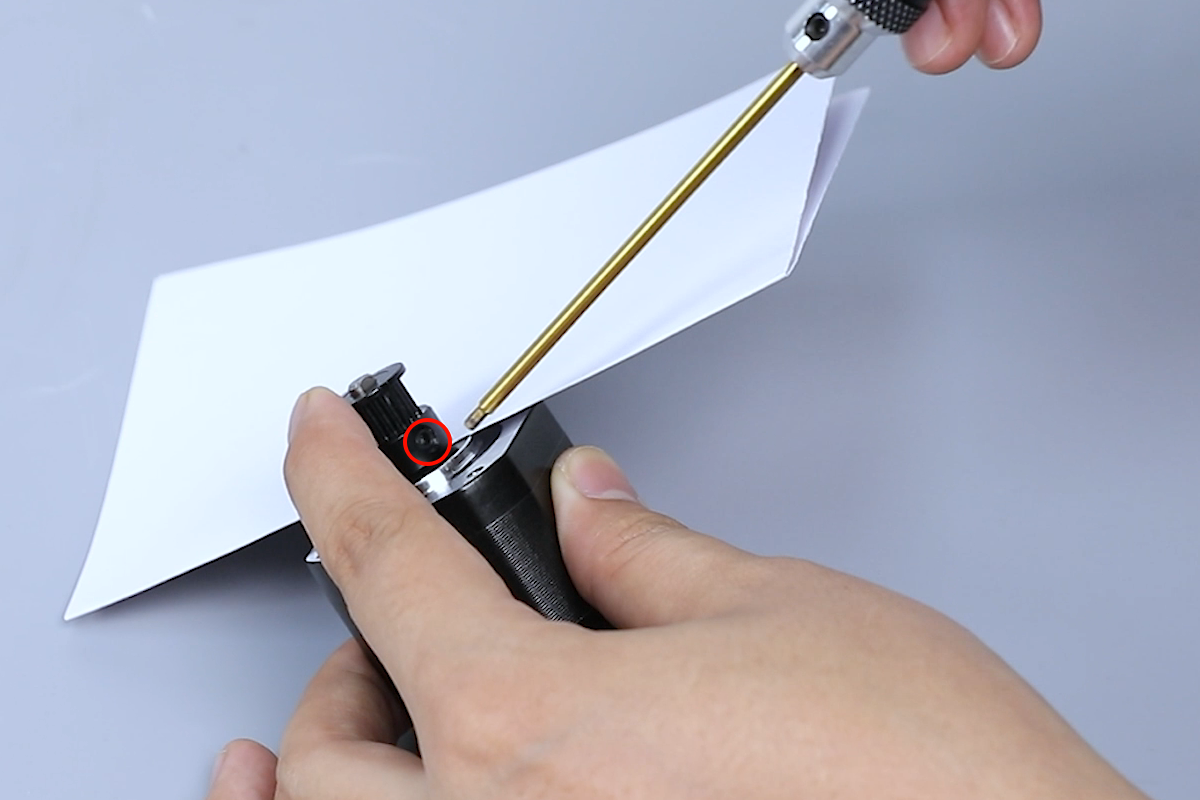
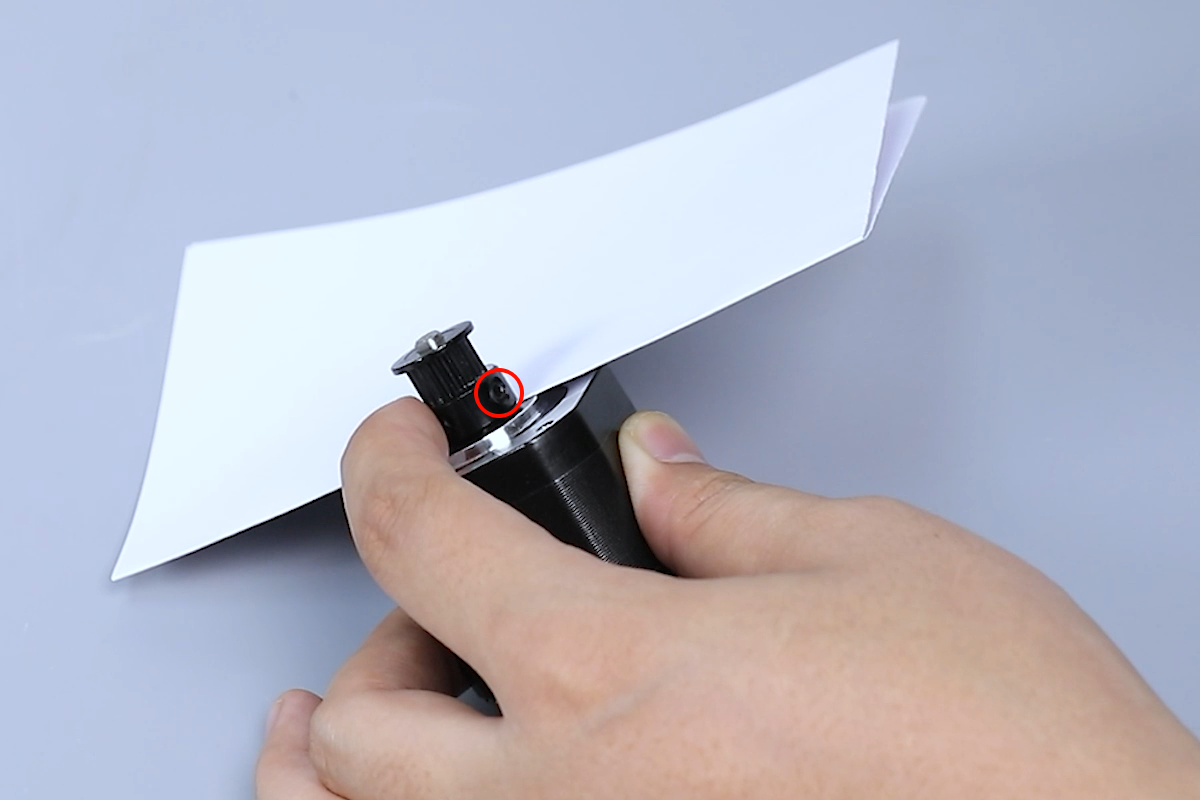
- Place a piece of A4 paper between the timing pulley and the motor.
- Tighten the two screws securing the timing pulley using a 2.0mm Allen key. Remove the A4 paper.
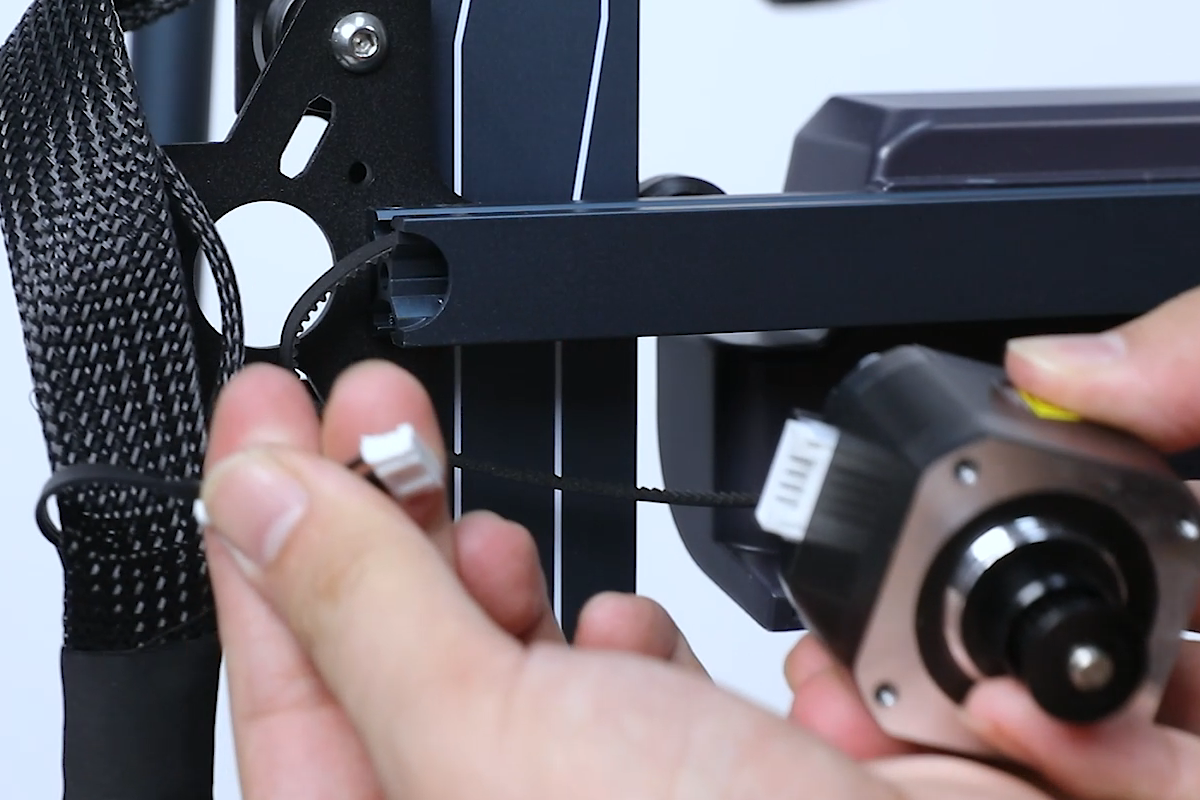
- Install the X-axis timing belt on the timing pulley of the motor.

- Loosen the four screws securing the X-axis motor using a 2.0mm Allen key. Plug the X-axis motor cables.
- Align the the X-axis restrictor housing with the screw holes and put the X-axis restrictor housing in the installation position. Tighten the screw using a 2.0mm Allen key.
- Rotate the Y-axis belt tensioner knob to adjust the belt tension to moderate, not too loose or too tight.
- Power on the printer. After the homing process, the printer is ready for use.