¶ Tools and Materials Needs to Prepare
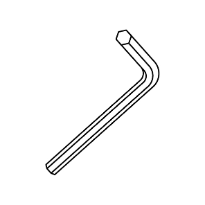
- H2.0 Allen wrench
¶ Reference Video
Coming soon.
¶ Precautions and Machine Status Before Operation
Ensure the 3D machine is powered off and unplugged before proceeding with this operation.
¶ Operation Steps
¶ Remove the Exhausted Synchronous Belt
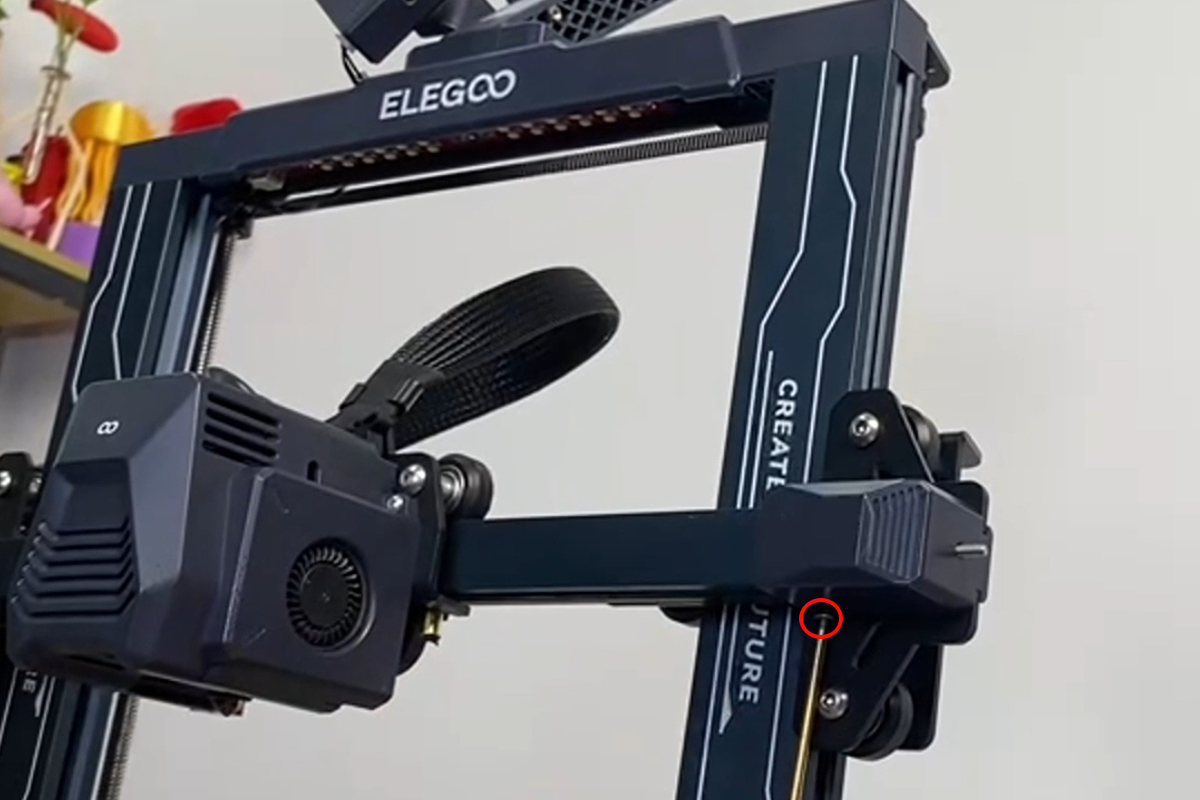
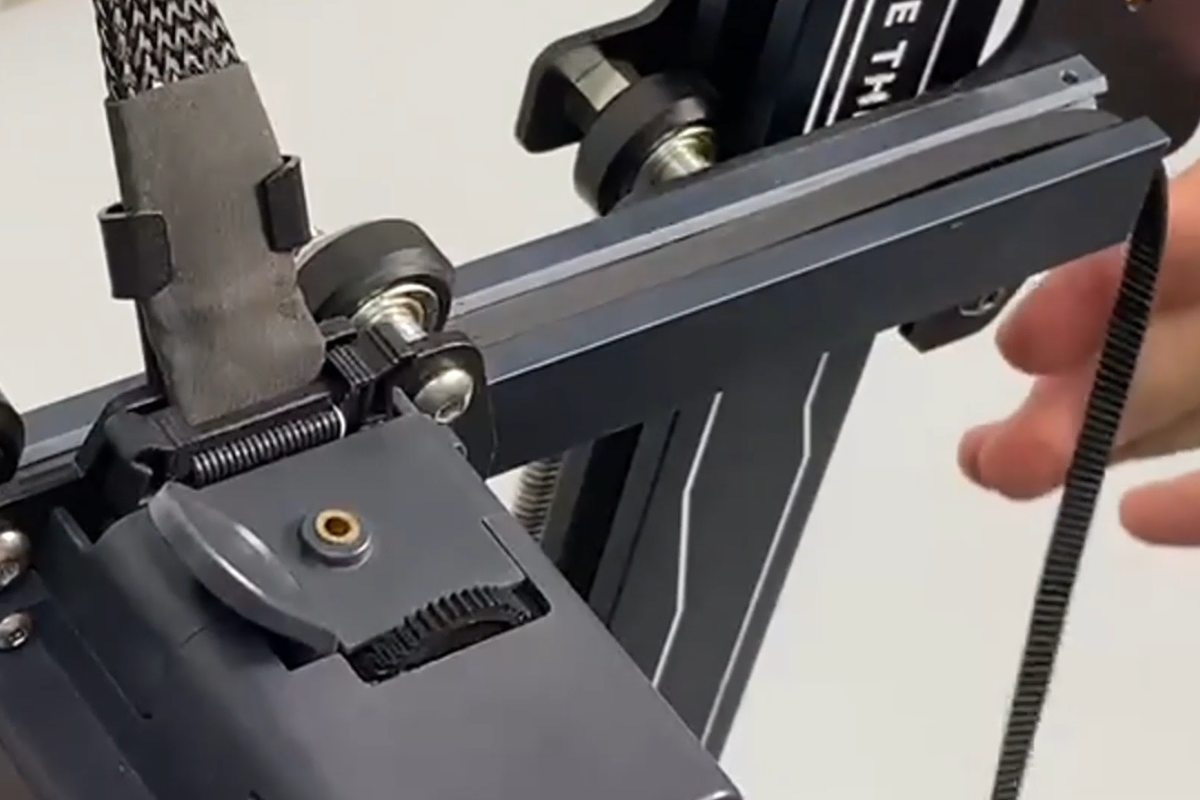
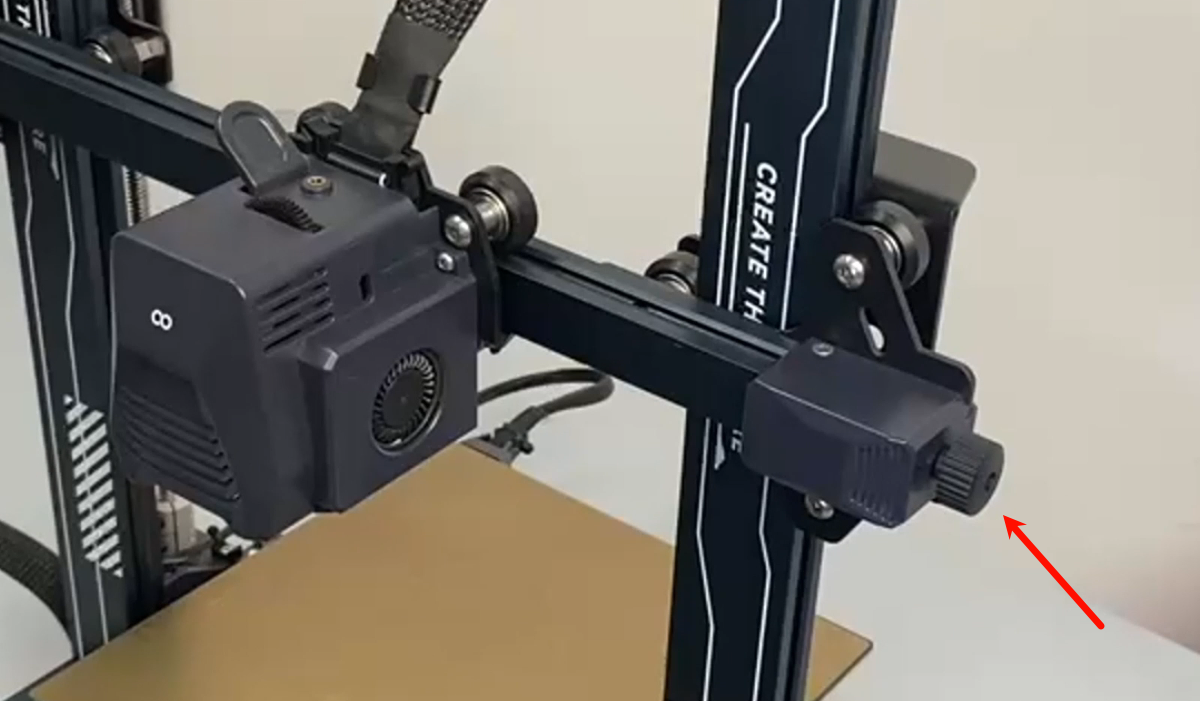
- Loosen the hand-adjustable nut on the X-axis belt tensioner.
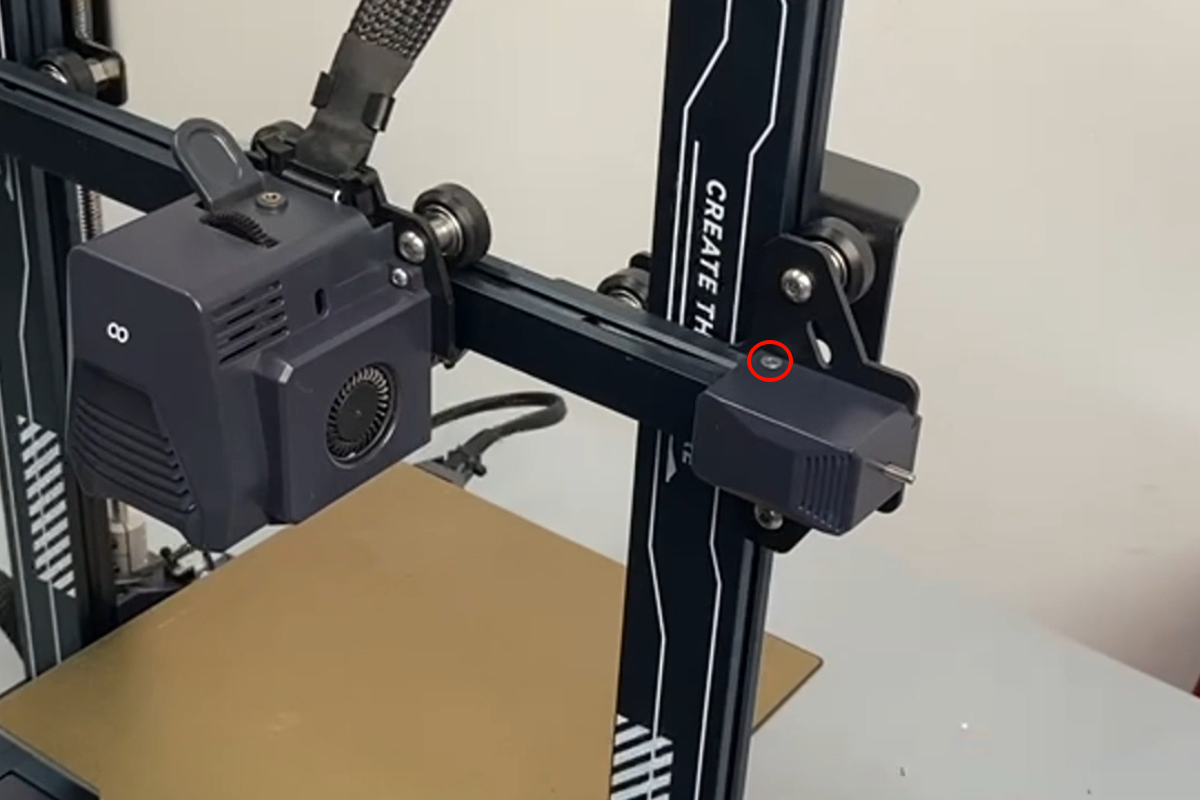
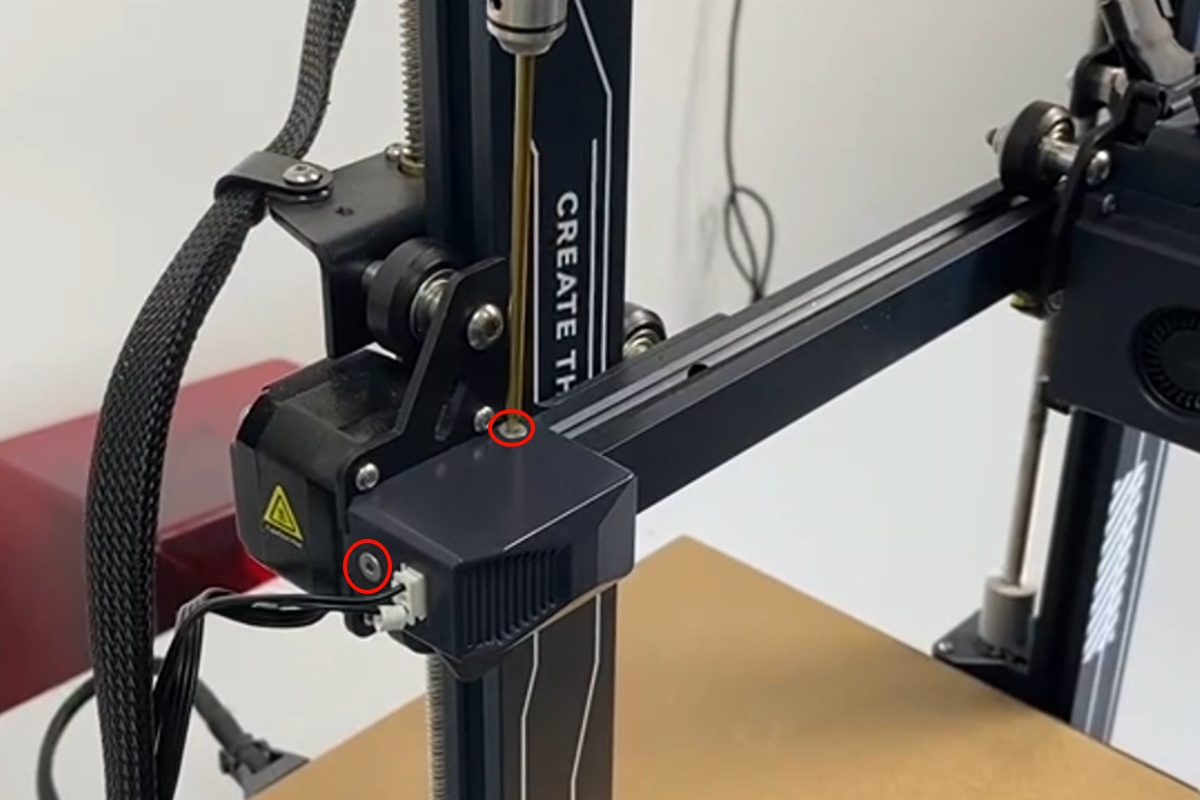
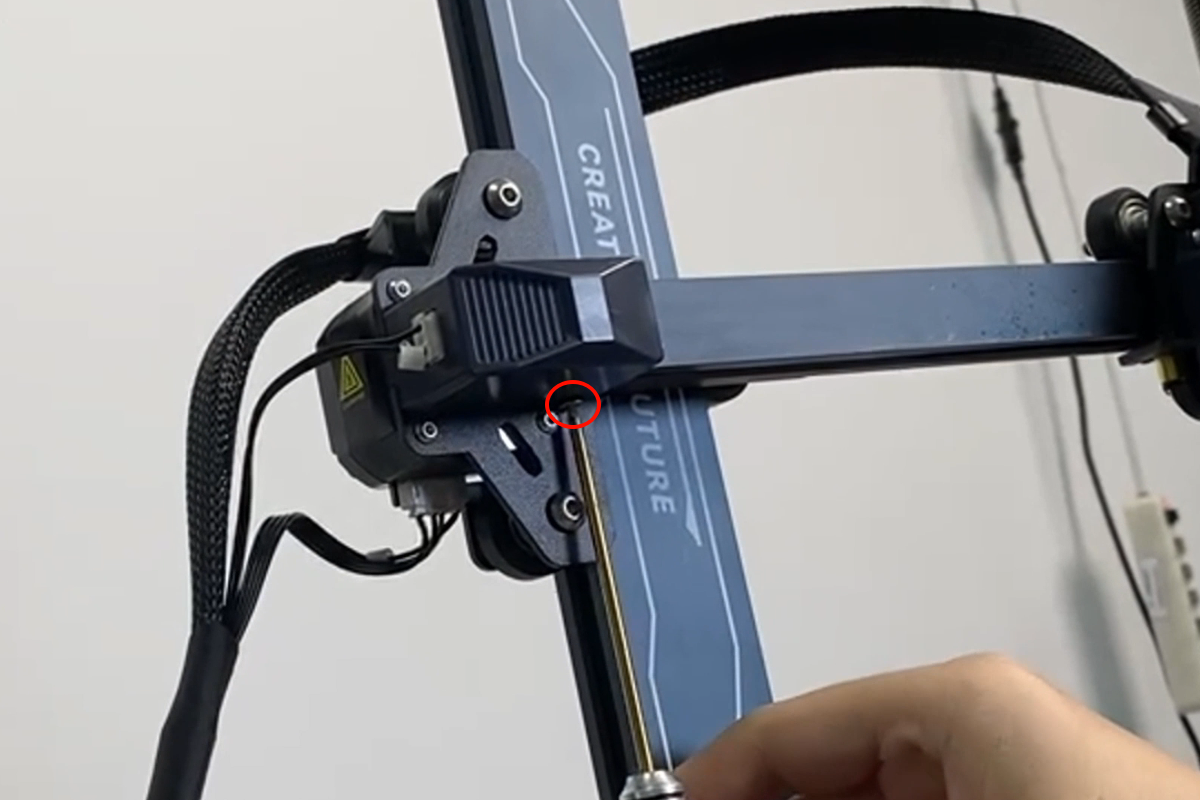
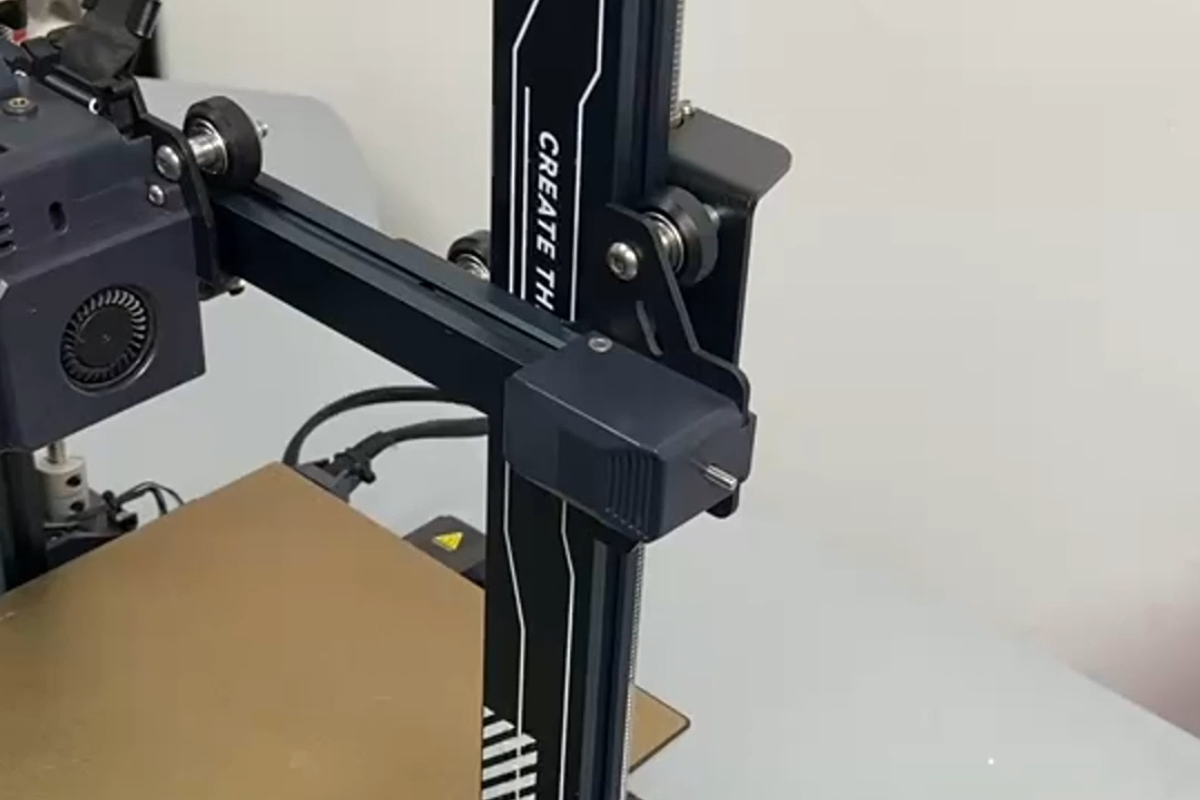
- Loosen two screws securing the belt tensioner housing using an H2.0 Allen wrench, and remove the belt tensioner housing.
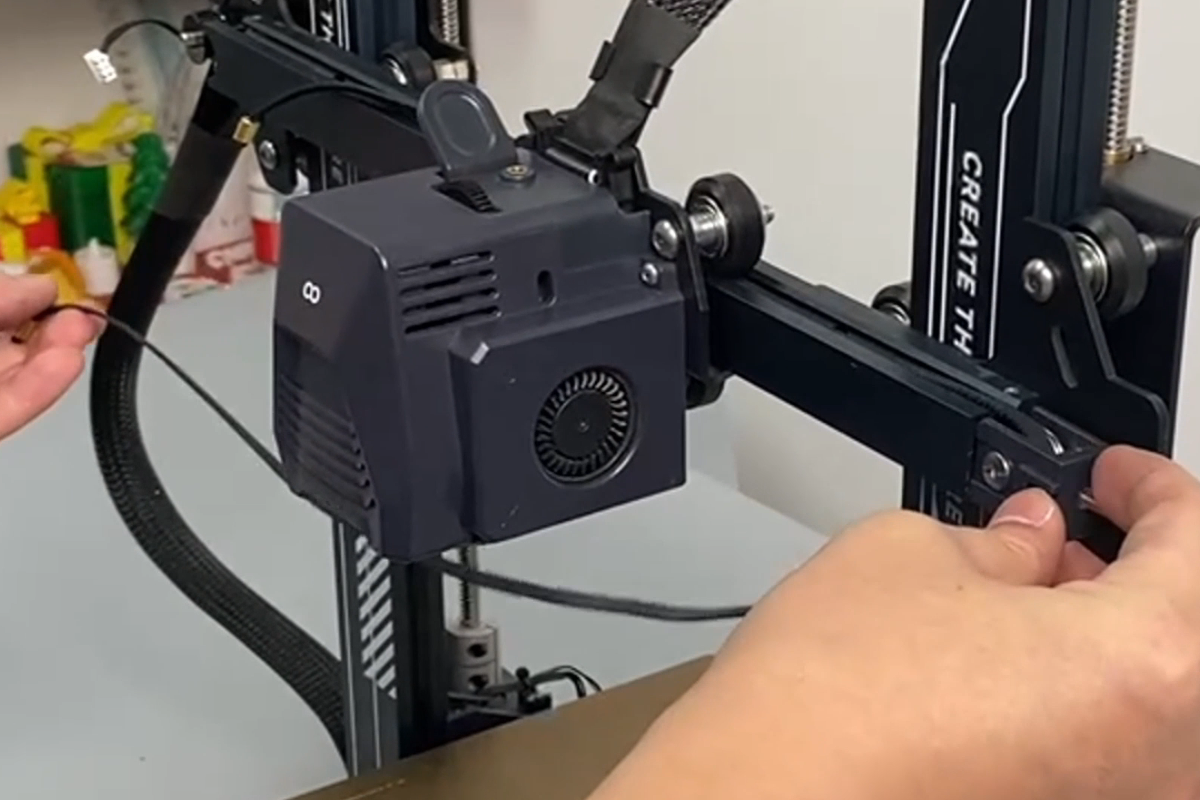
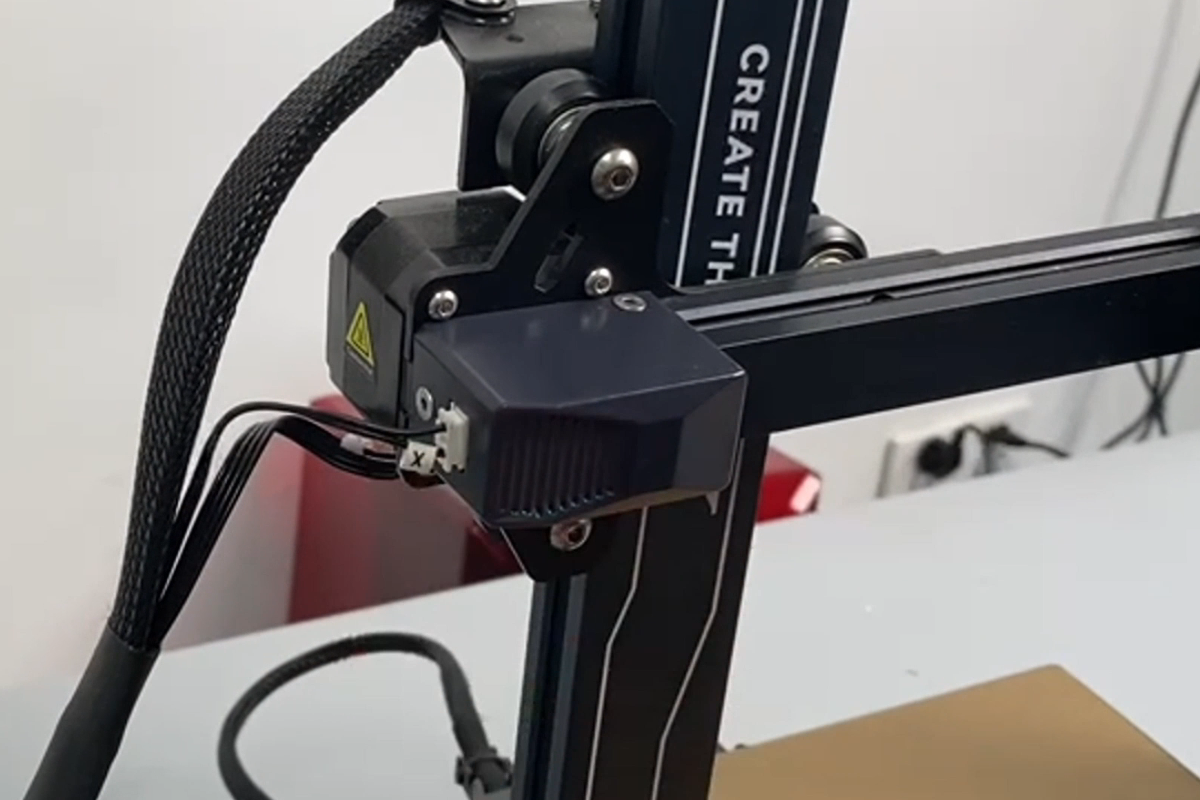
- Unplug the ribbon cable from the X-axis limit switch, and loosen 3 screws securing the X-axis limit switch housing using an H2.0 Allen wrench.
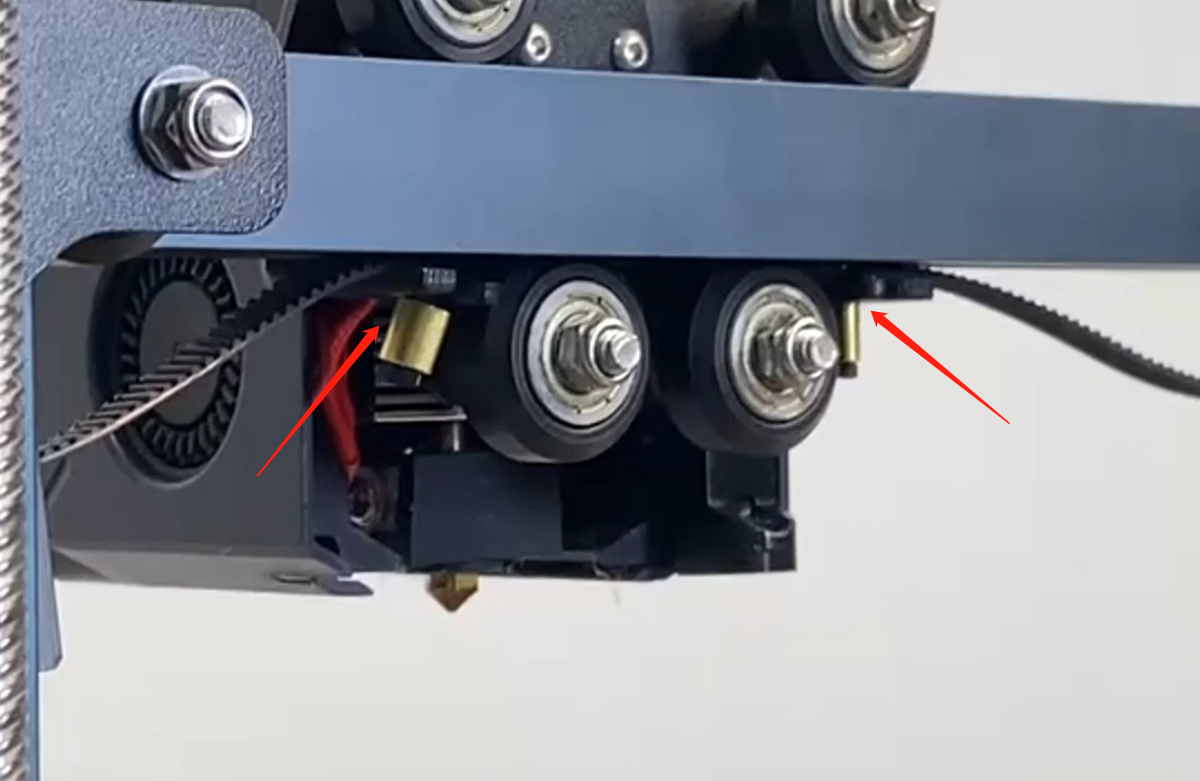
- Remove the X-axis limit switch assembly and retrieve the copper clips at both ends of the X-axis synchronous belt from behind the print head support frame.
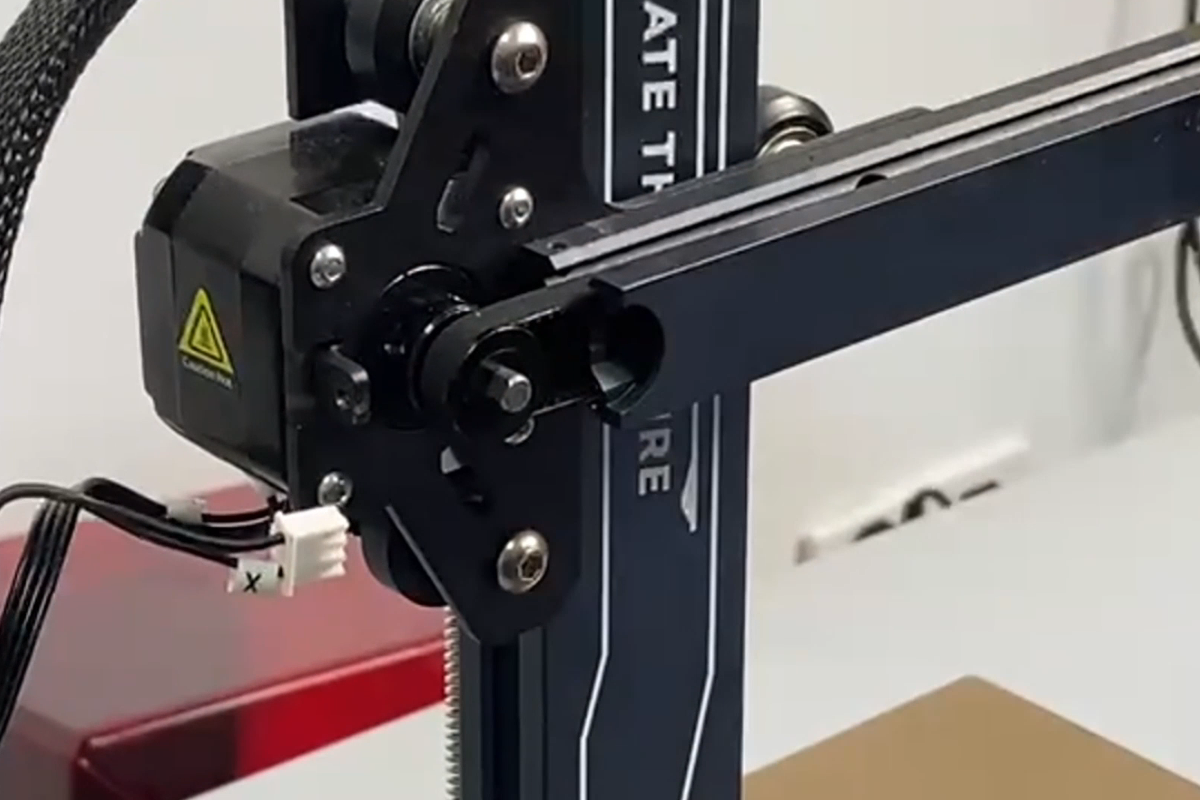
- Pull the synchronous belt out from the right side of the X-axis and from the idler pulley assembly.
¶ Install the New Synchronous Belt
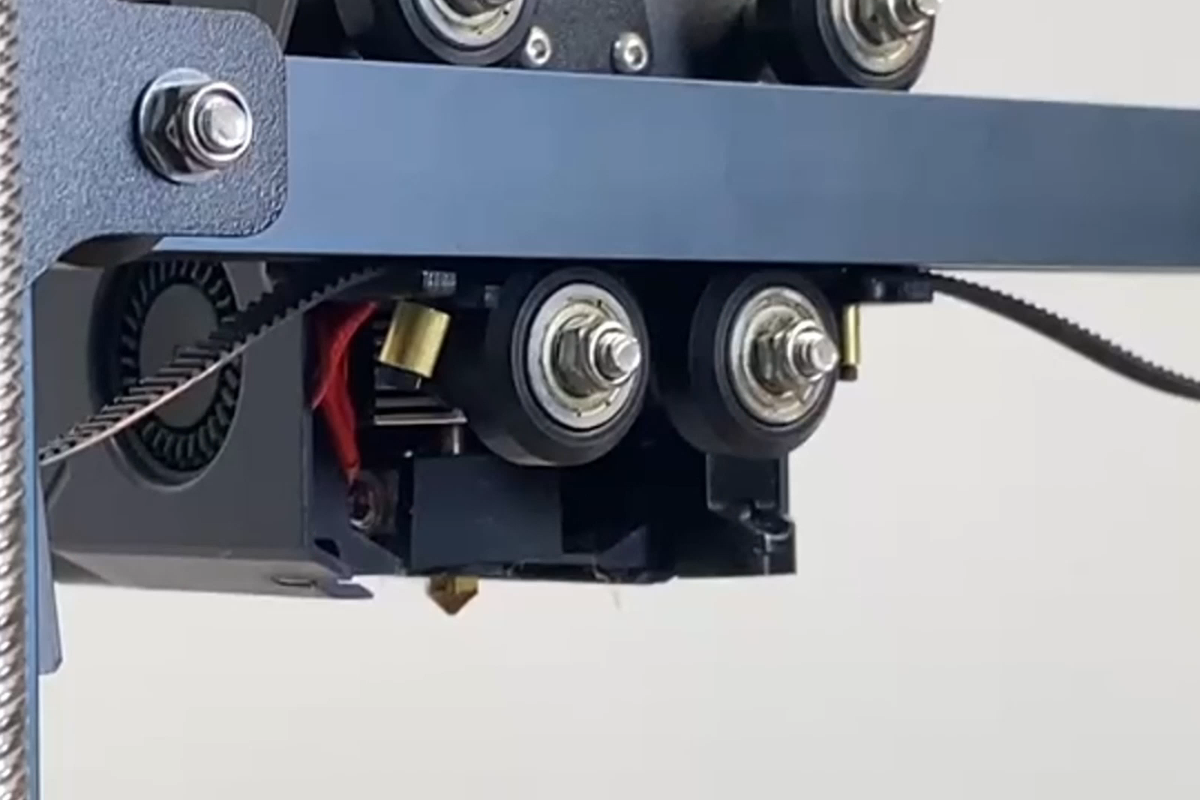
- Thread the new X-axis synchronous belt through the groove in the X-axis aluminum extrusion.
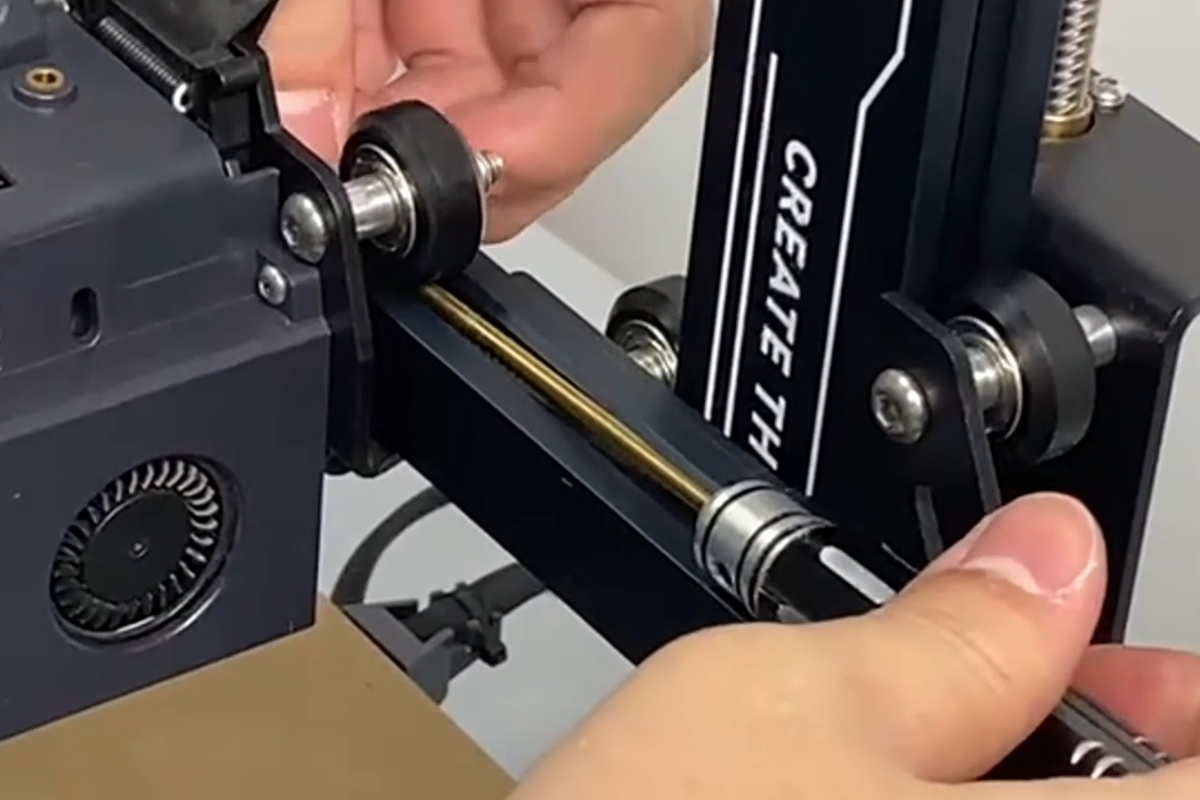
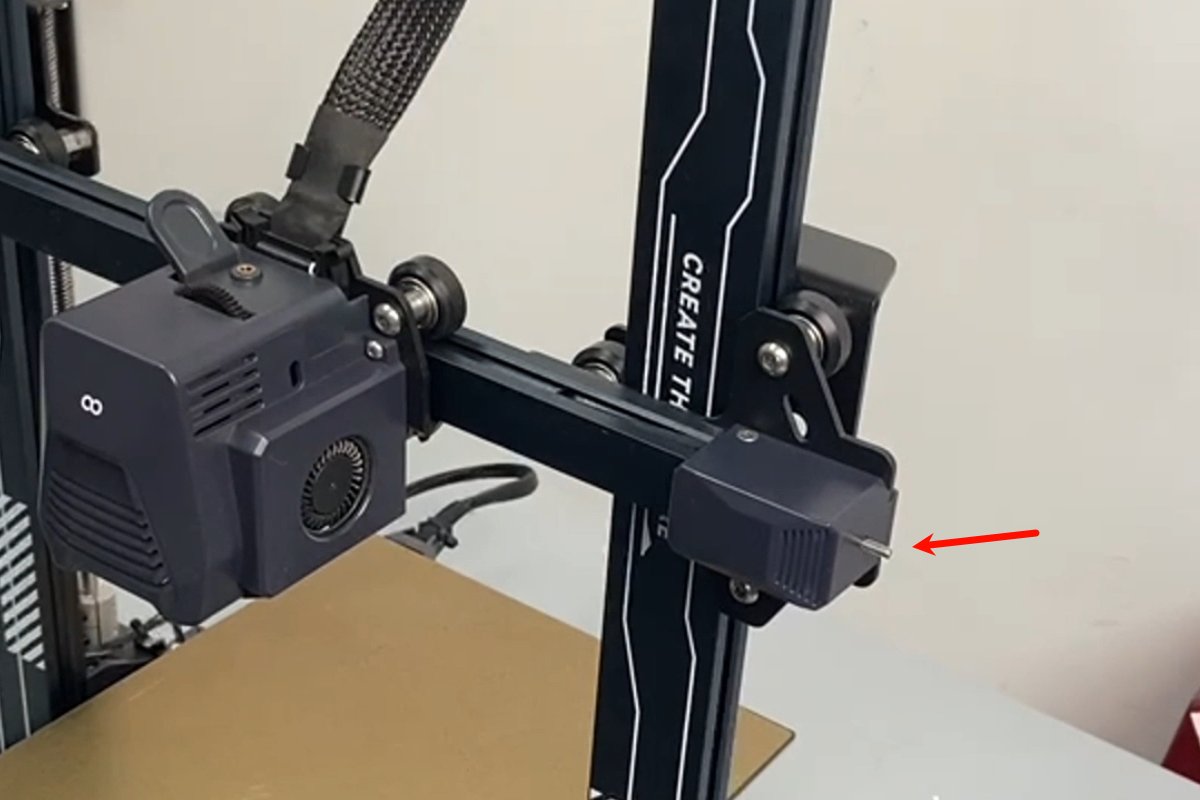
- Thread the right end of the X-axis synchronous belt through the idler pulley assembly.
- Insert the copper clips at both ends of the X-axis synchronous belt into the grooves on either side of the print head support frame.
- Install the X-axis limit switch assembly, tighten 3 screws securing the X-axis limit switch housing using an H2.0 Allen wrench, and plug in the ribbon cable for the X-axis limit switch.
- Install the belt tensioner housing, and tighten two screws securing the belt tensioner housing using an H2.0 Allen wrench.
- Install the hand-adjustable nut on the X-axis belt tensioner, turn the X-axis belt tensioner knob to adjust the belt tension to an appropriate level, ensuring it is neither too loose nor too tight.
- Turn on the 3D printer power, after confirming that the printer homes correctly, the printer is ready for use.