¶ Issue Description
-
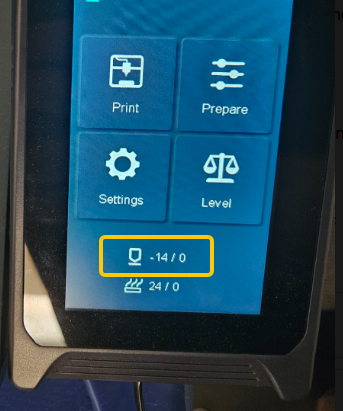
The nozzle temperature is displayed as a negative value.
-
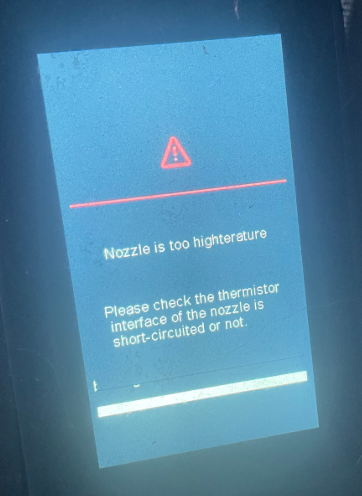
An error of abnormal nozzle temperature (overheat/undercurrent) is reported.
¶ Reasons
-
The nozzle ribbon cable or the adapter board has poor contact or is damaged.
-
The thermistor is damaged.
-
The motherboard is damaged.
¶ Troubleshooting Steps
¶ Tools needed for toubleshooting
-
A 2.0 mm Allen key
-
A multimeter
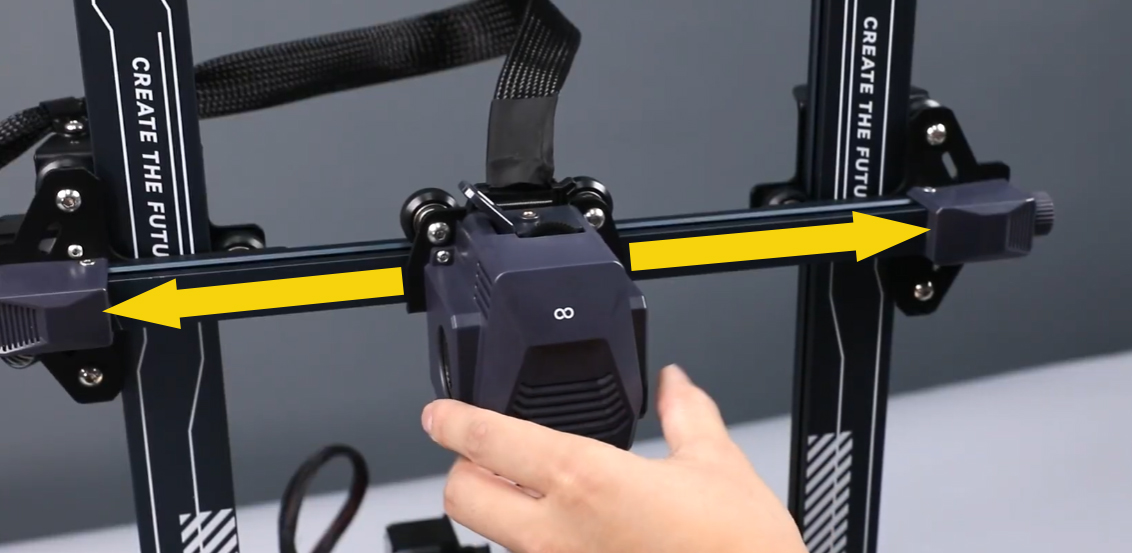
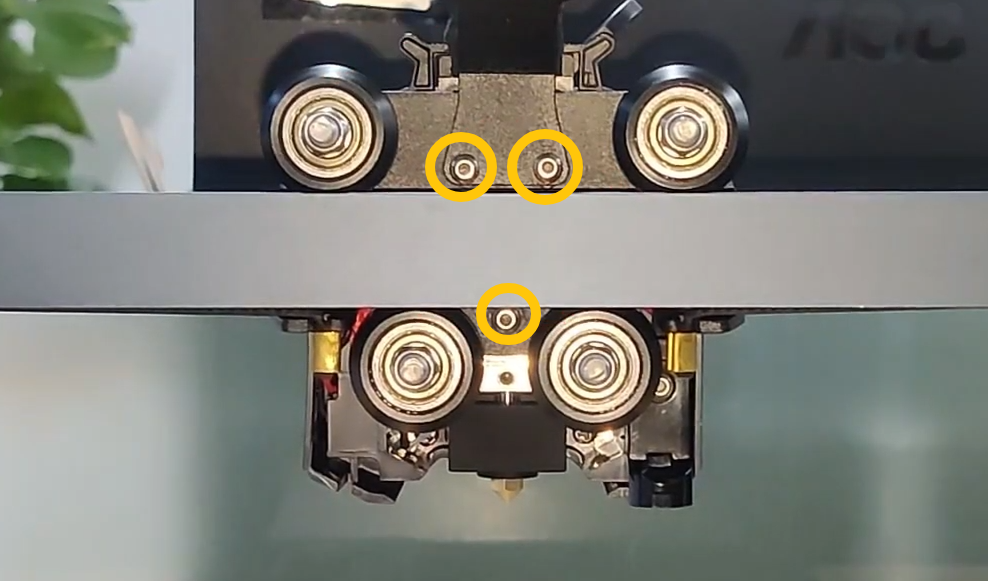
¶ Step 1 Check the length of the extruder ribbon cable
-
Turn the power switch OFF (symbol "〇") and unplug the power supply cable.
-
Pull the Z-axis timing belt to move the extruder to the far right of the X axis and the top of the Z axis.
-
Check whether the provided extruder cable is long enough.
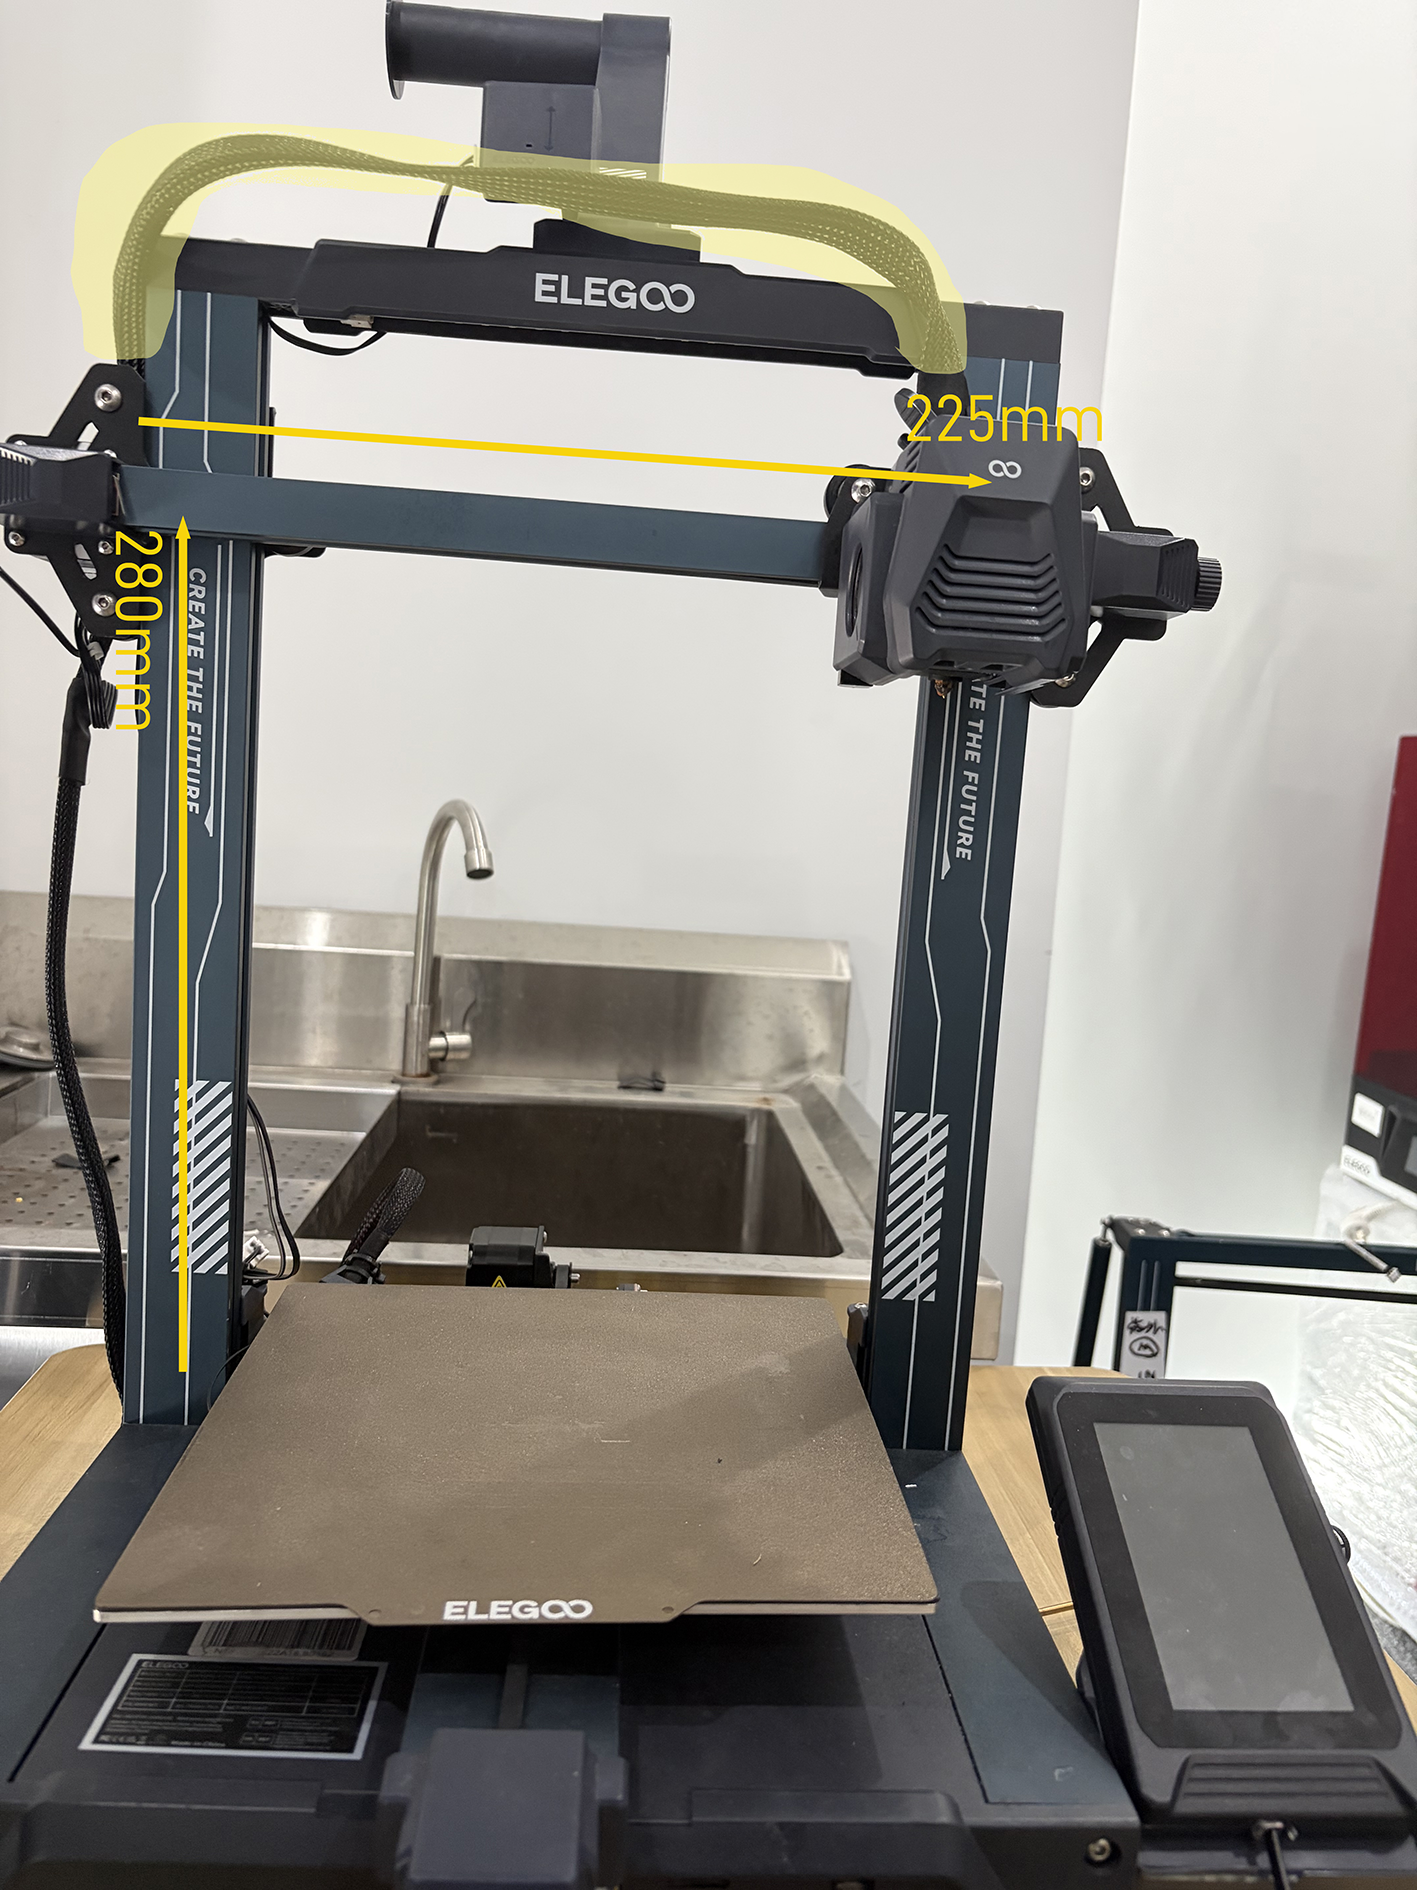
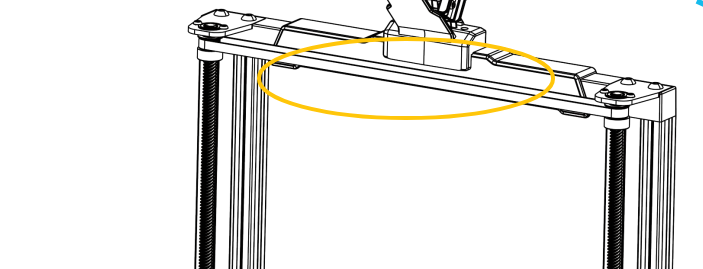
- If the extruder cannot move 225 mm on the X axis and 285 mm to the top of the Z axis, loosen the screws shown in the picture below and adjust the length.
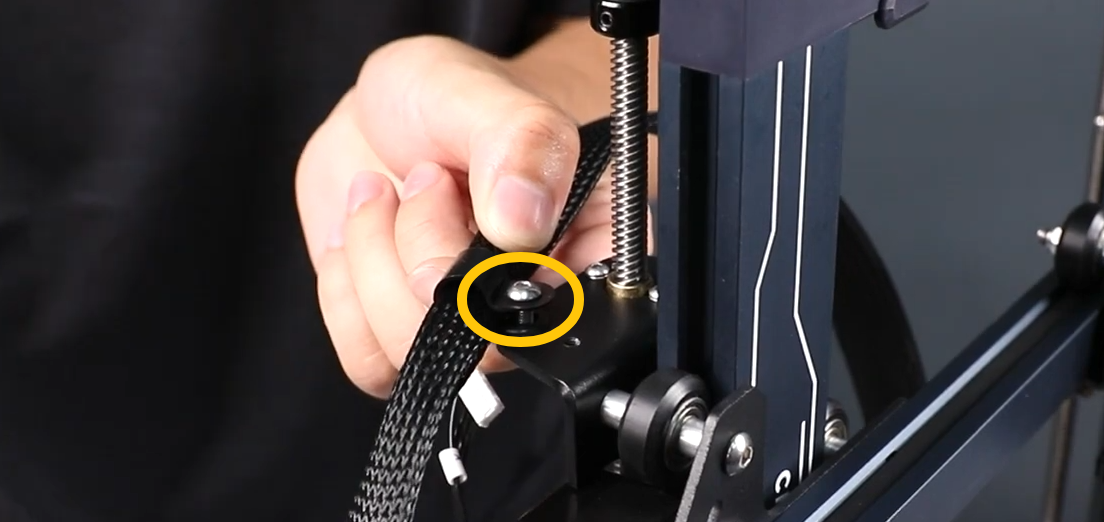
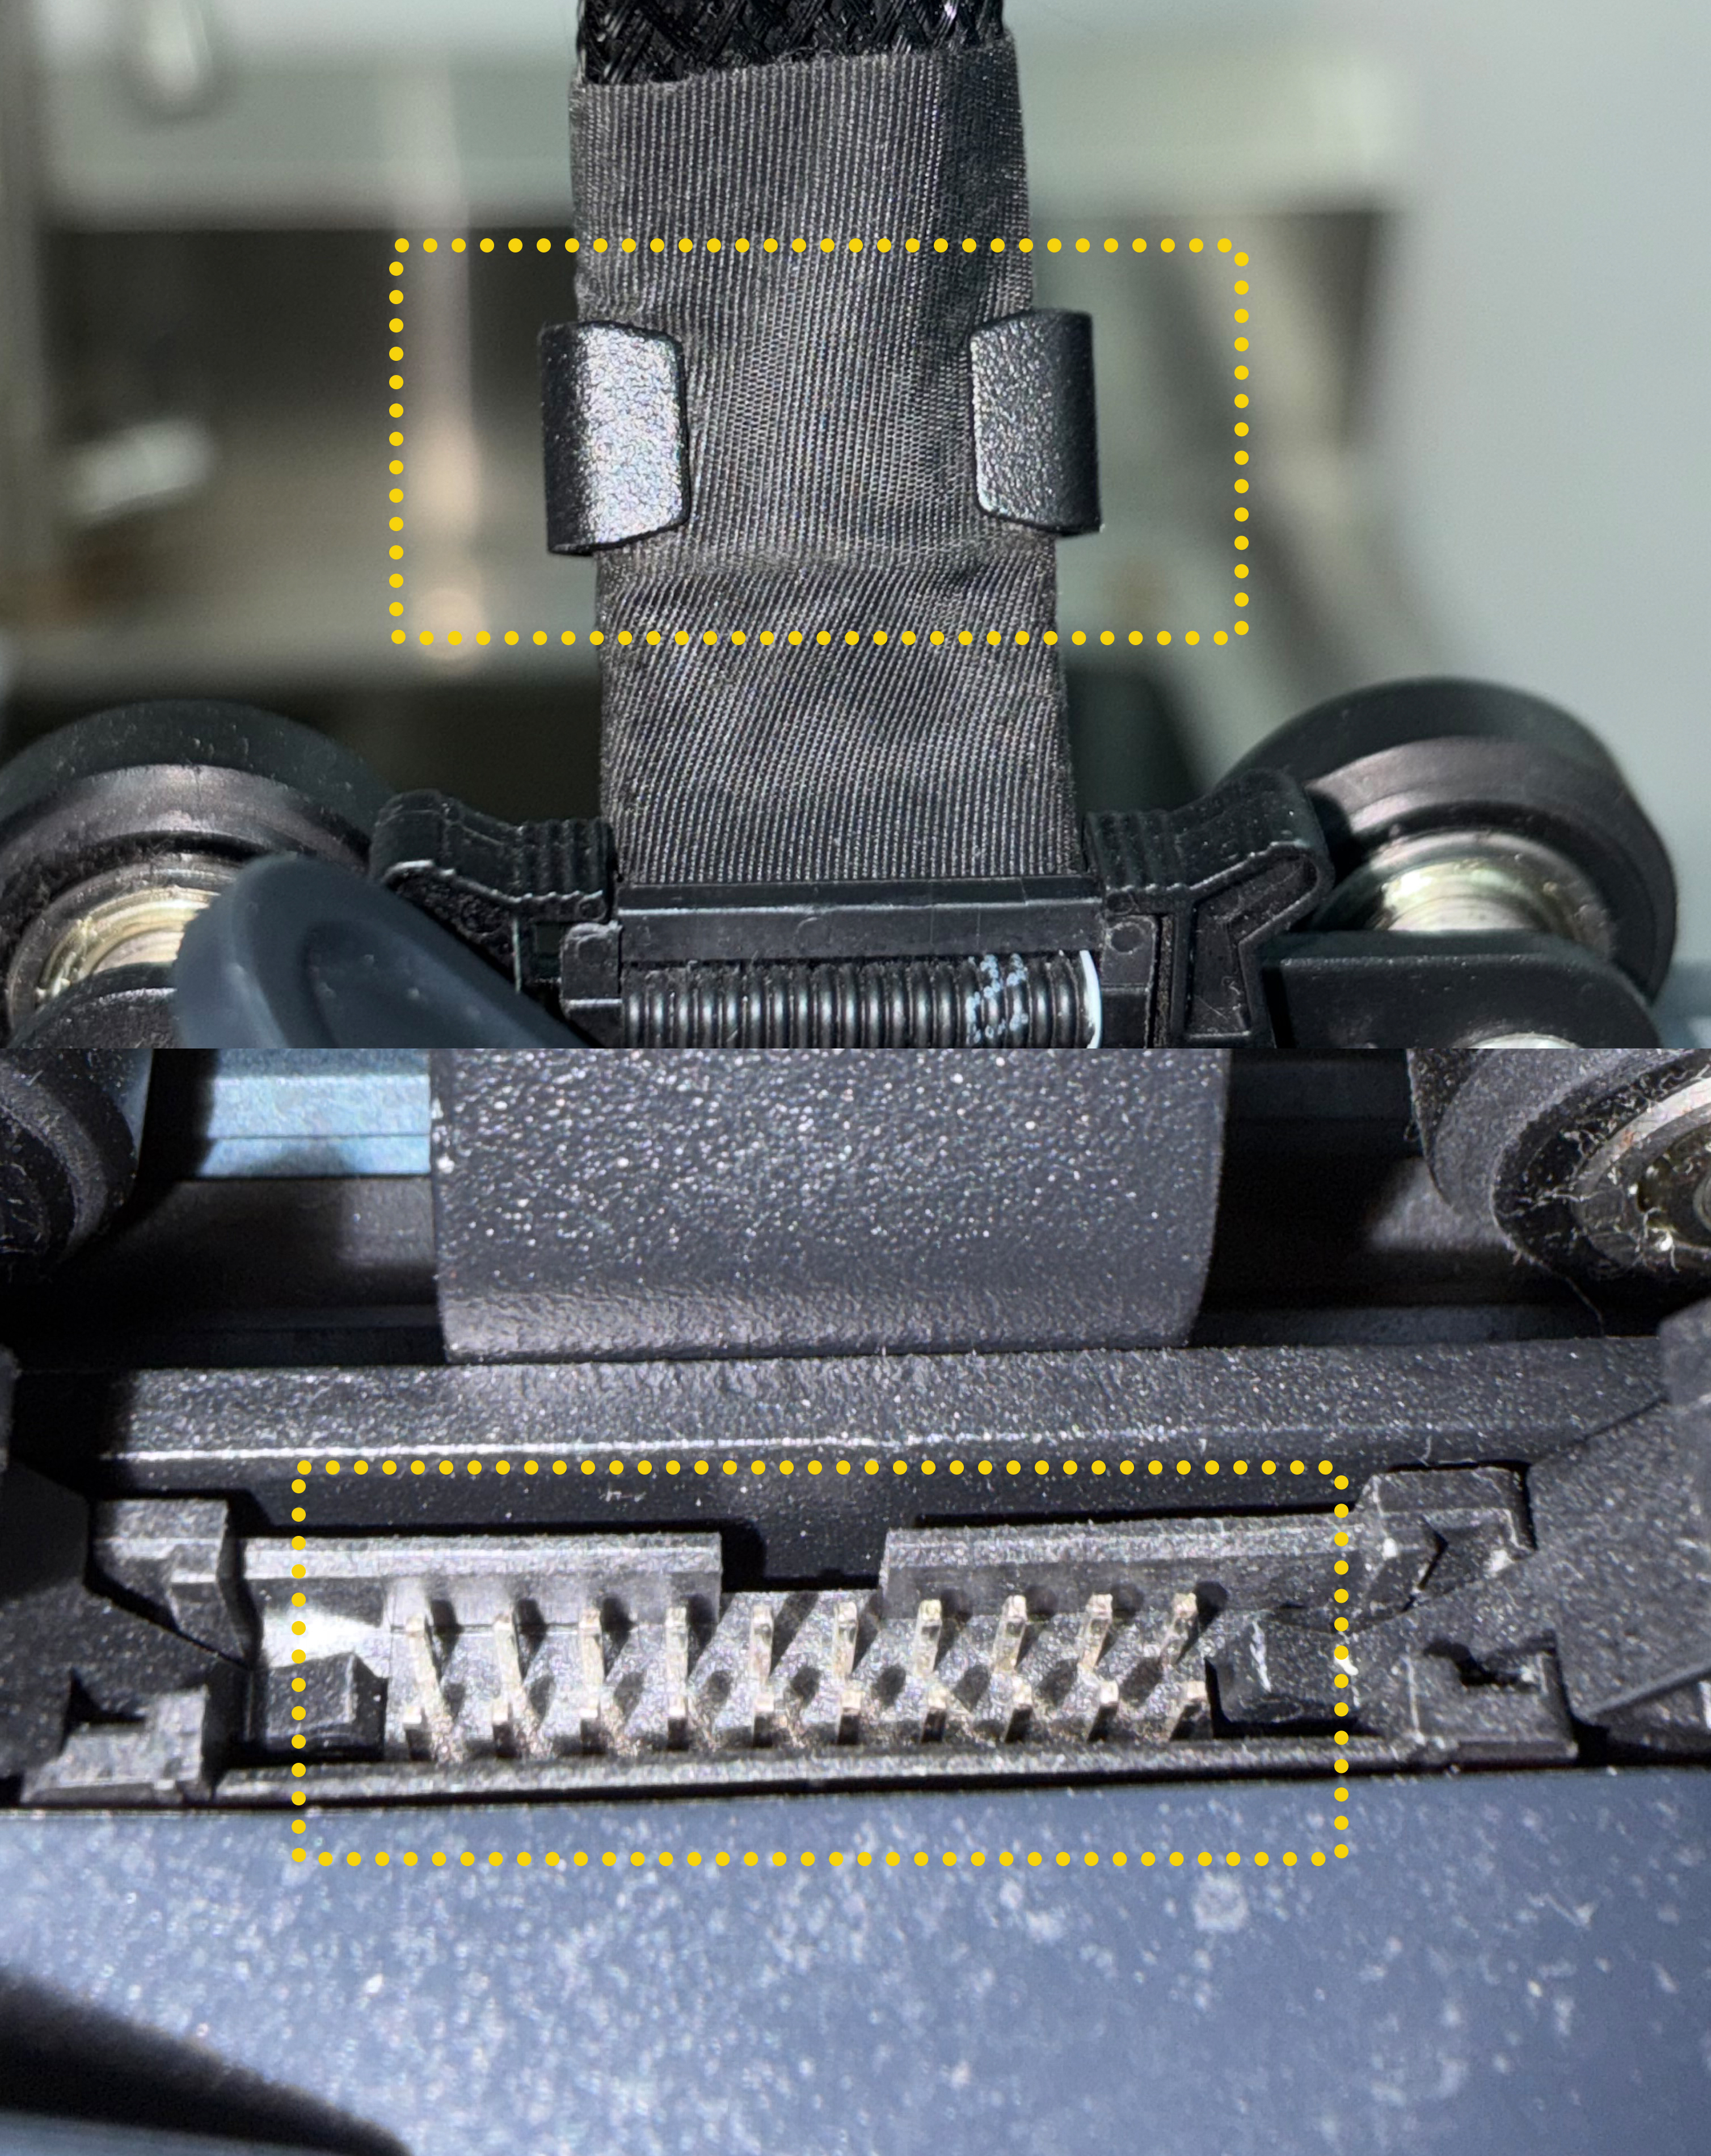
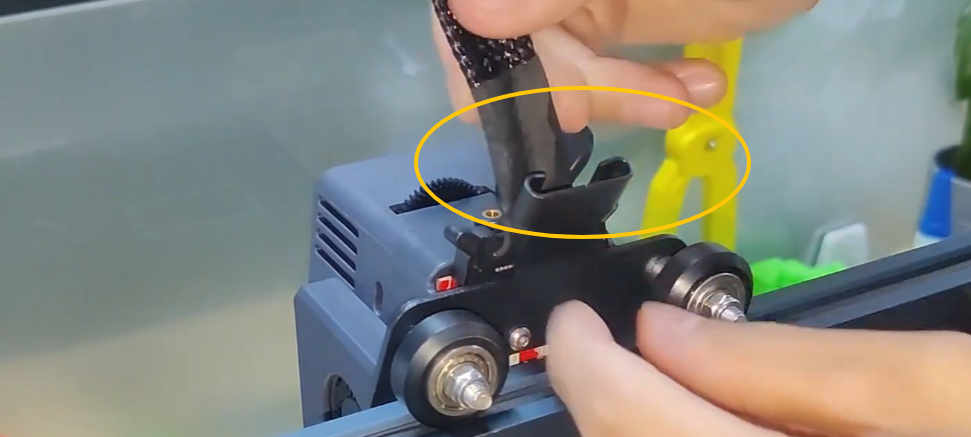
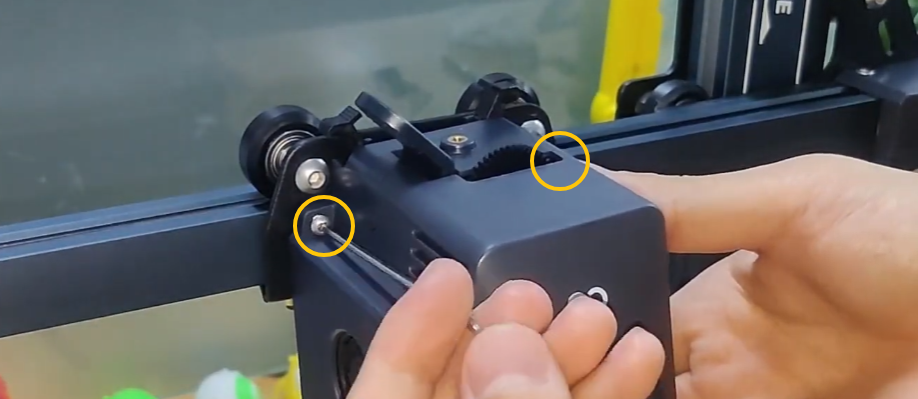
¶ Step 2 Check the plug of the extruder ribbon cable
-
Turn the power switch OFF (symbol "〇") and unplug the power supply cable.
-
Check whether the extruder ribbon cable is installed into the holder and whether the pins of the extruder adapter board are deformed.
-
Re-insert the extruder ribbon cable.
¶ Step 3 Check whether the extruder ribbon cable has poor contact
-
Plug in the power supply cable and turn the power switch ON (symbol "|").
-
Move the extruder from side to side on the X-axis. Check whether the nozzle temperature shown on the touch screen changes.
- If the nozzle temperature changes when the extruder moves, it indicates that the ribbon cable has poor contact and needs to be replaced.
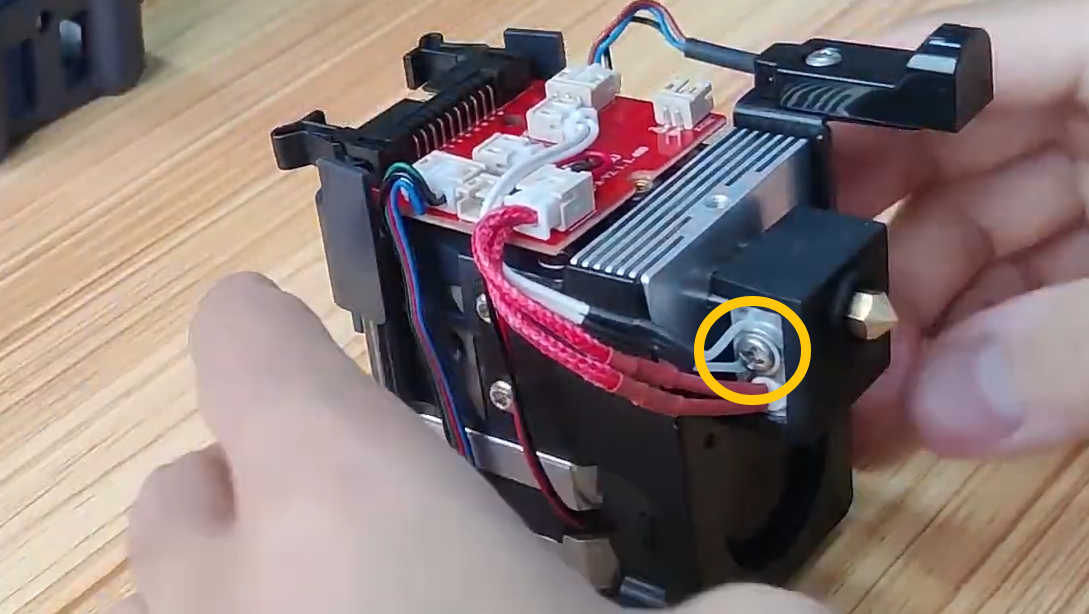
¶ Step 4 Check whether the thermistor plug is damaged
-
Turn the power switch OFF (symbol "〇") and unplug the power supply cable.
-
Remove the ribbon cable.
-
Remove the screws securing the extruder and remove the extruder.
-
Check whether the thermistor wire is damaged. If a multimeter is available, check whether the resistance of the thermistor is around 100 kΩ.
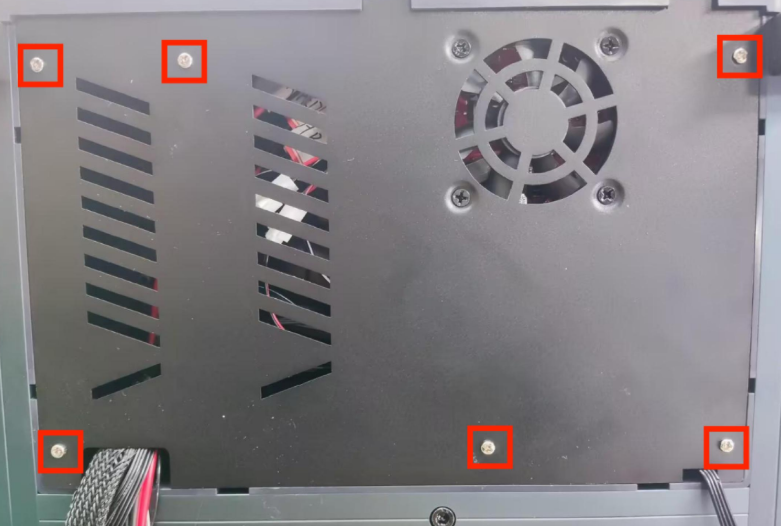
¶ Swap the nozzle plug and the heated bed thermistor plus for testing
-
Turn the power switch OFF (symbol "〇") and unplug the power supply cable.
-
Release and remove the five screws securing the bottom cover. Remove the motherboard cooling fan plug. Remove the bottom cover.
-
Unplug the nozzle plug and the heated bed thermistor plug. Swap the two plugs.
-
Plug in the power cord and power on the printer.
-
Check the nozzle temperature on the touch screen.
-
If the nozzle temperature still shows the negative value, this indicates that the motherboard is damaged and needs to be replaced.
-
If the nozzle temperature is the same as room temperature, it indicates that the extruder ribbon cable, the adapter board or the thermistor is faulty. Replace the three components at the same time.