¶ Tools and Materials
- A 2.0 mm Allen key
- A flat head screwdriver
- Labels or label ties
- A new motherboard
¶ Tutorial Video
¶ Instruction
¶ Remove the old motherboard
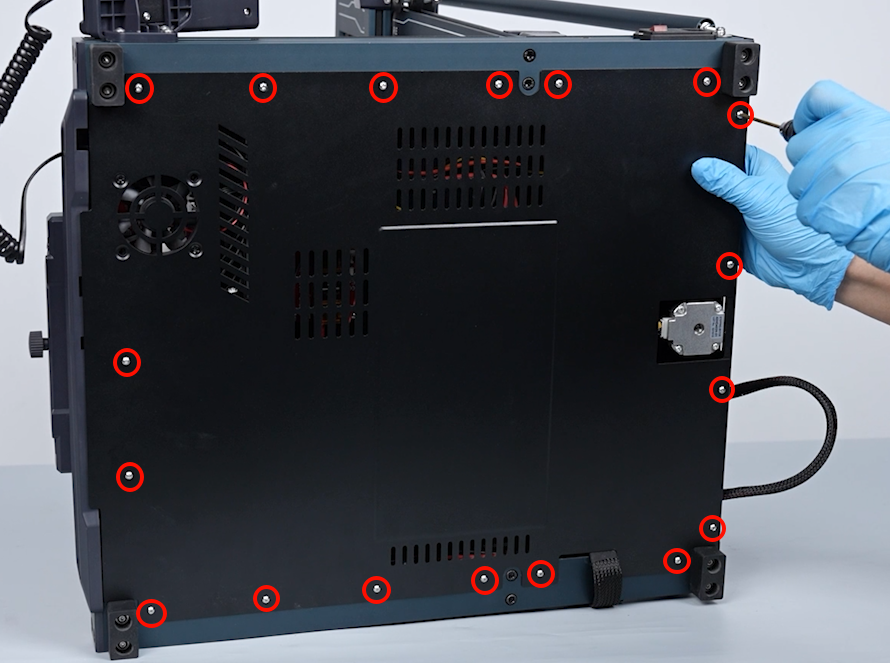
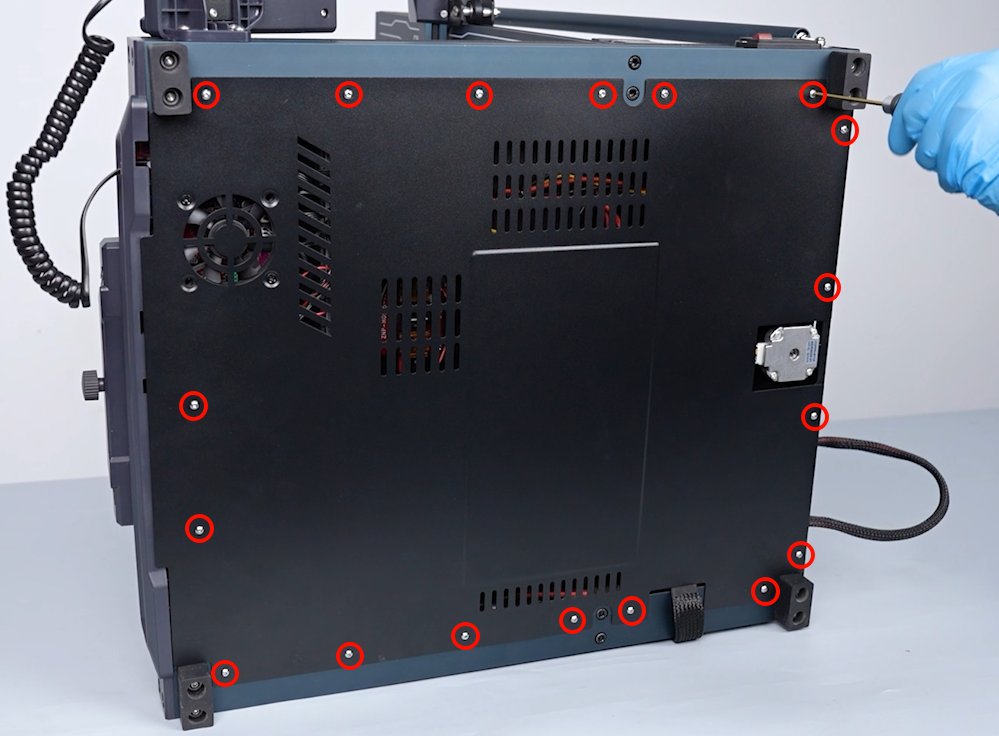
- Power off the printer and unplug the power cord. Loosen the 18 screws securing the back cover of the printer using a 2.0 mm Allen key. Remove the back cover.
Note: Carefully remove the bottom cover since cables are seated inside the bottom.
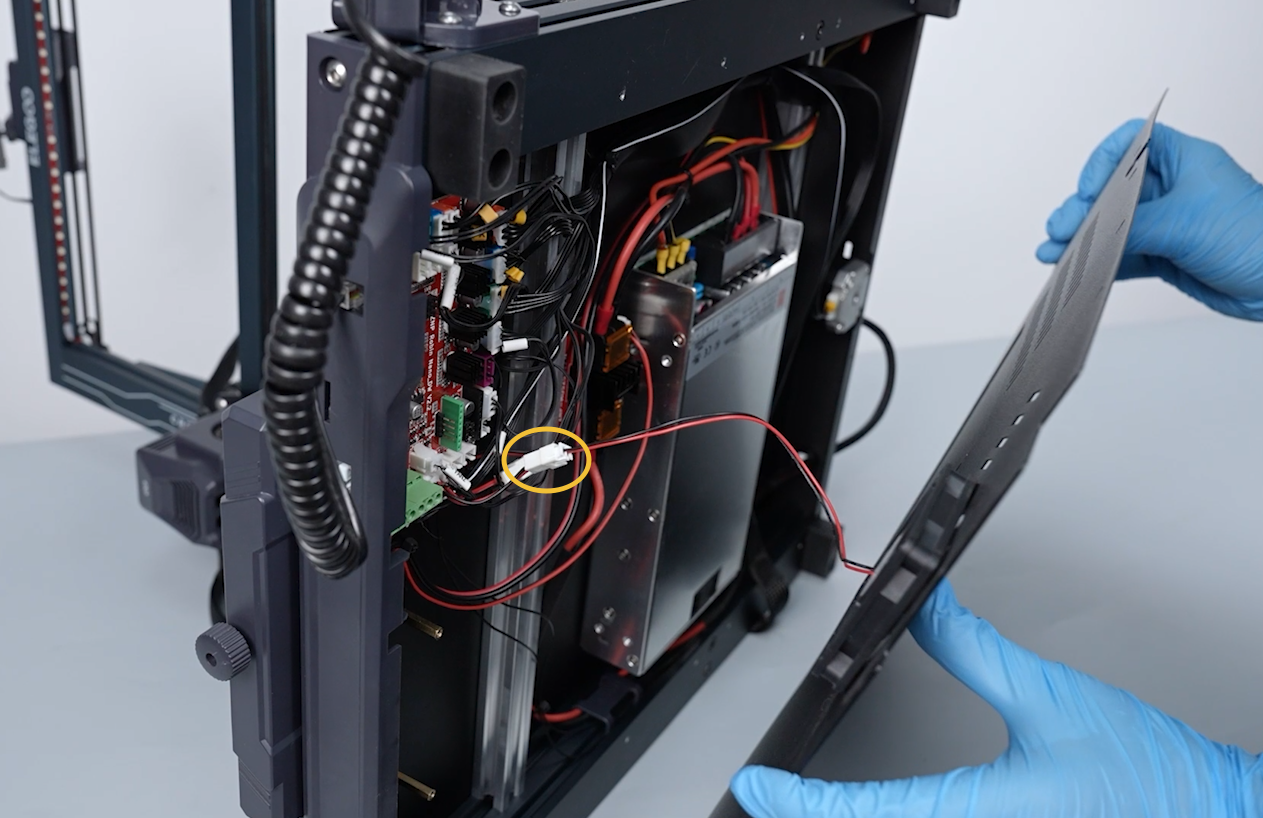
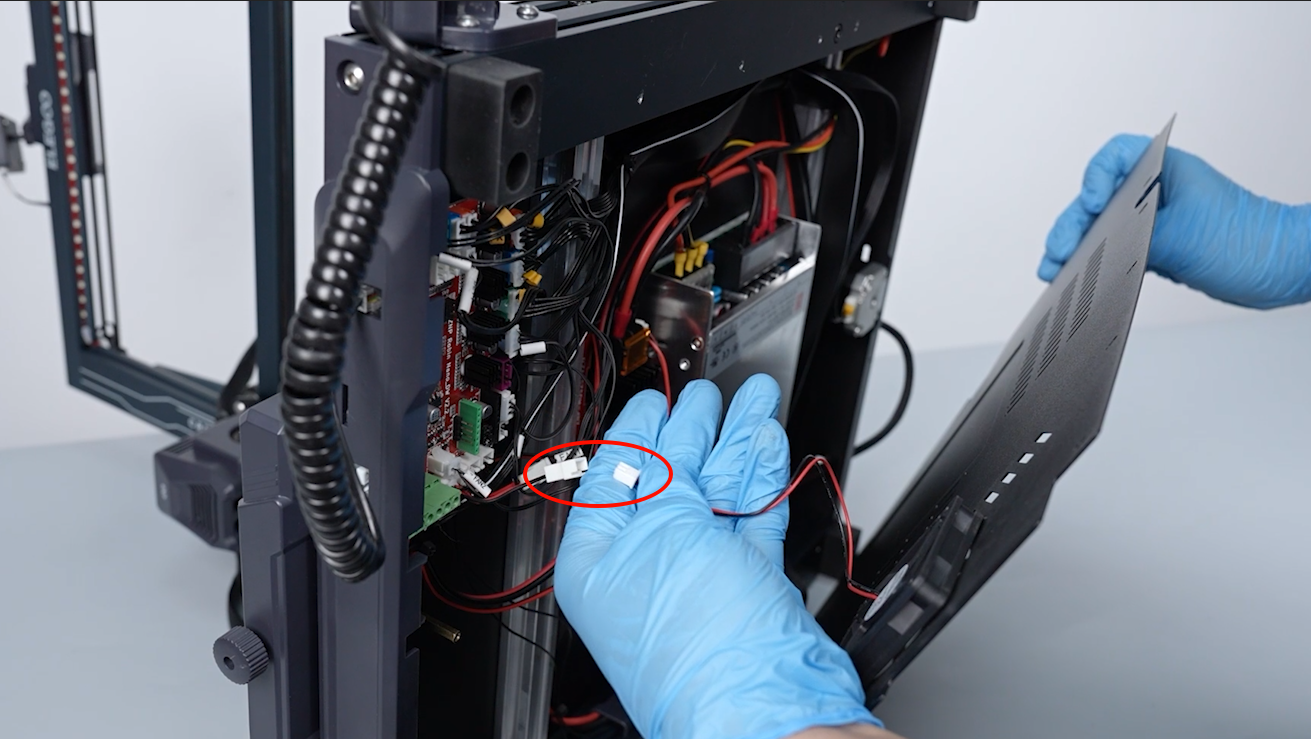
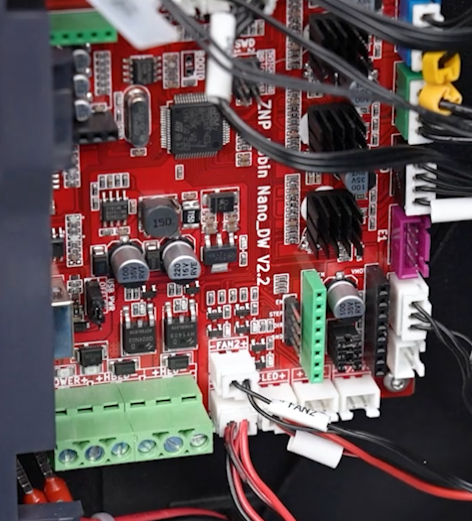
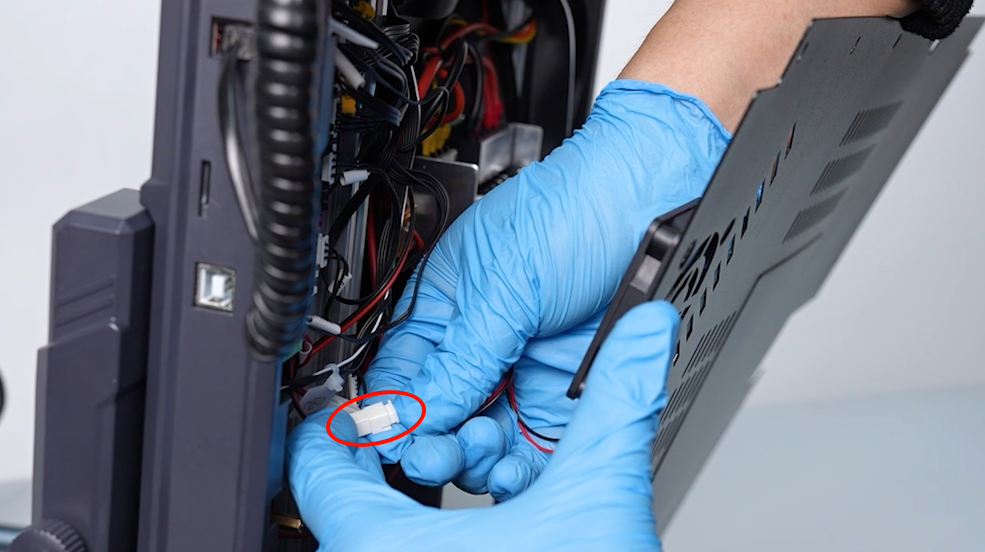
- Unplug the cable port of the motherboard cooling fan.
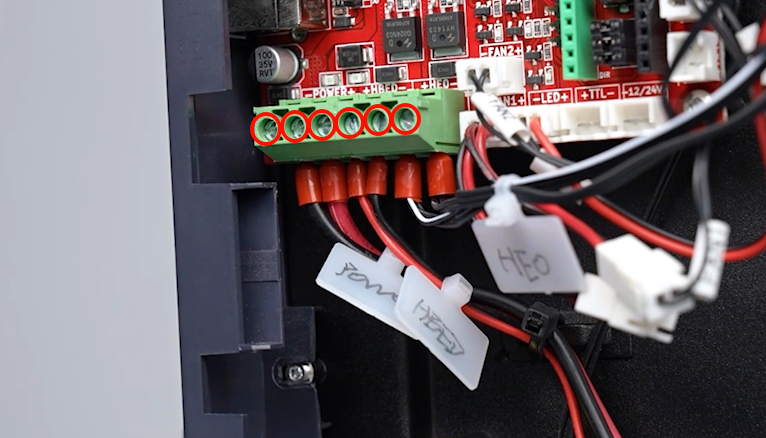
- Mark the cables or connection wires that do not have labels using label ties or labels corresponding to the motherboard port names, including 'TB', 'POWER', 'HBED', and 'HE0'. Disconnect the cables from all the ports on the motherboard.
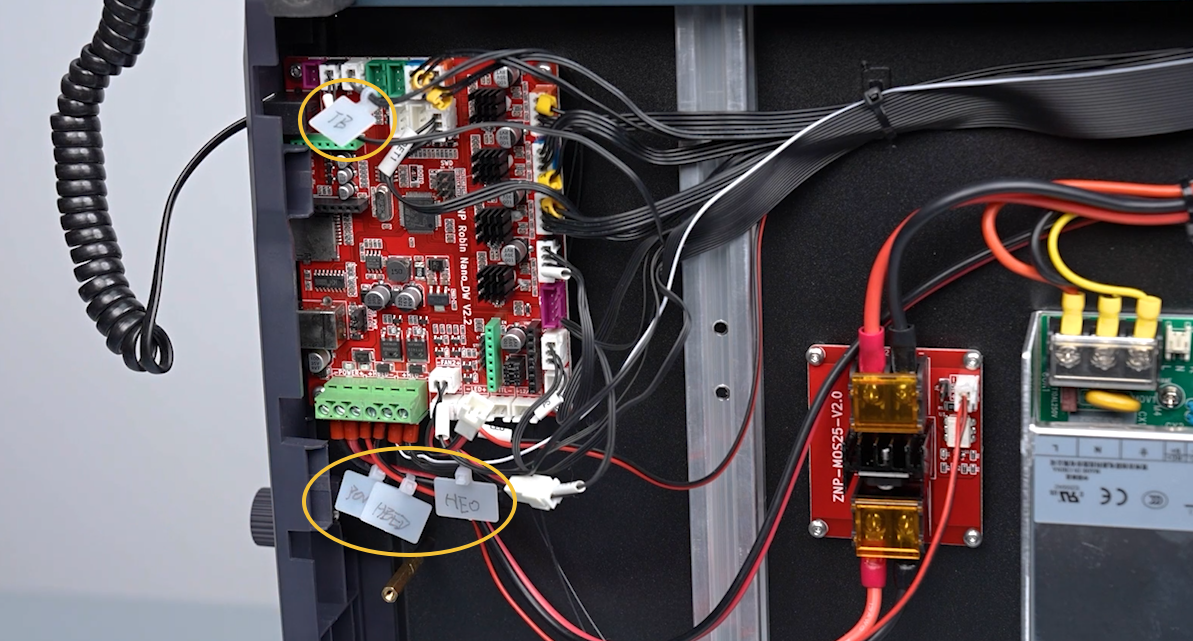
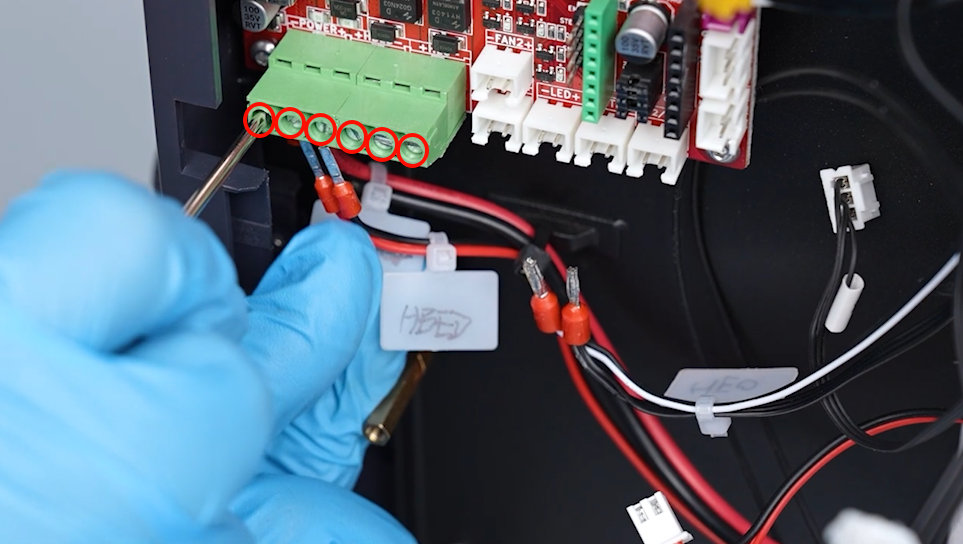
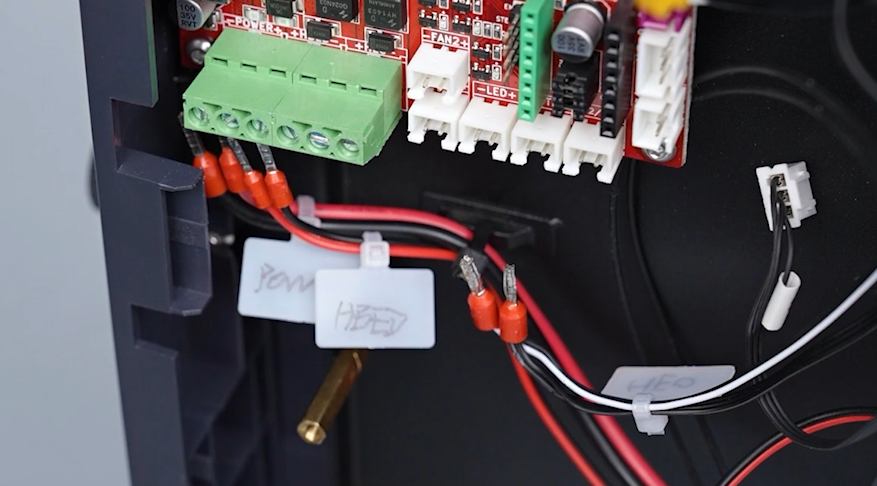
- Loosen the screws securing the "HB0", HBED", and "POWER" ports using a flathead screwdriver. Remove the connection cables.
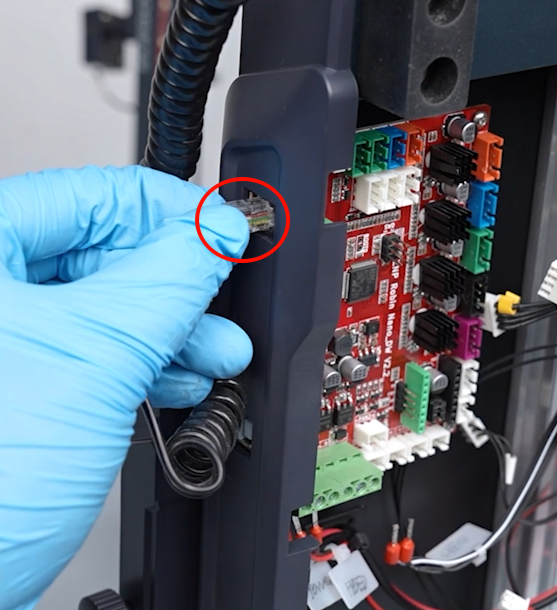
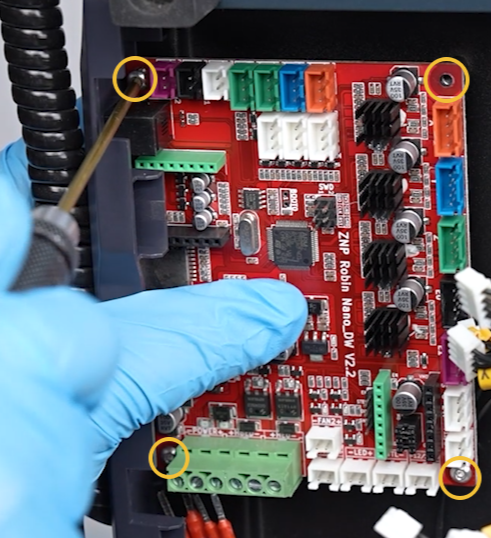
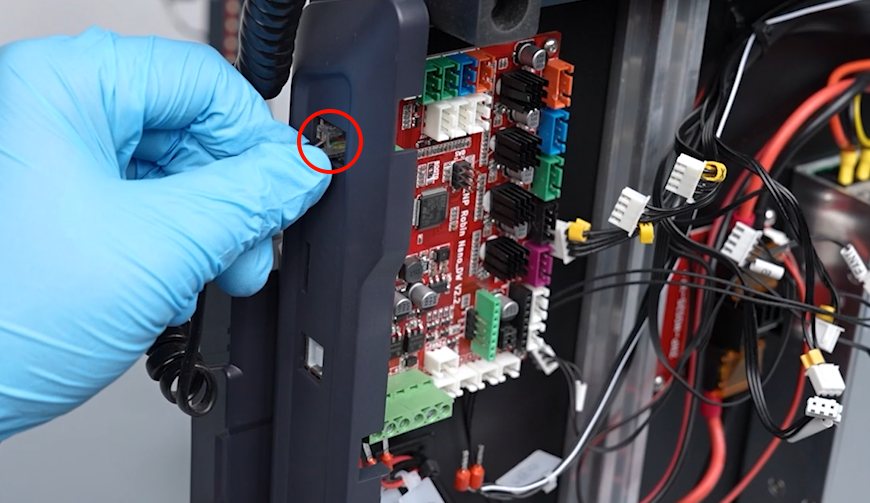
- Disconnect the cables of the touchscreen from the side. Loosen the two screws securing the motherboard using a 2.0 mm Allen key. Remove the old motherboard.
¶ Install the new motherboard
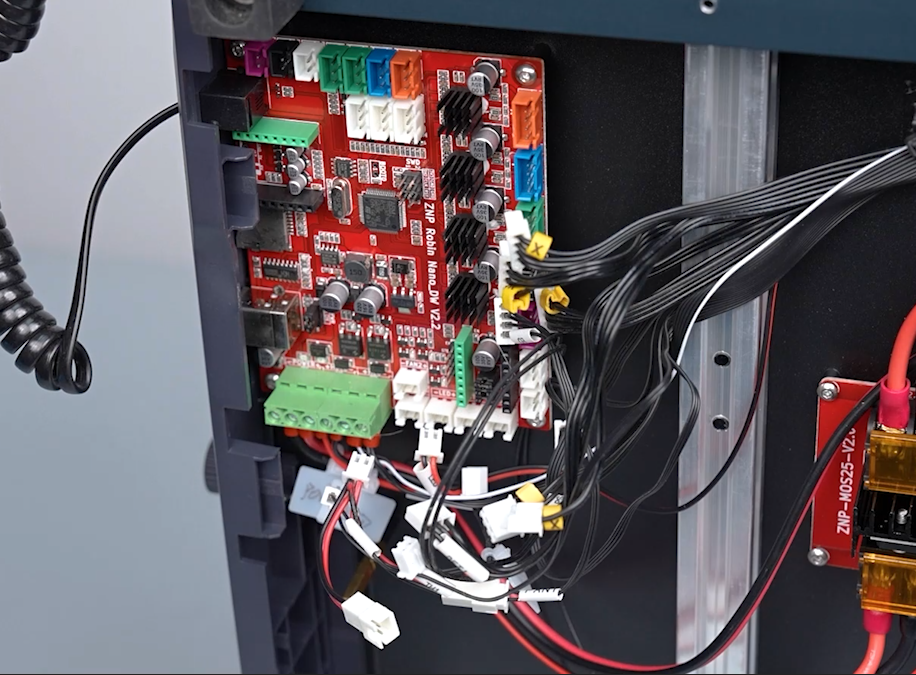
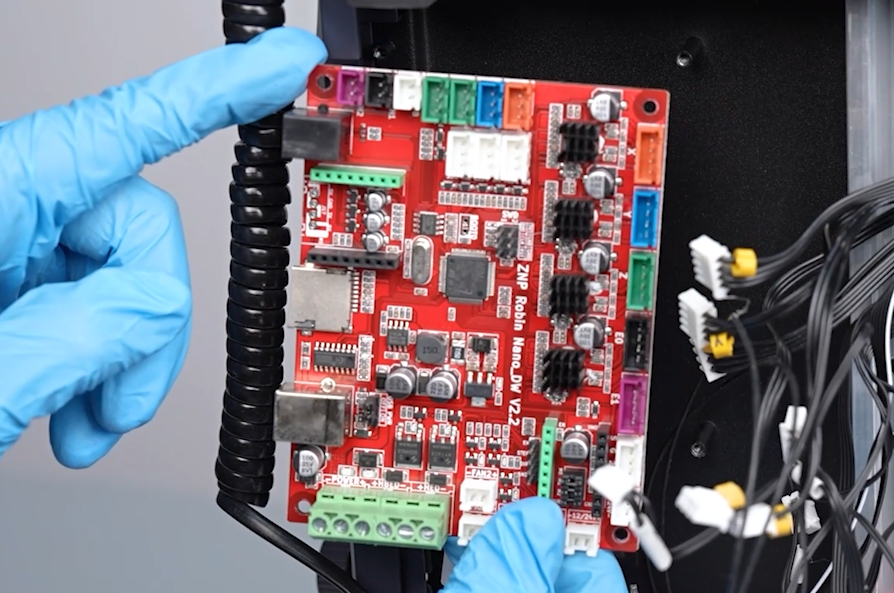
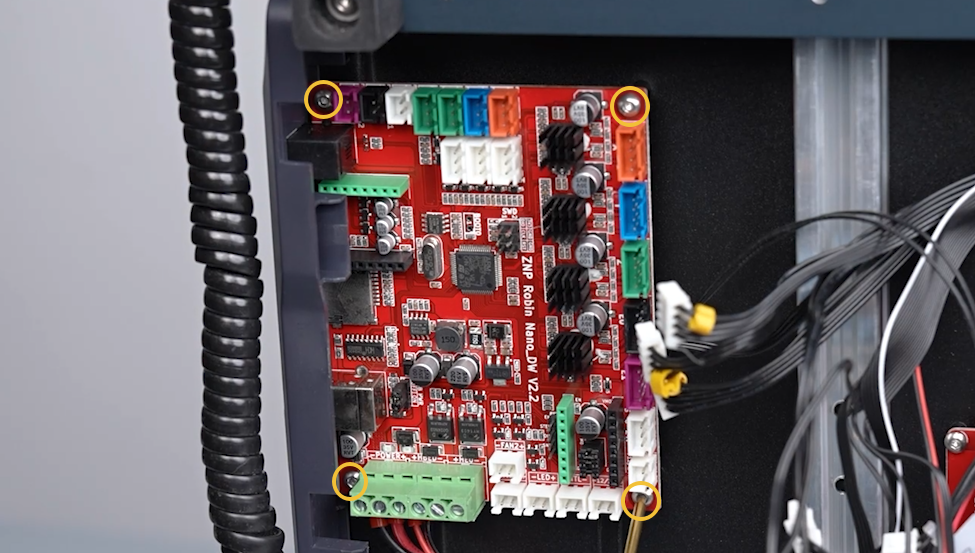
- Prepare the new motherboard. Align the motherboard with the screw holes and put it in the installation position. Tighten the 4 screws securing the motherboard using a 2.0 mm Allen key.
- Insert the cables of the touchscreen from the side.
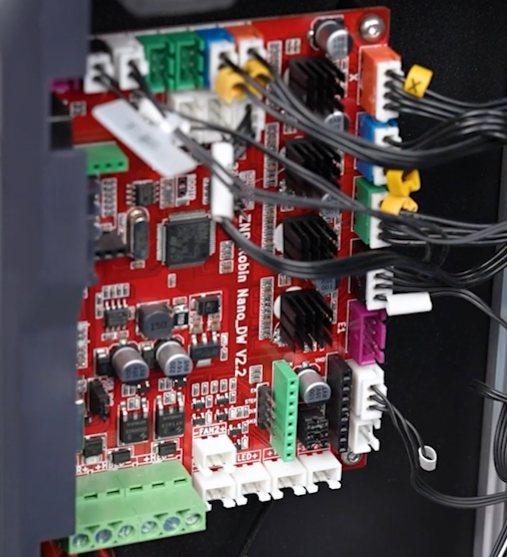
- Insert the cables into the ports on the motherboard according to the lable information.
- Insert the cables of "HB0", HBED", and "POWER" ports. Tighten the screws securing the cables.
Note: Do not need to distinguish between the anode and cathode of the cables installed at the "HE0" and "HBED" ports. Insert the red connection cable of the "POWER" port into the "+" port, and the black connection cable into the "-" port.
- Prepare the bottom cover of the printer. Insert the cables of the motherboard cooling fan into the FAN1 port.
- Put the bottom cover in the installation position by aligning it with the foot pad holes and screw holes. Tighten the 18 screws securing the bottom cover using a 2.0 mm Allen key.
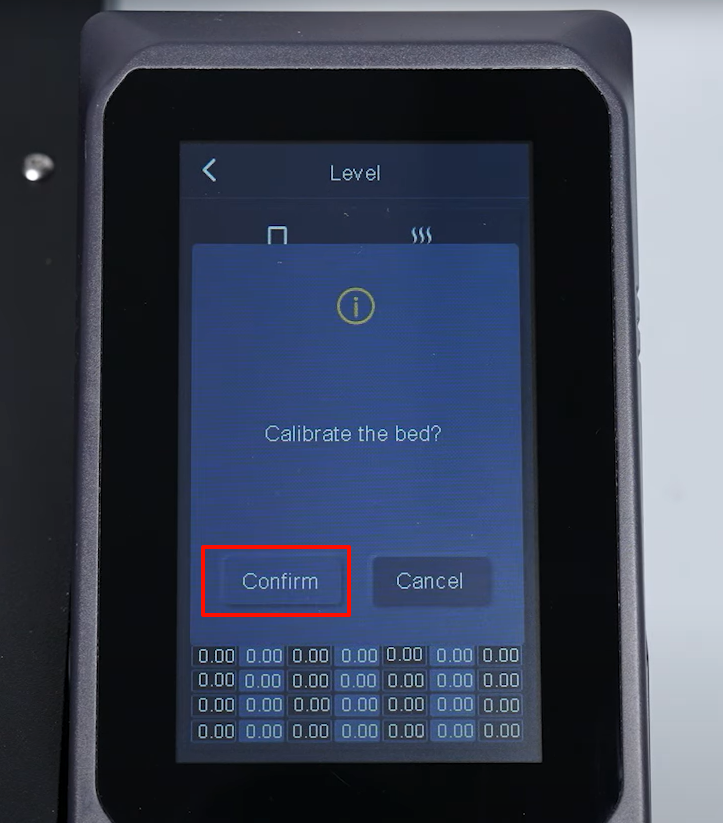
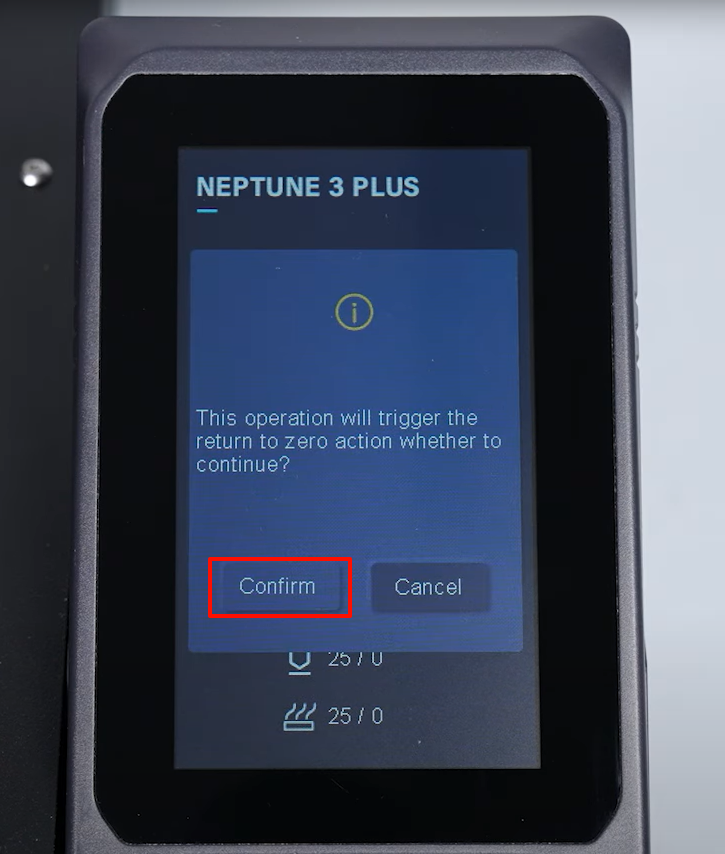
- Plug in the power cord. Power on the printer. Navigate to "Caliberate - Confirm" on the touchscreen. The printer starts homing process.
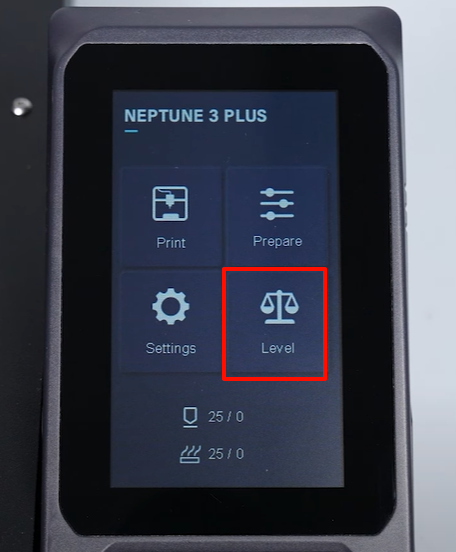
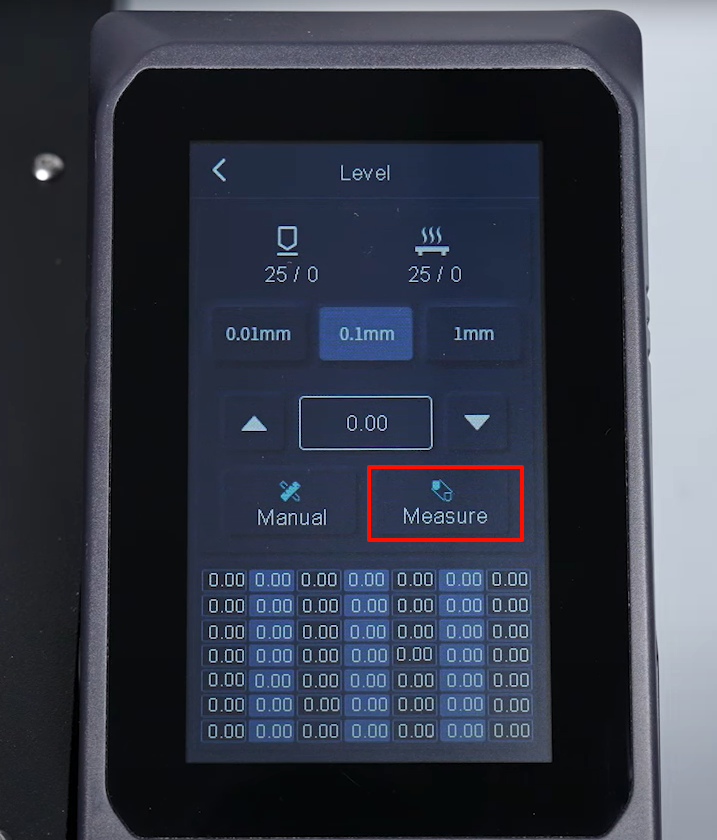
- After entering into the leveling interface, select "Measure -Confirm" The printer is ready for use after leveling.