¶ Tools and Materials
-
A 2.5 mm Allen wrench
-
A 2.0 mm Allen wrench
-
Cable ties
-
A maker pen
¶ Tutorial Video
¶ Operation Steps
-
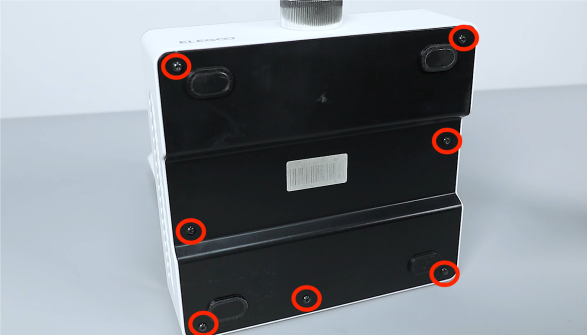
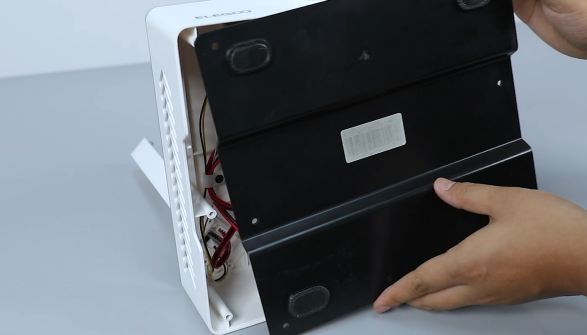
Use a 2.5 mm Allen wrench to loosen the 7 screws securing the bottom cover and remove the cover.
-
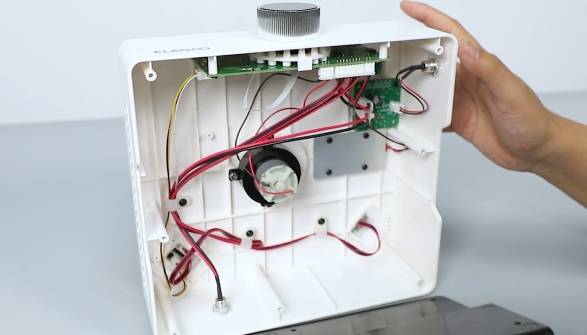
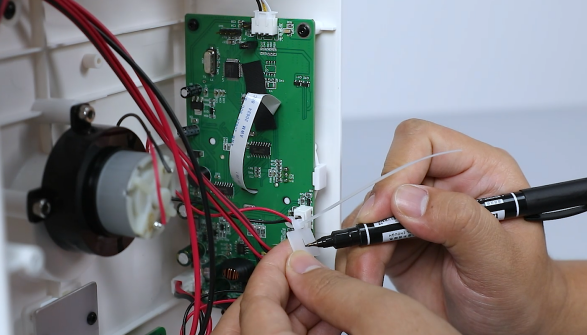
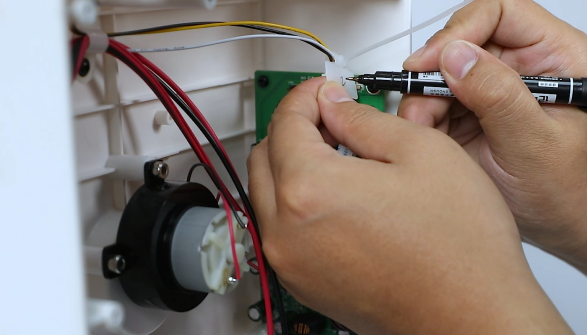
Use cable ties to secure the lower port and mark it as "1" and the upper port as "2".
-
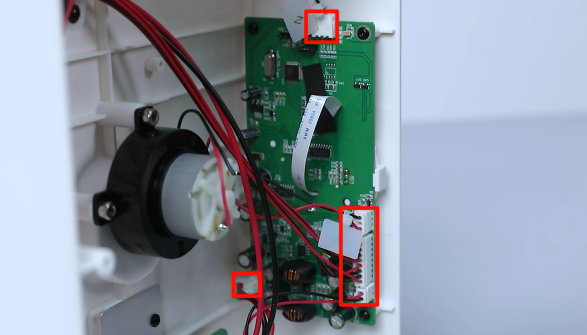
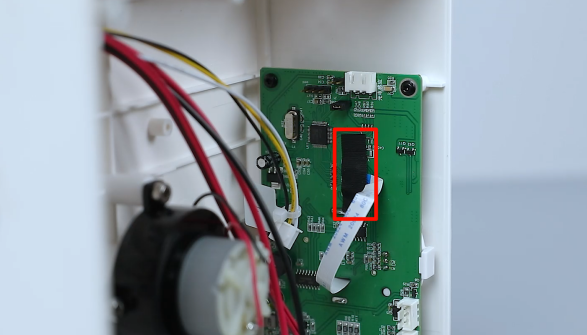
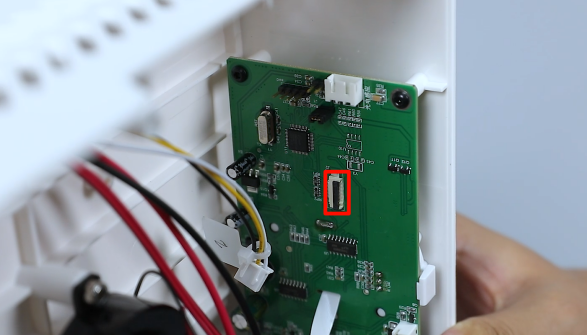
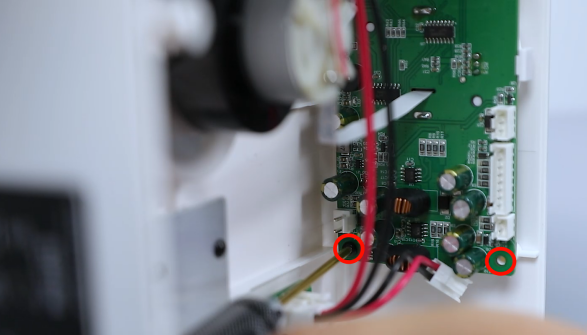
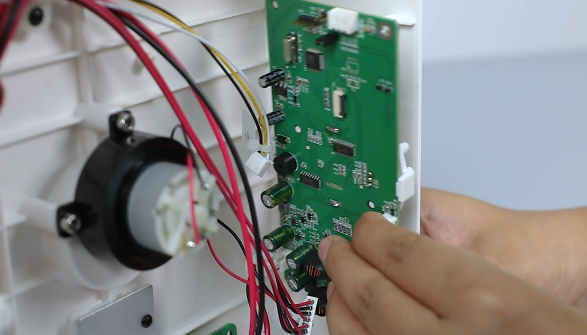
Unplug the connecting cables of all the ports on the motherboard. Tear off the black tape on the port of the knob of the motherboard. Lift the pressing cover of the ribbon cables and remove the cables.

-
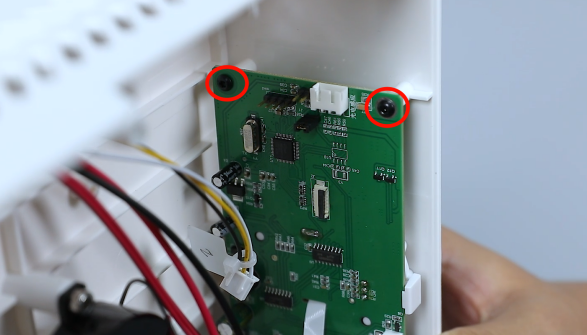
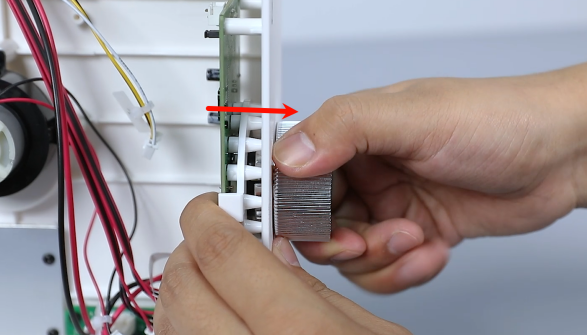
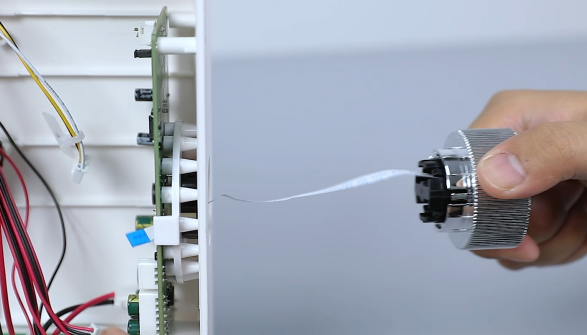
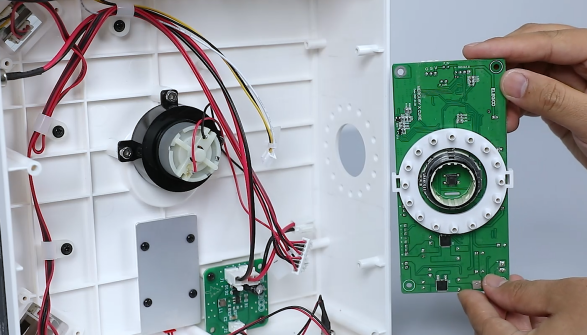
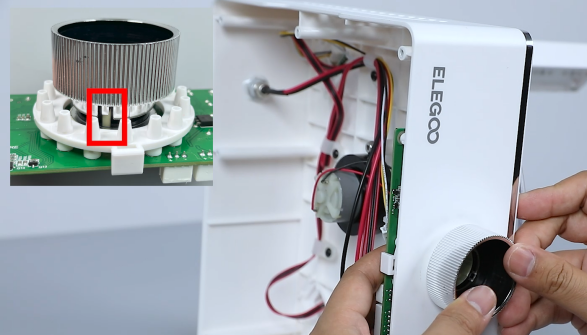
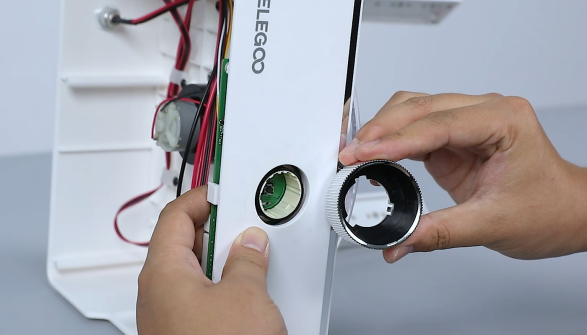
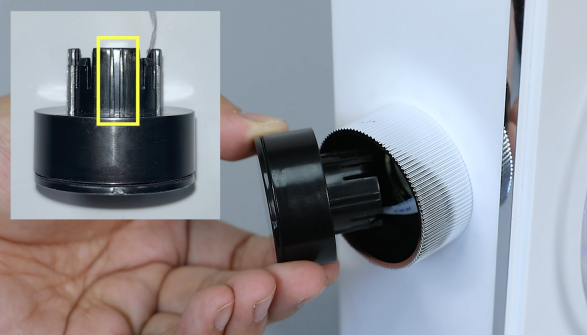
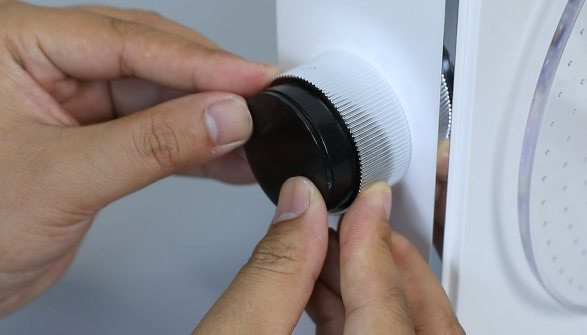
Use a 2.0 mm Allen wrench to loosen the 4 screws securing the motherboard and pull out the knob.
-
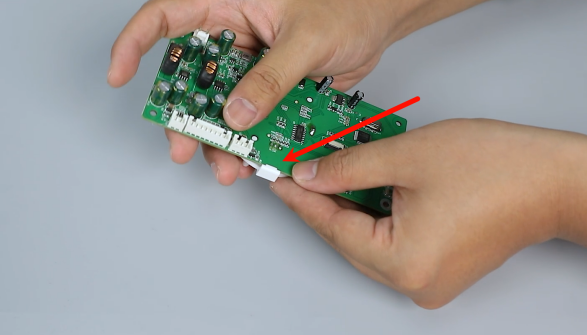
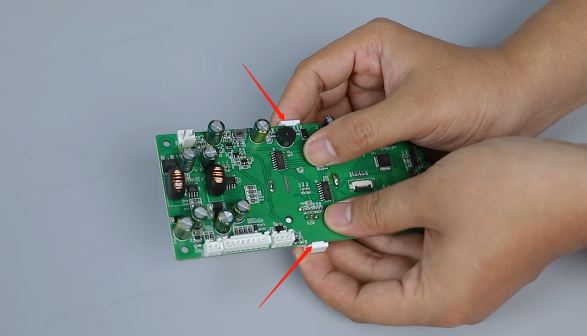
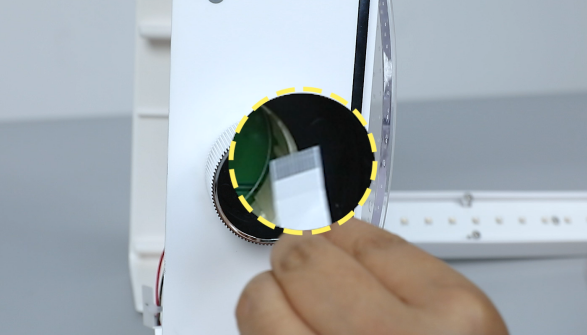
Remove the old motherboard. Open one end of the clip to remove the light guide column from the motherboard.
-
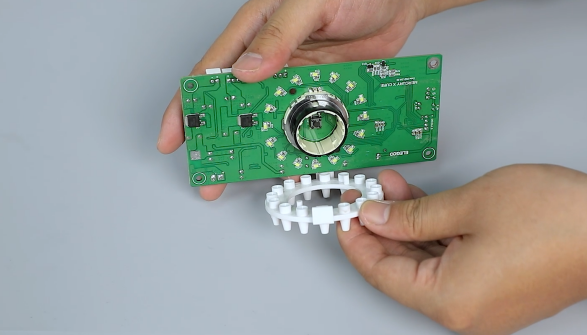
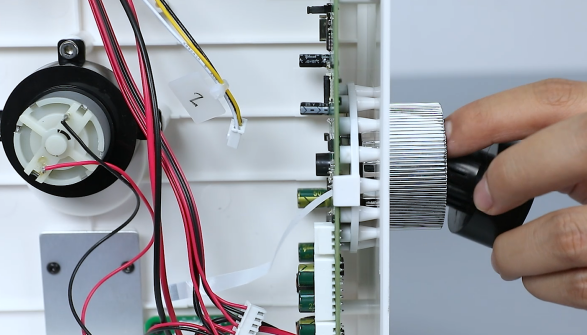
Prepare the new motherboard. Put the light guide column in its original position by aligning it with the positioning holes.
Note: Press the light guide column when installing it to ensure the clip is fixed.
-
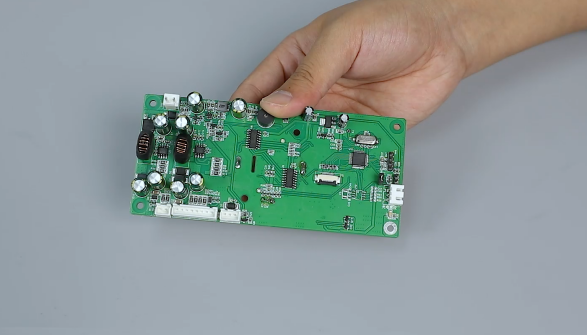
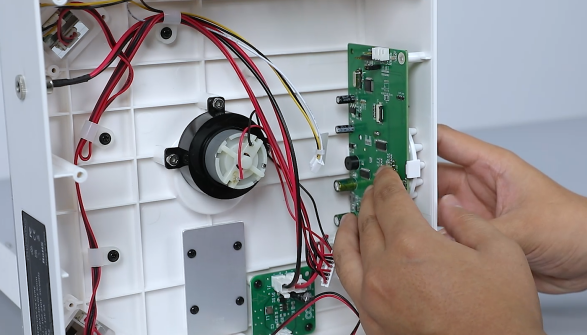
Install the motherboard assembly in the original position by aligning it with the positioning holes and remove the outer ring. Press the motherboard by aligning it with the installation position of the clip to ensure the motherboard is fixed.
-
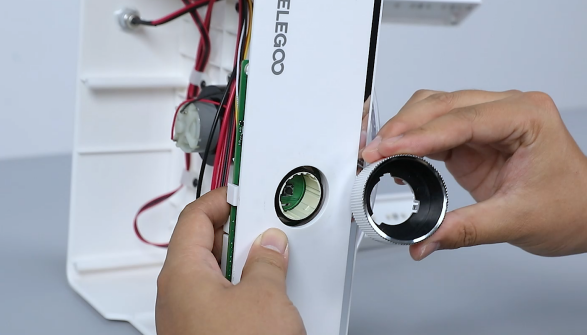
Remove the inner ring of the knob and pass the ribbon cable of the knob through the hole and tidy up the ribbon cables. Press the inner ring of the knob inwards.
-
Use a 2.0 mm Allen wrench to tighten 4 screws securing the motherboard and plug the connecting cables into their ports.
-
Plug the ribbon cables into their original positions and press the cover tightly. Use black tape to paste the pressing cover of the ribbon cables.
-
Put the bottom cover in the installation position by aligning it with the screw holes. Use a 2,5 mm Allen wrench tighten the 7 screws securing the bottom cover.
-
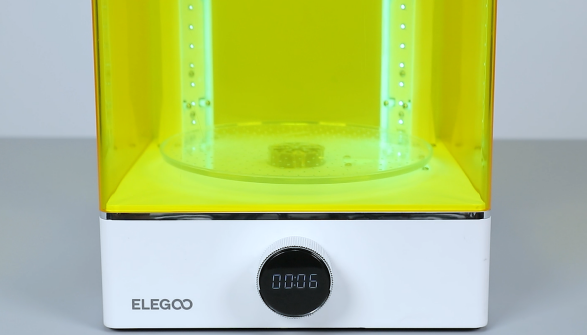
Put the outer cover in the installation position. Power on the curing machine and set the curing time. The printer can be used after it operates normally.