¶ Tools and Materials
-
A 2.5 mm Allen wrench
-
A 2.0 mm Allen wrench
-
Tissues
-
A brush
-
Thermally conductive silicone grease
¶ Tutorial Video
https://www.youtube.com/watch?v=GJL6Opl92wo
¶ Operation Steps
-
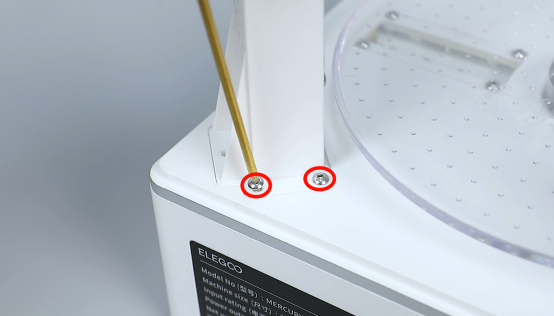
Use a 2.0 mm Allen wrench to loosen the 5 screws securing the bottom of the shell of the supporting column.
-
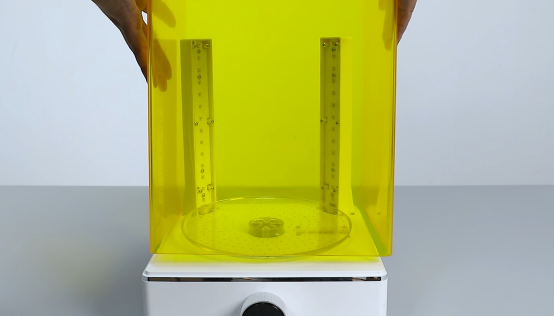
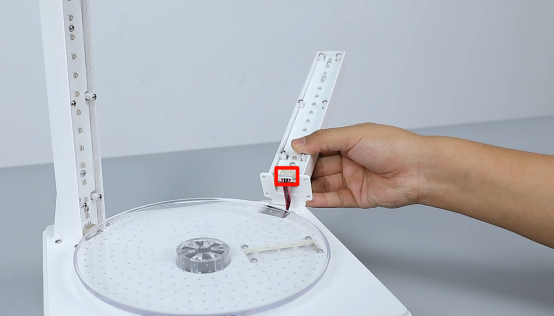
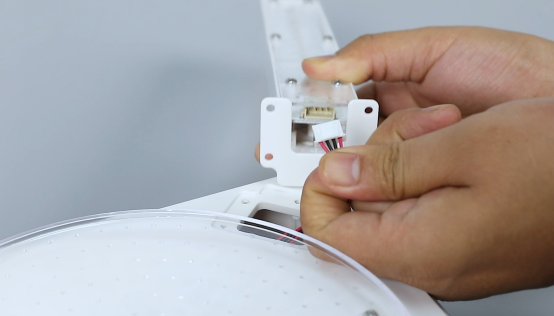
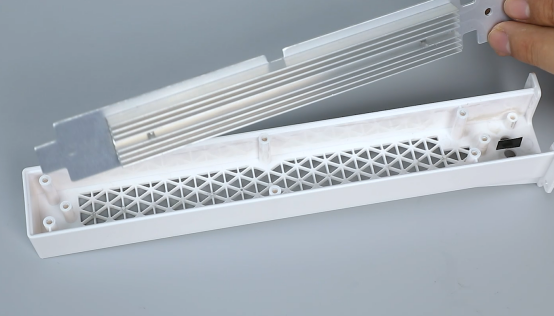
Lay the supporting column of the UV light flat. Remove the connecting cables of the bottom of the UV light.
-
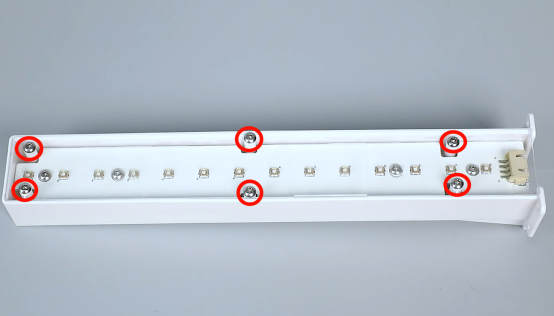
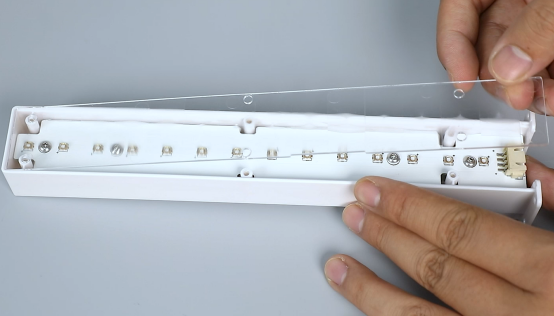
Use a 2.0 mm Allen wrench to loosen the 6 screws securing the Fresnel lens and remove the Fresnel lens.
-
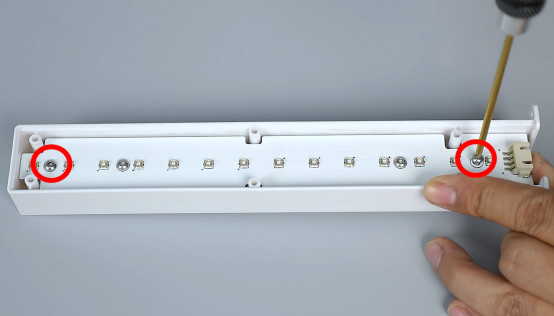
Use a 2.0 mm Allen wrench to loosen the 2 screws securing the light board assembly and lift the assembly.
-
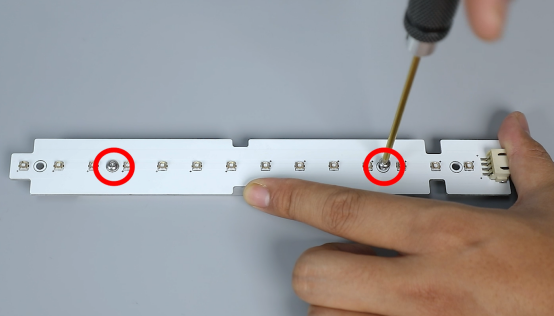
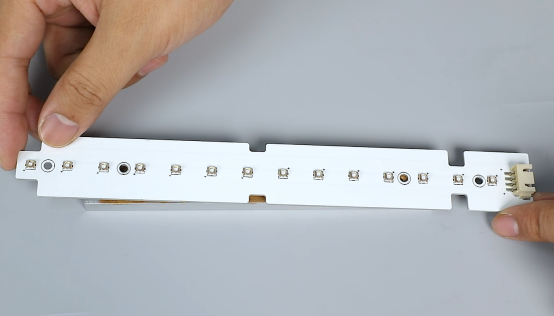
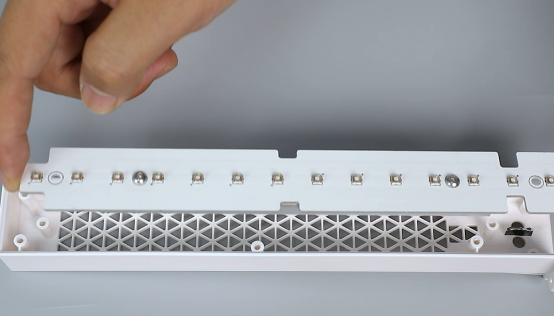
Use a 2.0 mm Allen wrench to loosen the 2 screws securing the light board and remove the old light board.

-
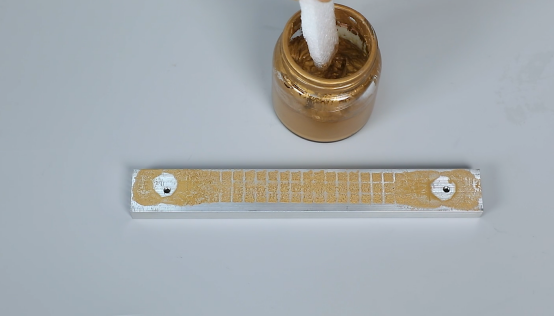
Use a brush to apply thermally conductive silicone grease on the heat dissipation board. Prepare the new light board and put the board in the installation position by aligning the board with the screw holes. Use a 2.0 mm Allen wrench to tighten the 2 screws securing the light board.
-
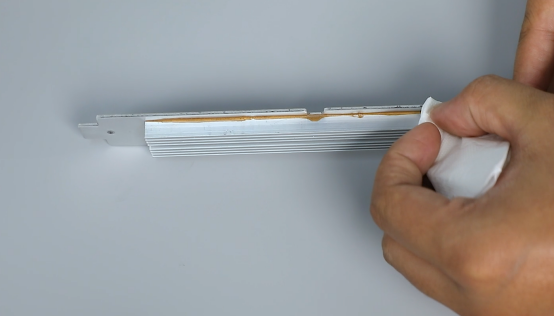
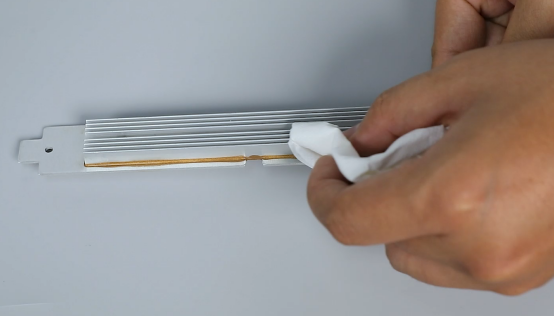
Use tissues to wipe off the the excess thermally conductive silicone grease around the light board.
Note: Do not pollute the UV light.
-
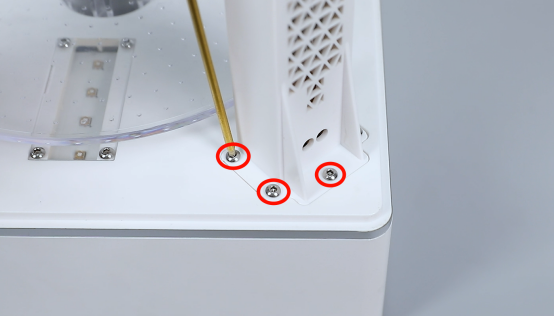
Remove the shell of the supporting column of the UV light. Put the UV light in the installation position and use a 2.0 mm Allen wrench to tighten the 3 screws securing the light board assembly.
-
Remove the Fresnel lens and put it in the installation position by aligning it with the screw holes with the frosted side facing out and the smooth side facing in. Use a 2.0 mm Allen wrench to tighten the 6 screws securing the Fresnel lens.

-
Plug the connecting cables of the supporting column of the bottom of the UV light. Put the supporting column in the installation position by aligning it with the screw holes.
-
Use a 2.0 mm Allen wrench to secure 5 screws securing the supporting column of the UV light.
-
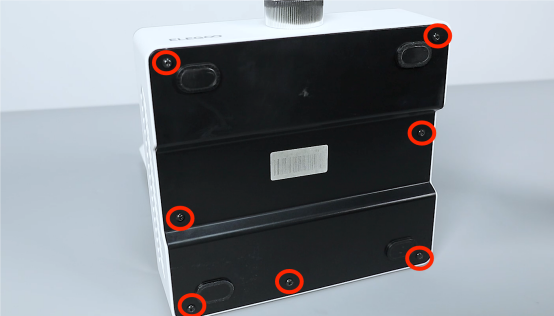
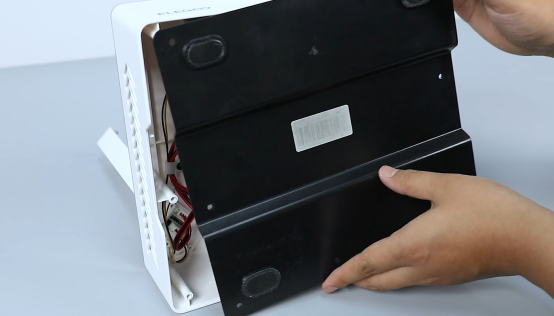
Use a 2.5 mm Allen wrench to loosen the 7 screws securing the bottom cover and remove the cover.
-
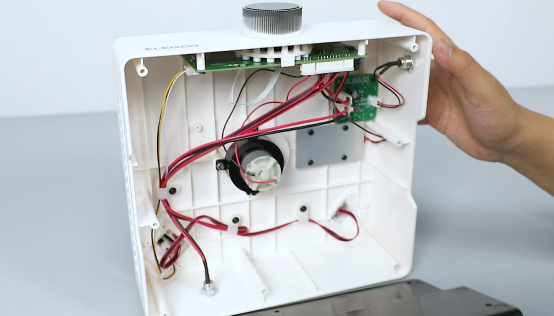
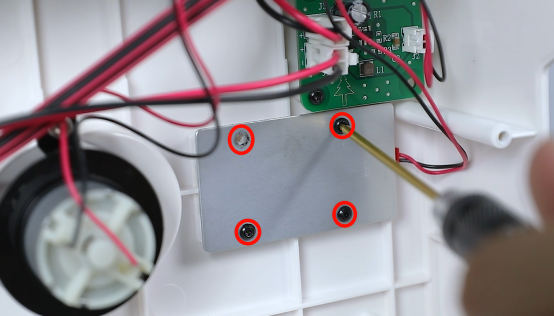
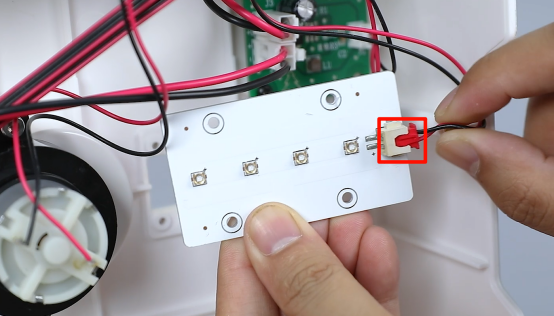
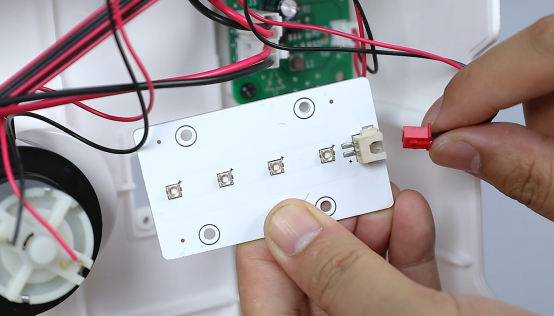
Use a 2.0 mm Allen wrench to loosen the 4 screws securing the bottom of the light board. Unplug the connecting cables of the bottom of the light board and then remove the old light board.
-
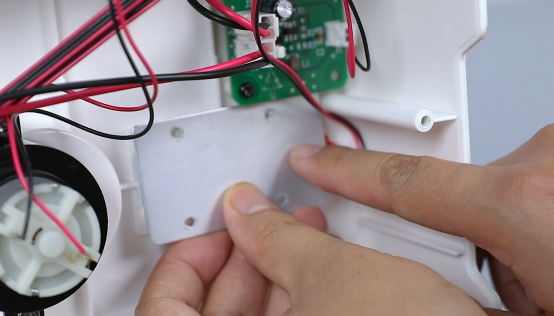
Prepare the new light board and plug the connecting cables. Put the light board in the installation position by aligning it with the screw holes. Use a 2.0 mm Allen wrench to tighten the 4 screws securing the bottom of the light board.

-
Put the bottom board in its original position by aligning it with the screw holes. Use a 2.5 mm Allen wrench to tighten the 7 screws securing the bottom board.
-
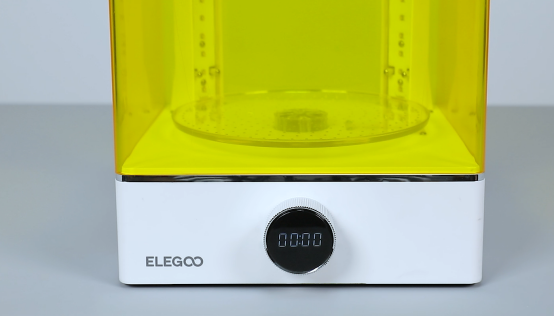
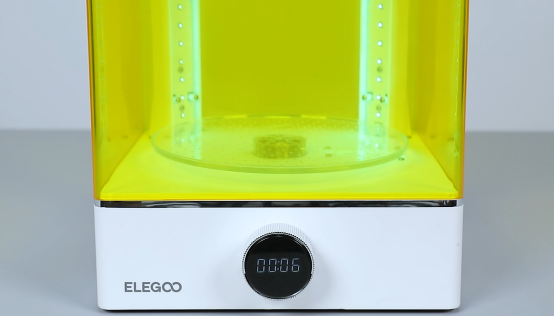
Put the outer cover in the installation position. Power on the curing machine and set the curing time. The machine can be used as usual after it operates normally.