¶ The Relationship Between Pixelation and Anti-Aliasing Blur
¶ Introduction
The settings for pixelation and anti-aliasing blur in CHITUBOX have a close relationship. This article mainly discusses how to configure the model's grayscale and blur levels with respect to pixelation in CHITUBOX.
The exposure pattern of a 3D printer is composed of pixels, which are roughly square shaped. Jaggies arise from these square edges. During 3D printing, the anti-aliasing feature smoothes out edge pixels, resulting in a more polished surface of the model.
In CHITUBOX, the grayscale and blur features of anti-aliasing can effectively reduce jagged edges, making the model smoother and finer. Proper use of this function improves the surface quality of printed models.
Generally, the higher the anti-aliasing setting, the better the effect of eliminating jaggies. However, beyond a certain range, it might have adverse effects, necessitating adjustments based on the resin used and the model being printed. Correspondingly, the higher the grayscale and blur level settings, the longer the slicing time and the larger the slicing file size. Excessively high levels may lead to anomalies on the model's surface.
During 3D printing, adjust the image blur level as needed to compensate for jagged edges. In actual operation within CHITUBOX, typically adjust the "image blur" pixel level.
The specific setup method is: Settings - Advanced - Image Blur, then adjust the blur pixel level from the dropdown list.
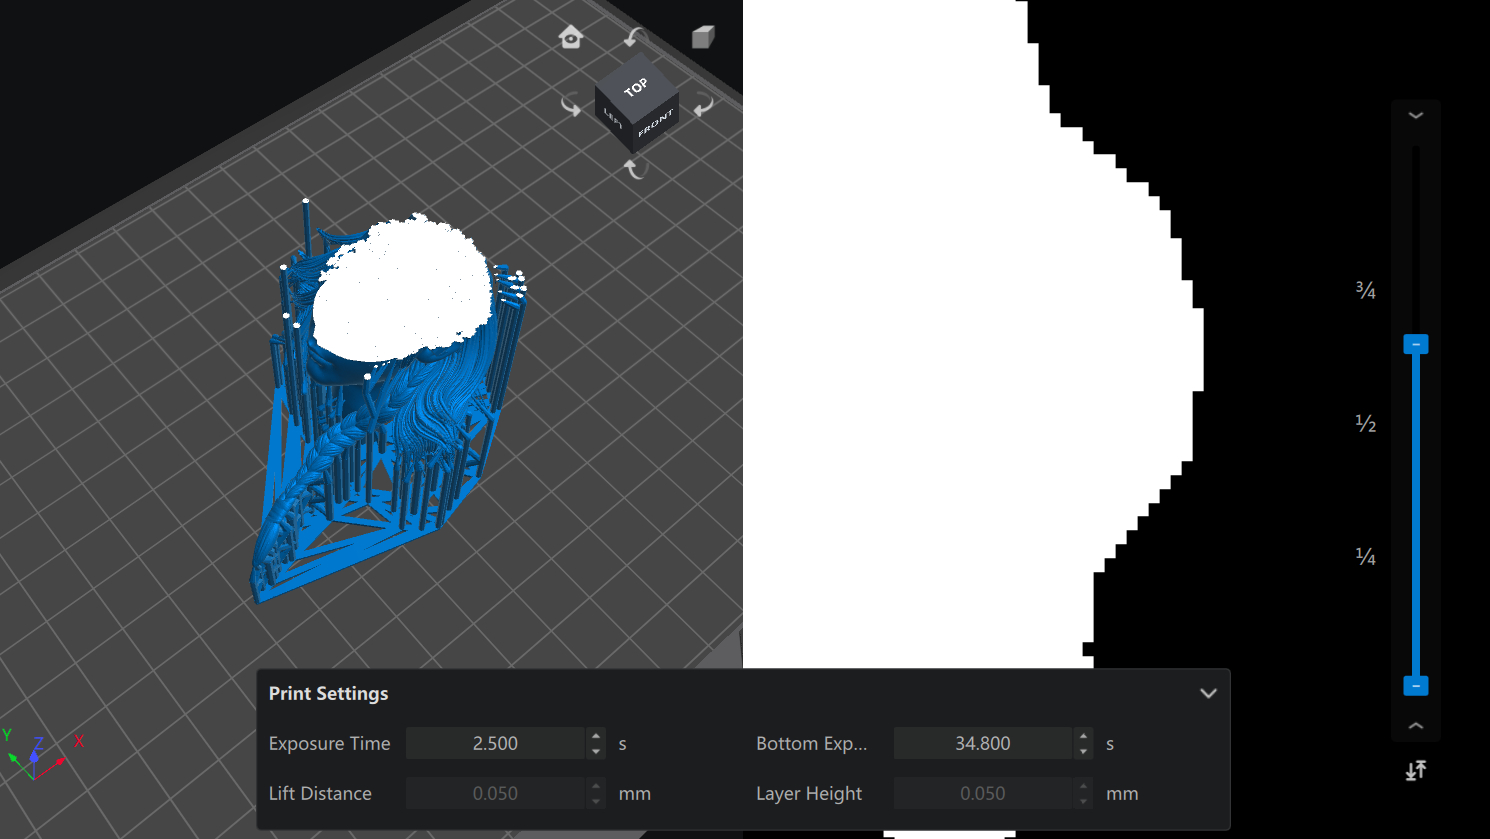
In the CHITUBOX slicing interface, differences in sliced edge appearance with various "image blur" settings are clearly visible. The following three images show slice effects with blur levels set to off / 2 / 8 respectively. As shown, if the blur level is too high, it might cause sludge (semi-cured material) on the model's surface.
The below images demonstrate the real print outcomes with image blur pixels set to off / 2 / 4 / 6 / 8. In this example, the print quality improves incrementally from 0 up to 6, where the setting of 6 yields the best result, with a slight decline when increased to 8.