¶ Tools and Materials
- A 2.5mm Allen key x 1
- A 2.0mm Allen key x 1
¶ Tutorial Video
Coming soon.
¶ Instruction
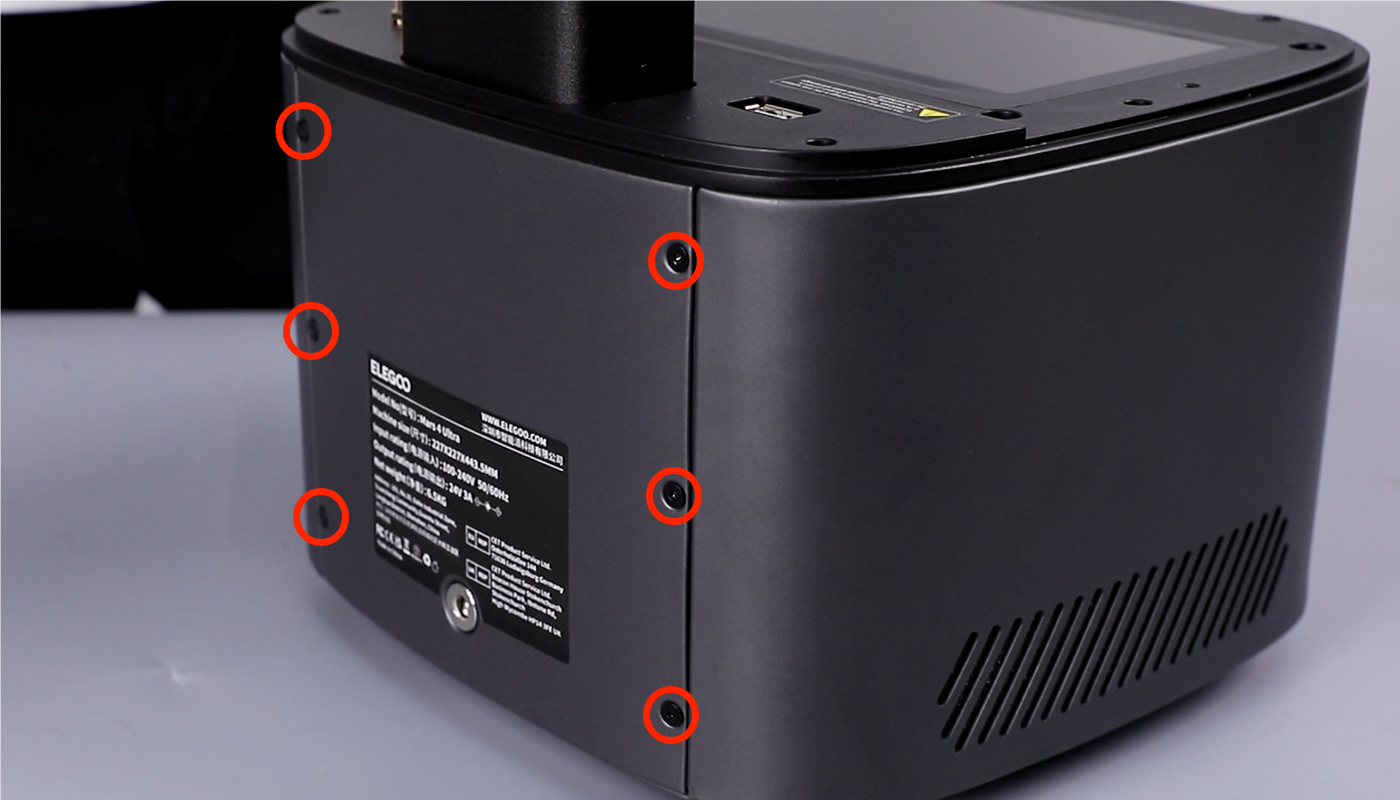
- Using a 2.0mm Allen key, loosen the six screws securing the back cover.

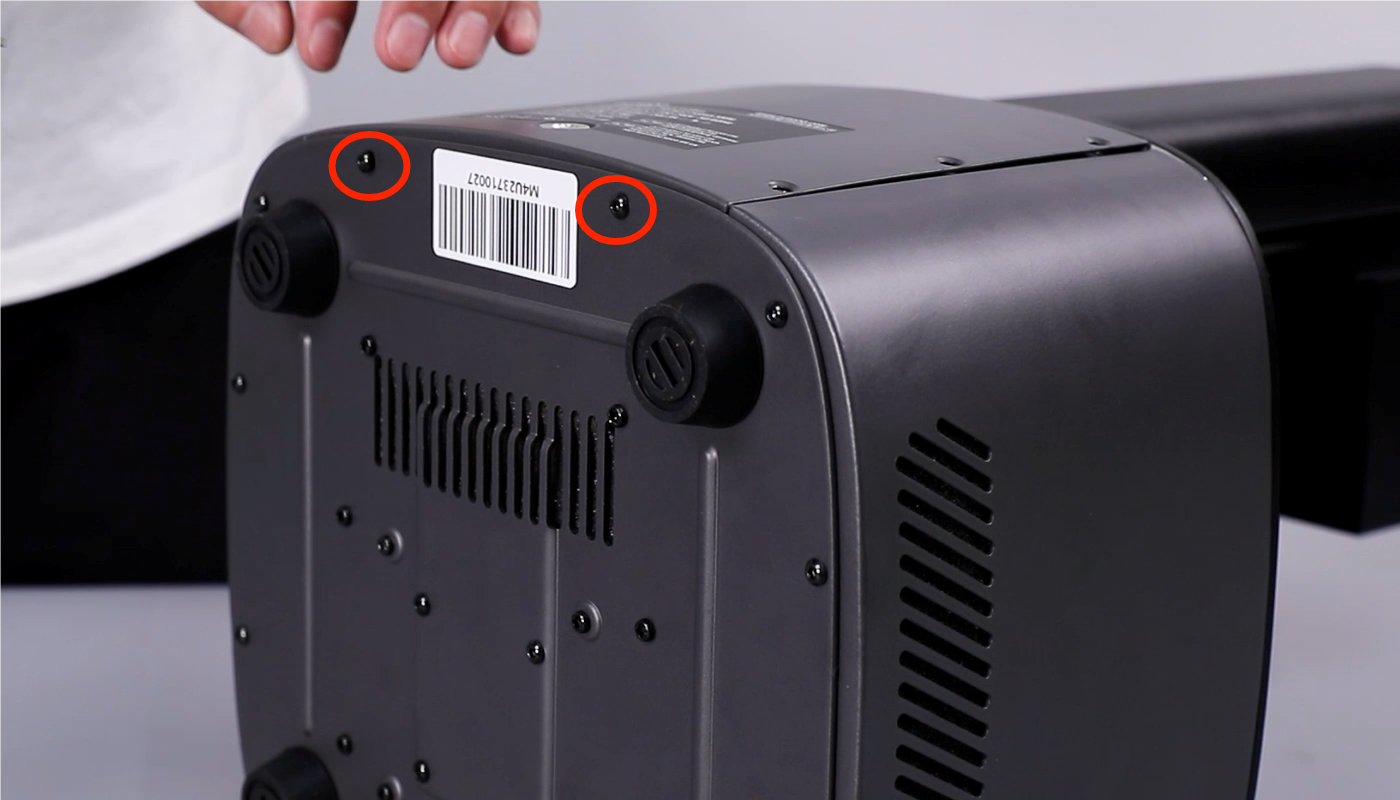
- Using a 2.5mm Allen key, remove the two marked screws securing the bottom cover of the printer. Remove the bottom cover.


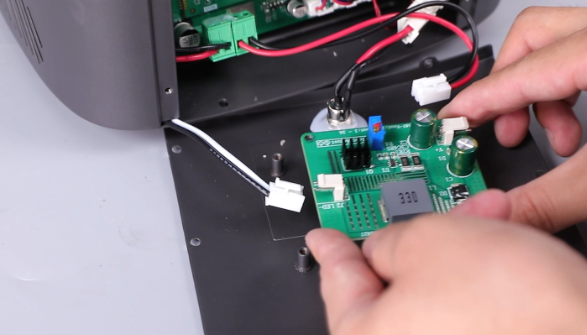
- Remove the hot glue securing the cables and remove the cables.

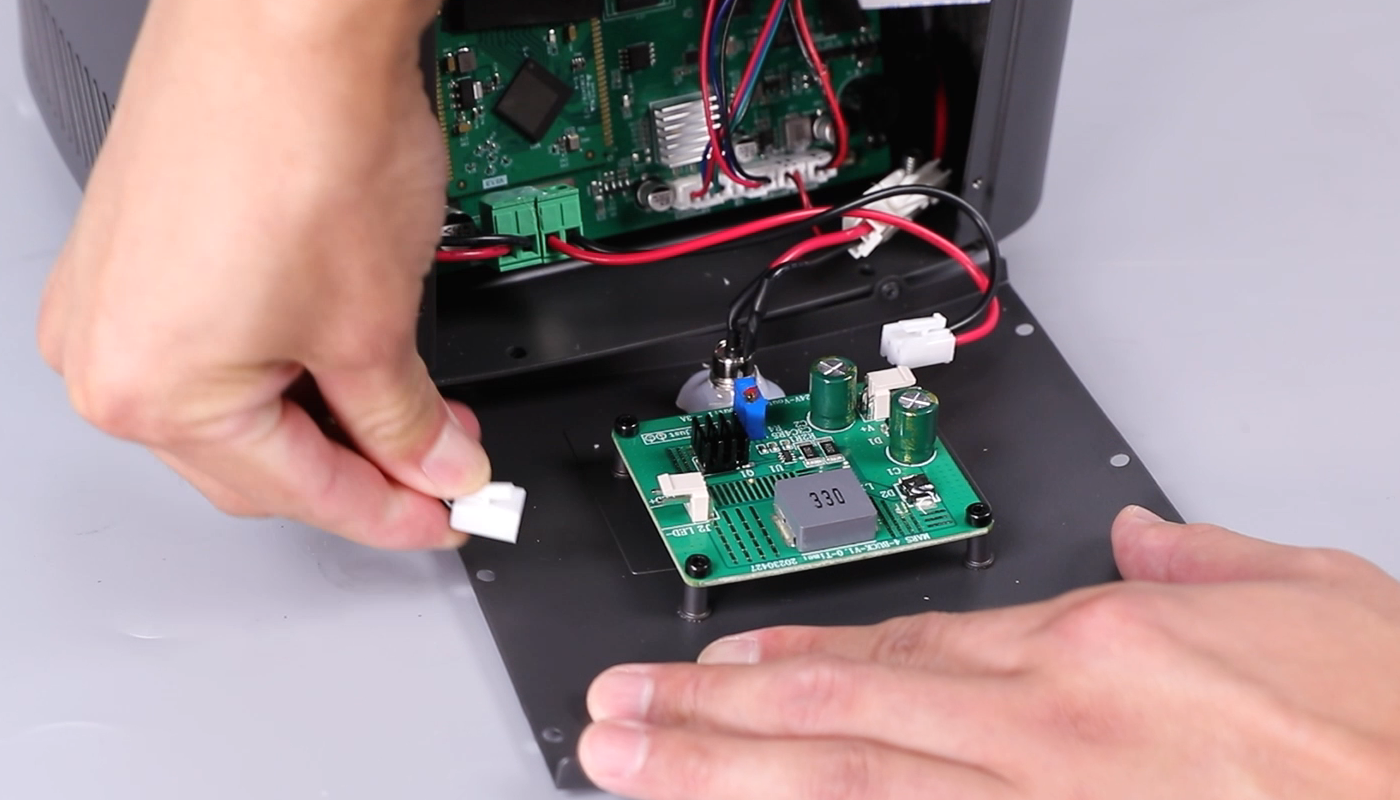
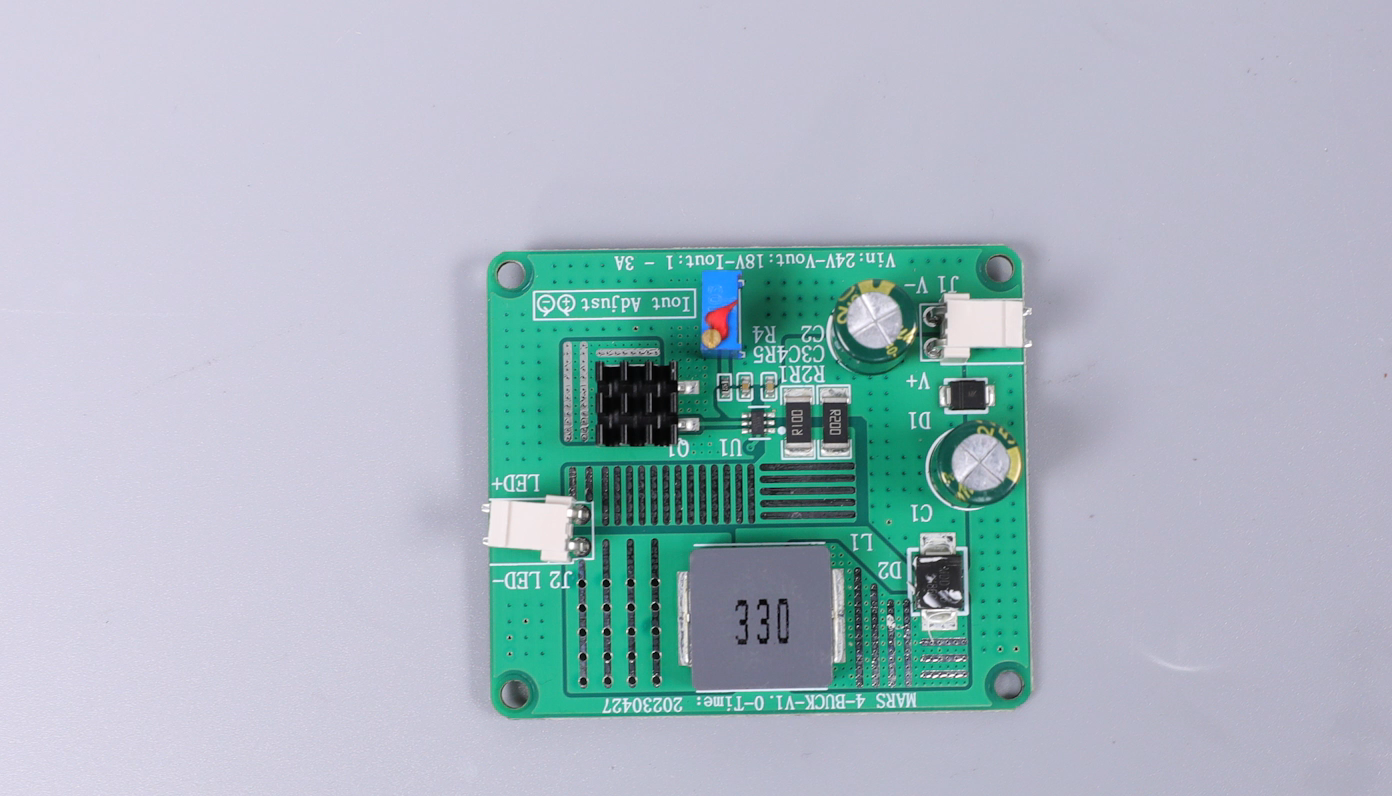
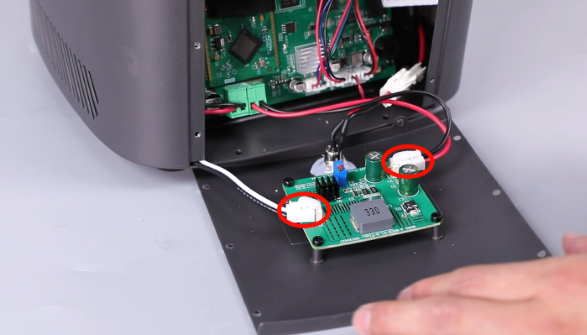
- Using a 2.0mm Allen key, loosen the four securing screws. Remove the constant current board.
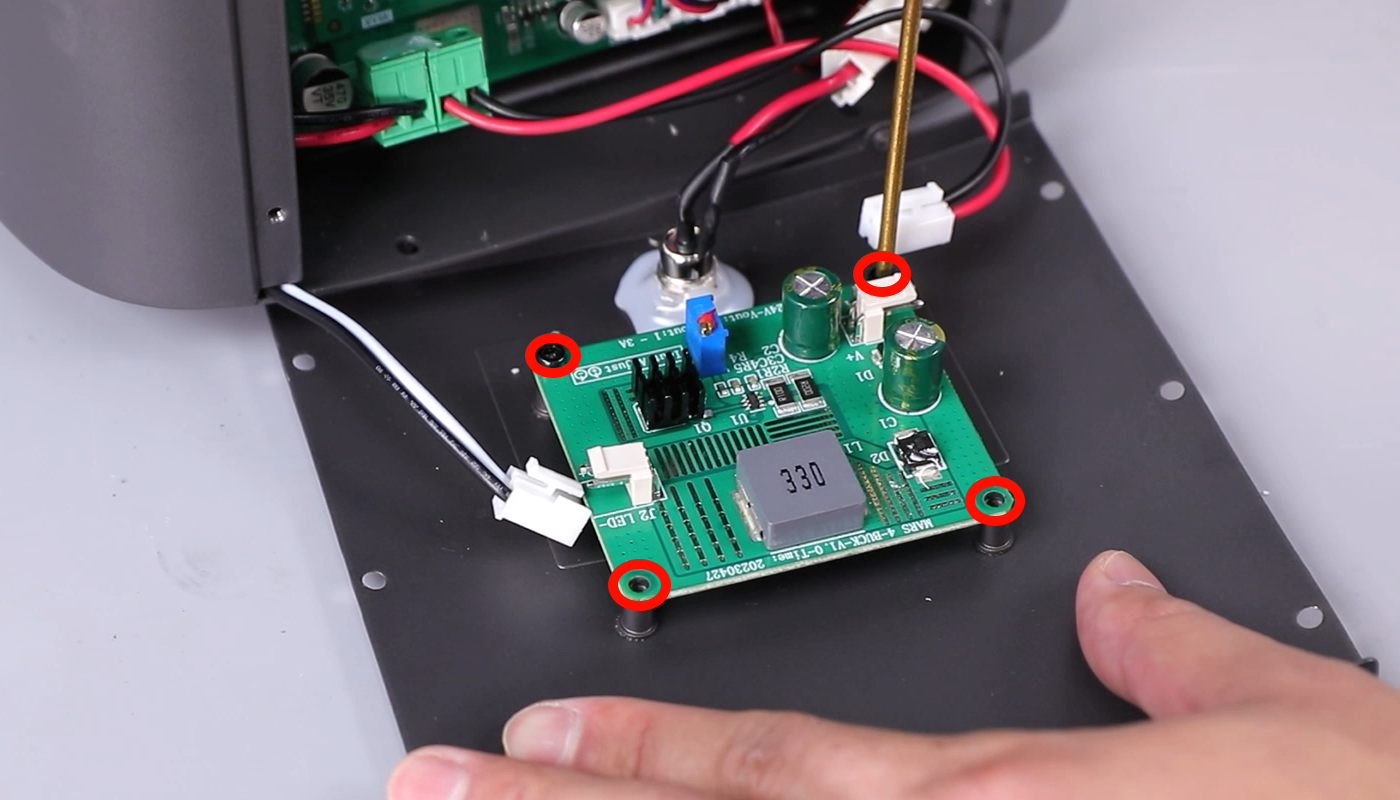

- Prepare the new constant current board. Alignit with the screw holes and put it in the installation position. Using a 2.0 mm Allen key, tighten the four screws securing the constant current board.

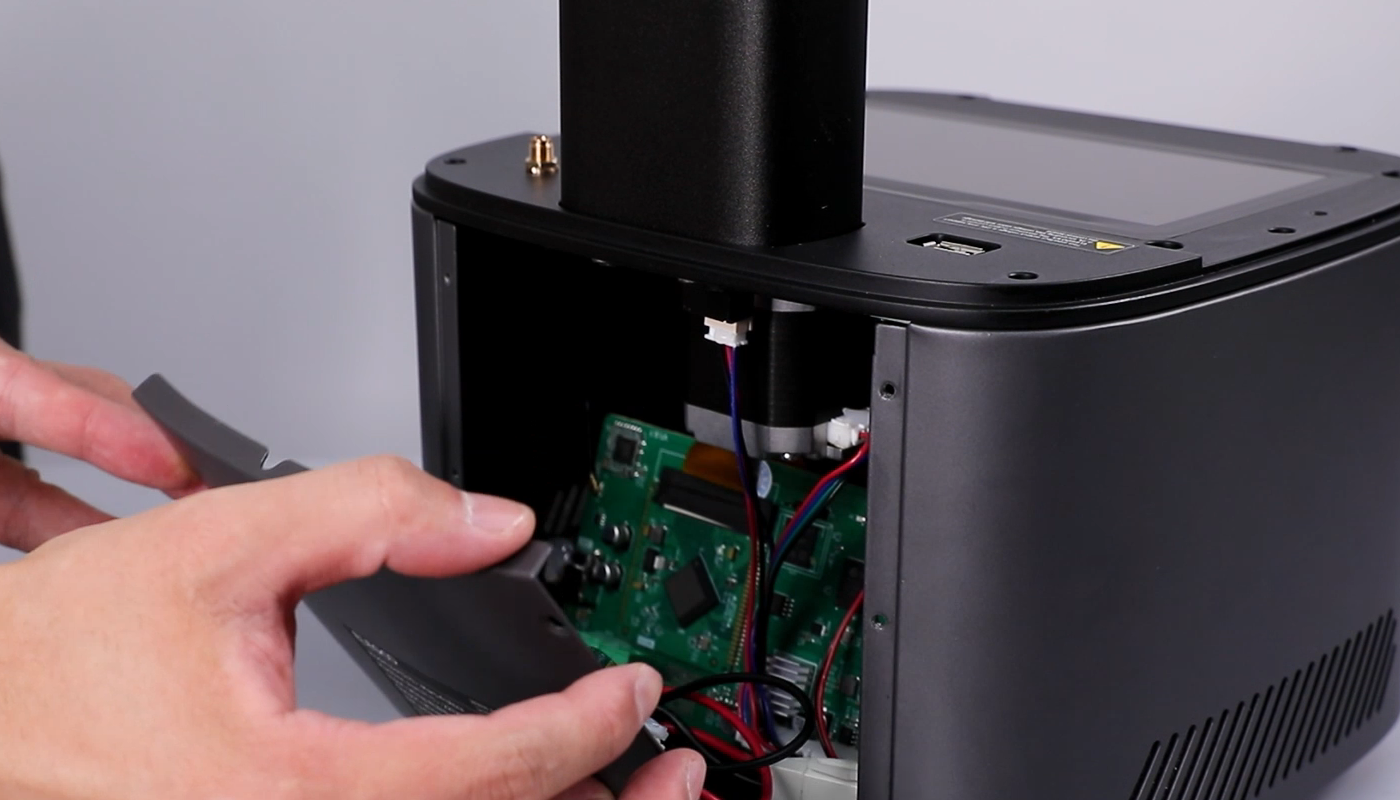
- Insert the cables on the two sides of the contant current board. Align the back cover with the screw holes and install it.
- Using a 2.0mm Allen key, tighten the six screws securing the back side. Using a 2.5mm Allen key, tighten the marked two screws on the bottom cover.
- Power on the printer and the UV llight works normally. The replacement completes.