¶ Cura Plug-in
Basic information
GitHub details page: GitHub - Molodos/ElegooNeptuneThumbnails: Elegoo Neptune thumbnails plugin for Cura 5.X
Cura version: version 5.x
Supported printers: Neptune 4 series, Neptune 3 Pro, Neptune 3 Plus, Neptune 3 MAX, Neptune 2, Neptune 2S, Neptune 2D, Neptune X
Additional Features
●Display detailed information about the sliced model on the thumbnail
●Thumbnail configuration using GUI (graphical user interface)
●Thumbnail preview in GUI
●Add thumbnails for Klipper (to display in the Neptune 4 Series web interface)
About Installation
¶ Install from GitHub (recommended)
Download address: Releases · Molodos/ElegooNeptuneThumbnails · GitHub
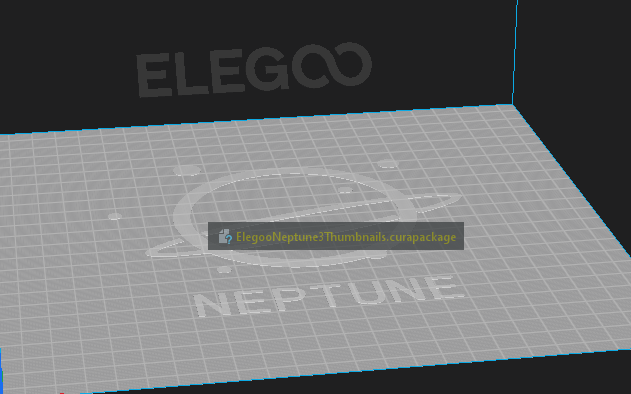
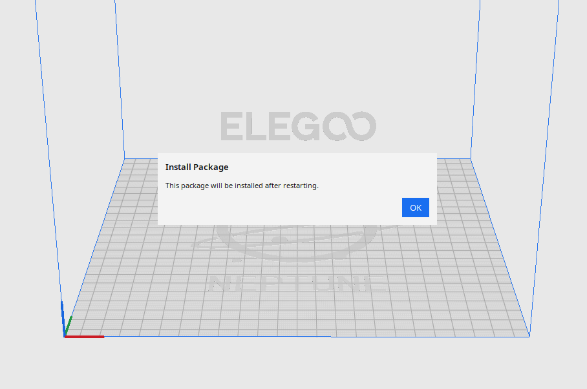
1. Download the latest [ElegooNeptuneThumbnails.curapackagebase.curapackage] plug-in and drag the file into the Cura window
2. Restart Cura.
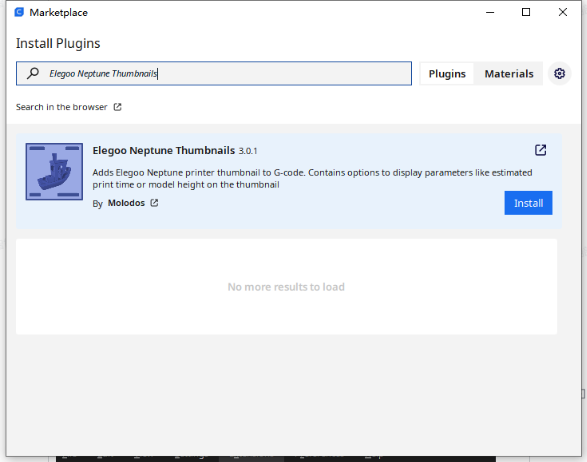
¶ Install from Cura Marketplace (not always the latest version)
NOTE: Since Ultimaker reviews take quite a while (almost a full month), the plugin may be out of date if you install it in this case. For the latest version, check out the installation from GitHub above.
- Click [Marketplace] in the top right corner of Cura to open the plugin marketplace interface.
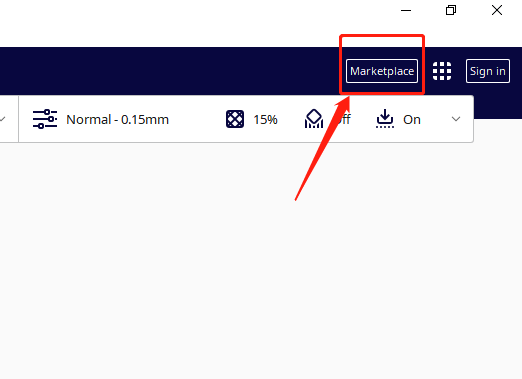
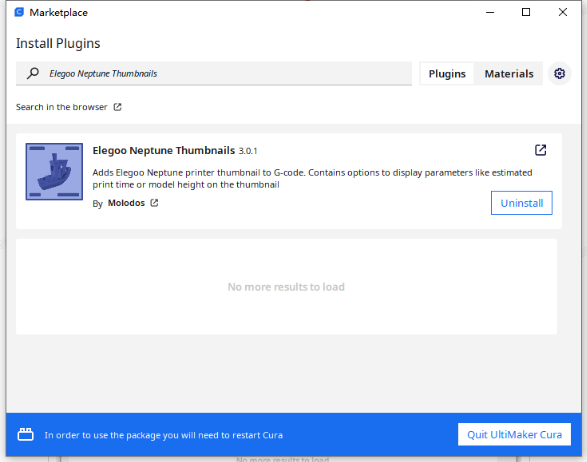
2. Search for the [Elegoo Neptune Thumbnails] plugin and install it, and restart Cura.
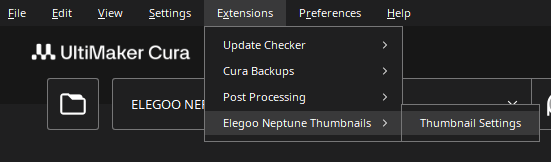
¶ Configure the plugin
- Click [Extension-Elegoo Neptune Thumbnails-Thumbnail Settings] to open the thumbnail settings menu.
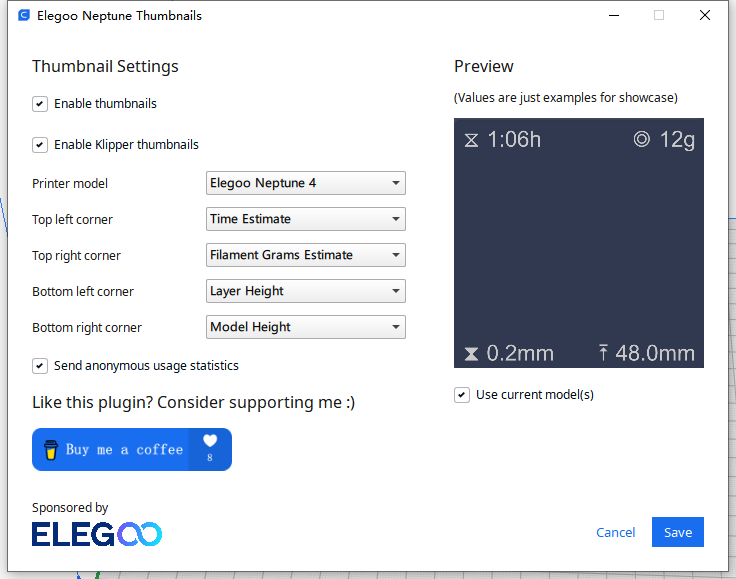
2. Configure the thumbnail settings as required
3. Add the completed configuration and save it, slice the print file, and export the G-Code file.
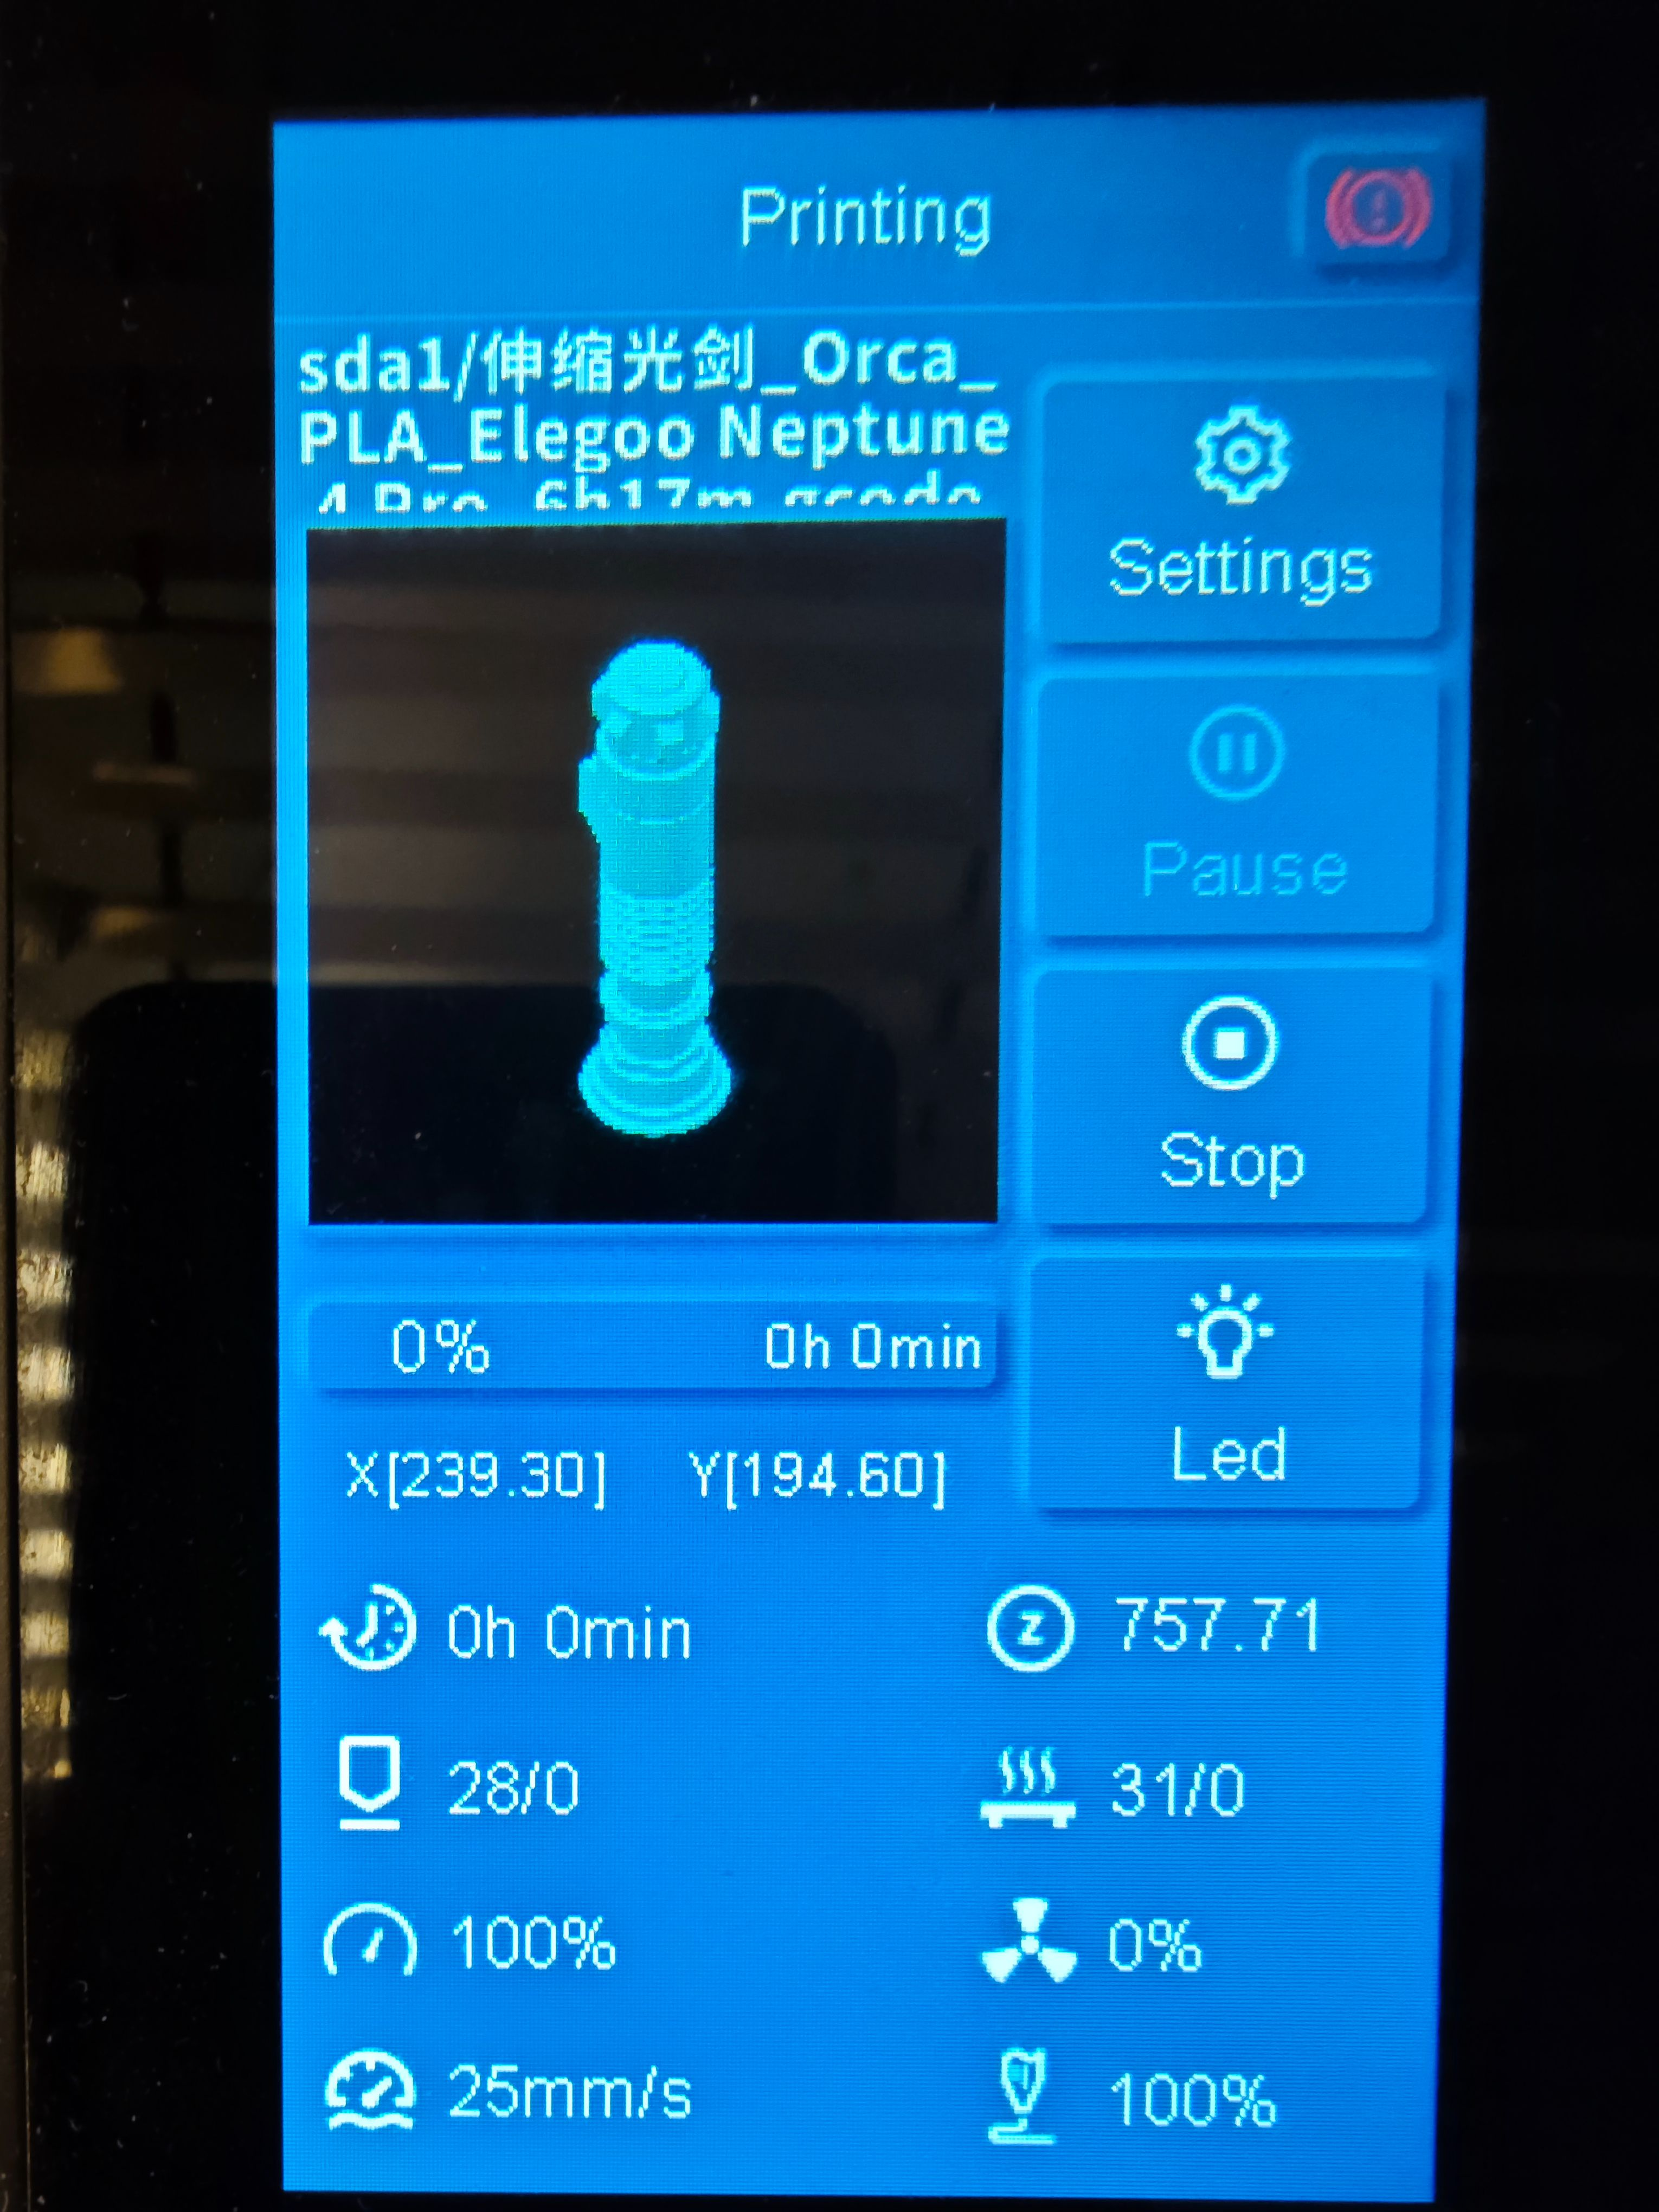
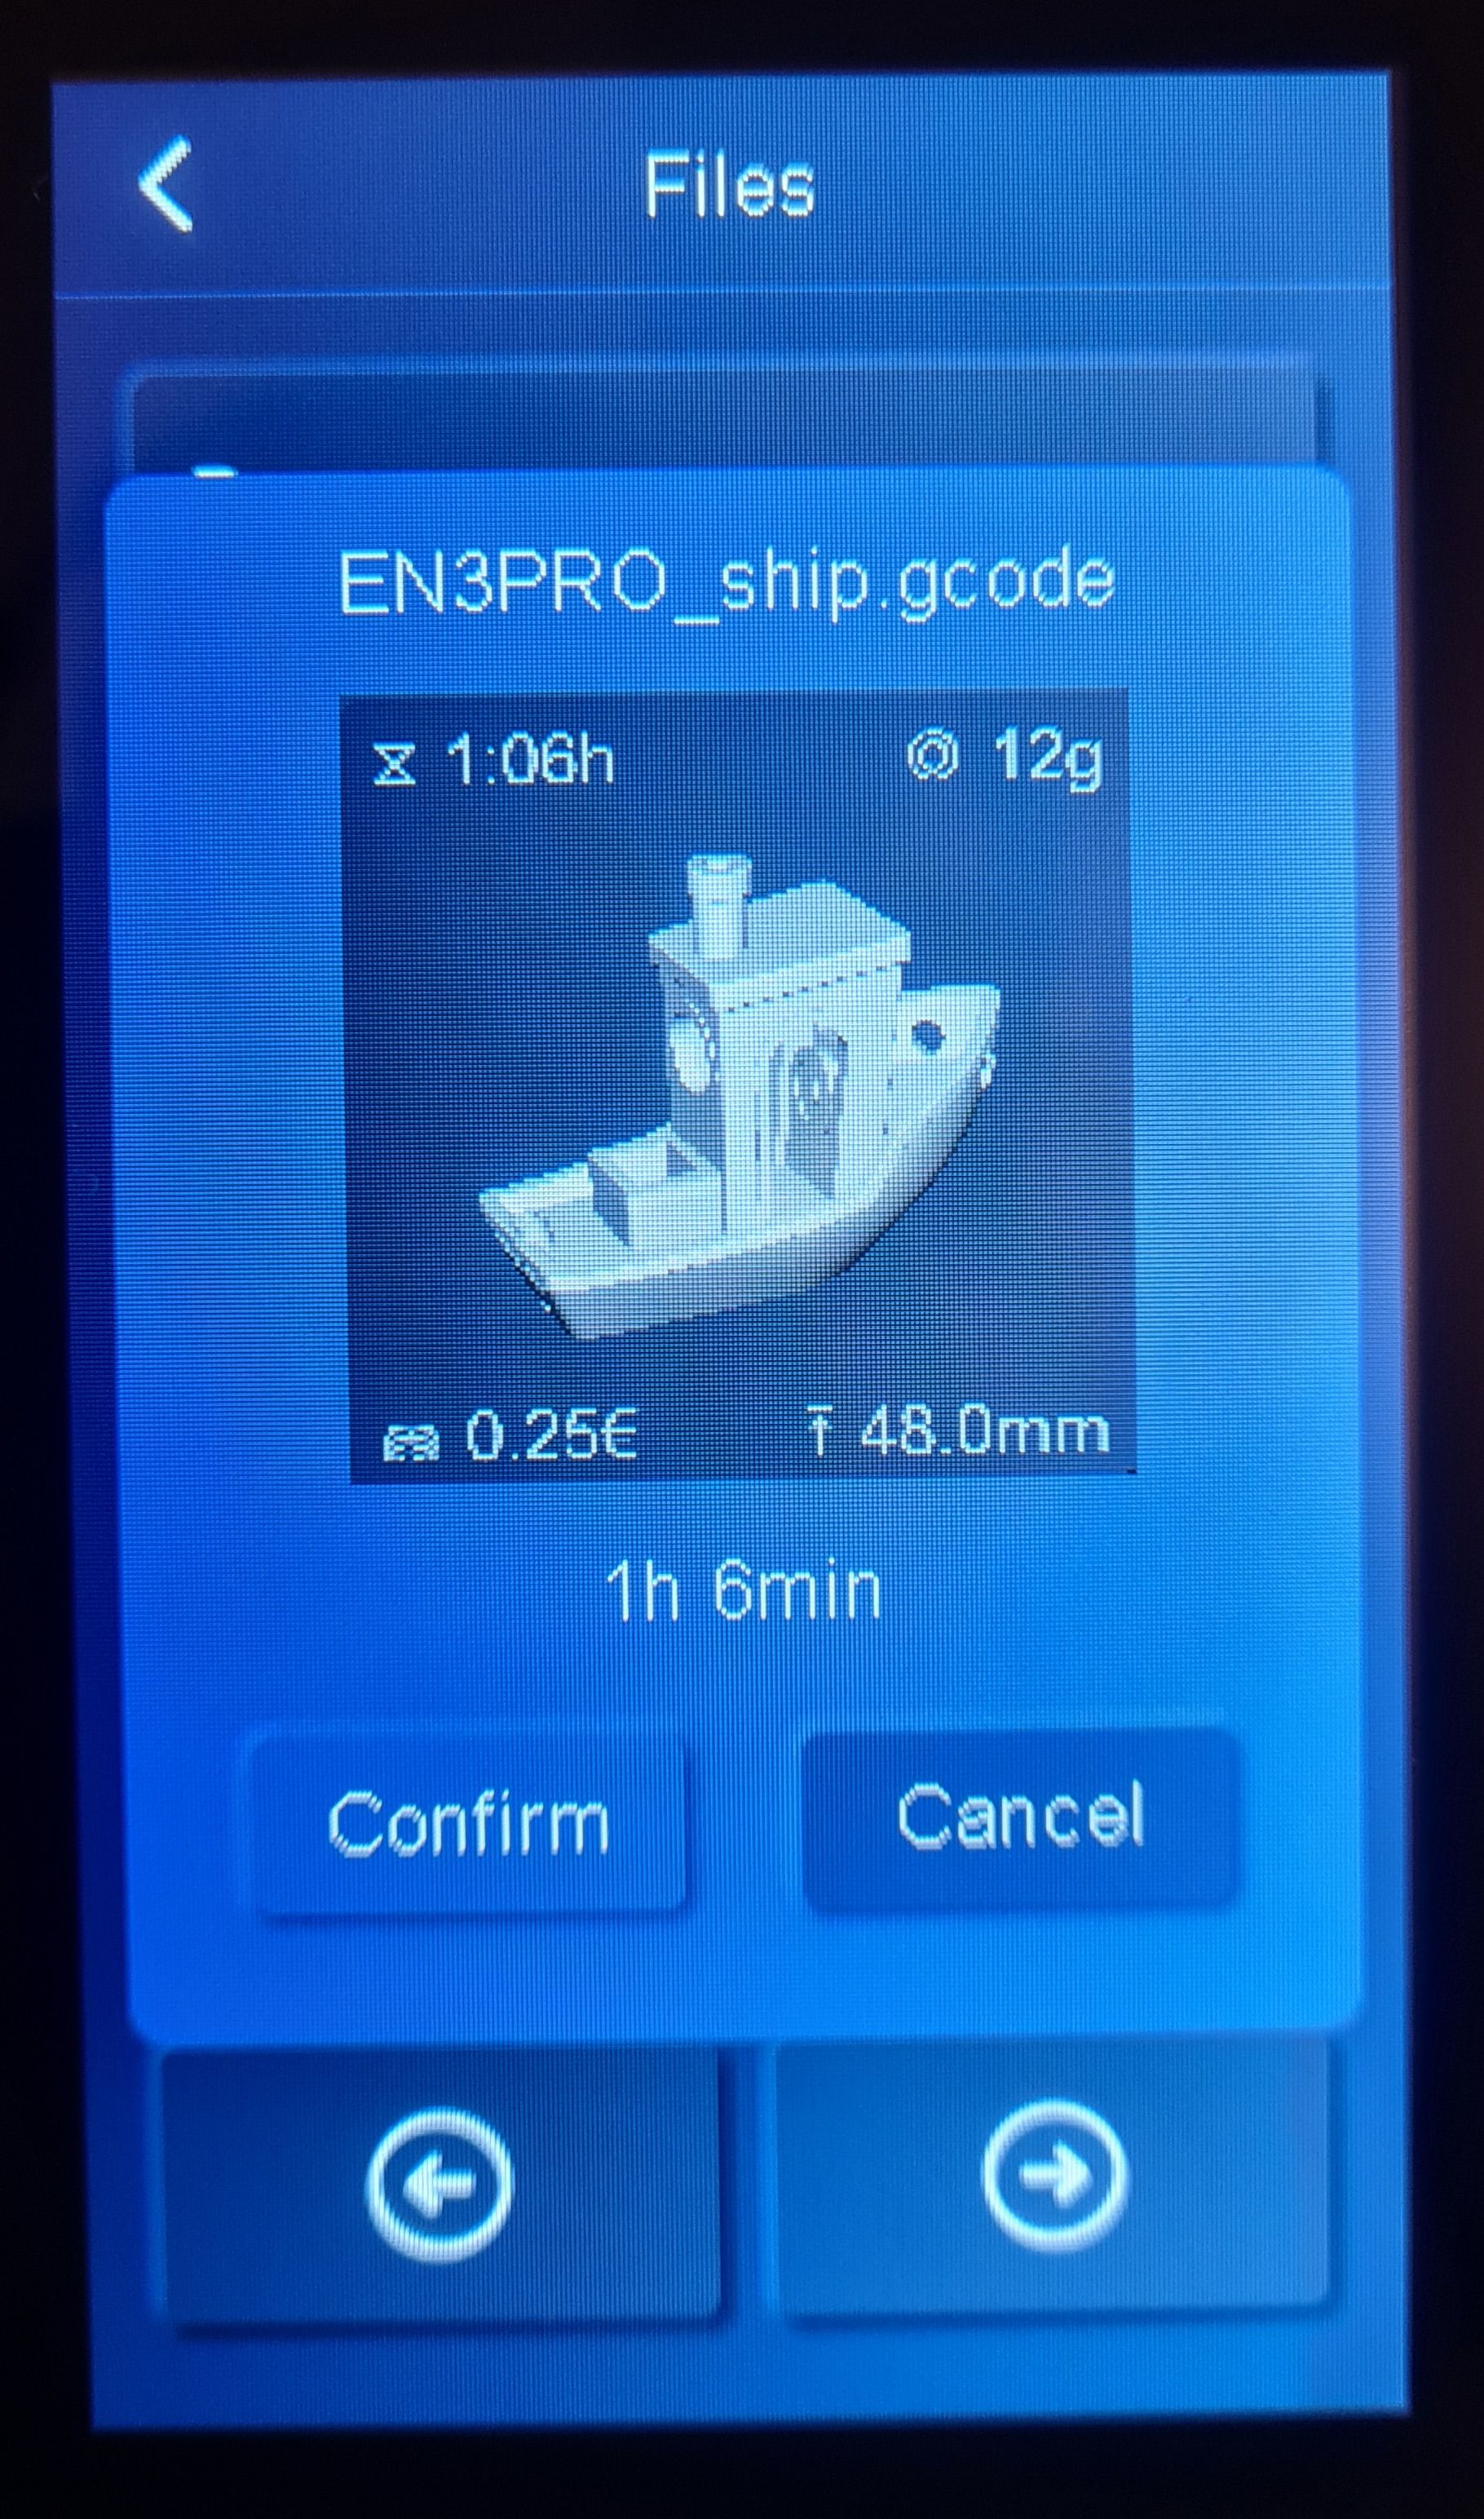
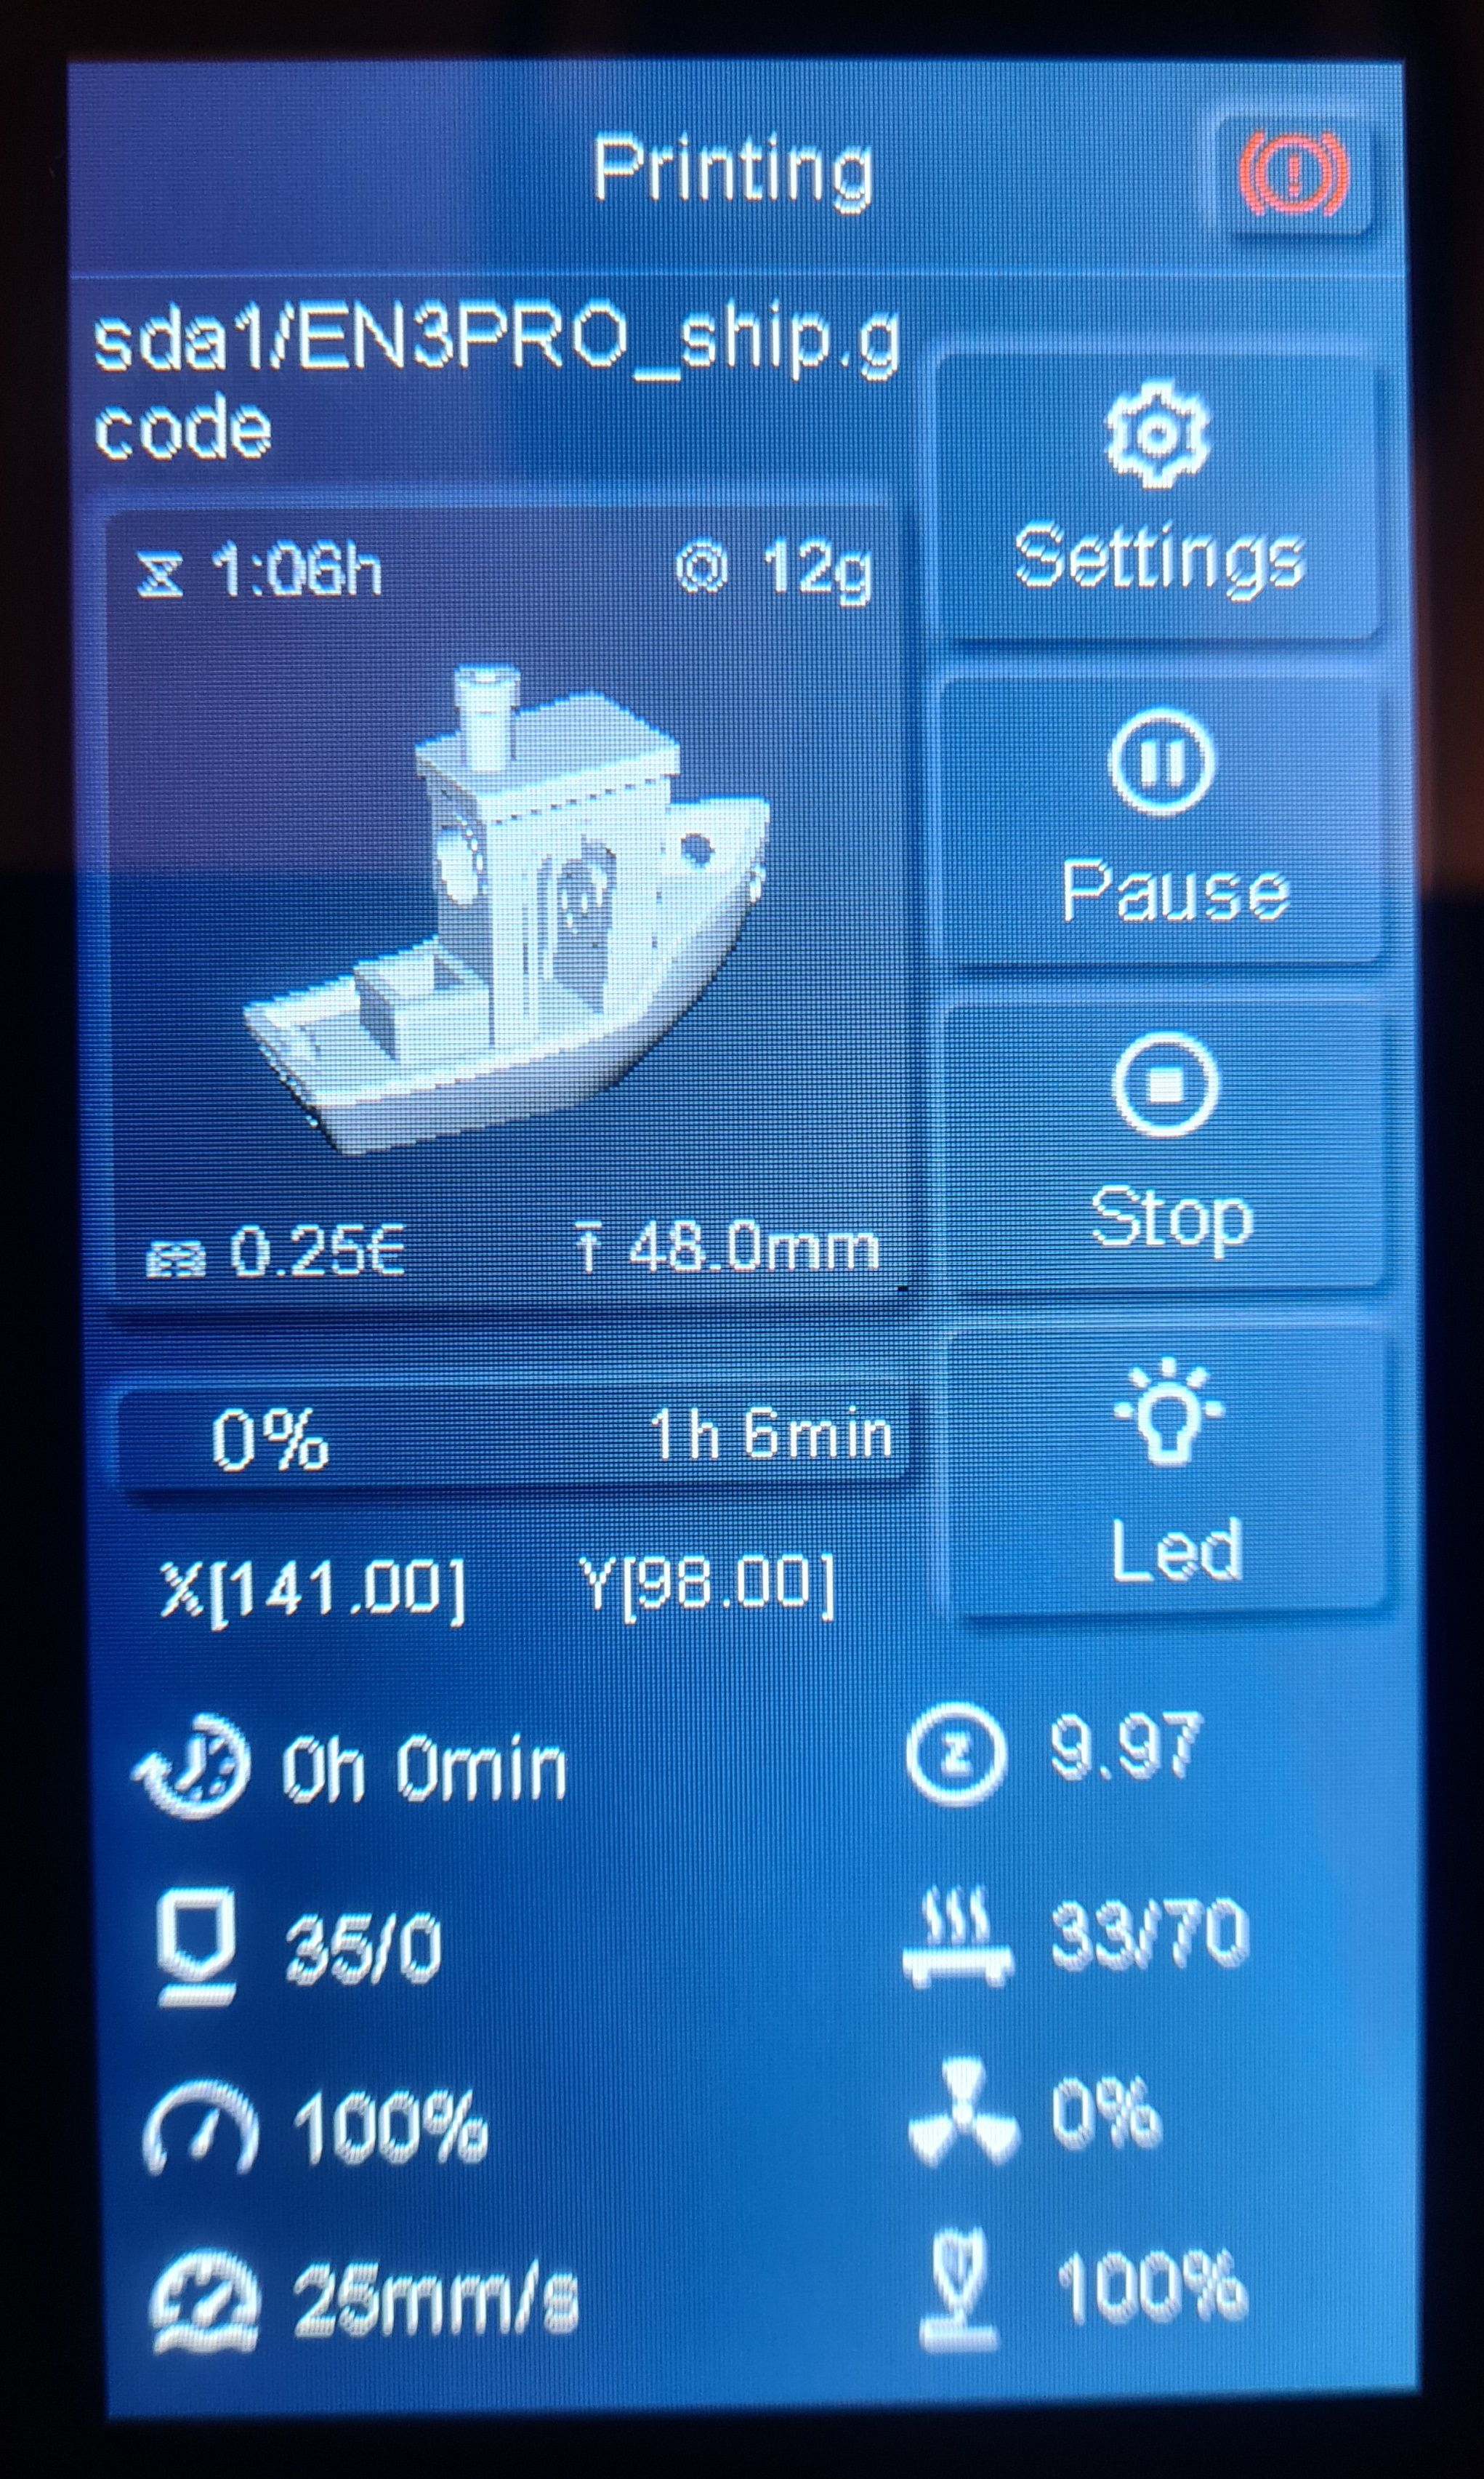
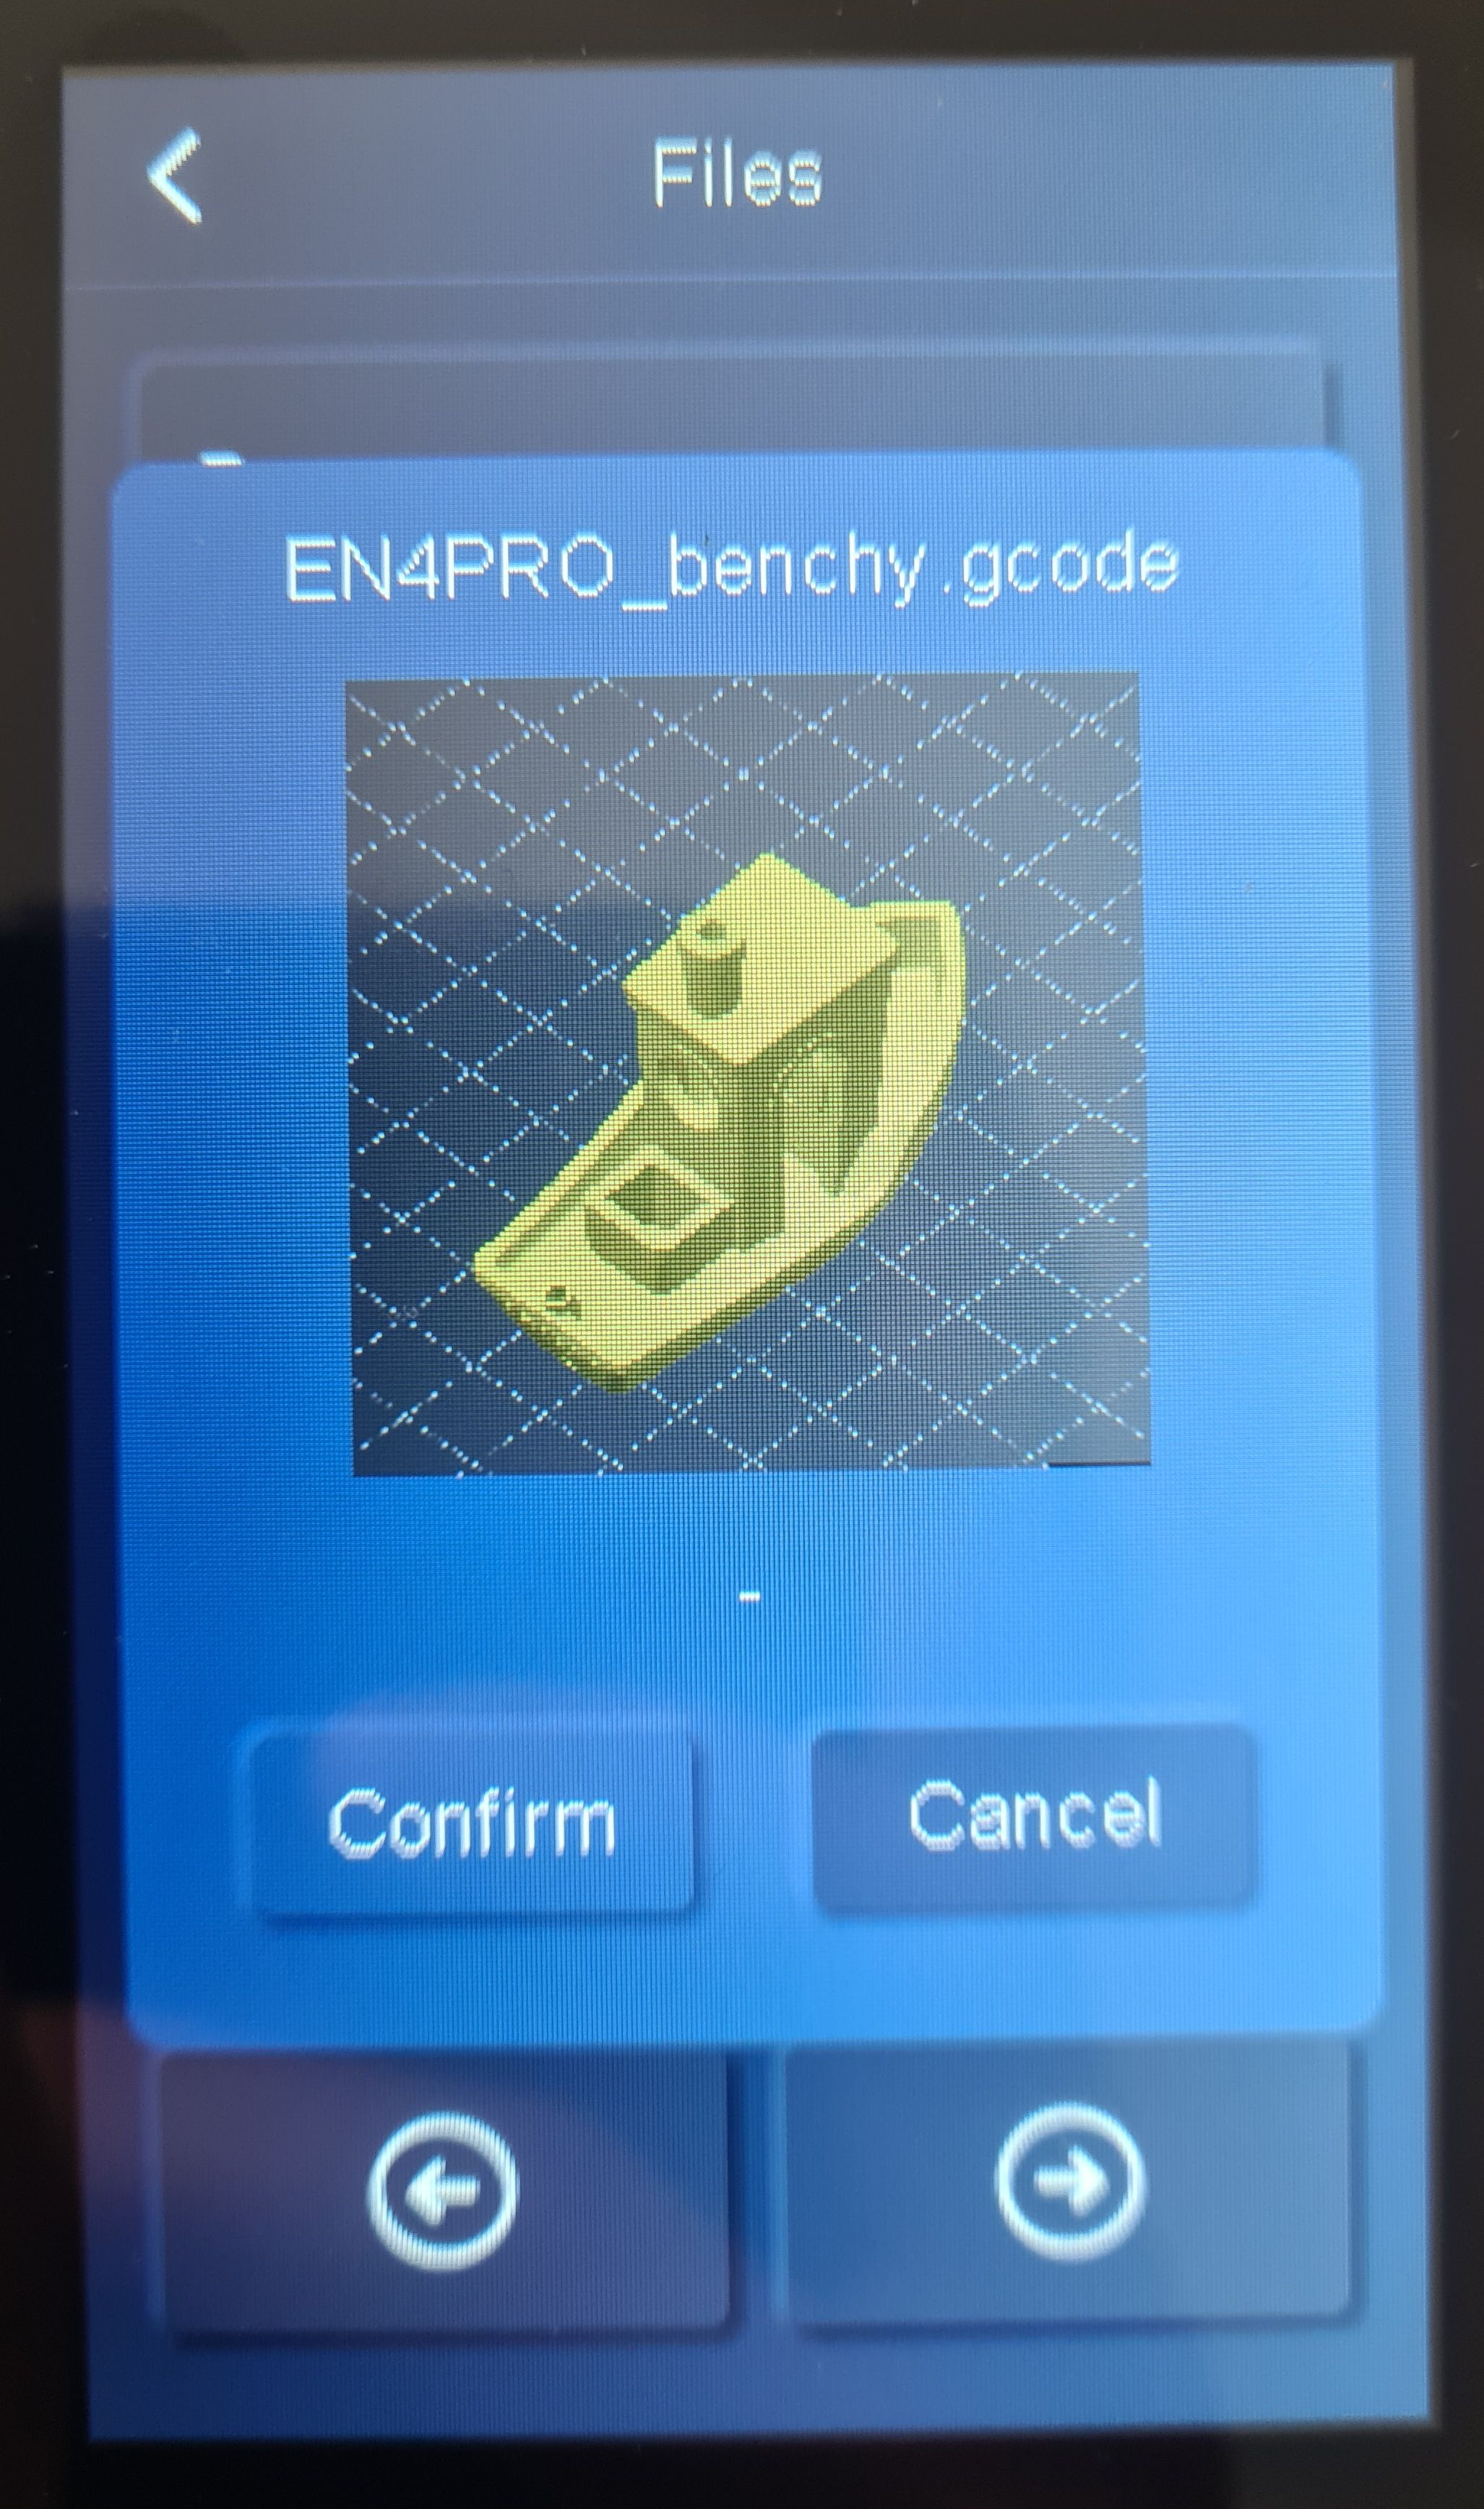
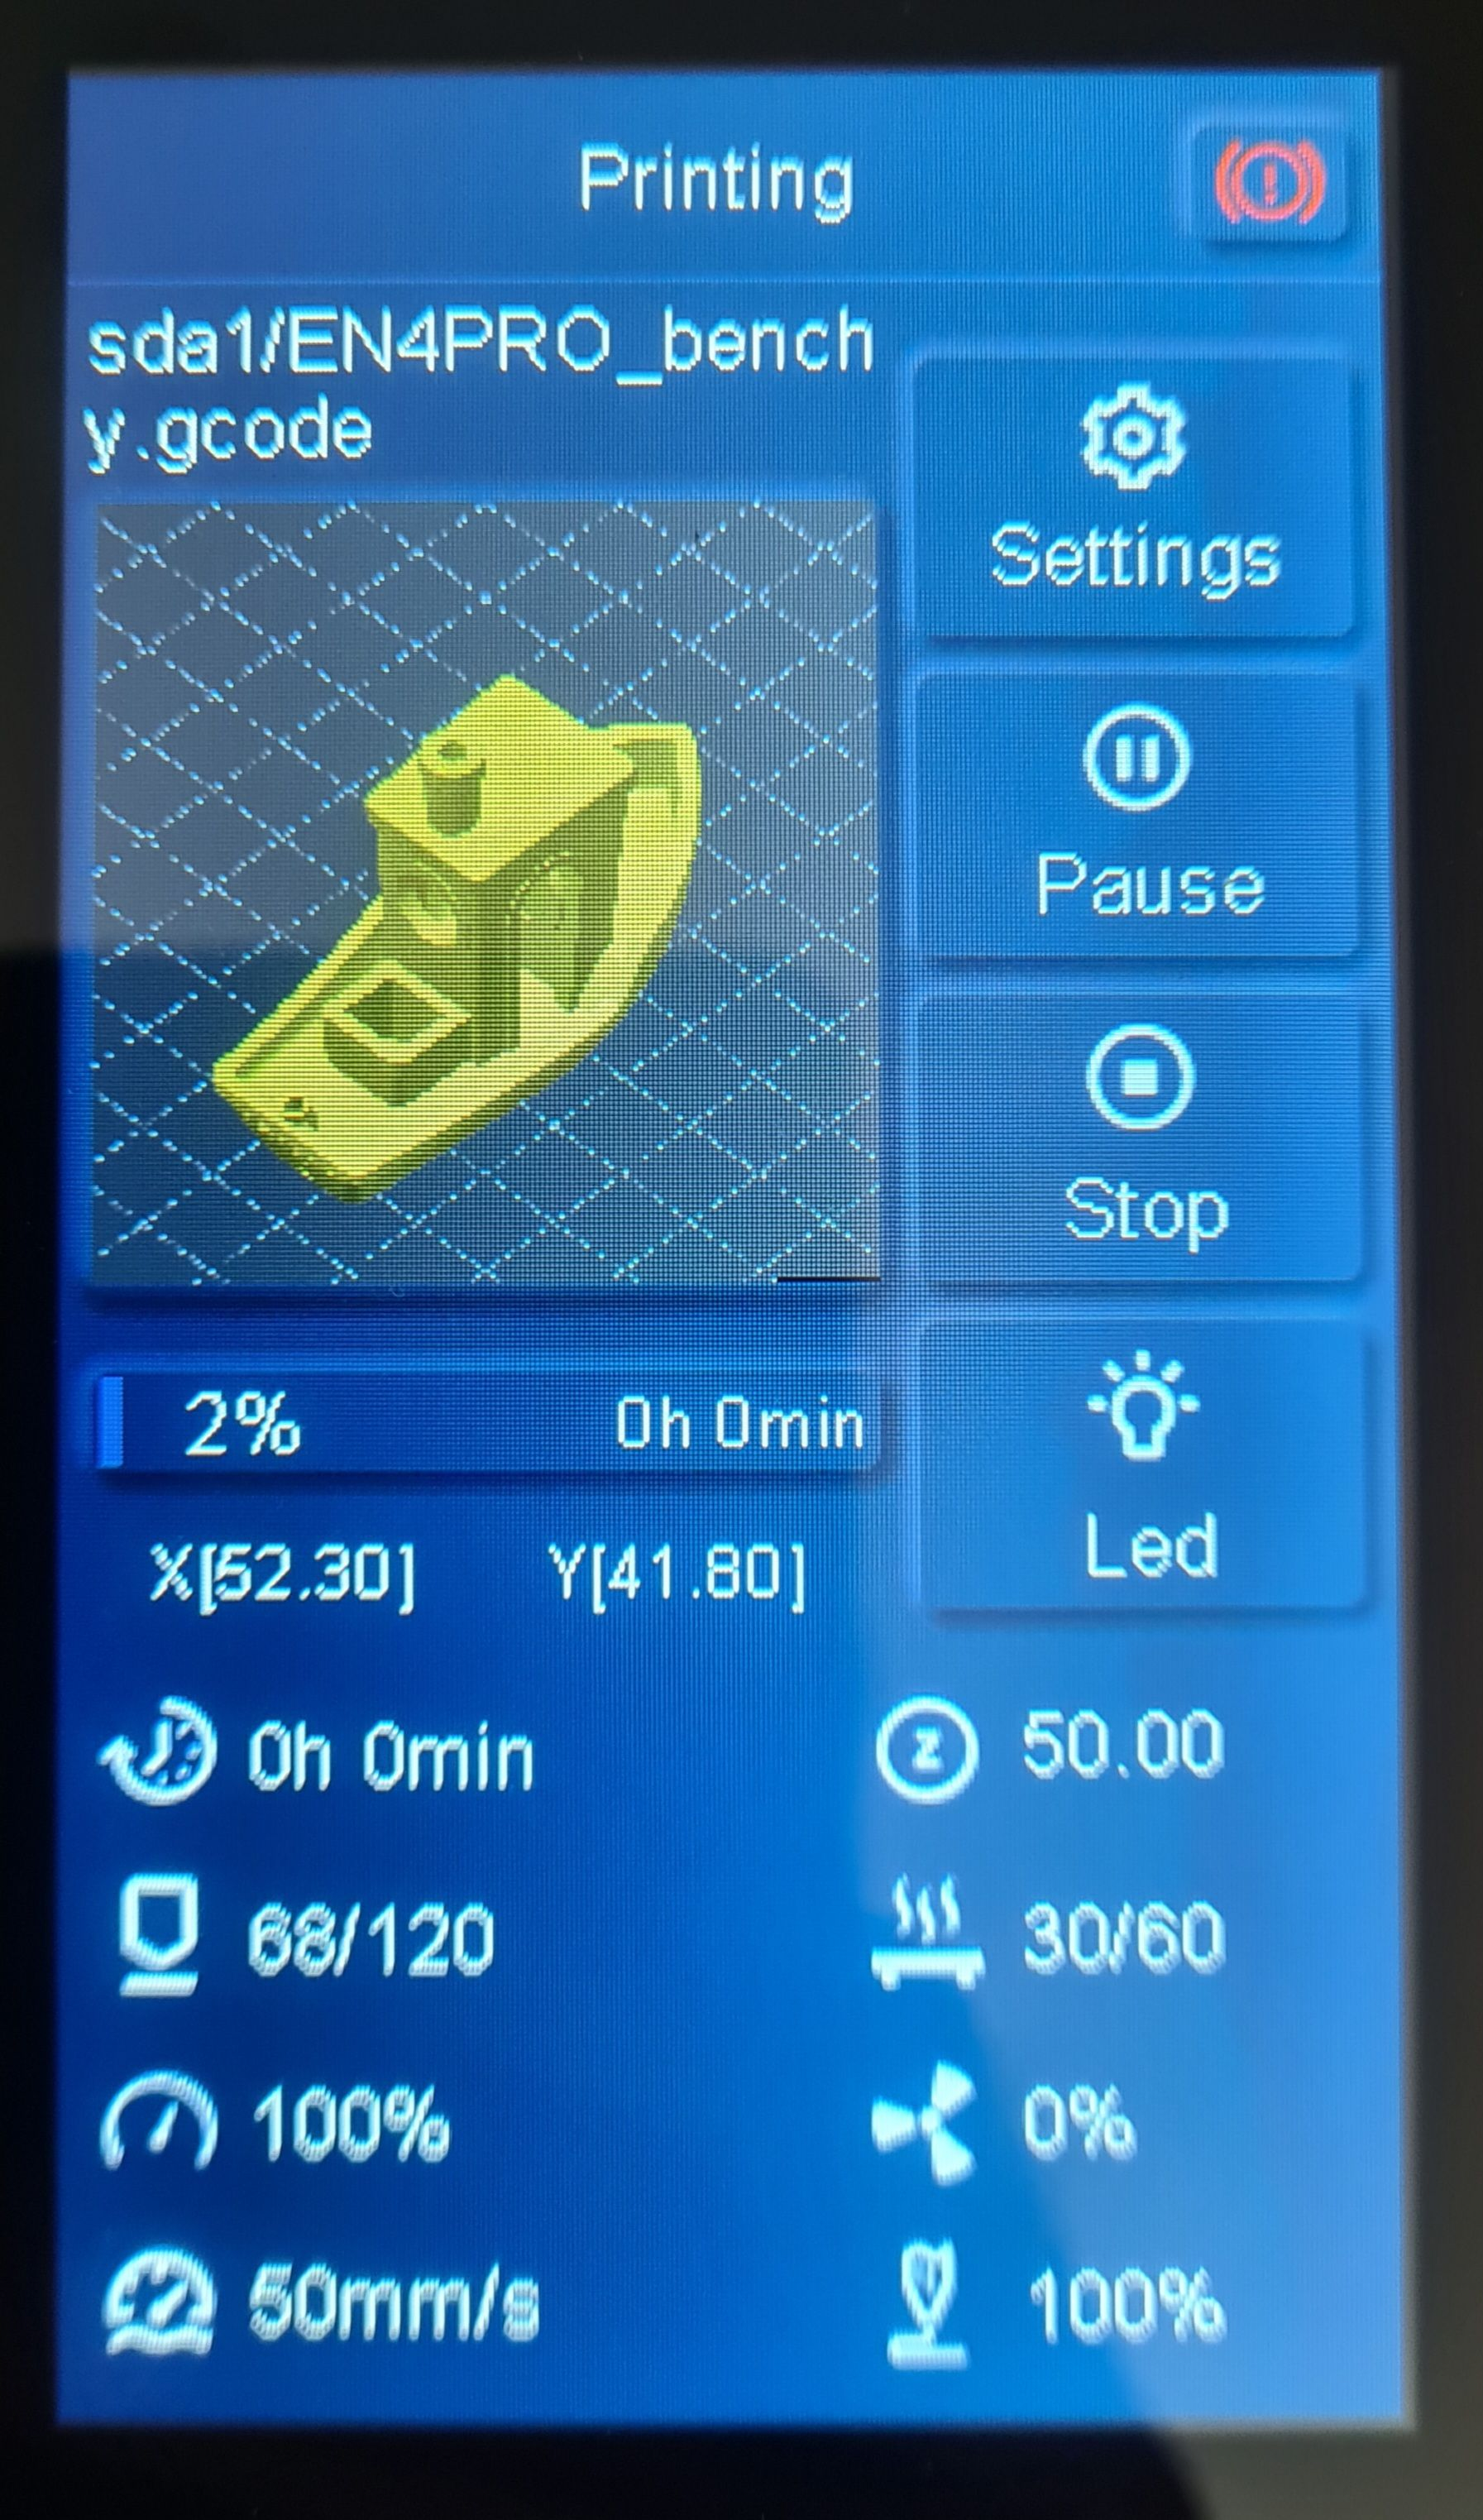
Printer touch screen display
¶ PrusaSlicer Thumbnail Post-Processing Scripts
Basic information
PrusaSlicer post-processing script for adding gcode thumbnail images to Elegoo Neptune printers
GitHub details page: GitHub - Molodos/ElegooNeptuneThumbnails-Prusa: A PrusaSlicer post processing script that adds support for Elegoo Neptune thumbnails
Supported printers: Neptune 4 full series, Neptune 3 Pro, Neptune 3 Plus, Neptune 3 MAX, Neptune 2, Neptune 2S, Neptune 2D, Neptune X
About installation
Download adress: Releases · Molodos/ElegooNeptuneThumbnails-Prusa · GitHub
1. Download the [ElegooNeptuneThumbnails-Prusa.exe] post-processing script and create a new folder to save it (it cannot be a folder that requires administrator rights).
Example: C:\Users\Michael\ElegooNeptuneThumbnails-Prusa.exe
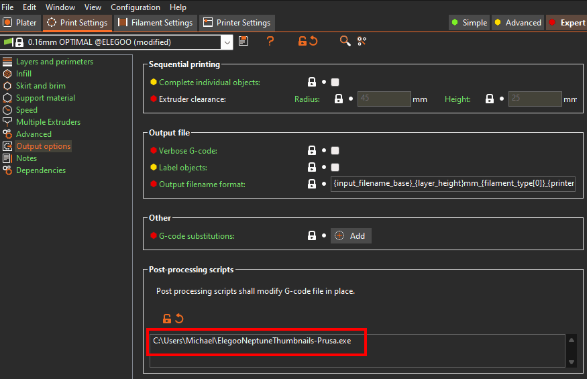
2. In the settings of [Printer Settings-Expert-Output File-Post-Processing Script], fill in the path to the script download location.
If you are not using the official Neptune printer preset in PrusaSliceer, the script can not automatically detect your printer when you do this.
You need to set the printer model manually: add --printer=<printer_model> after the path to the post-processing script in the PrusaSlicer settings.
Example: C:\Users\Michael\ElegooNeptuneThumbnails-Prusa.exe --printer=NEPTUNE4PRO
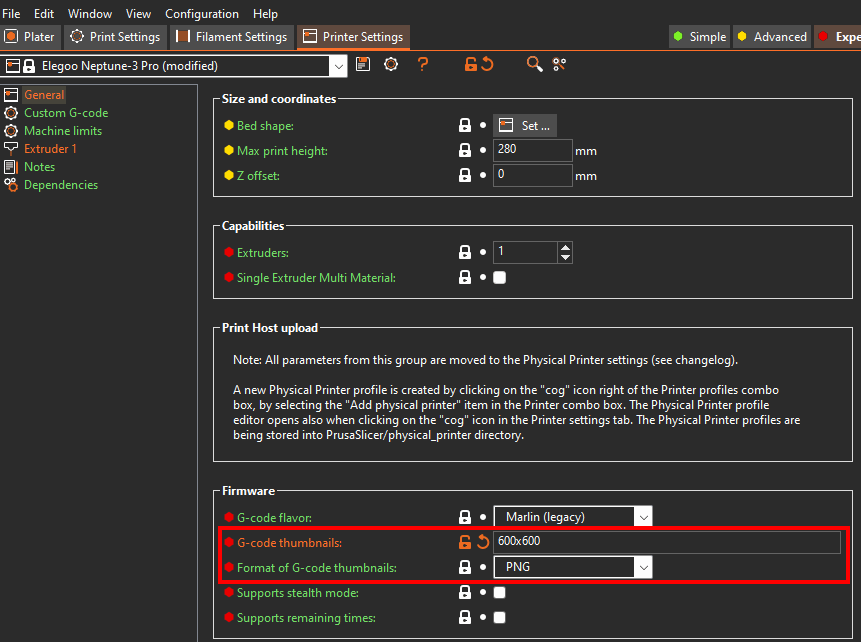
3. In the Settings of [Printer Settings-Expert-General-Firmware-G-Code Thumbnail], set the thumbnail generation in PrusaSlicer to 600x600 .PNG
4. After completing the configuration and save it, slice the print file and export the G-Code file.
Printer touch screen display
¶ OrcaSlicer Thumbnail Post-Processing Scripts
Basic information
The PrusaSlicer post-processing script is also applicable to OrcaSlicer to add gcode thumbnail images to Elegoo Neptune printers.
About installation
Download adress:
Releases · Molodos/ElegooNeptuneThumbnails-Prusa · GitHub
1. Download the [ElegooNeptuneThumbnails-Prusa.exe] post-processing script and create a new folder to save it (it cannot be a folder that requires administrator rights).
Example: C:\Users\Michael\ElegooNeptuneThumbnails-Prusa.exe
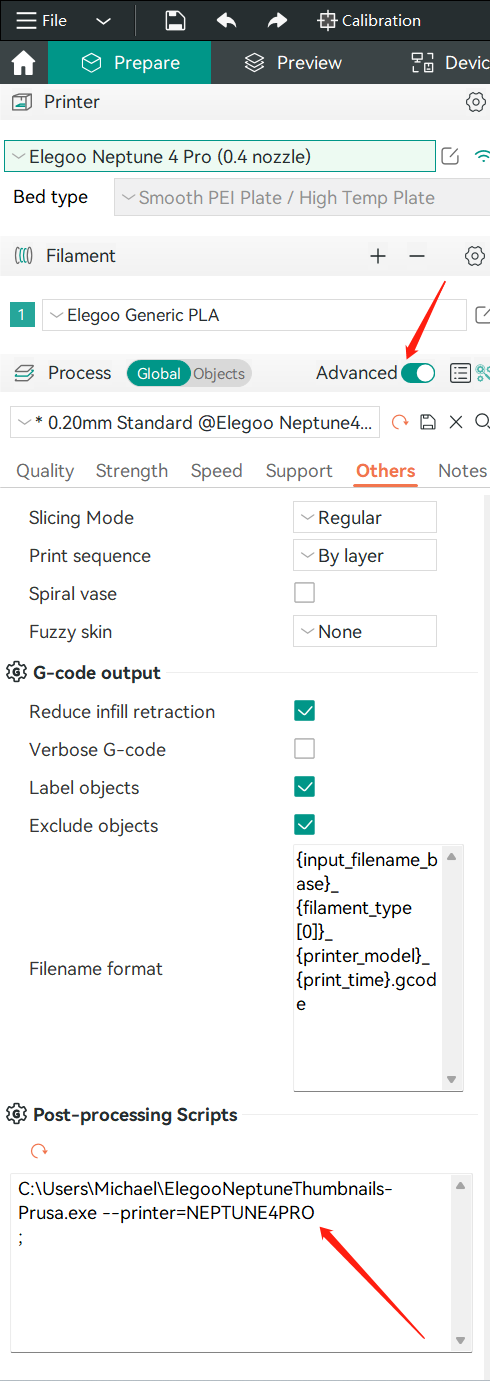
2. In the [Prepare-Global-Process] settings, open the "Advanced" option, and in [Others-Post-processing Script], fill in the path to the script download location.
If you are not using the official Neptune printer preset in OrcaSliceer, the script can not automatically detect your printer when you do this.
You need to set the printer model manually: add --printer=<printer_model> after the path to the post-processing script in the PrusaSlicer settings.
Example:
C:\Users\Michael\ElegooNeptuneThumbnails-Prusa.exe --printer=NEPTUNE4PRO
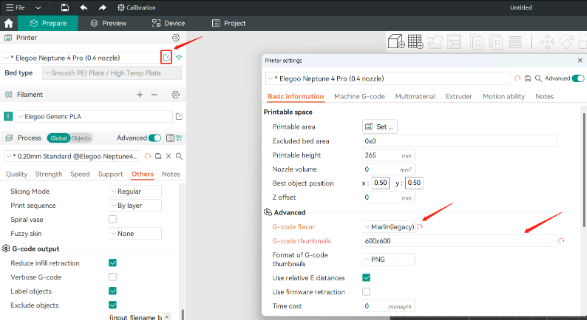
3. Enter the [Printer Settings] interface, in the [Advanced] option, change the G-code flaver to [Marlin (legacy)], the G-code thumbnail size to [600x600], and the G-code thumbnail format to [ PNG].
4. After completing the configuration and save it, slice the print file and export the G-Code file for printing.