Factors causing nozzle oozing
●Nozzle clogging: One of the most common reasons is nozzle internal clogging, which may be caused by material residue or particles blocking the nozzle channel. The use of inferior filaments may also cause nozzle blockage. Blockage can cause the filament to flow out at inappropriate times, causing oozing problems.
●Improper temperature settings: 3D printing requires precise temperature control, including nozzle temperature and heated bed temperature. If the temperature is not set correctly, the filament may flow abnormally, leading to oozing problems.
●Worn nozzle: Over time, the nozzle may wear out and the nozzle channel becomes uneven, which may cause the filament to flow out unsteadily and cause filament oozing problems.
●Improper printing speed setting: Too high printing speeds may cause the nozzle to fail to keep up with the flow of filament, causing filament oozing.
●Improper printer maintenance: Unscheduled maintenance, such as cleaning nozzles, replacing damaged parts, etc., is very important to prevent filament oozinge problems.
How to confirm nozzle oozing
1. According to the actual filament used, heat the nozzle to the appropriate printing temperature
2. Manually insert the filament into the extruder, click the load icon on the screen, and operate to load 50mm.
3. When the gear on the print head rotates, if the nozzle does not discharge material or the discharge flow is low, the nozzle may be clogged.
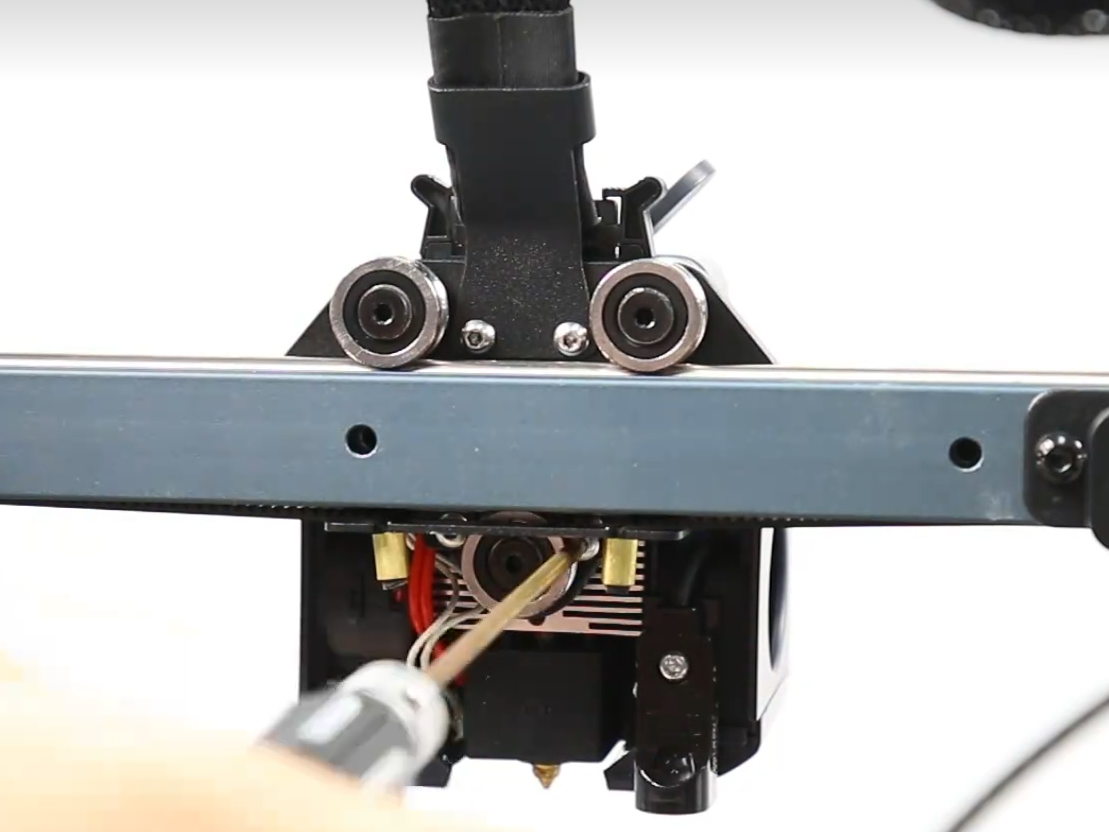
4. Check for material build-up around the nozzle, especially before printing starts or when it stops. This may be caused by material leakage.
Tools needed
●2.0mm hex wrench
●2.5mm hex wrench
●5.0mm Phillips screwdriver
●Diagonal pliers
●Pliers
●M6 socket wrench
Reference video
Precautions before operation and machine status
Some of the operations in this operation involving the high-temperature print head are dangerous. Please take all necessary precautions when performing these operations, wearing insulated gloves is recommended. For some operations, please power off the machine and wait for the print head to cool down completely.
Operation steps
1-Remove the print head
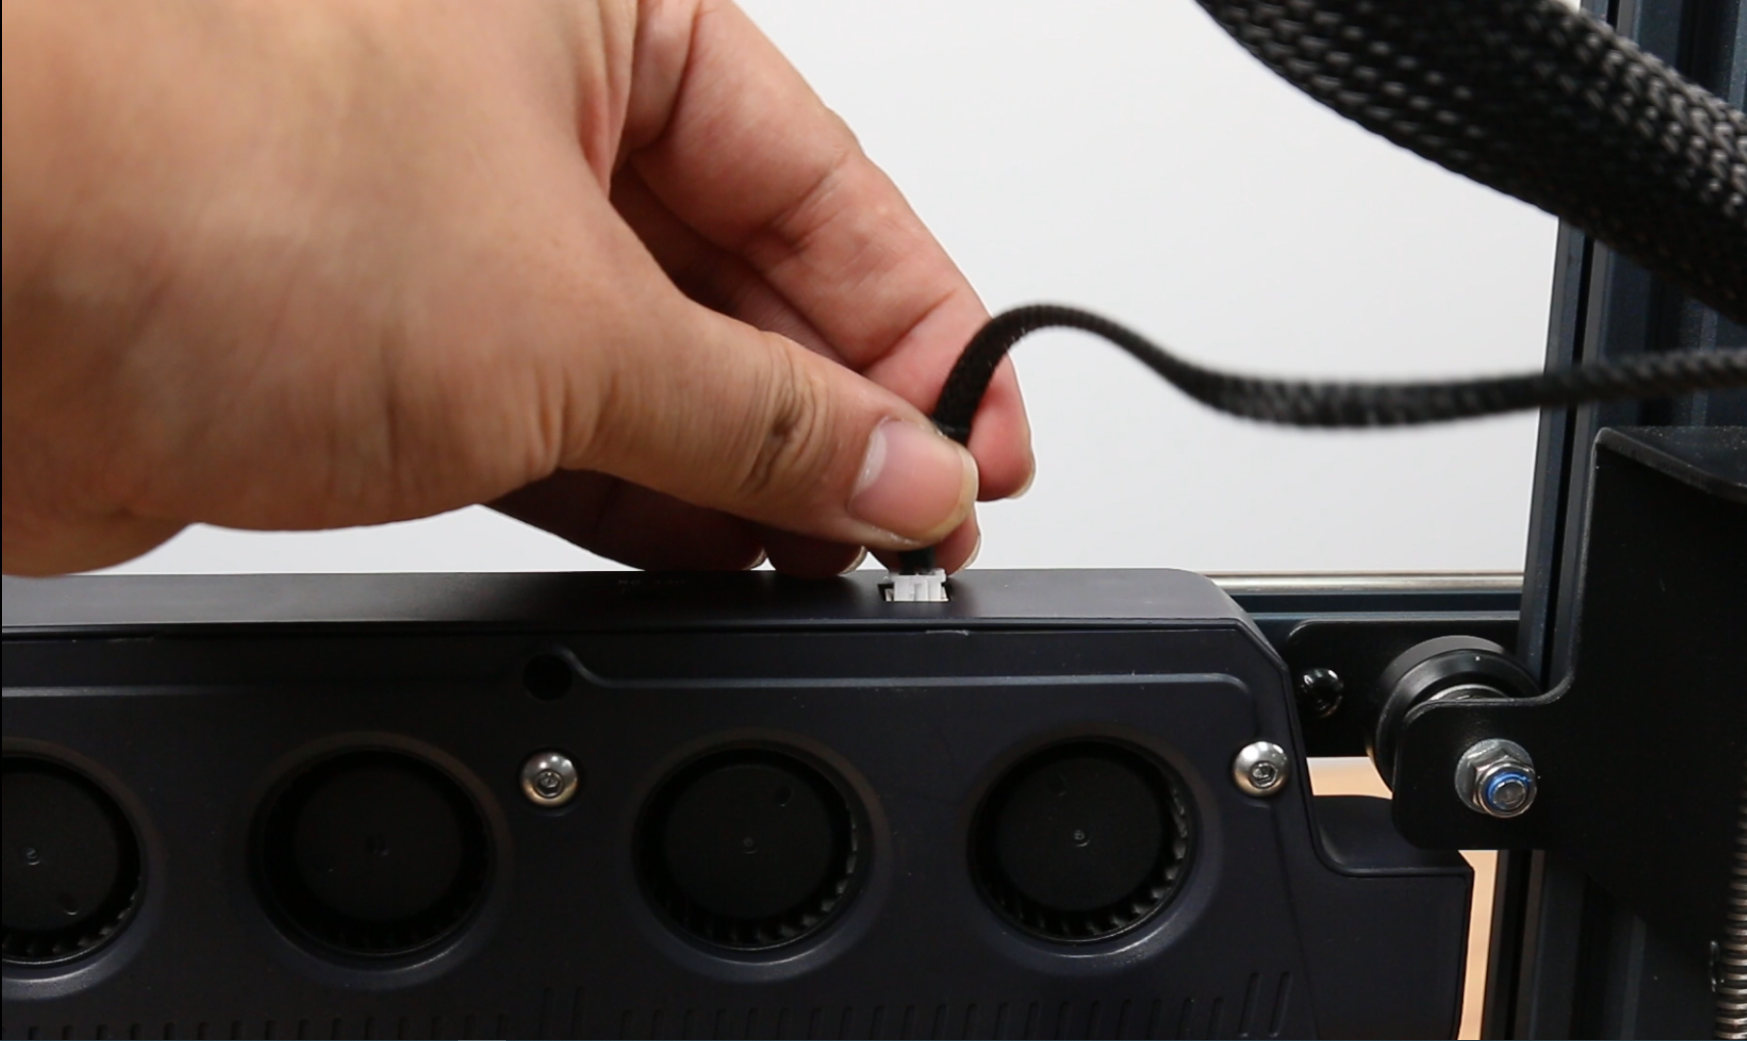
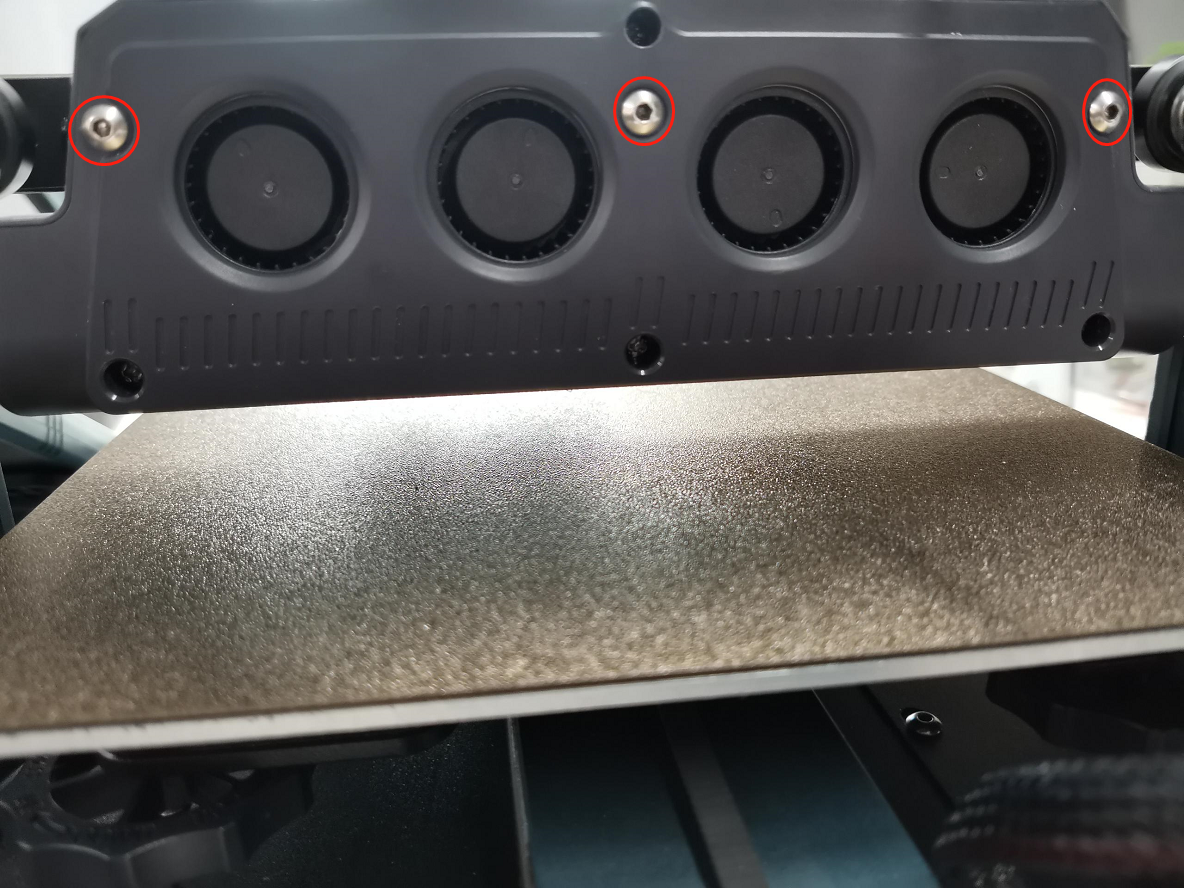
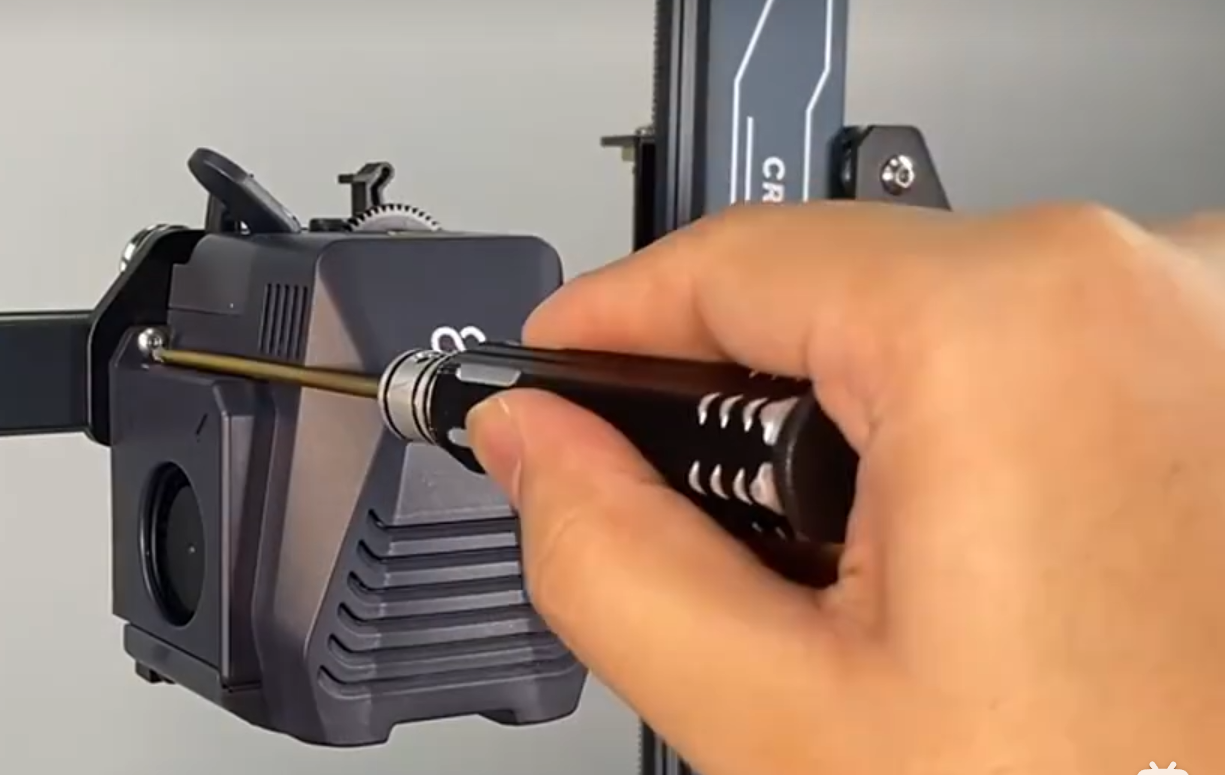
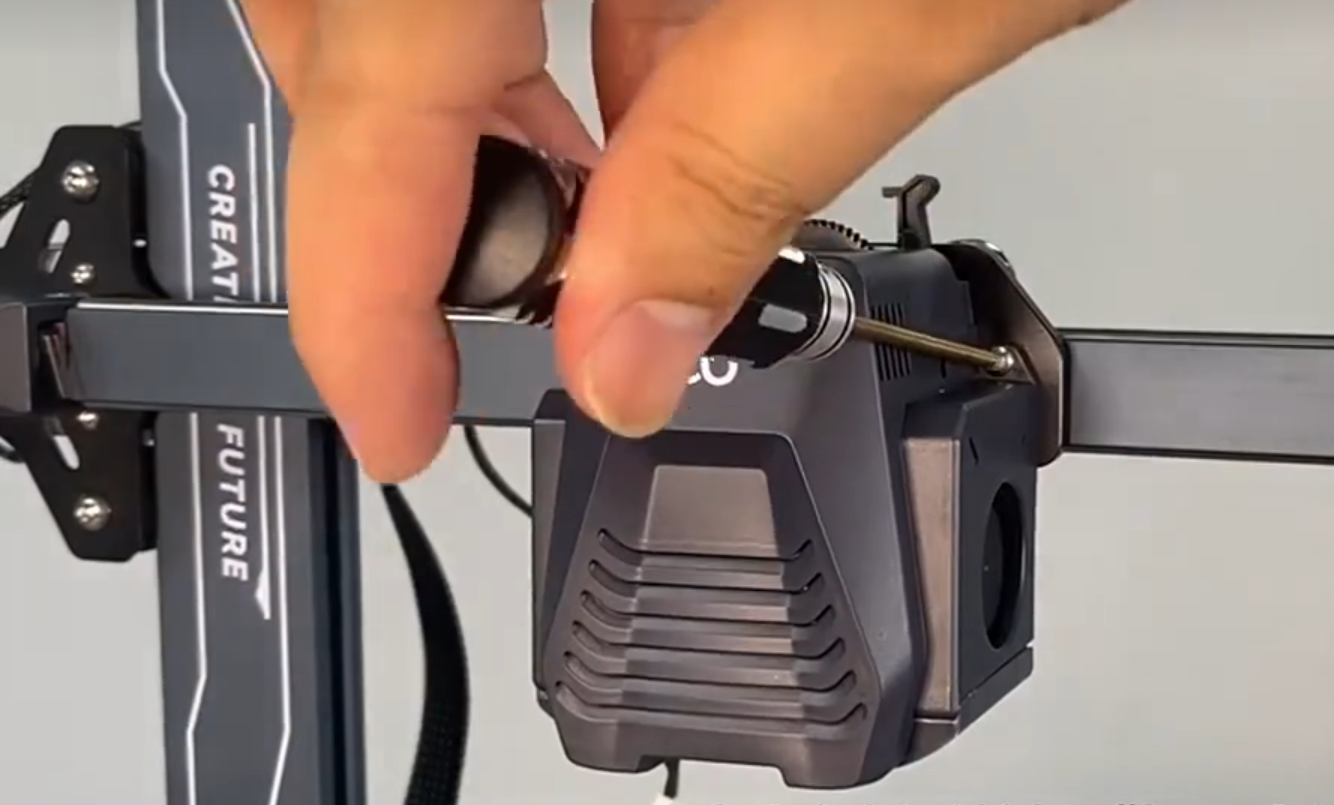
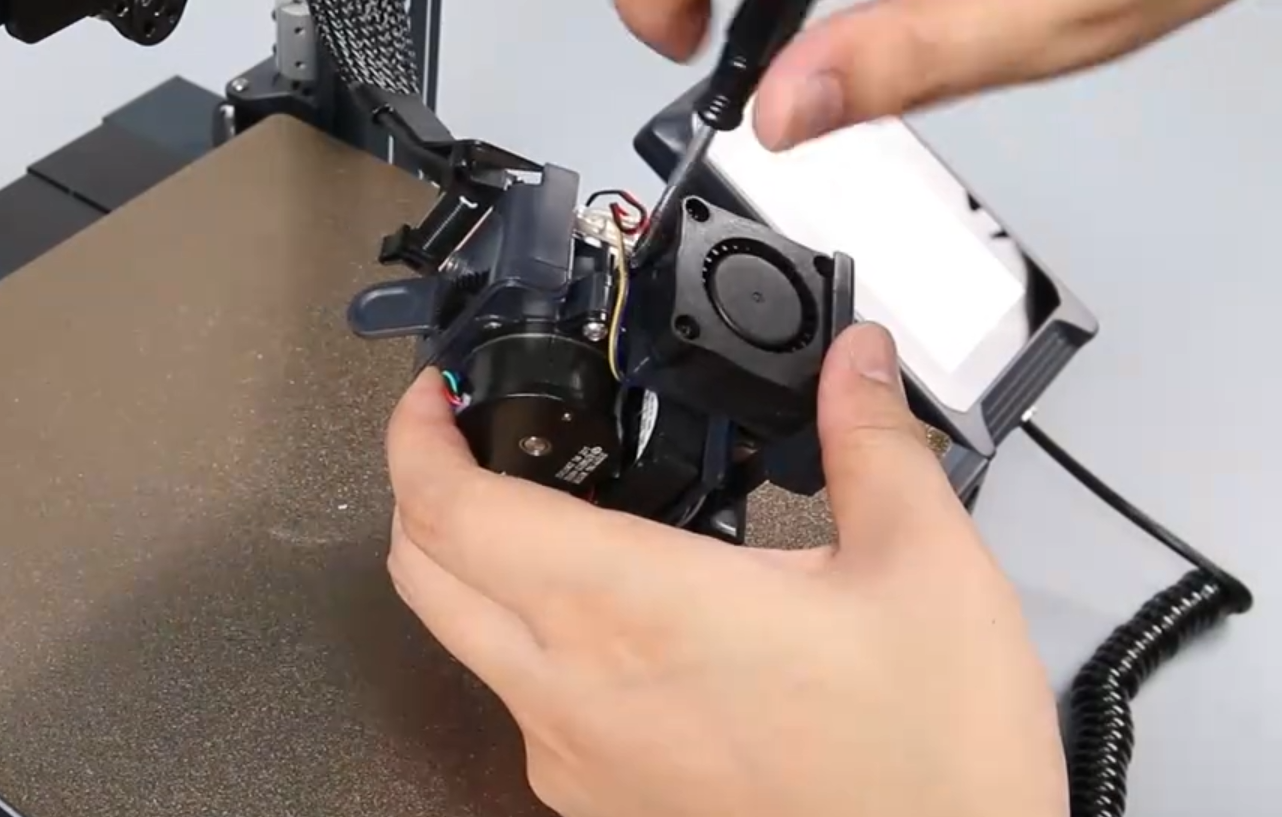
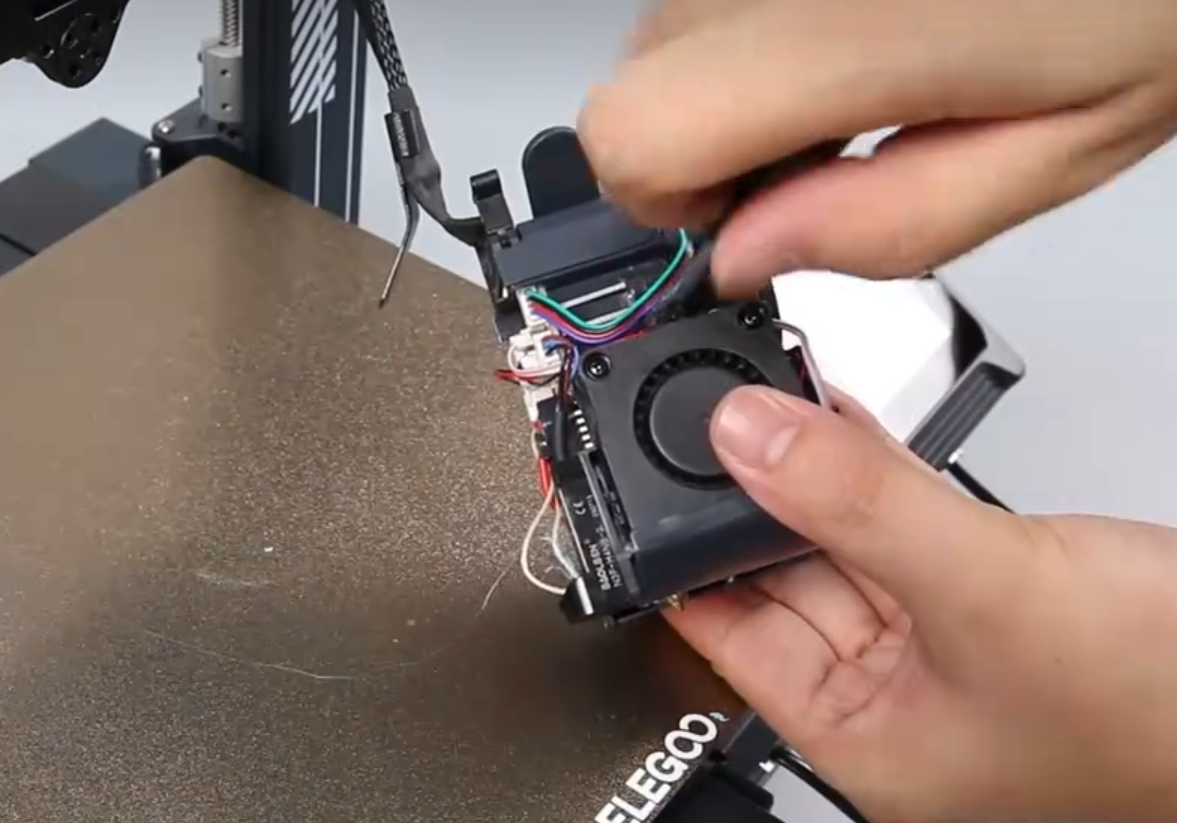
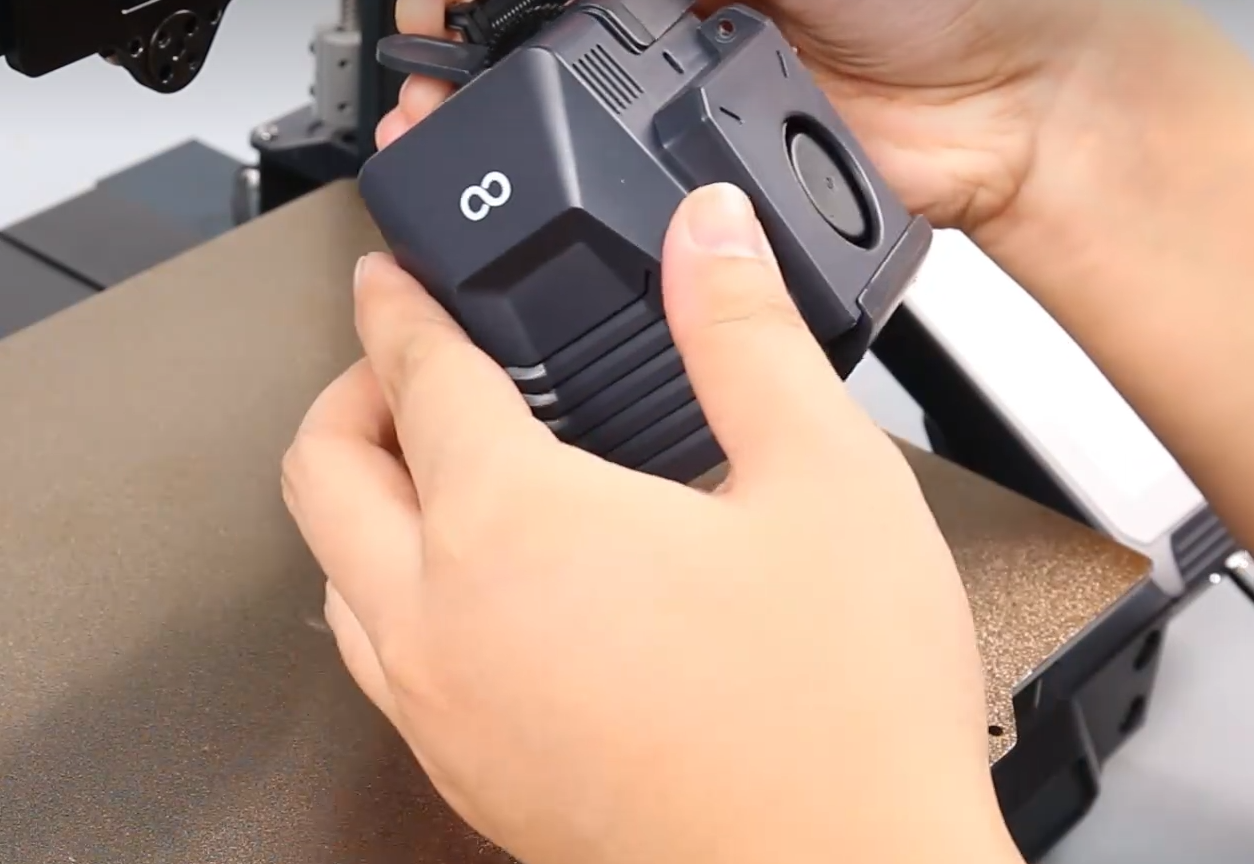
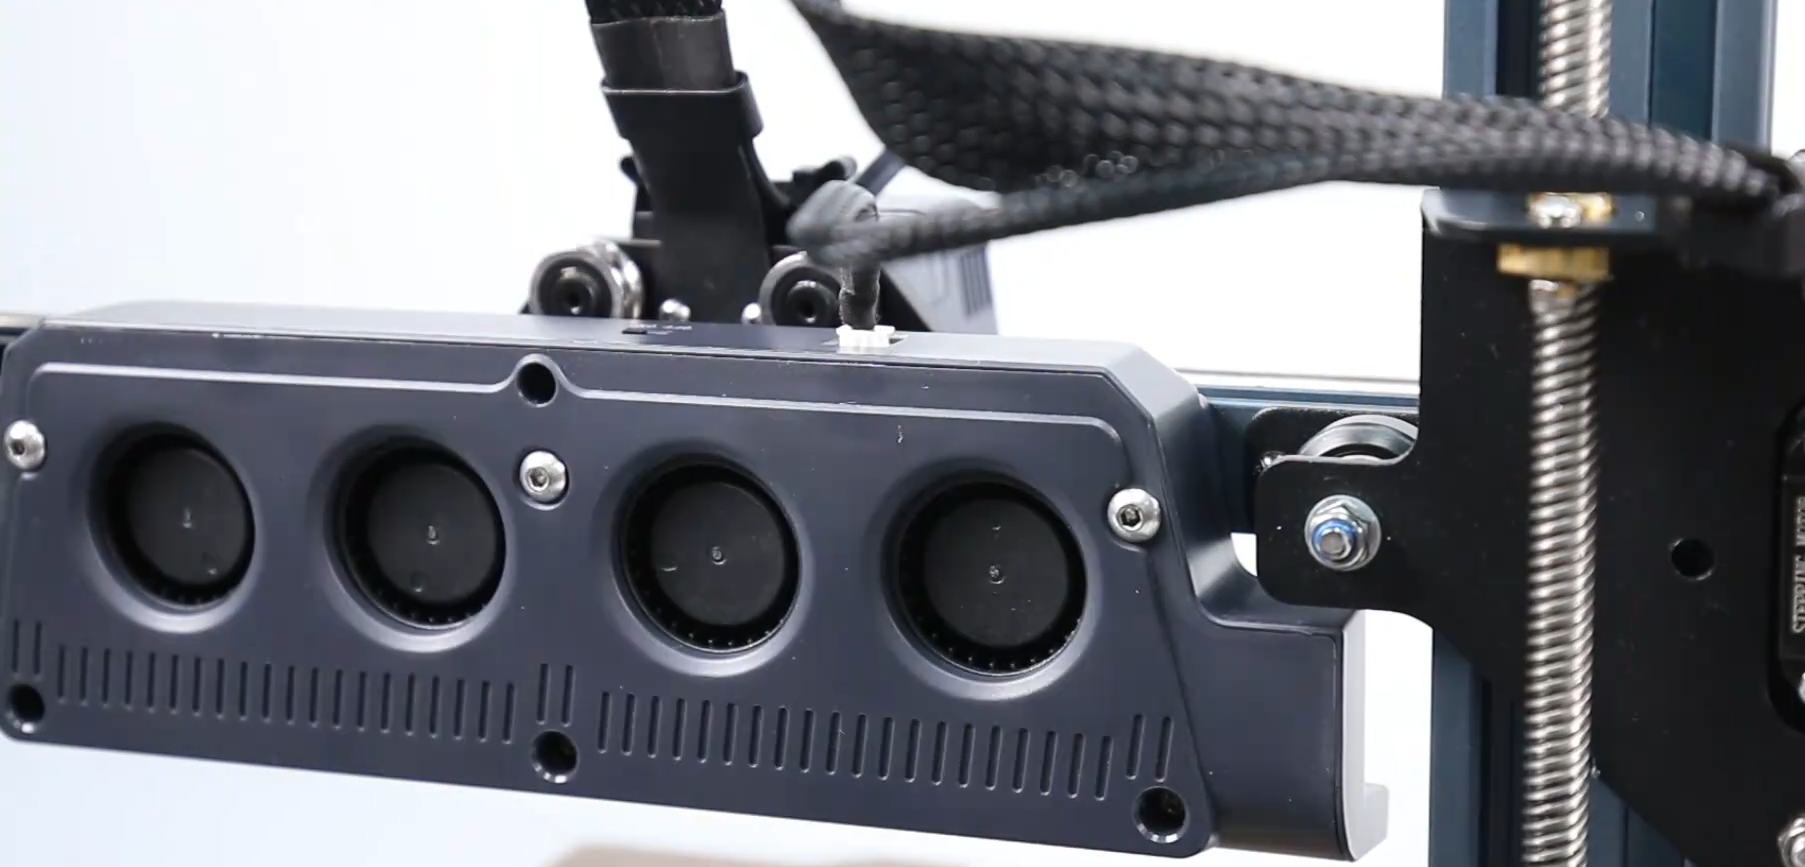
- Power off the printer, unplug the port cable of the fan assembly located directly behind the print head, use a 2.5mm hex wrench to loosen the three fixing screws of the "rear fan assembly", and remove the rear fan assembly.
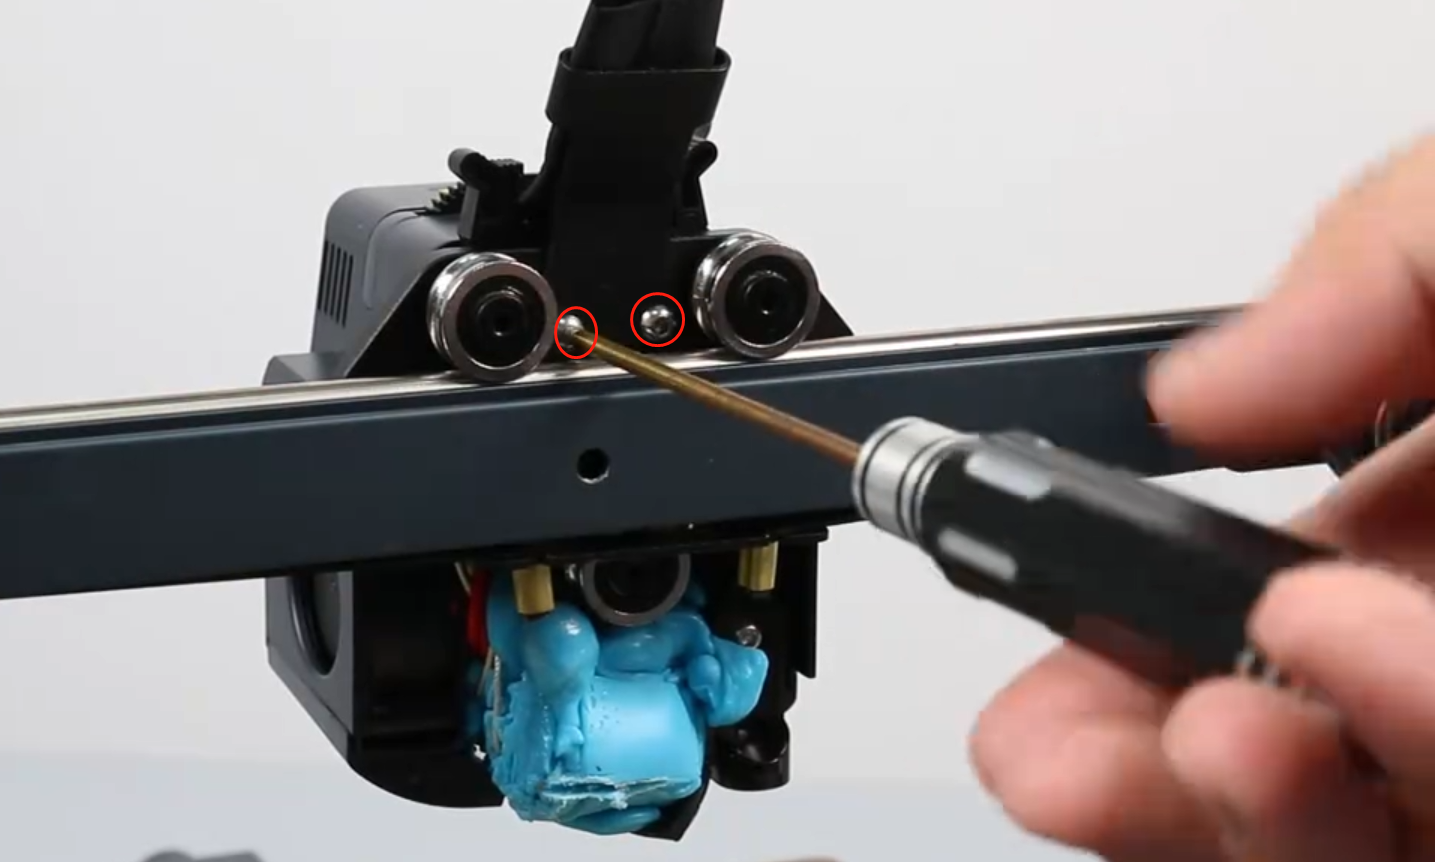
2. Use a 2.0mm hex wrench to loosen the two fixing screws of the "cable fastener" and the two fixing screws of the whole print head assembly.
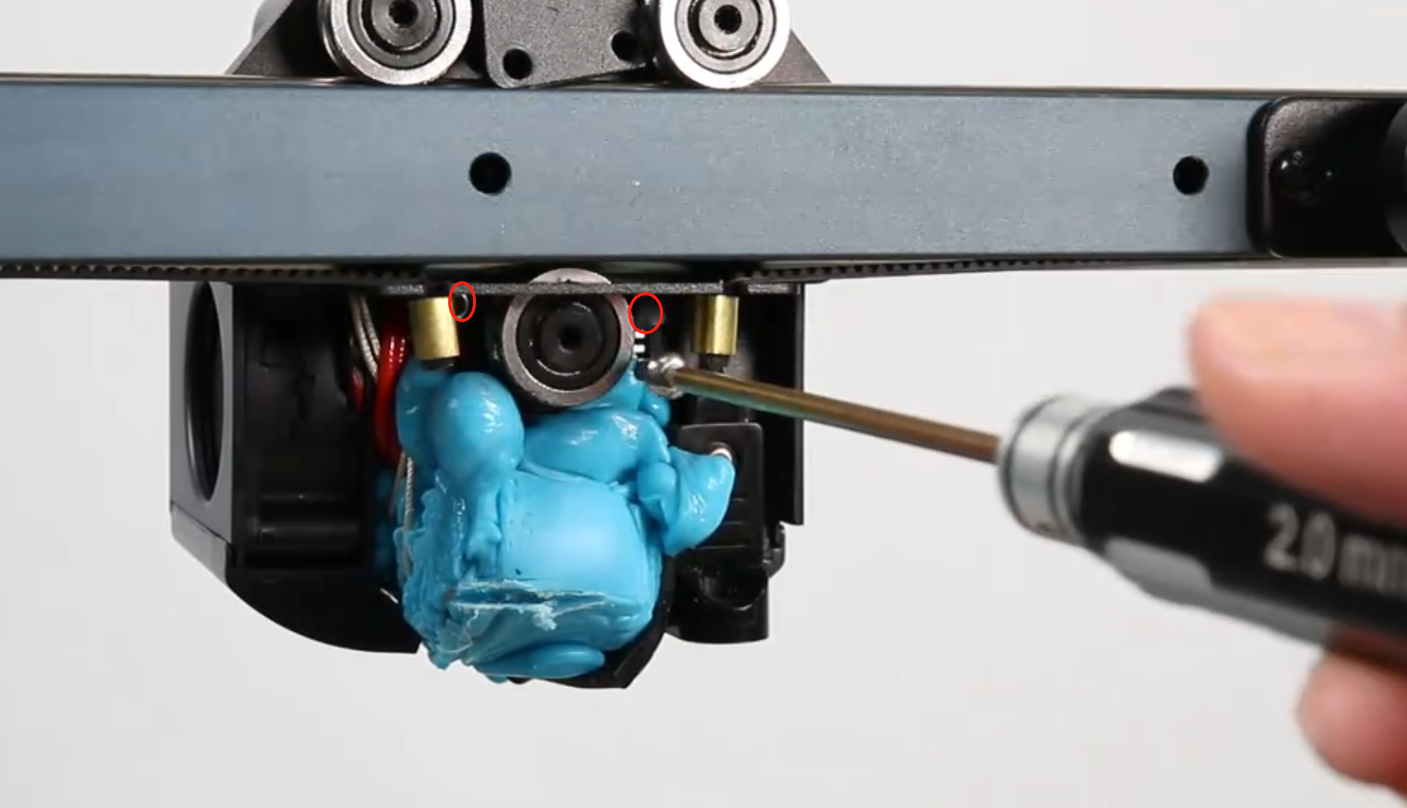
3. Finally, loosen the two fixing screws of the "print head front cover" and remove the whole print head assembly.
2-Clean the nozzle leakage
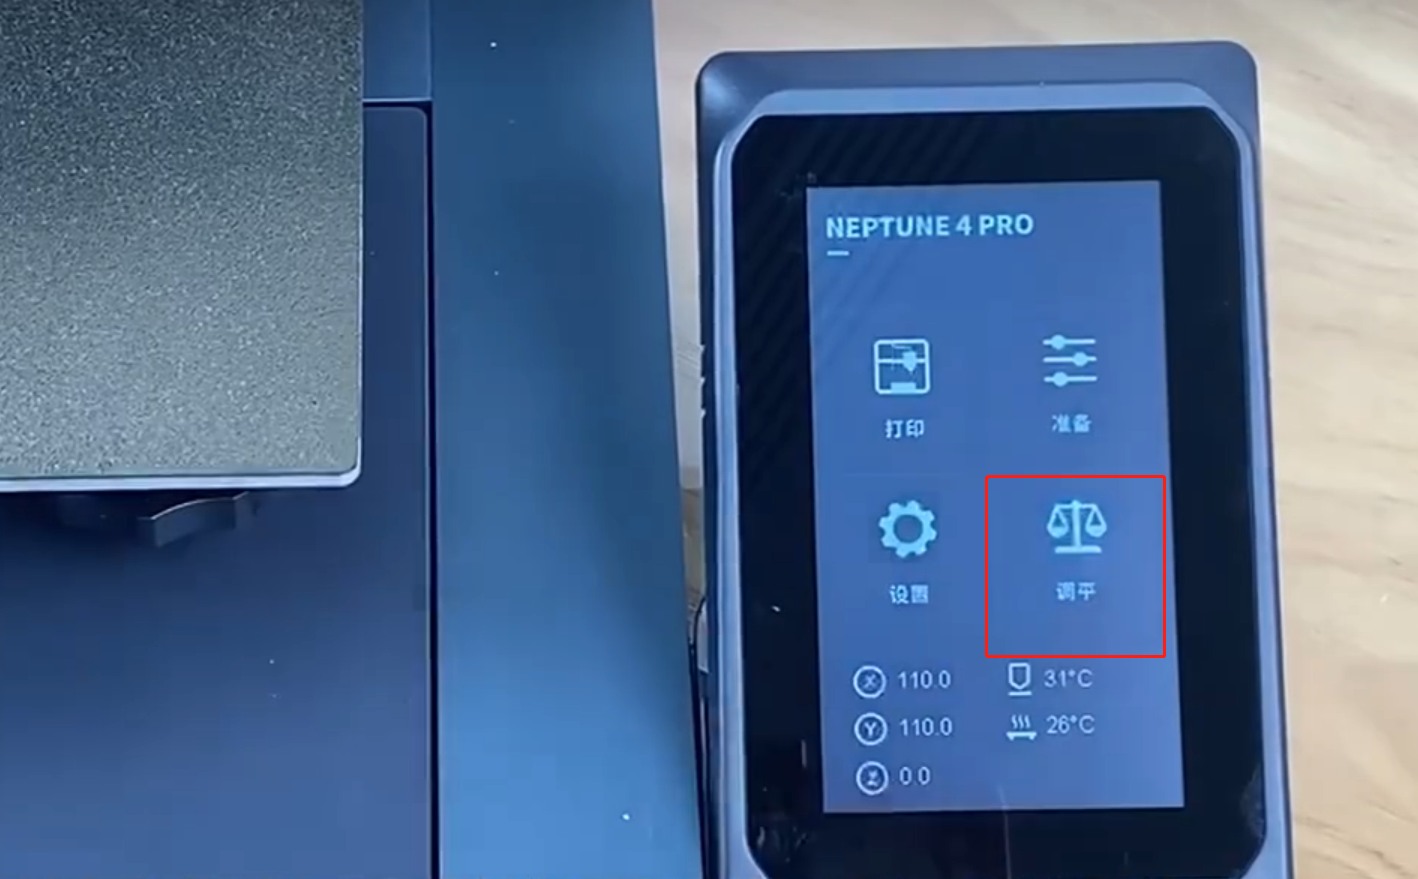
1. Power on the printer, click [Prepare-Temperature] on the touch screen, and set the nozzle temperature to 220°C in the temperature control interface.

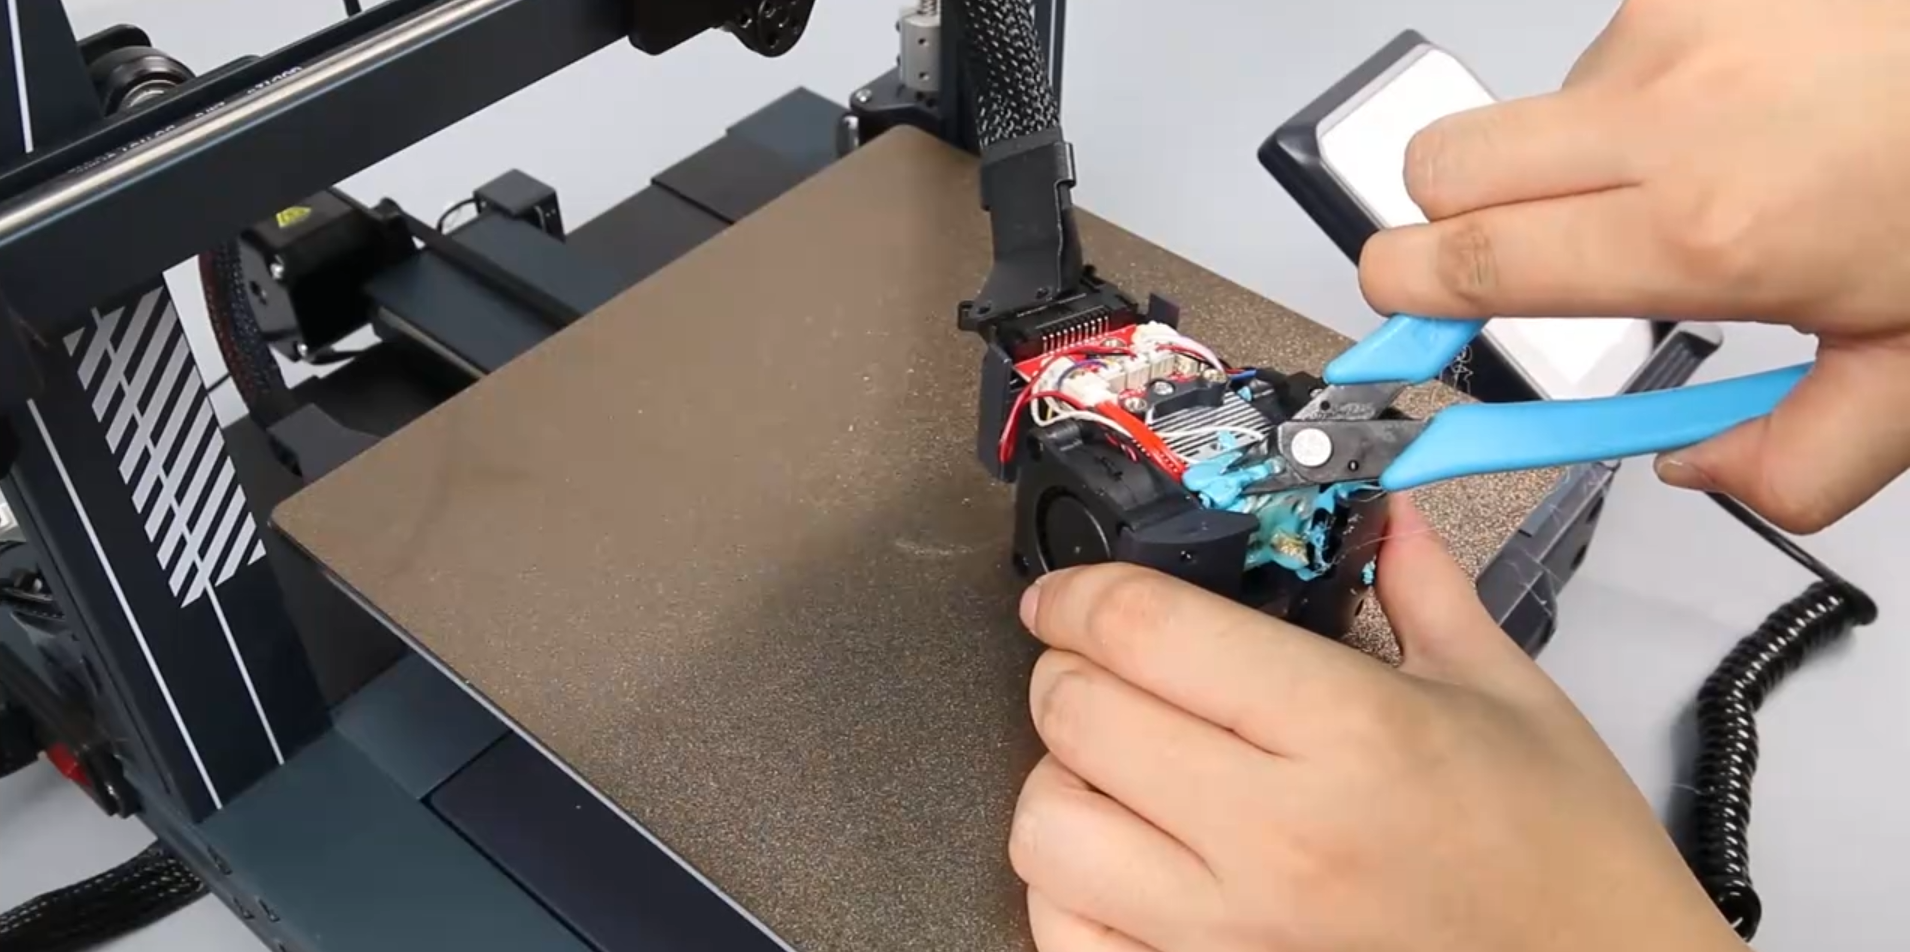
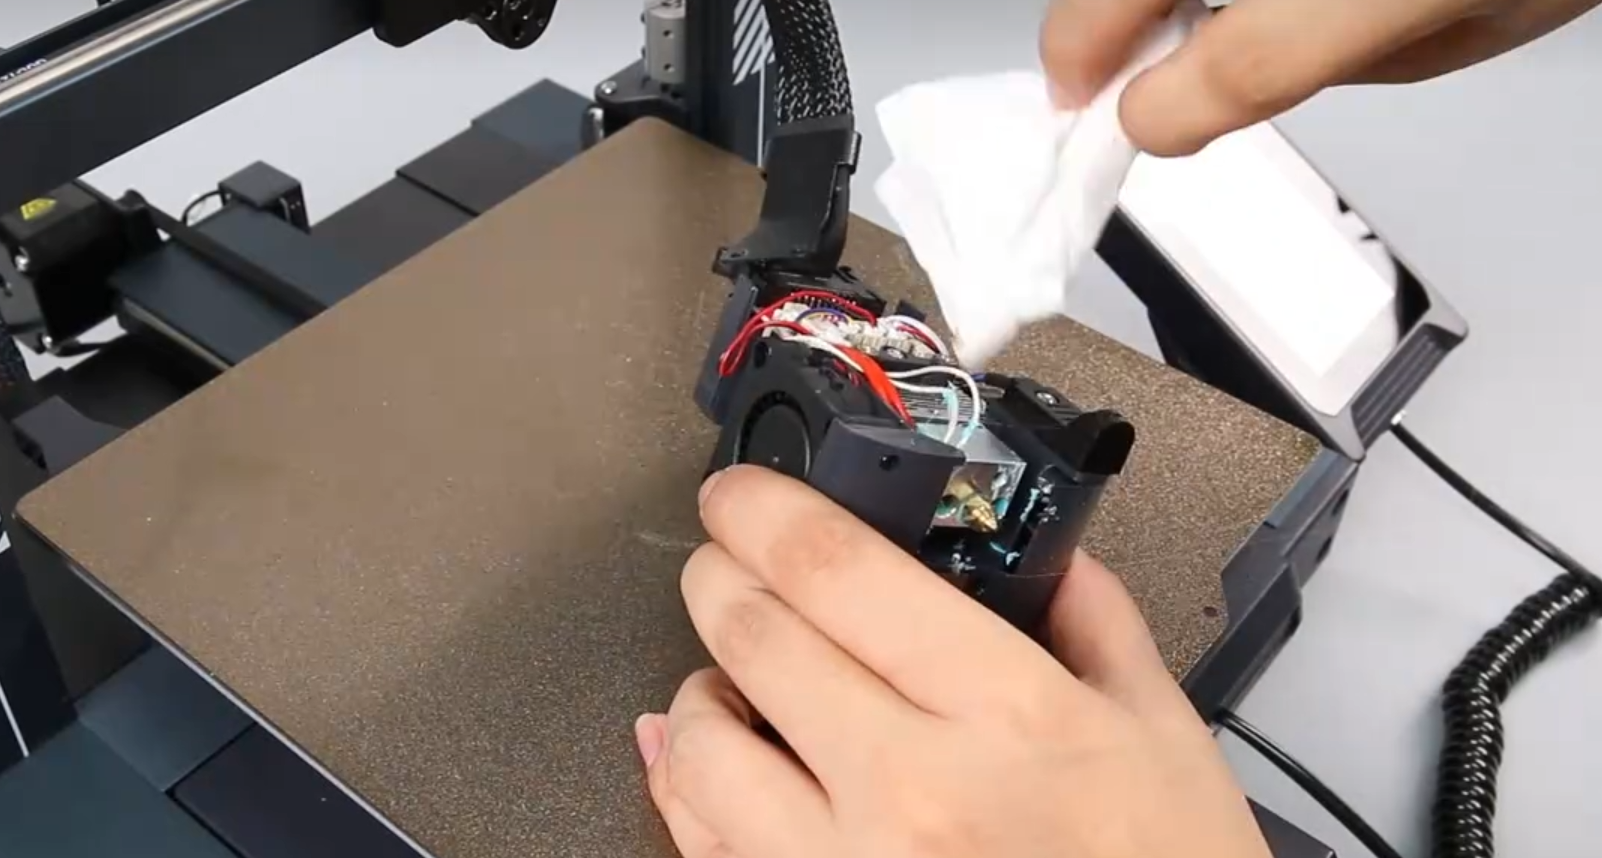
2. Use diagonal pliers to clean the leaked filaments around the nozzle (If cleaning is difficult, you can appropriately increase the temperature of the nozzle or use a hot air gun to assist heating. The filaments will become softer and easier to clean).
3. After cleaning up the large residue, use pliers to hold a paper towel to wipe the surface of the heated chamber and nozzle (It is recommended to wear protective equipment during operation to avoid burns).
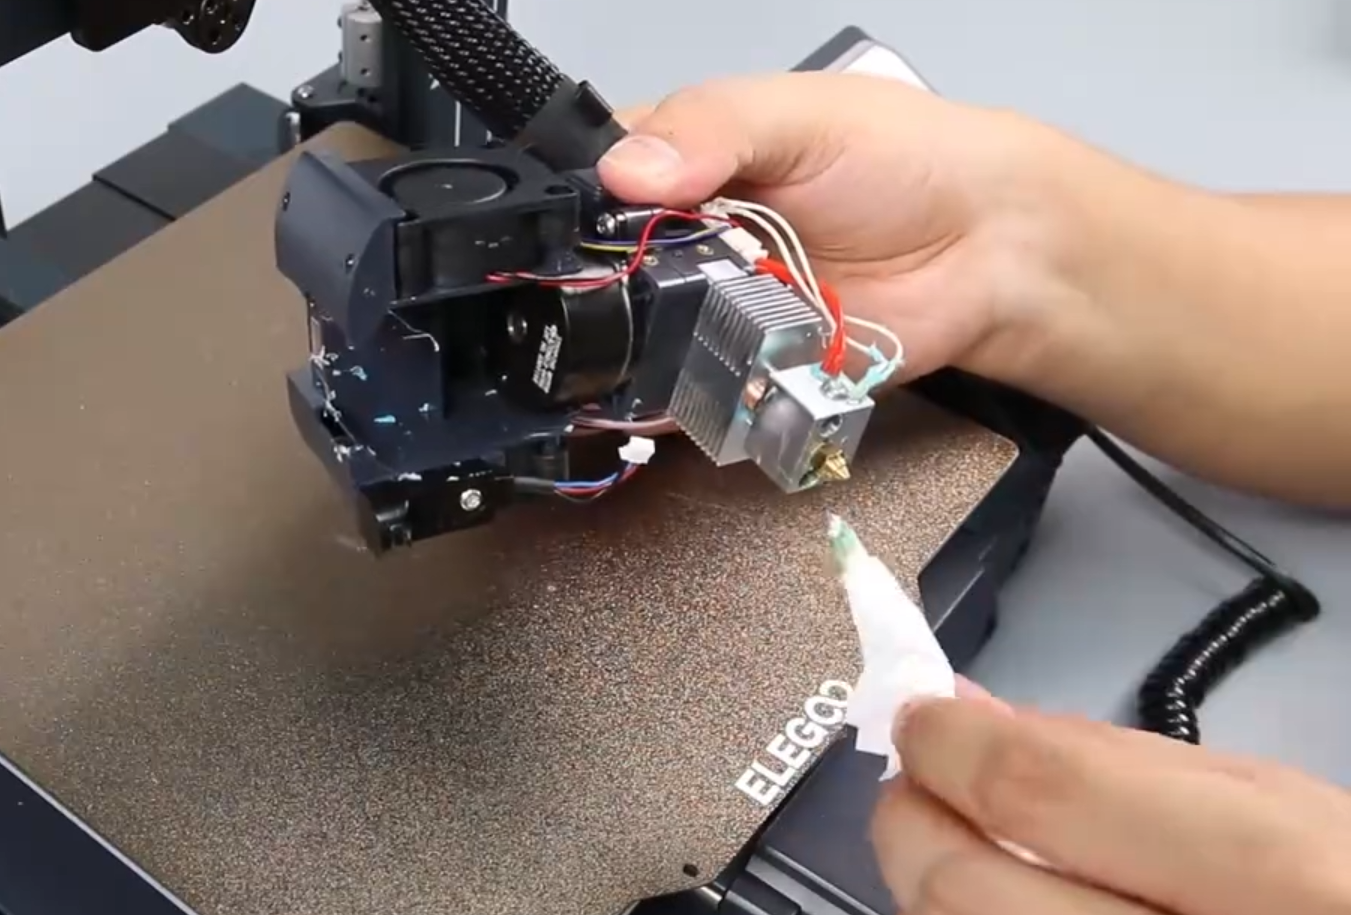
4. Use a Phillips screwdriver to loosen the four fixing screws of the "fan bracket", two on each side (If there is not a lot of residues that interferes with the casing, you can do this step in advance).
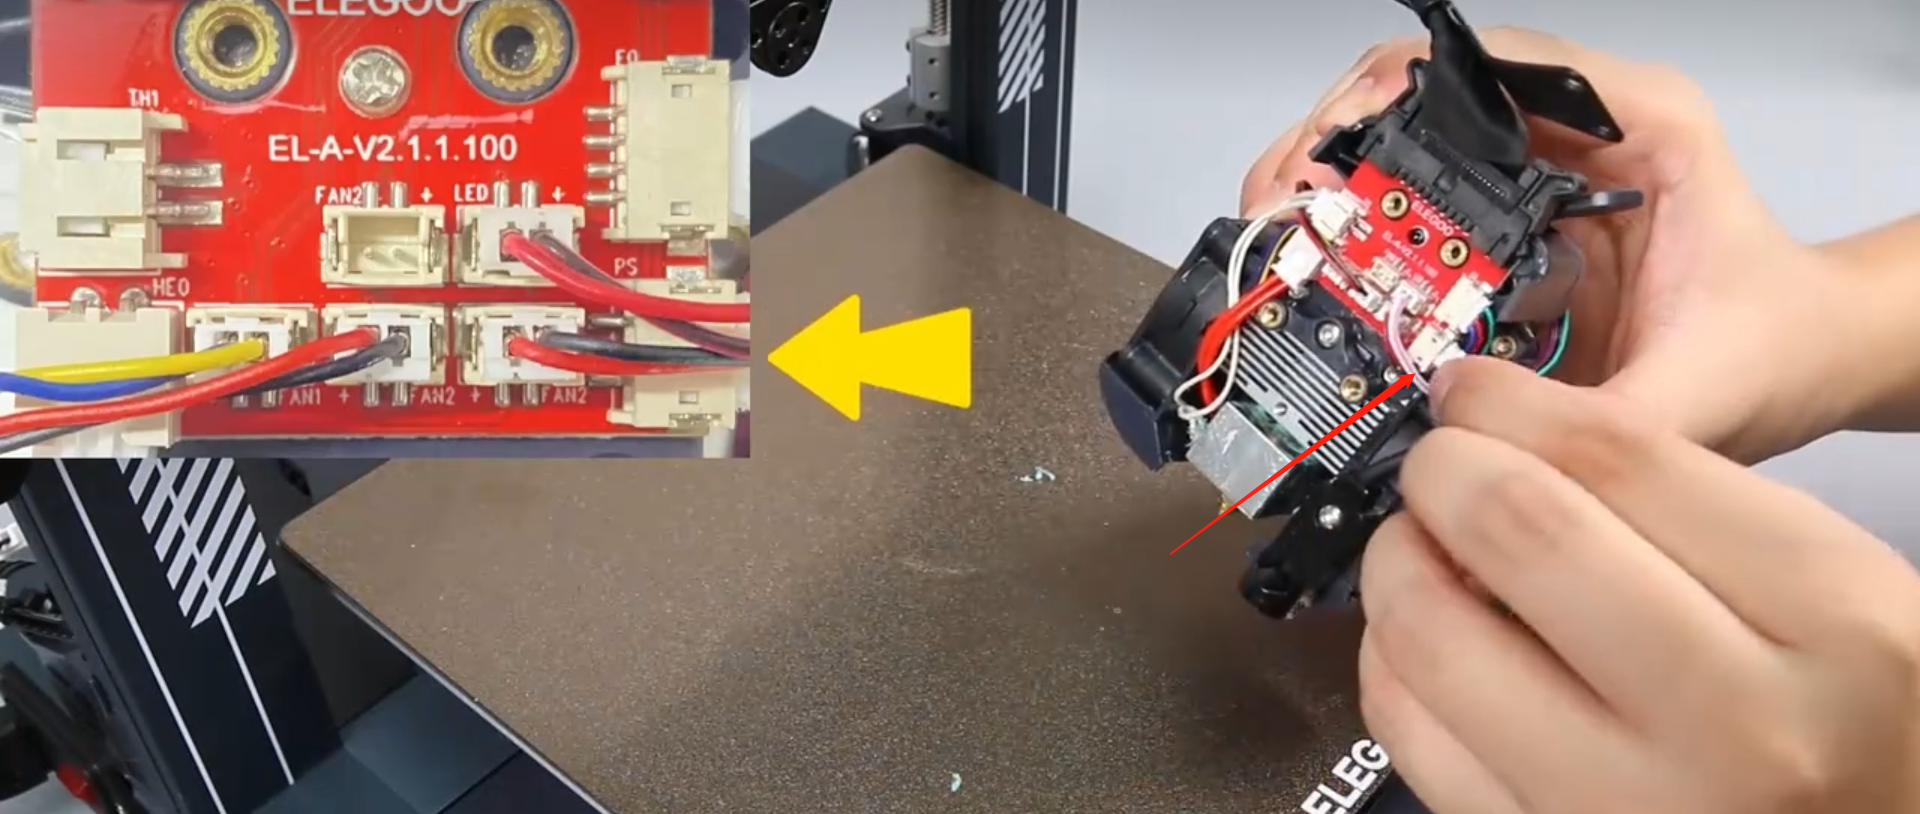
5. Unplug the cable port of the "proximity switch" in the "extrusion adapter board", take out the "nozzle assembly" downwards, place it behind the nozzle, and then clean up the remaining residue.

3-Install the print head
- Align the "fan bracket" assembly with the screw holes on both sides to install, and then insert the connecting cable of the "proximity switch" into the PS port in the "extrusion adapter board".
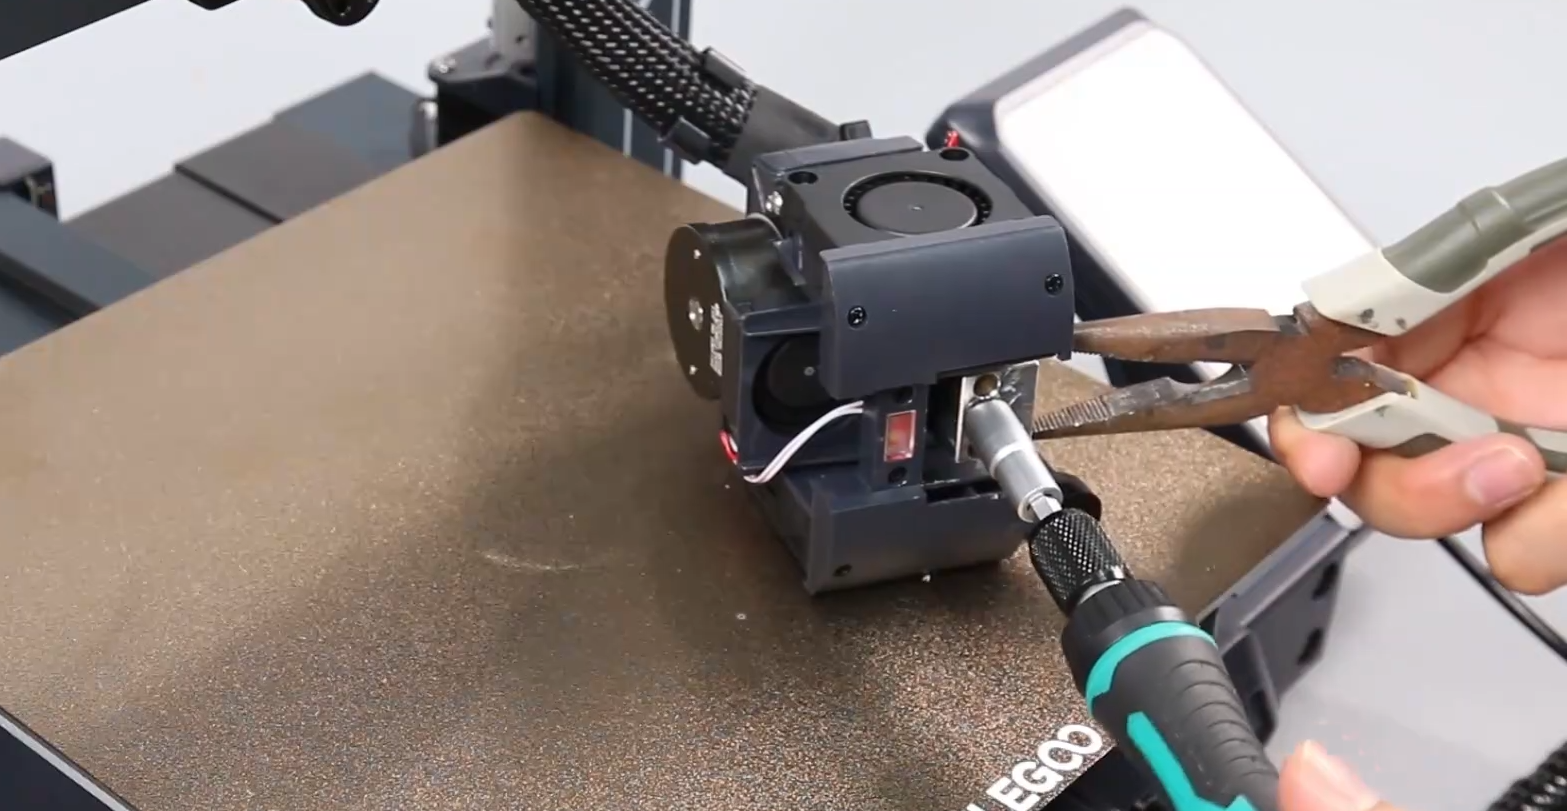
2. Use a Phillips screwdriver to tighten the four fixing screws of the "fan bracket", use pliers to clamp the square metal heated chamber, and then use an M6 socket wrench or M6 open-end wrench to tighten the nozzle to prevent further oozing of consumables (Do this when the nozzle is heated).
3. Install the front cover of the whole print head assembly (It has a groove design and can be installed by sliding it in).
4. Power off the printer, wait for the nozzle to cool completely, and then install the black "silicone sleeve" wrapped around the nozzle on the heated chamber.

5. Place the whole print head assembly into the mounting position in front of the print head, and use a 2.0mm hex wrench to tighten the two fixing screws of the "print head front cover".
6. Use a 2.0 hex wrench to tighten the two fixing screws of the "cable fastener" and the two fixing screws of the print head.
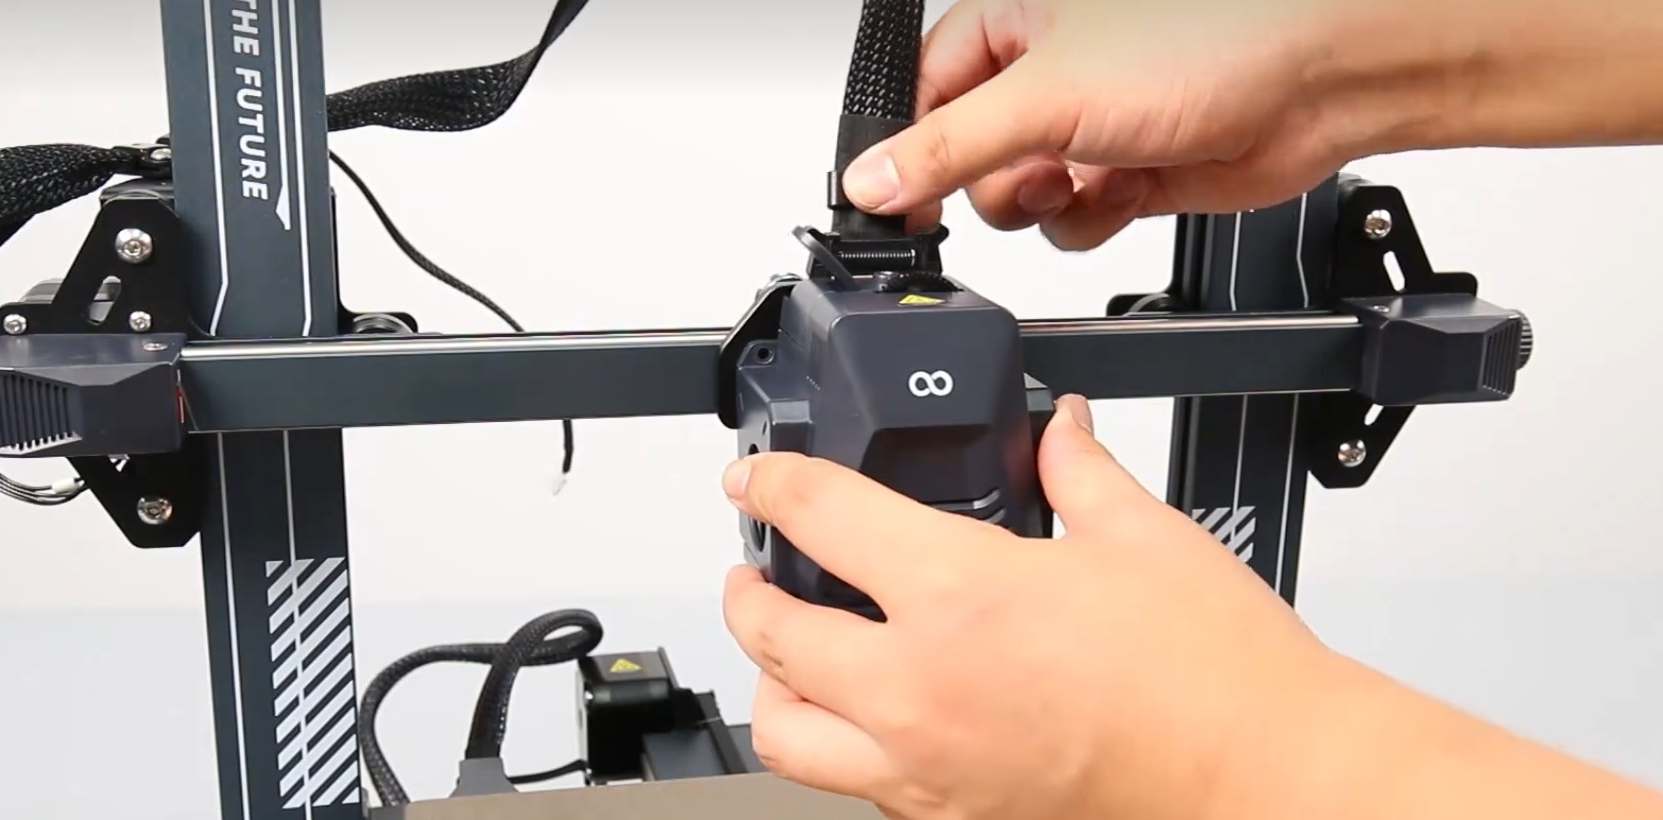
7. Remove the fan assembly, align it with the screw holes, use a 2.5mm hex wrench to tighten the three fixing screws of the rear fan assembly (with the air outlet facing downward), and insert it into the fan assembly interface cable port.
8. Power on the printer, re-level the printer, and it can be used normally.