Note: When to replace the motherboard, the machine cannot work when powered on.
¶ Tools and materials needed
●2.0mm Allen wrench
●2.0mm Allen wrench
●Pliers
¶ Tutorial Video
https://www.youtube.com/watch?v=0HLrllLobGk
¶ Operation steps
1. Use a 2.0mm Allen wrench to unscrew the 6 fixing screws on the back plate.
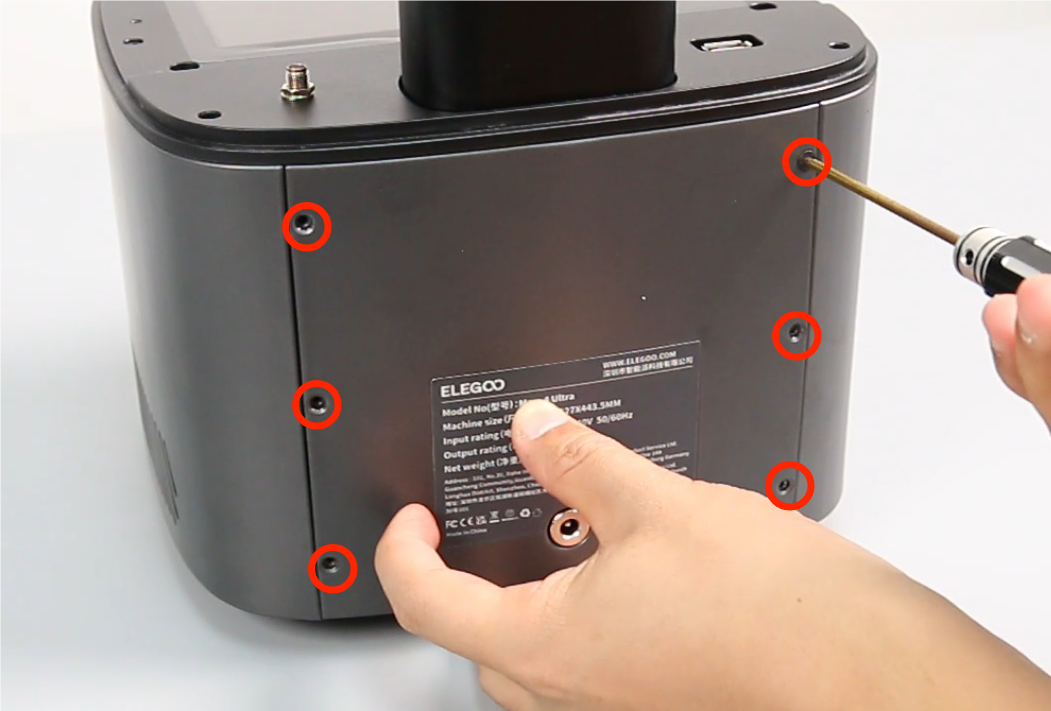
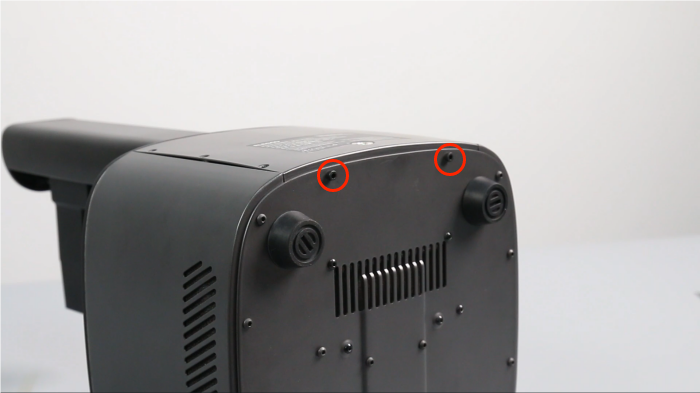
2. Use a 2.0mm Allen wrench to unscrew the 2 fixing screws on the bottom, and lay the back plate flat on the table.

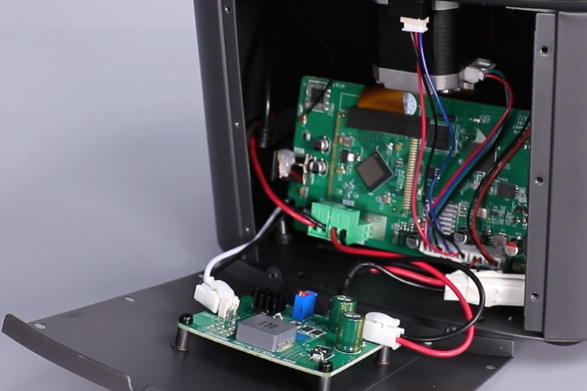
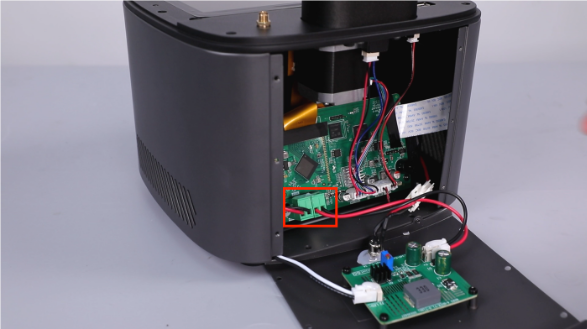
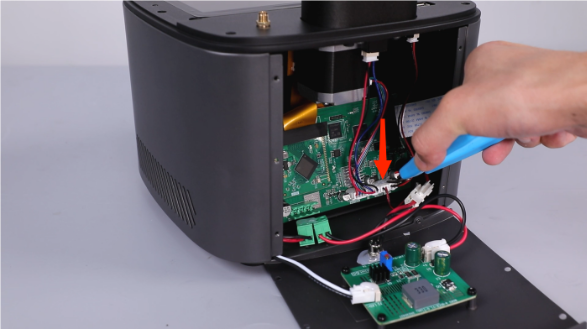
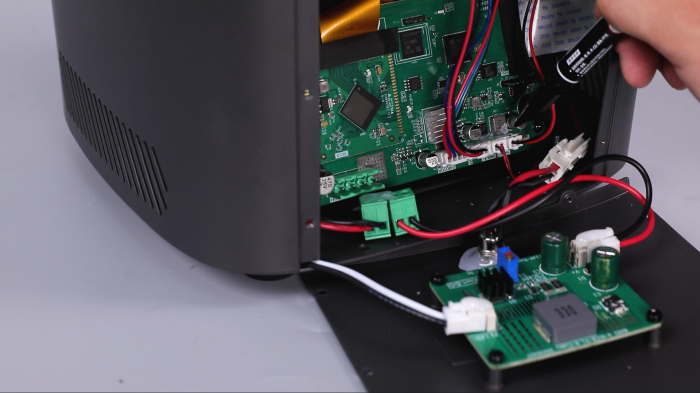
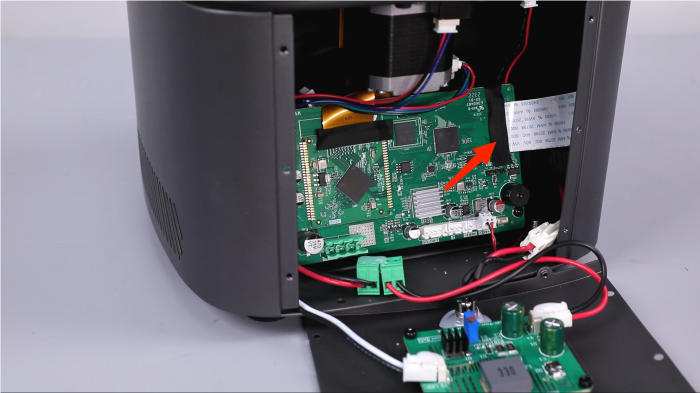
3. Remove the cable from the main board to the front controller board and the cable from the main board to the constant current module.
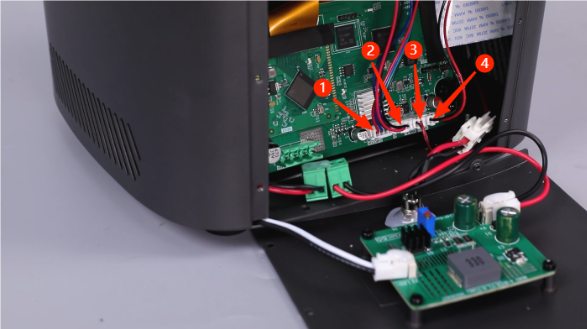
4. Use pliers to remove the hot melt glue on the motherboard port cable, mark it with a marker pen, and remove the ① motor cable, ② limit switch cable, ③ cooling fan cable, and ④ USB port cable.

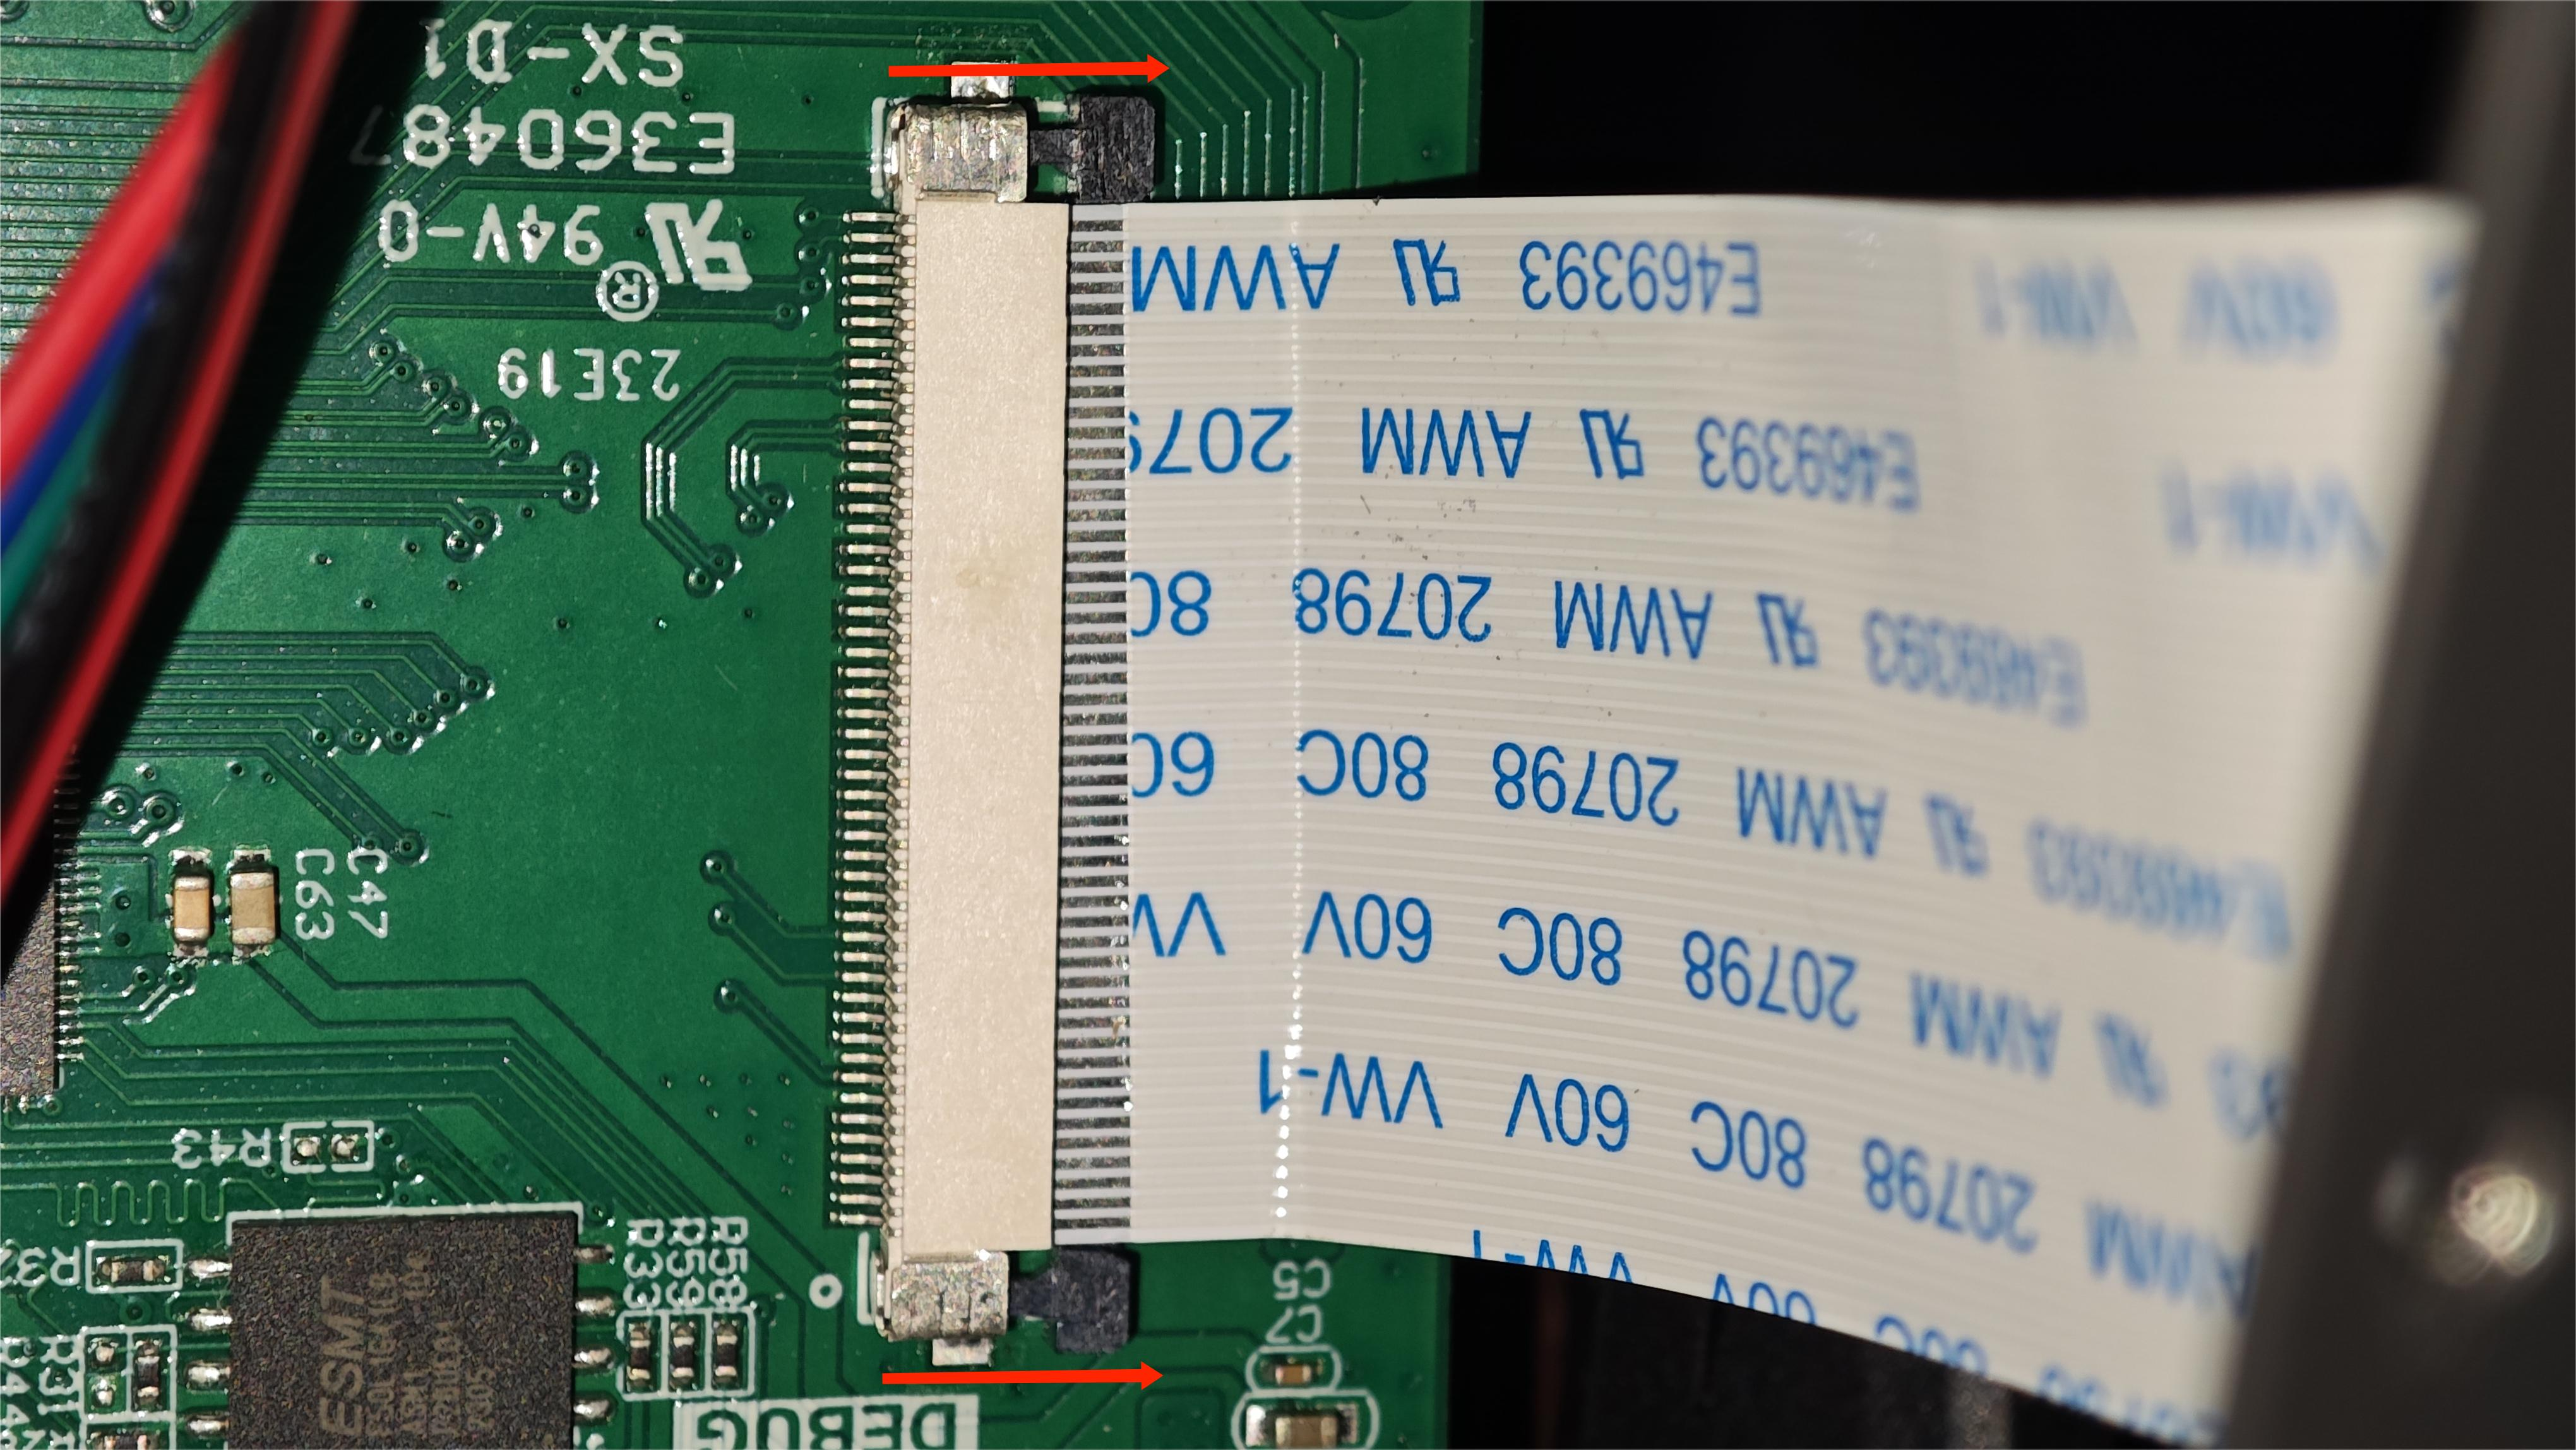
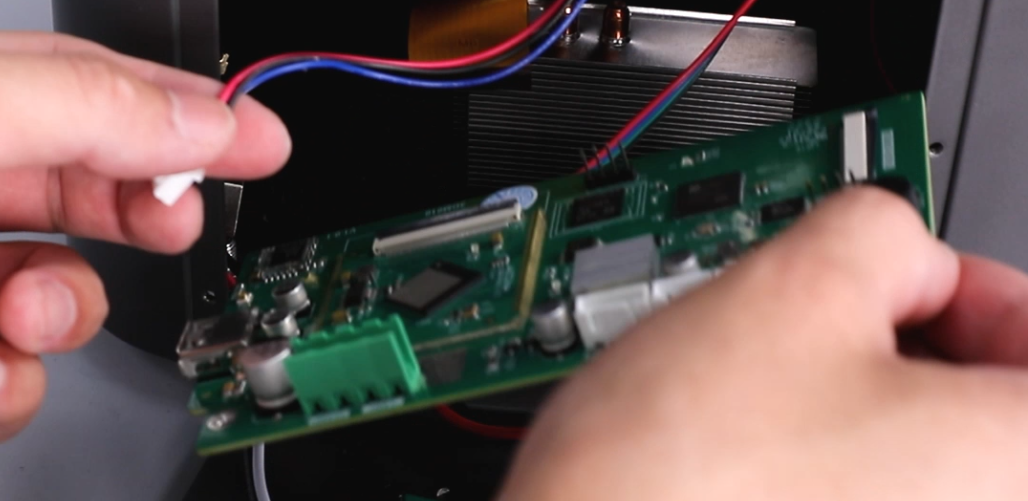
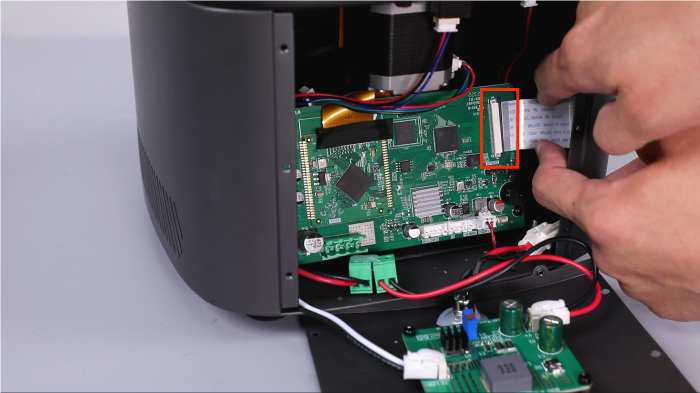
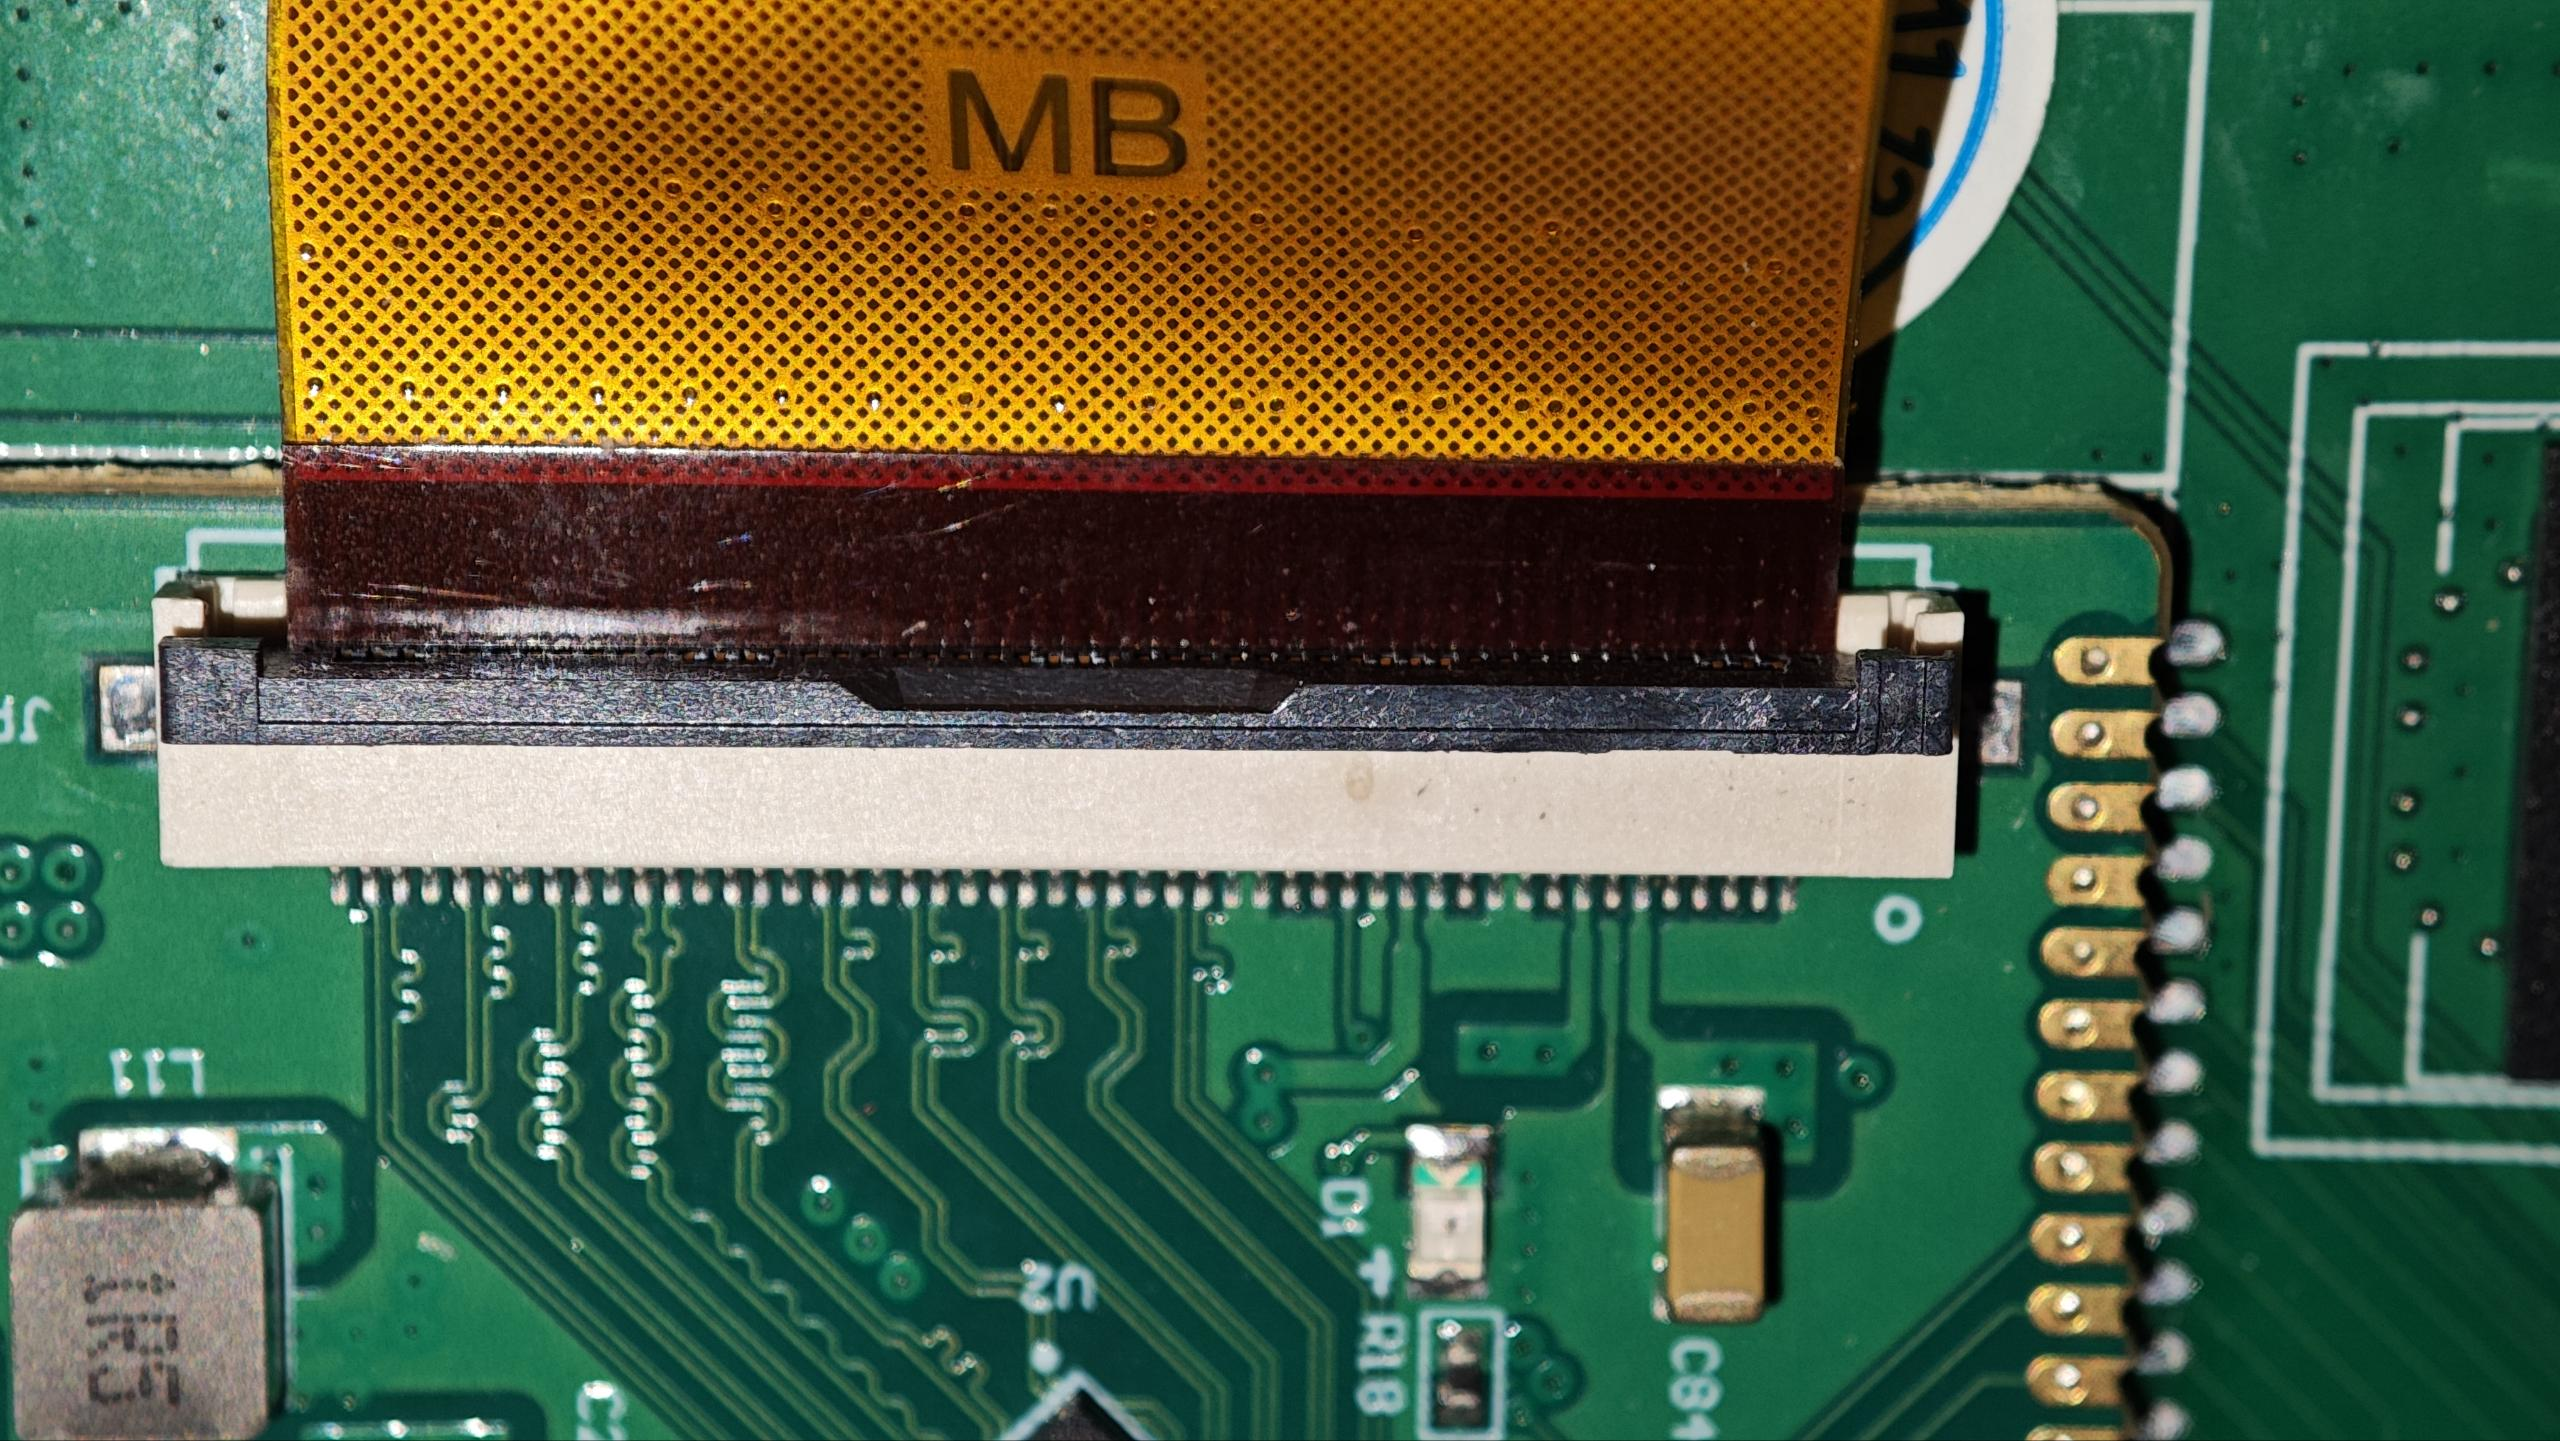
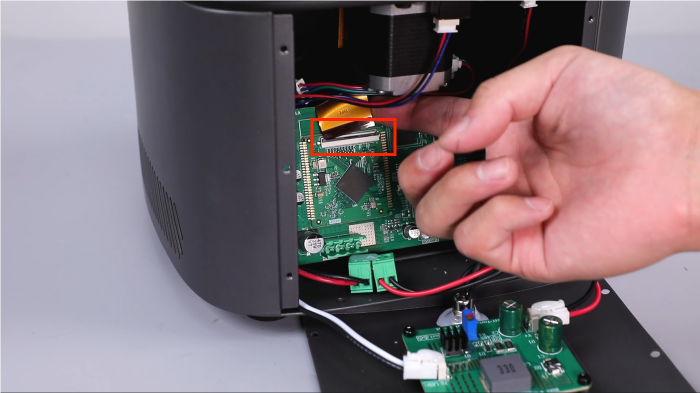
5. Tear off the tape on the LCD screen and touch screen cable, push out the touch screen cable holder buckle, remove the touch screen cable, open the LCD screen cable base buckle, and remove the LCD screen cable. (Note: Keep the tape)
Touch screen wiring


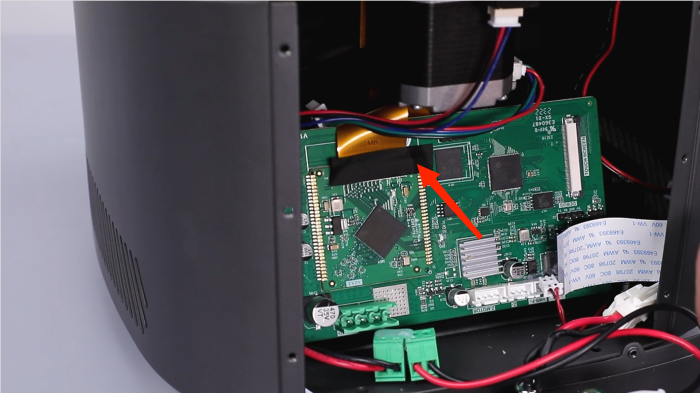
LCD cable


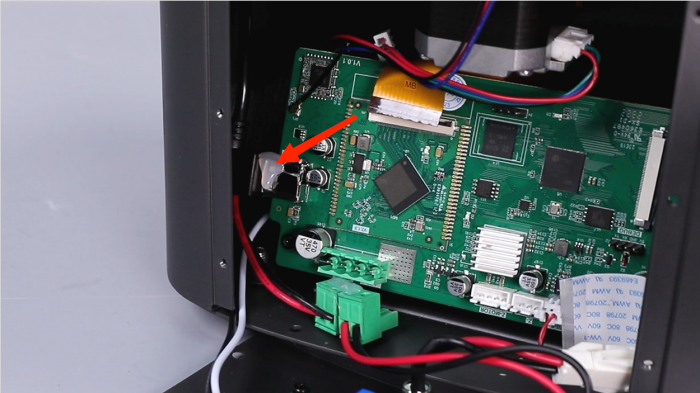
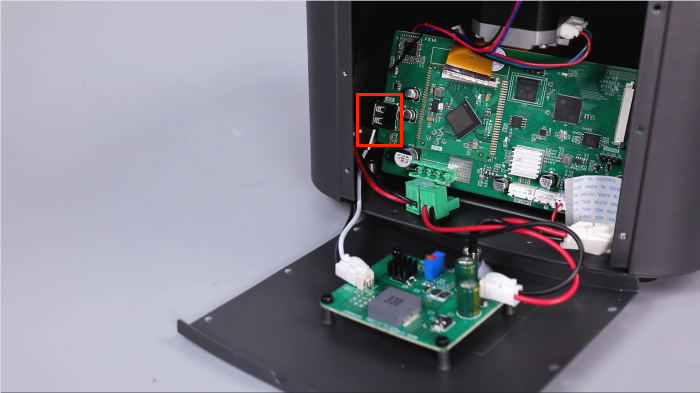
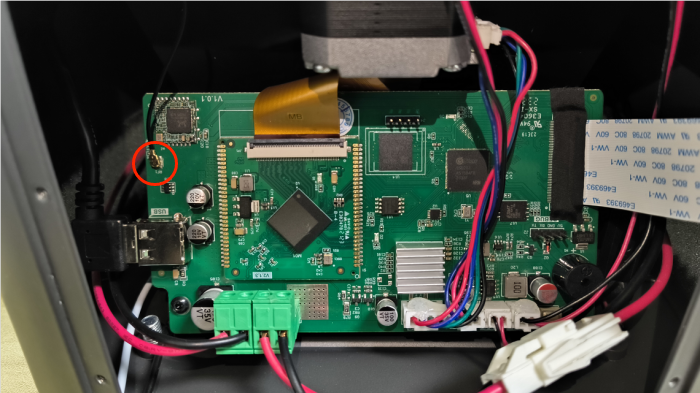
6. Remove the USB interface transmission cable and WiFi interface on the motherboard.

7. Use a 2.0mm Allen wrench to remove the 2 fixing screws on the motherboard and remove the motherboard.

8. Take out the new motherboard, place it in the mounting hole, and tighten the 2 fixing screws on the motherboard with a 2.0mm Allen wrench.

9. Install the USB interface transmission cable and WiFi antenna on the motherboard.

10. Reinstall the ① motor cable, ② limit switch cable, ③ cooling fan cable and ④ USB port cable in order.
11. Push out the buckle of the touch screen cable holder, insert the touch screen cable back, and push back the buckle of the touch screen cable holder. Confirm that it is fastened tightly, and stick the adhesive tape back. Open the LCD cable cover, insert the LCD screen cable back, snap the cable cover, and stick the black tape.
Touch screen wiring

LCD cable
12. Place the back cover into the mounting hole, use a 2.0mm Allen wrench to tighten the 6 screws on the back plate, and use a 2.0mm Allen wrench to tighten the 2 screws on the bottom plate.

13. Power on the machine, and check whether the functions are normal.